Hi there,
I’ve decided to start keeping some documentation on this car, I used to on my daily as well on a different forum and figured it’d be nice to do it with my track build as well.
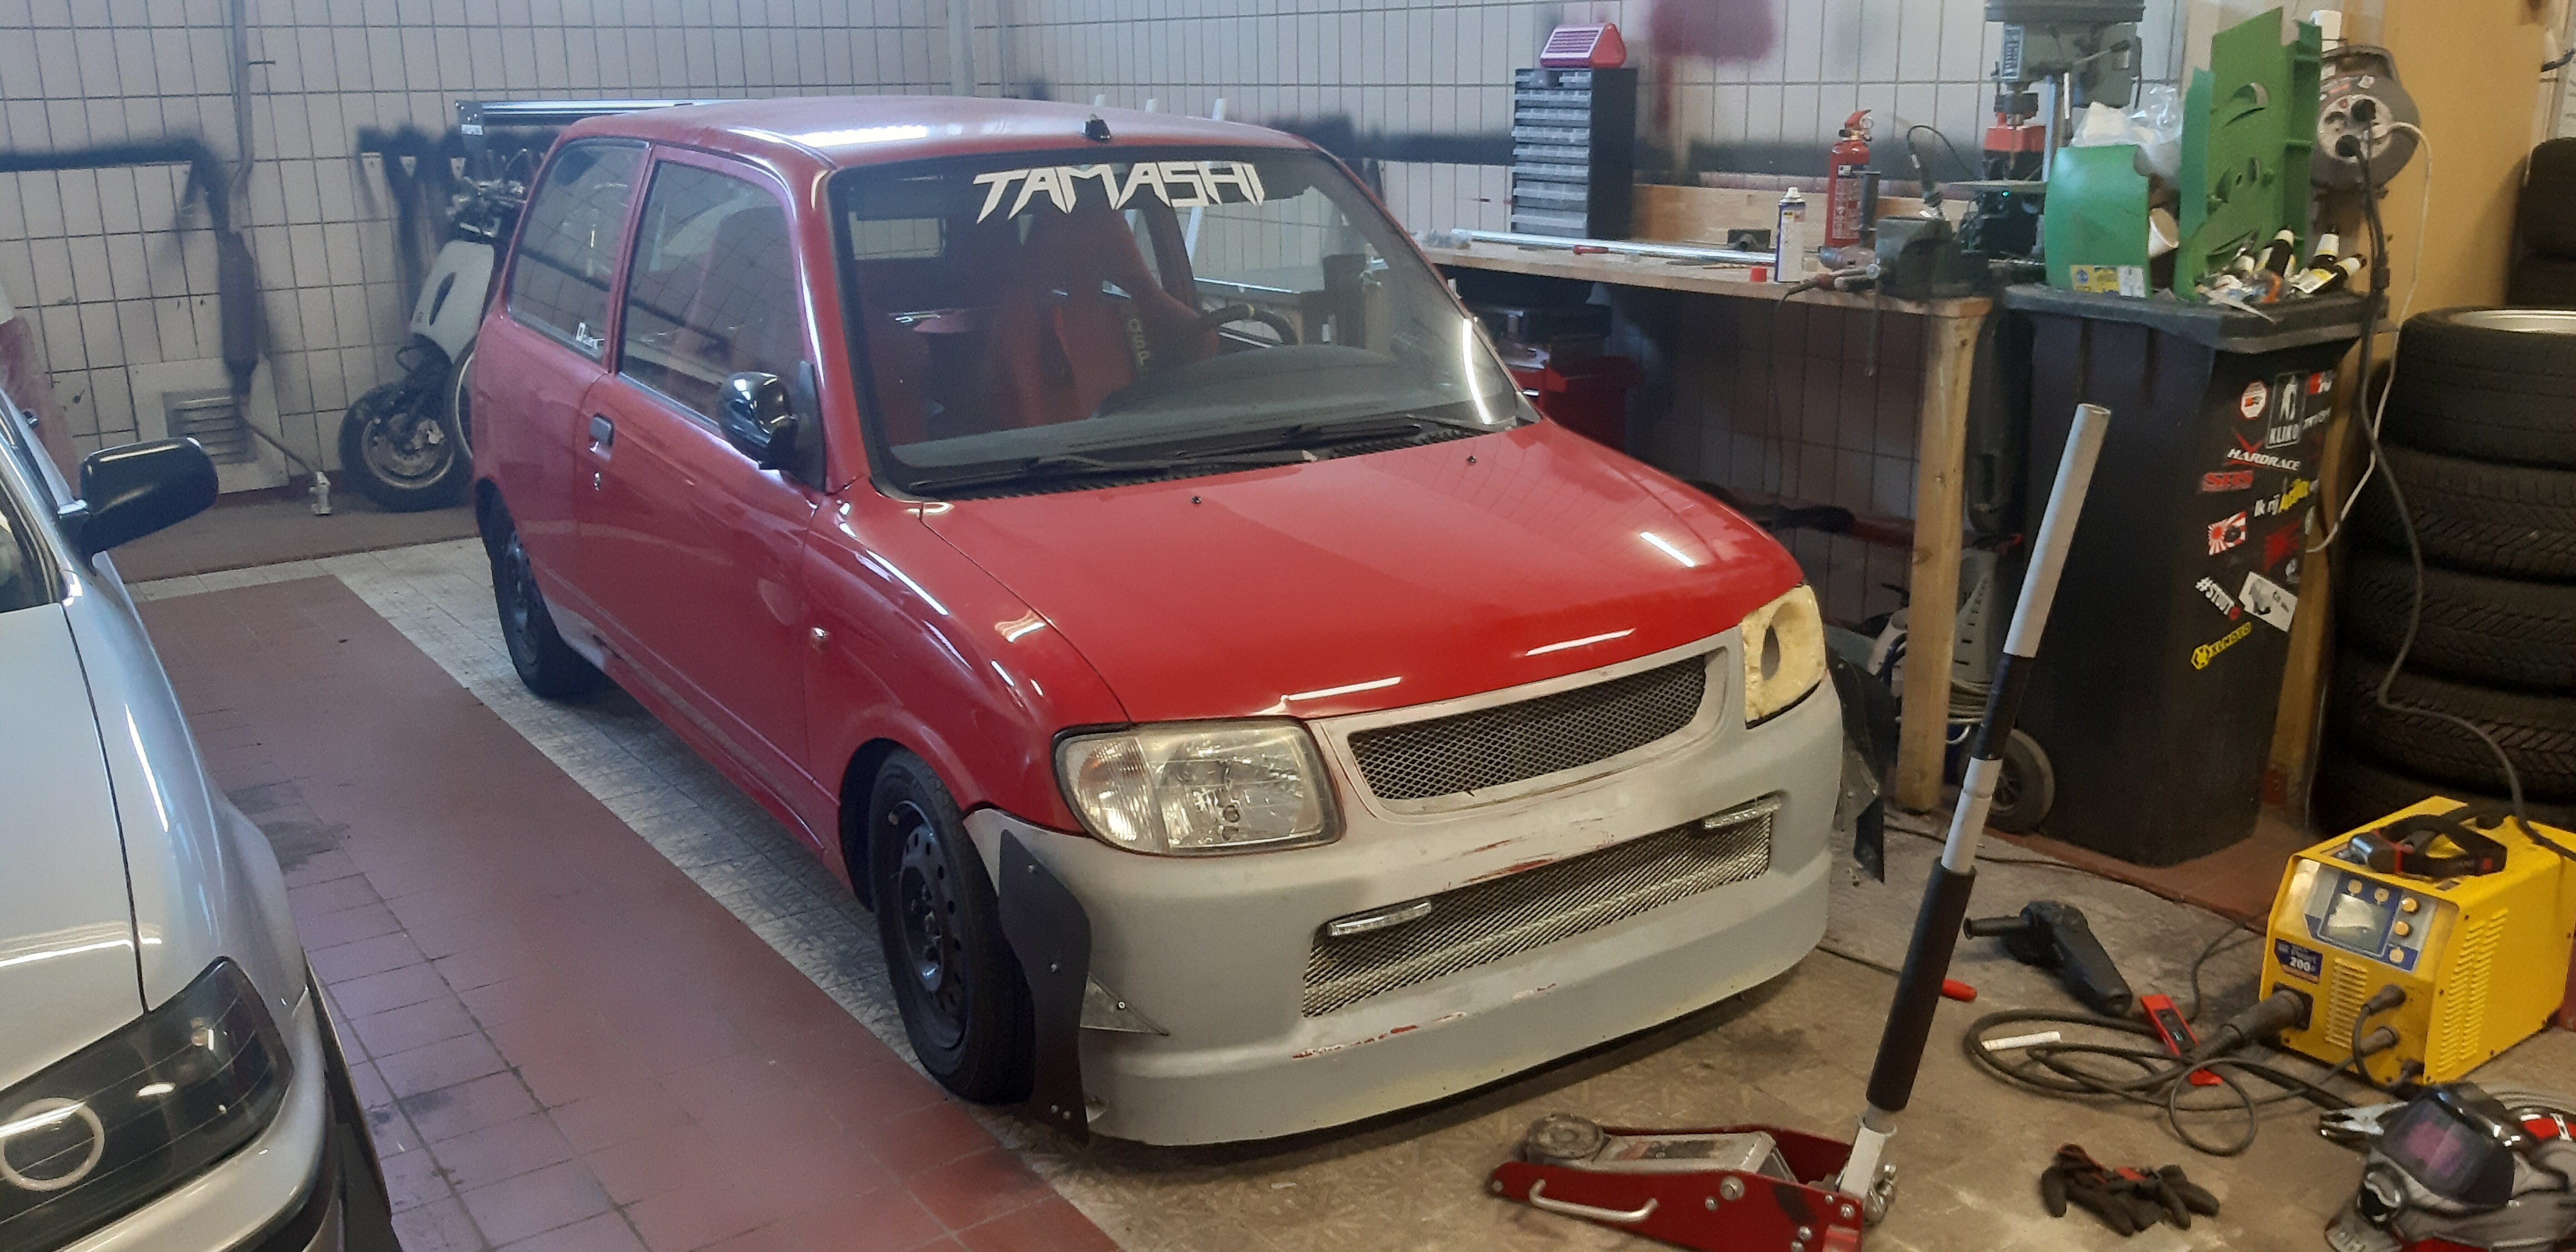
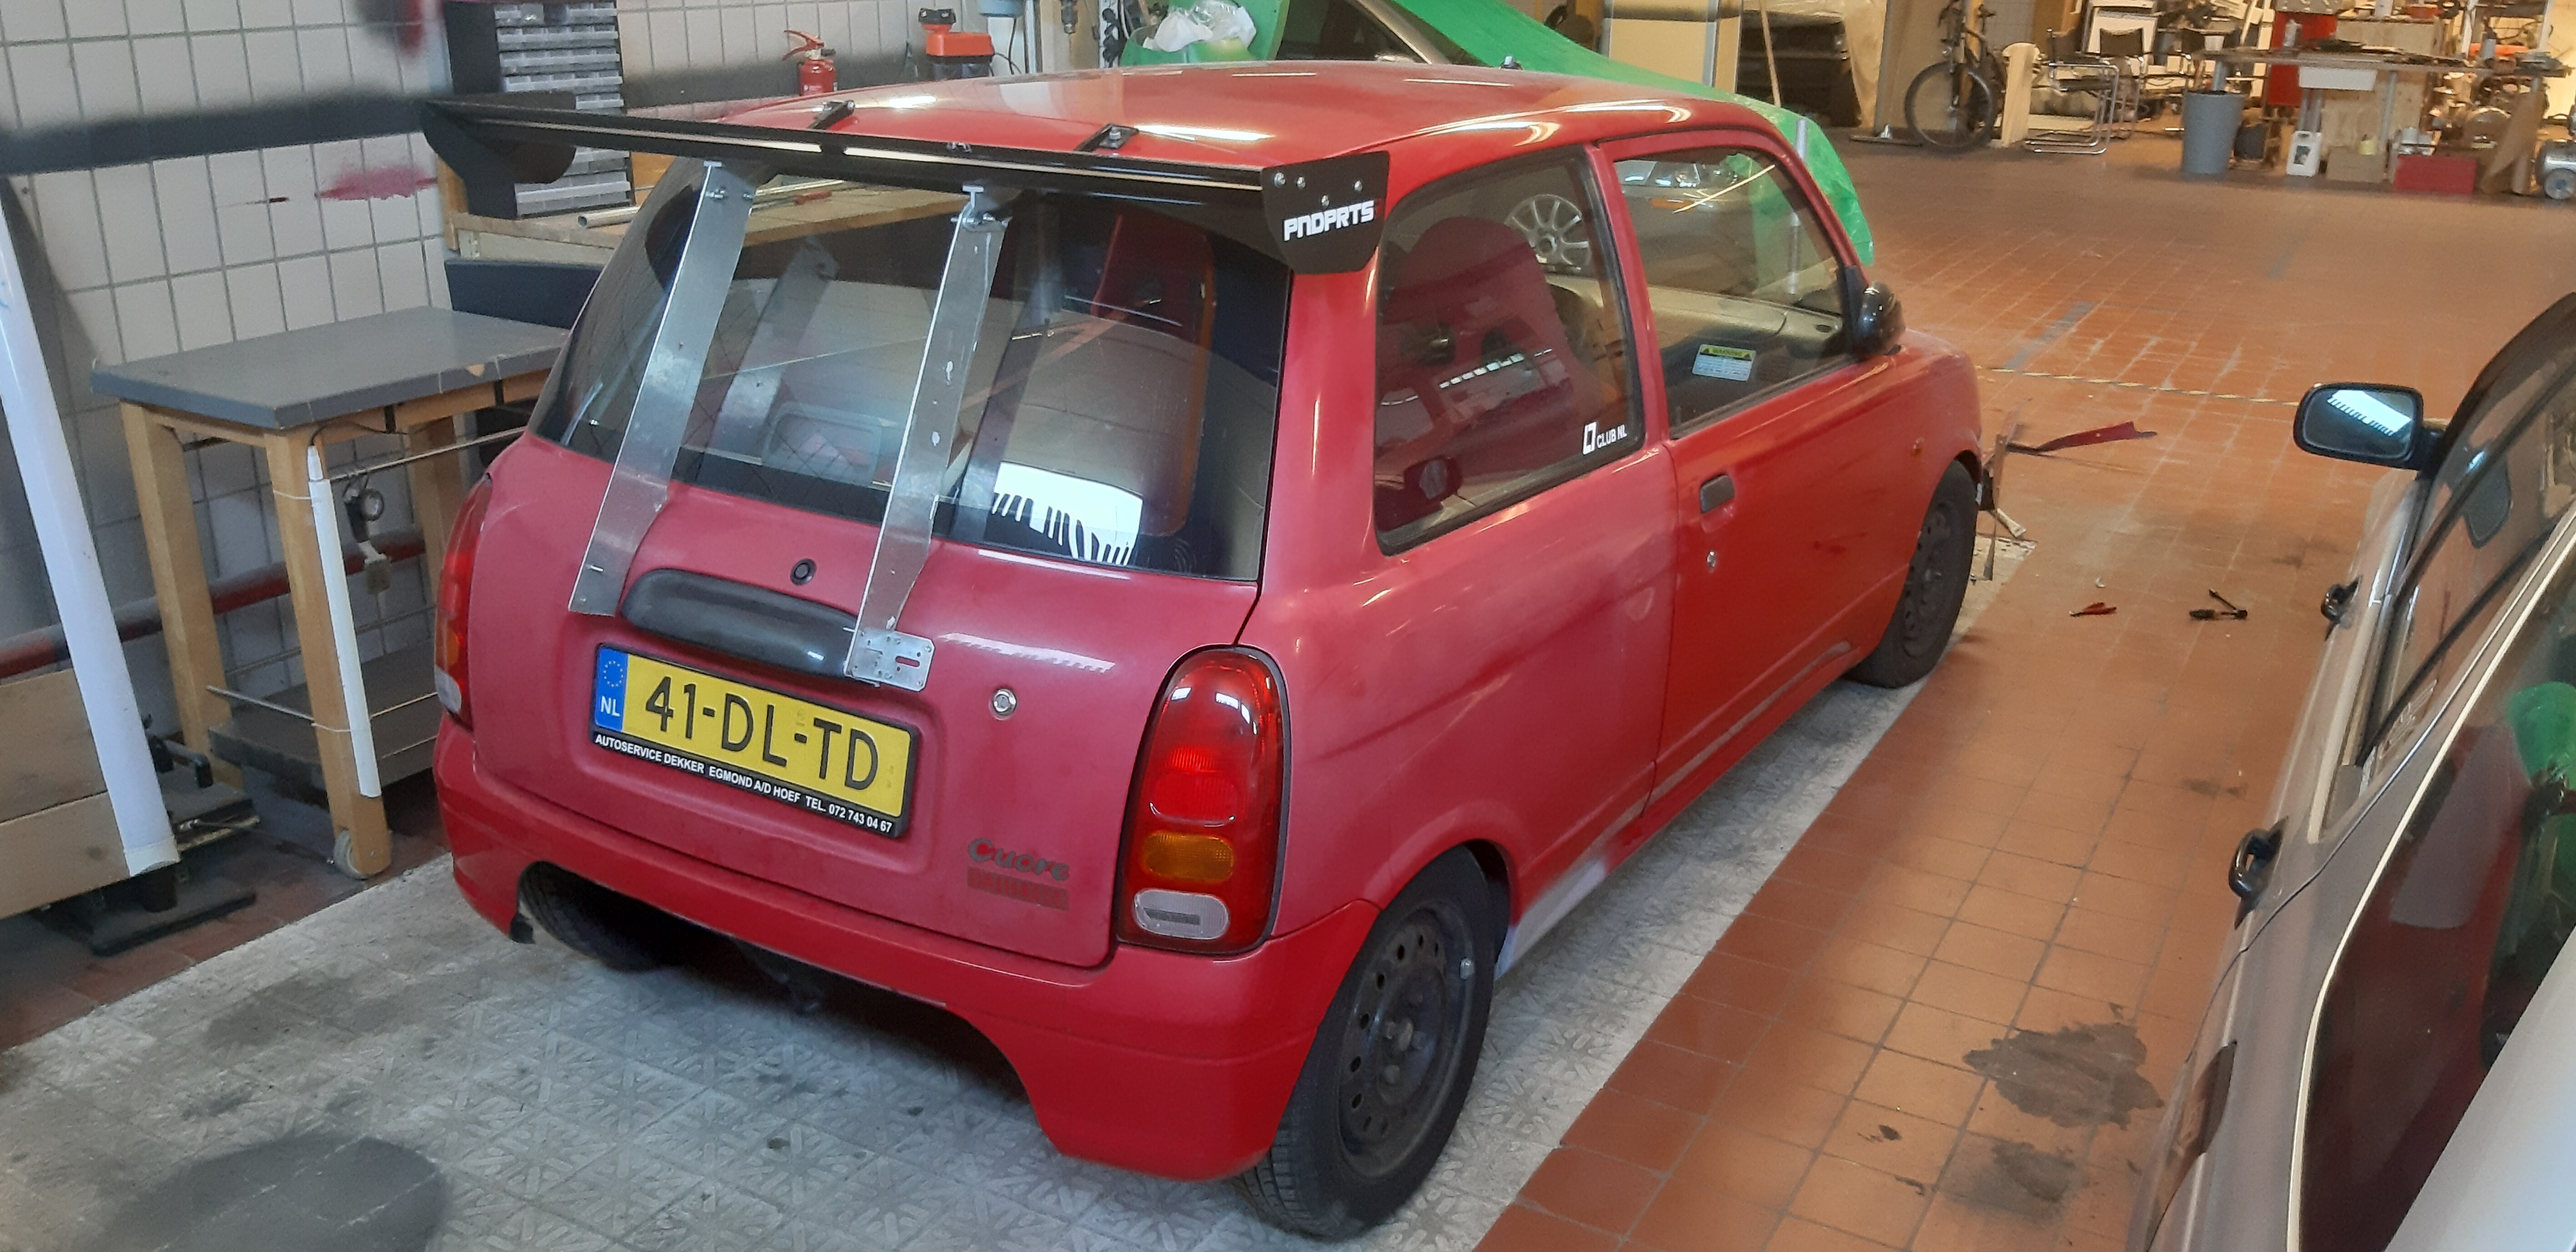
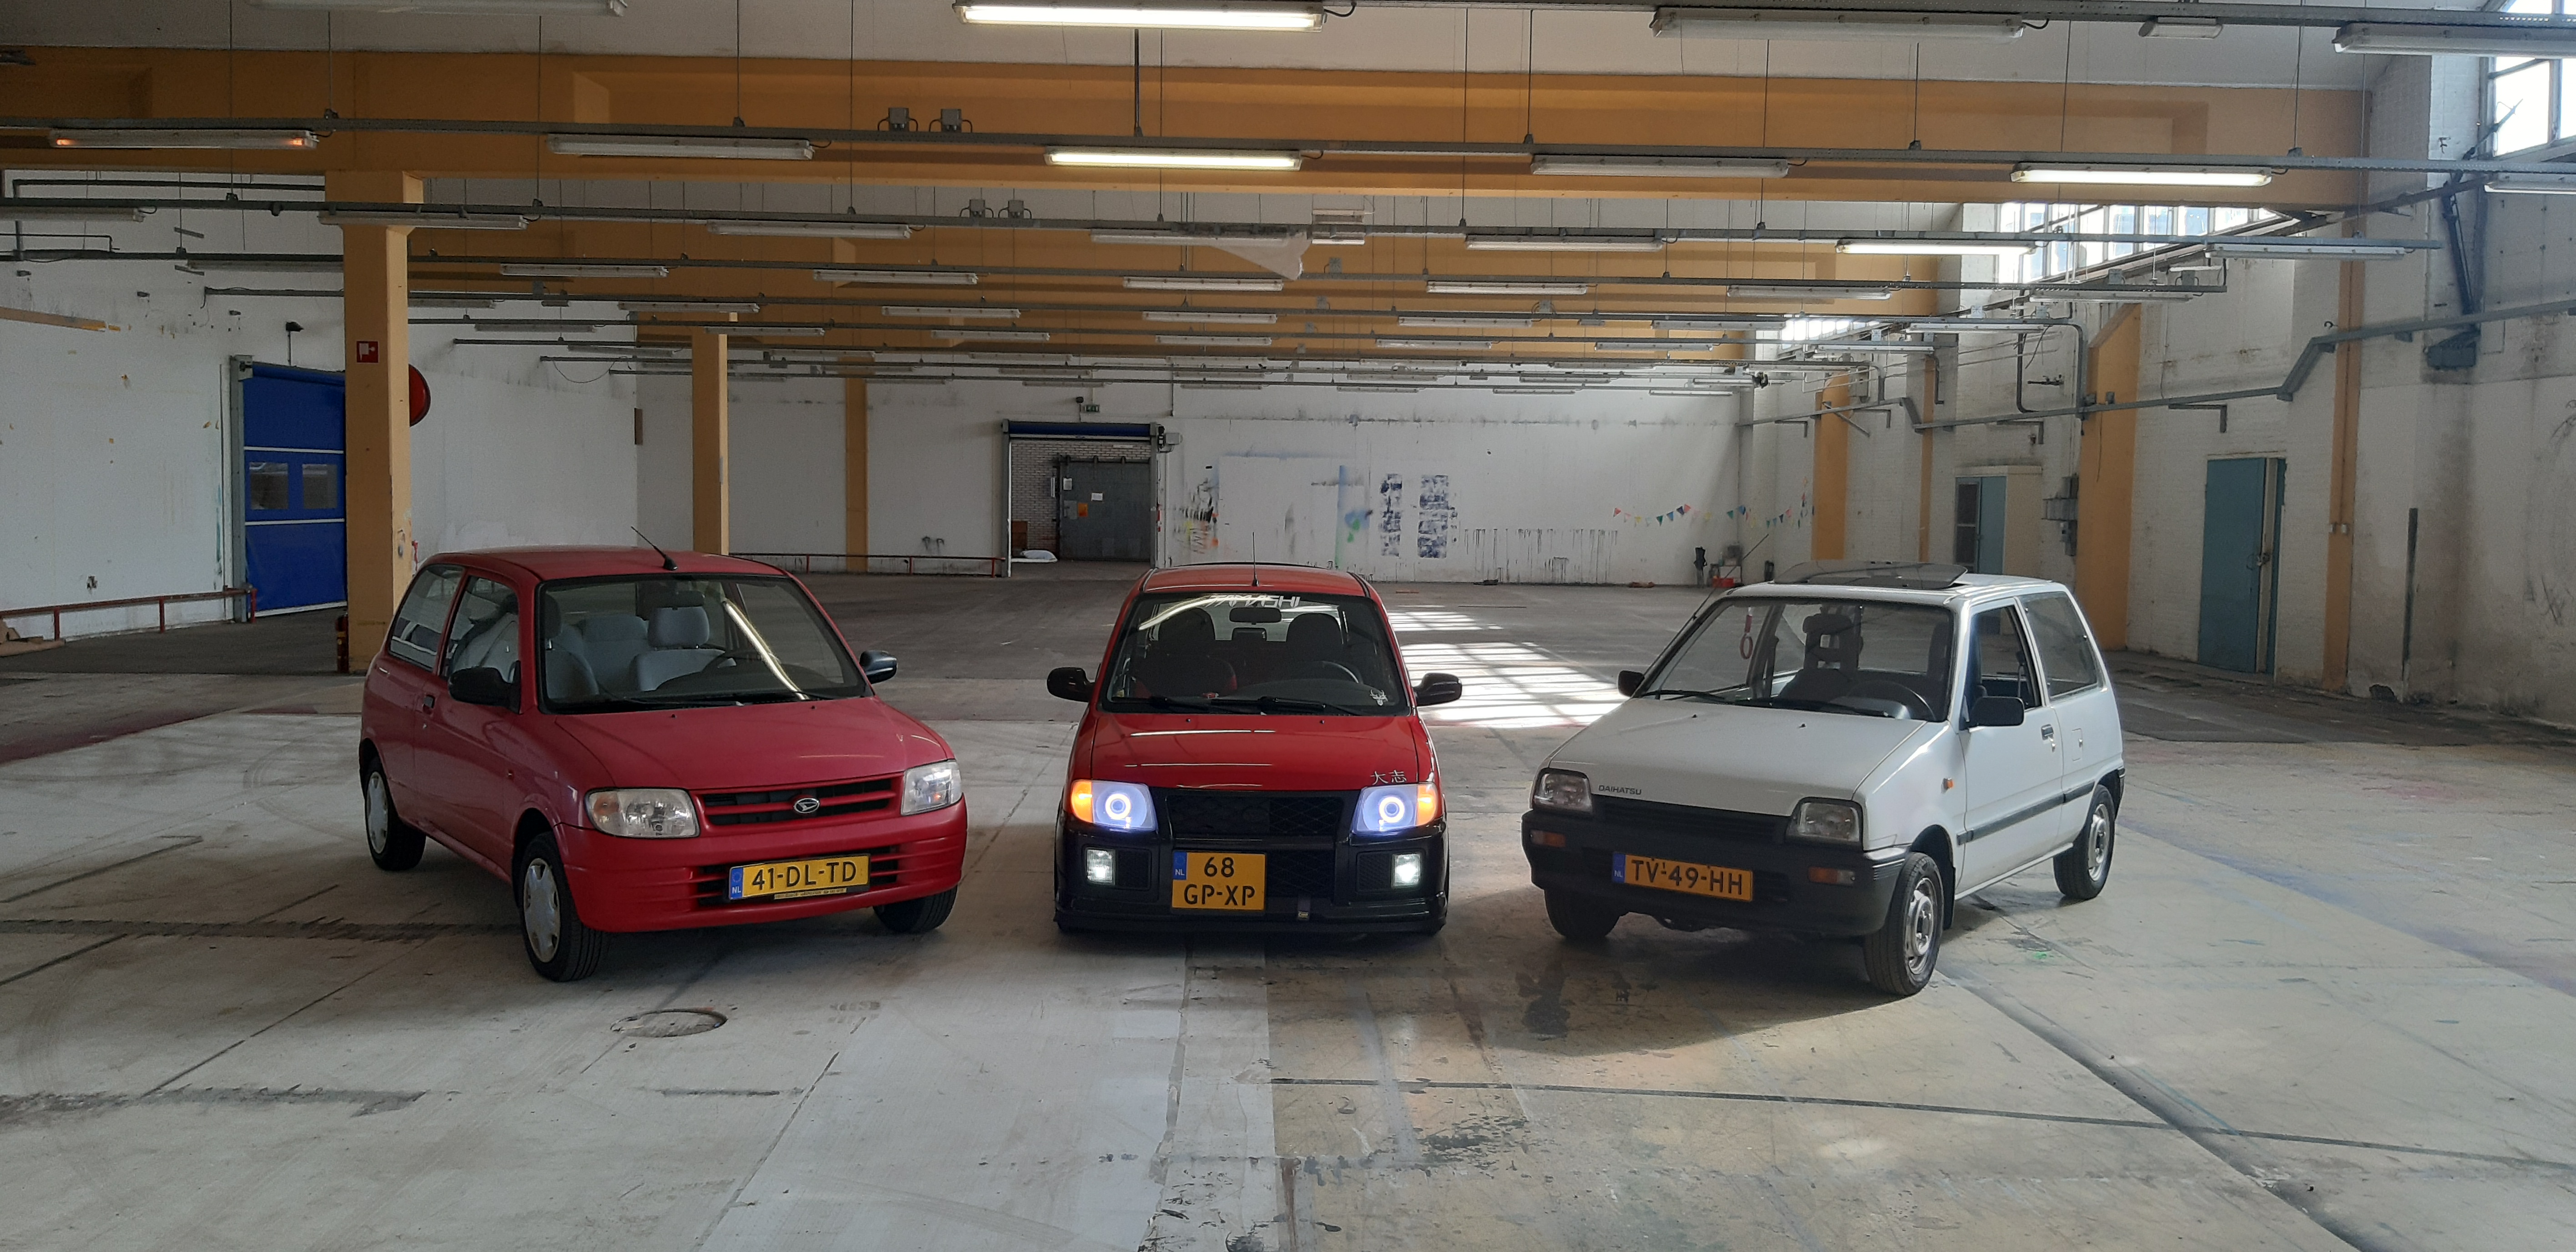
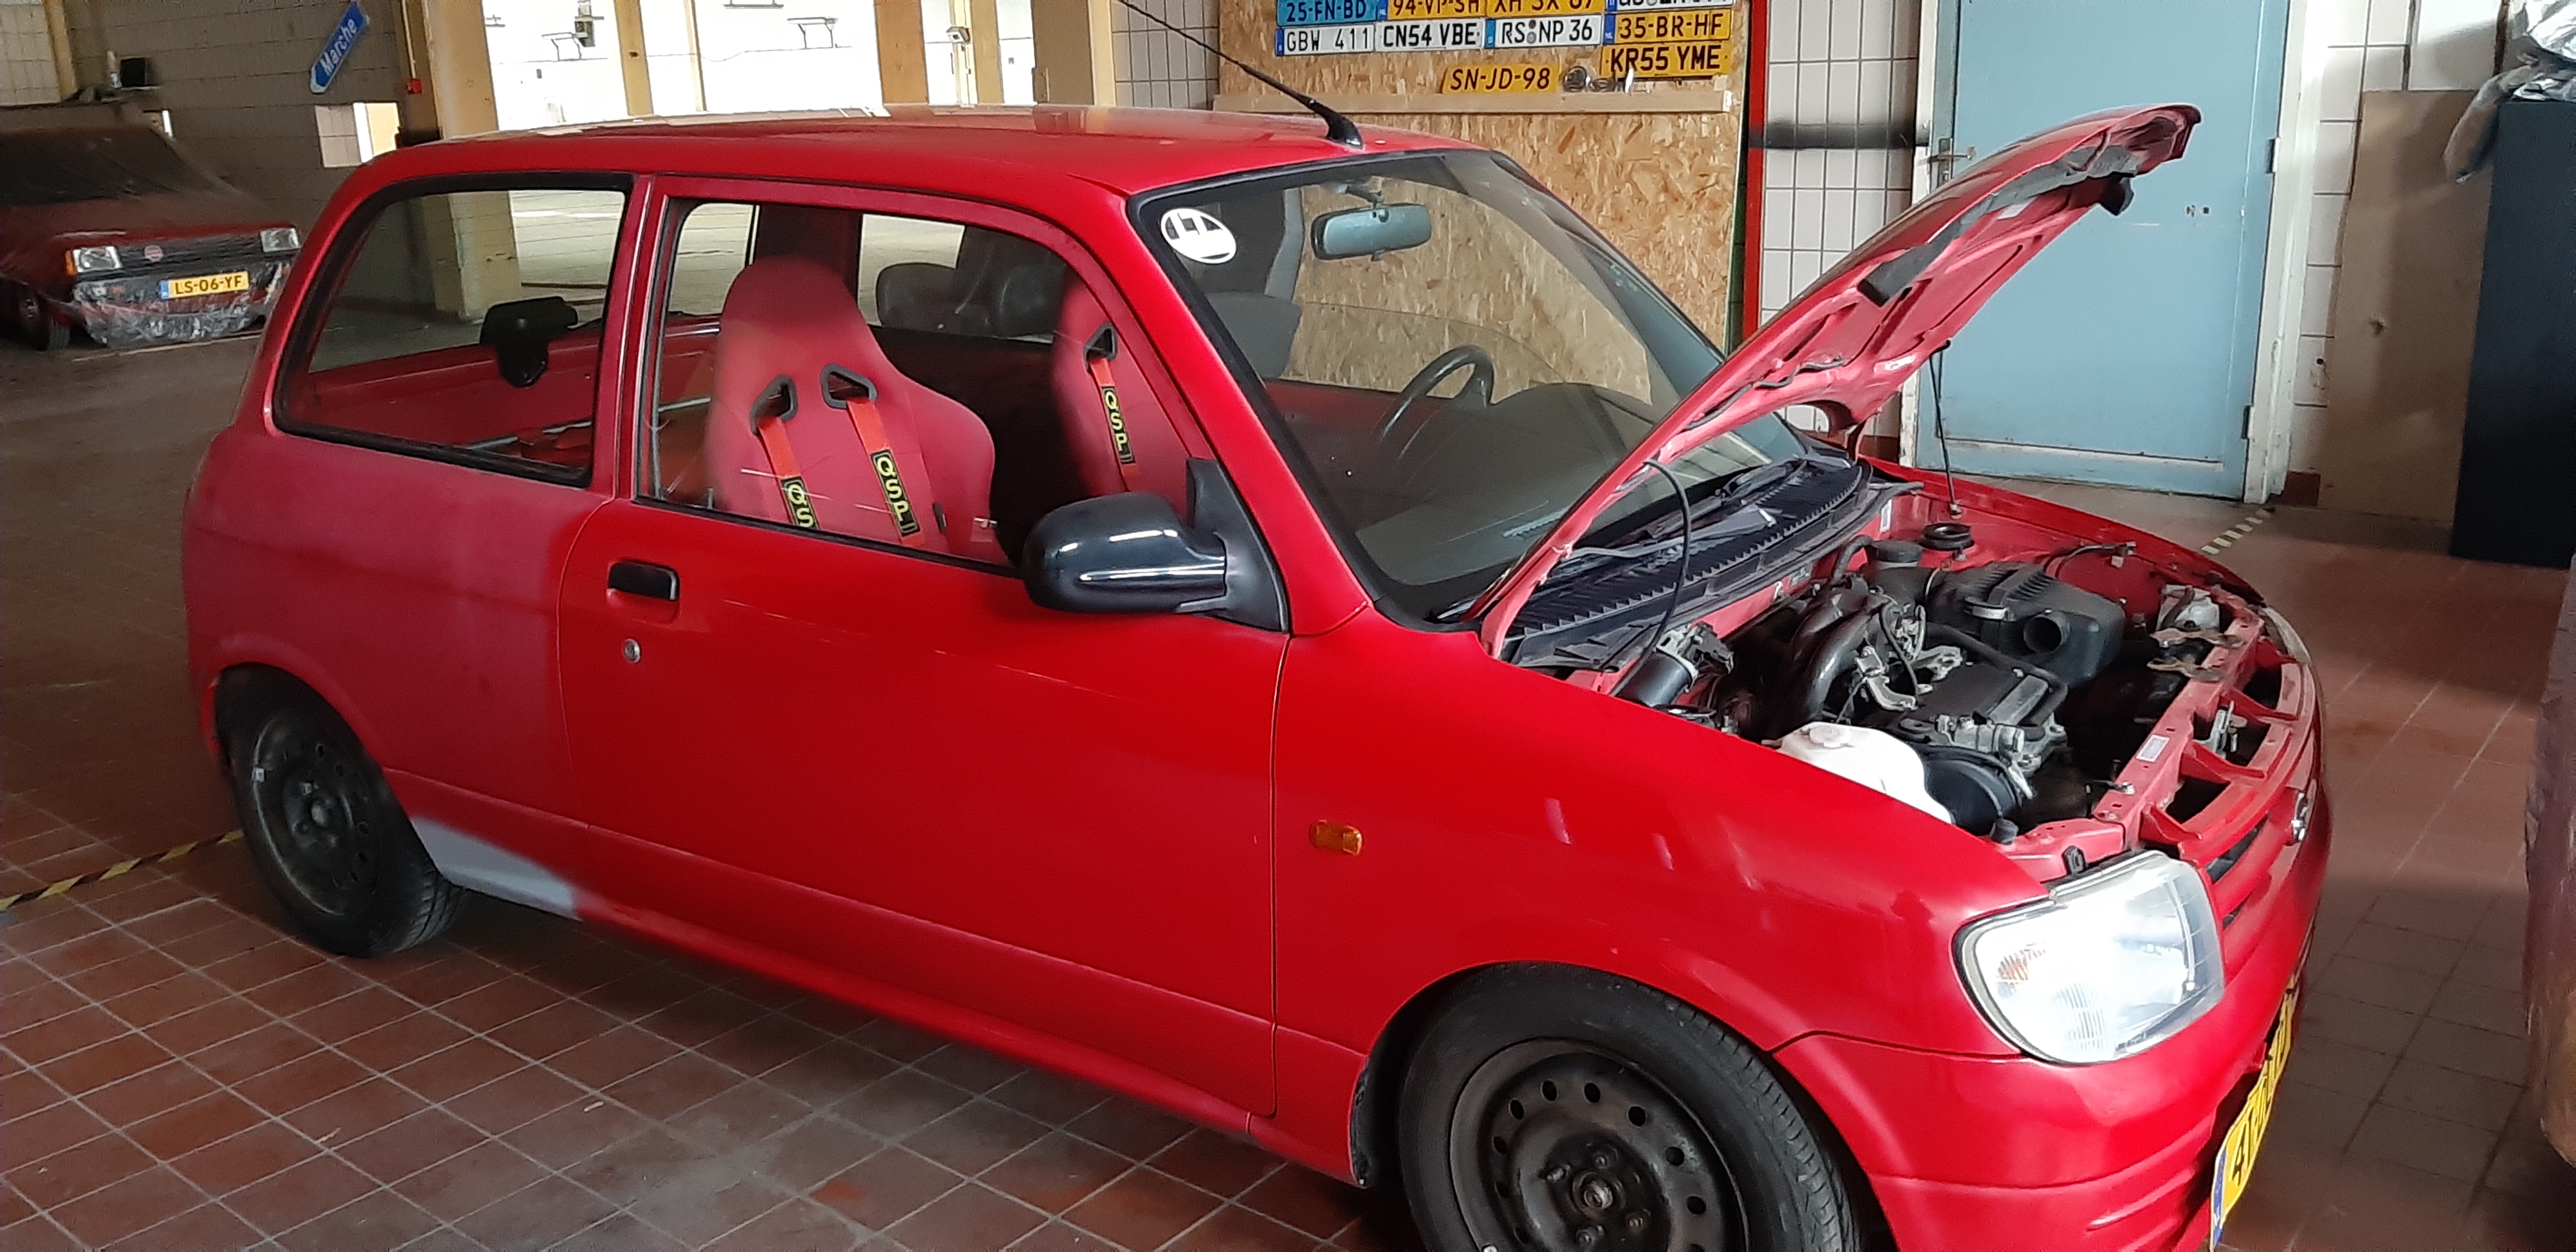
we have a small little Dai family, from left to right: my track Cuore l700, my girlfriends street Cuore L700 and her young timer Cuore L80 (from 1988, I’ll write something on her cars later)
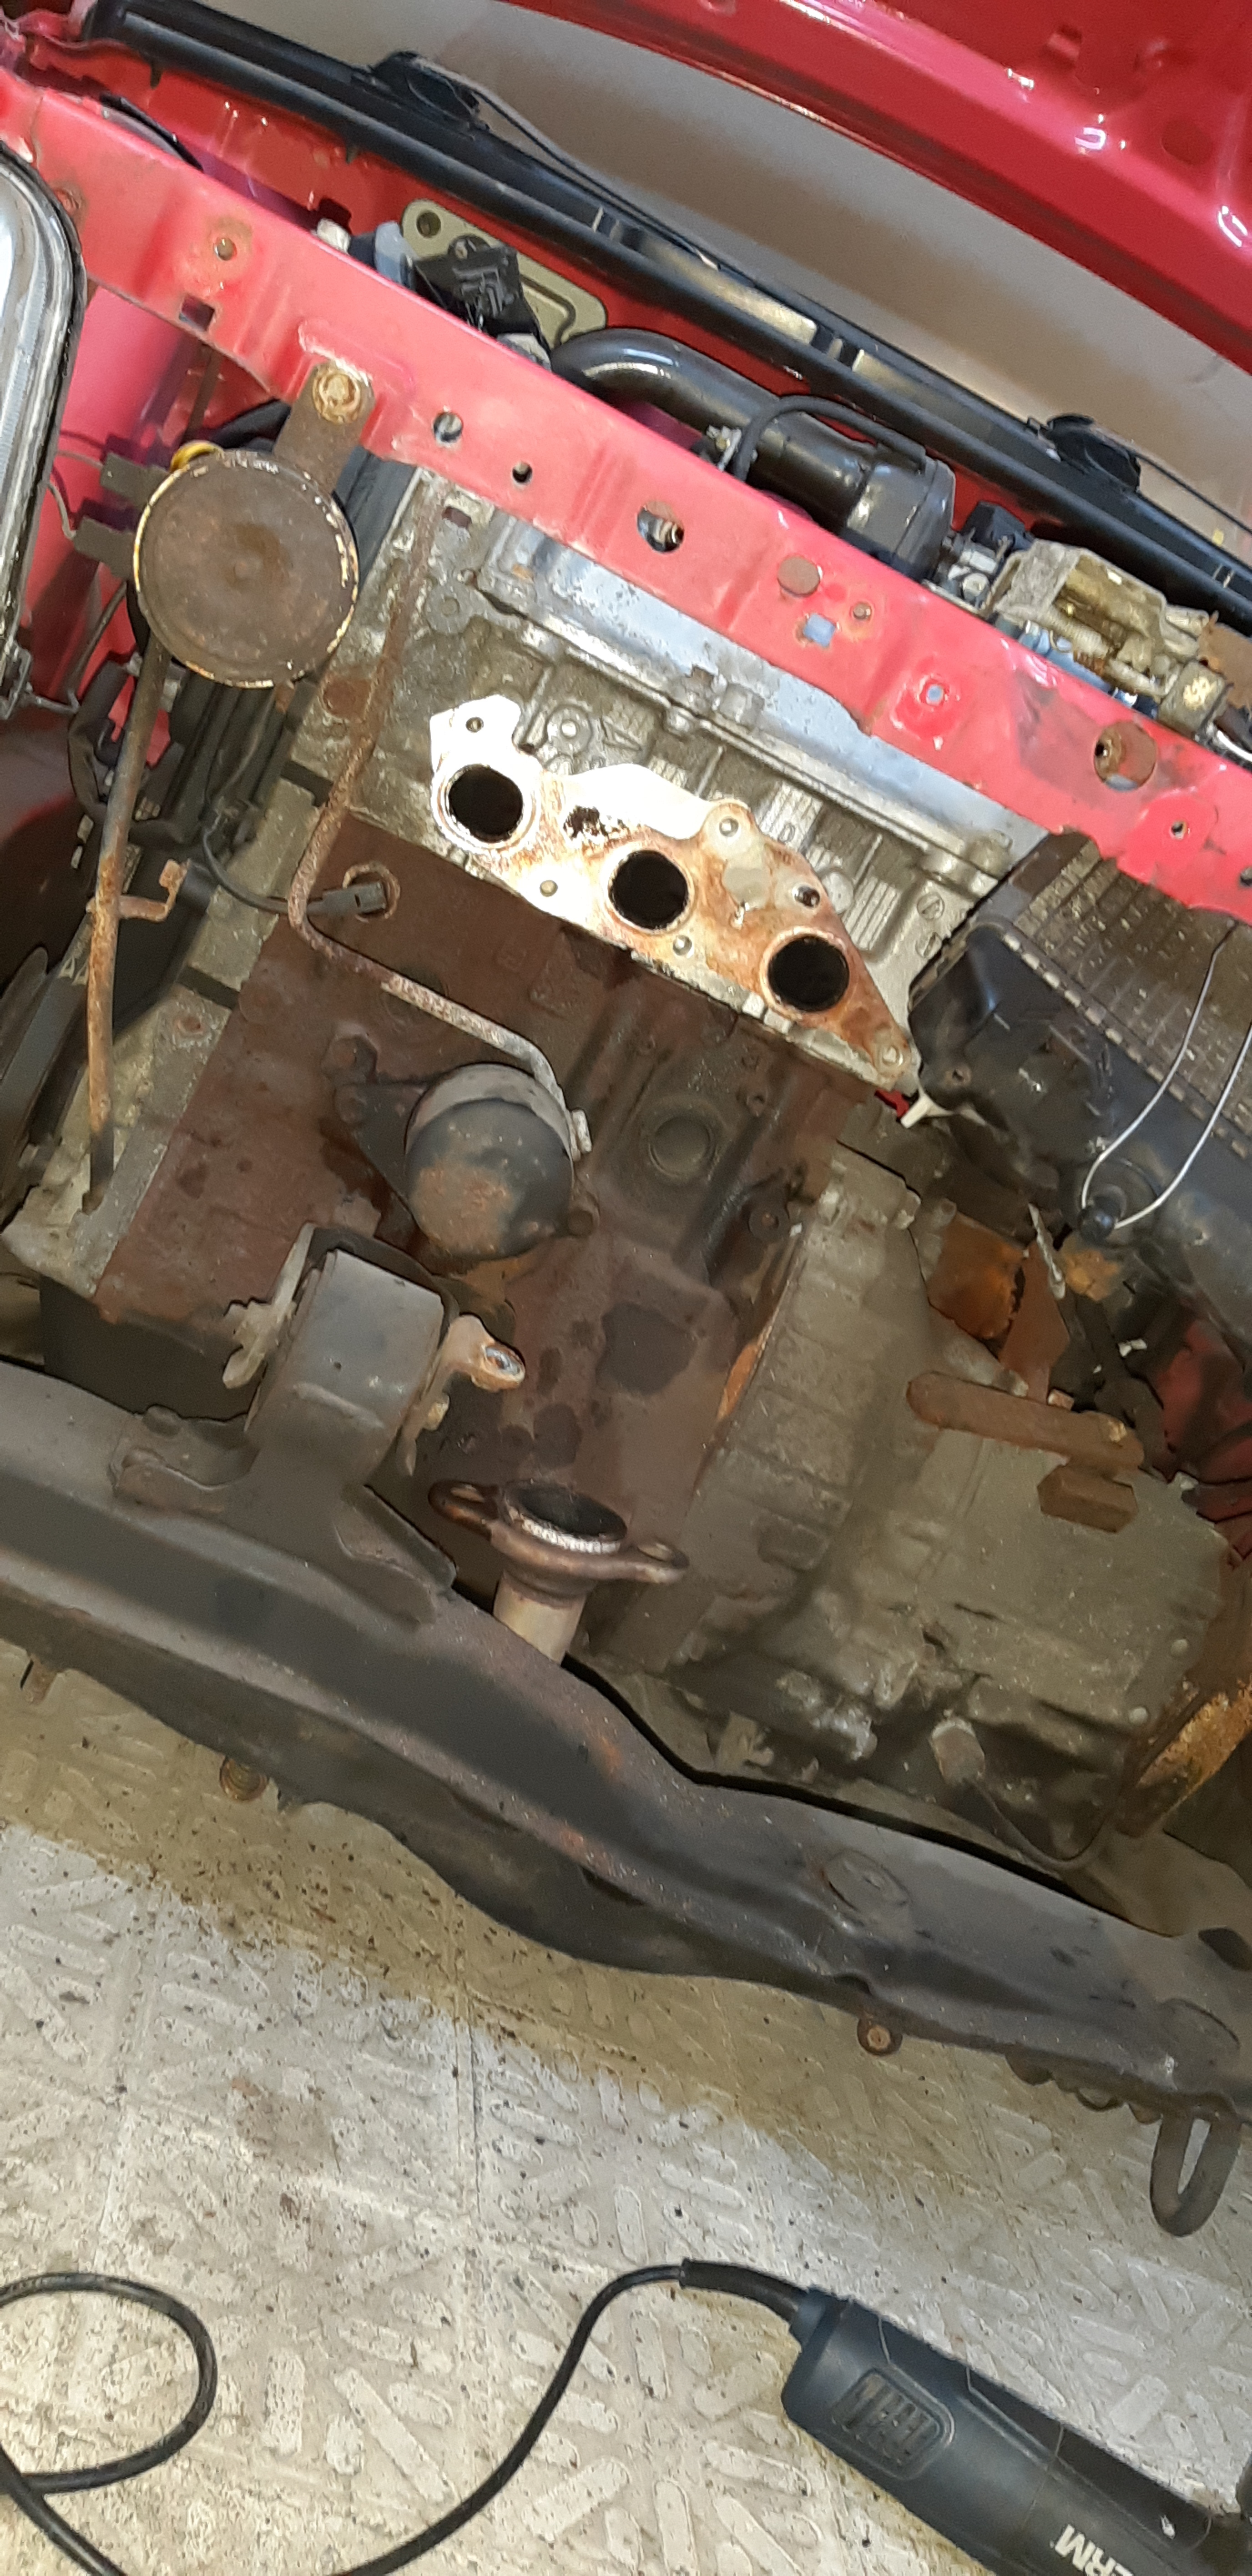
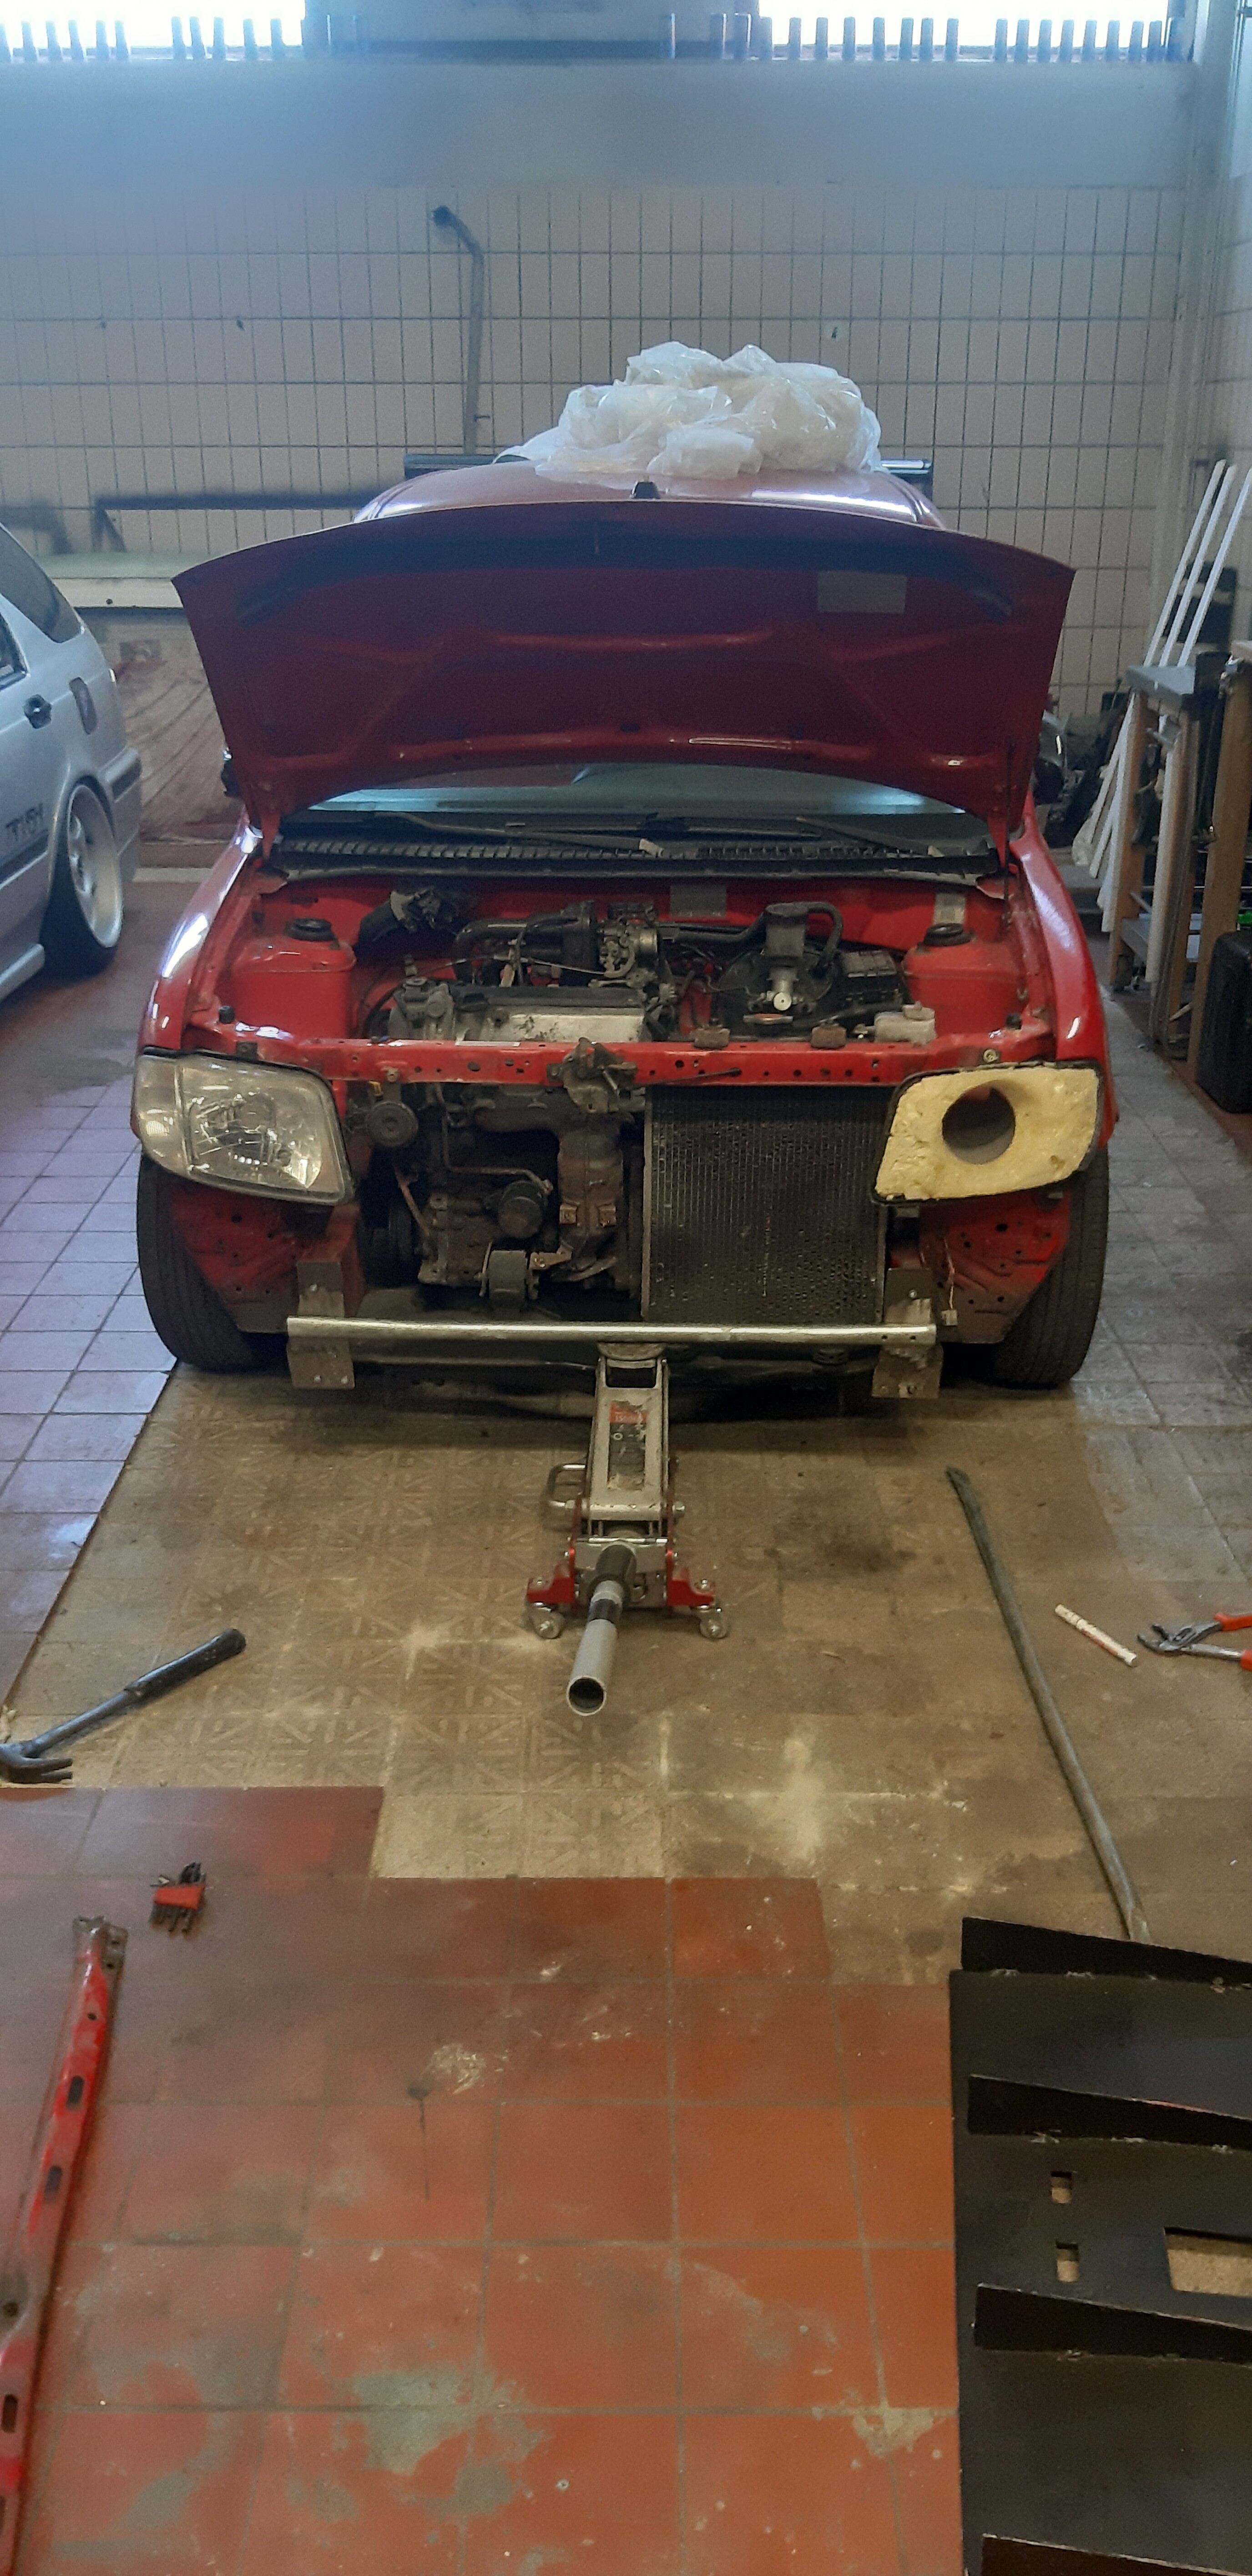
So in fact we got this little red one as a donor for my girlfriends street car, but figured since the engine and body were in really good shape, we kept it as a trackcar and got another donor later on. Me and my buddy Ted started working right away.
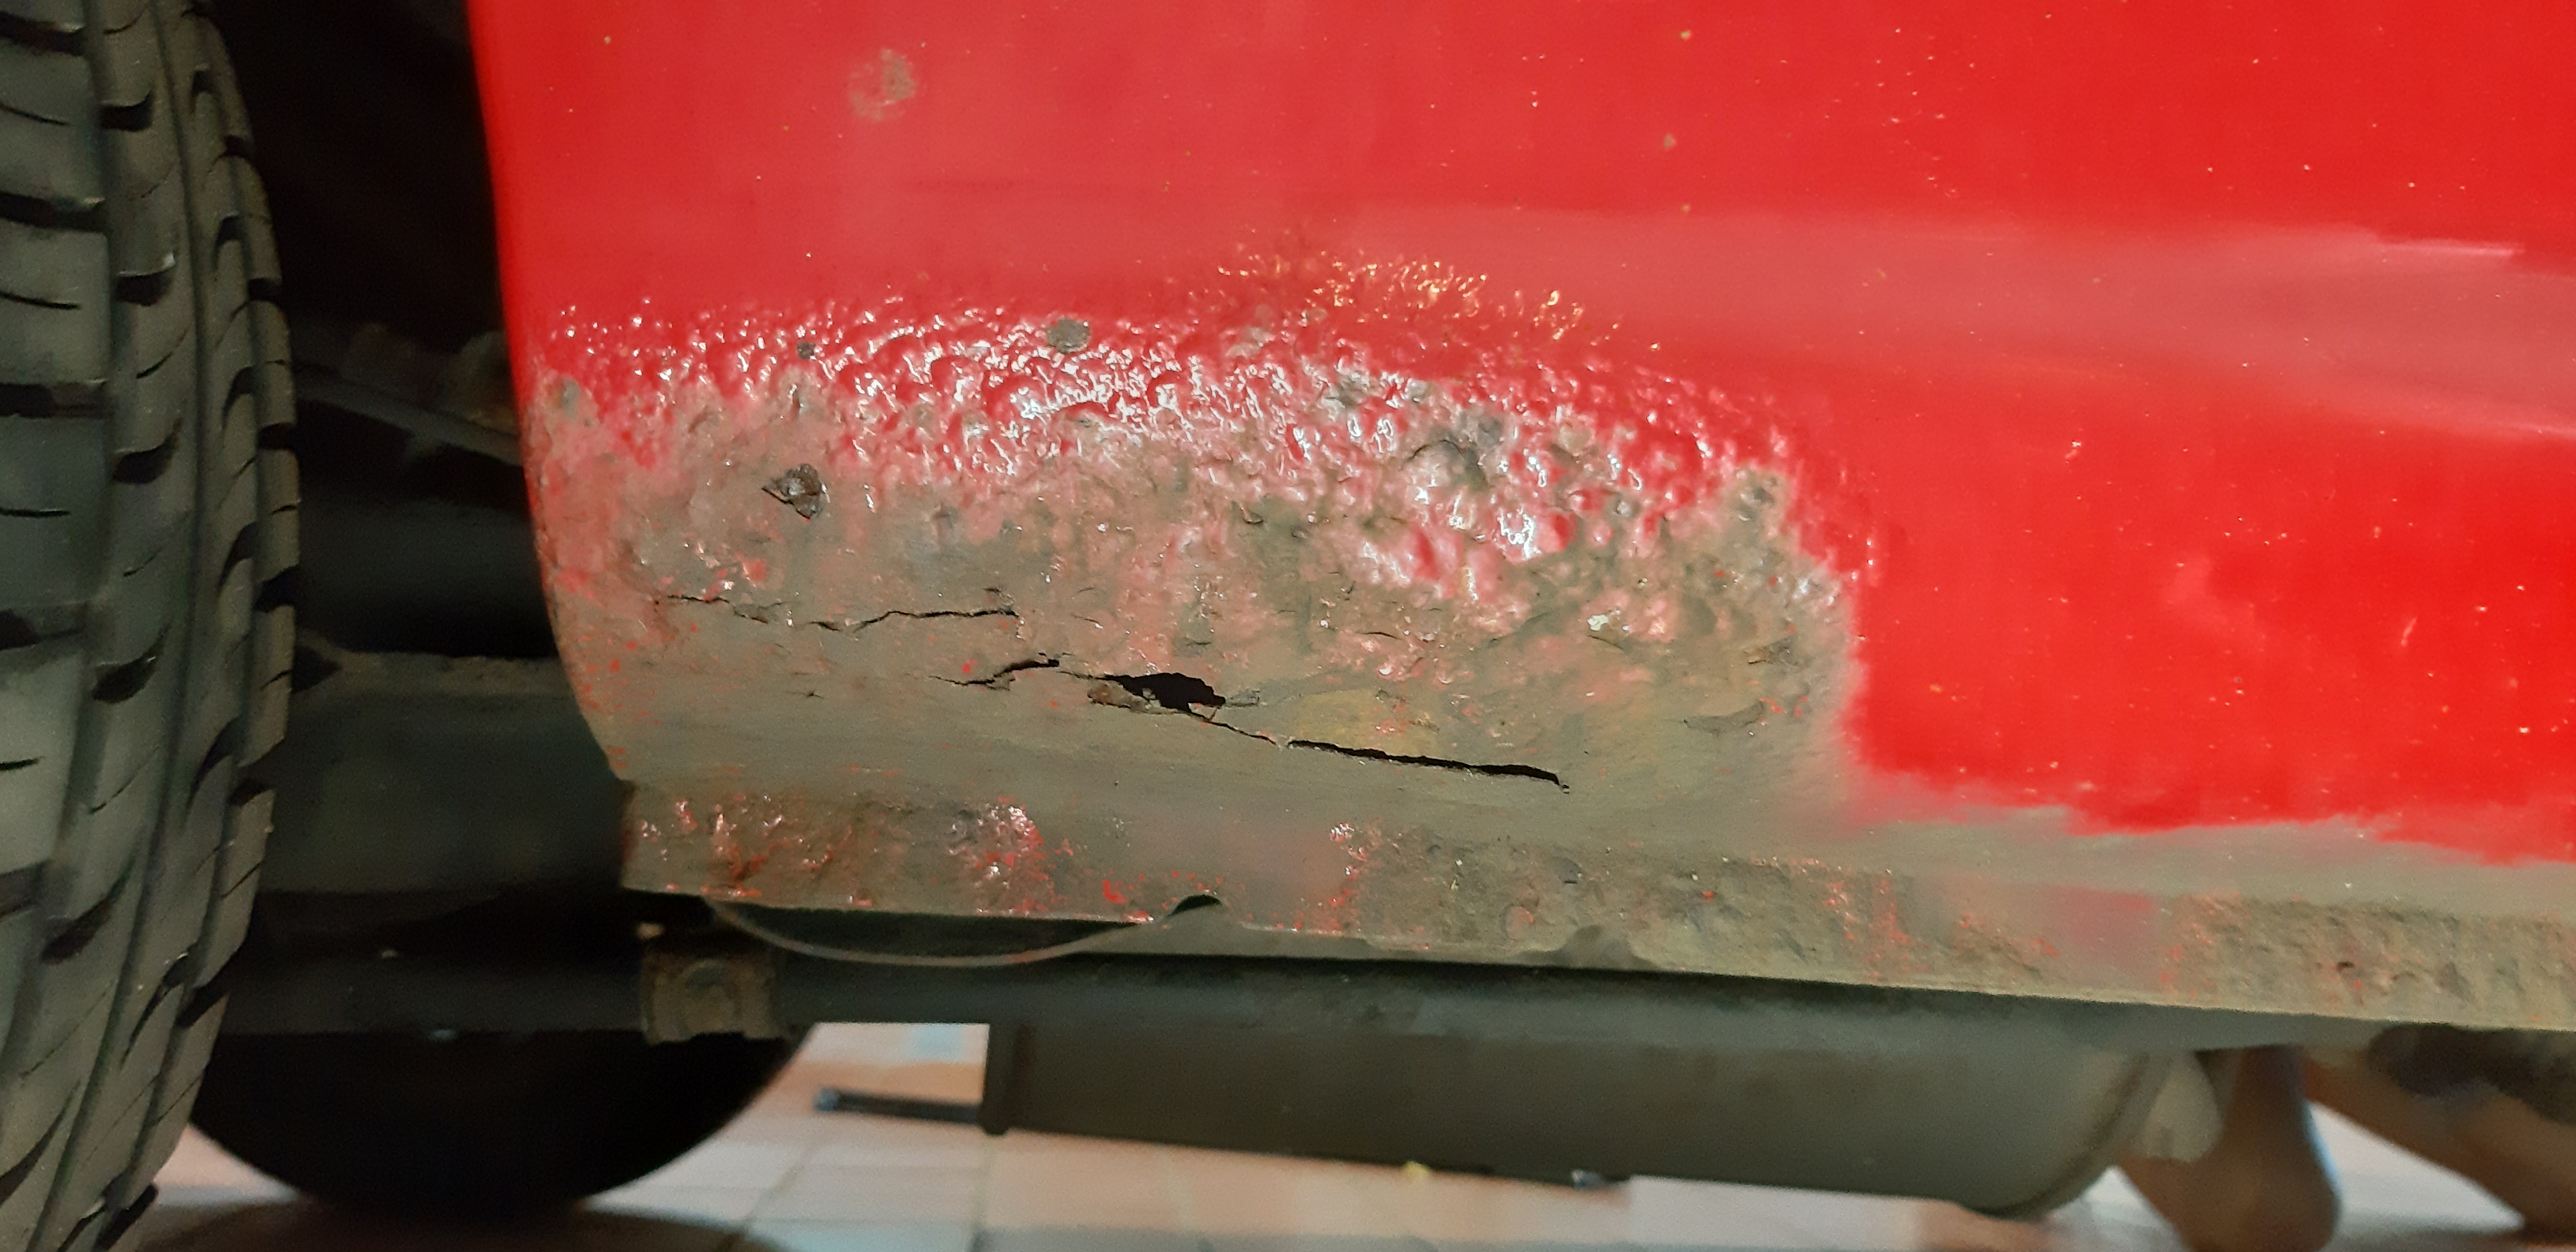
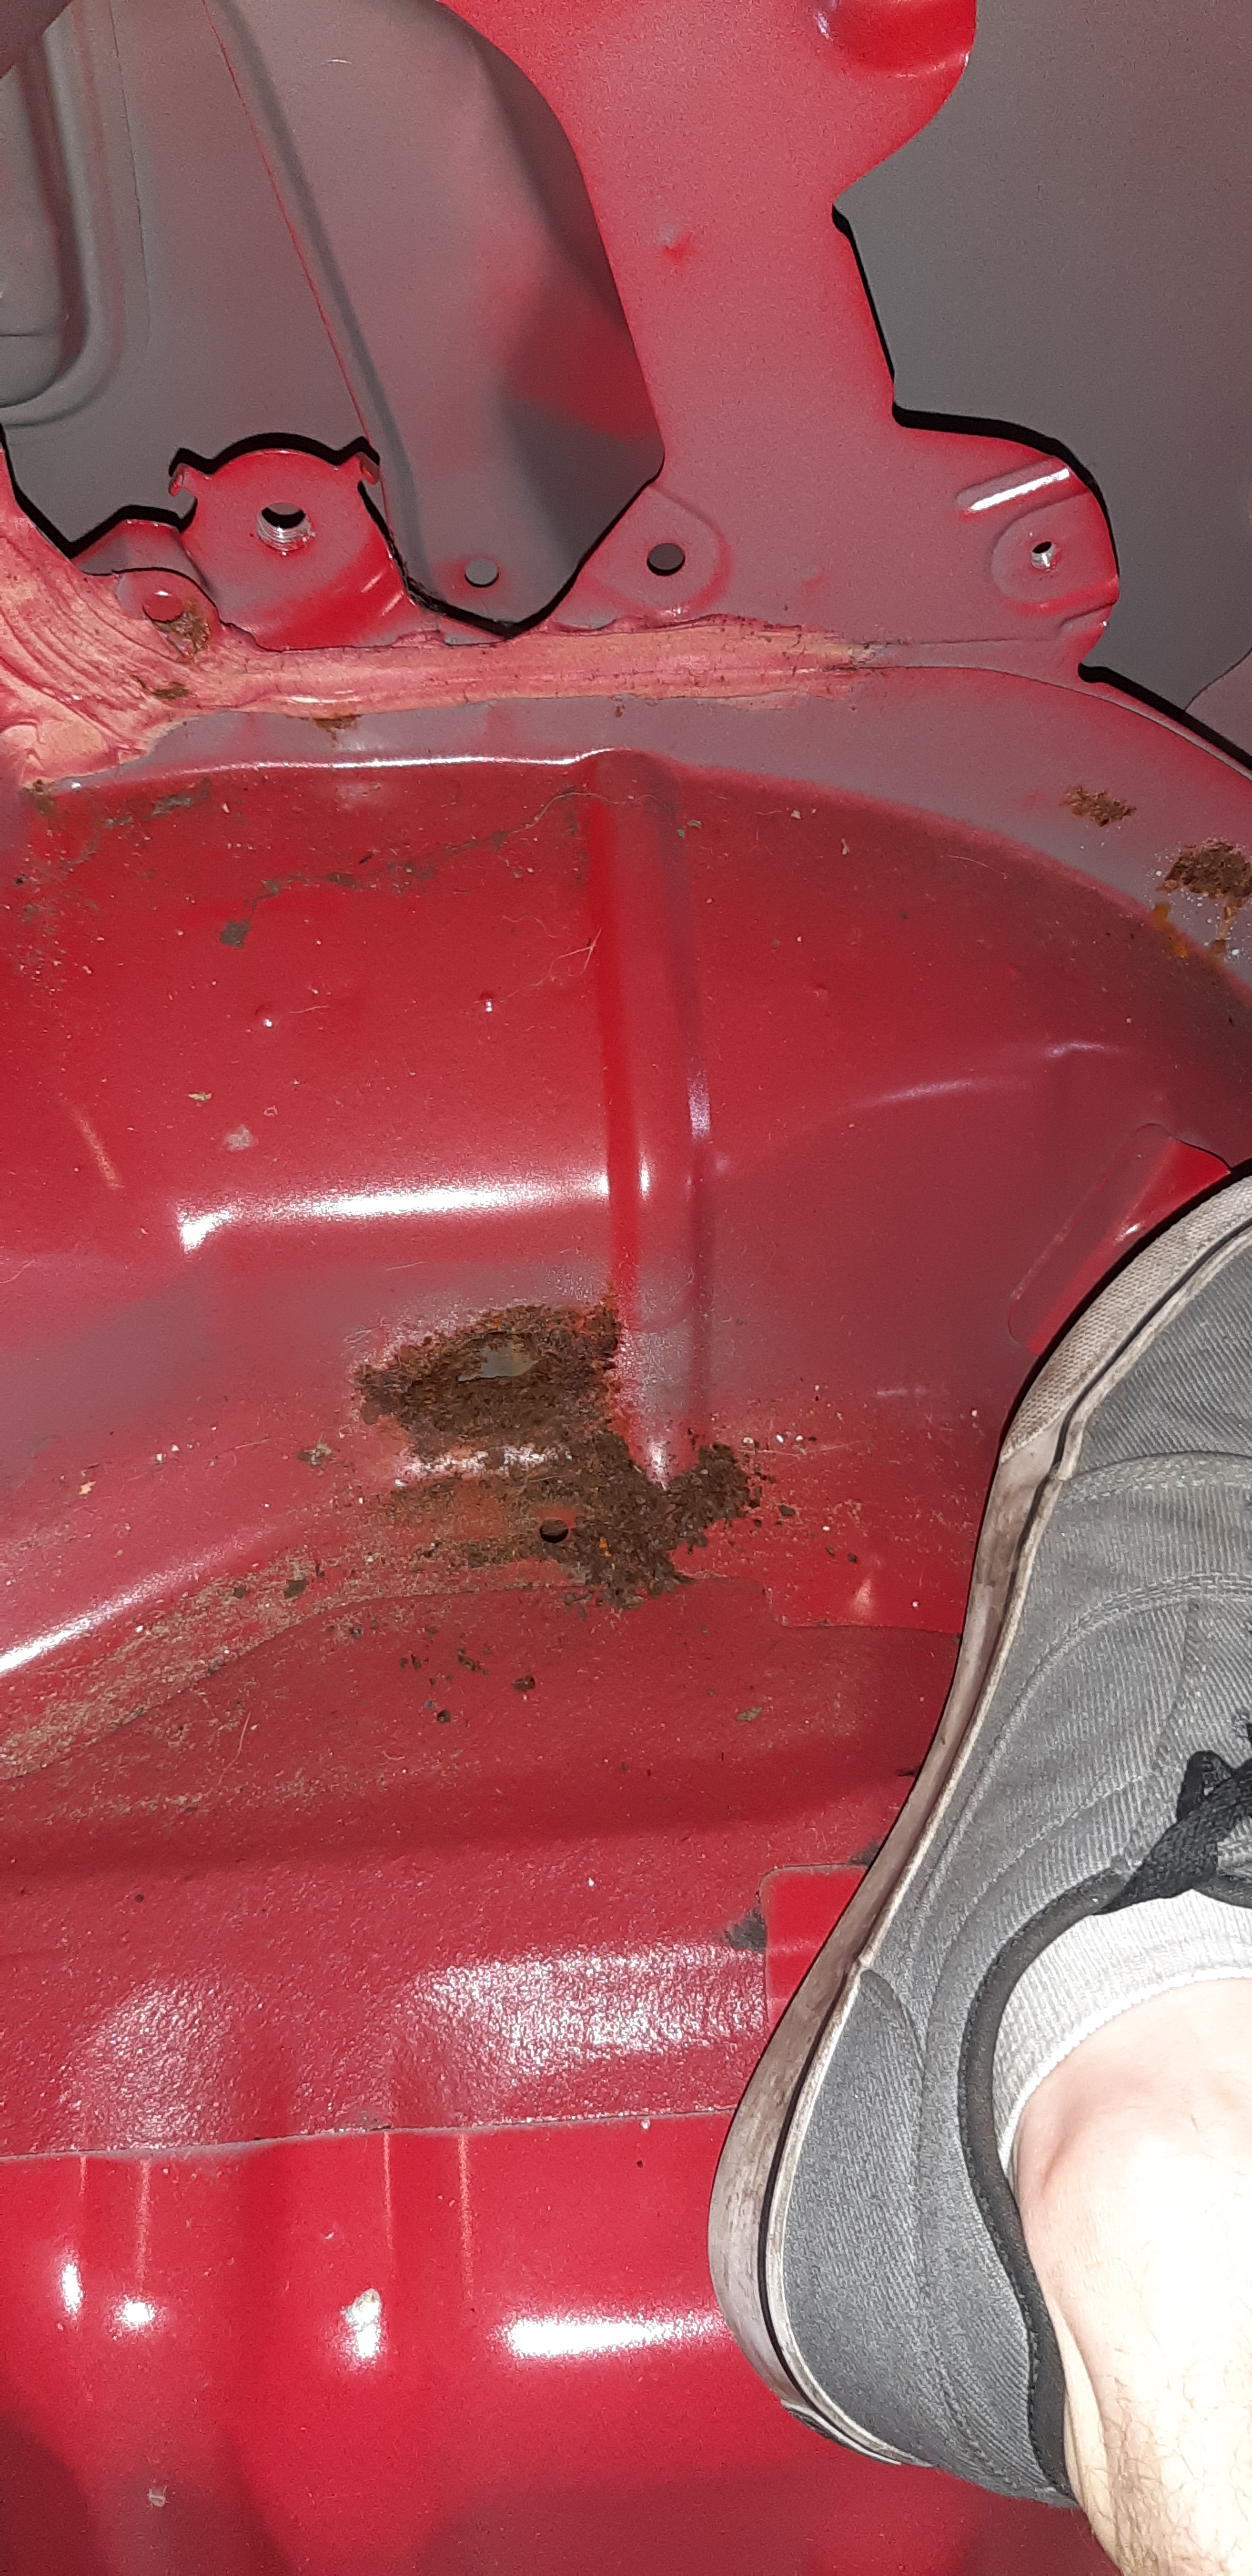
first up was some minor surface rust patches that had to be cleaned up, nothing serious, just to get it nice and proper before MOT
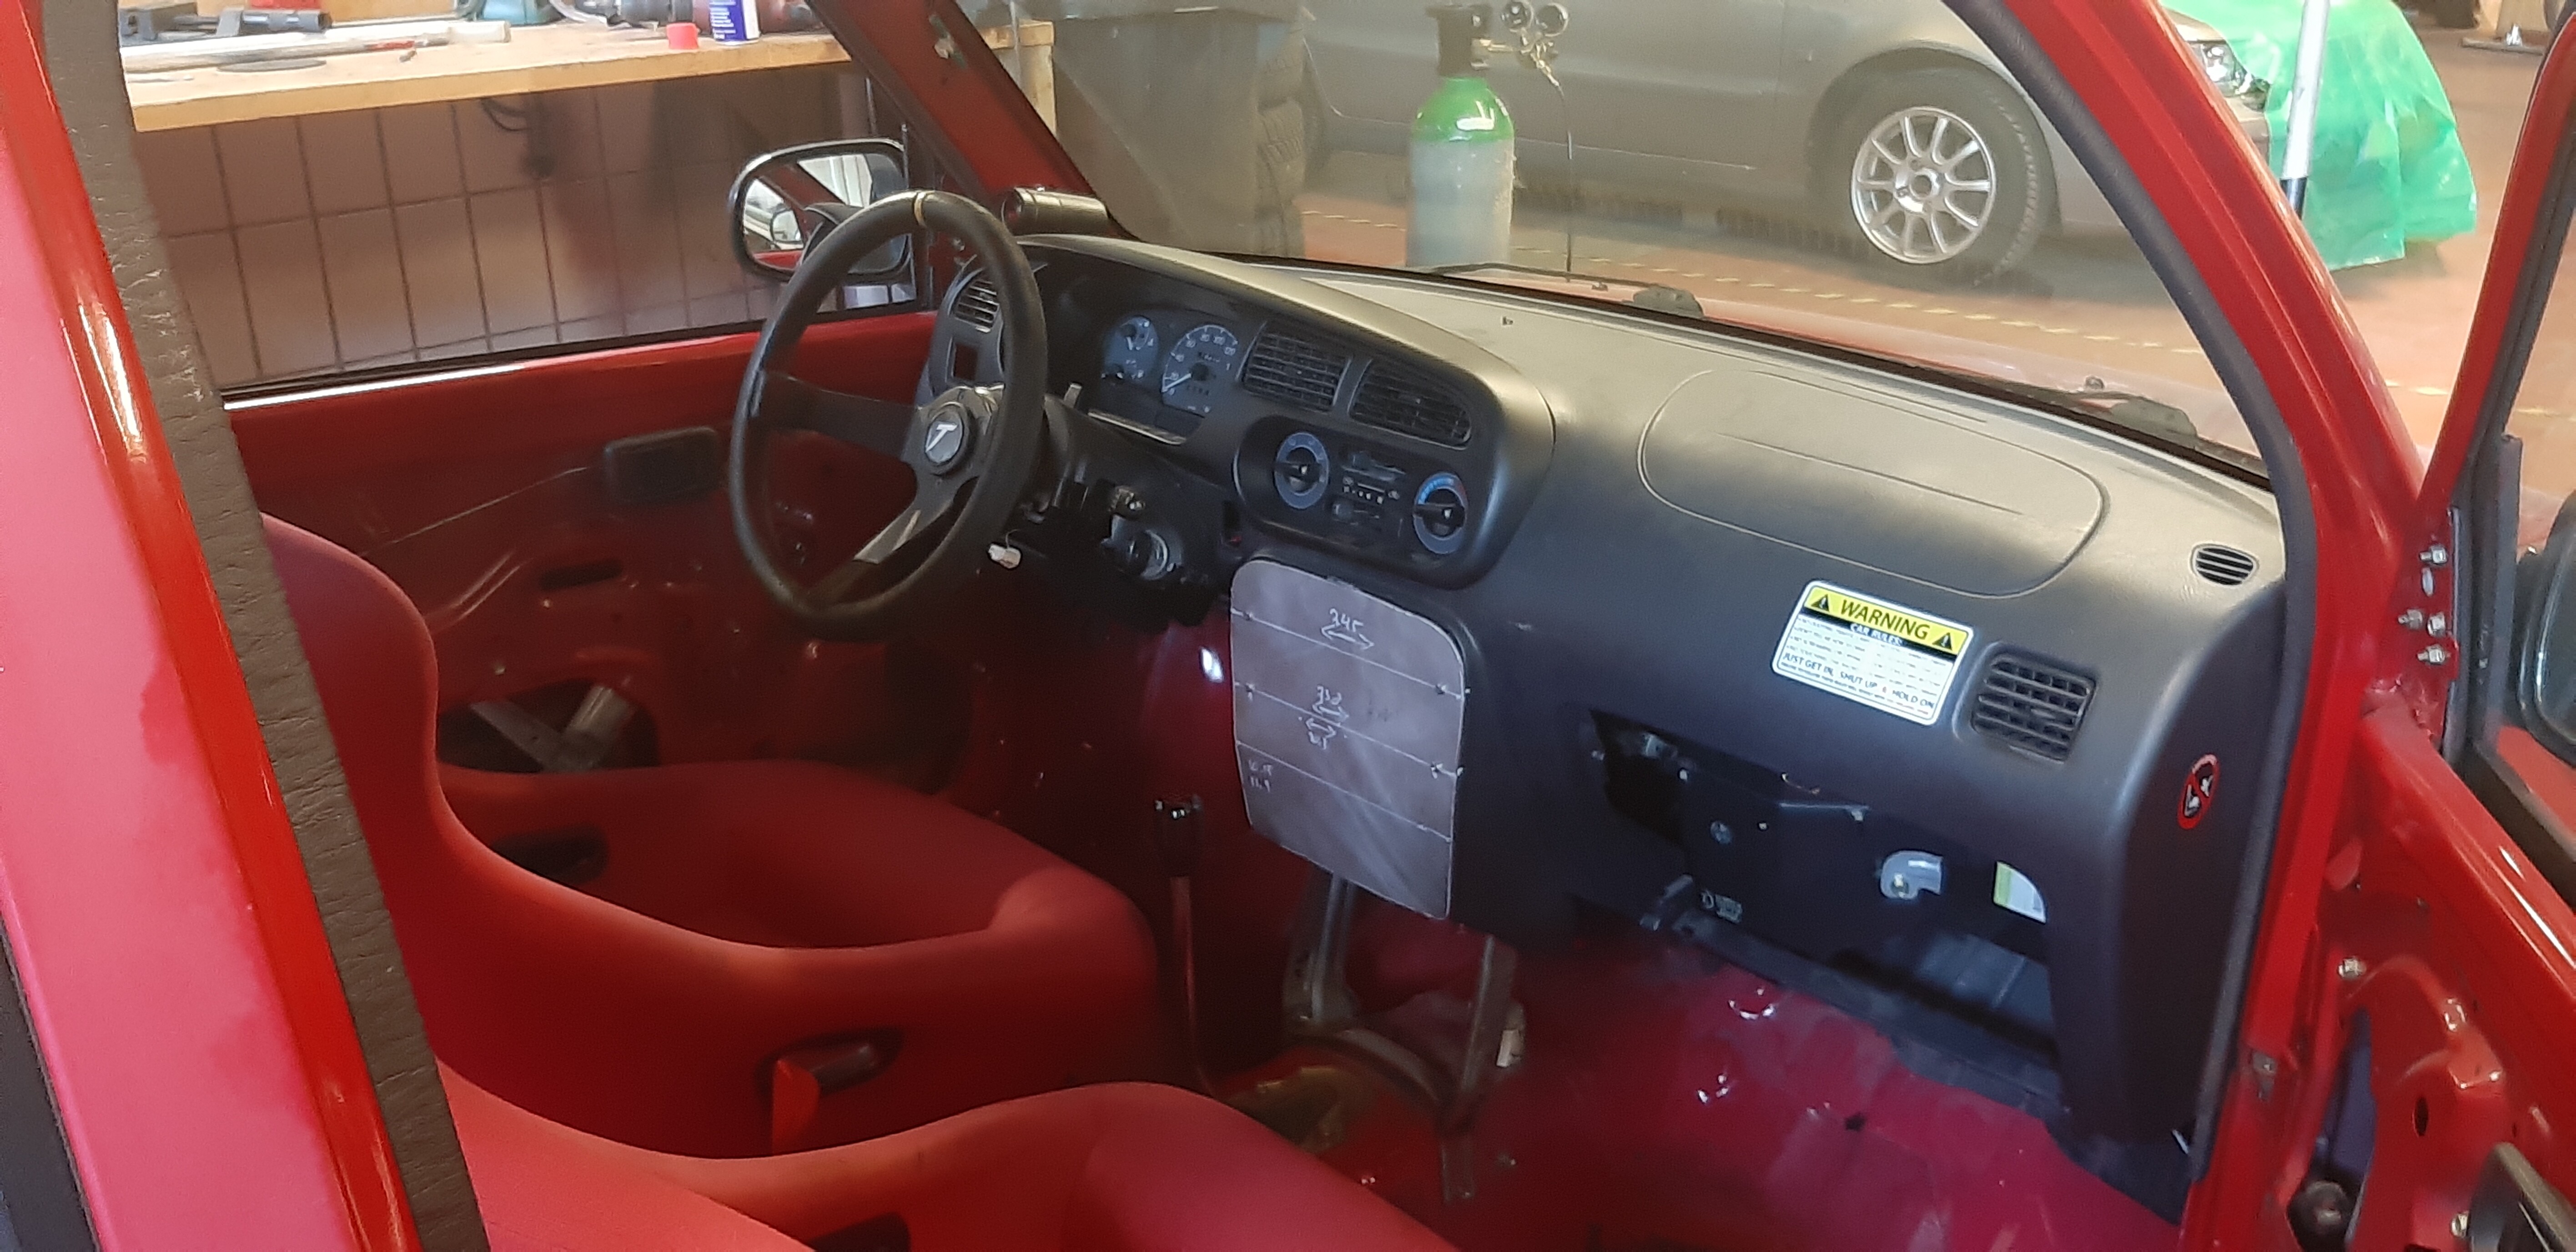
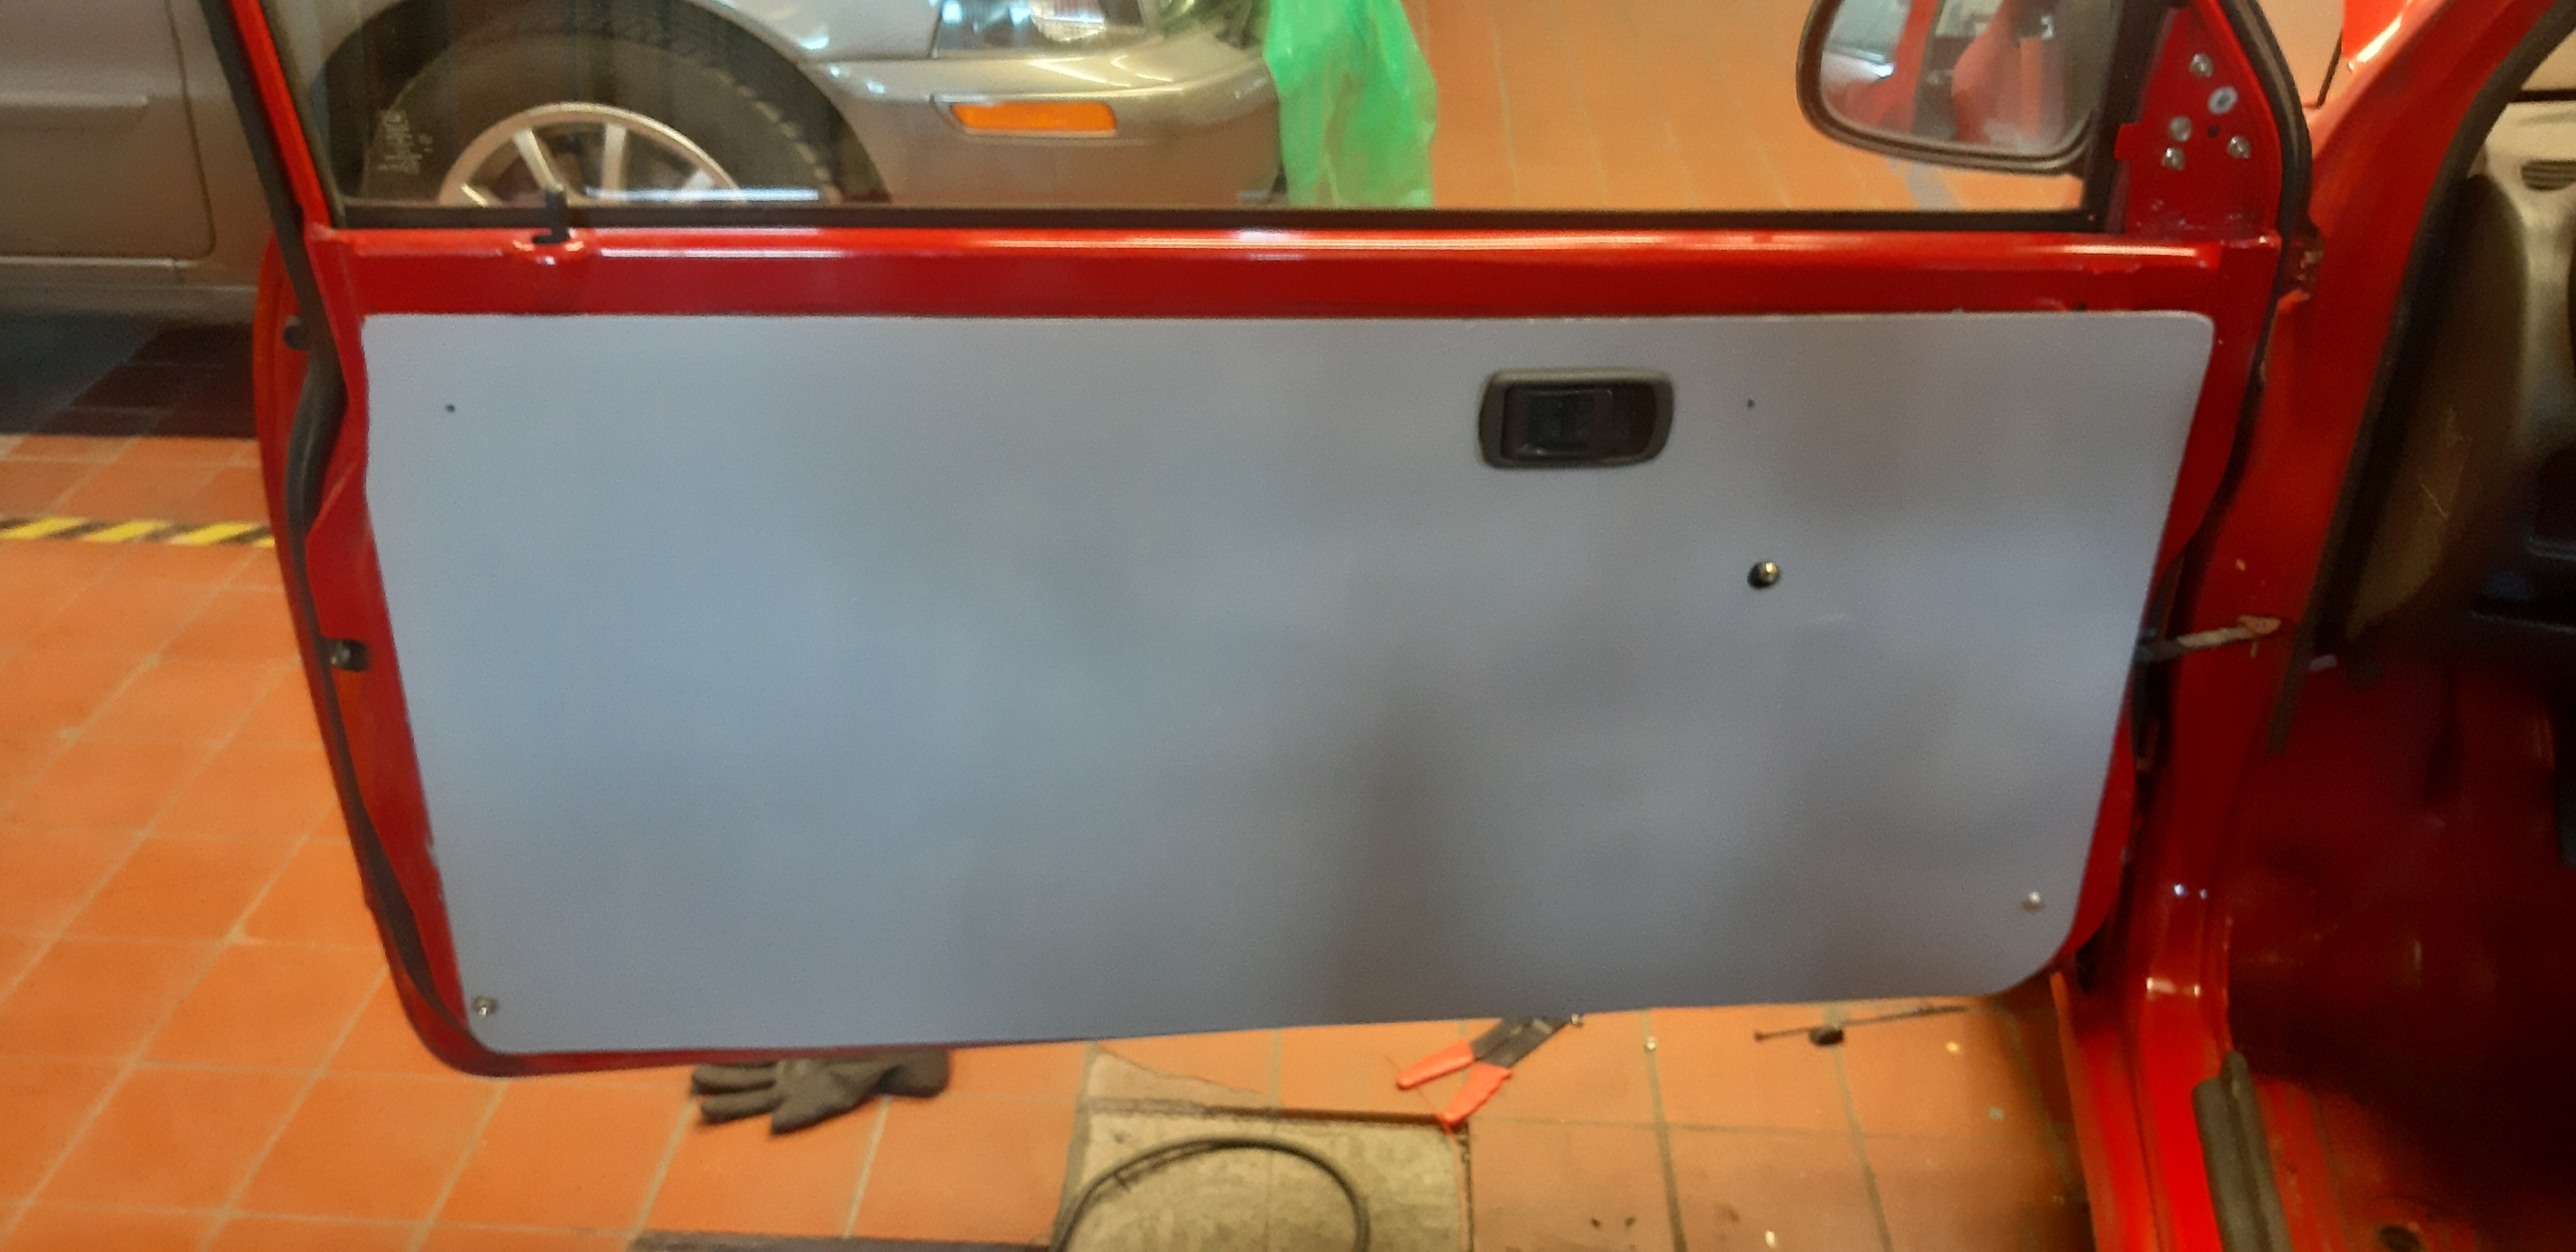
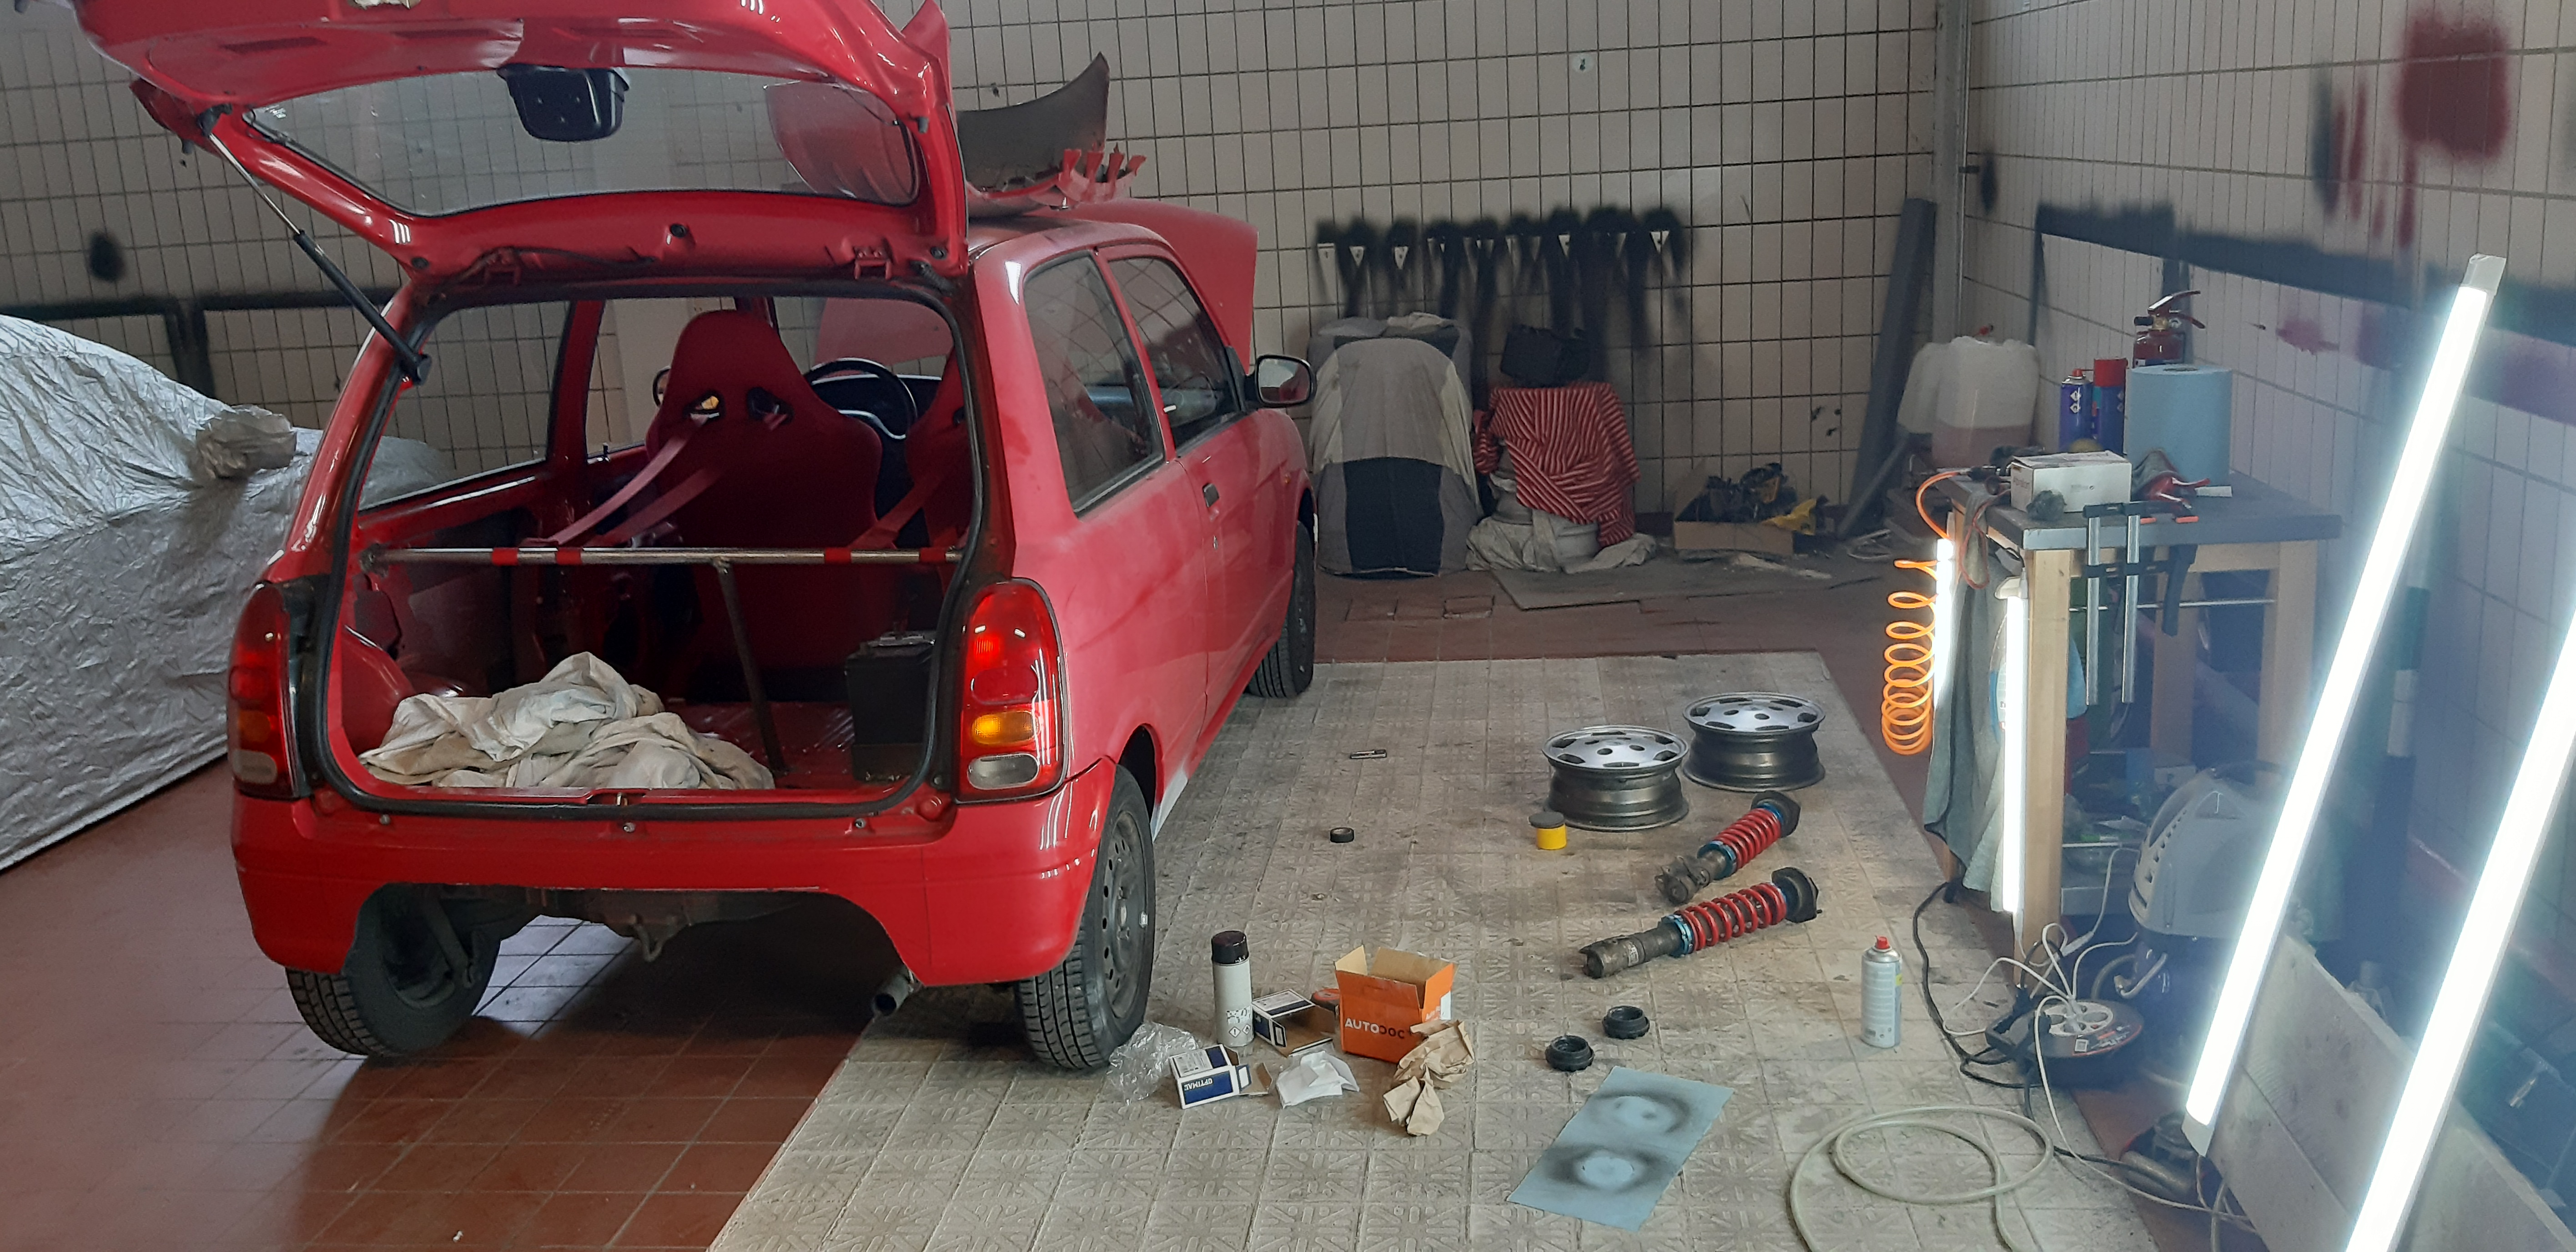
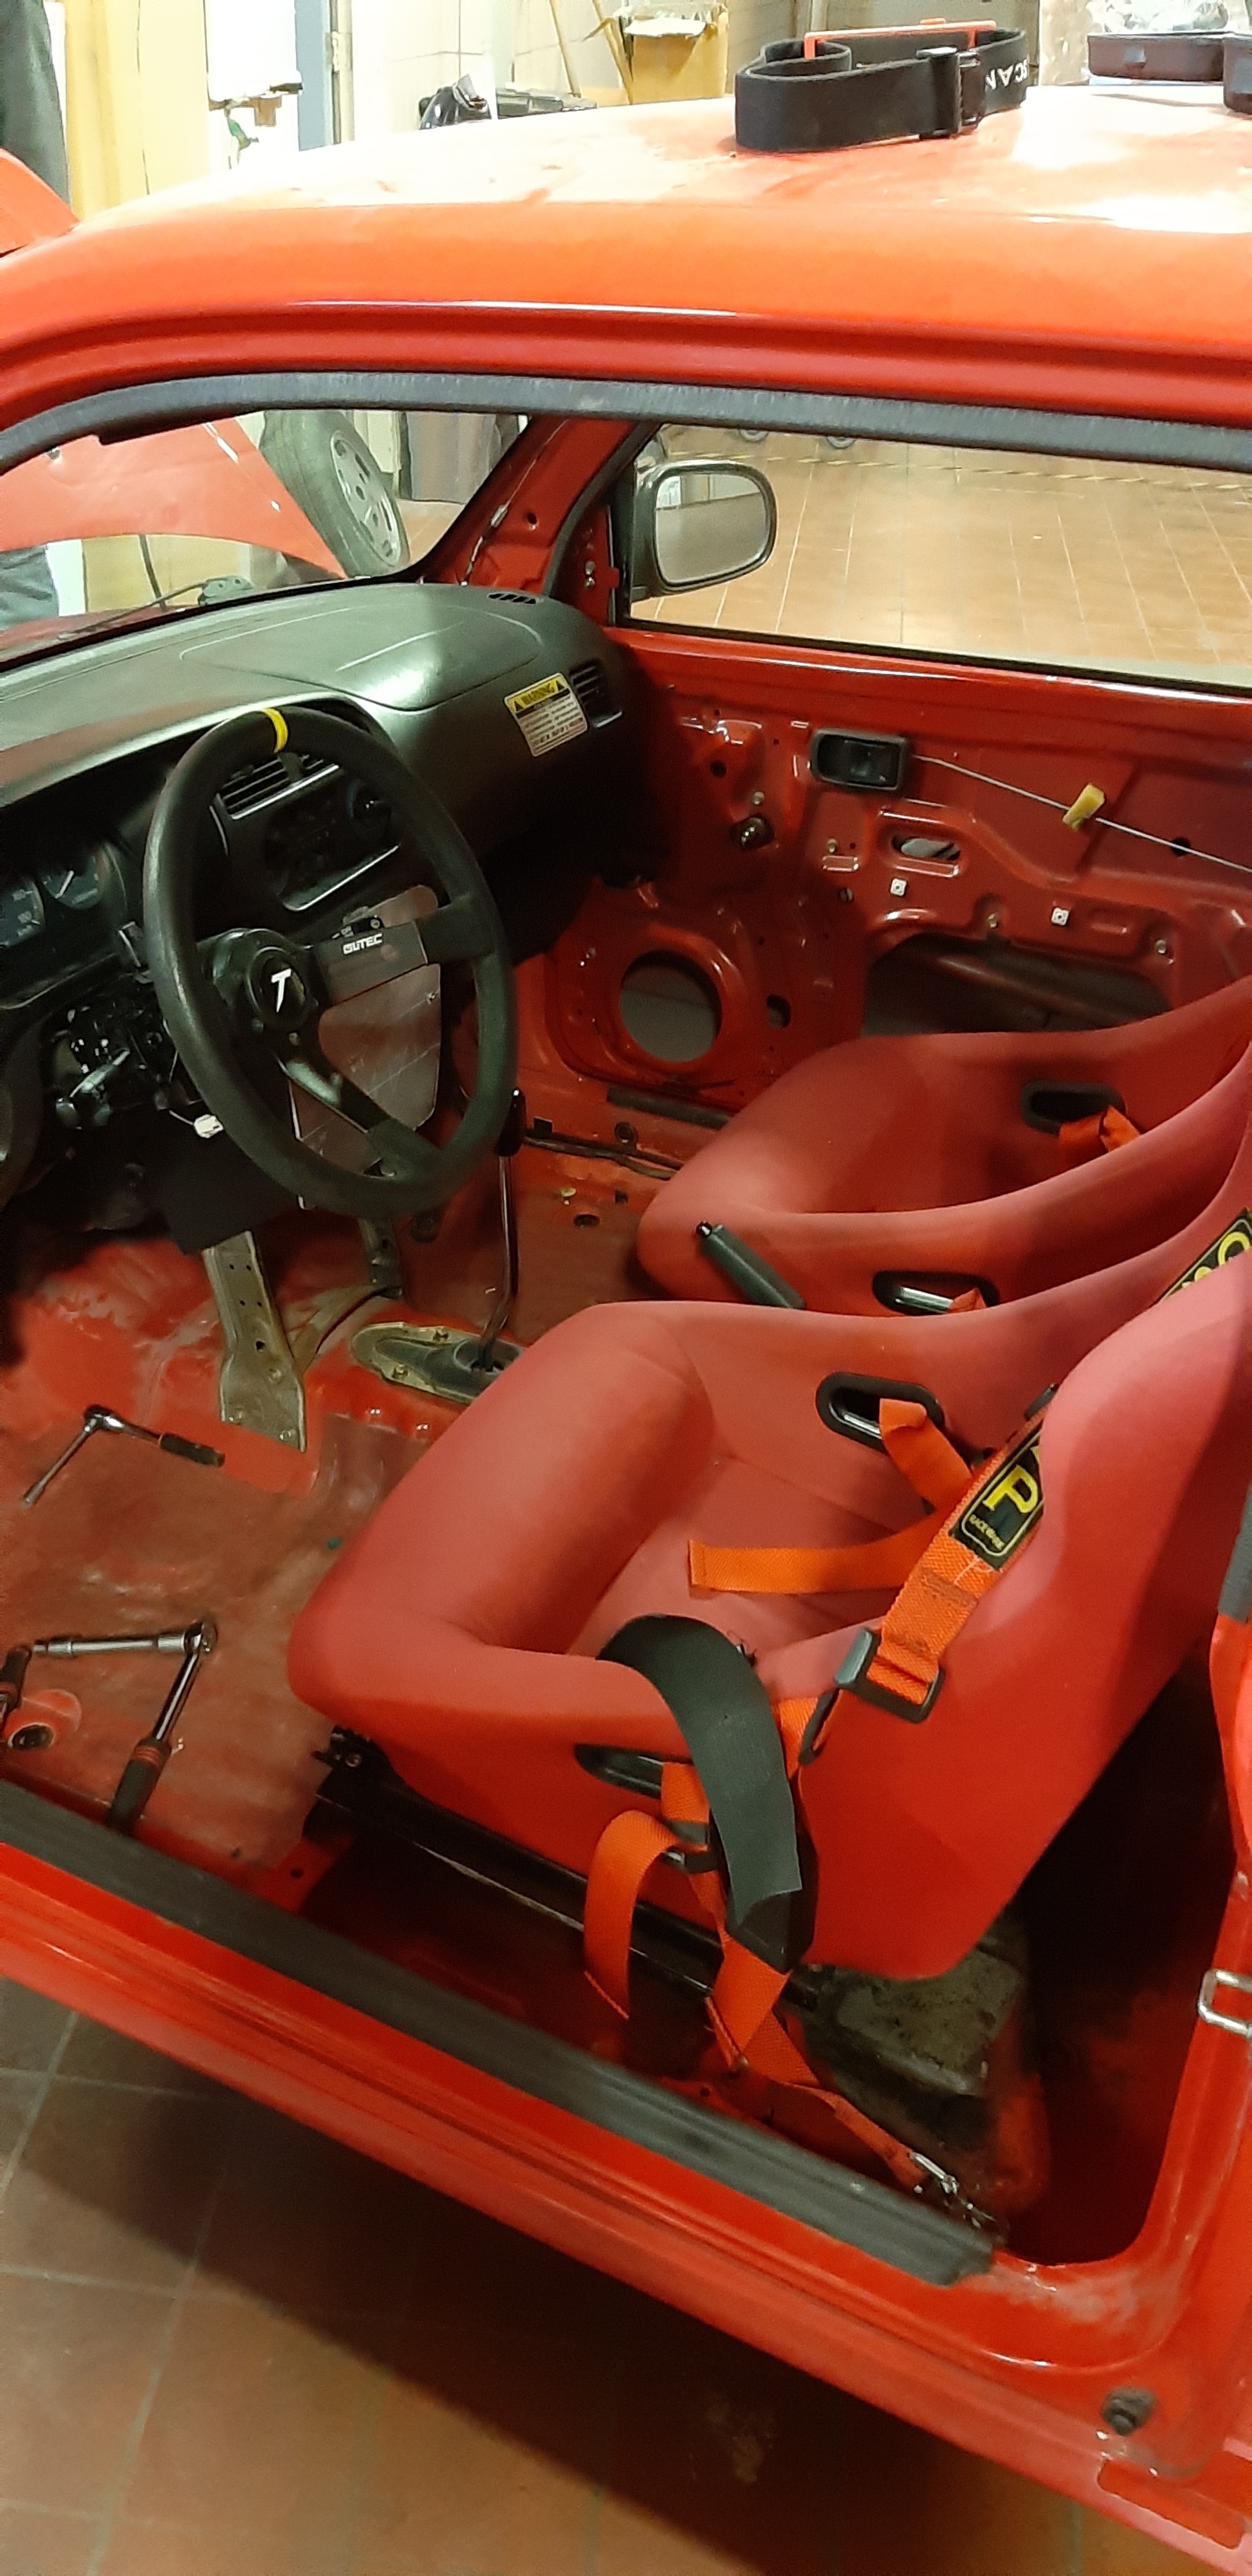
after that we got down to ripping the interior out, I managed to get some nice seats and harnesses for relatively cheap. had a friend that lent us a welder and got teaching myself how to weld to get the seats in.
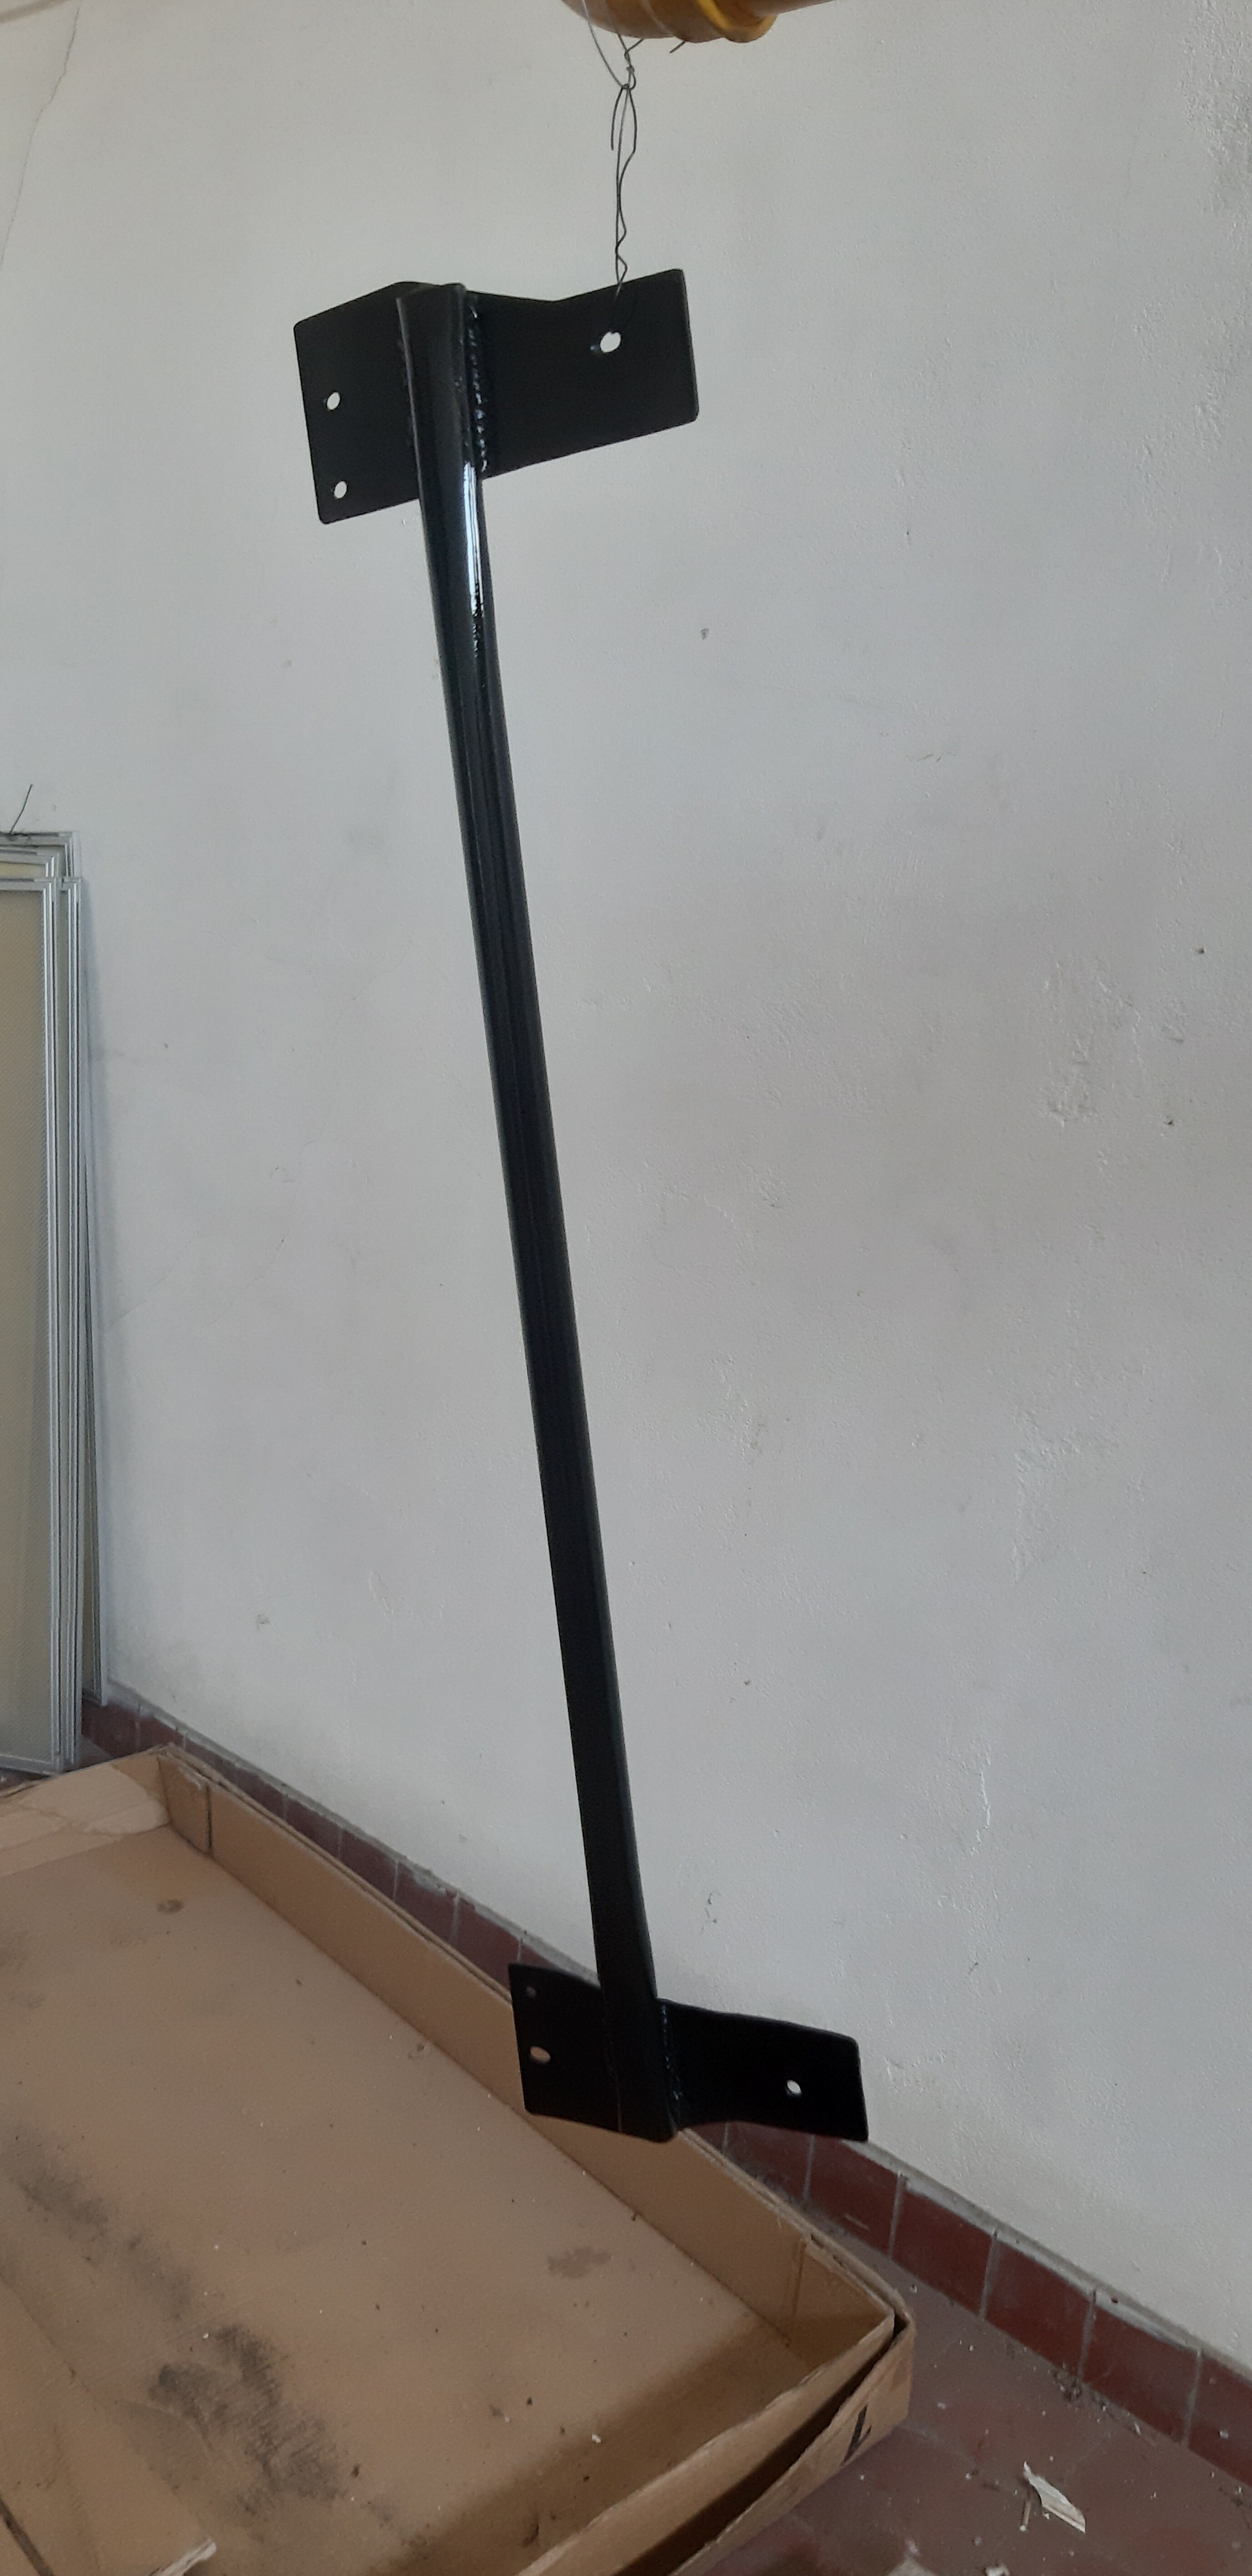
also we welded in a T-bar to stiffen up the chassis a bit and mount the harnesses to.
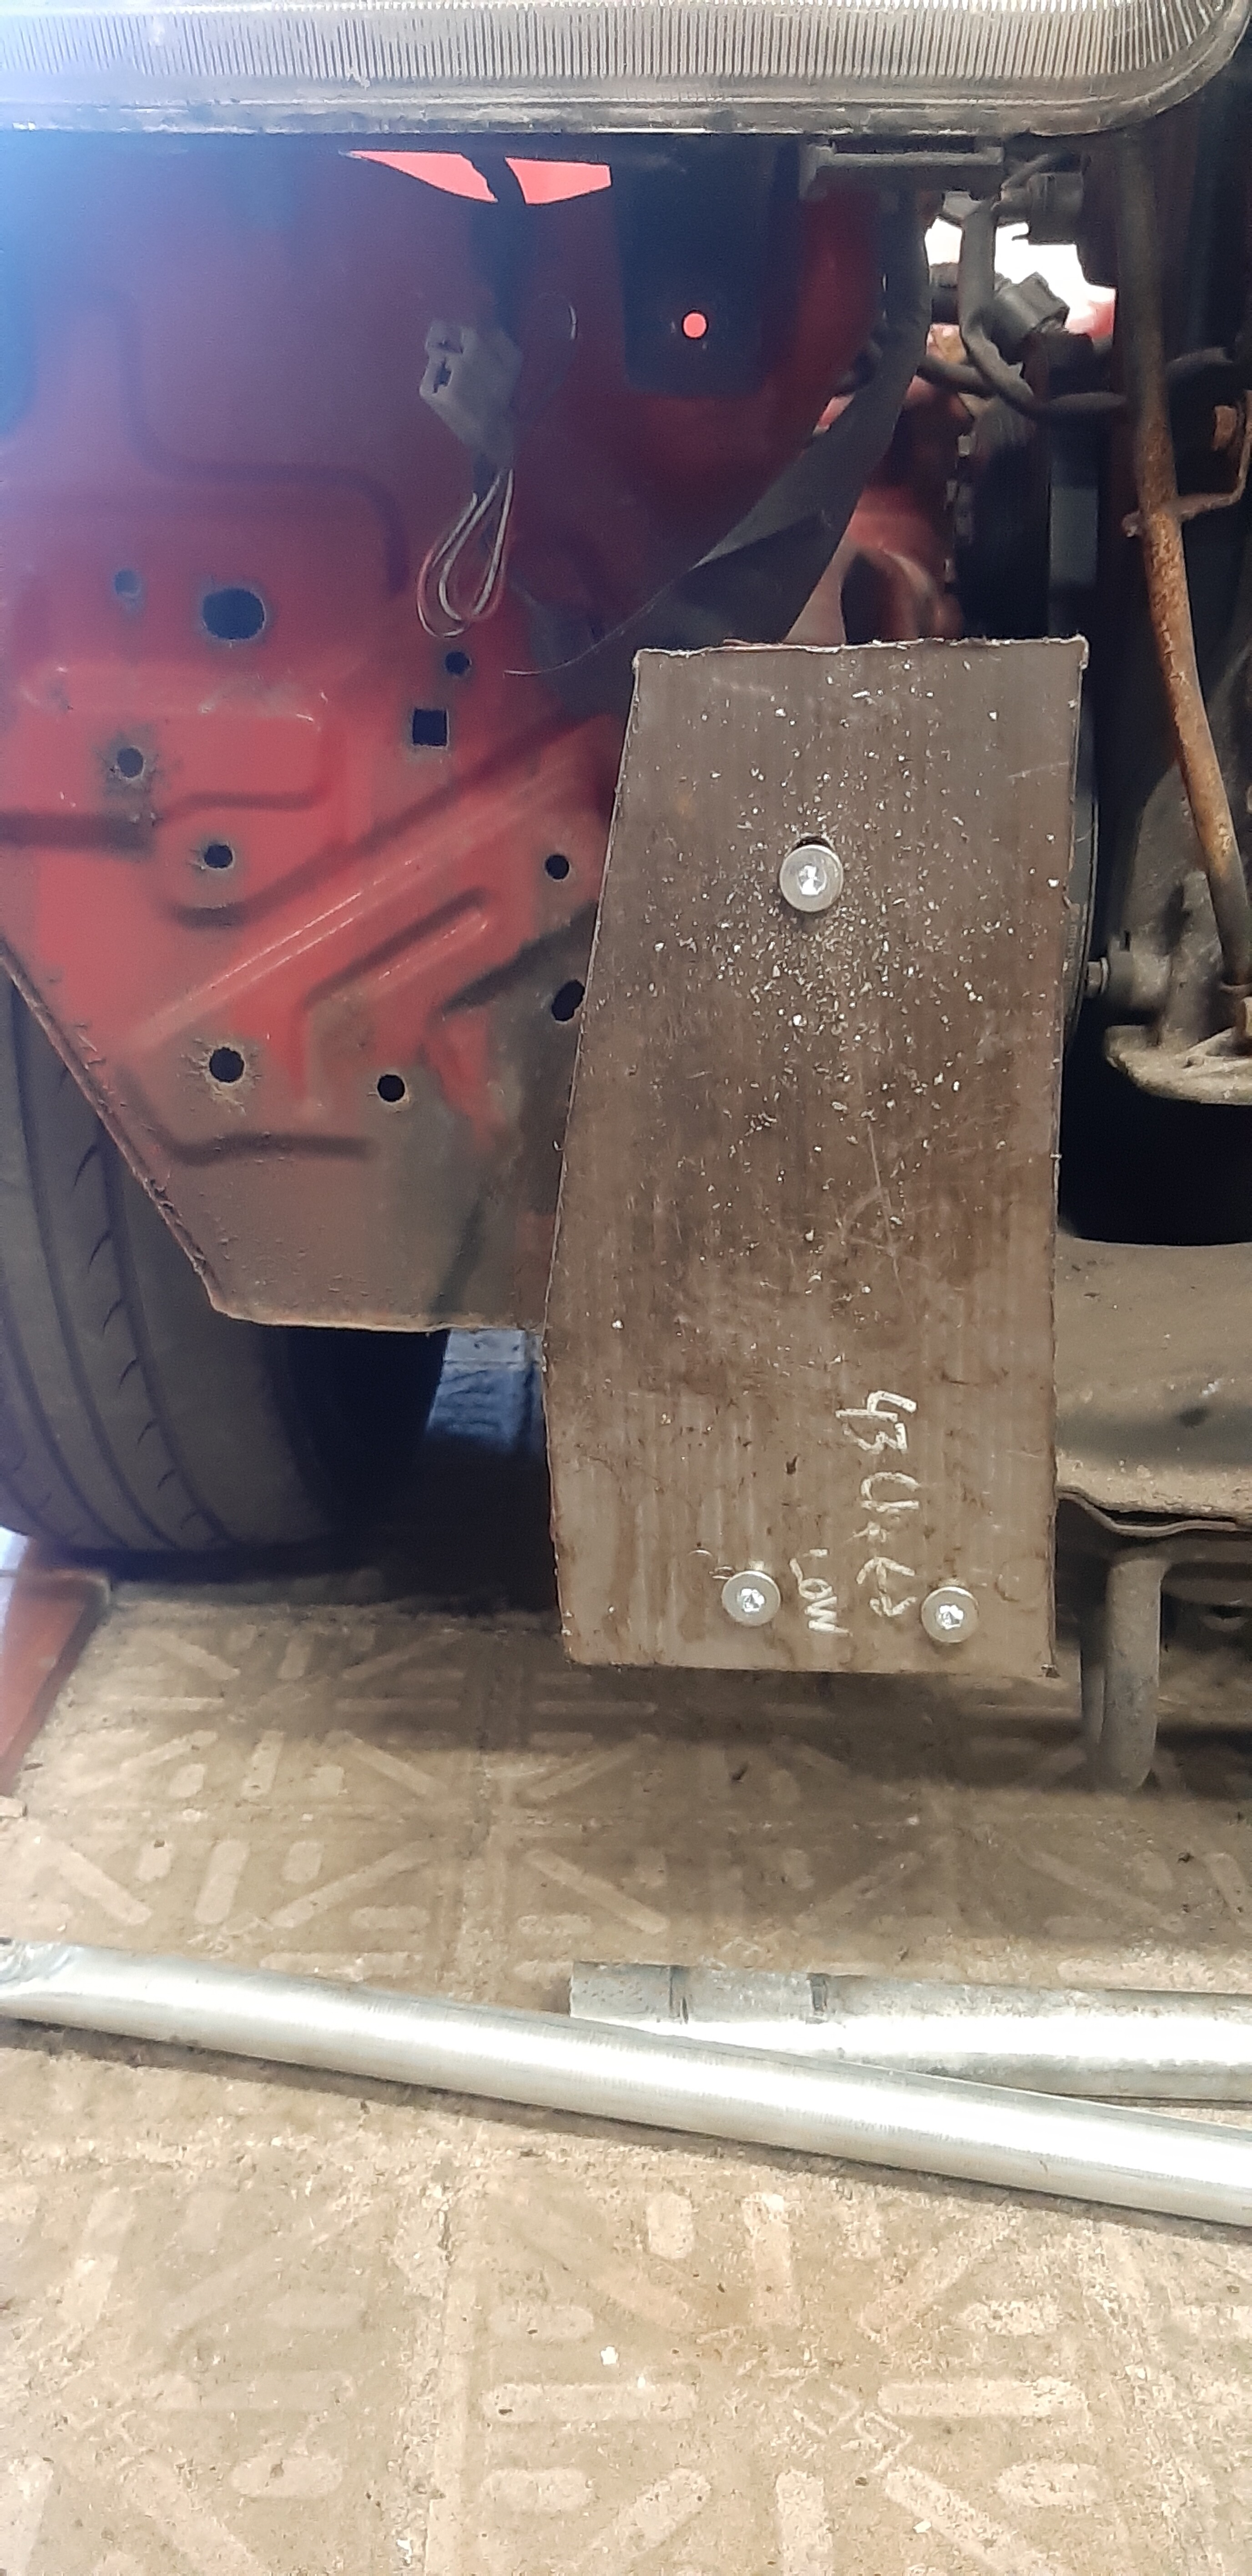
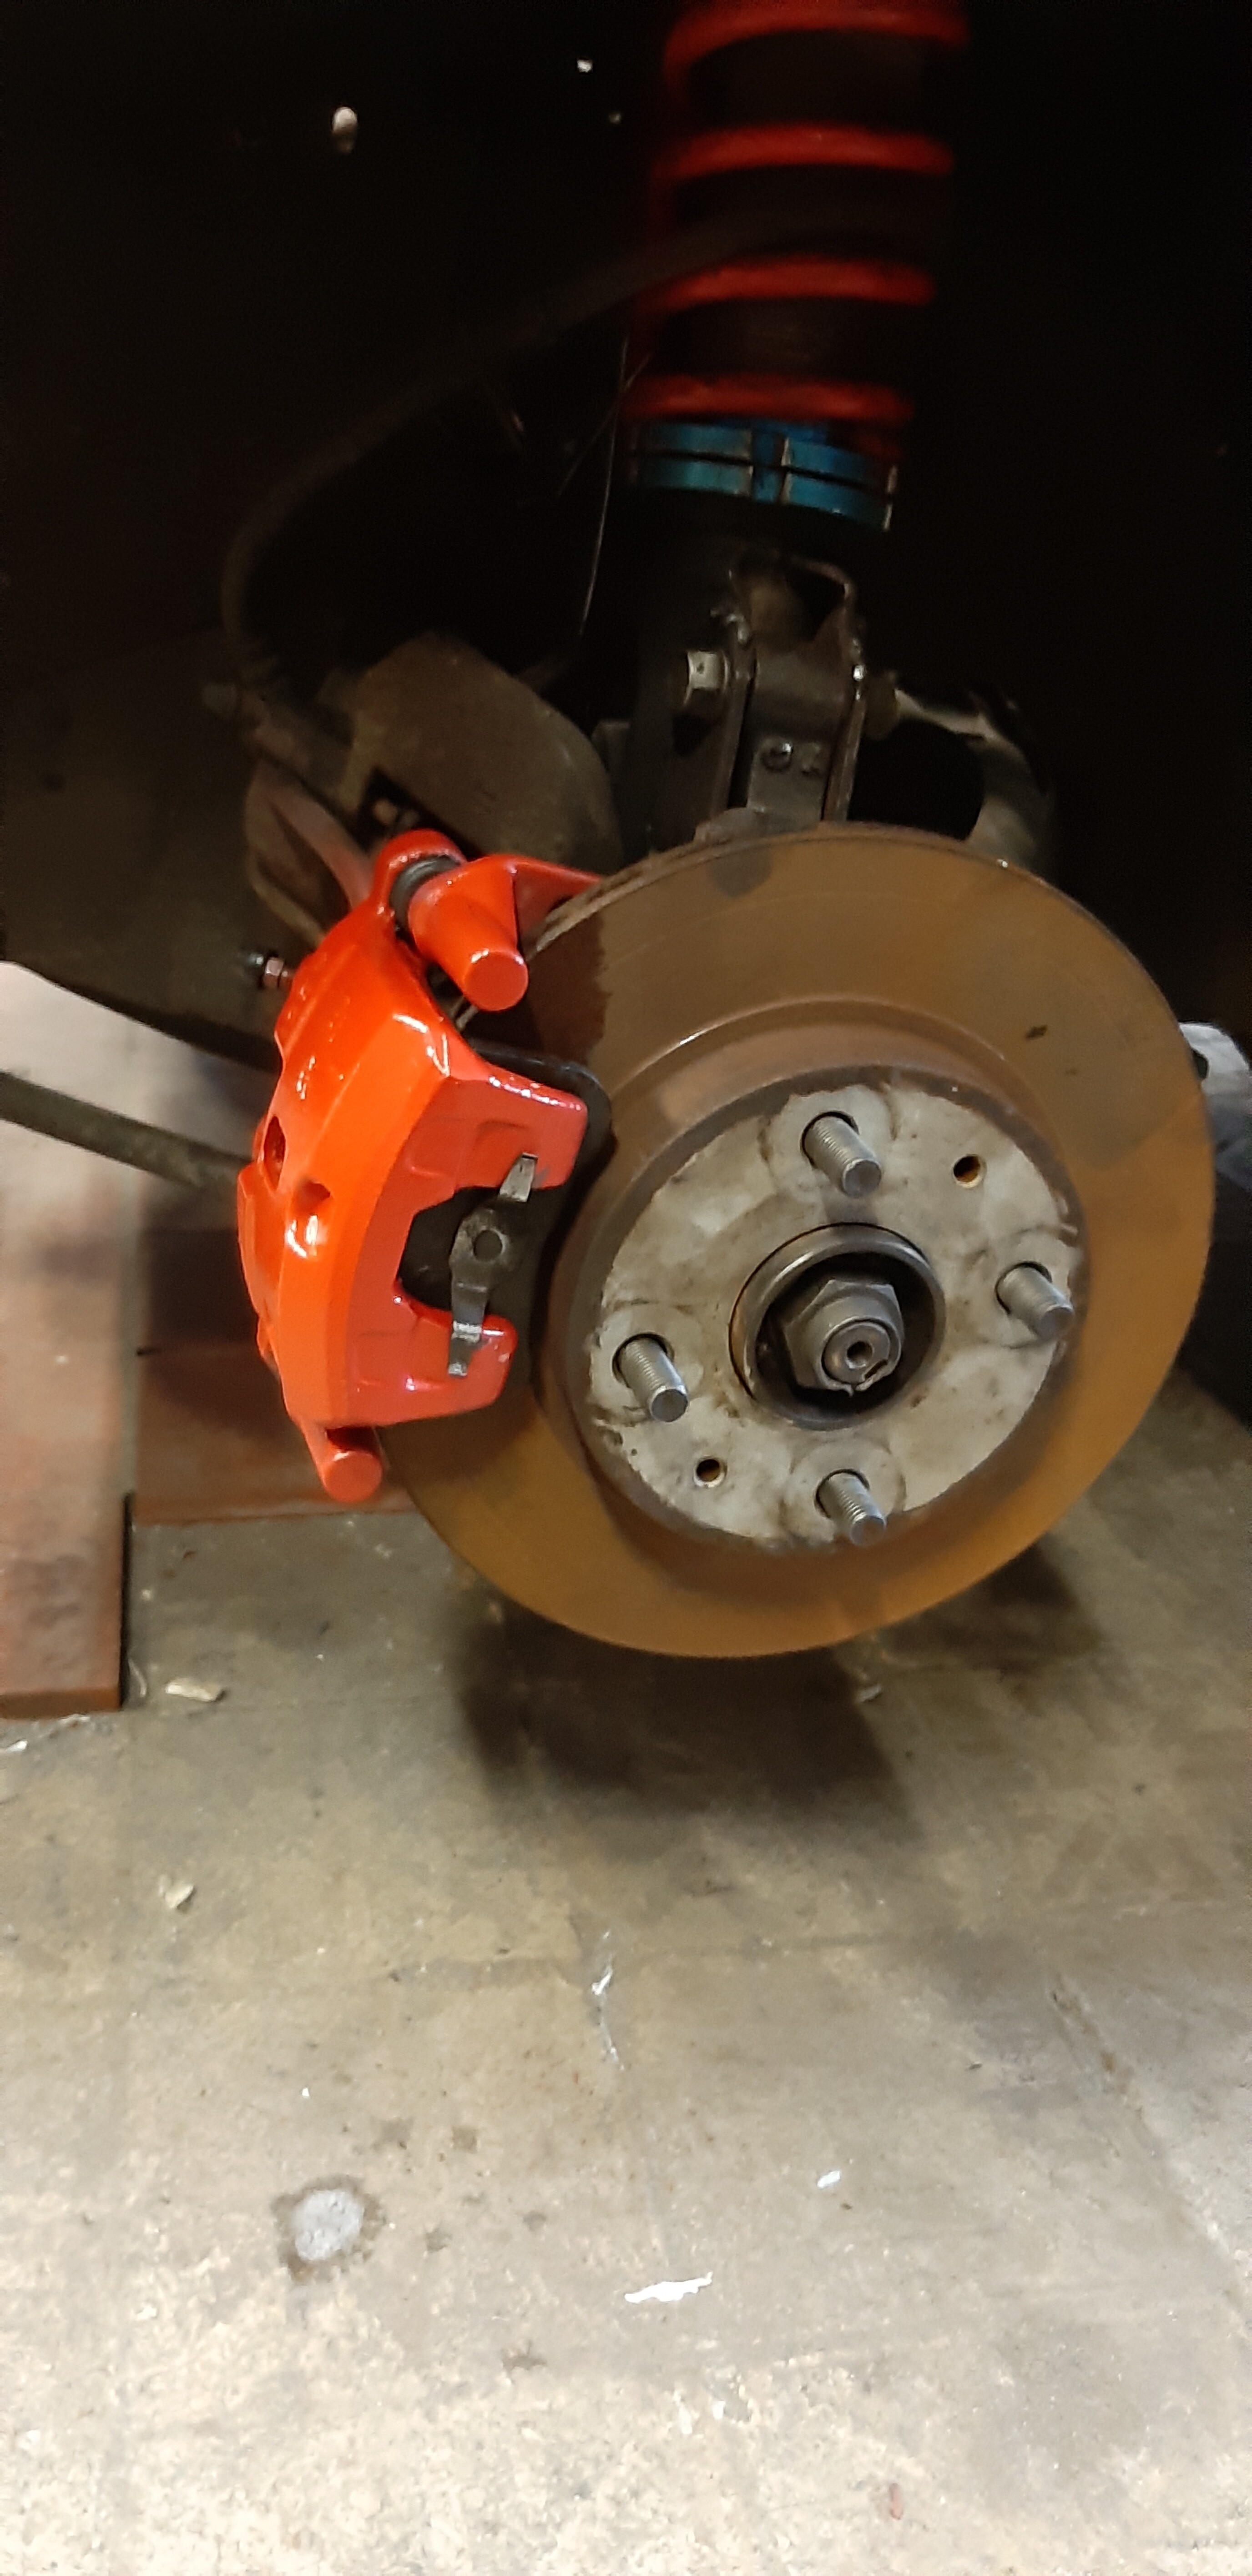
preparing the front coilovers here, these are VW Polo 6N coilovers, relatively cheap and with a little bit of modification they fit nicely under the L700. albeit they are a little stiff, I like it that way on track, but it might not be very suitable for the local streets 
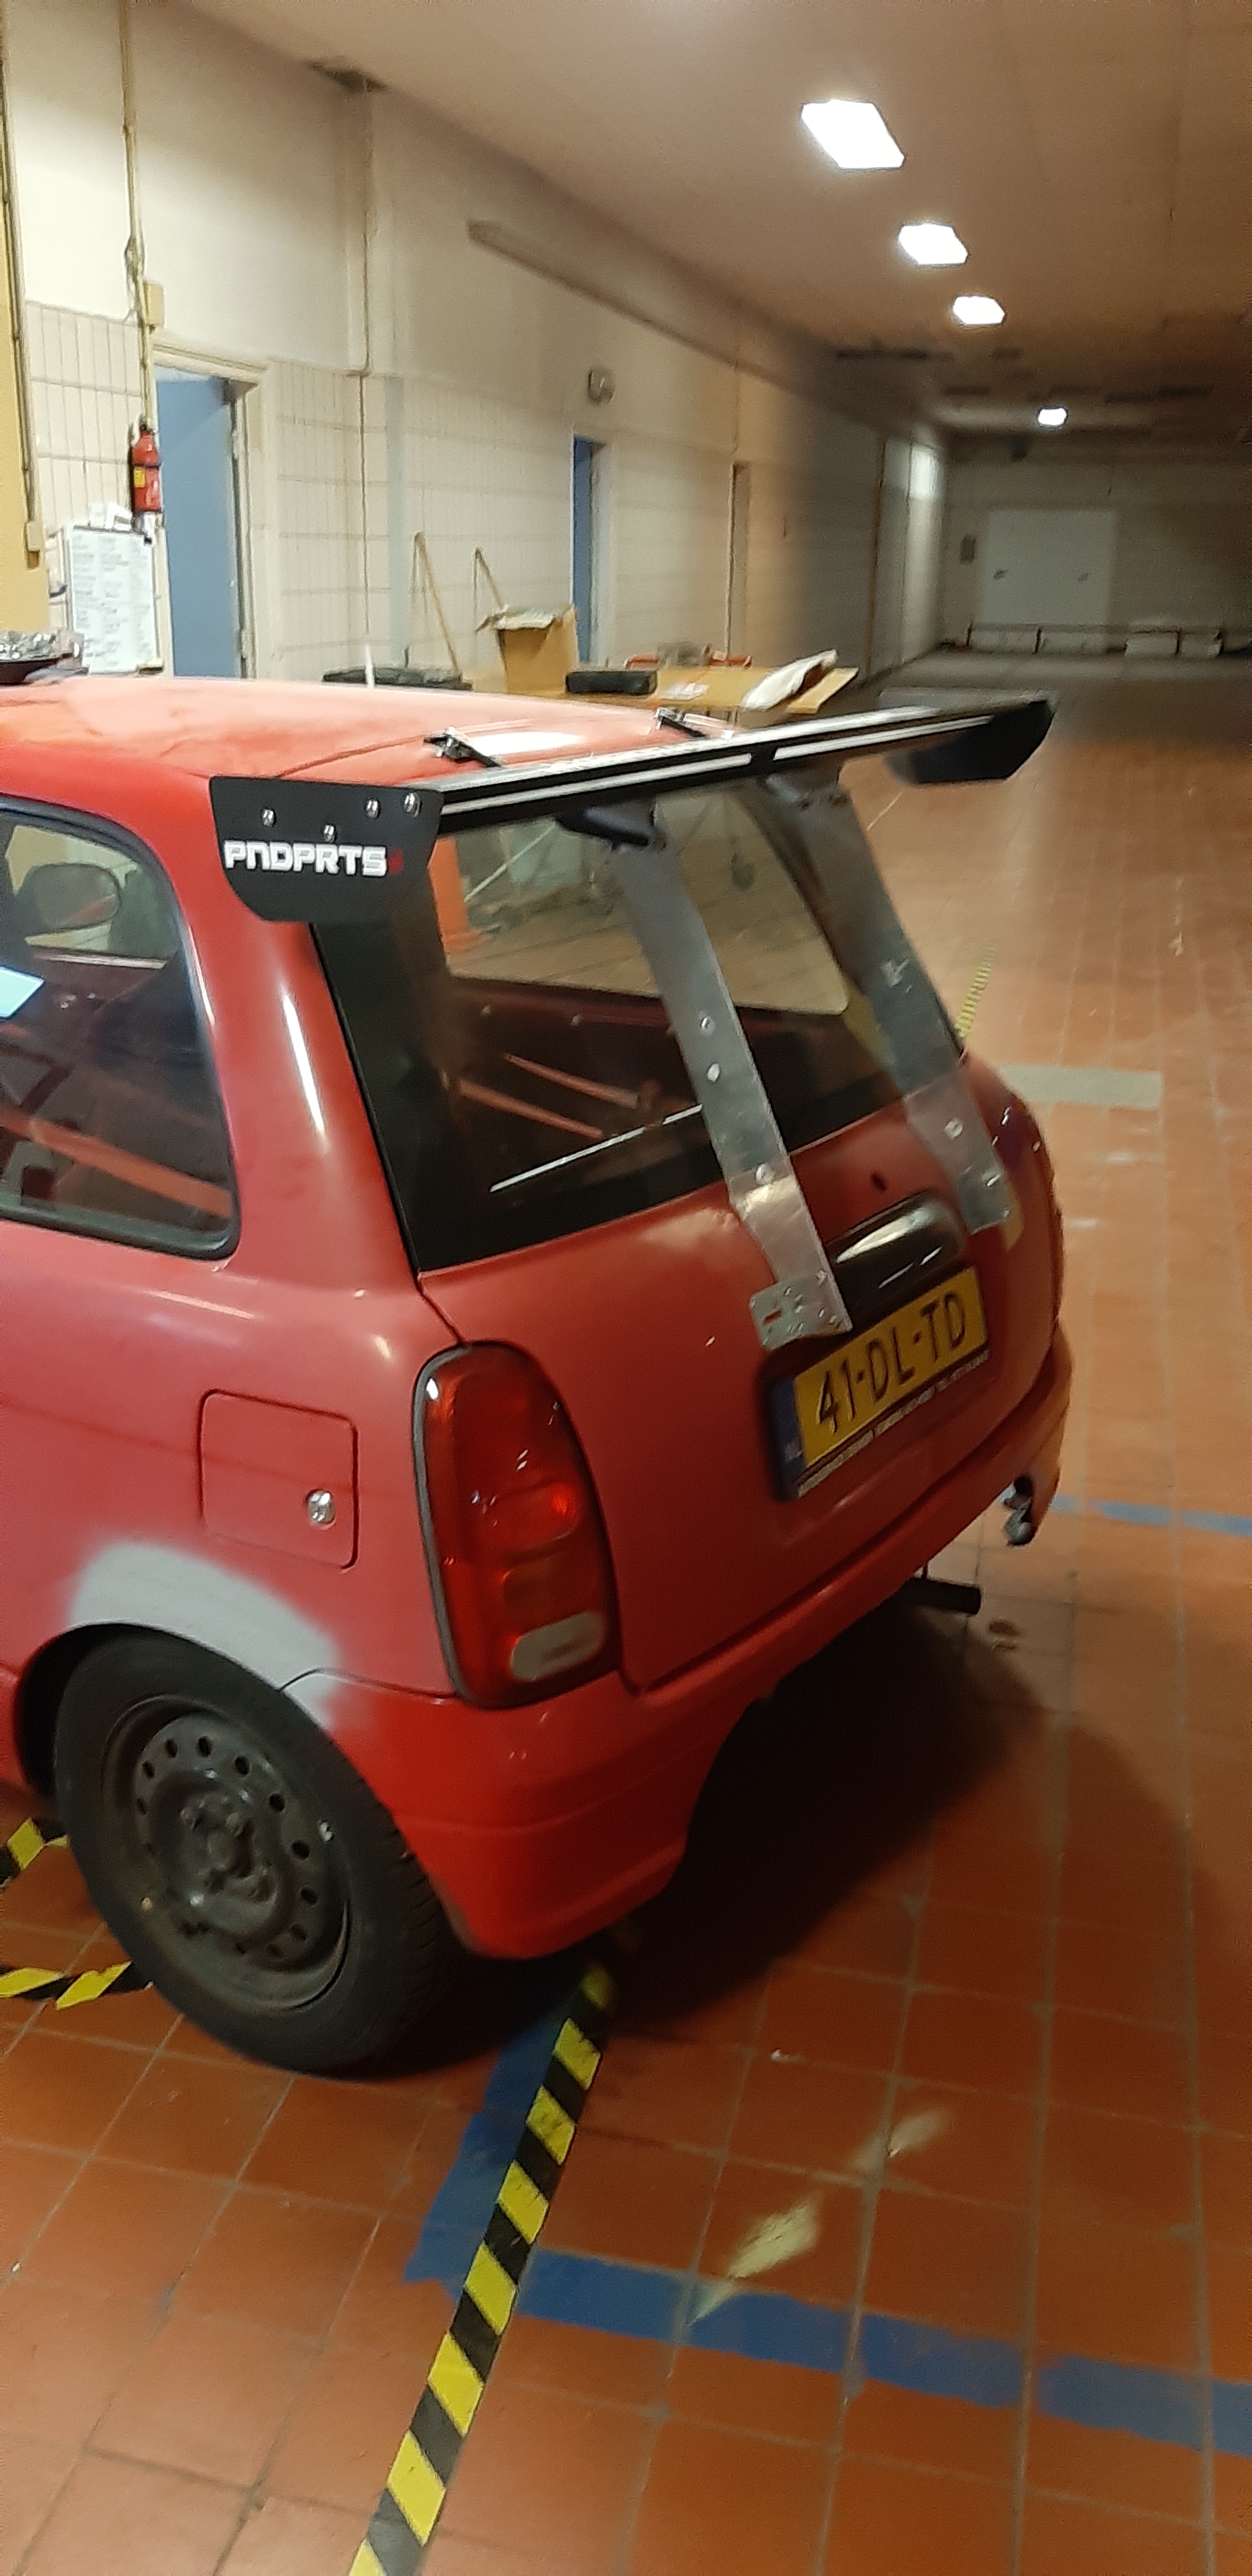
also you can see we cut the rear bumper.
there are still a lot that we have done, but I haven’t gotten any pictures of it (yet)
things that have been done so far:
-bodywork tidied up
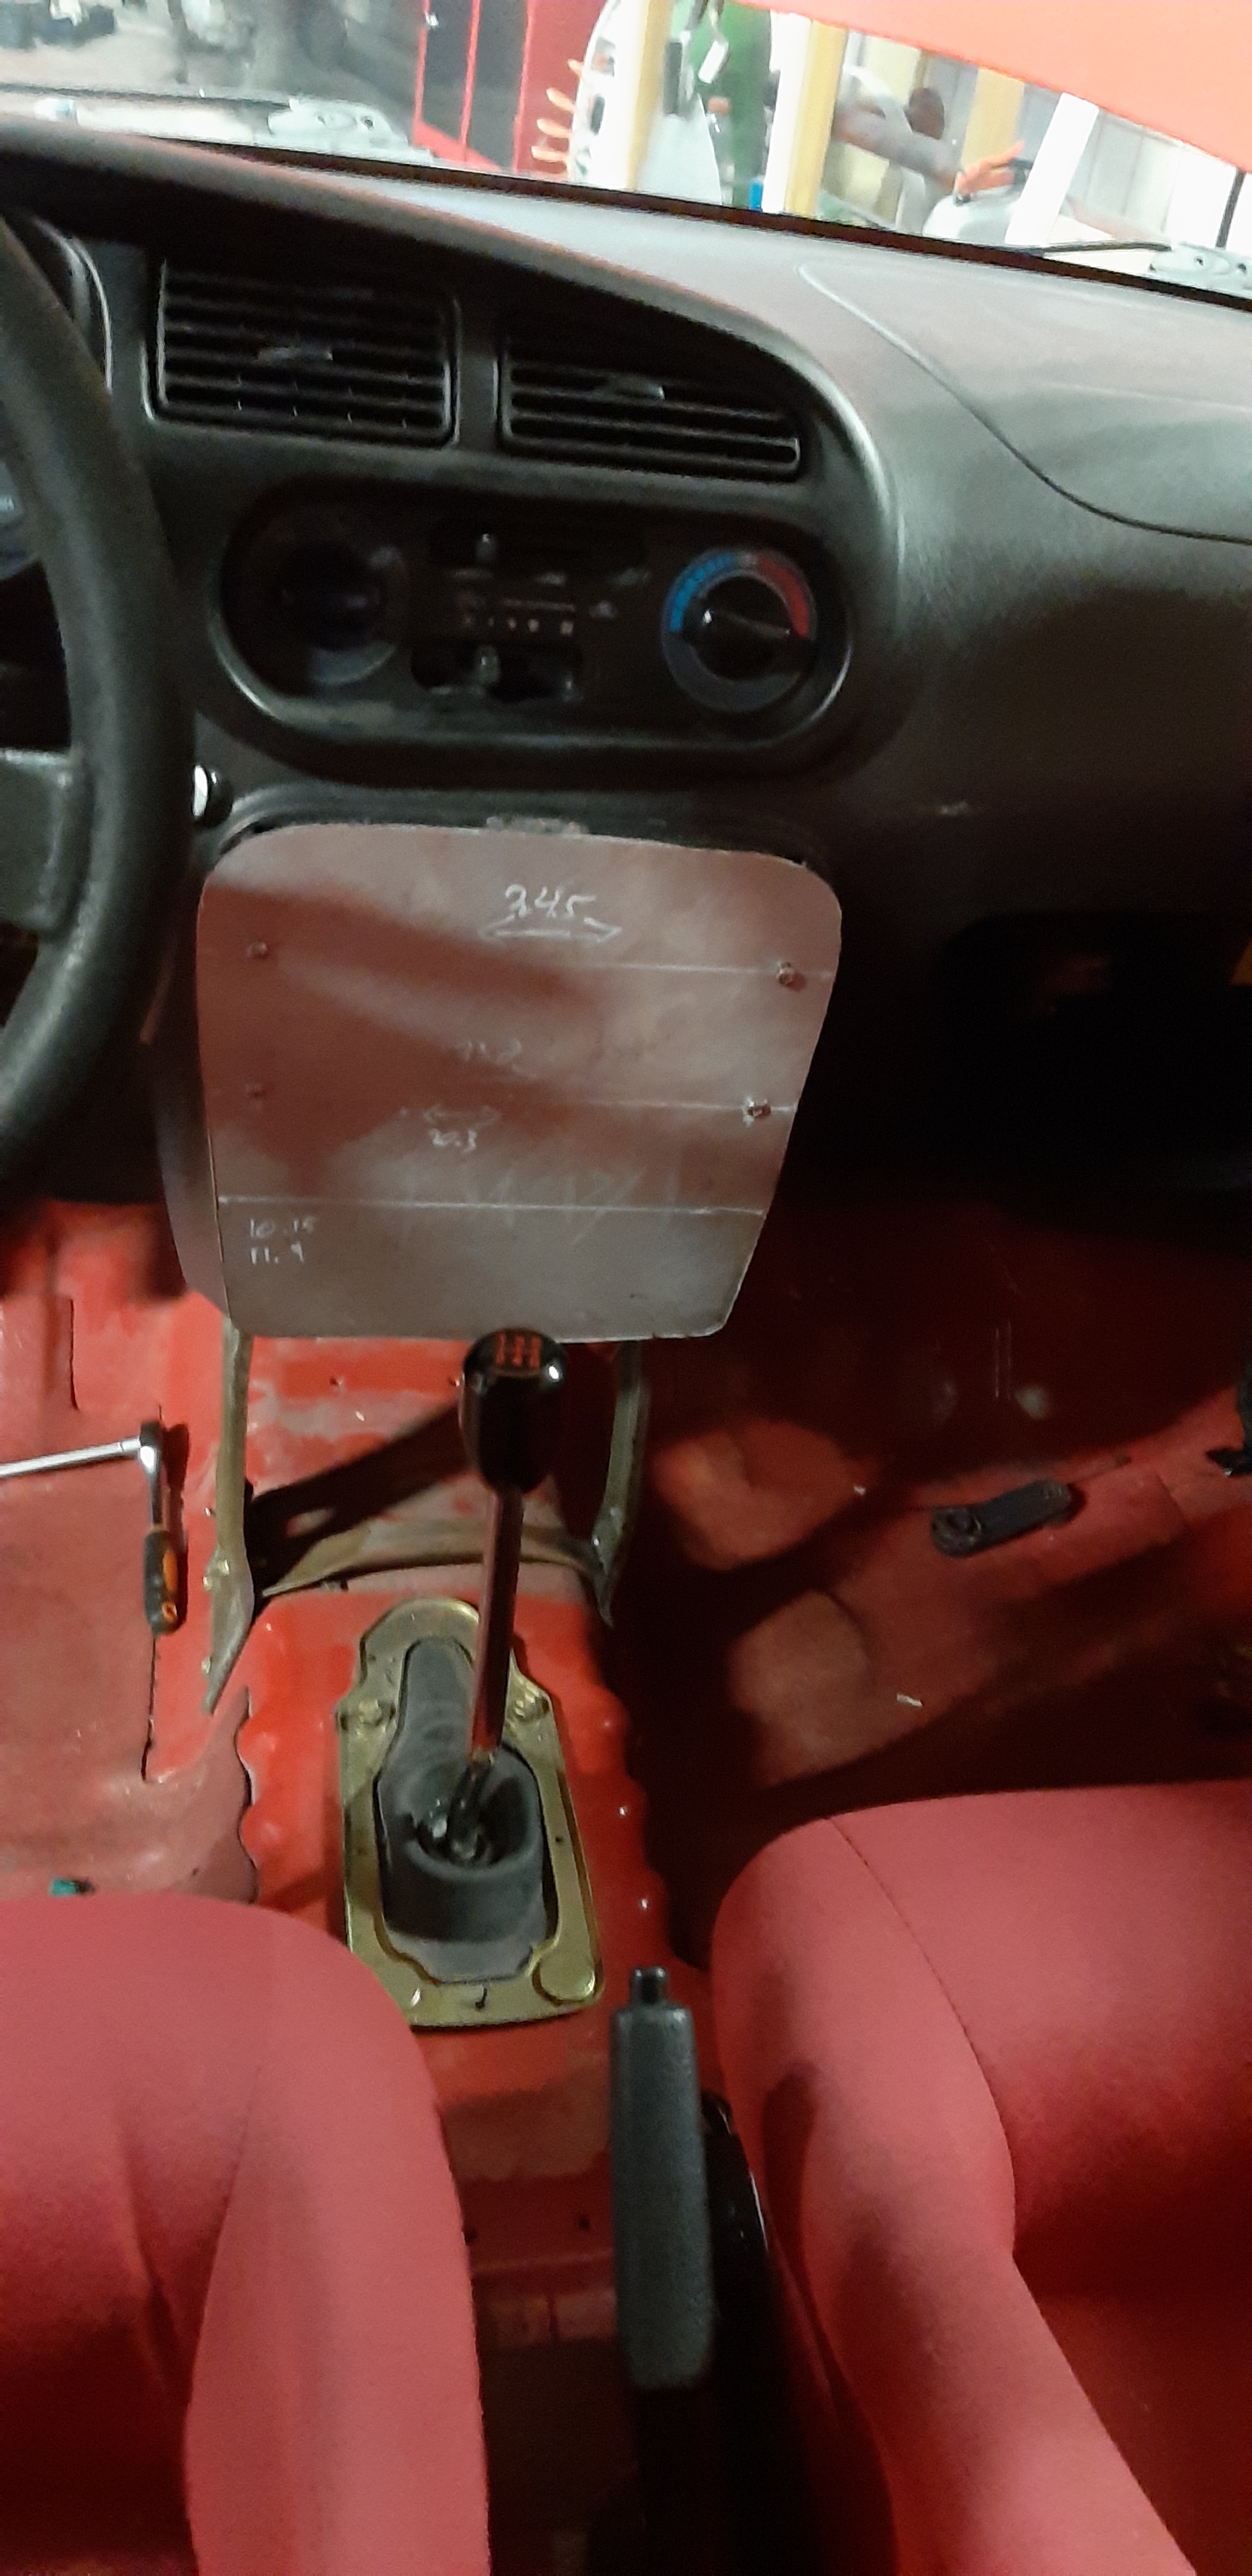
-interior stripped
-bucket seats
-harnesses
-T-bar
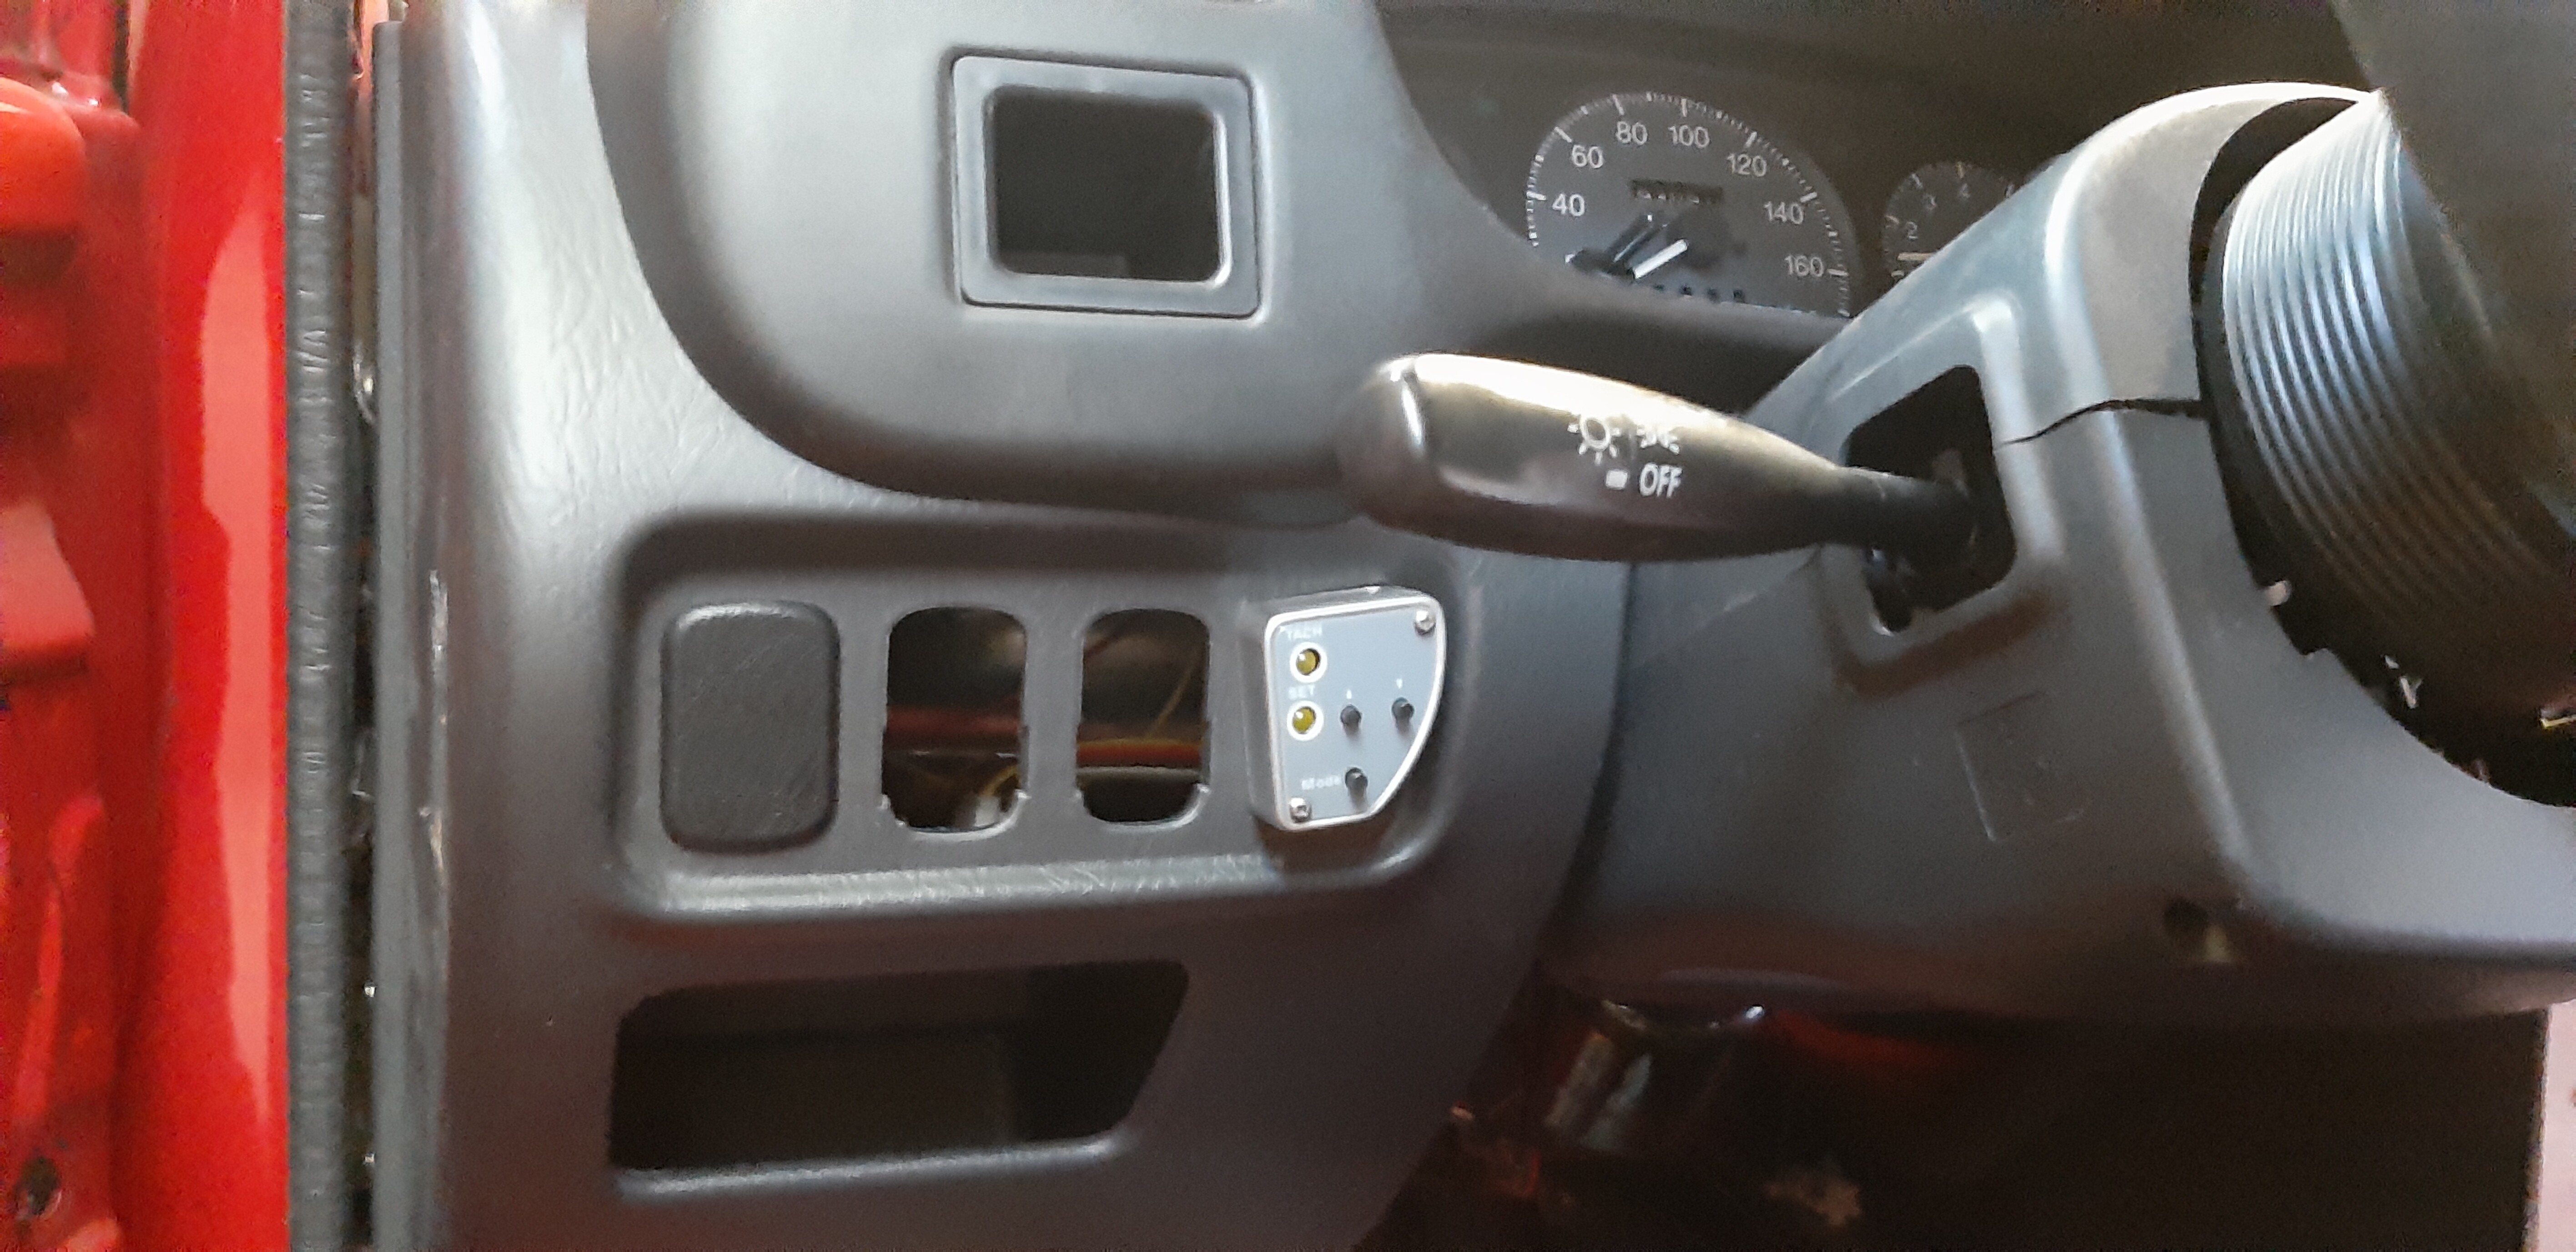
-Steering wheel
-Coilovers in front
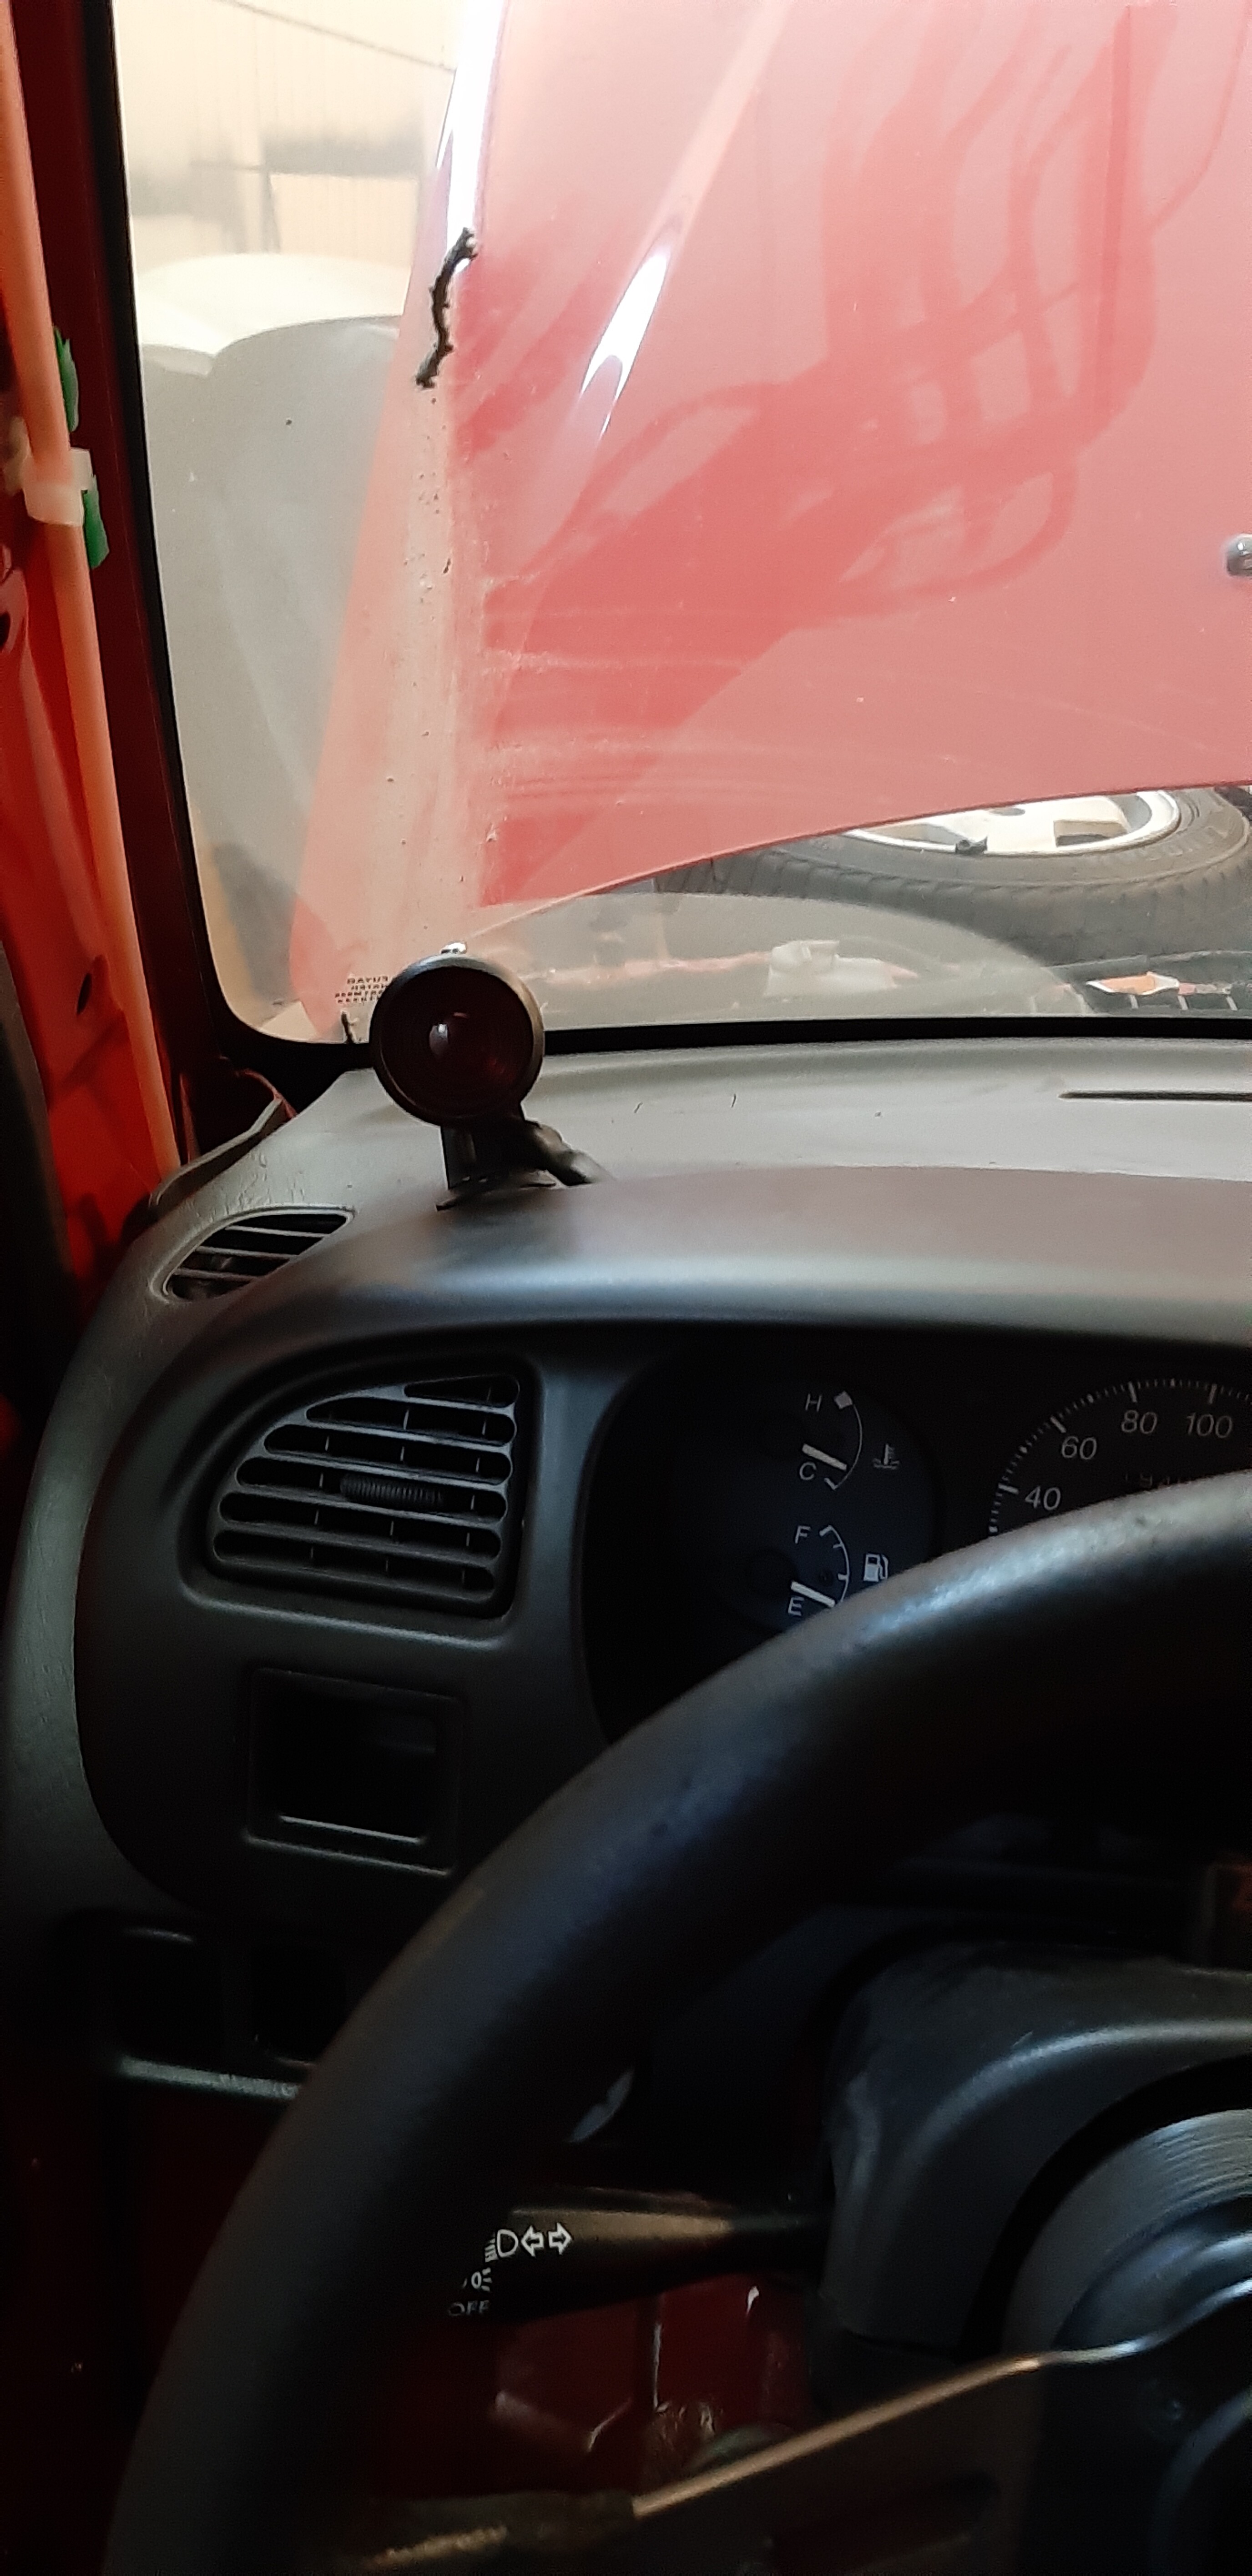
-5 panel mirror
-battery relocated to the rear
-wiring loom cleaned up behind the dash
-added wing (still needs some more work)
Things we are working on right now:
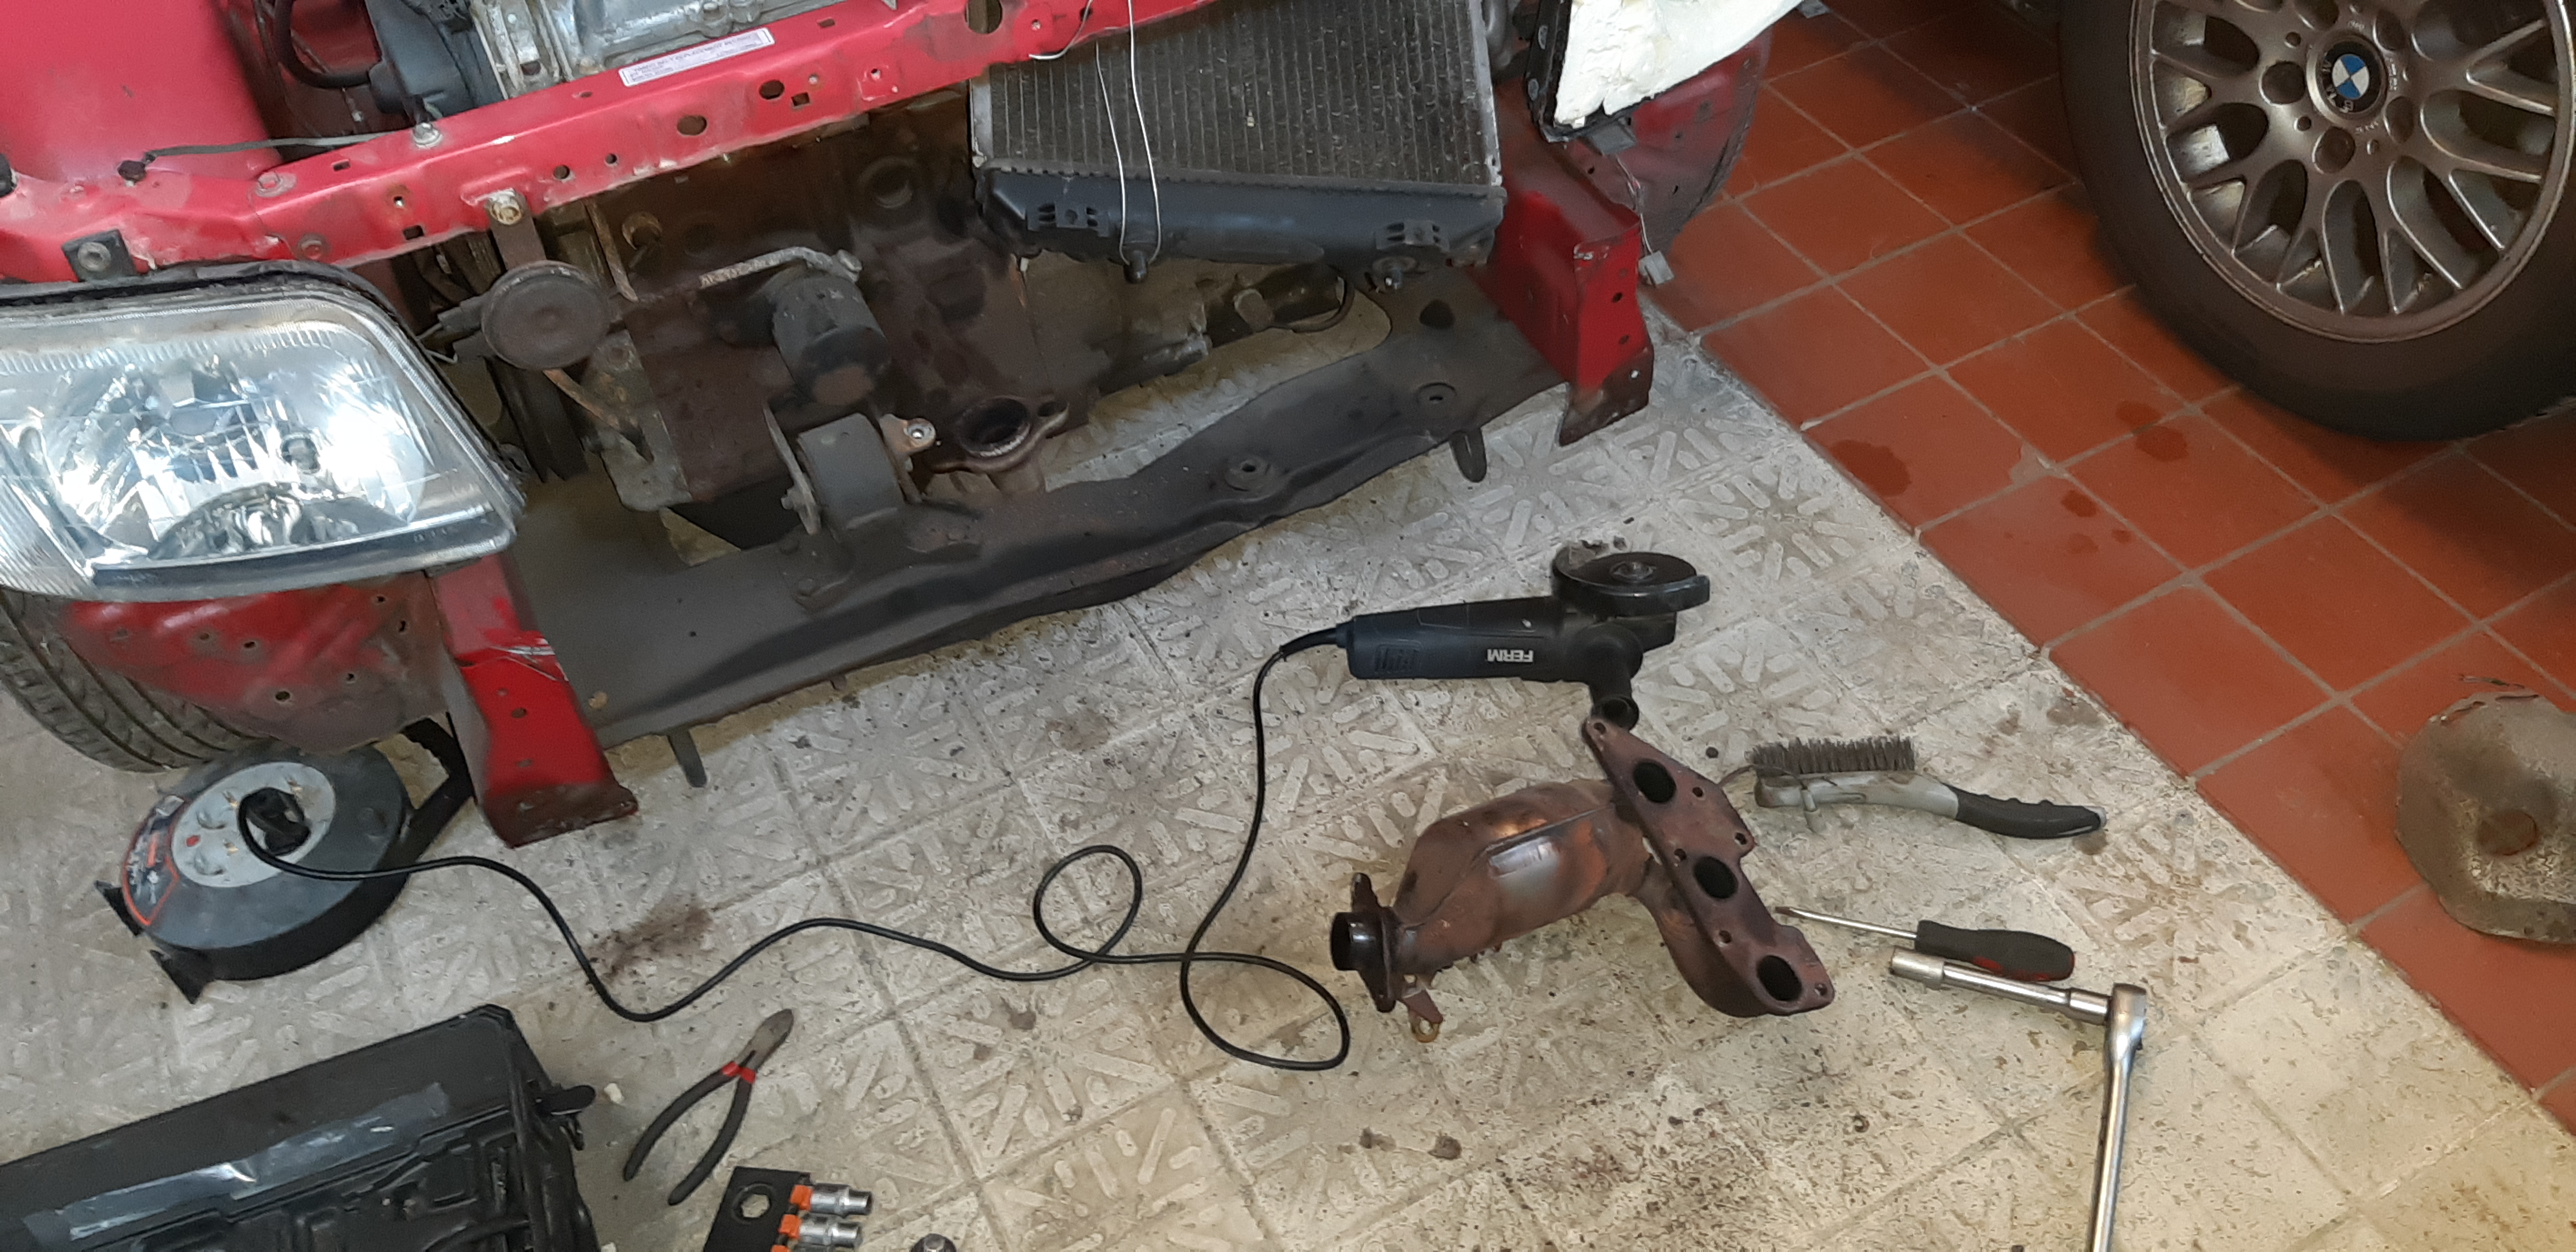
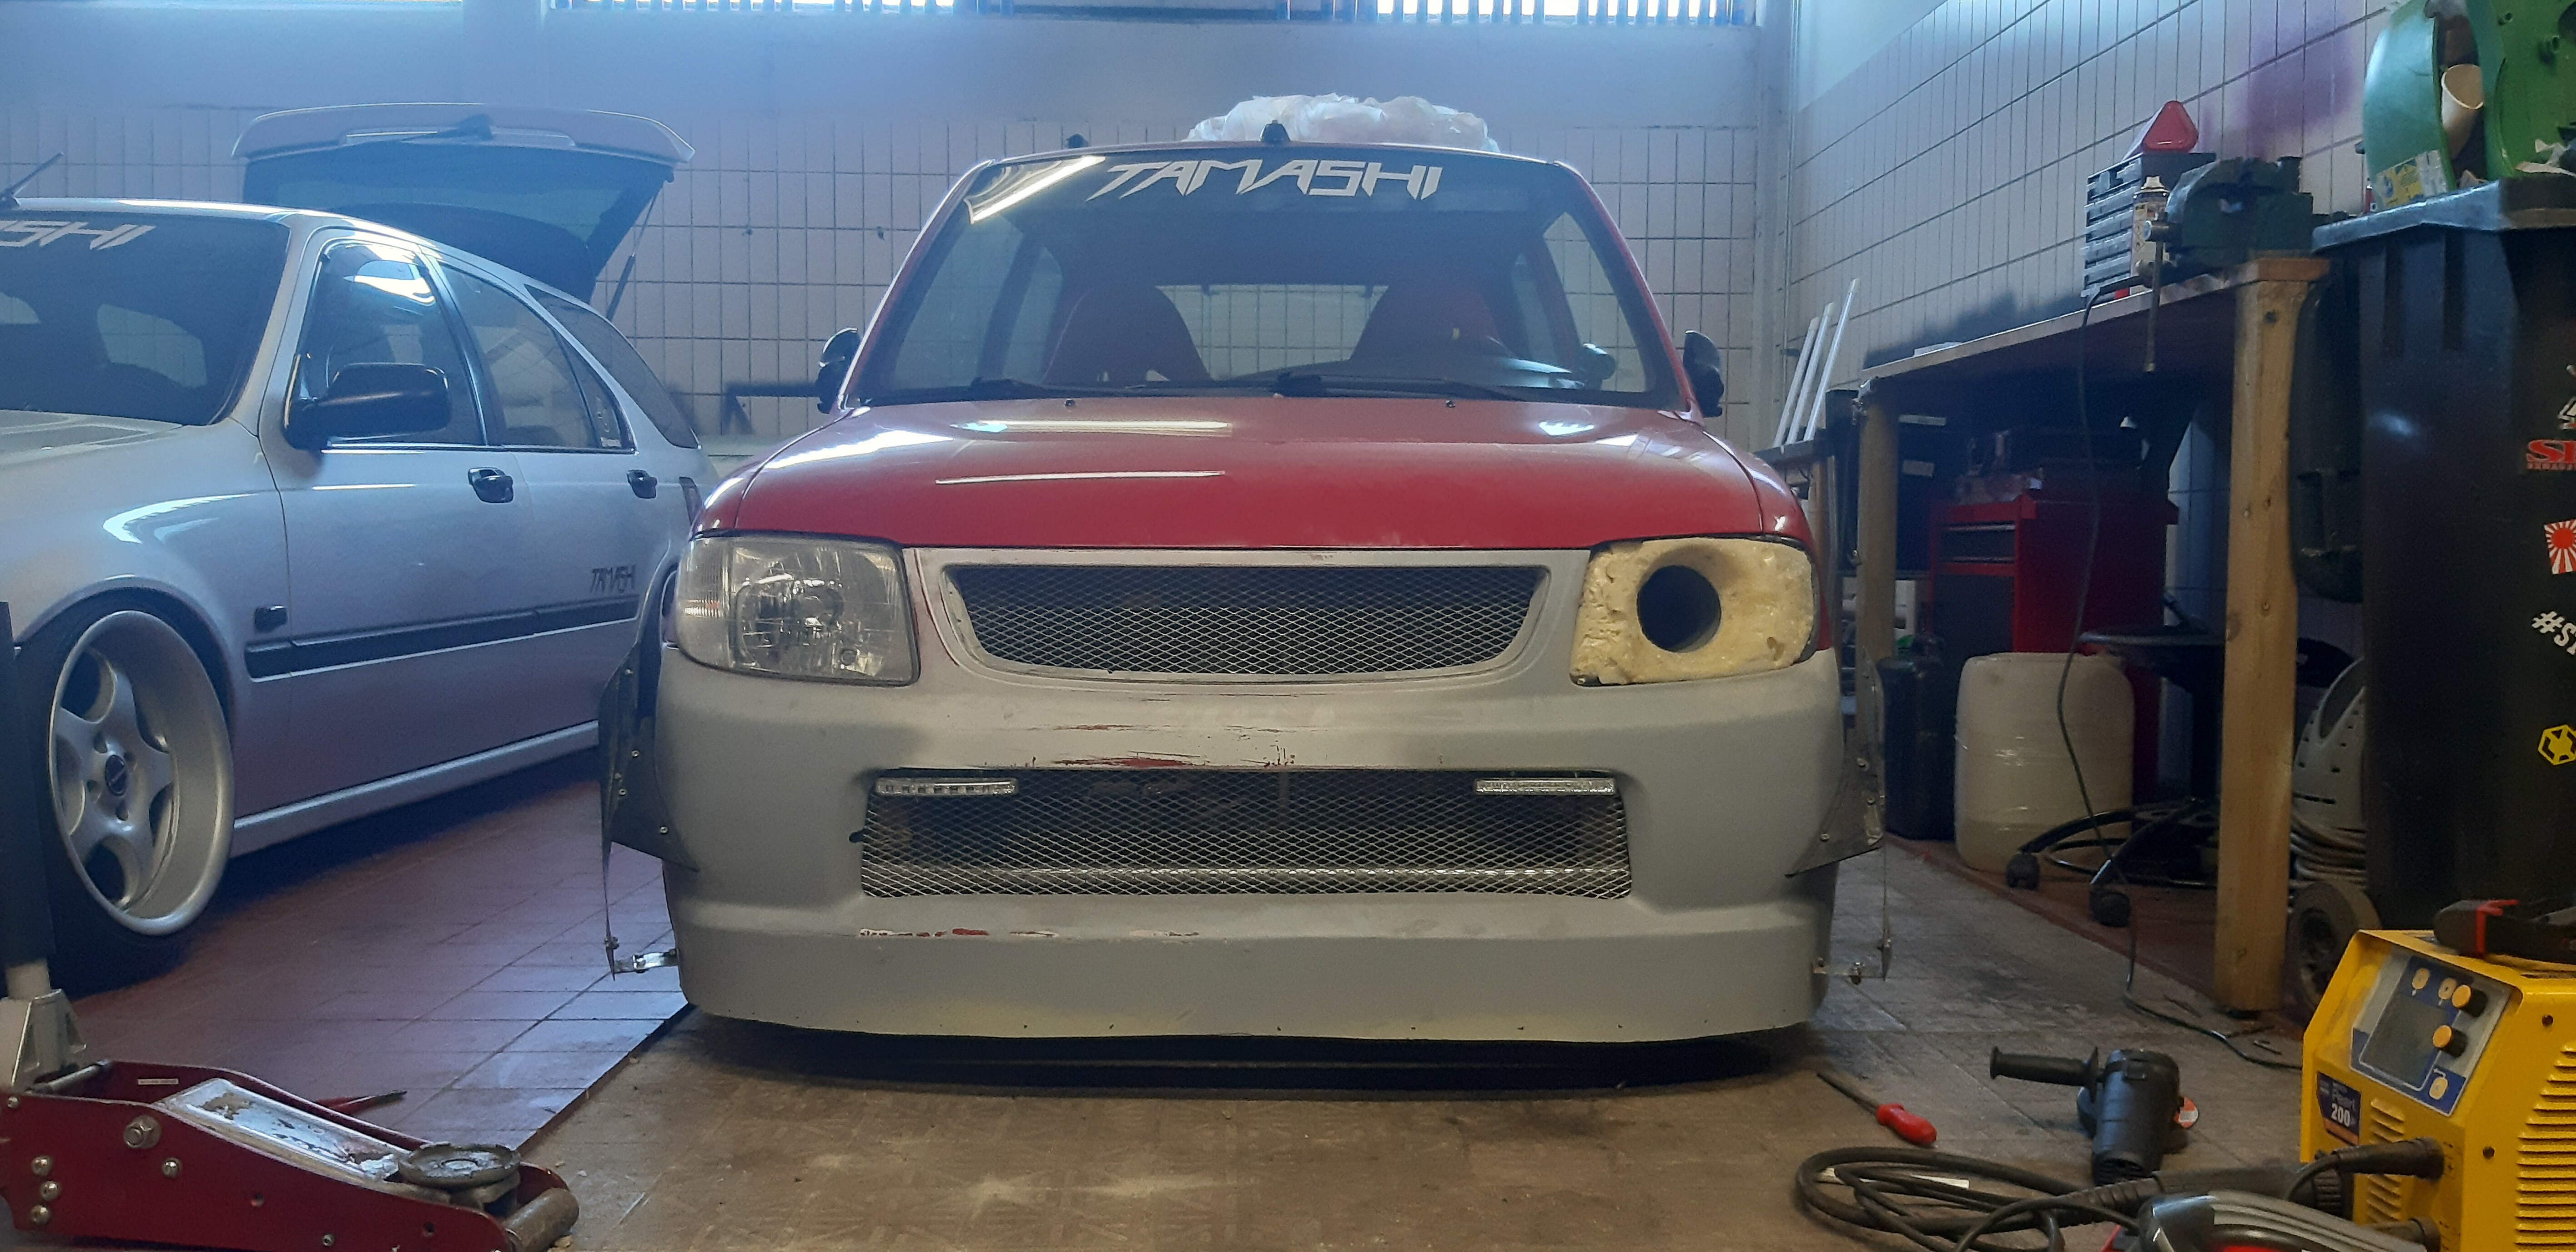
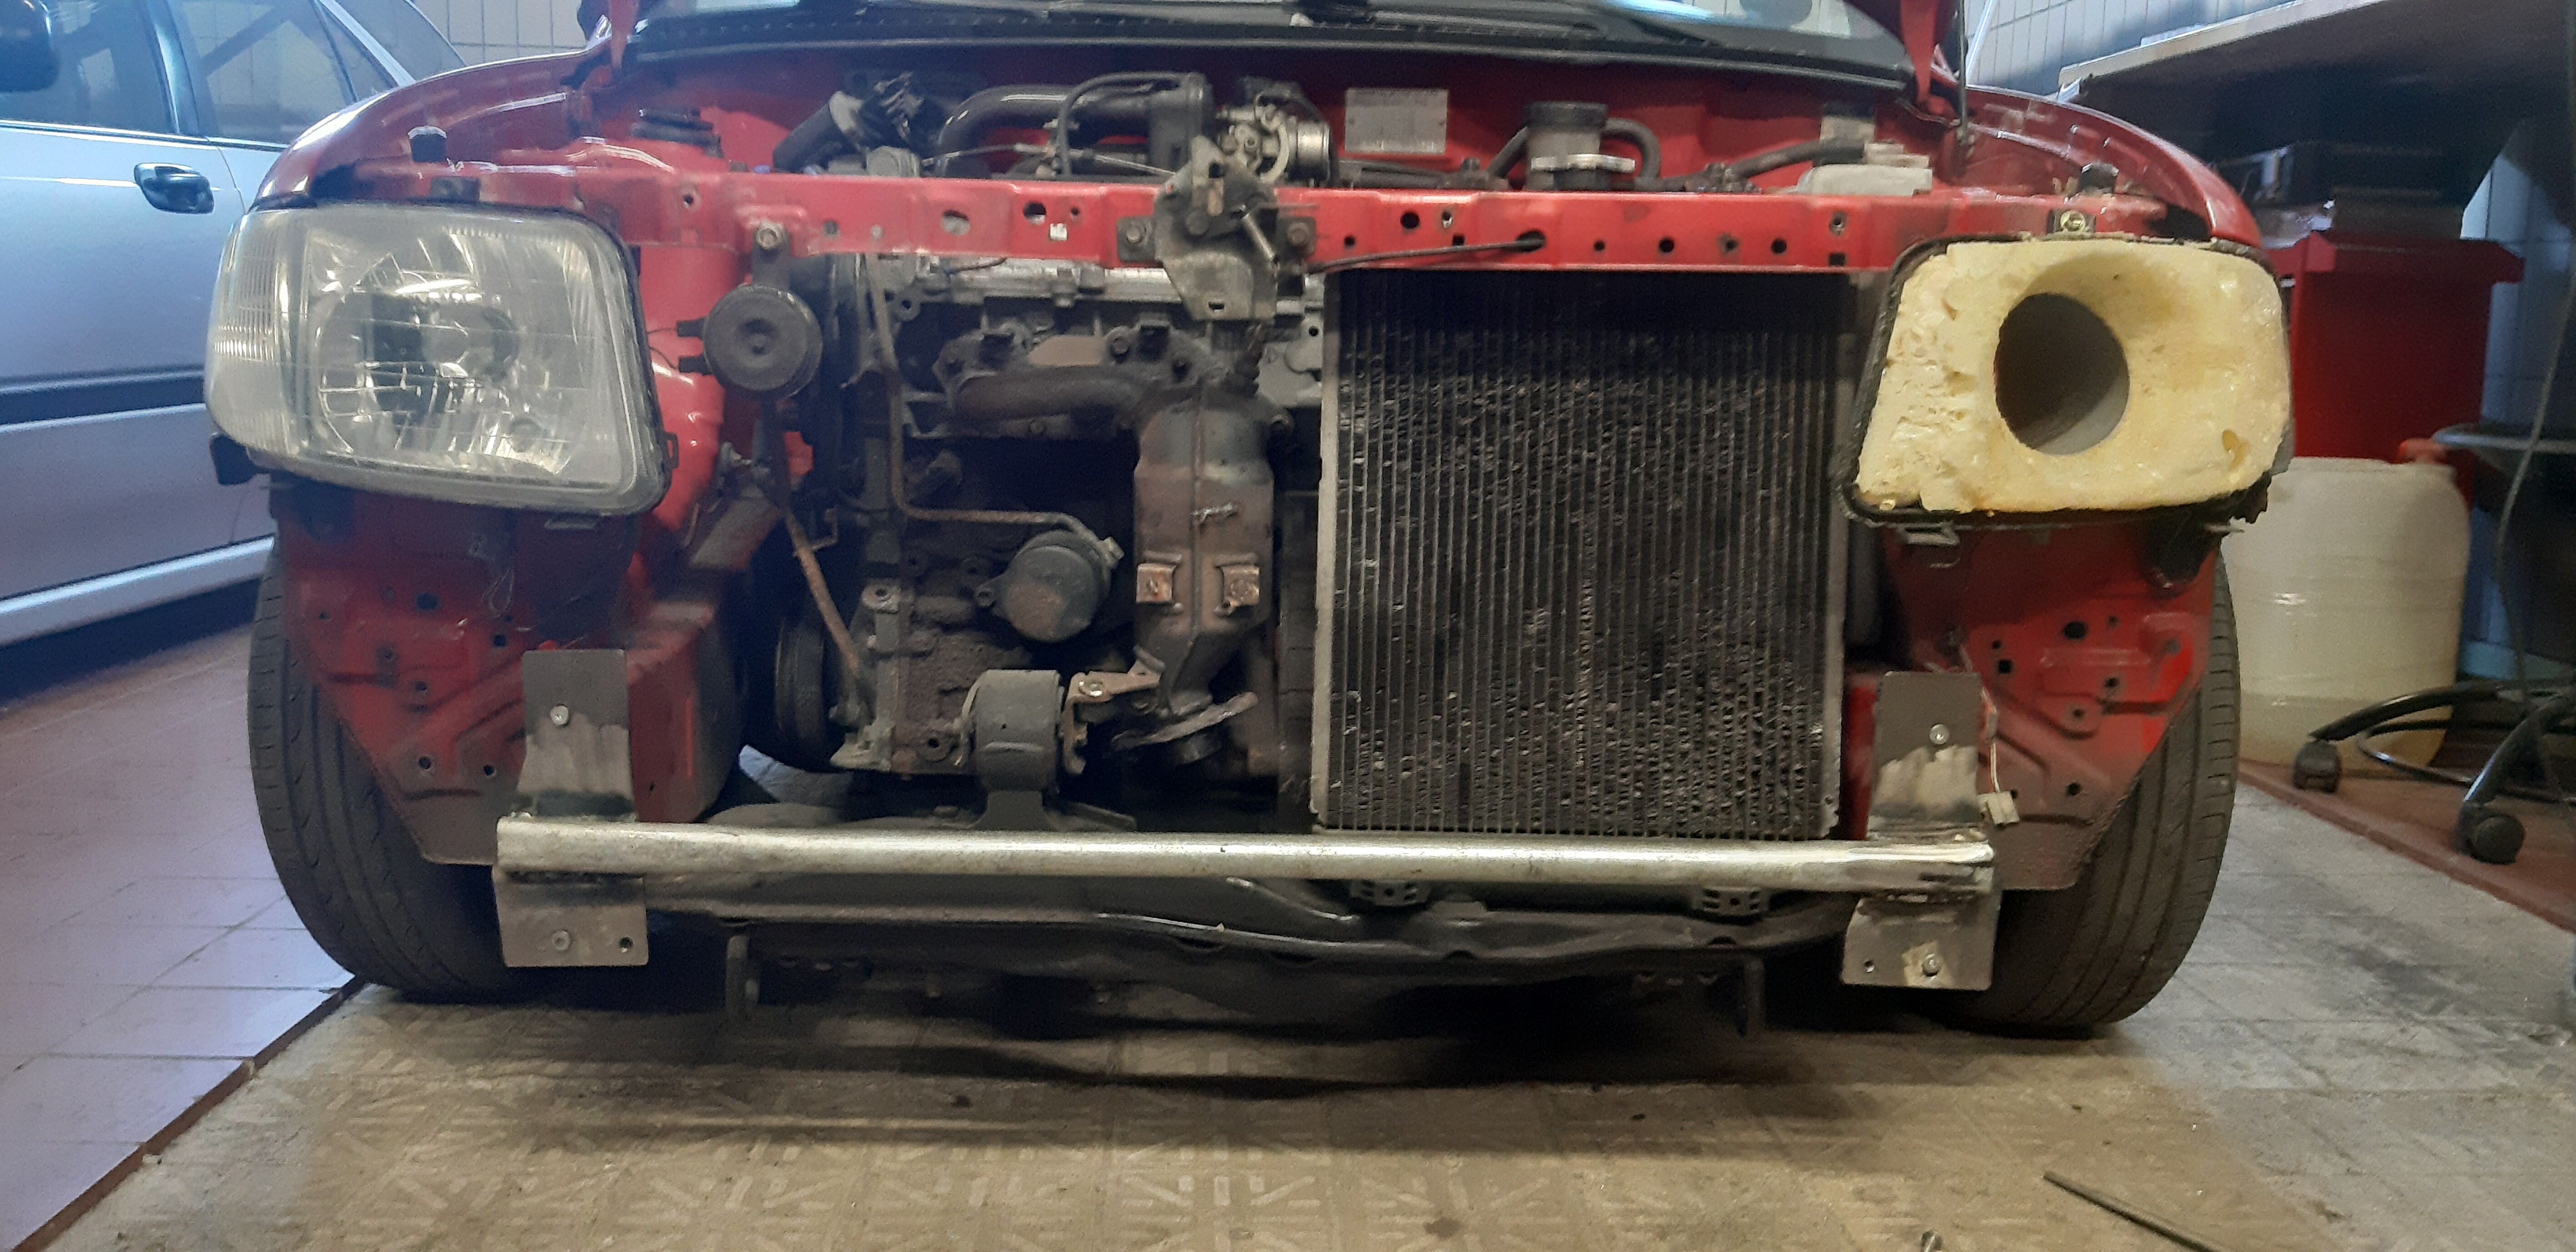
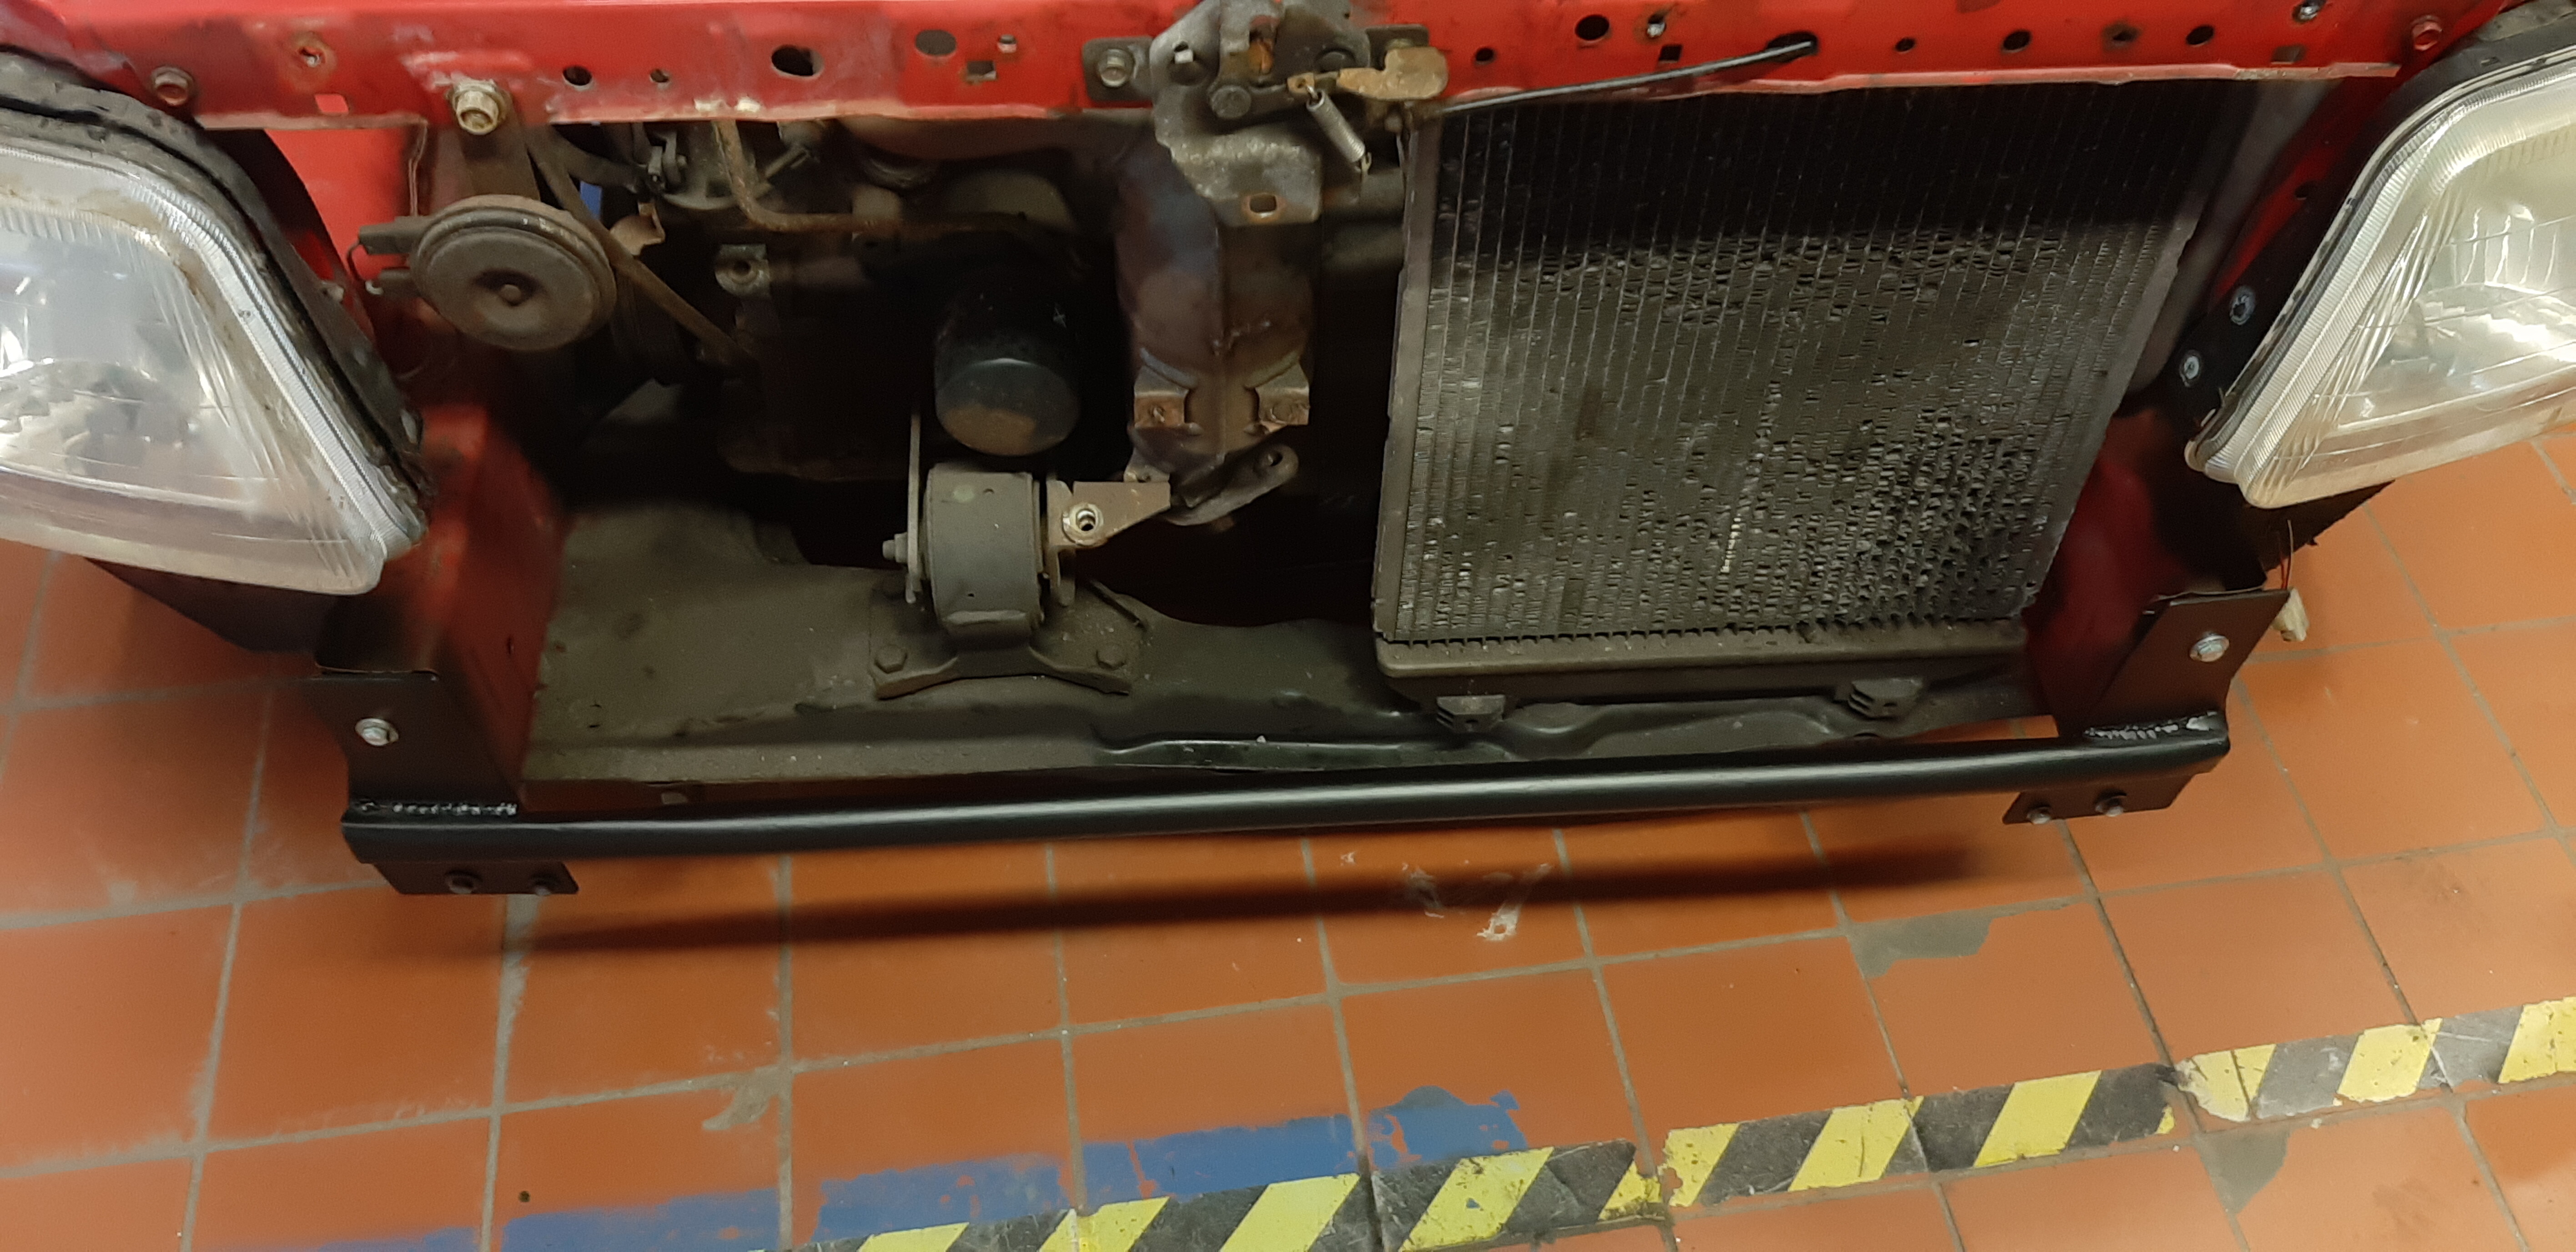
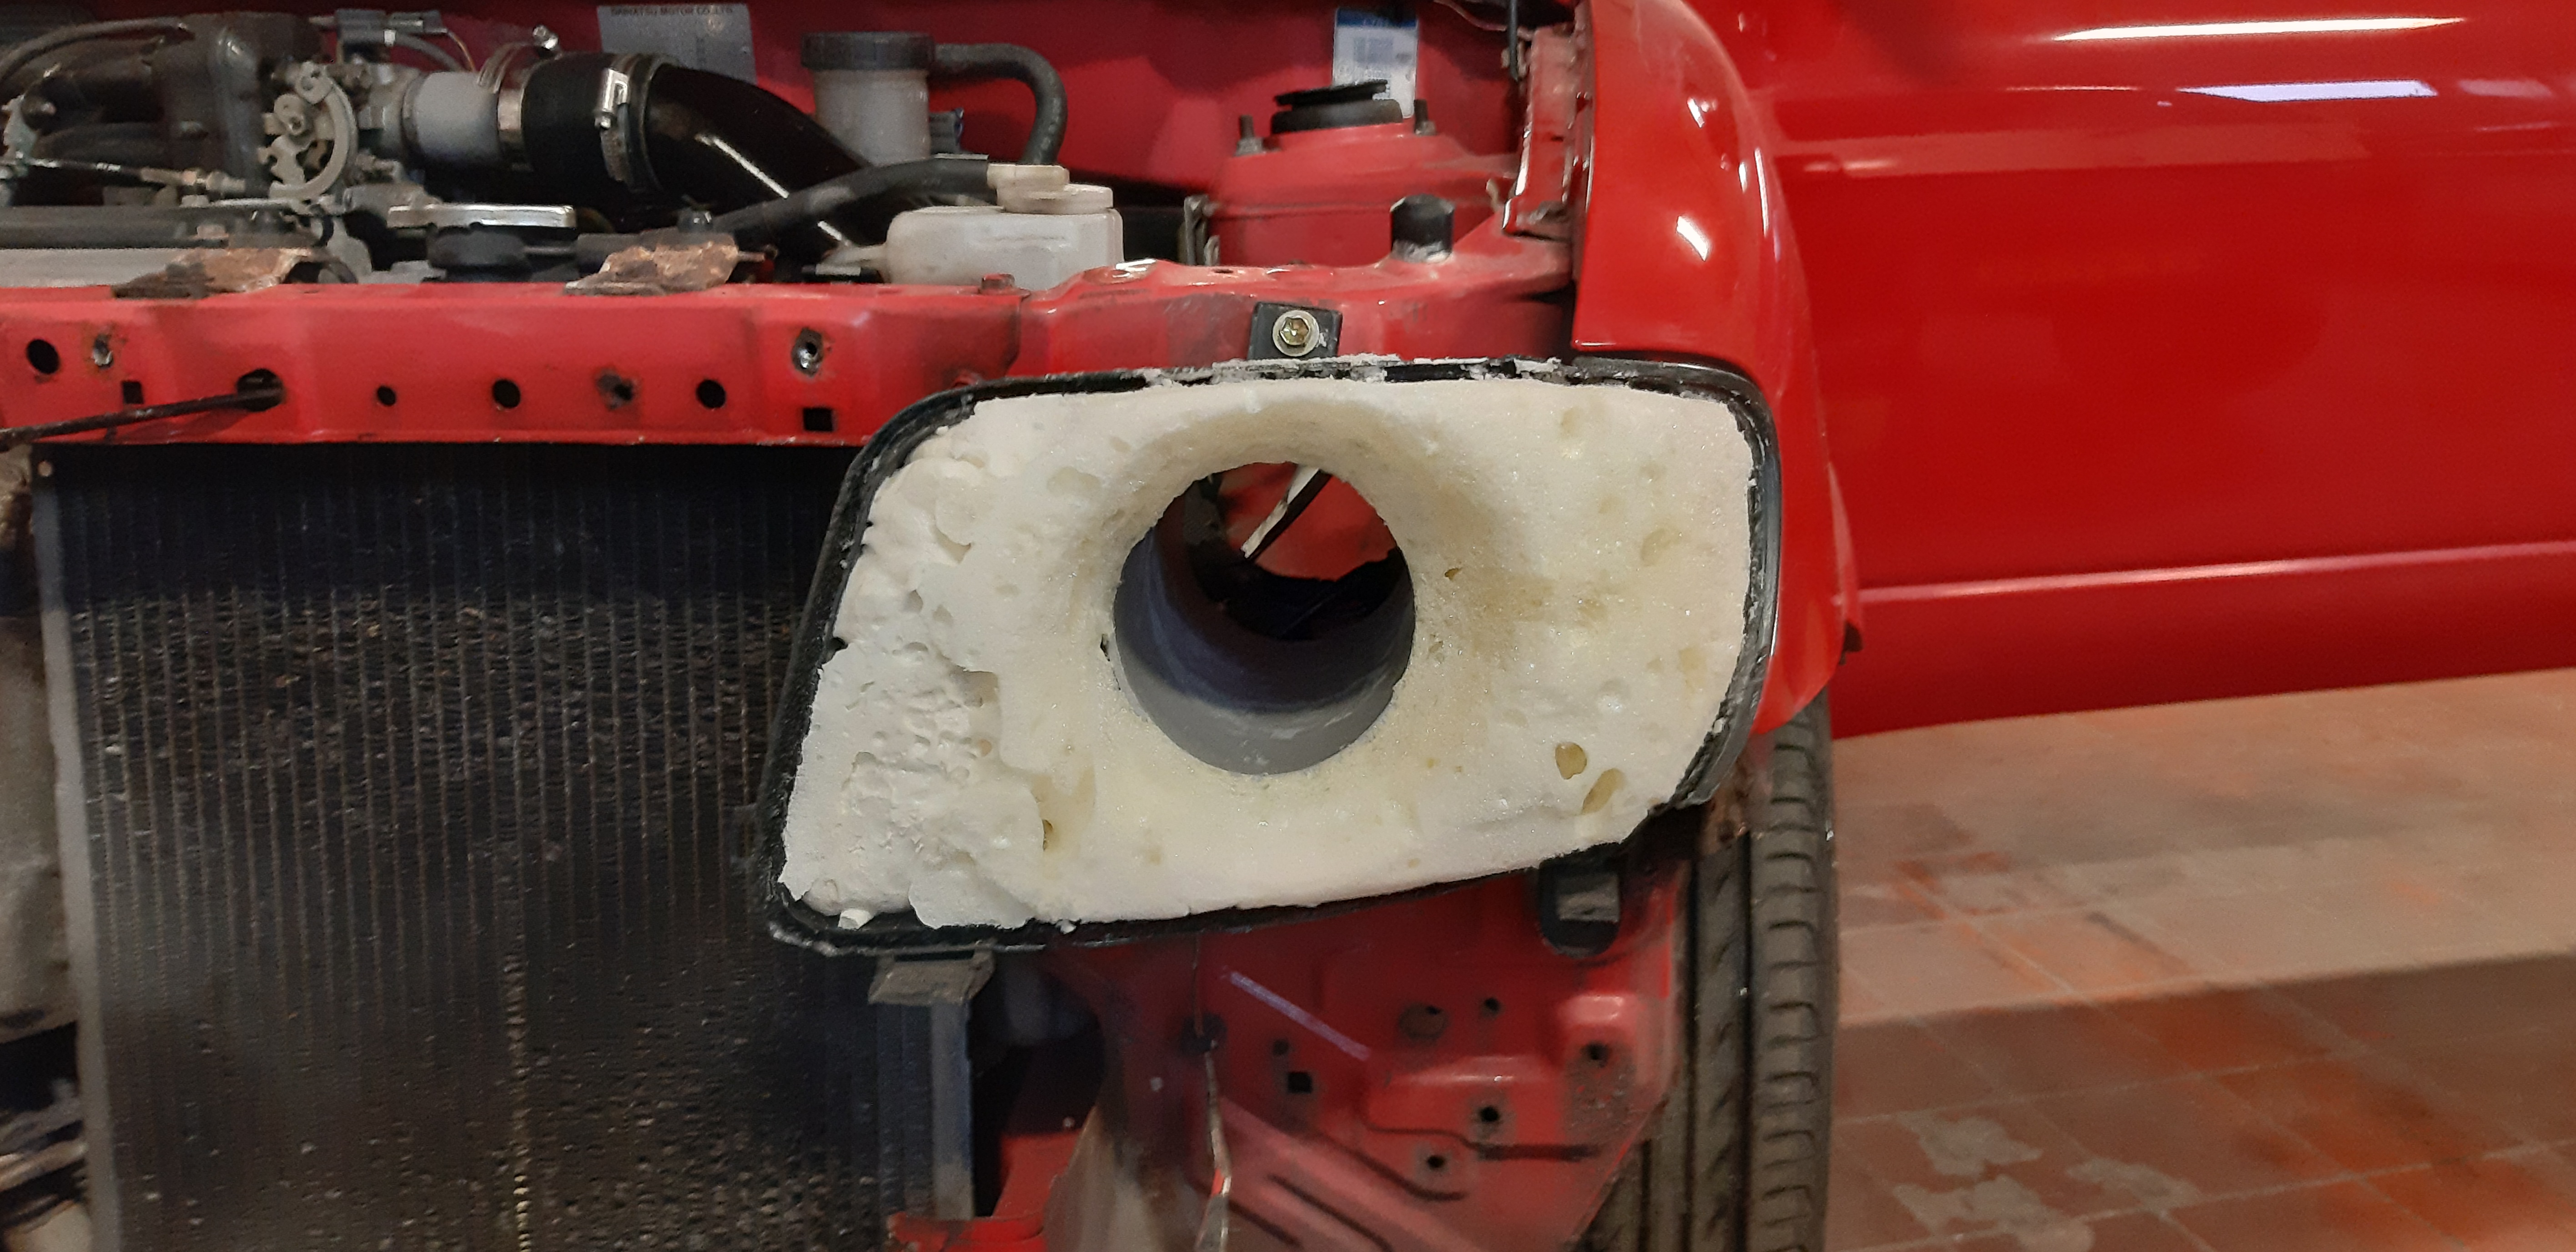
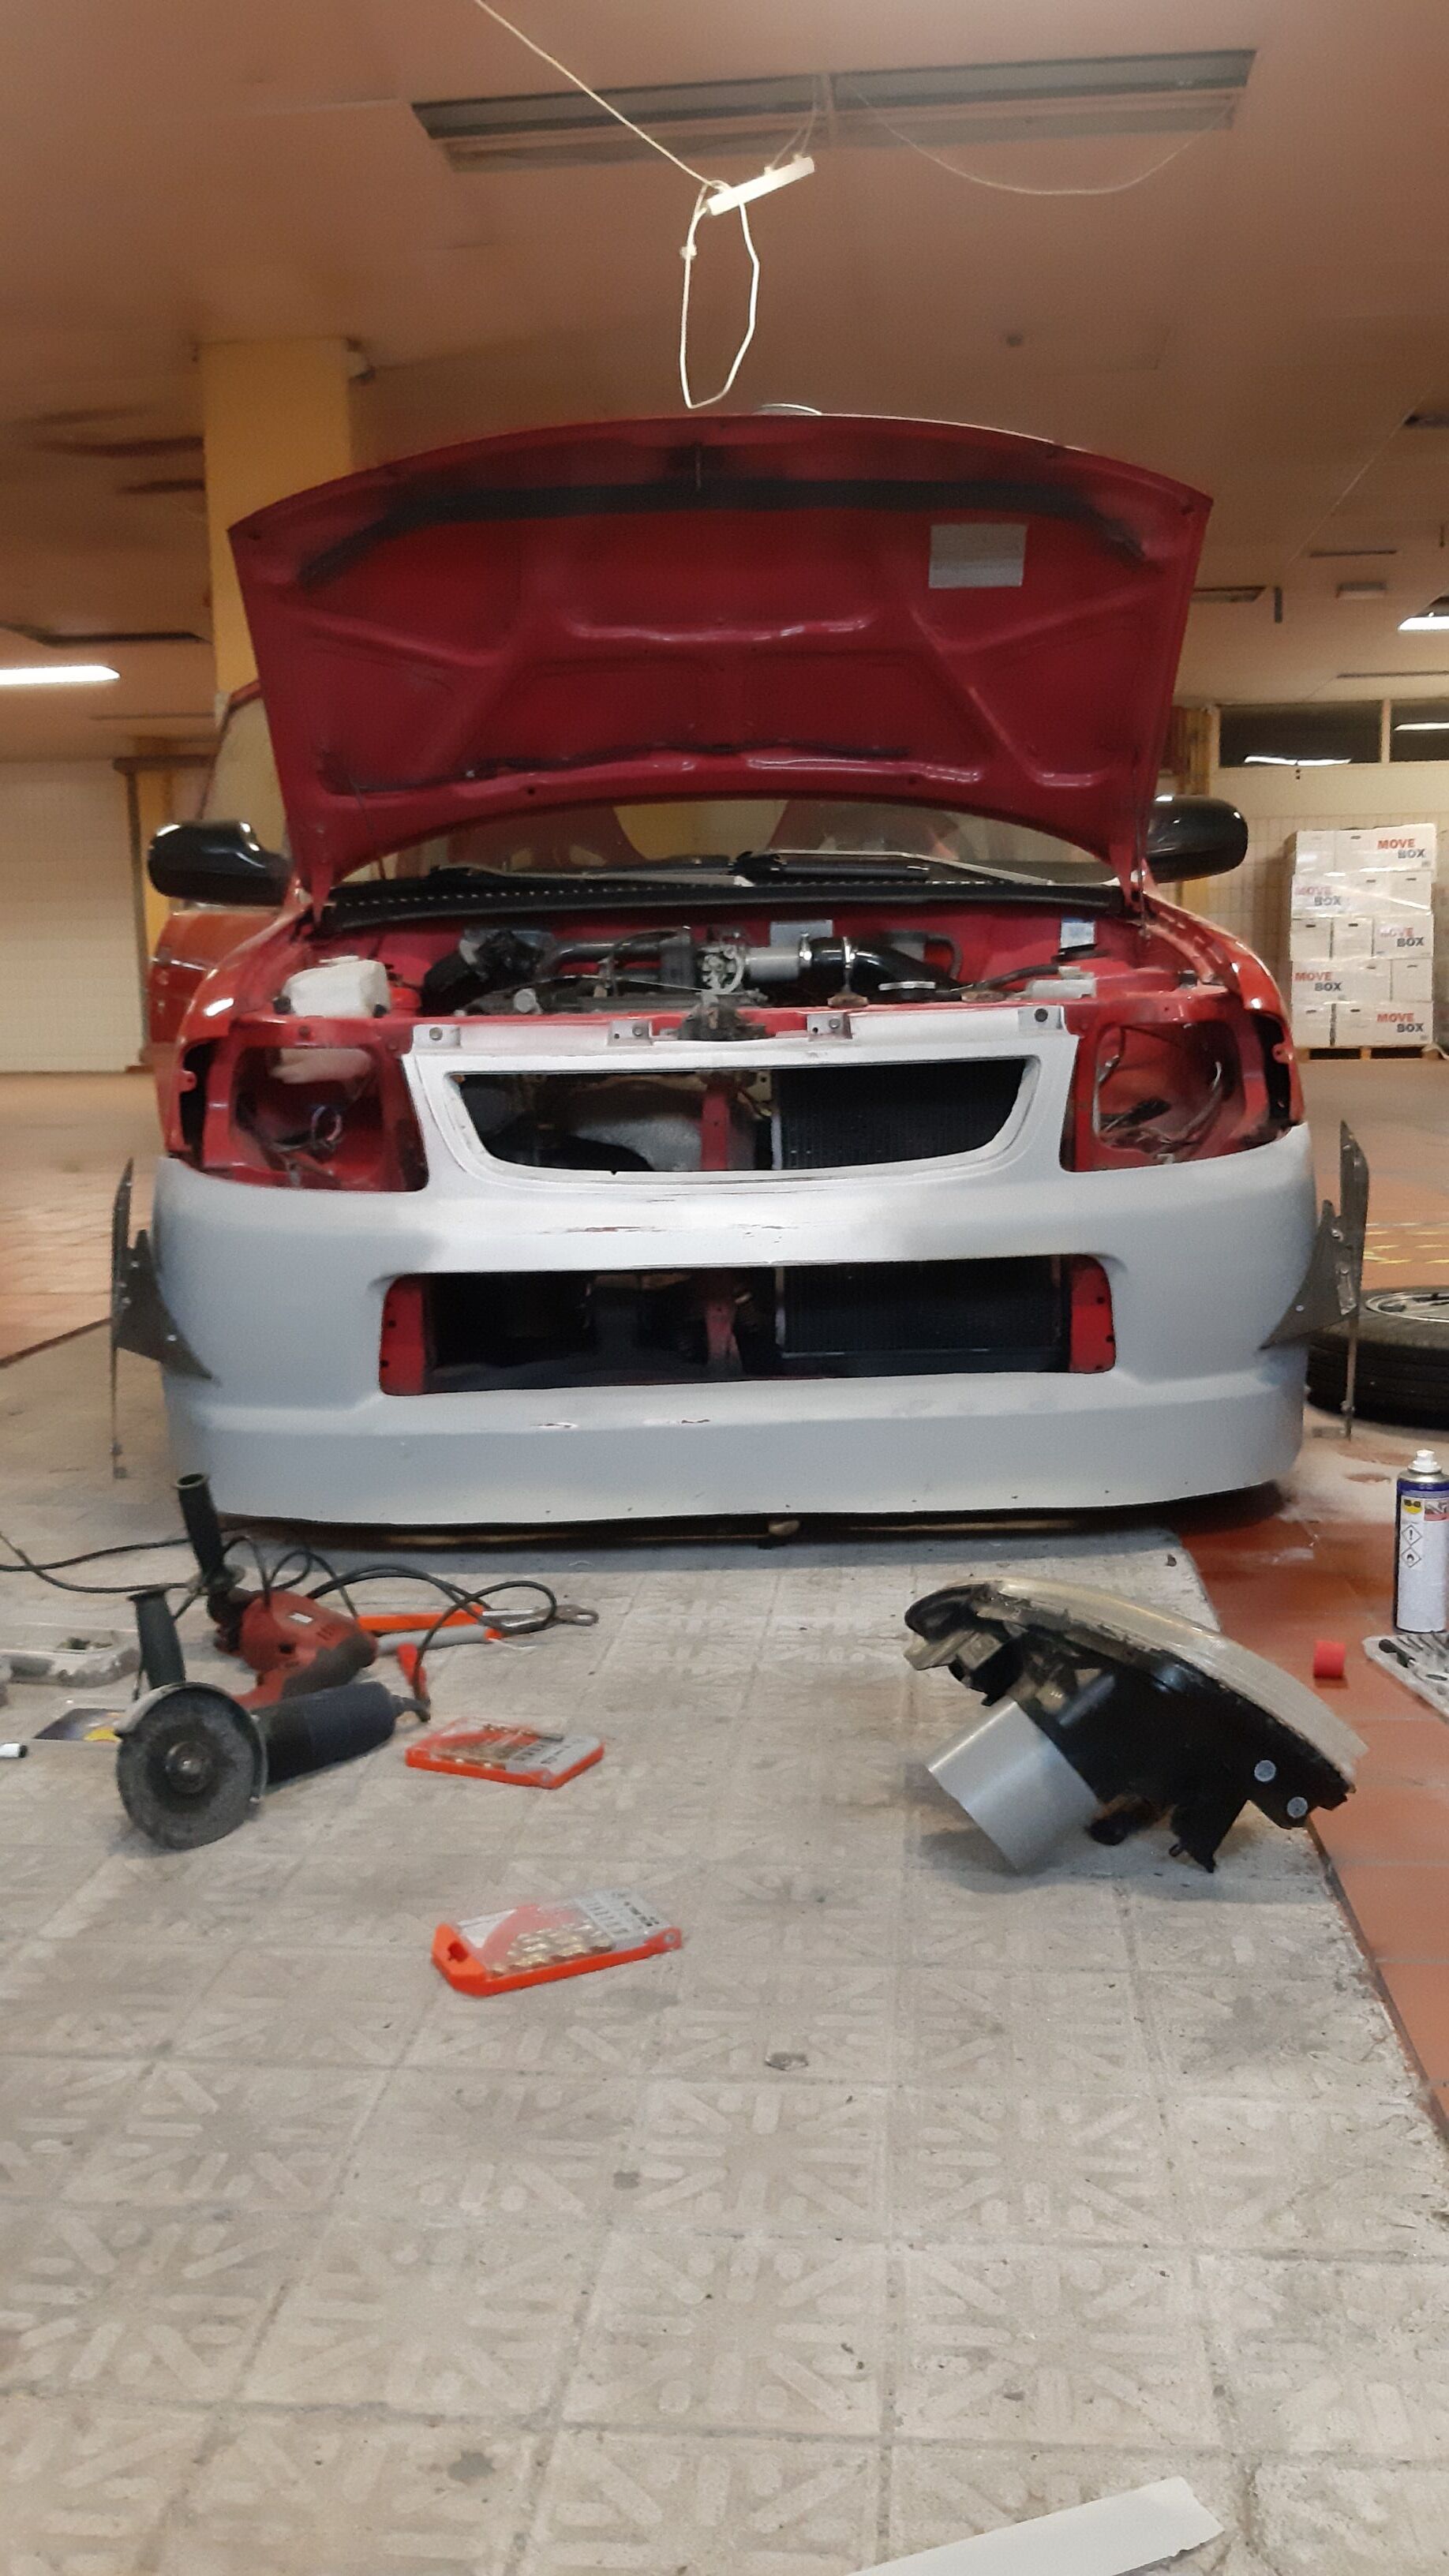
-intake (working on a headlight intake)
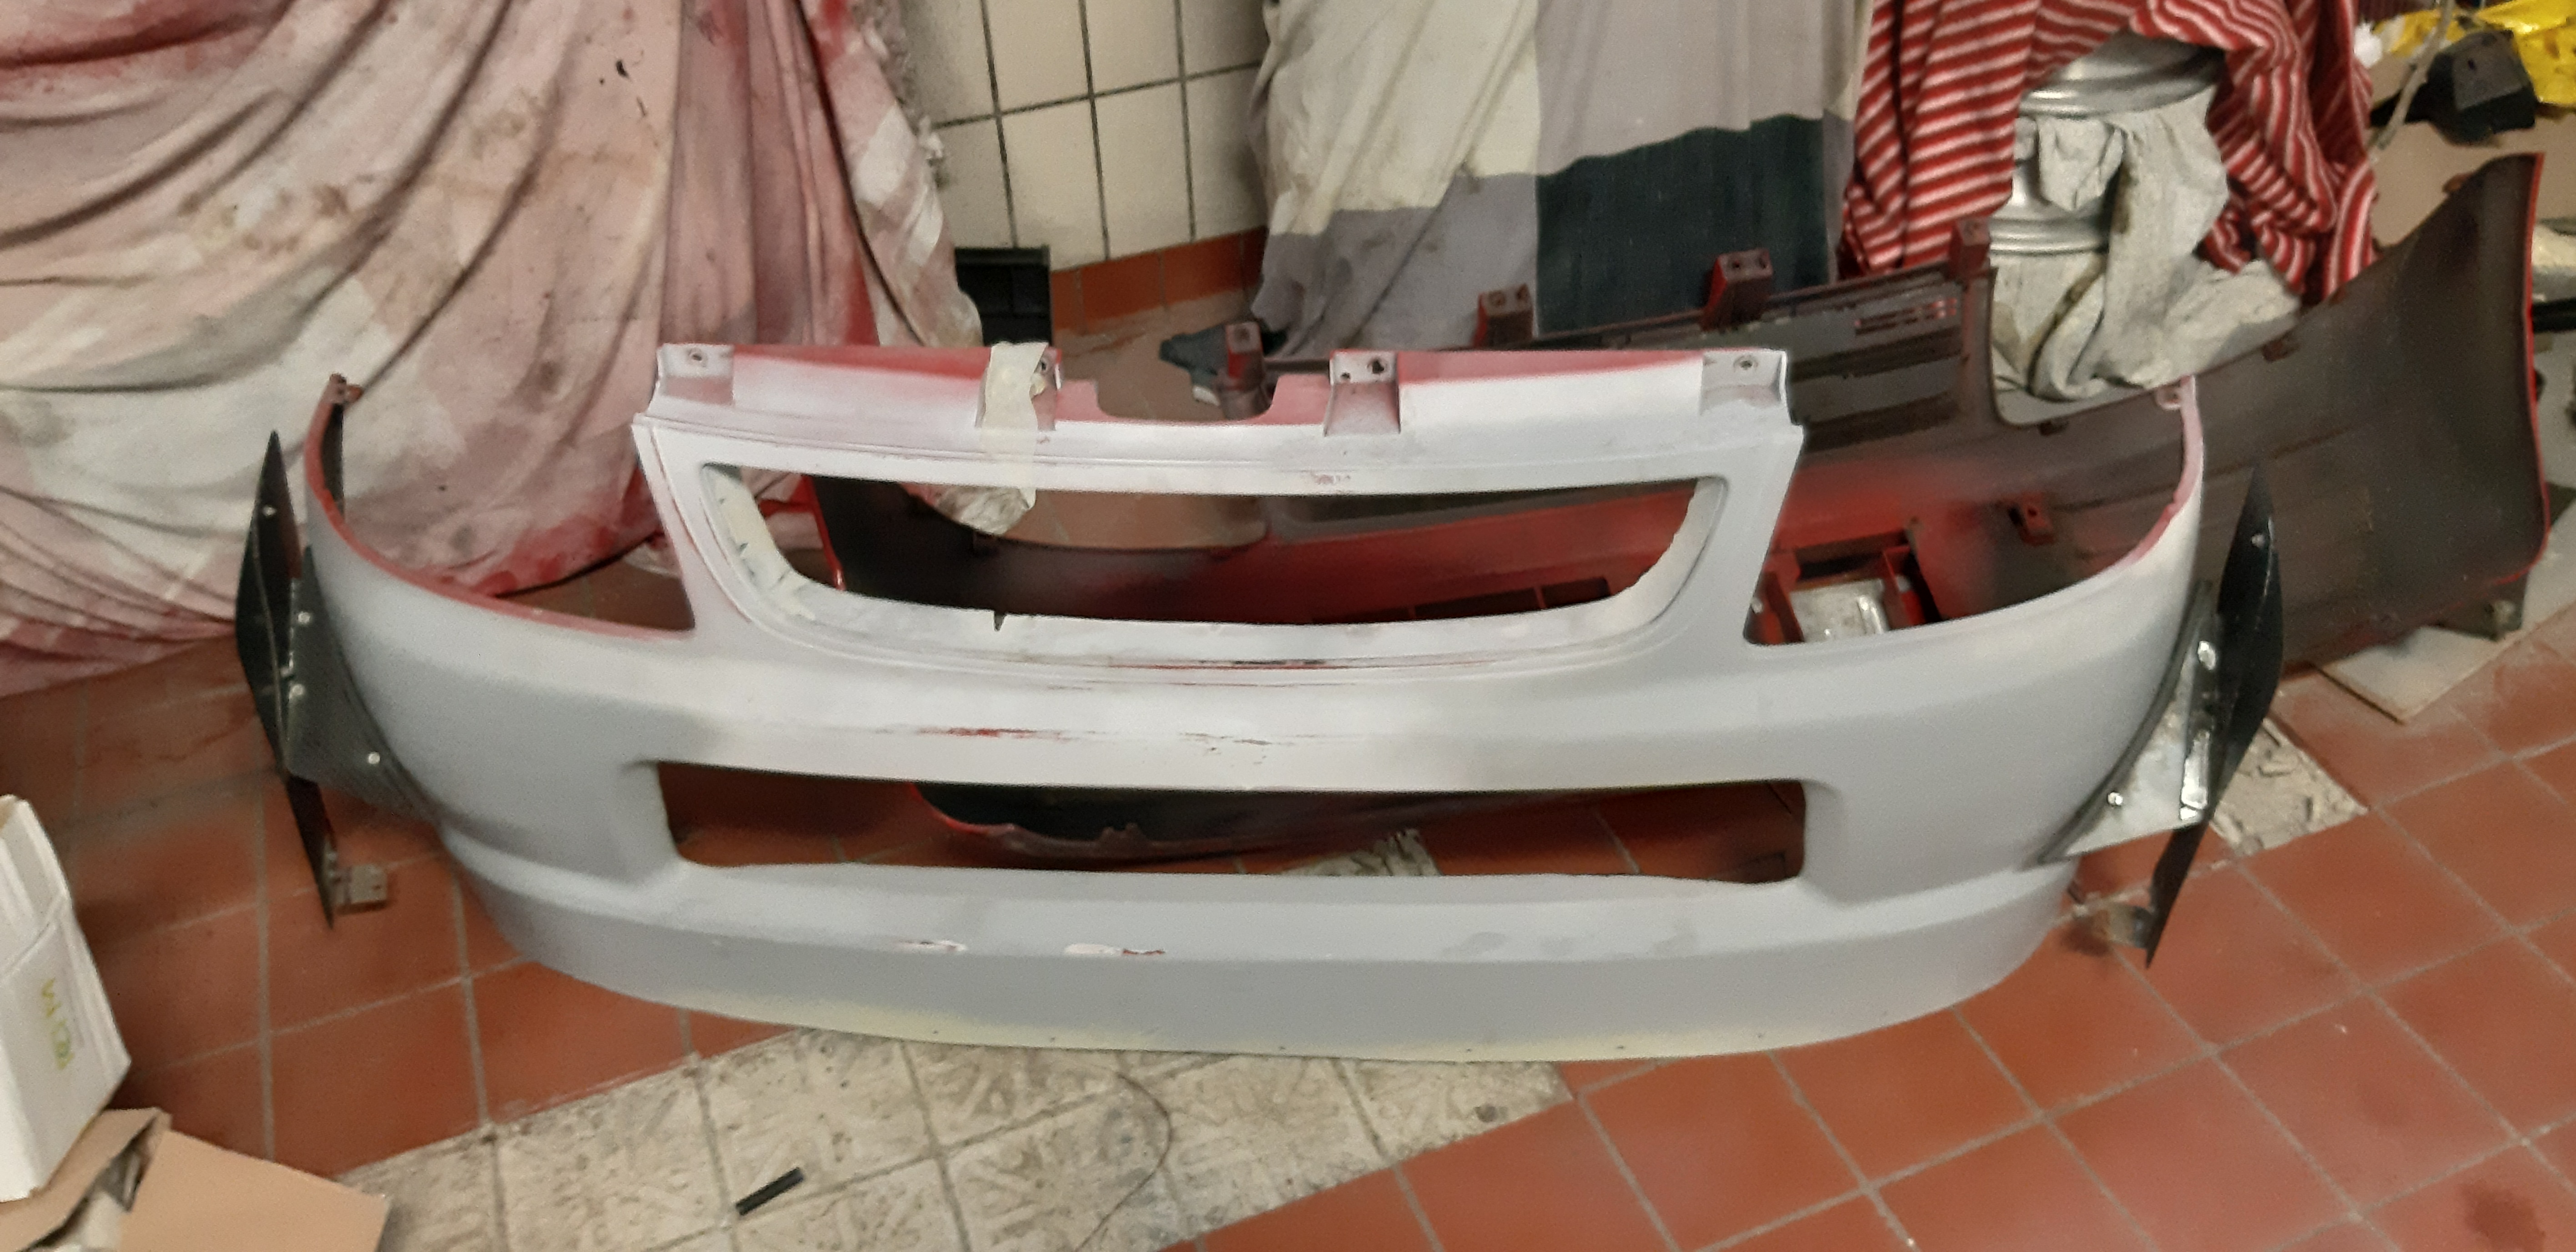
-bumper
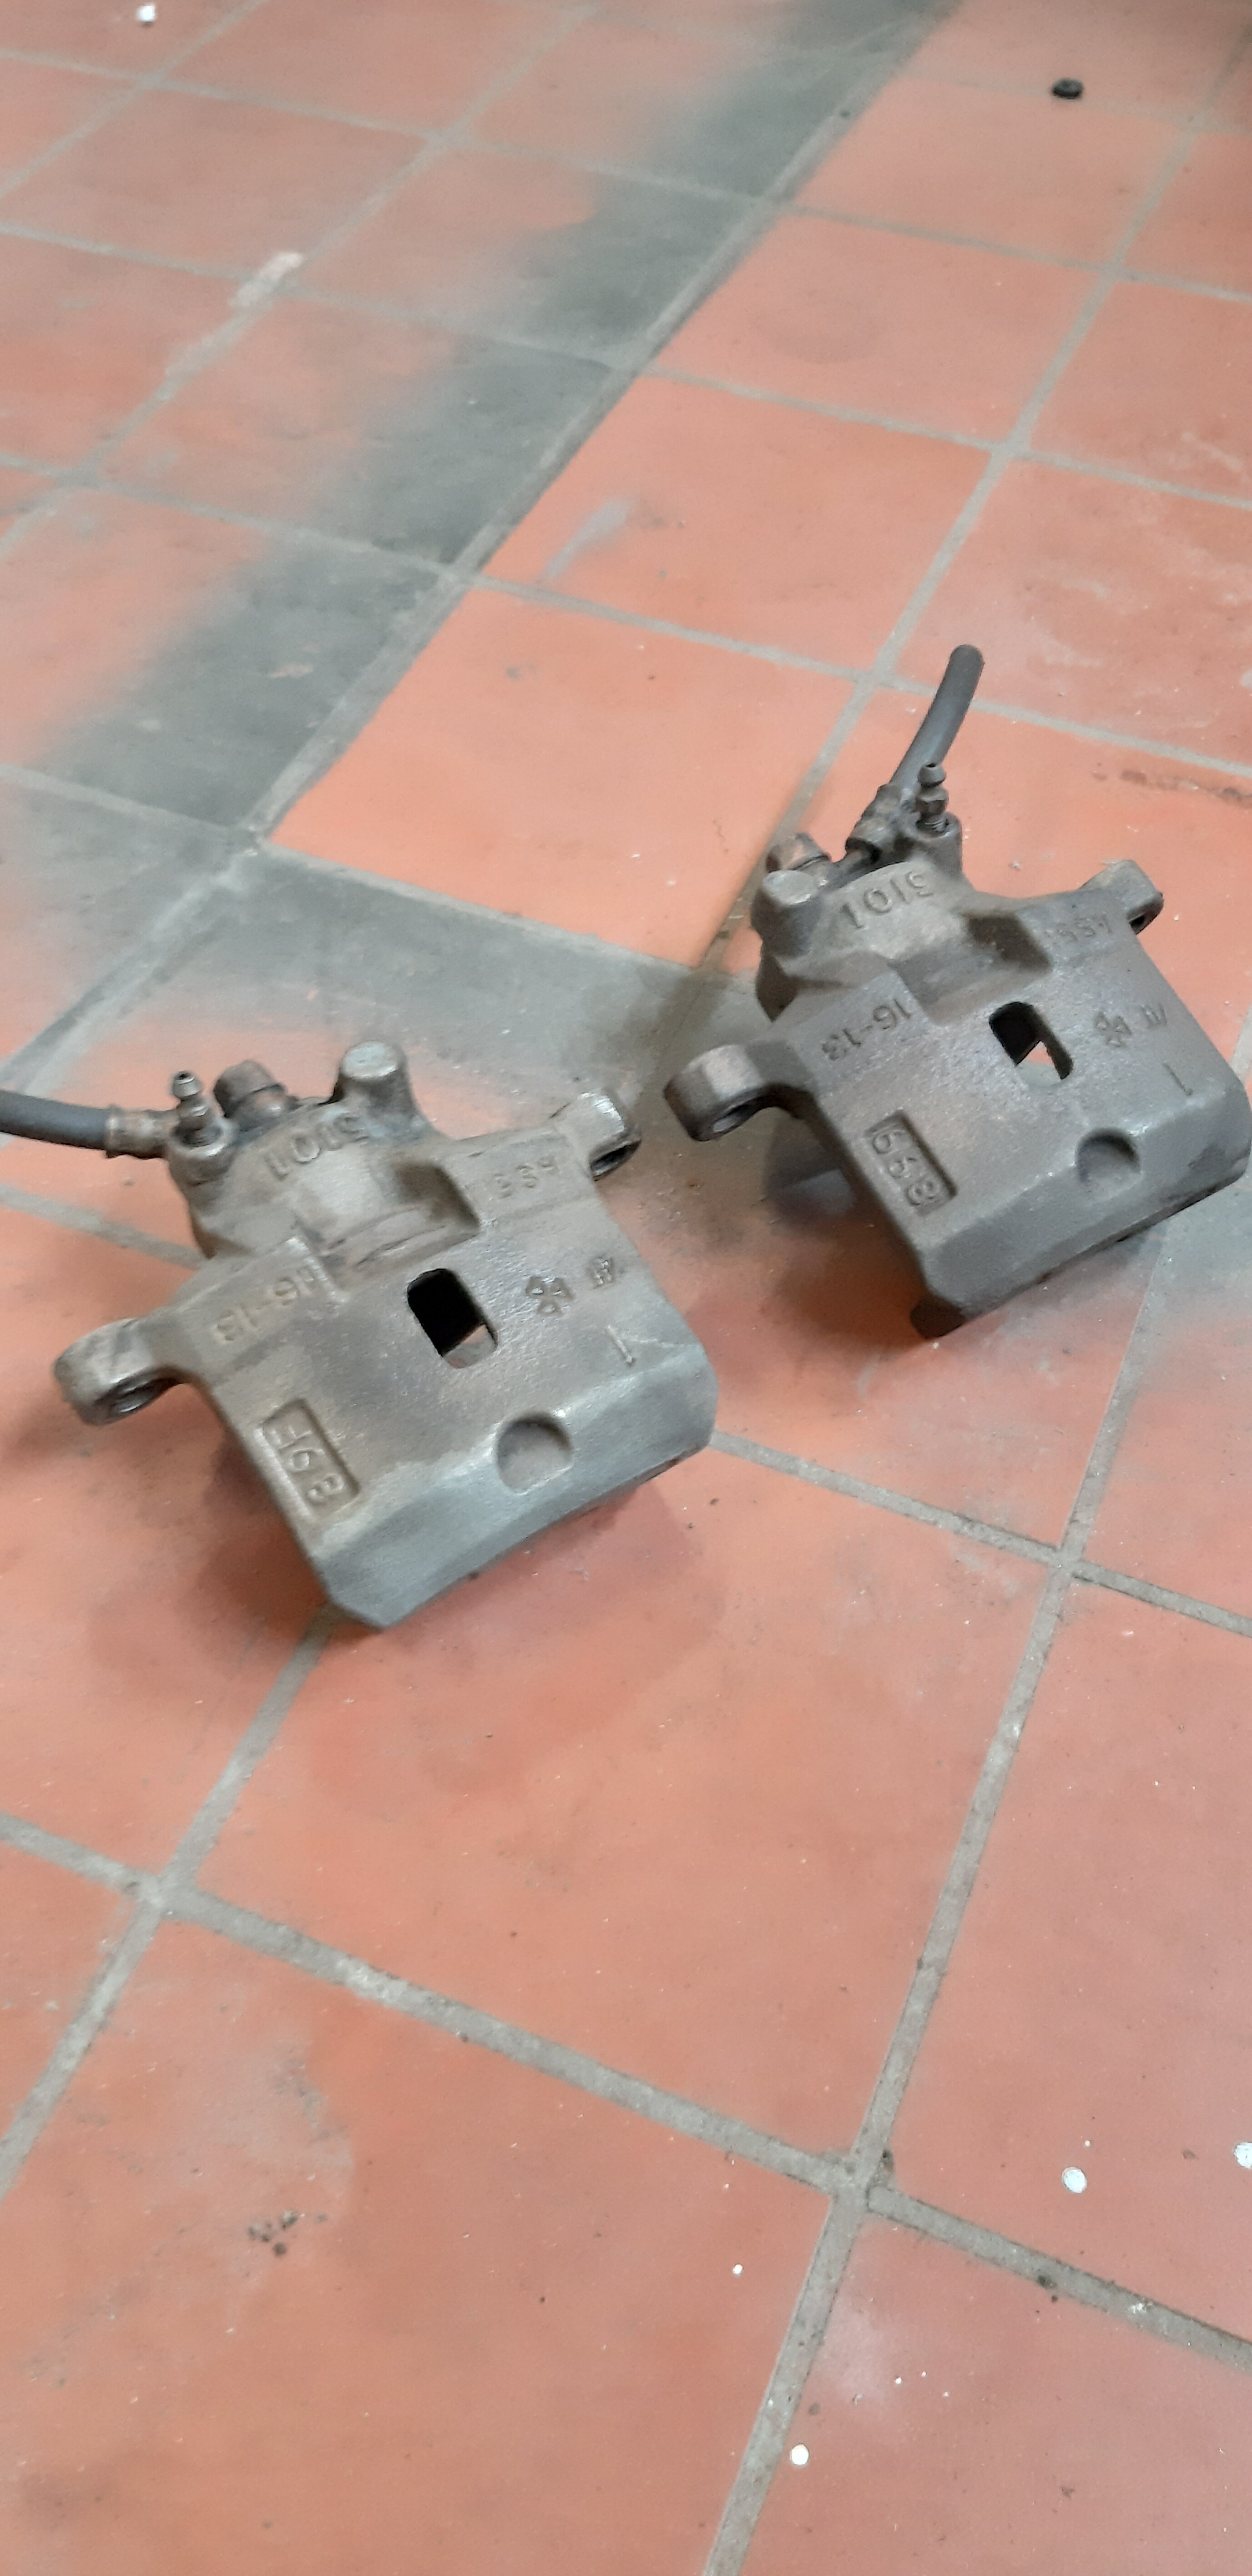
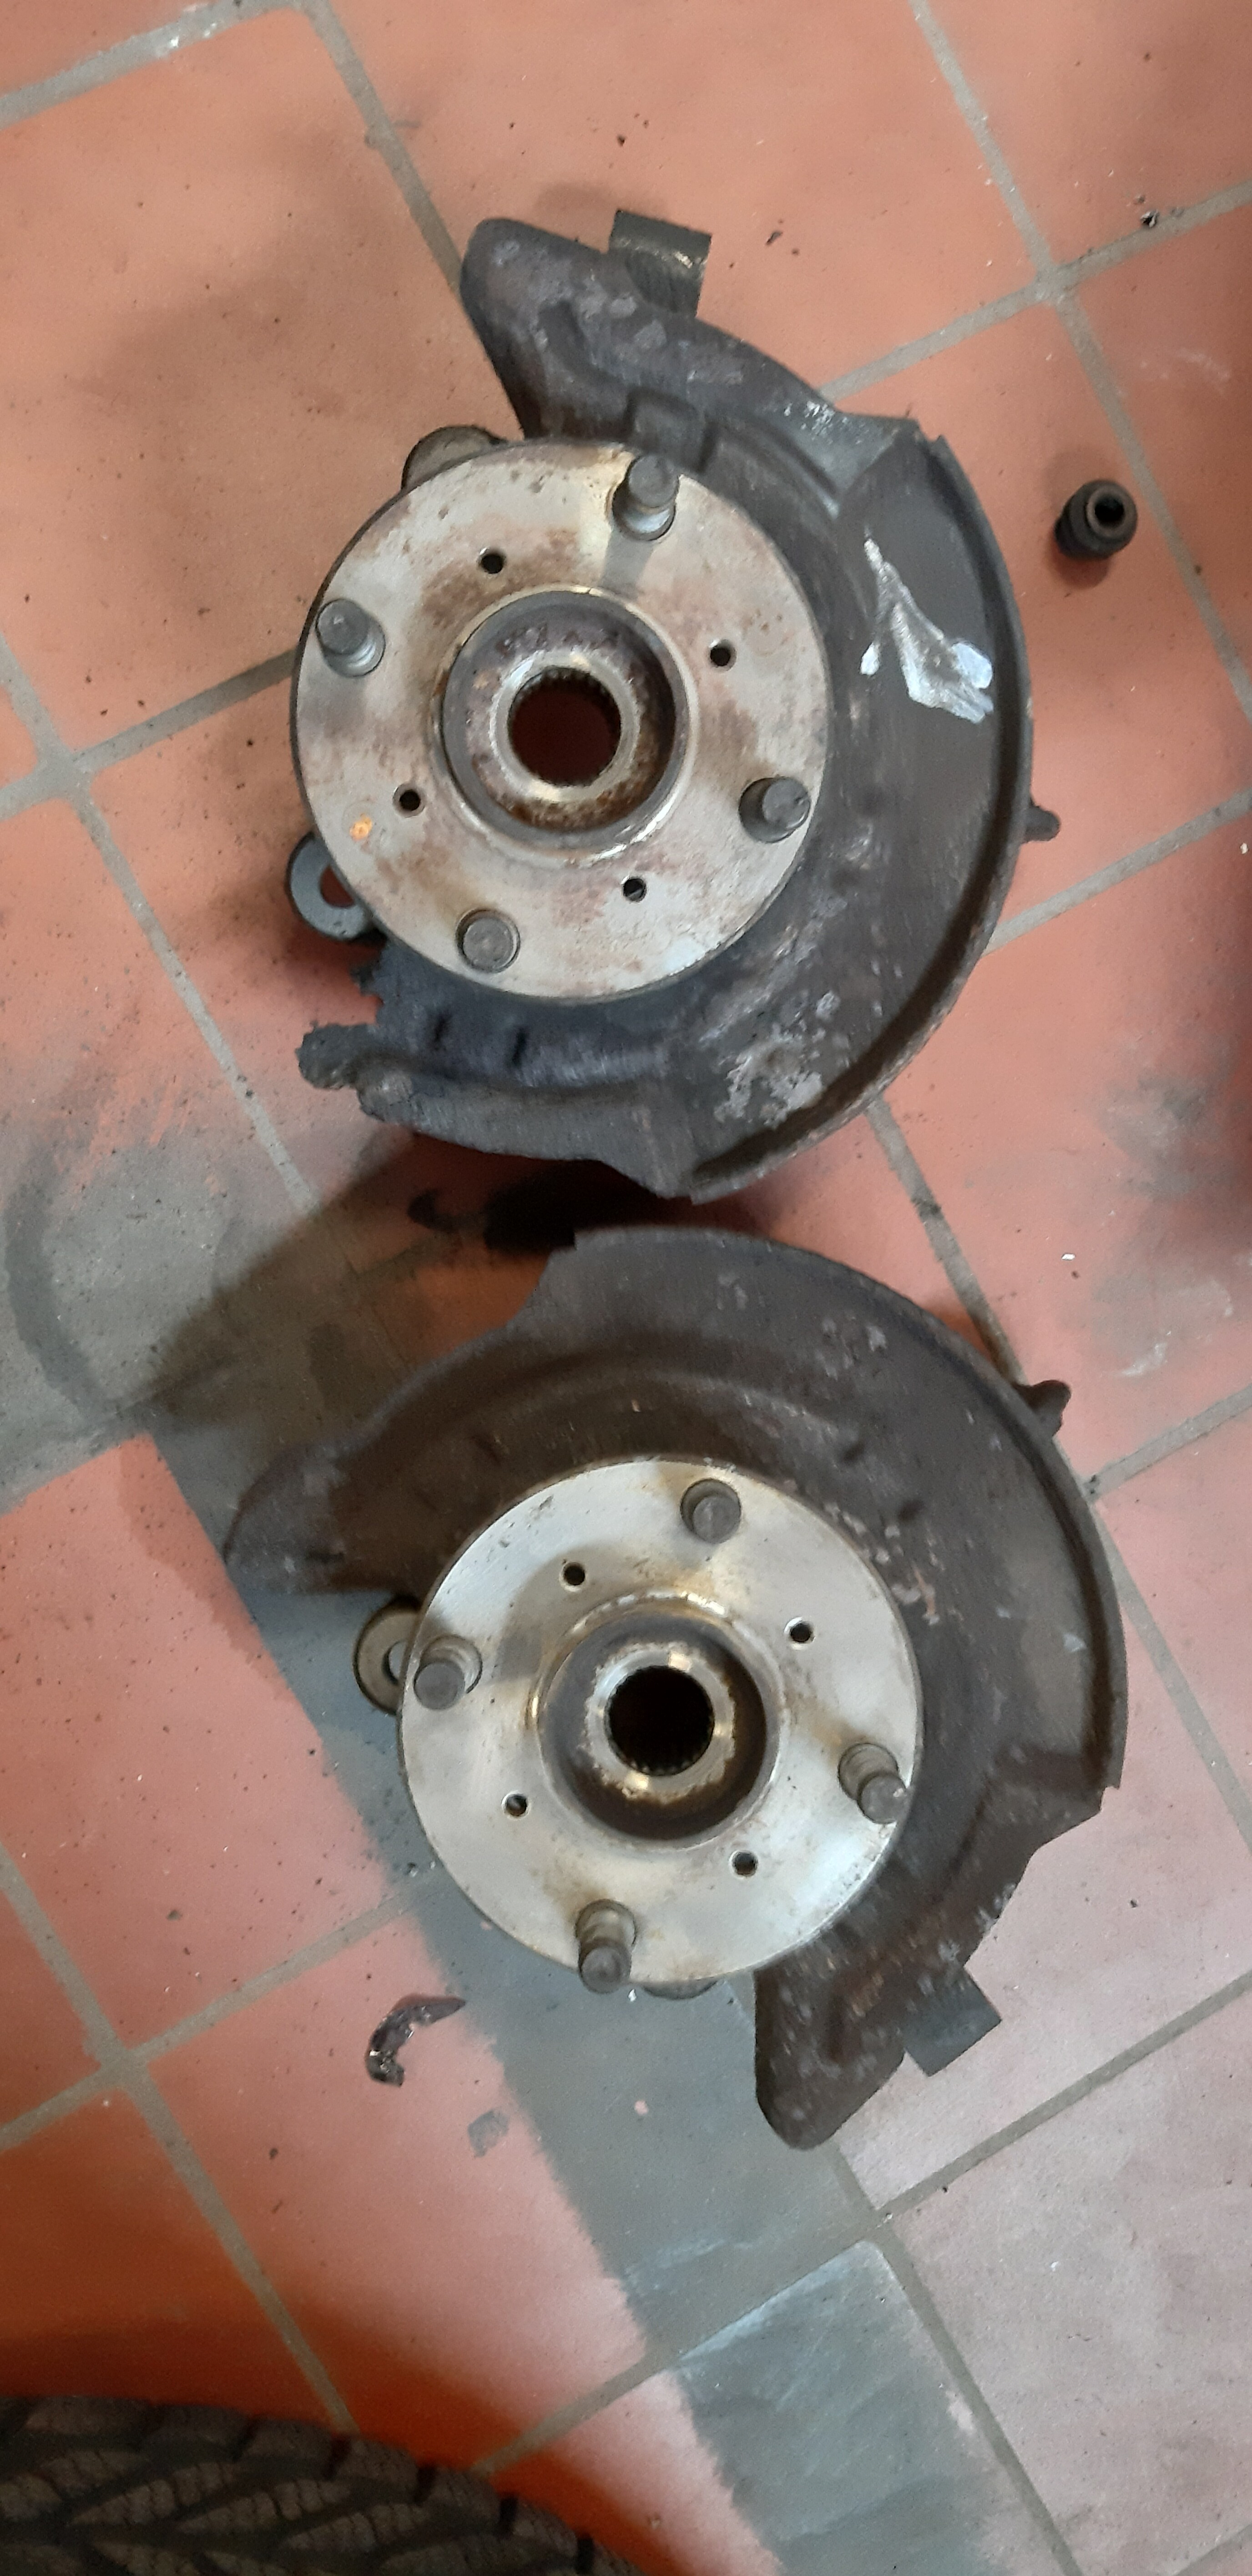
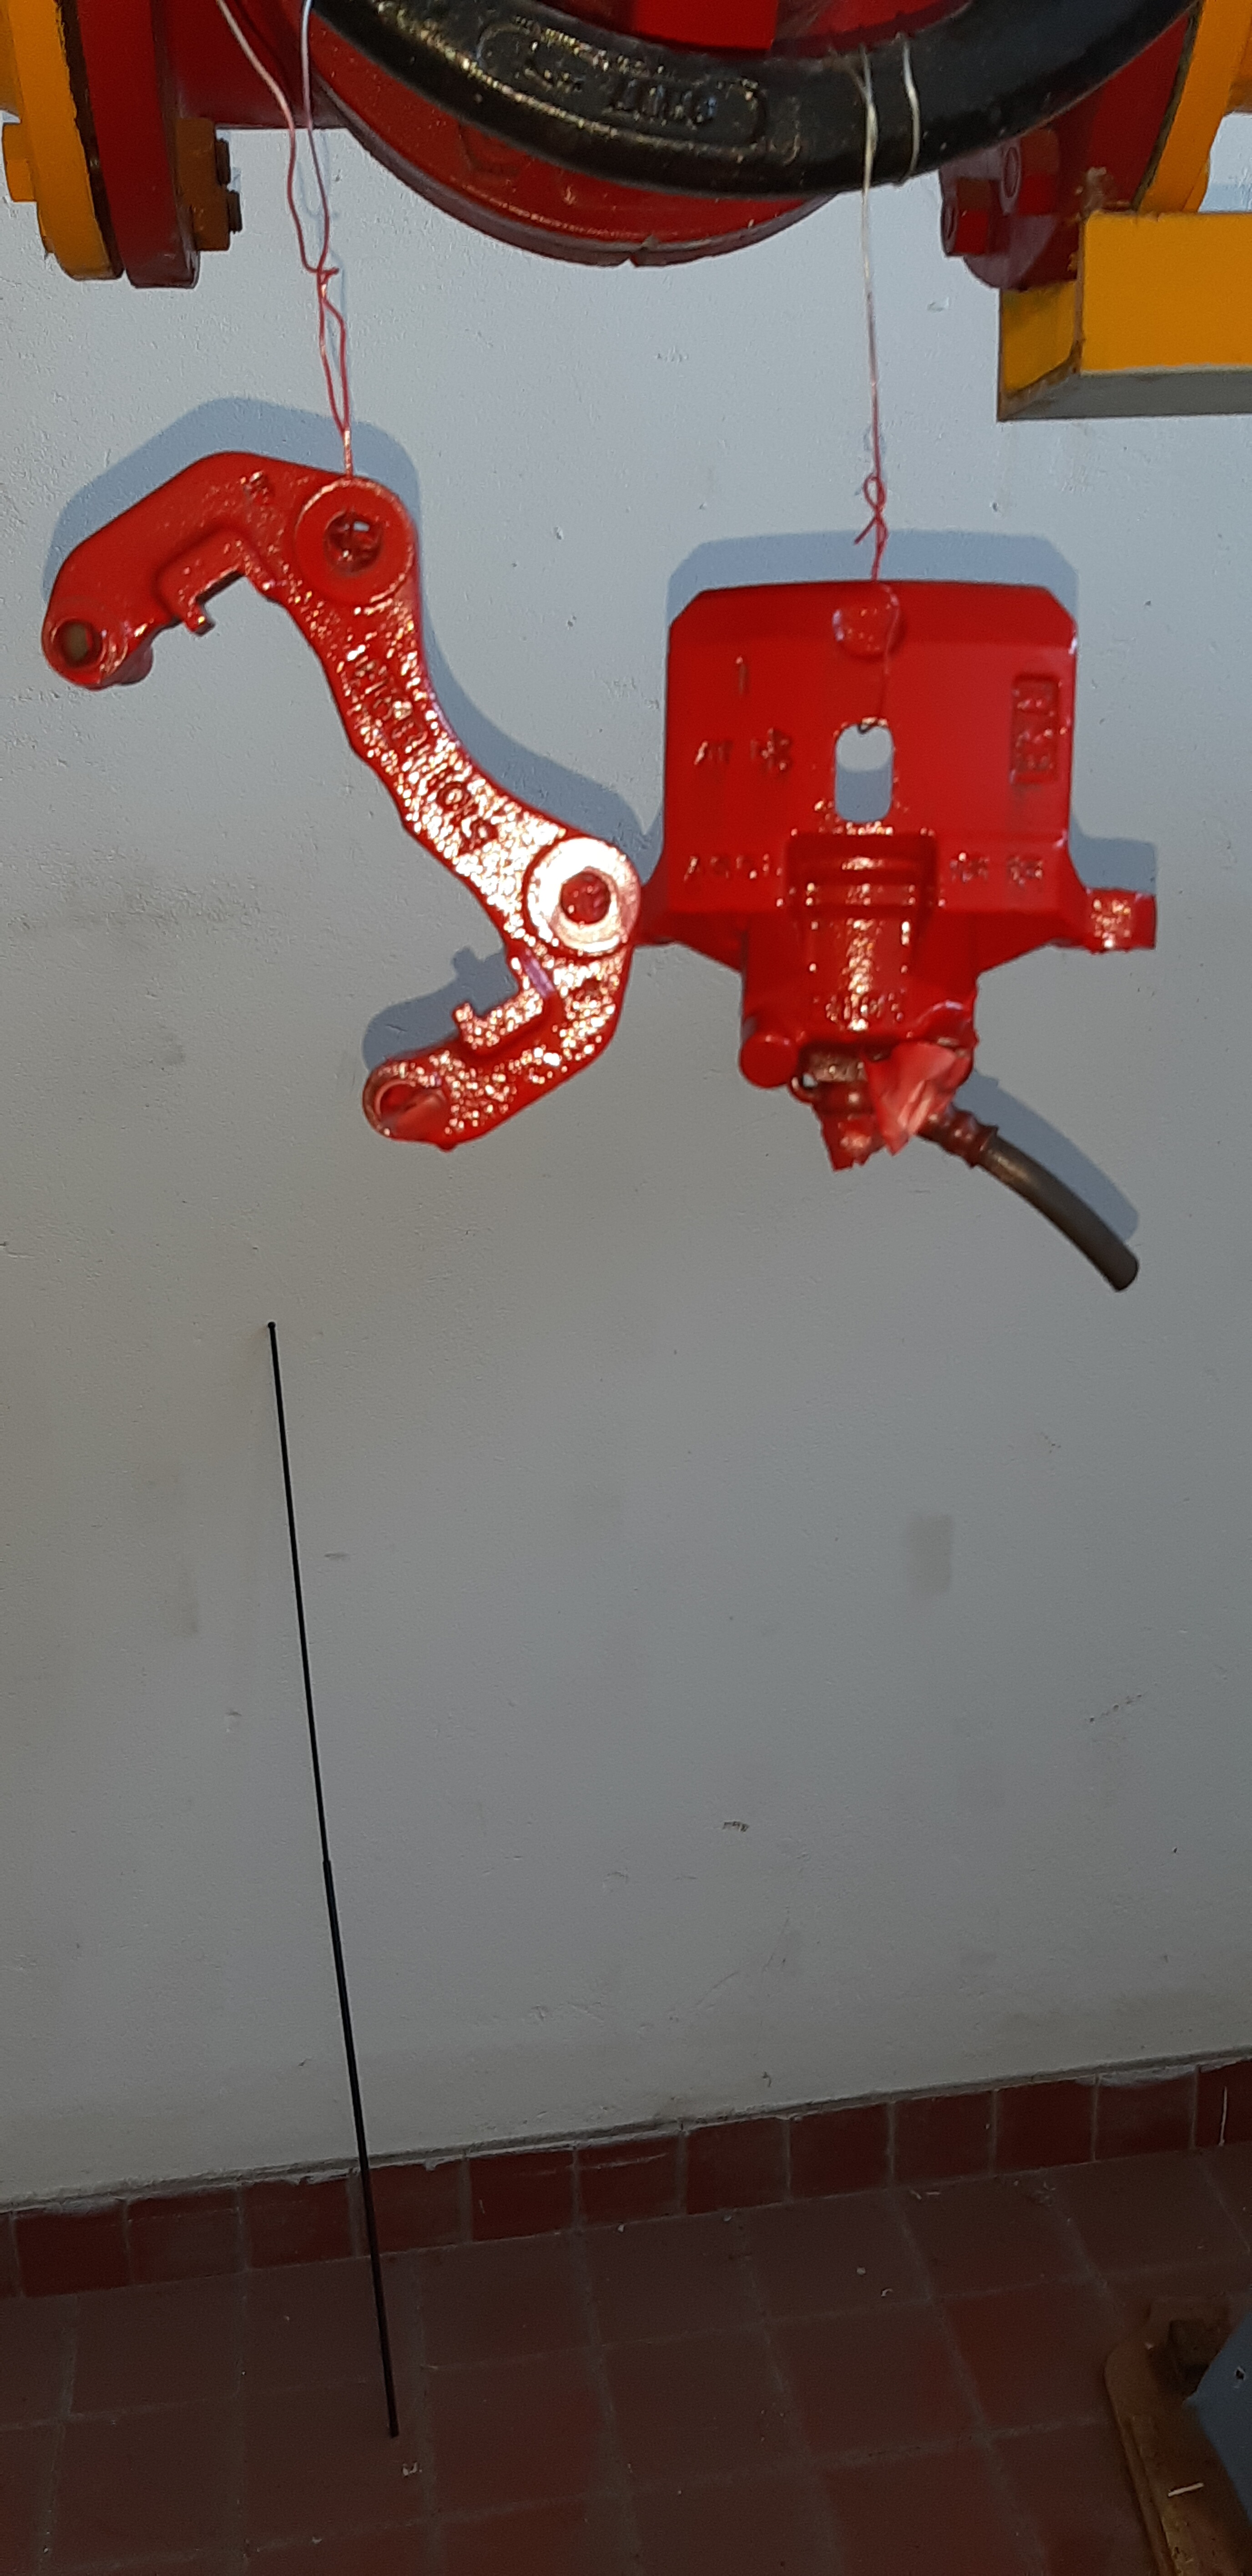
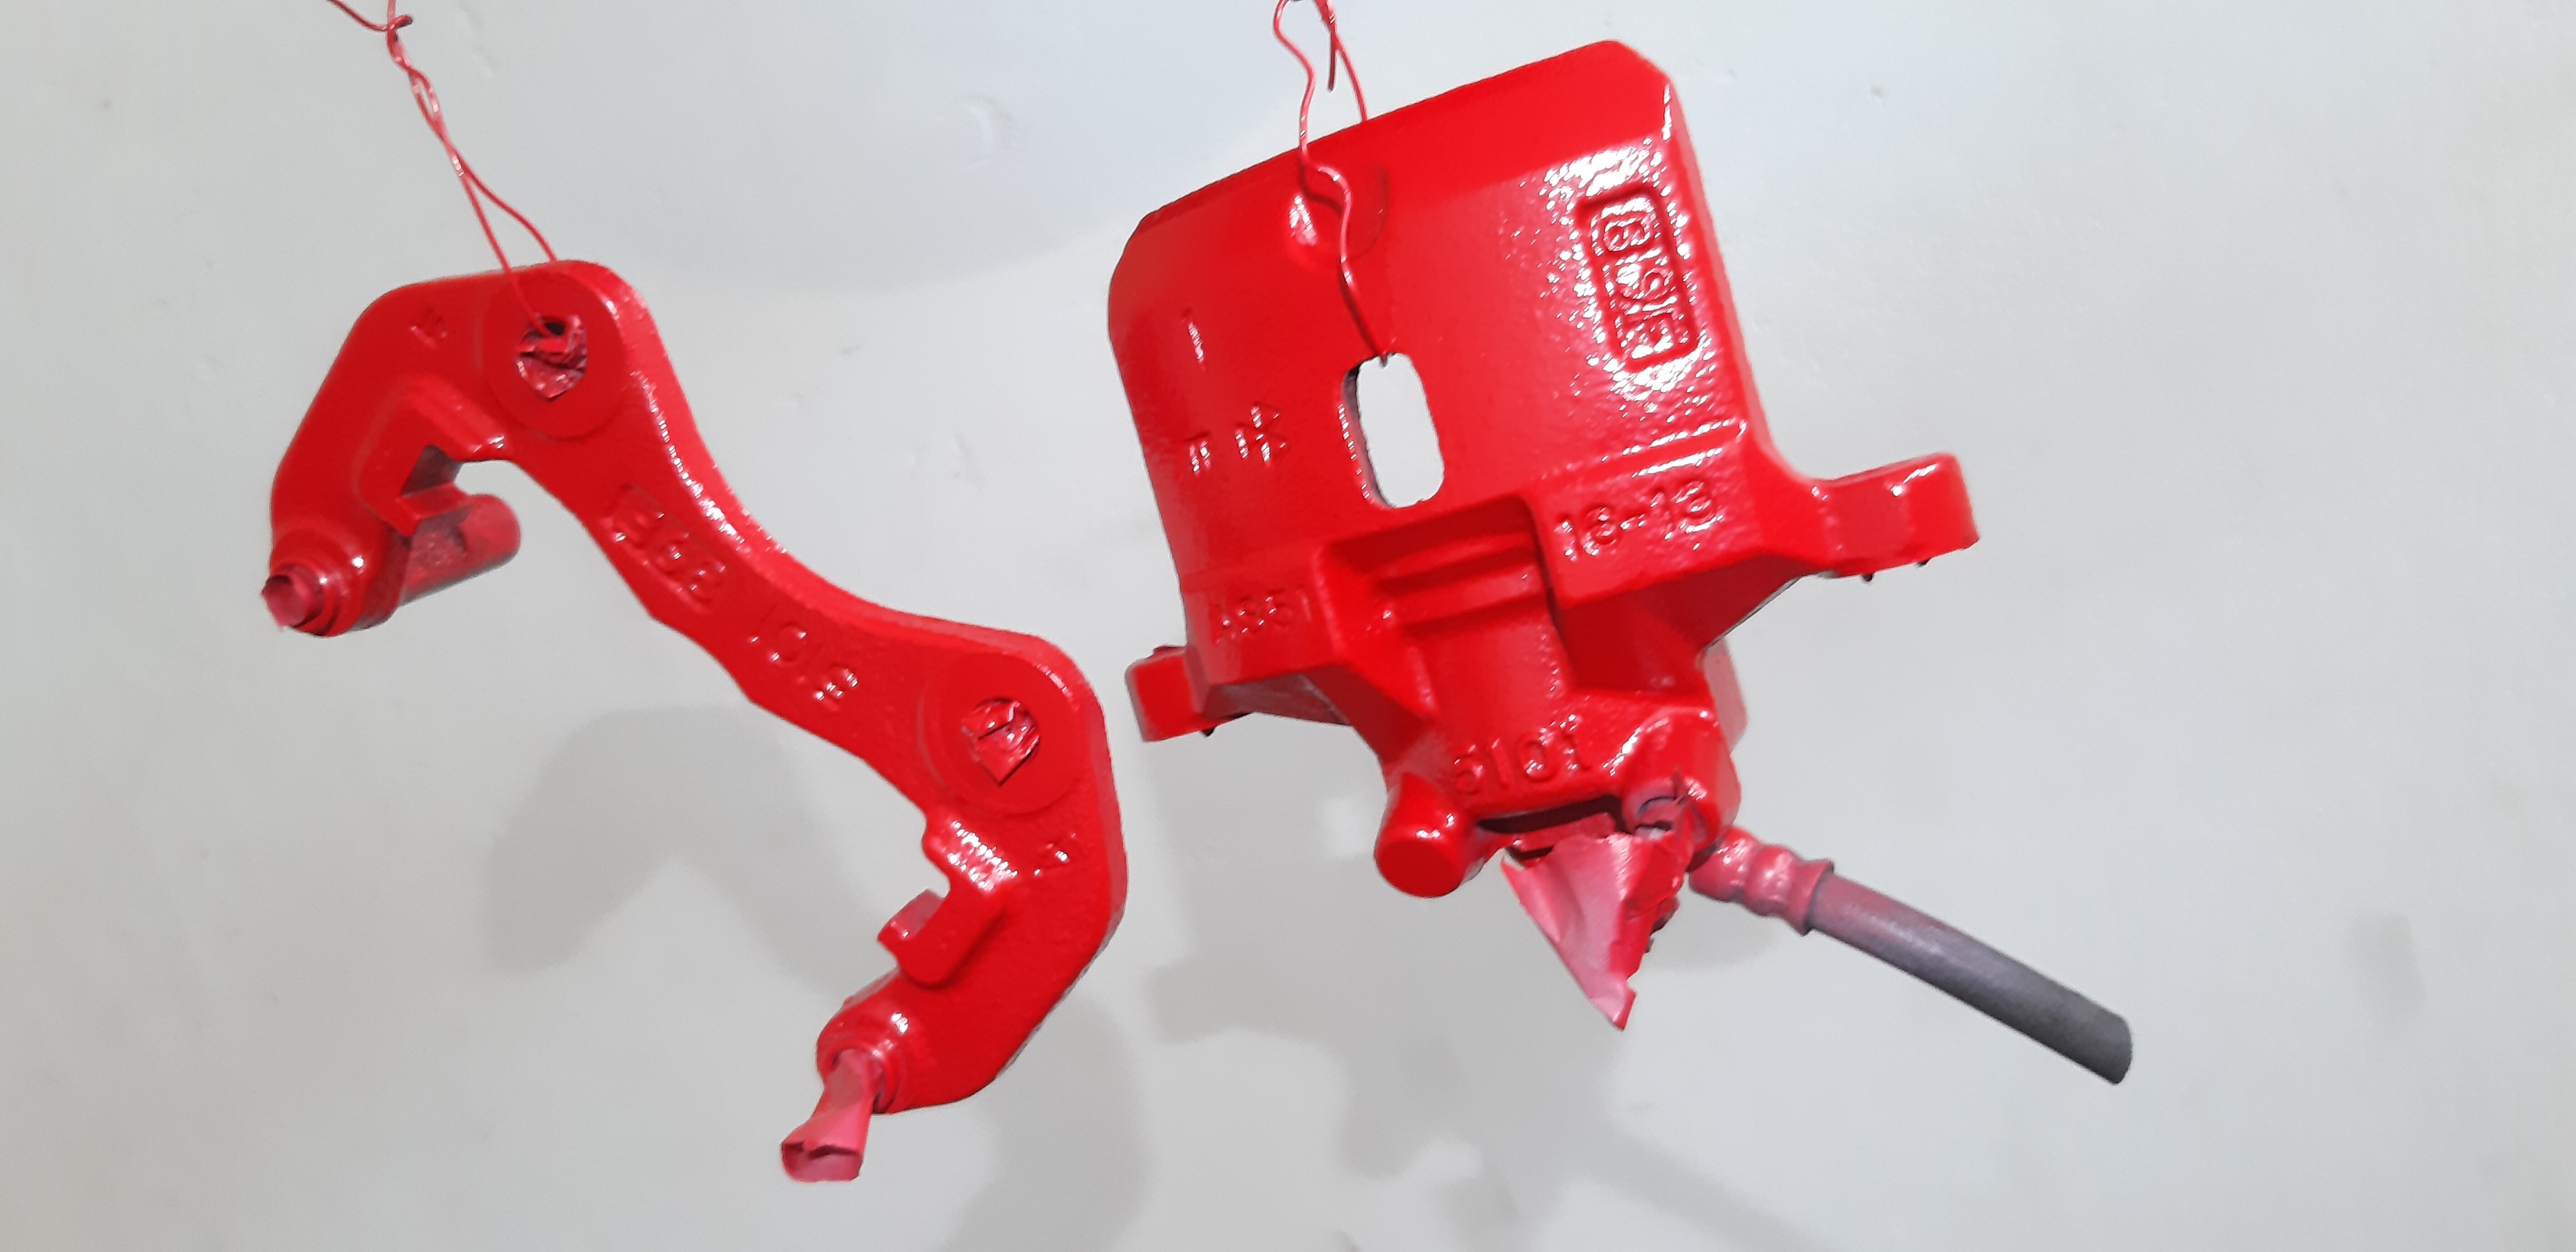
-rear disc brake conversion
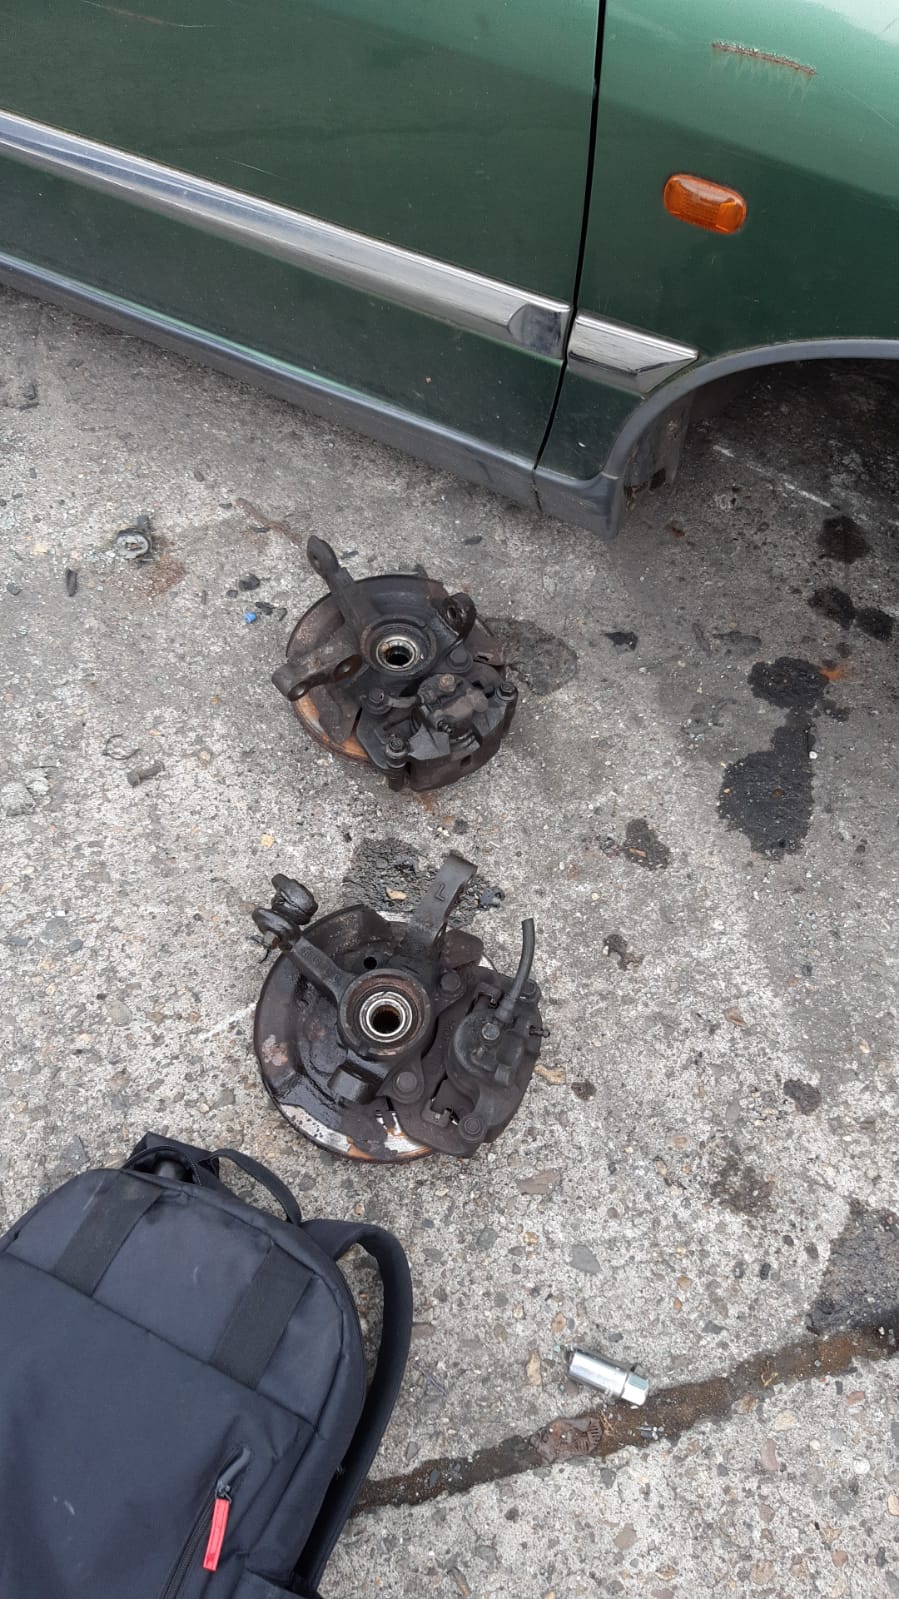
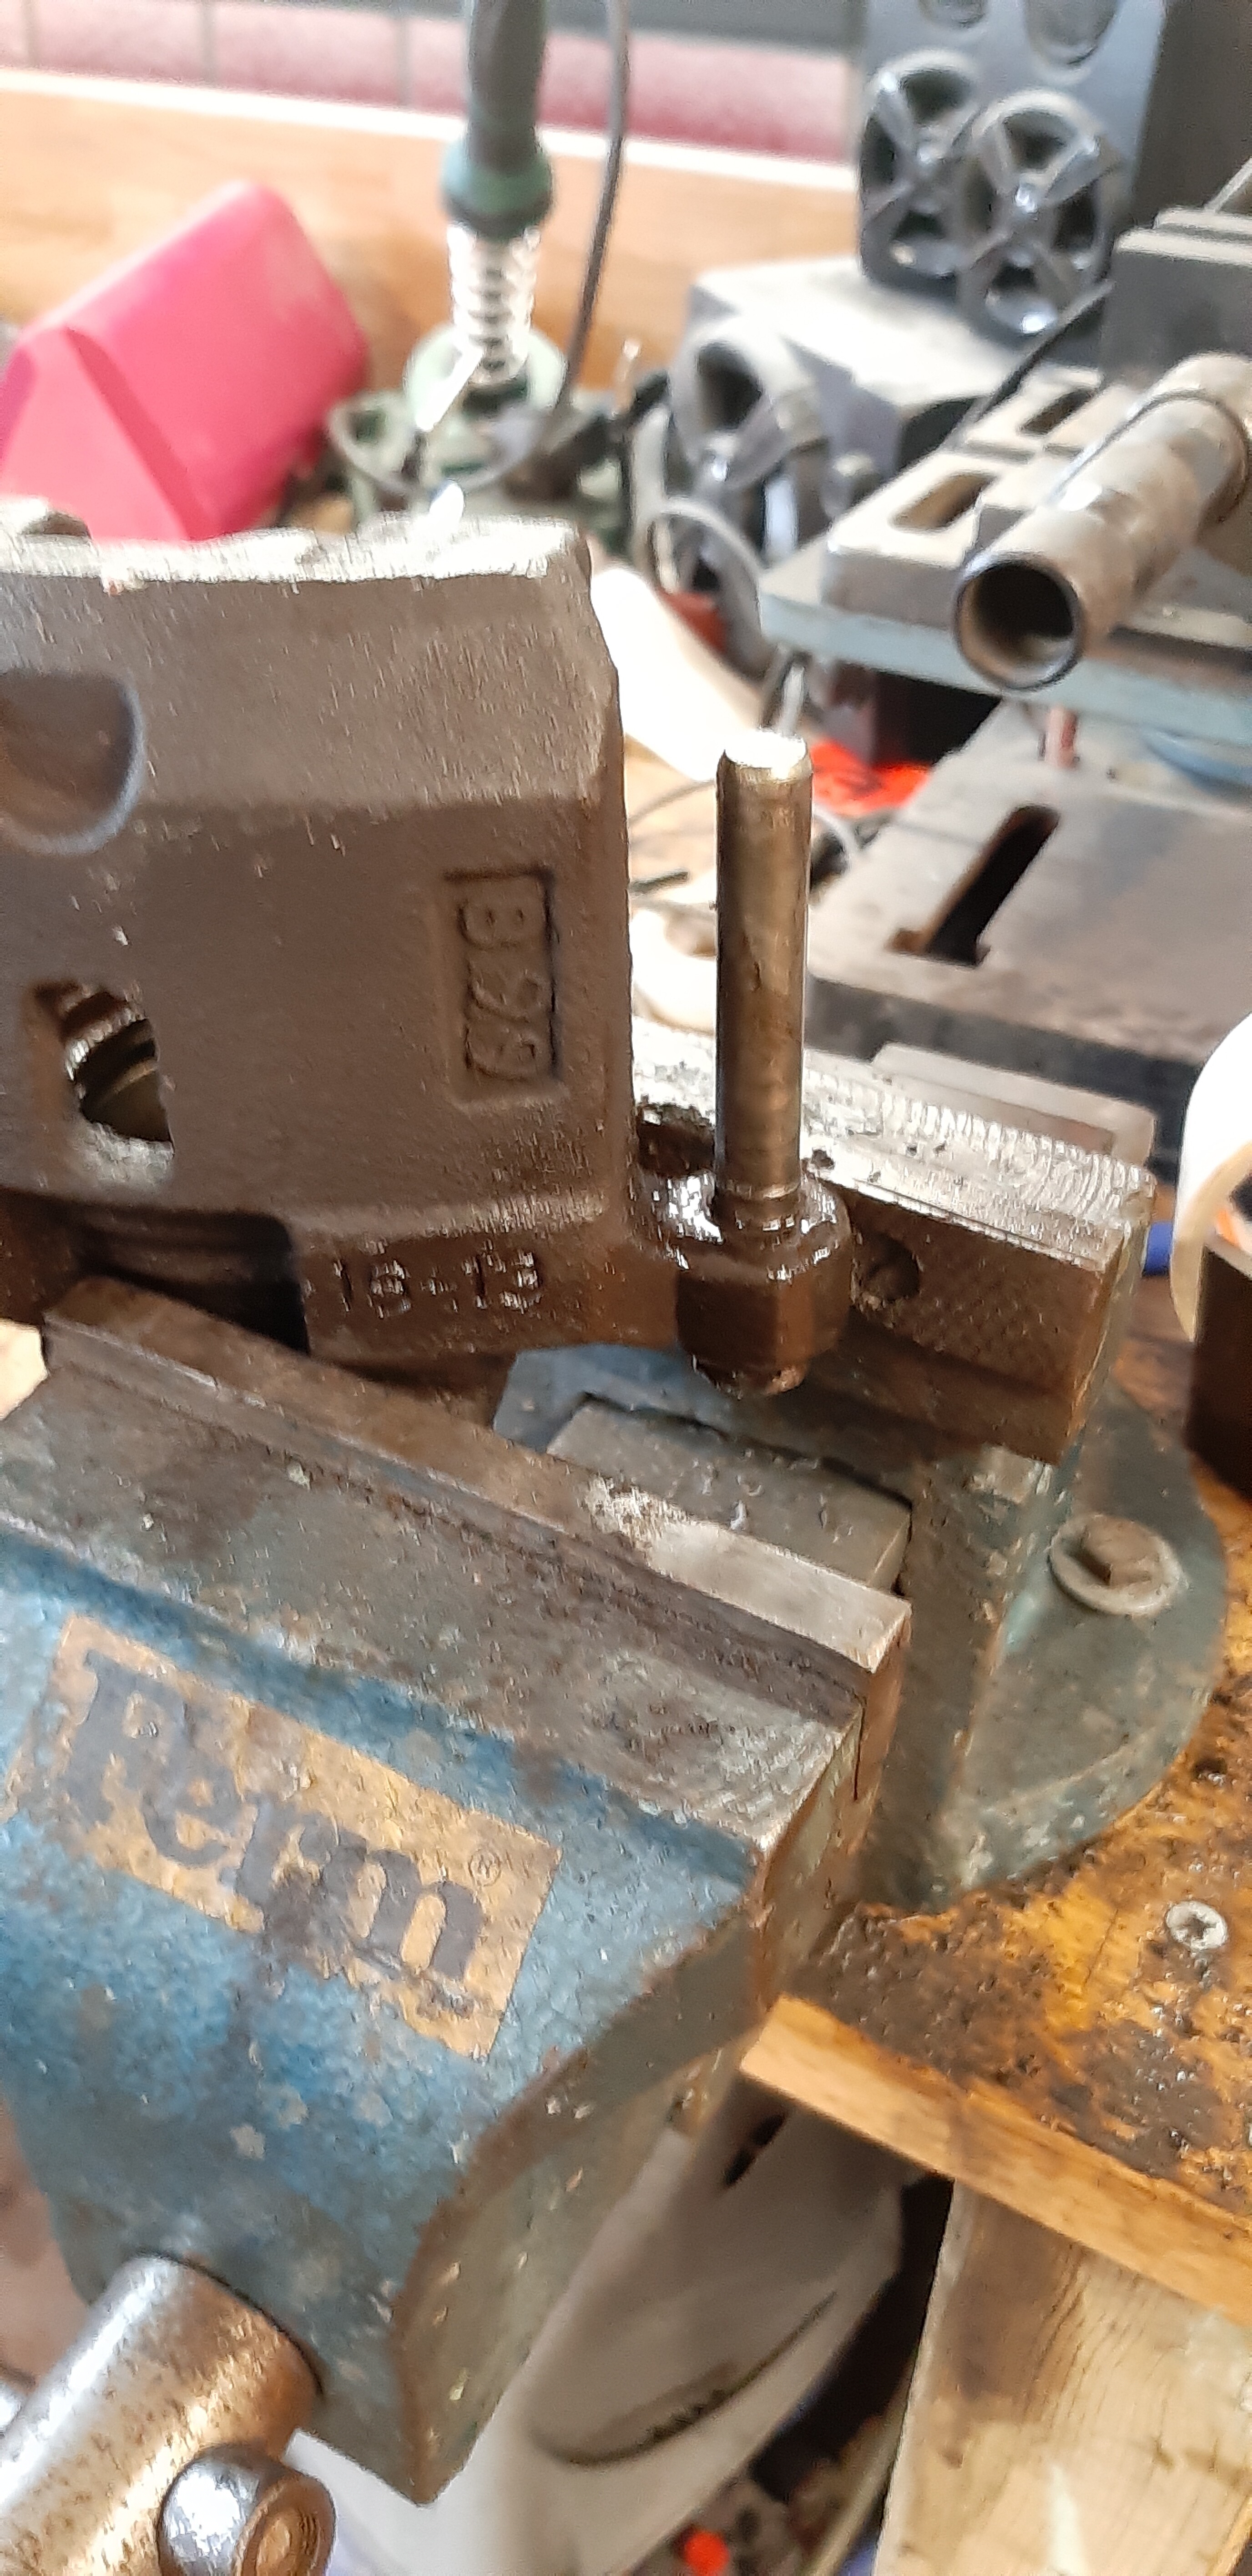
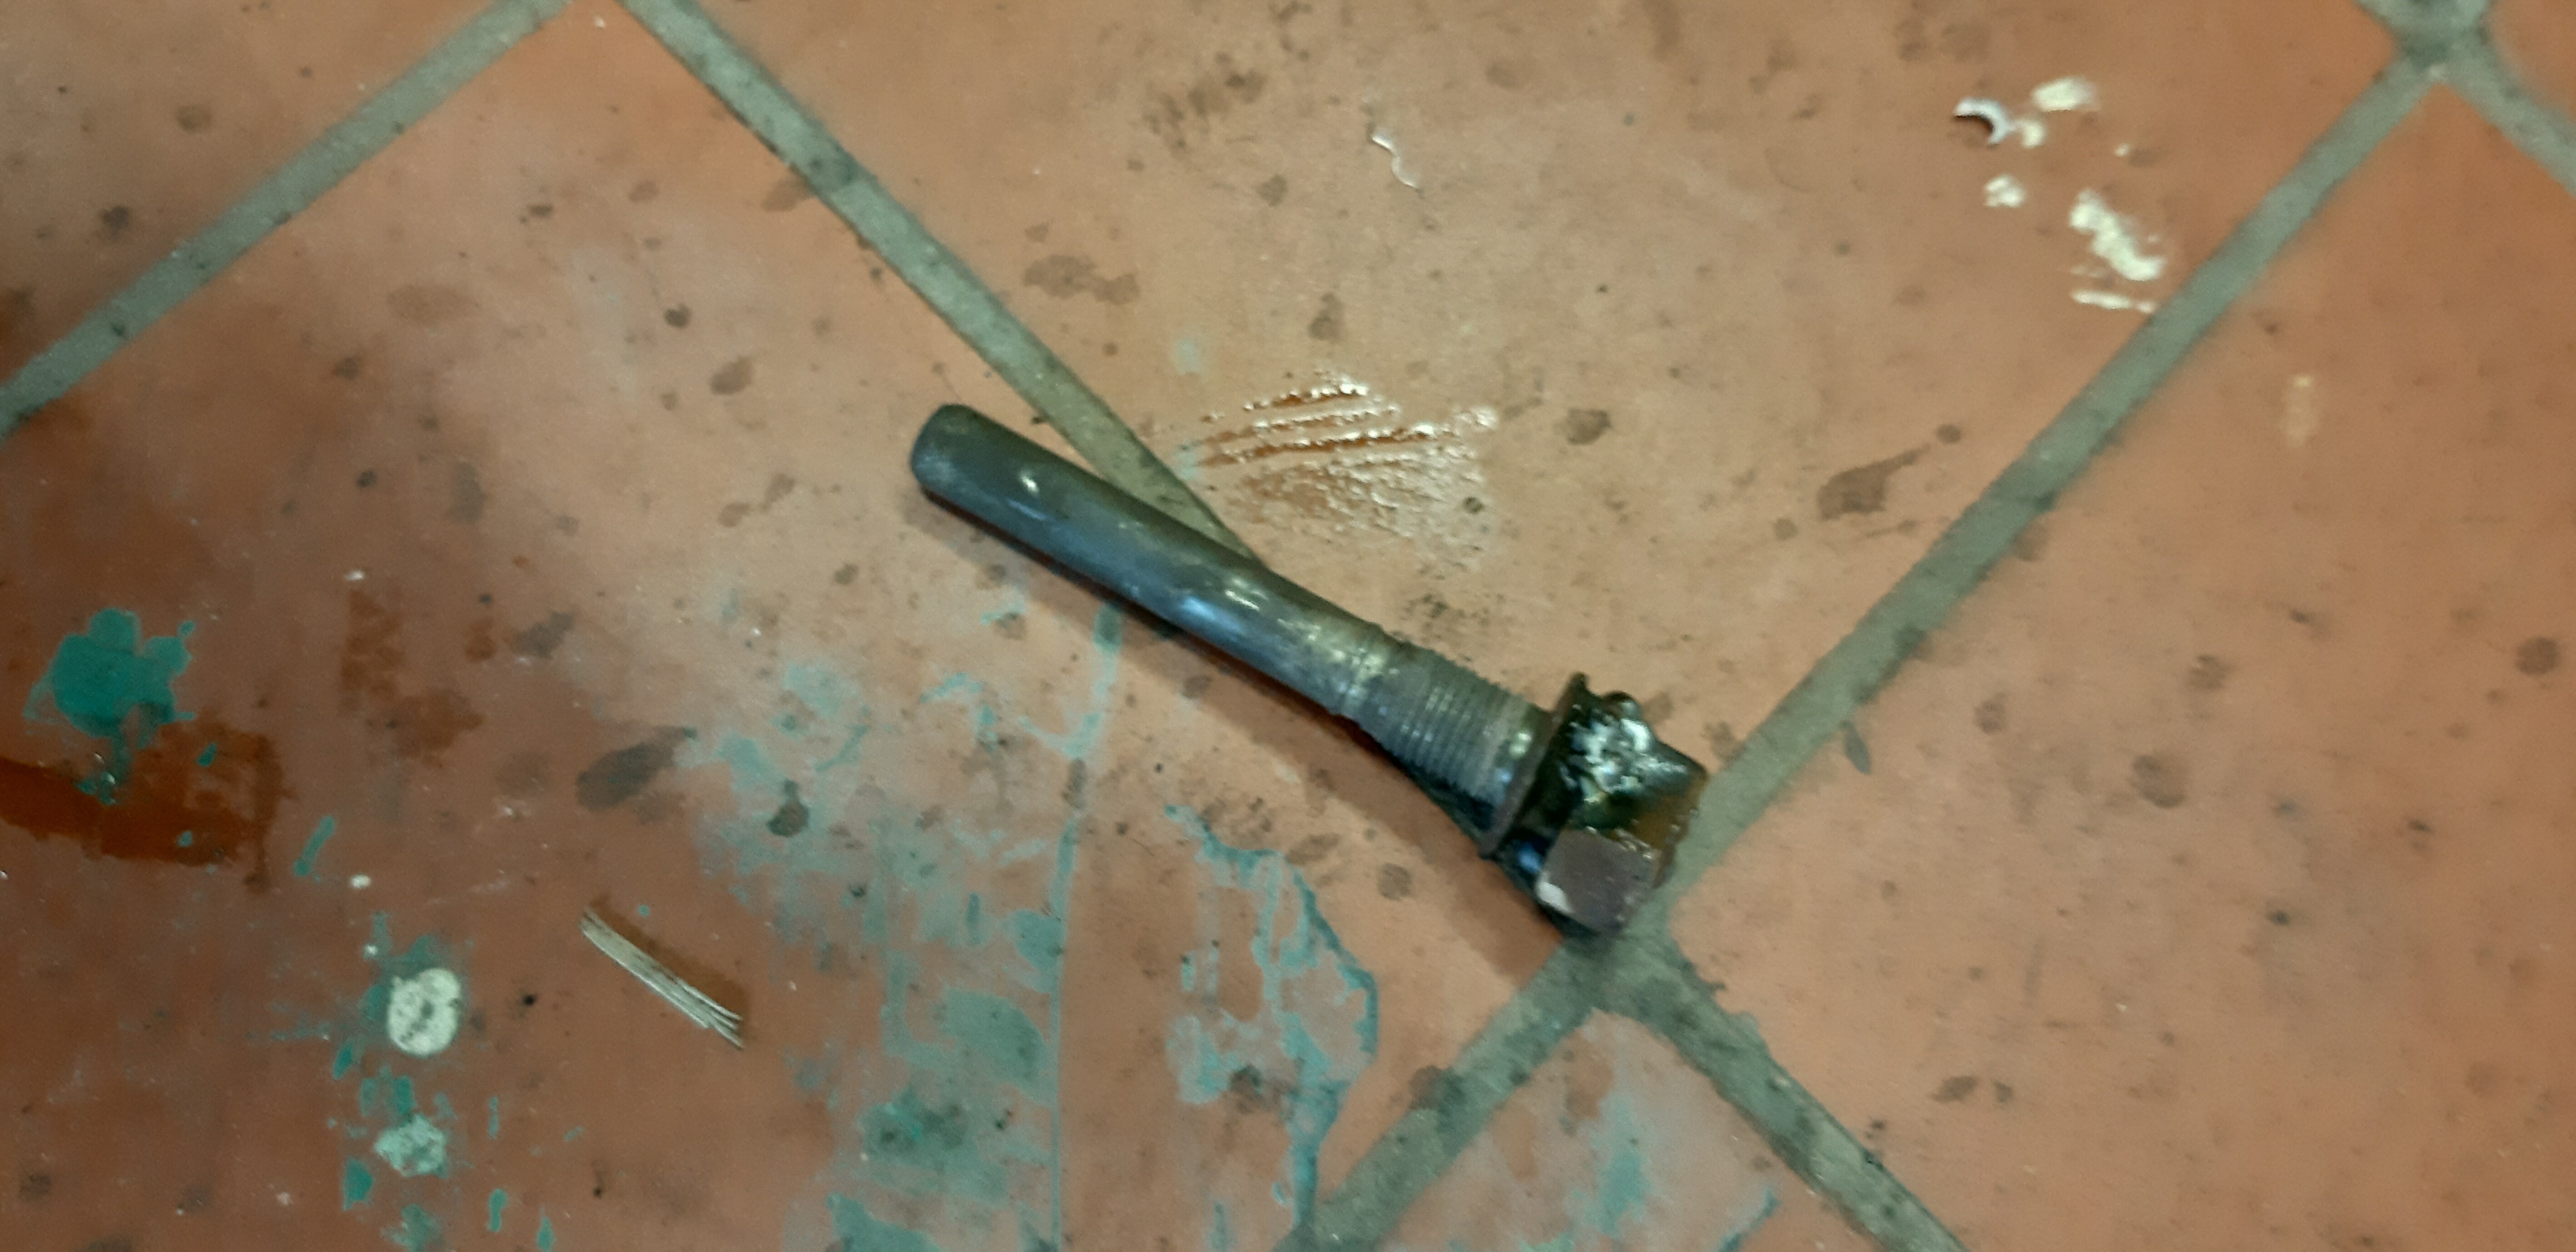
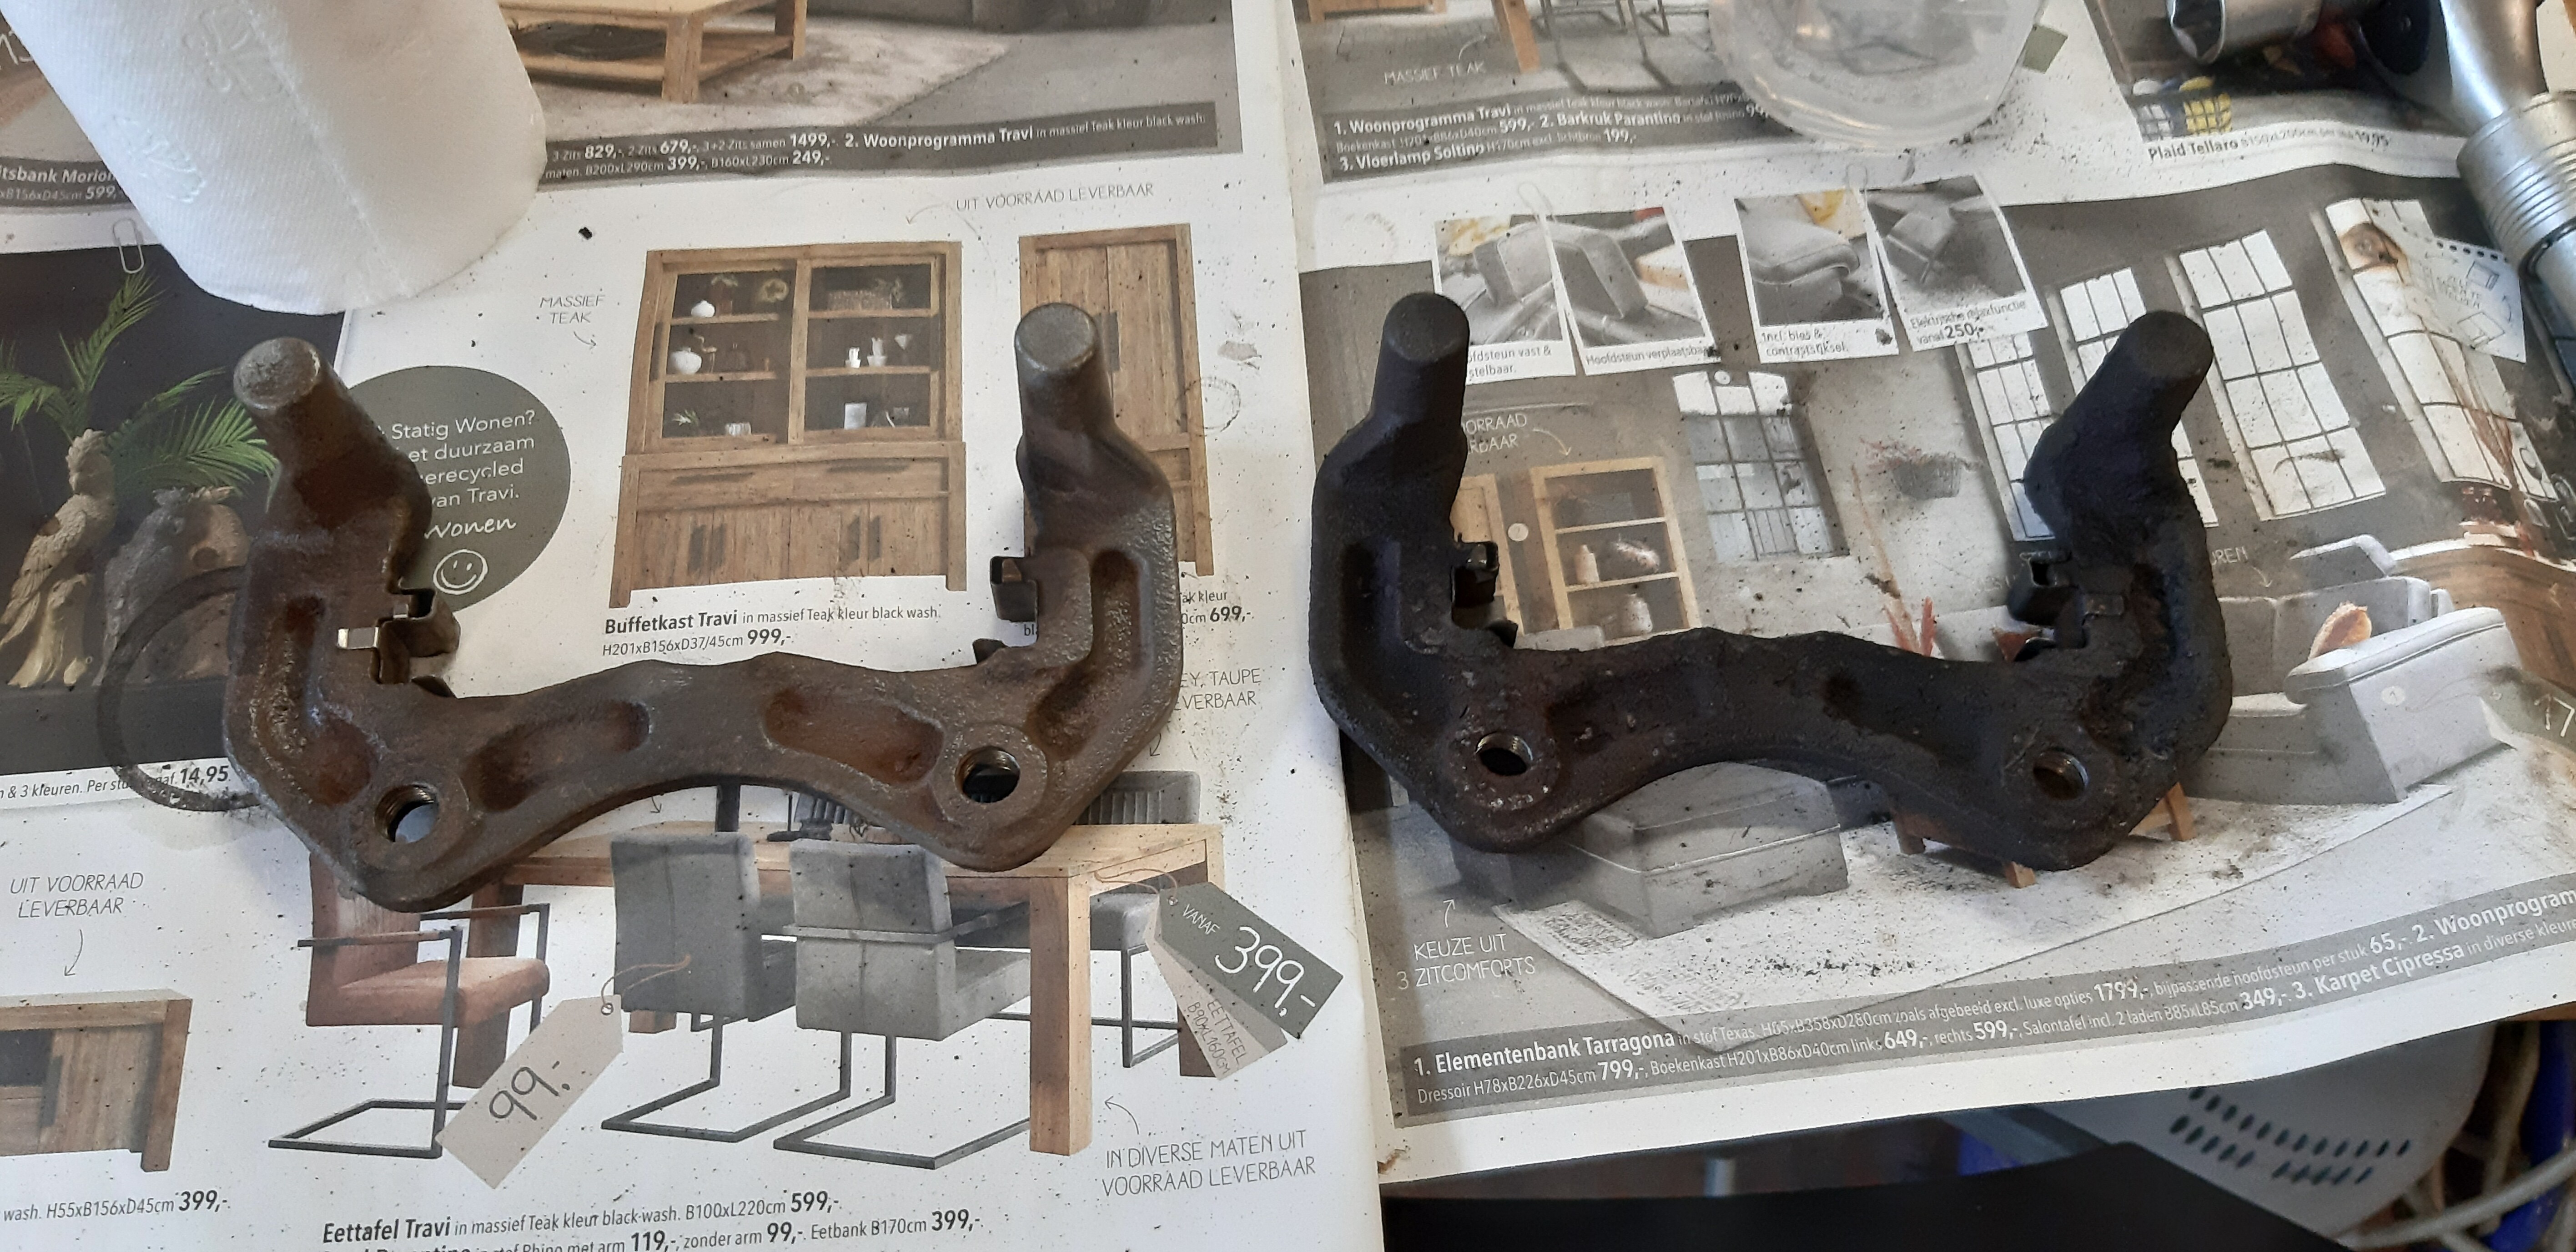
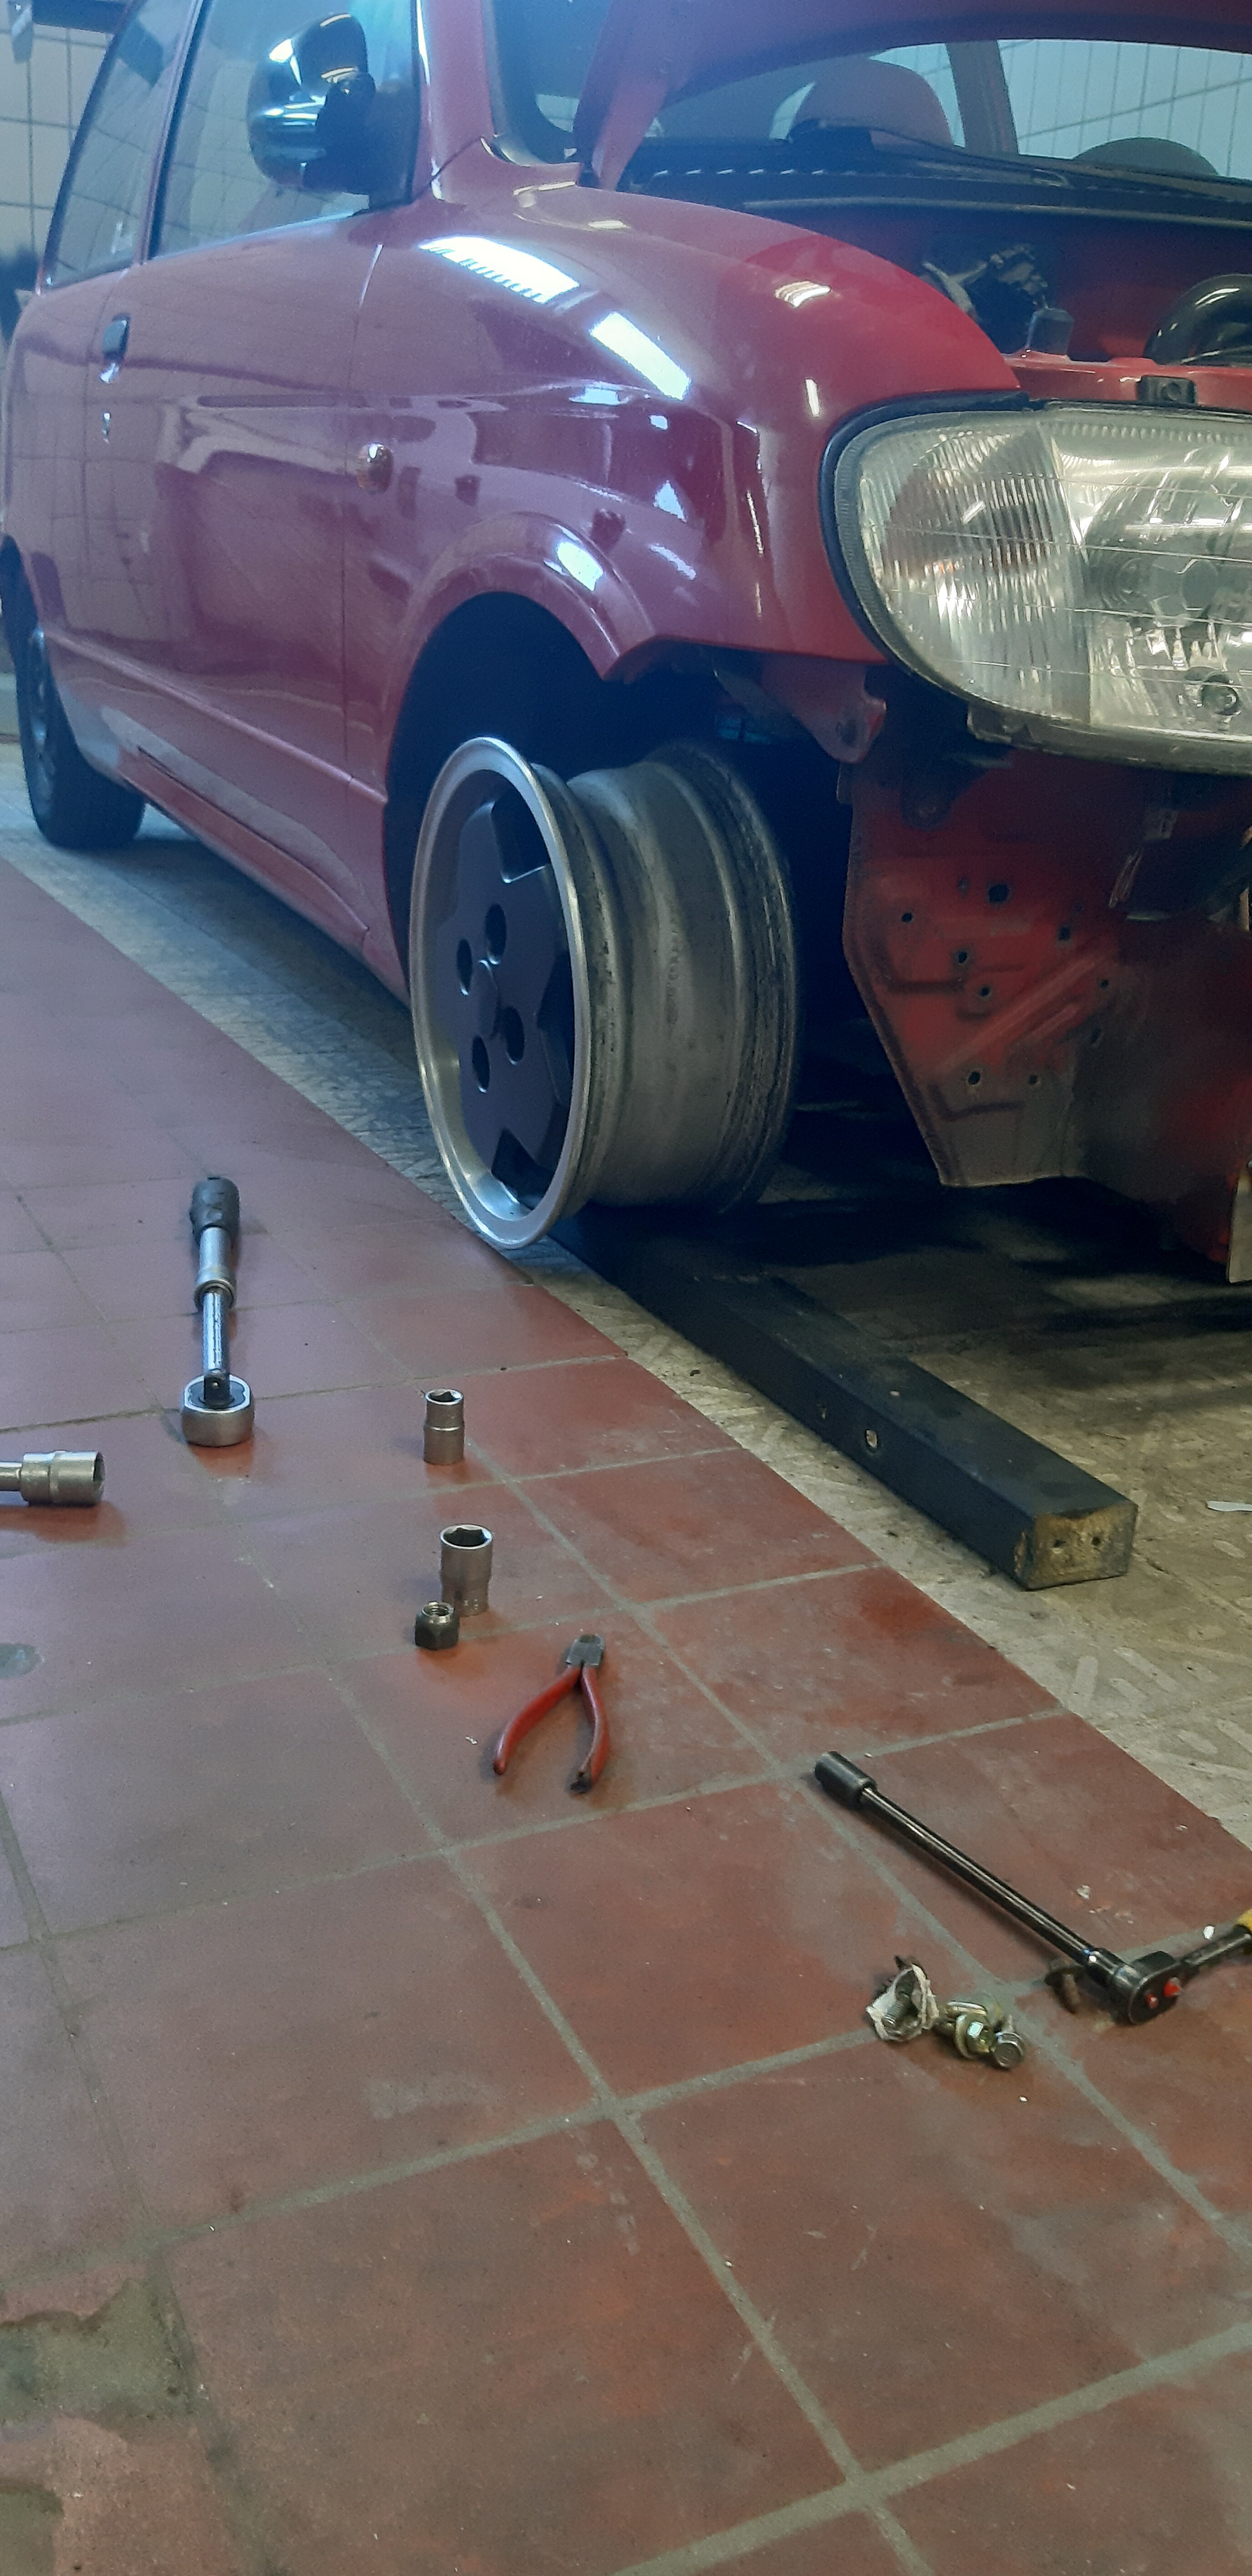
-front wheel hub and brake assembly (we need parts from a Sirion)
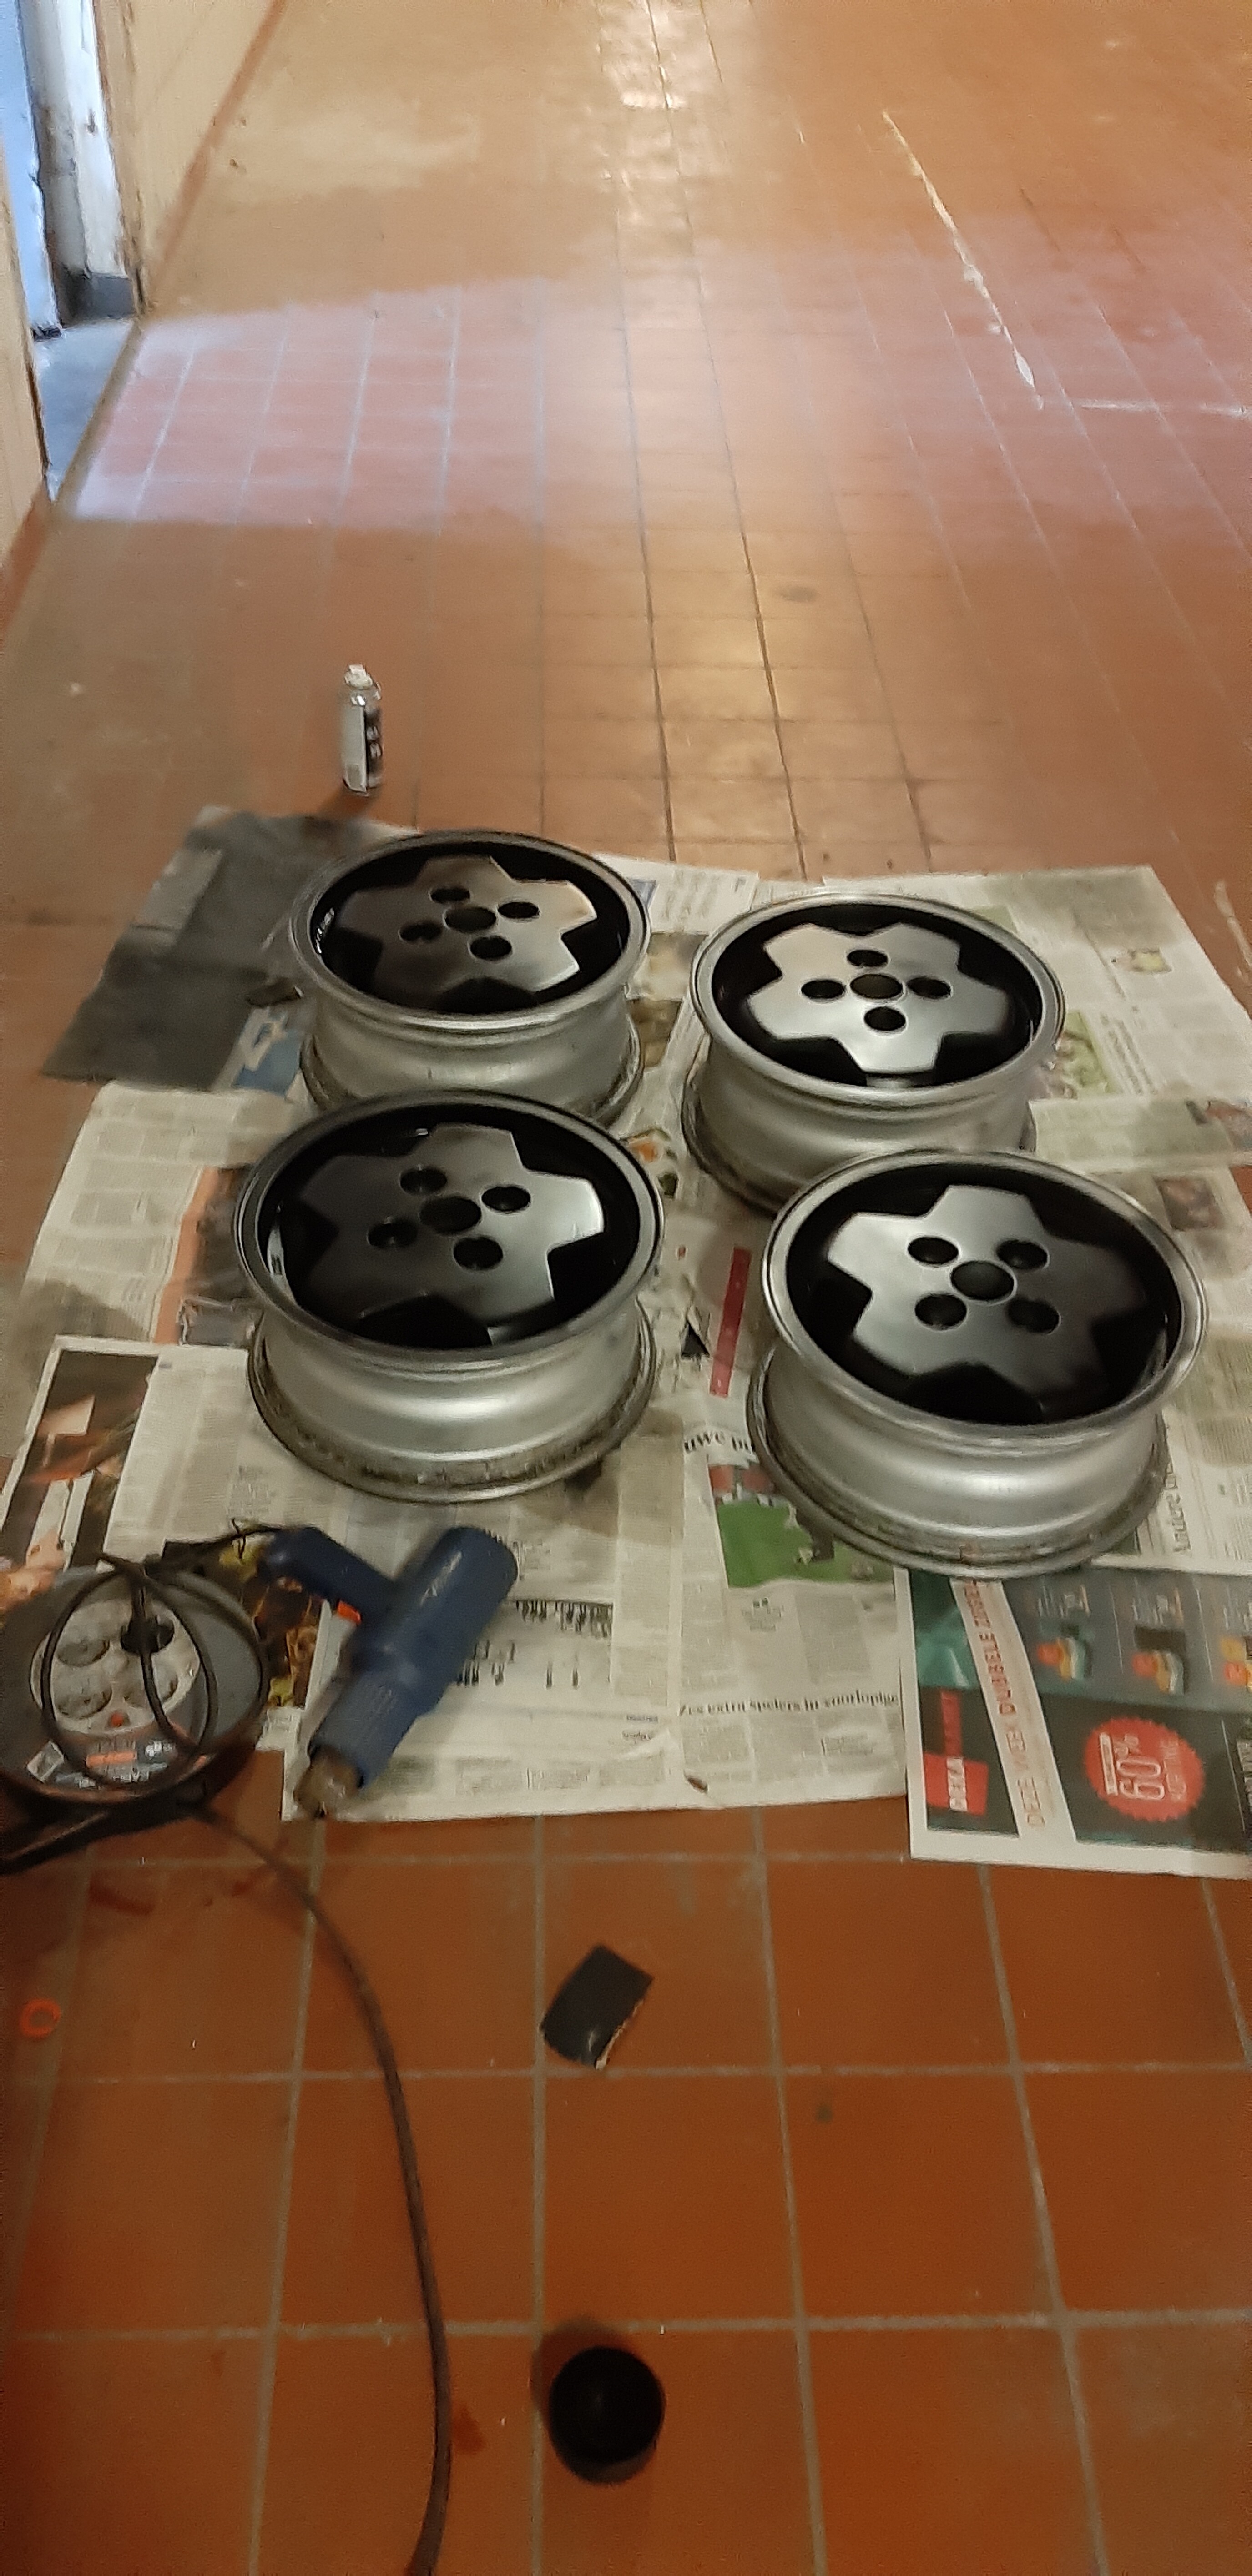
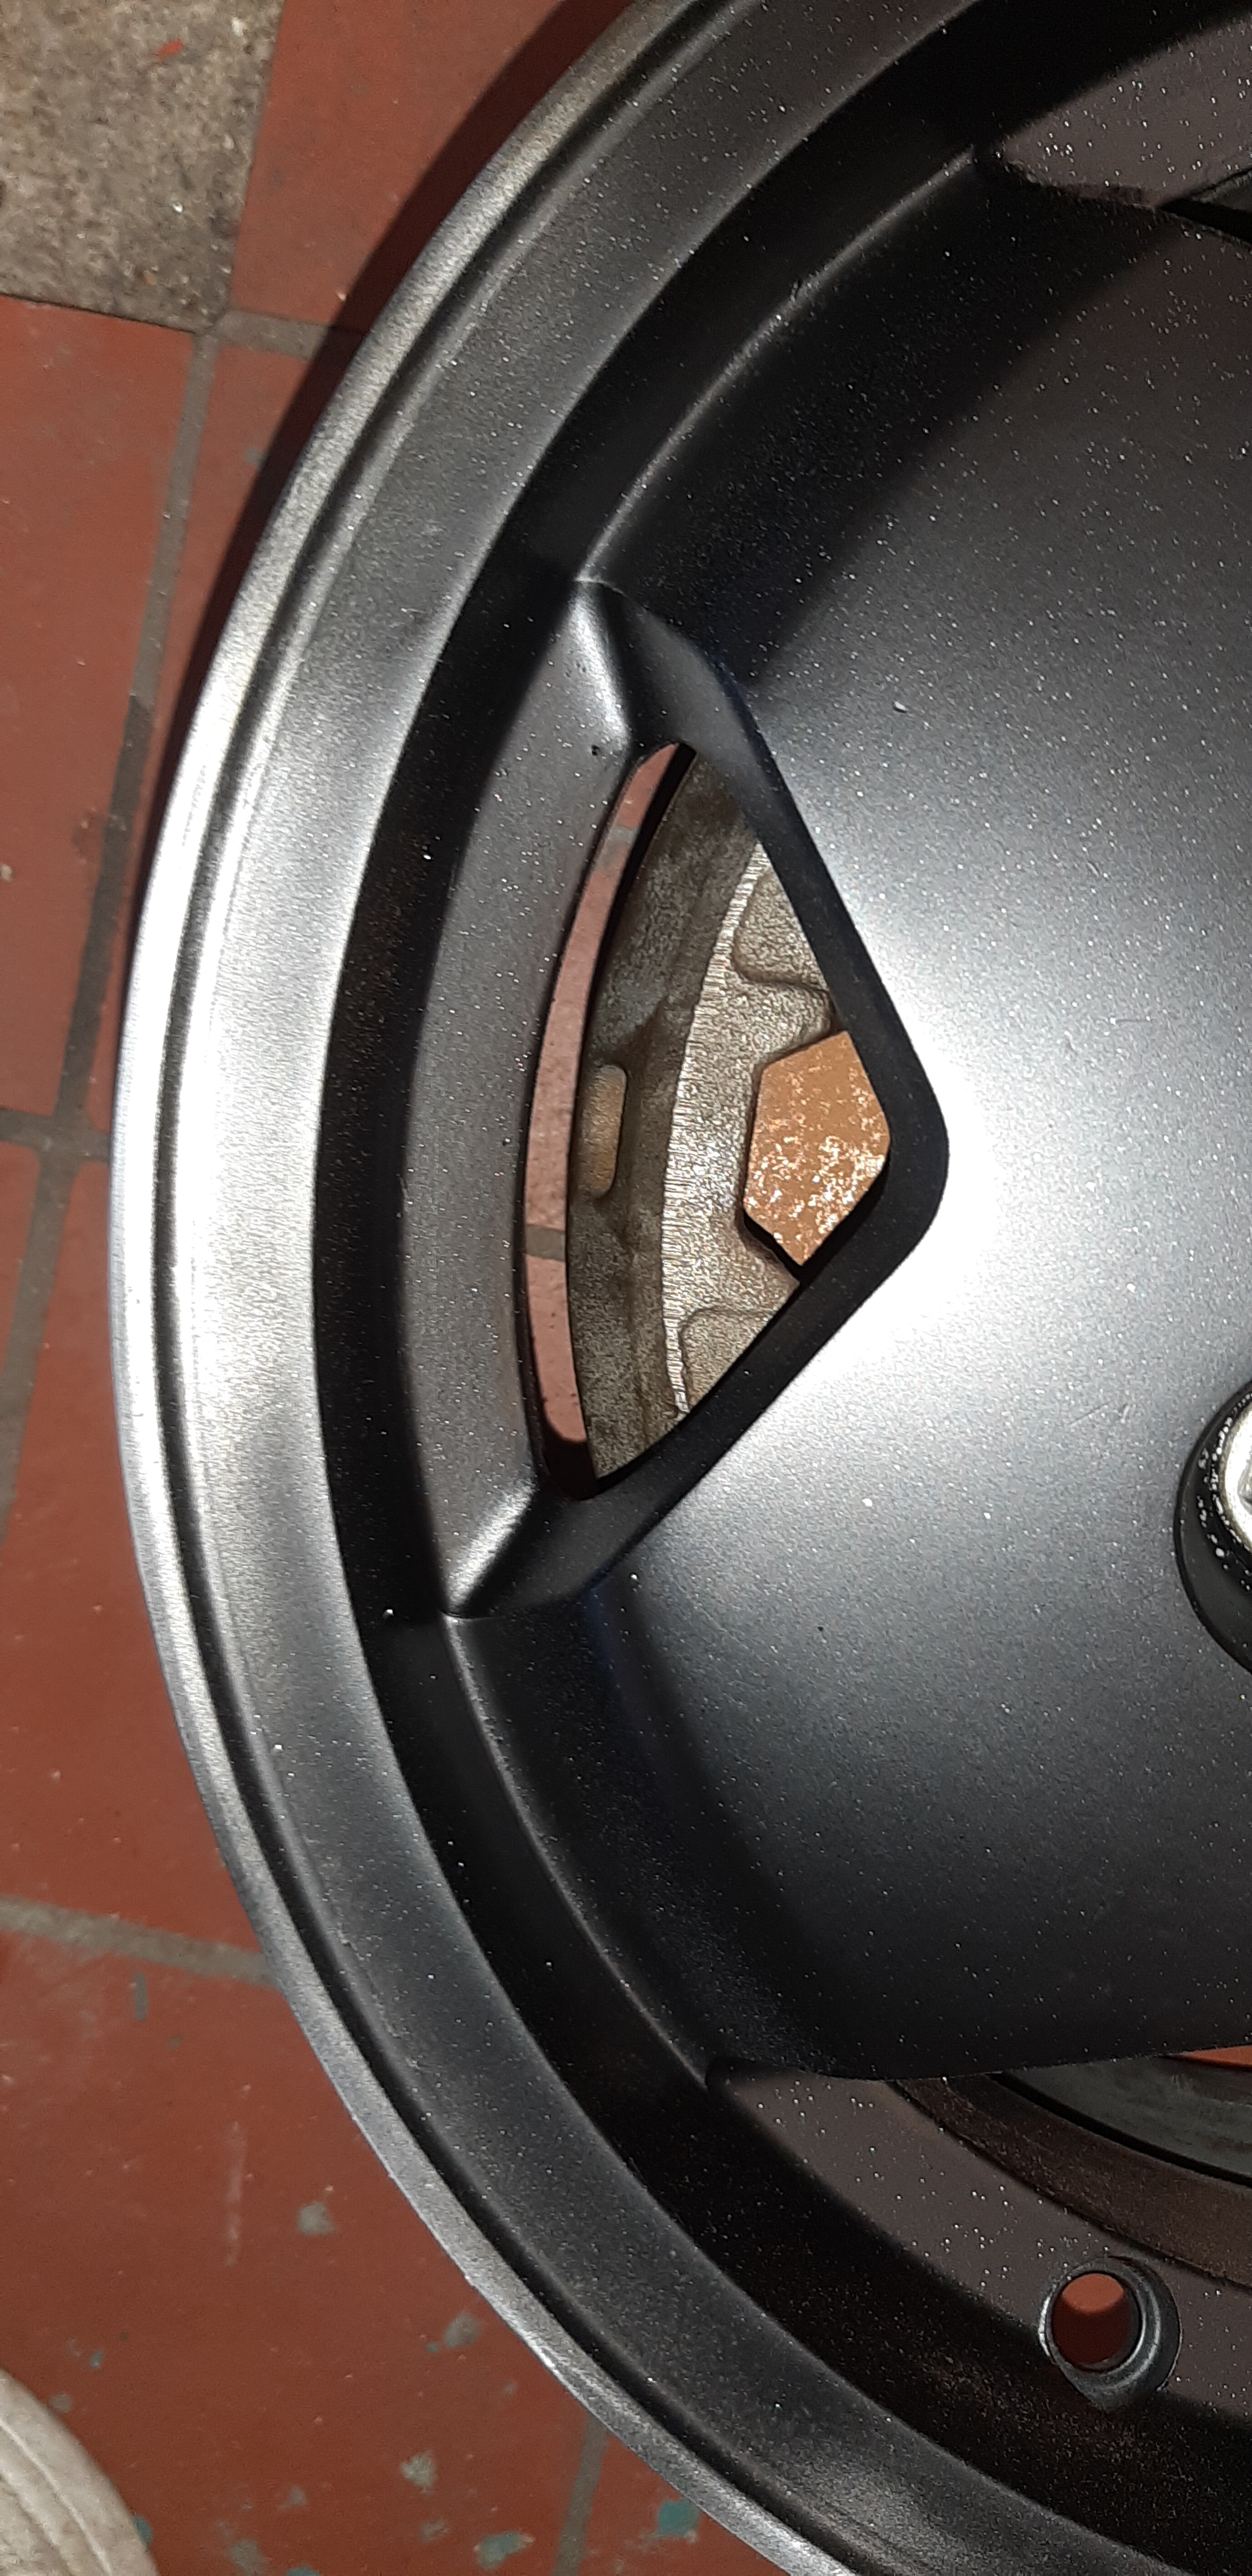
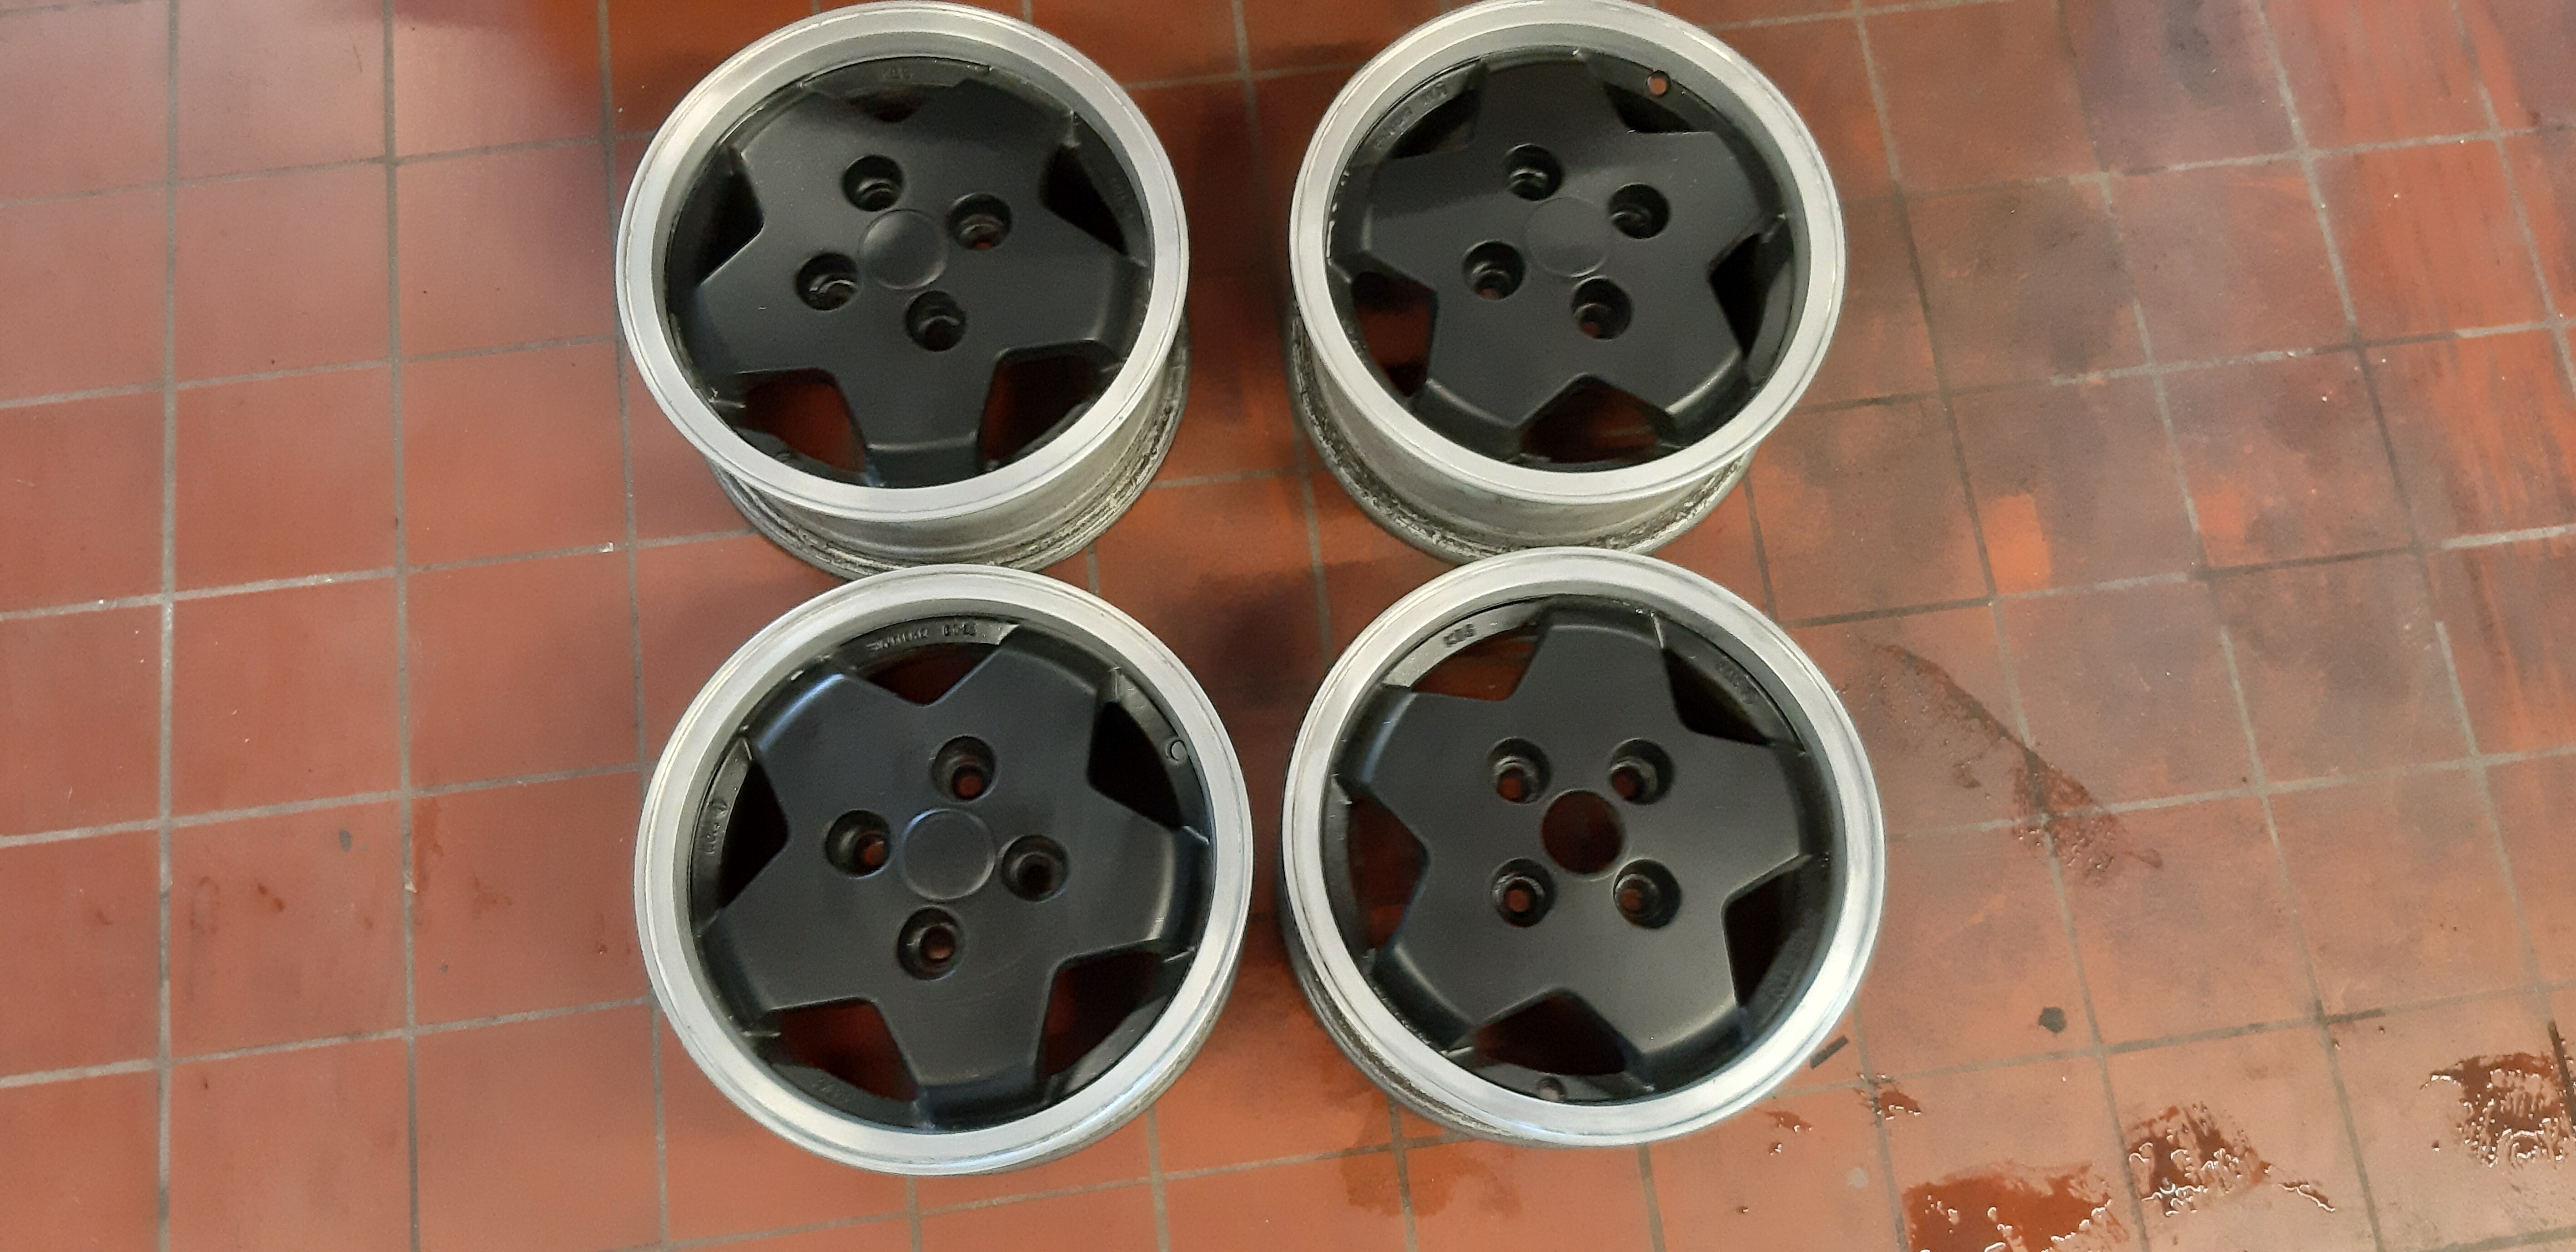
-wheels
-overall just getting things tidied up and ready for testing
after testing, we will start to look for what the car needs to improve even more. we are thinking about a K3 conversion, or maybe supercharging it. but that’s all really far away still.


 honestly the K3 is the way to go if chasing outright power in the L700’s, 100hp straight away where the EJ would cost quite alot to get that much.