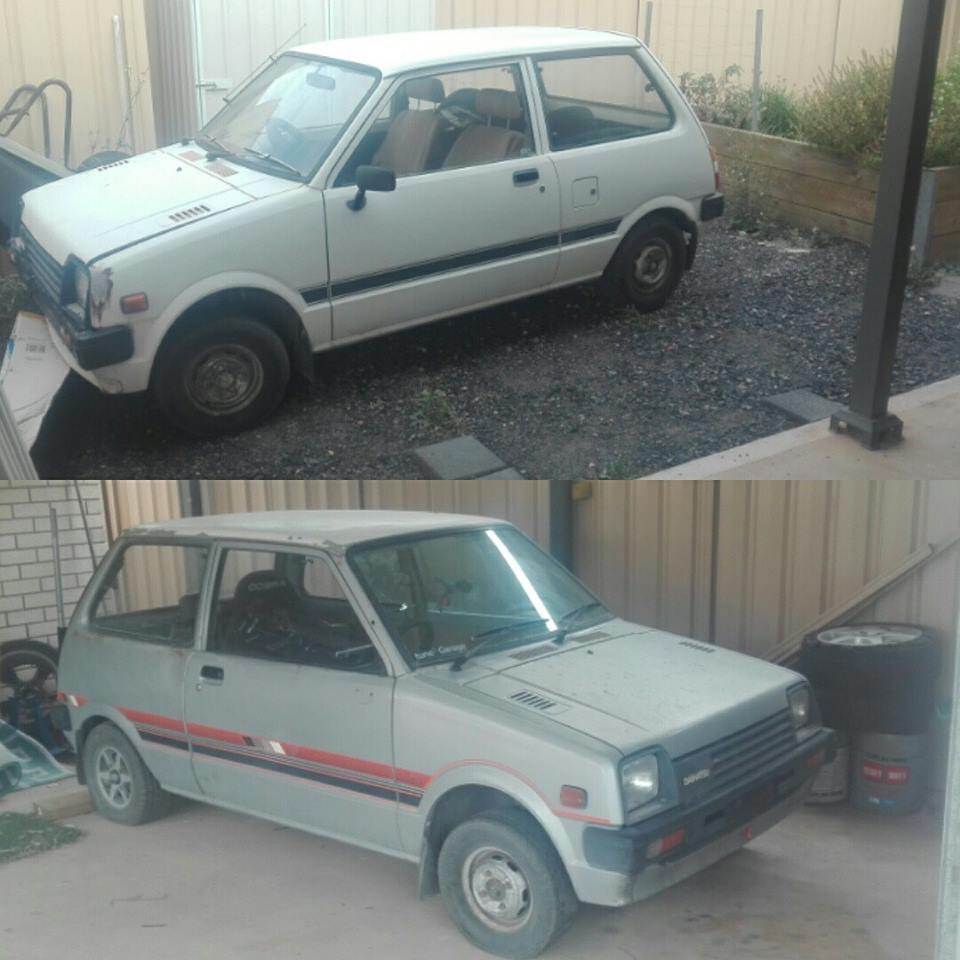
I’m going to start from the beginning, back in May 2014 I bought this little 1983 Handivan. At the time I had money to freely spend as I wished, and picked up this little beauty for a measly $200.
I bought this car with the intention of installing a cb23 with my supercharger set up that I fabricated.
The plan fell apart when I found out that the two cylinder 620cc four stroke engine, had 10,000 km on it from a complete rebuild. At that stage it became slap some registration on it to get a feel for it and then remove all the rust.
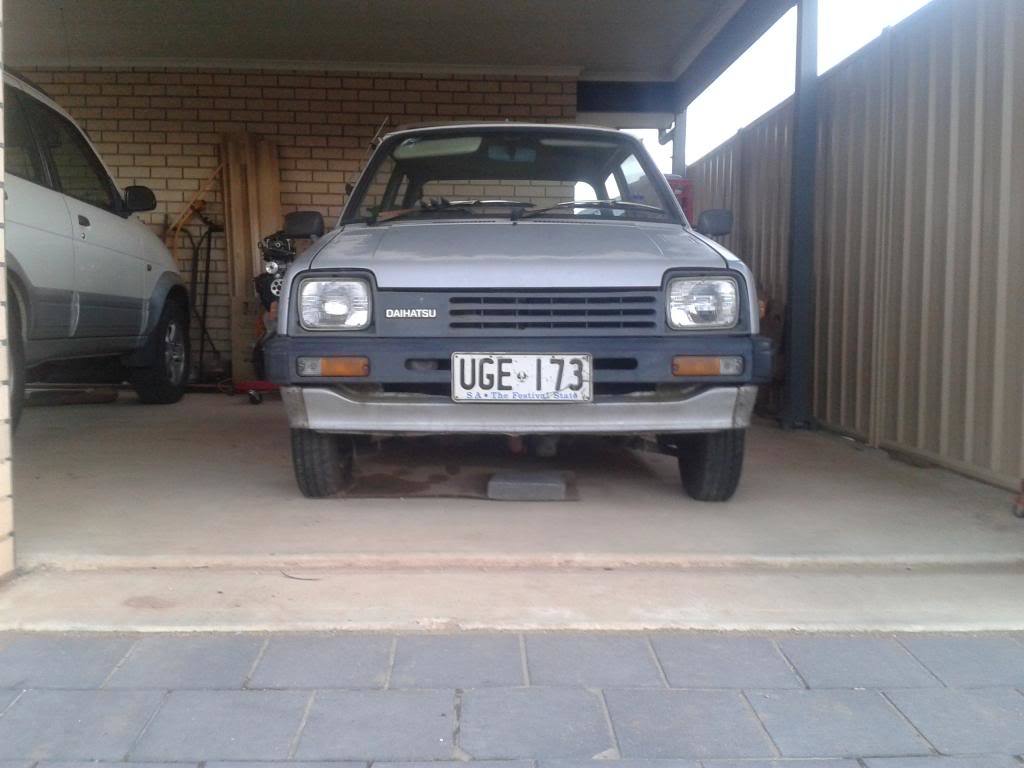

The interior much like the exterior was in a tatty condition but I fell instantly in love.
I know right now you are wondering how this is a track car related topic but I am getting there
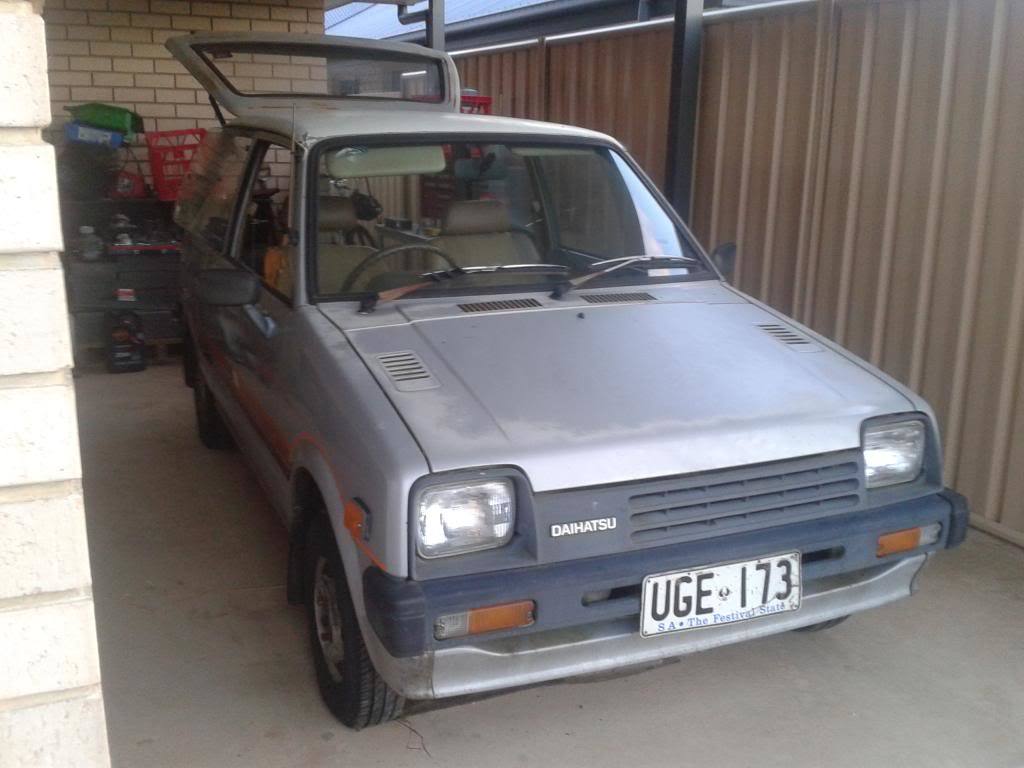
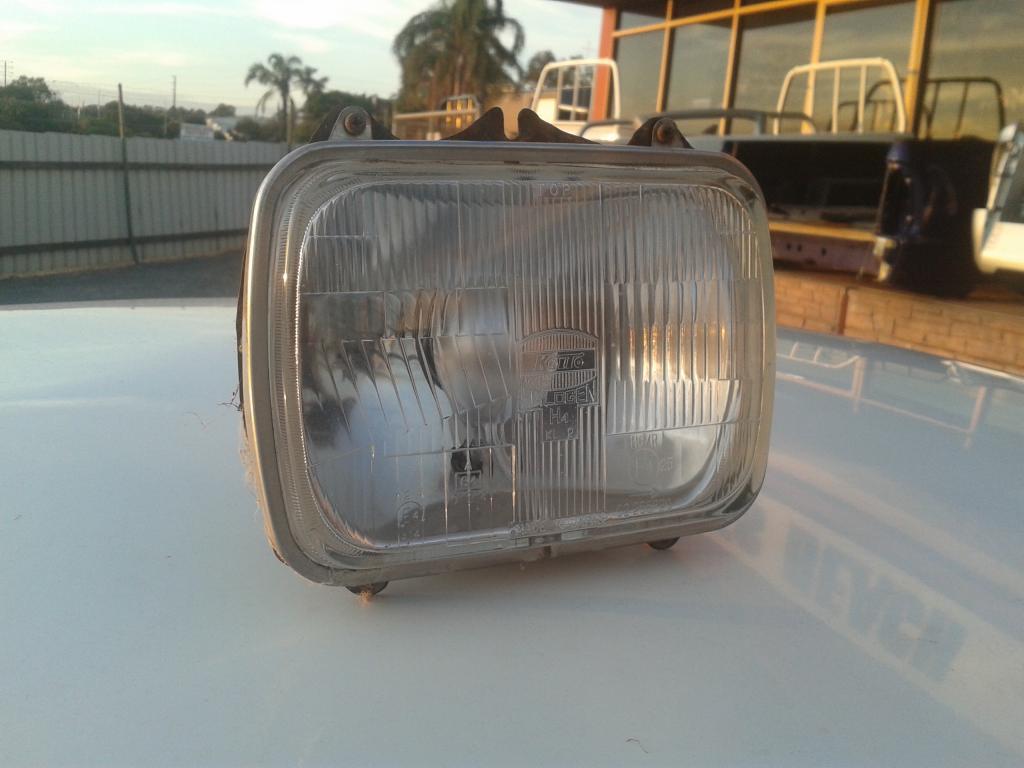
It wasn’t long and the modifications started, starting simple with replacing the sealed beam lights with semi sealed housings.
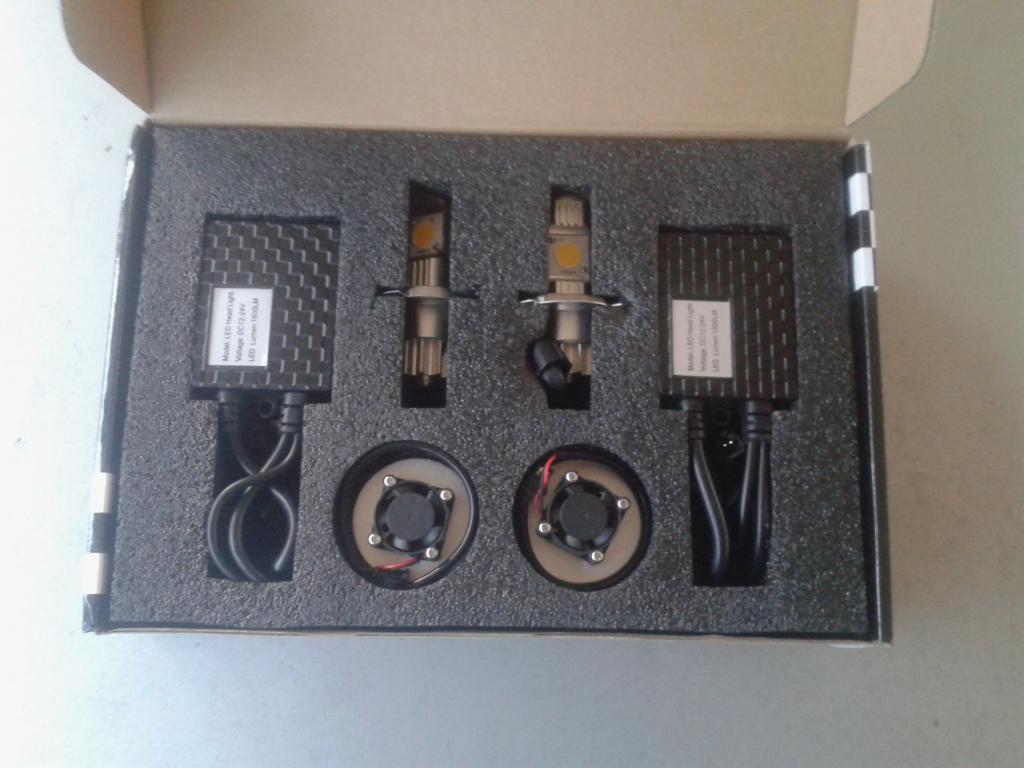
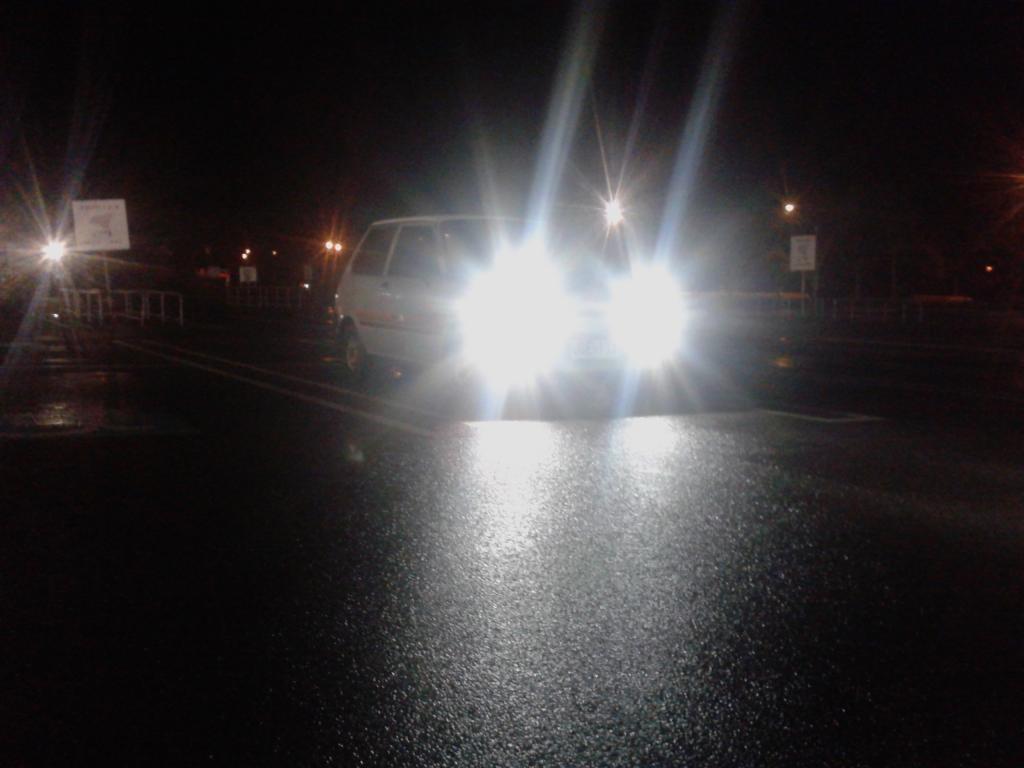
Then came a set of CREE LED headlights from AliExpress, a $90 outlay for some lighting didn’t seem too bad.
With a little adjustment to lower the beam to stop from being an A-hole to others on the road I was happy with the job.
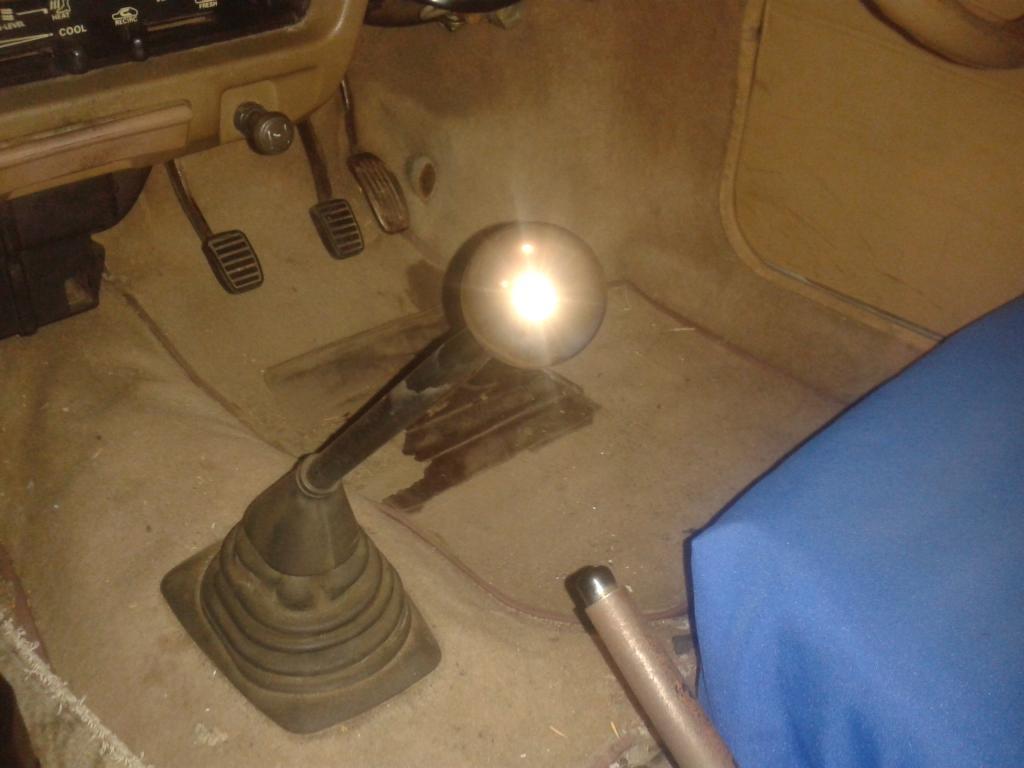
I also bought a knob that matched the interior colour.
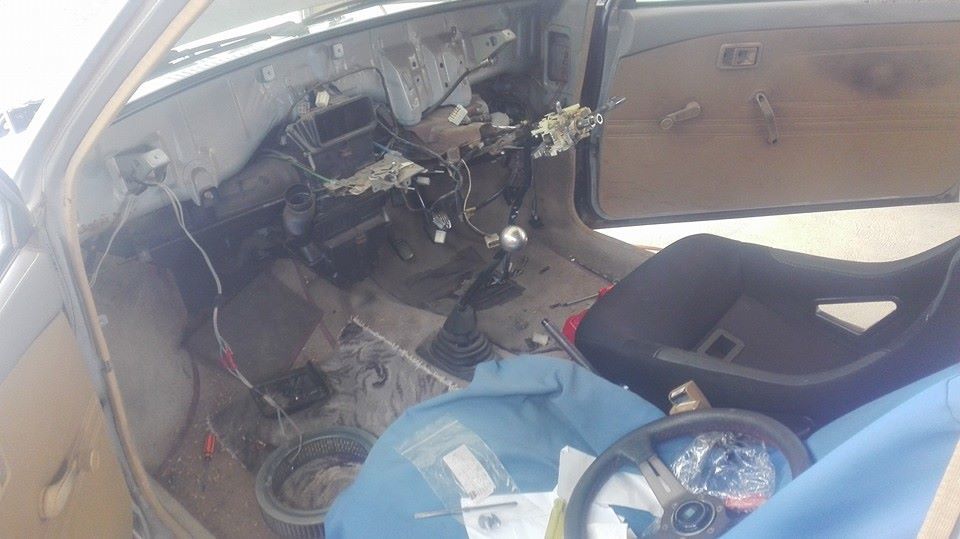
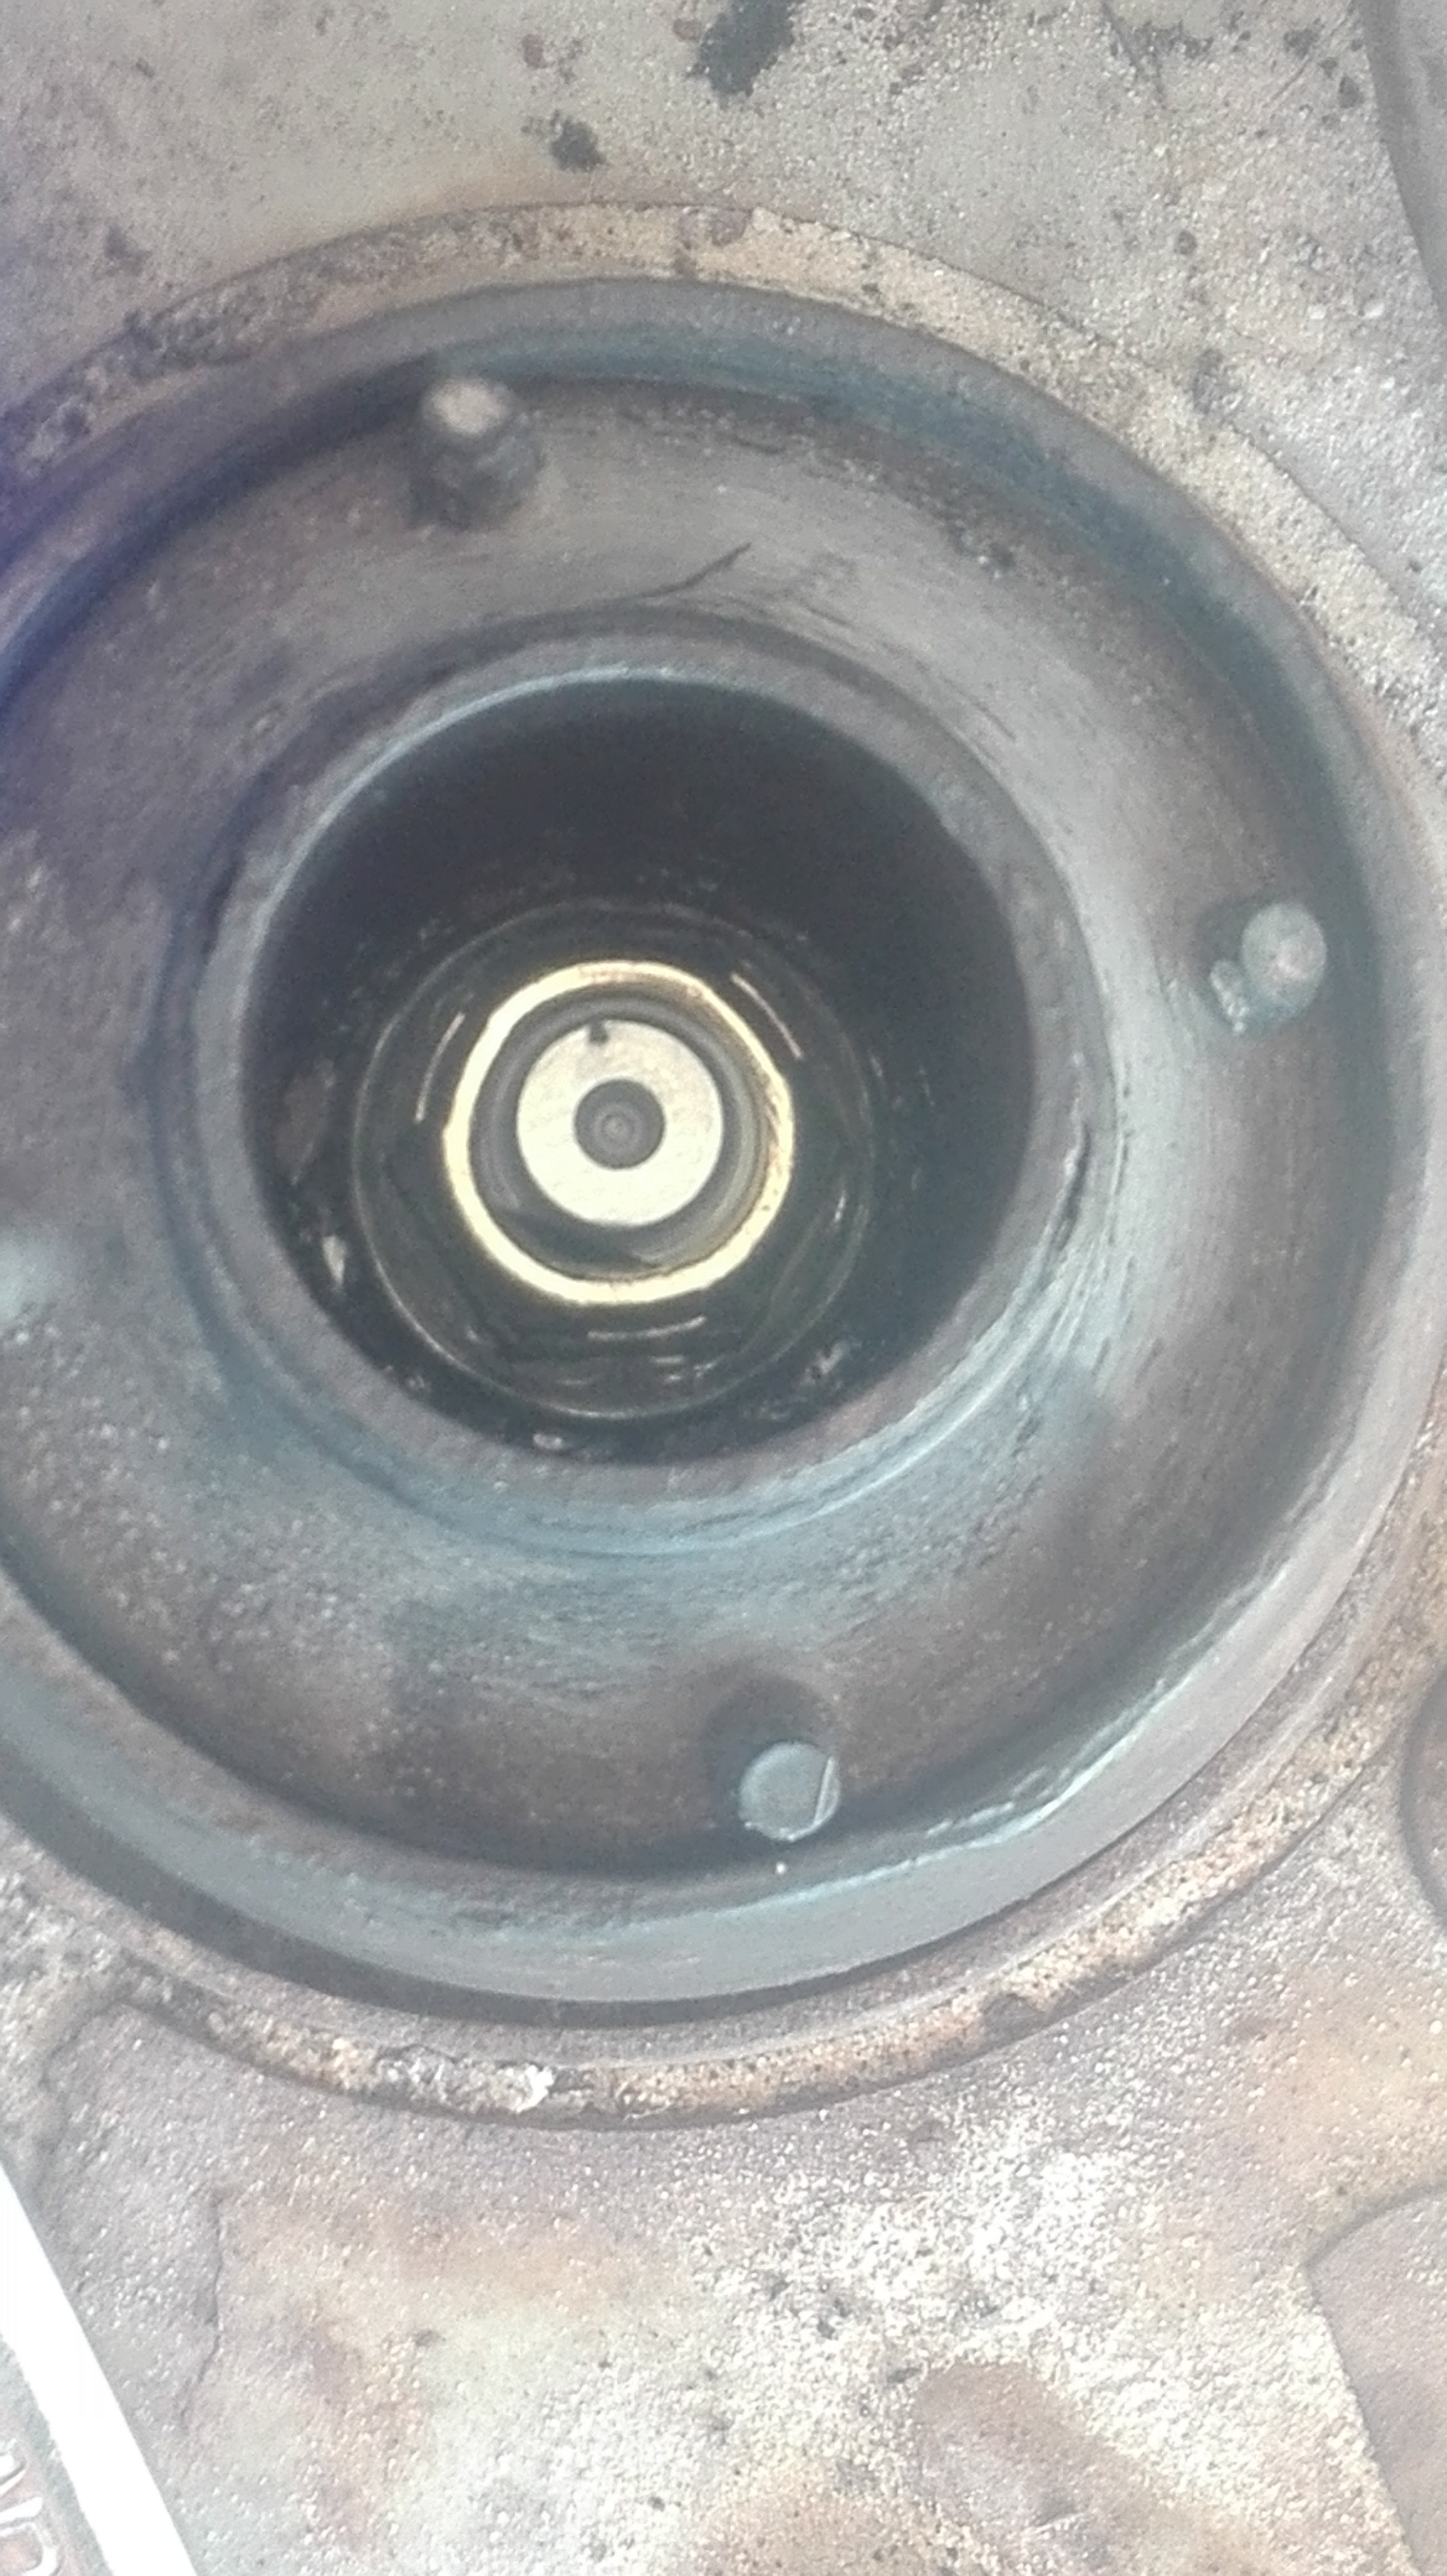
It was soon after that I experienced my first mechanical failure with the bargain car, driving home I was confused to find break fluid on my shoe. An inspection found that the brake booster and master cylinder mounted under the dash, the cylinder was leaking. I returned to daily duties in my G100 whilst I had the master cylinder rebuilt at a cost exceeding the car’s value. It was easier at this time to remove the drivers seat to easily access under the dash, then this happened…
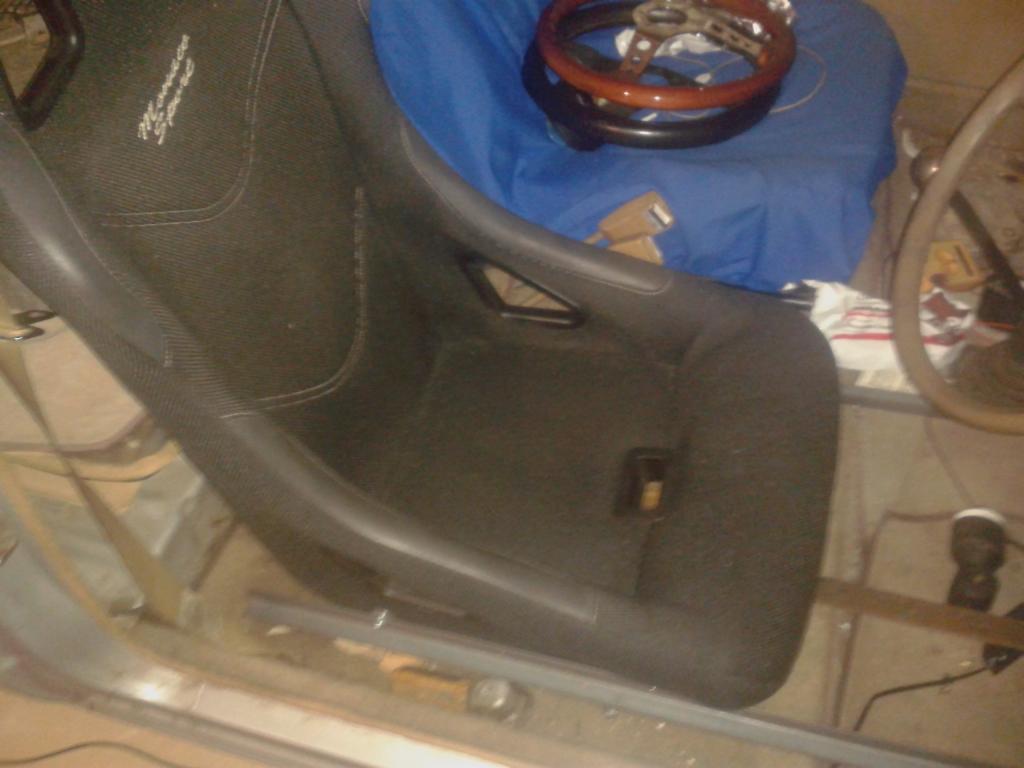
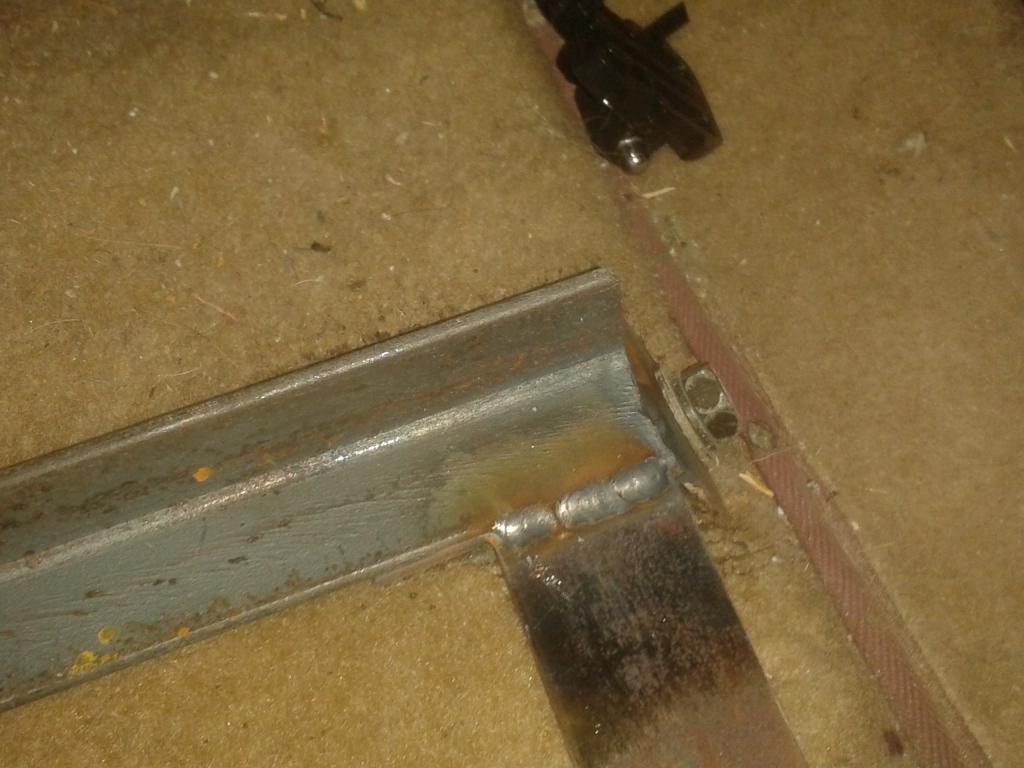
My first tig welding experience, I am very thankful that the welds are still intact.
I bought a knock off Nardi 300 mm steering wheel, and a genuine HKB boss kit .
Upgraded my AM to AM/FM radio

Tig welding old badge holes aren’t a great idea, it shrunk the boot skin a tad.
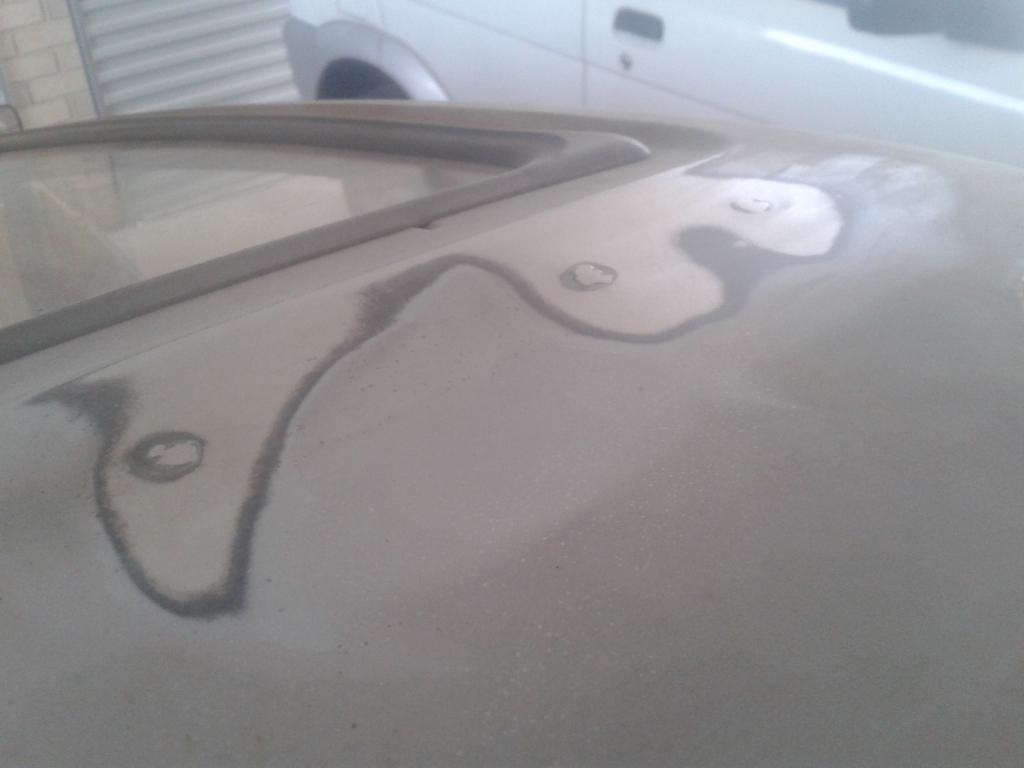
I got carried away with the Rustoleum paint.
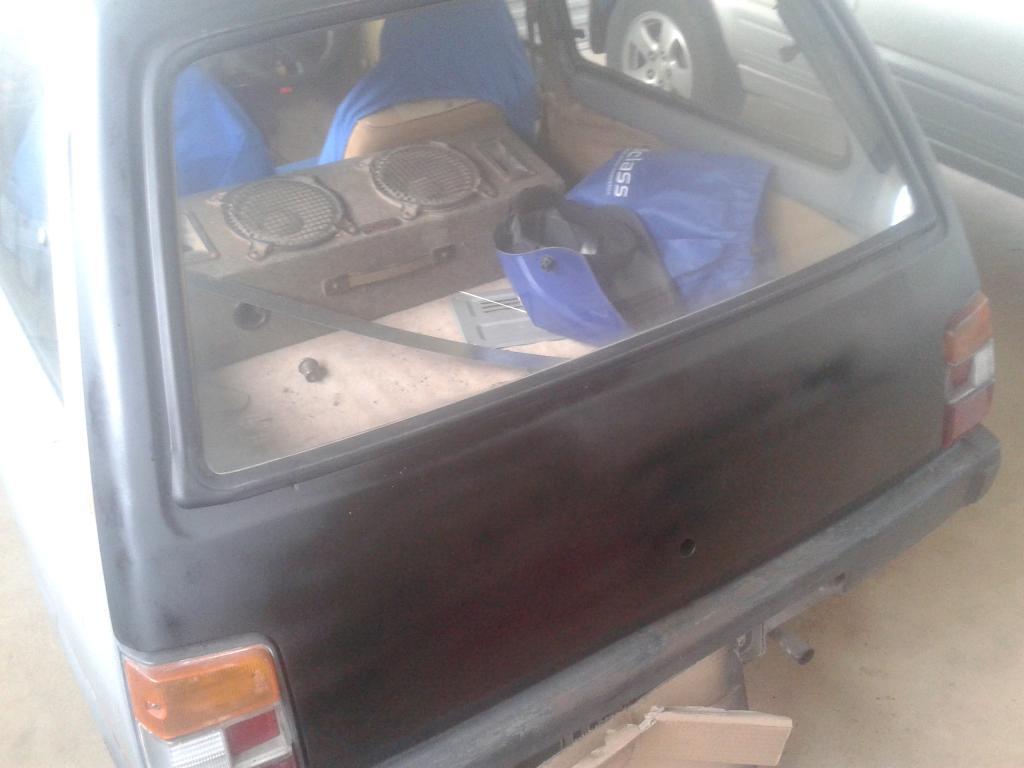
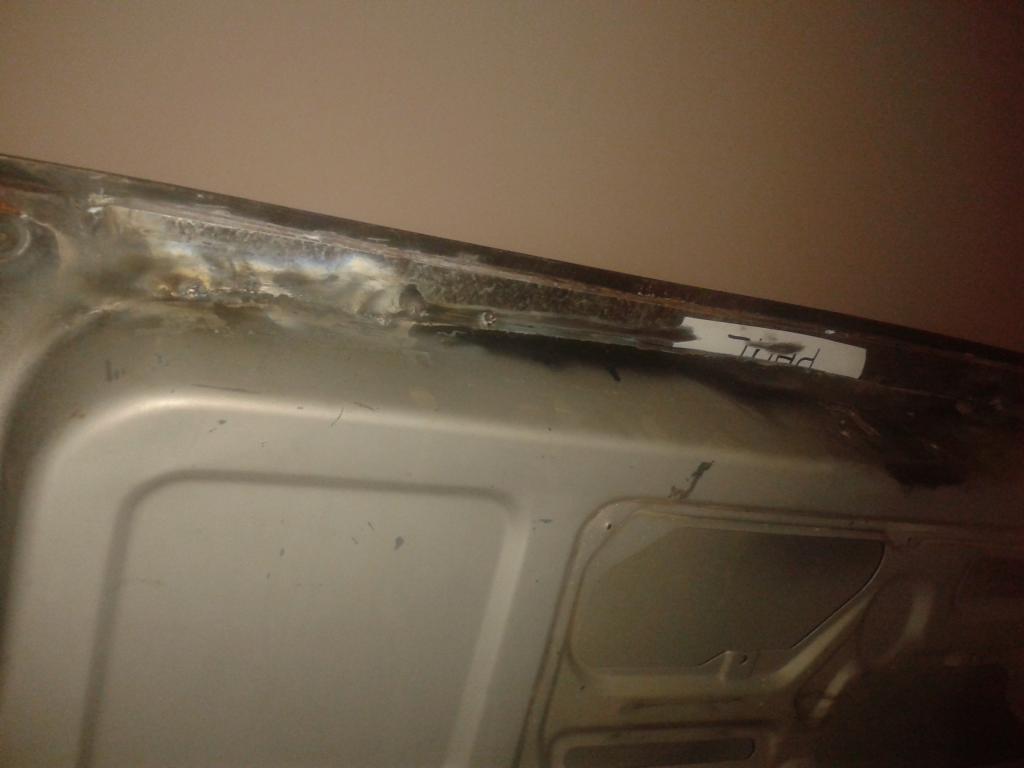
I removed some rust from the tailgate.

I discovered galvanised steel is not a great material for patch panels and that tig welding it isn’t fun either.
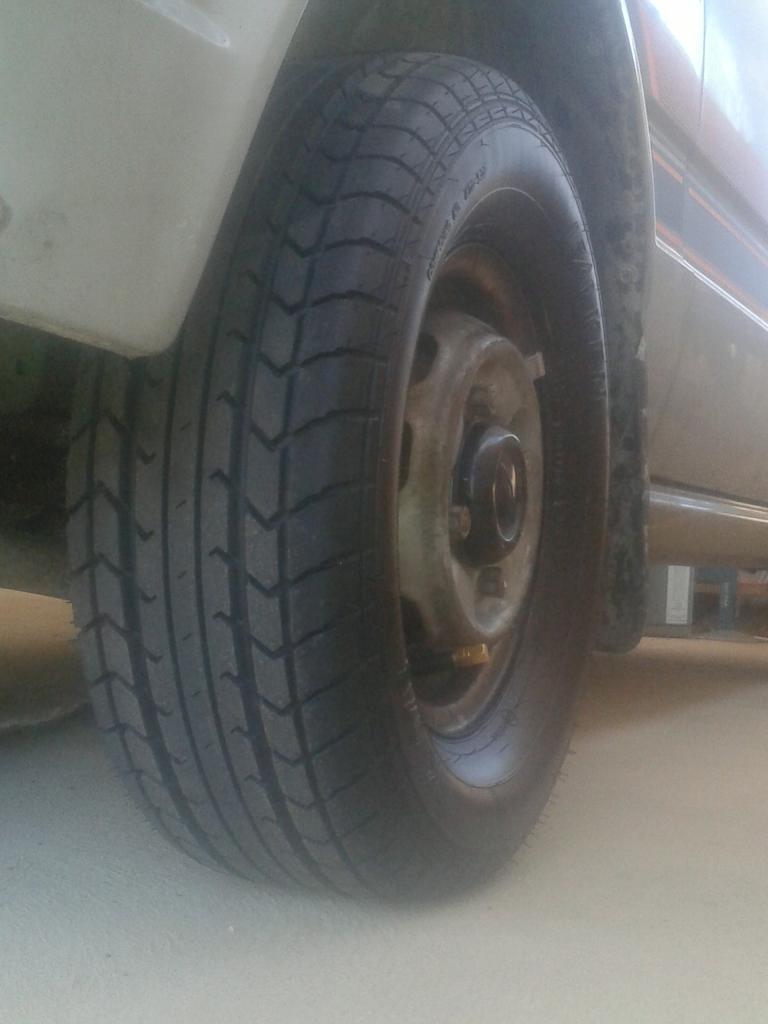
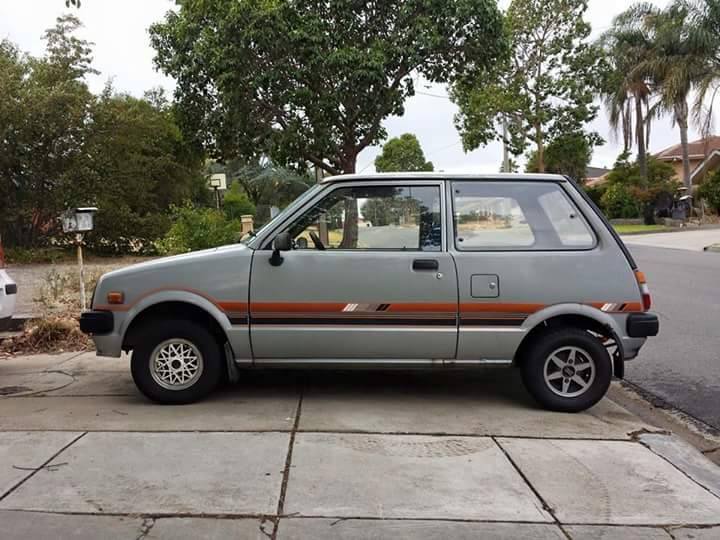
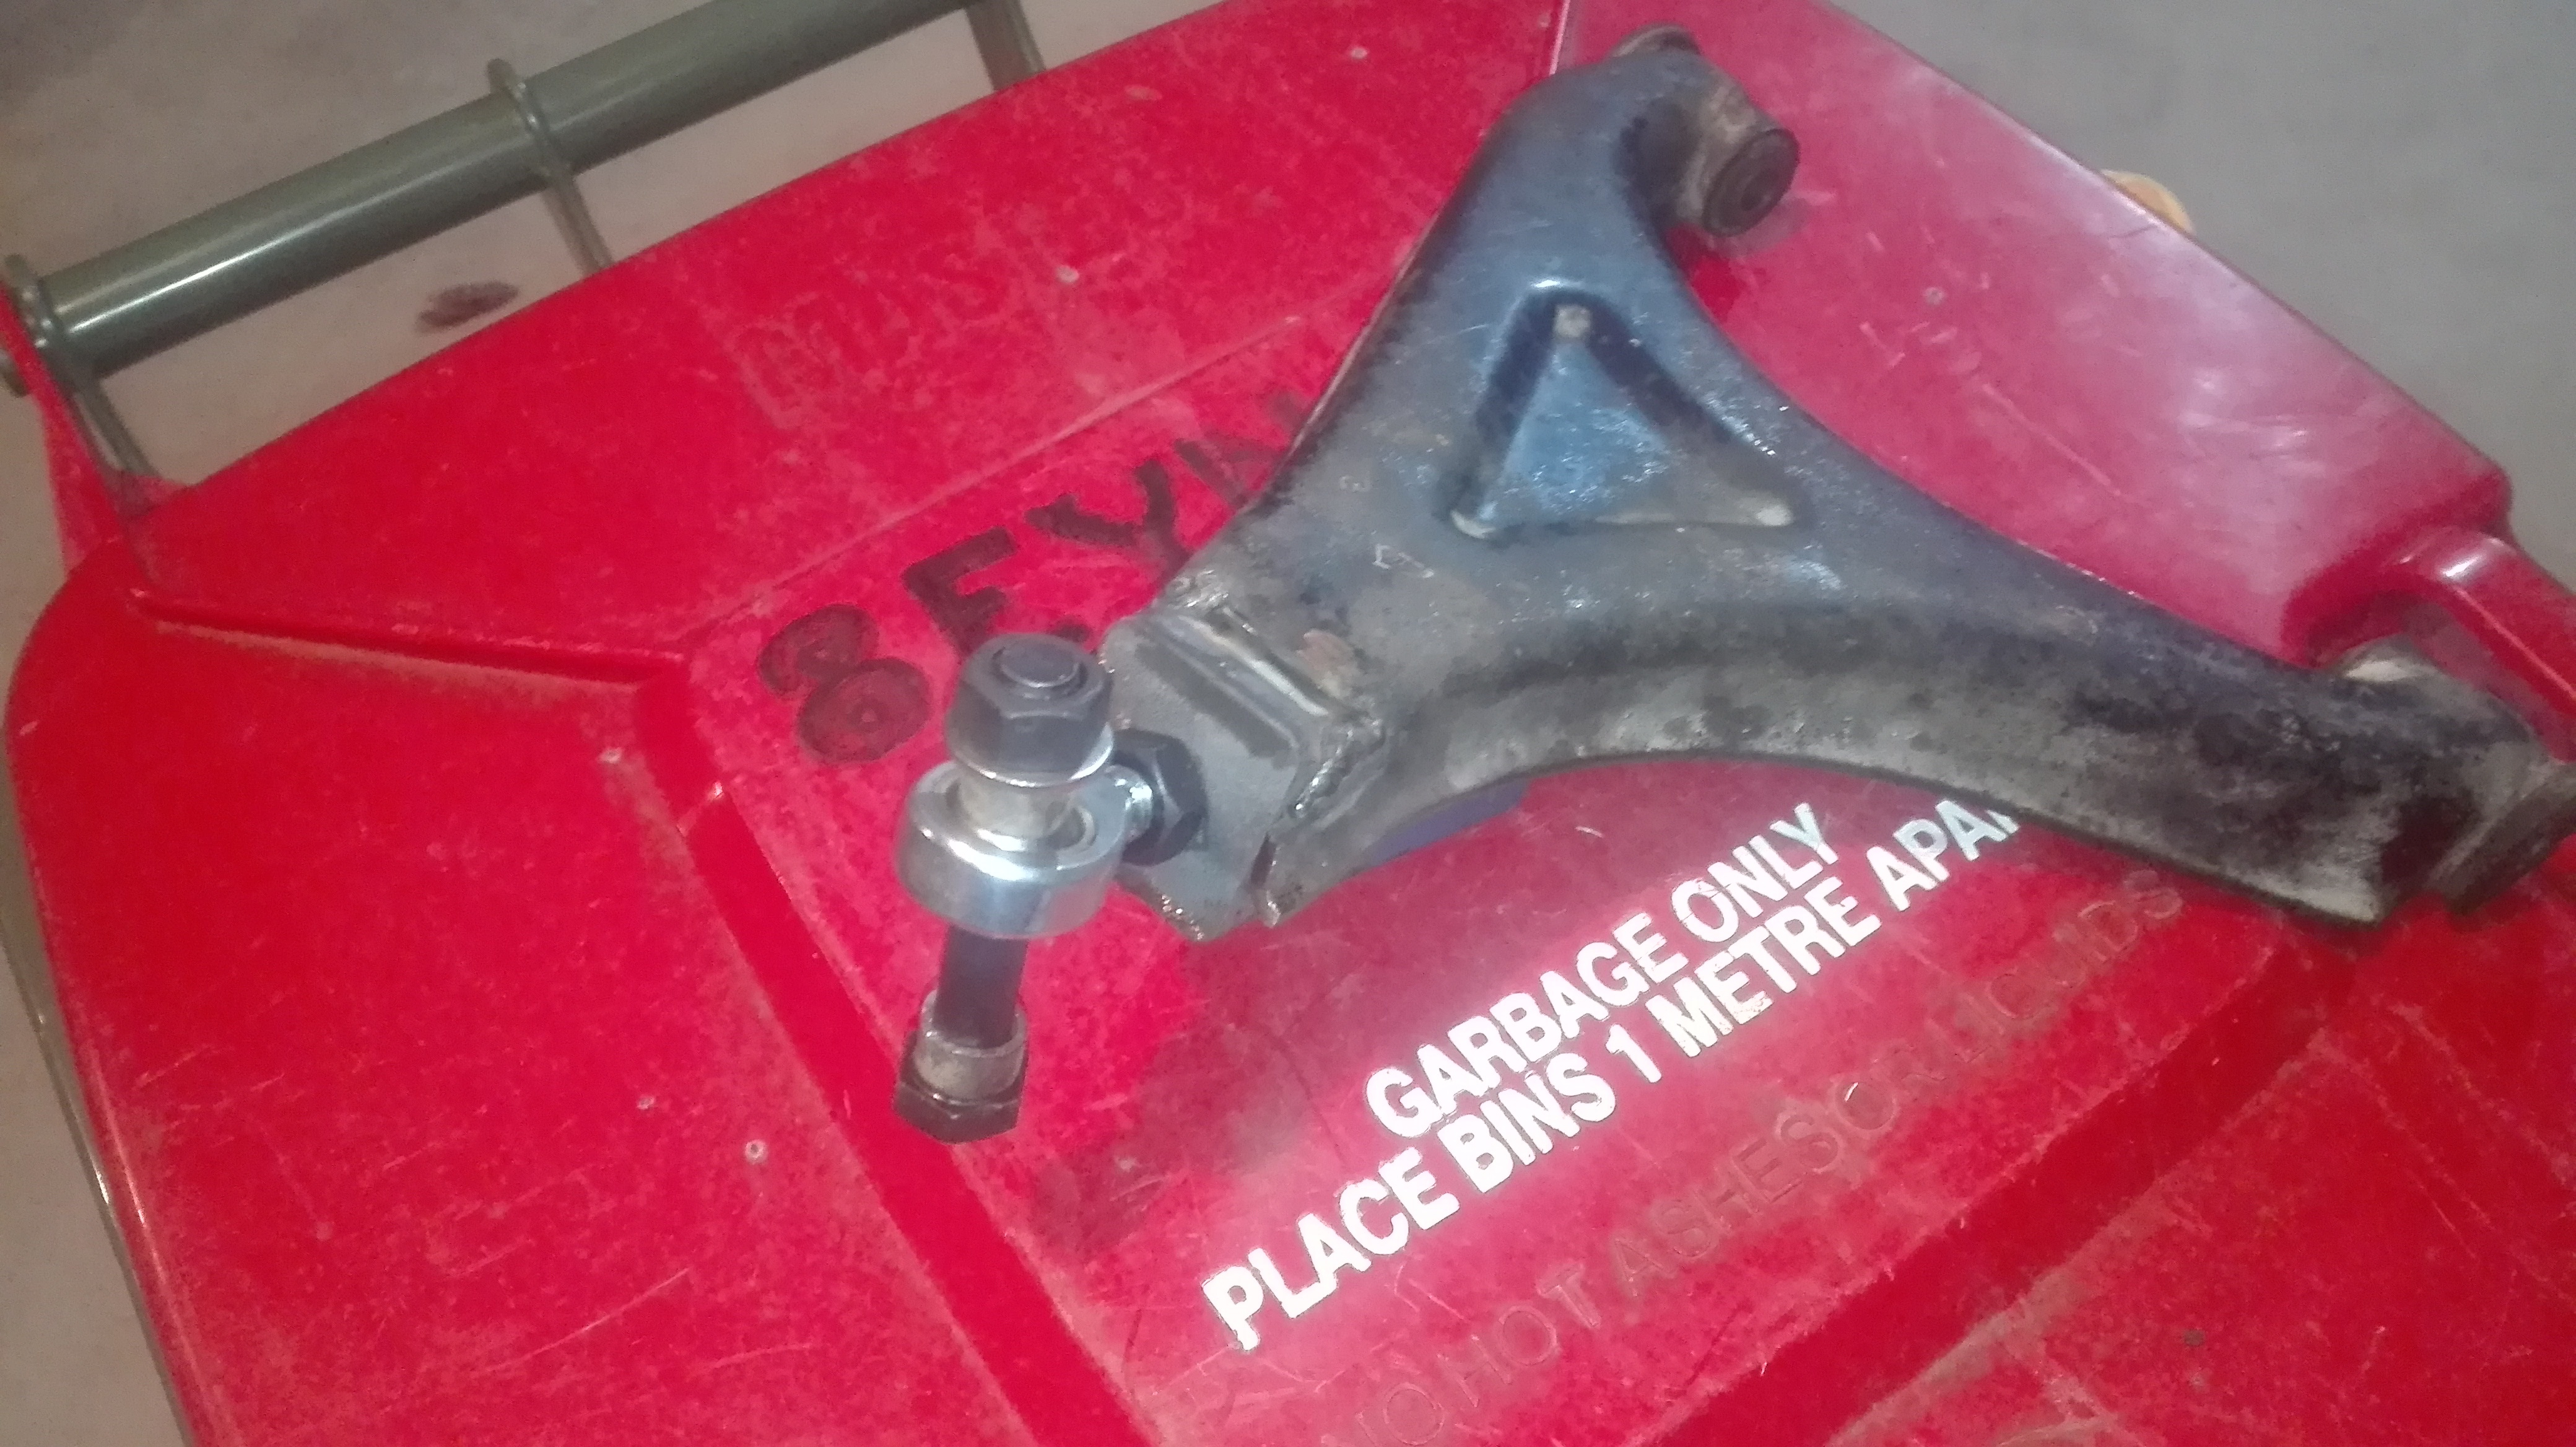
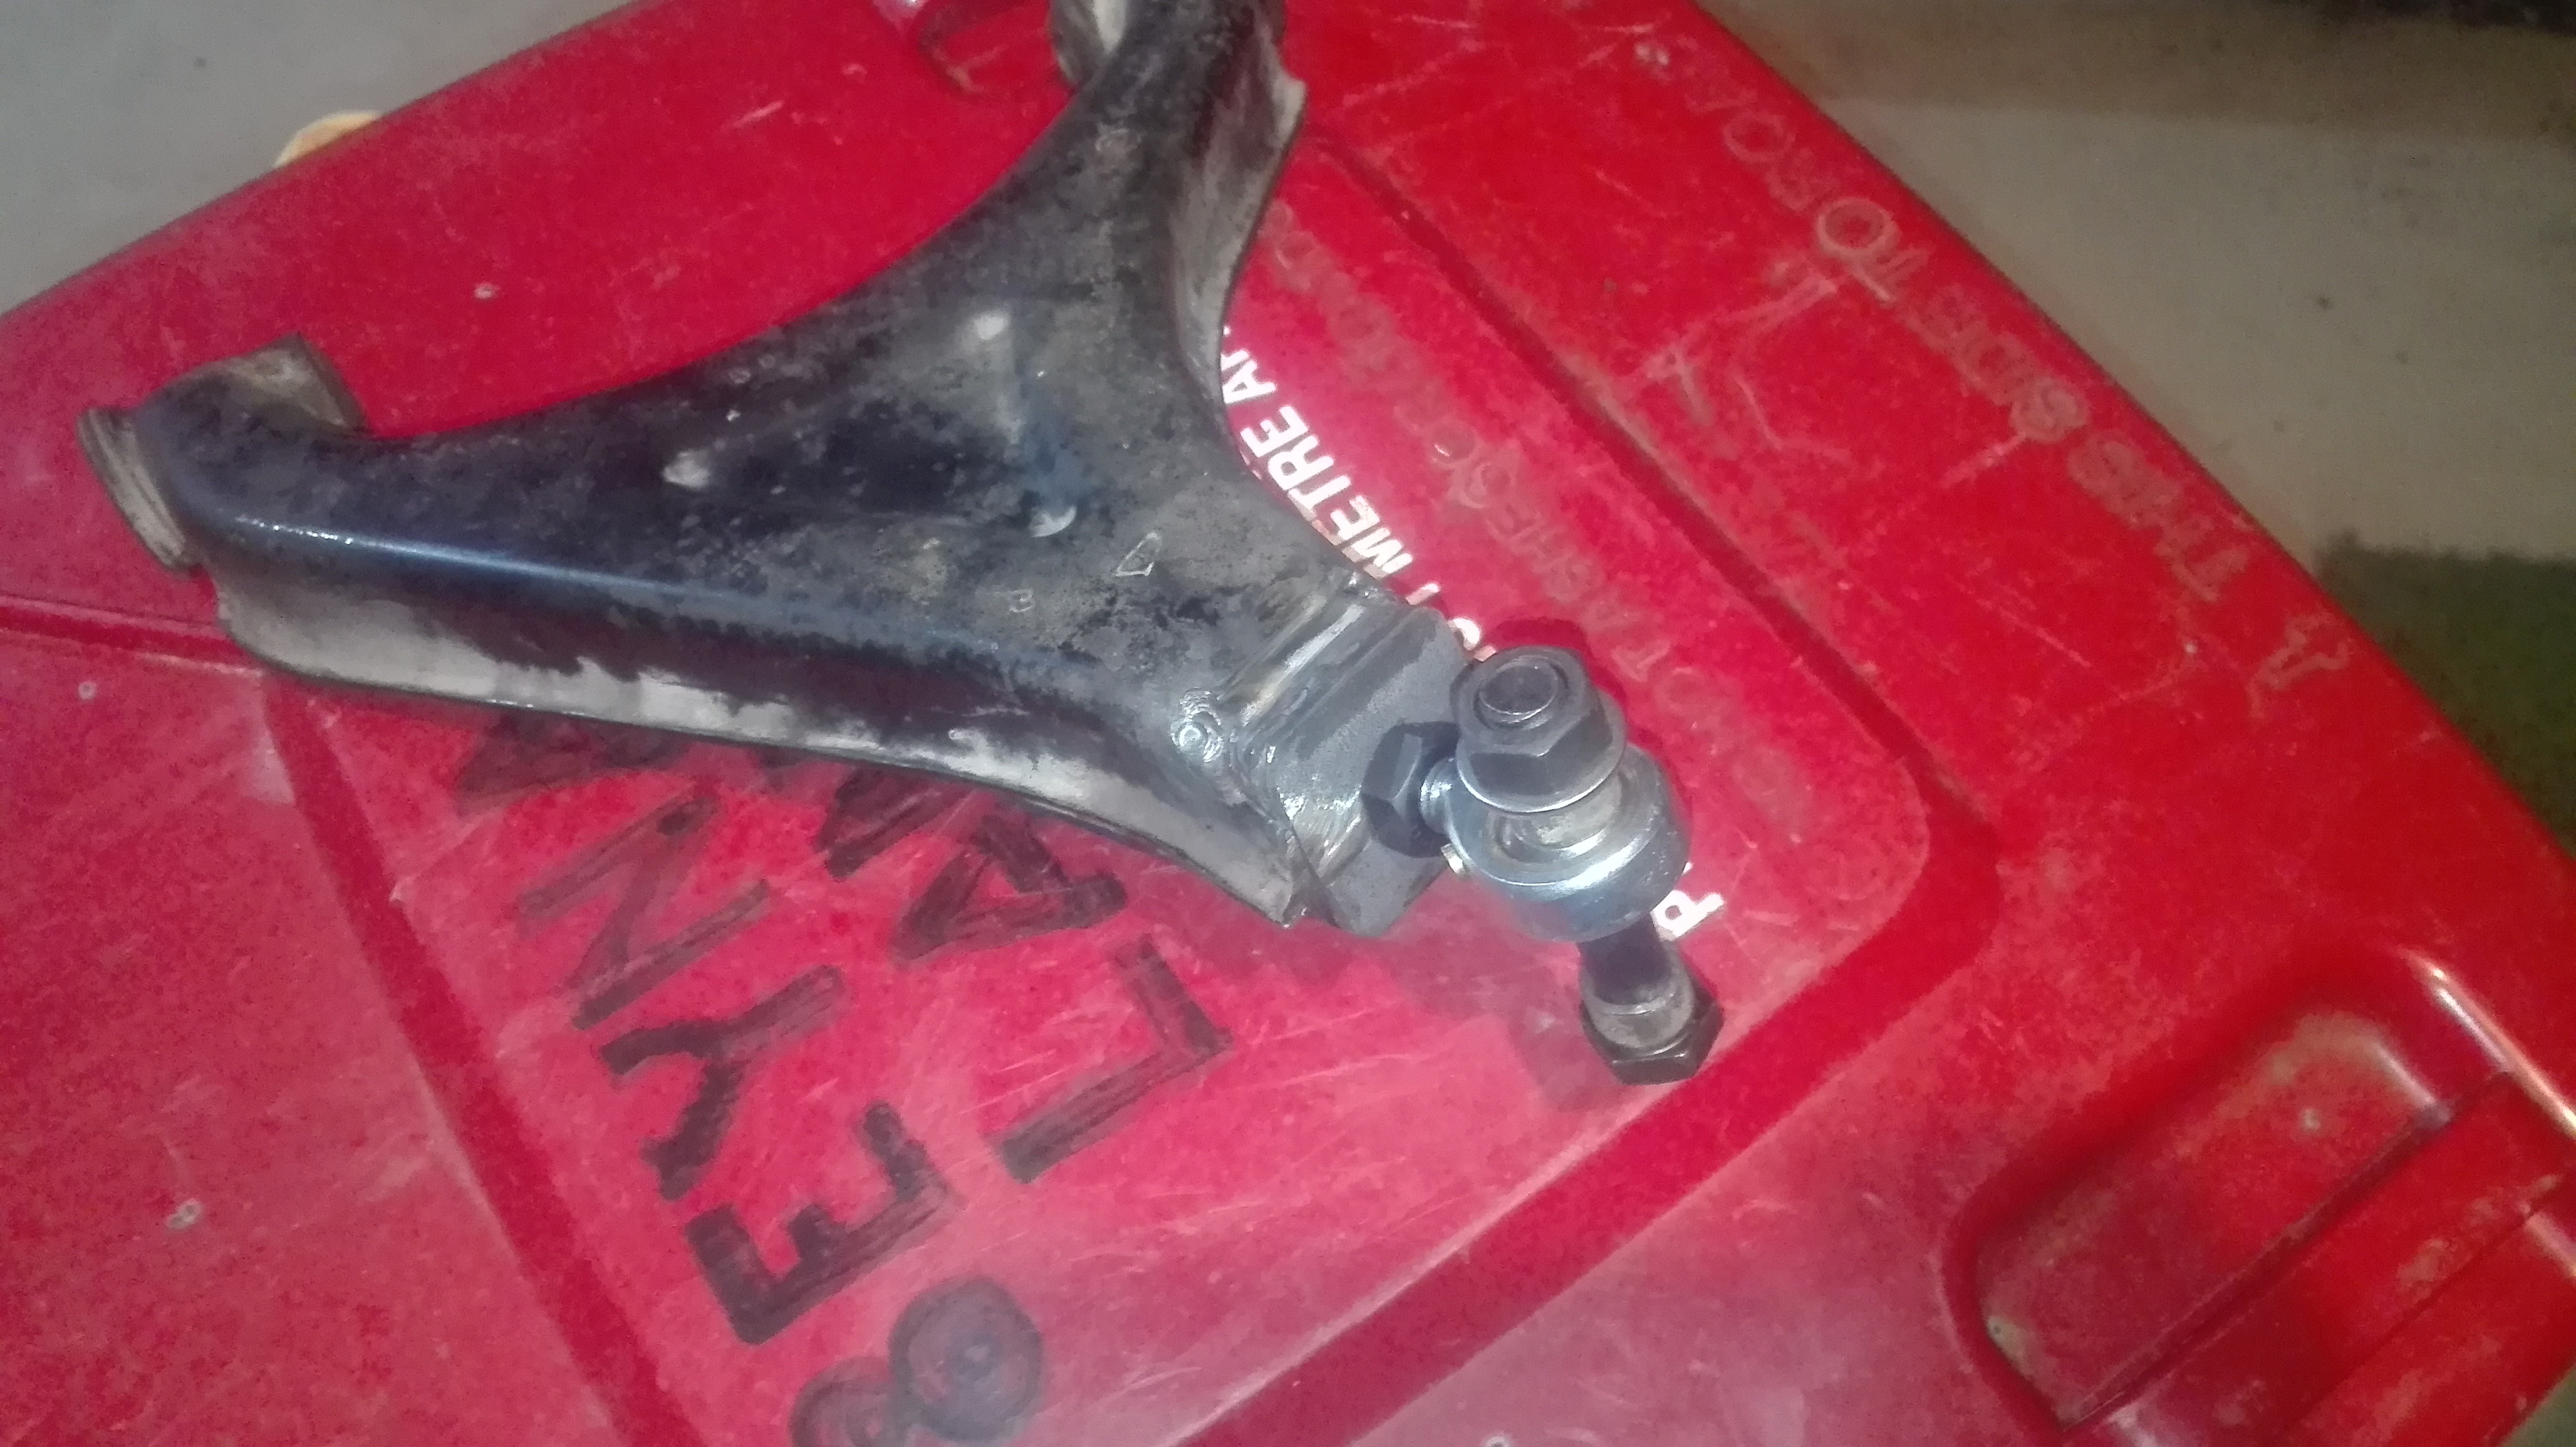
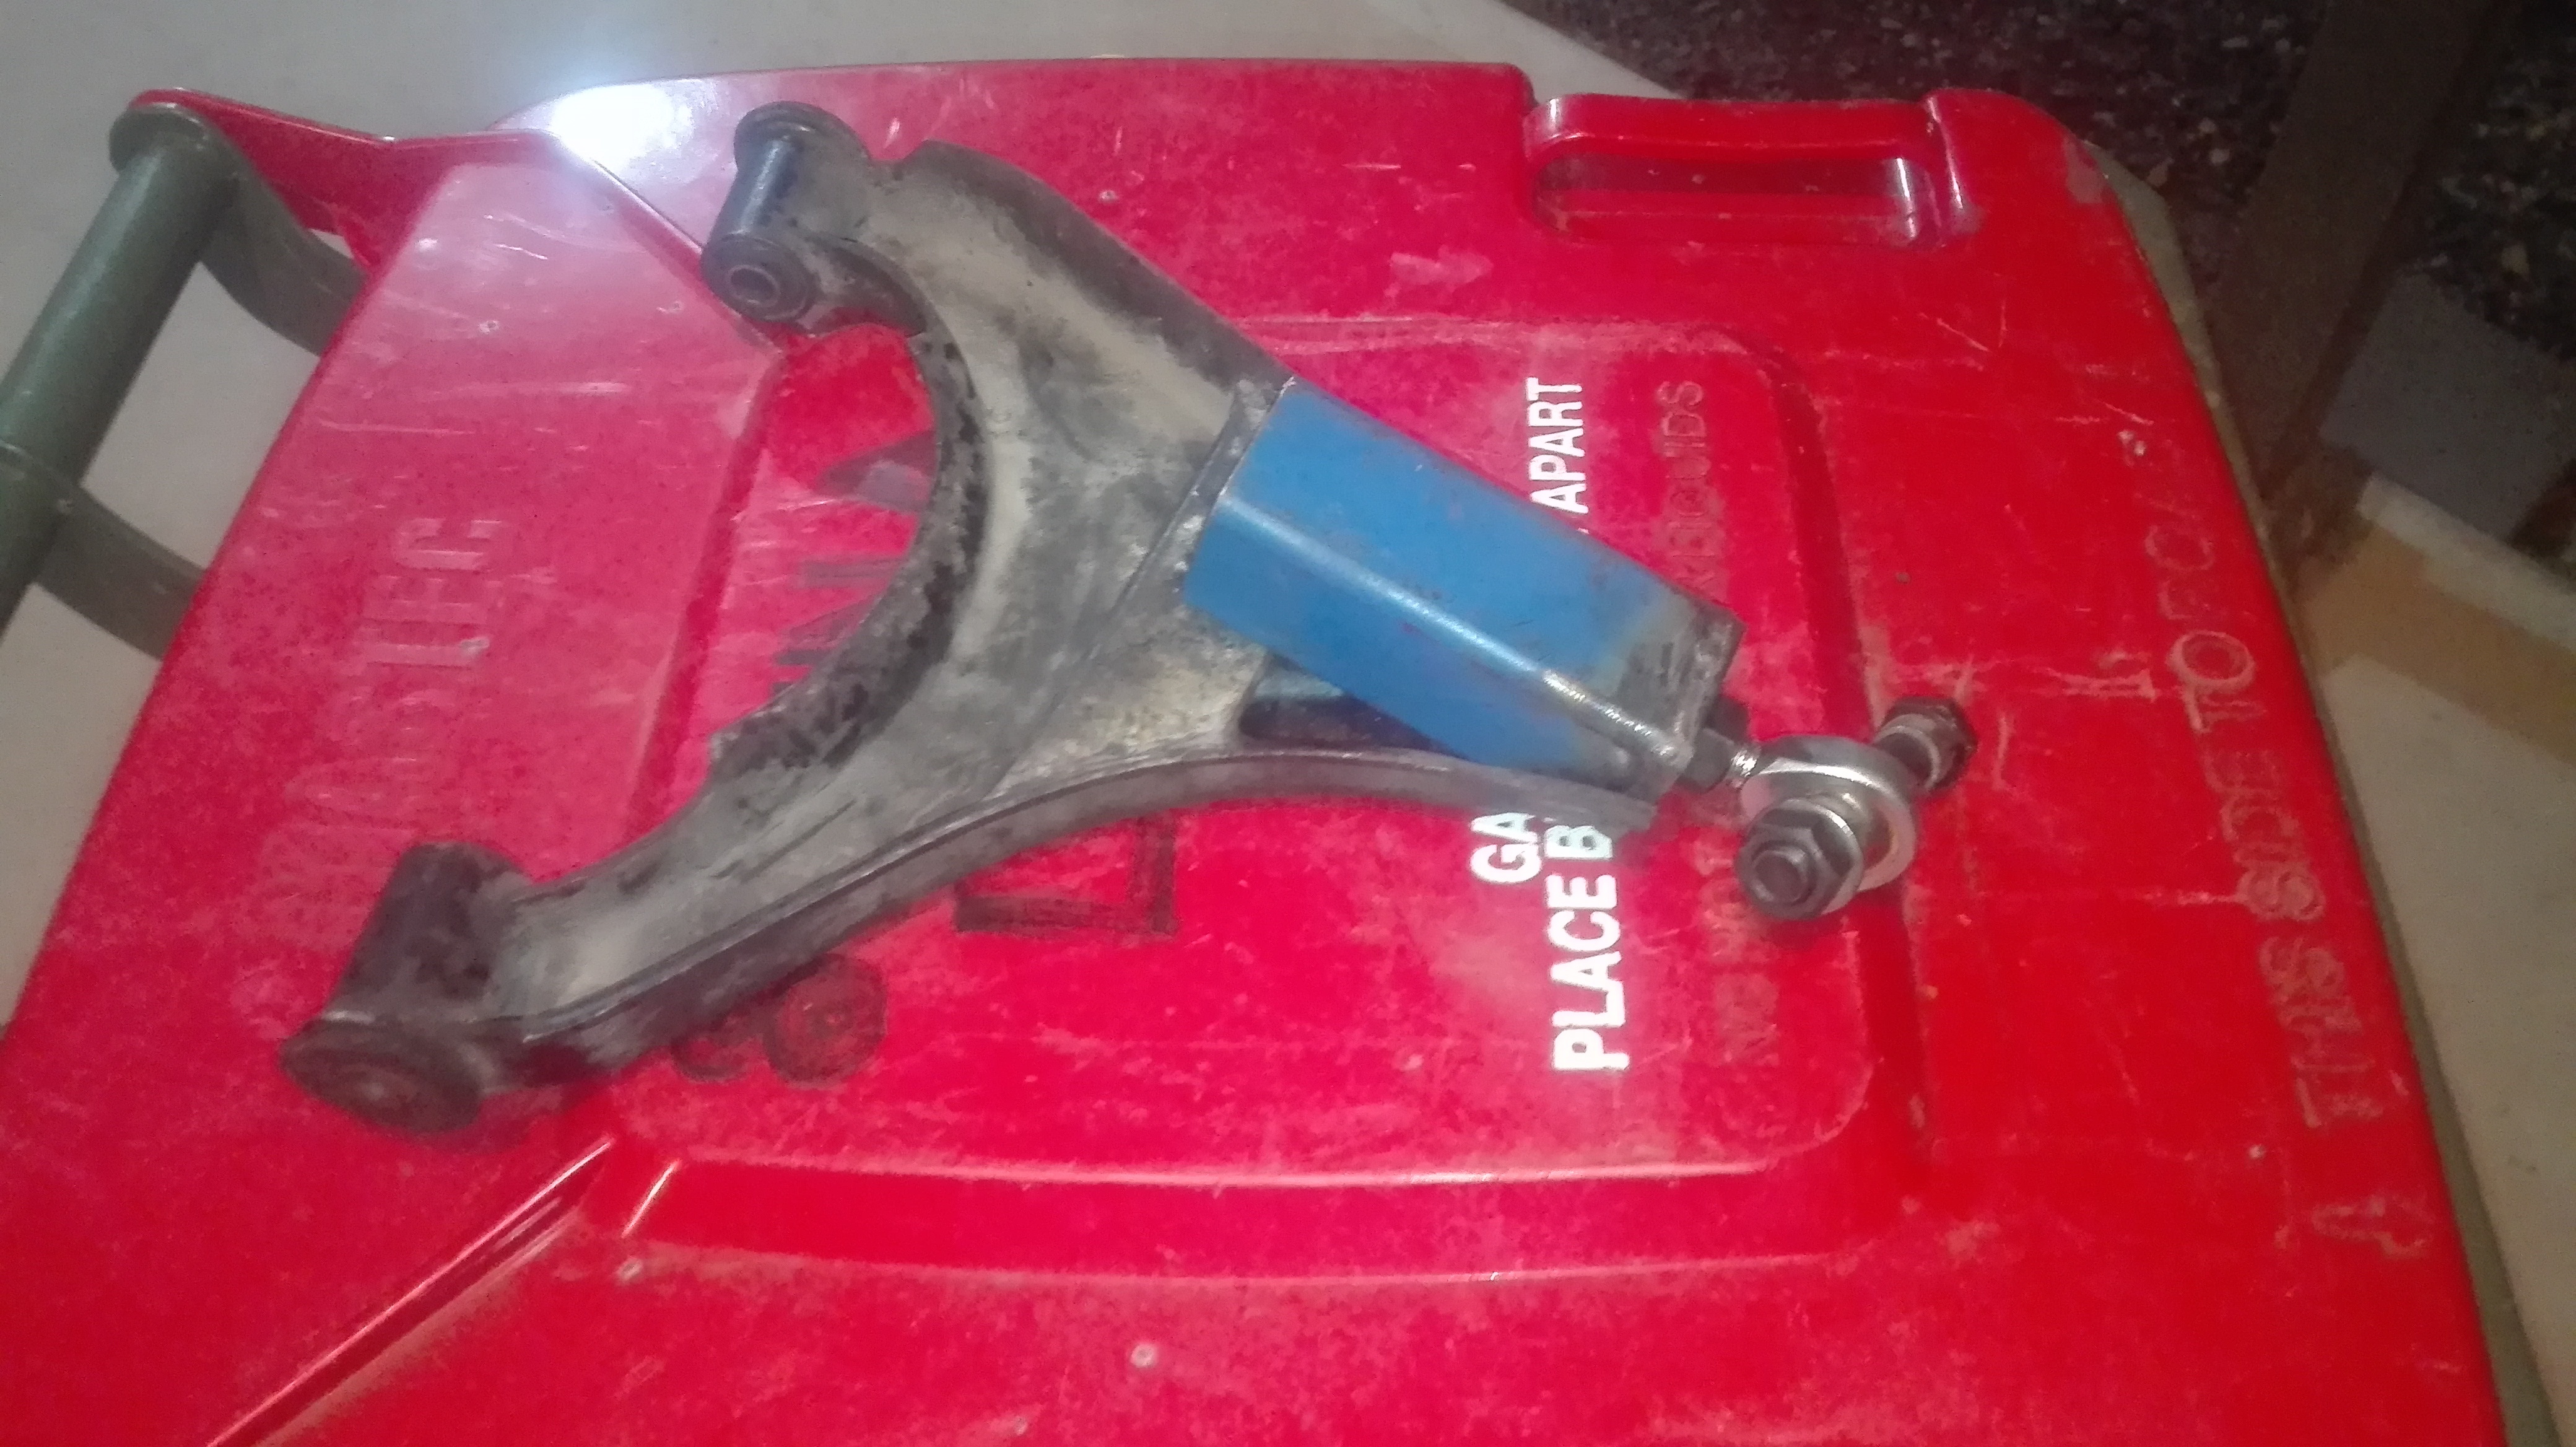
Still having plenty of disposable money in the pocket I bought a set of 165/70R10 tyres for the factory 3.5 inch wide wheels, it was the anti JDM. A mate of mine replaced the tie rod ends and we aligned the steering to eye, this resulted in a tad toe out - later found this to be 12 mm out, was a tad excessive but the turn in going into corners was phenomenal!
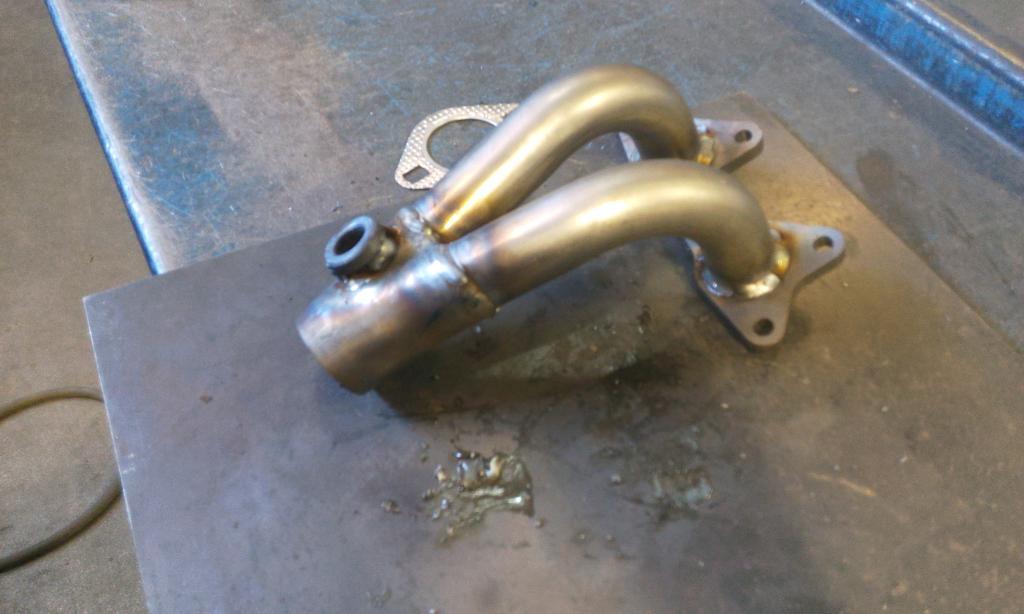
While fixing a leaking sump seal I managed to snap an extremely rusty stud from the exhaust manifold that joined the exhaust. Once again getting carried away I made some extractors, I know they aren’t tuned but they worked and made a difference, with this I made a 38 mm exhaust that I welded up with the TIG in the carport.
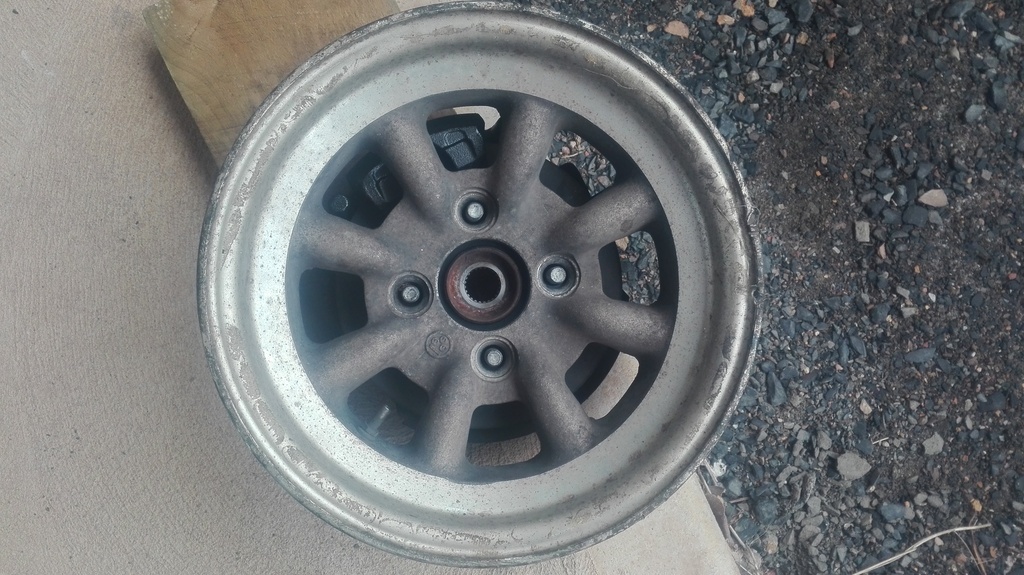
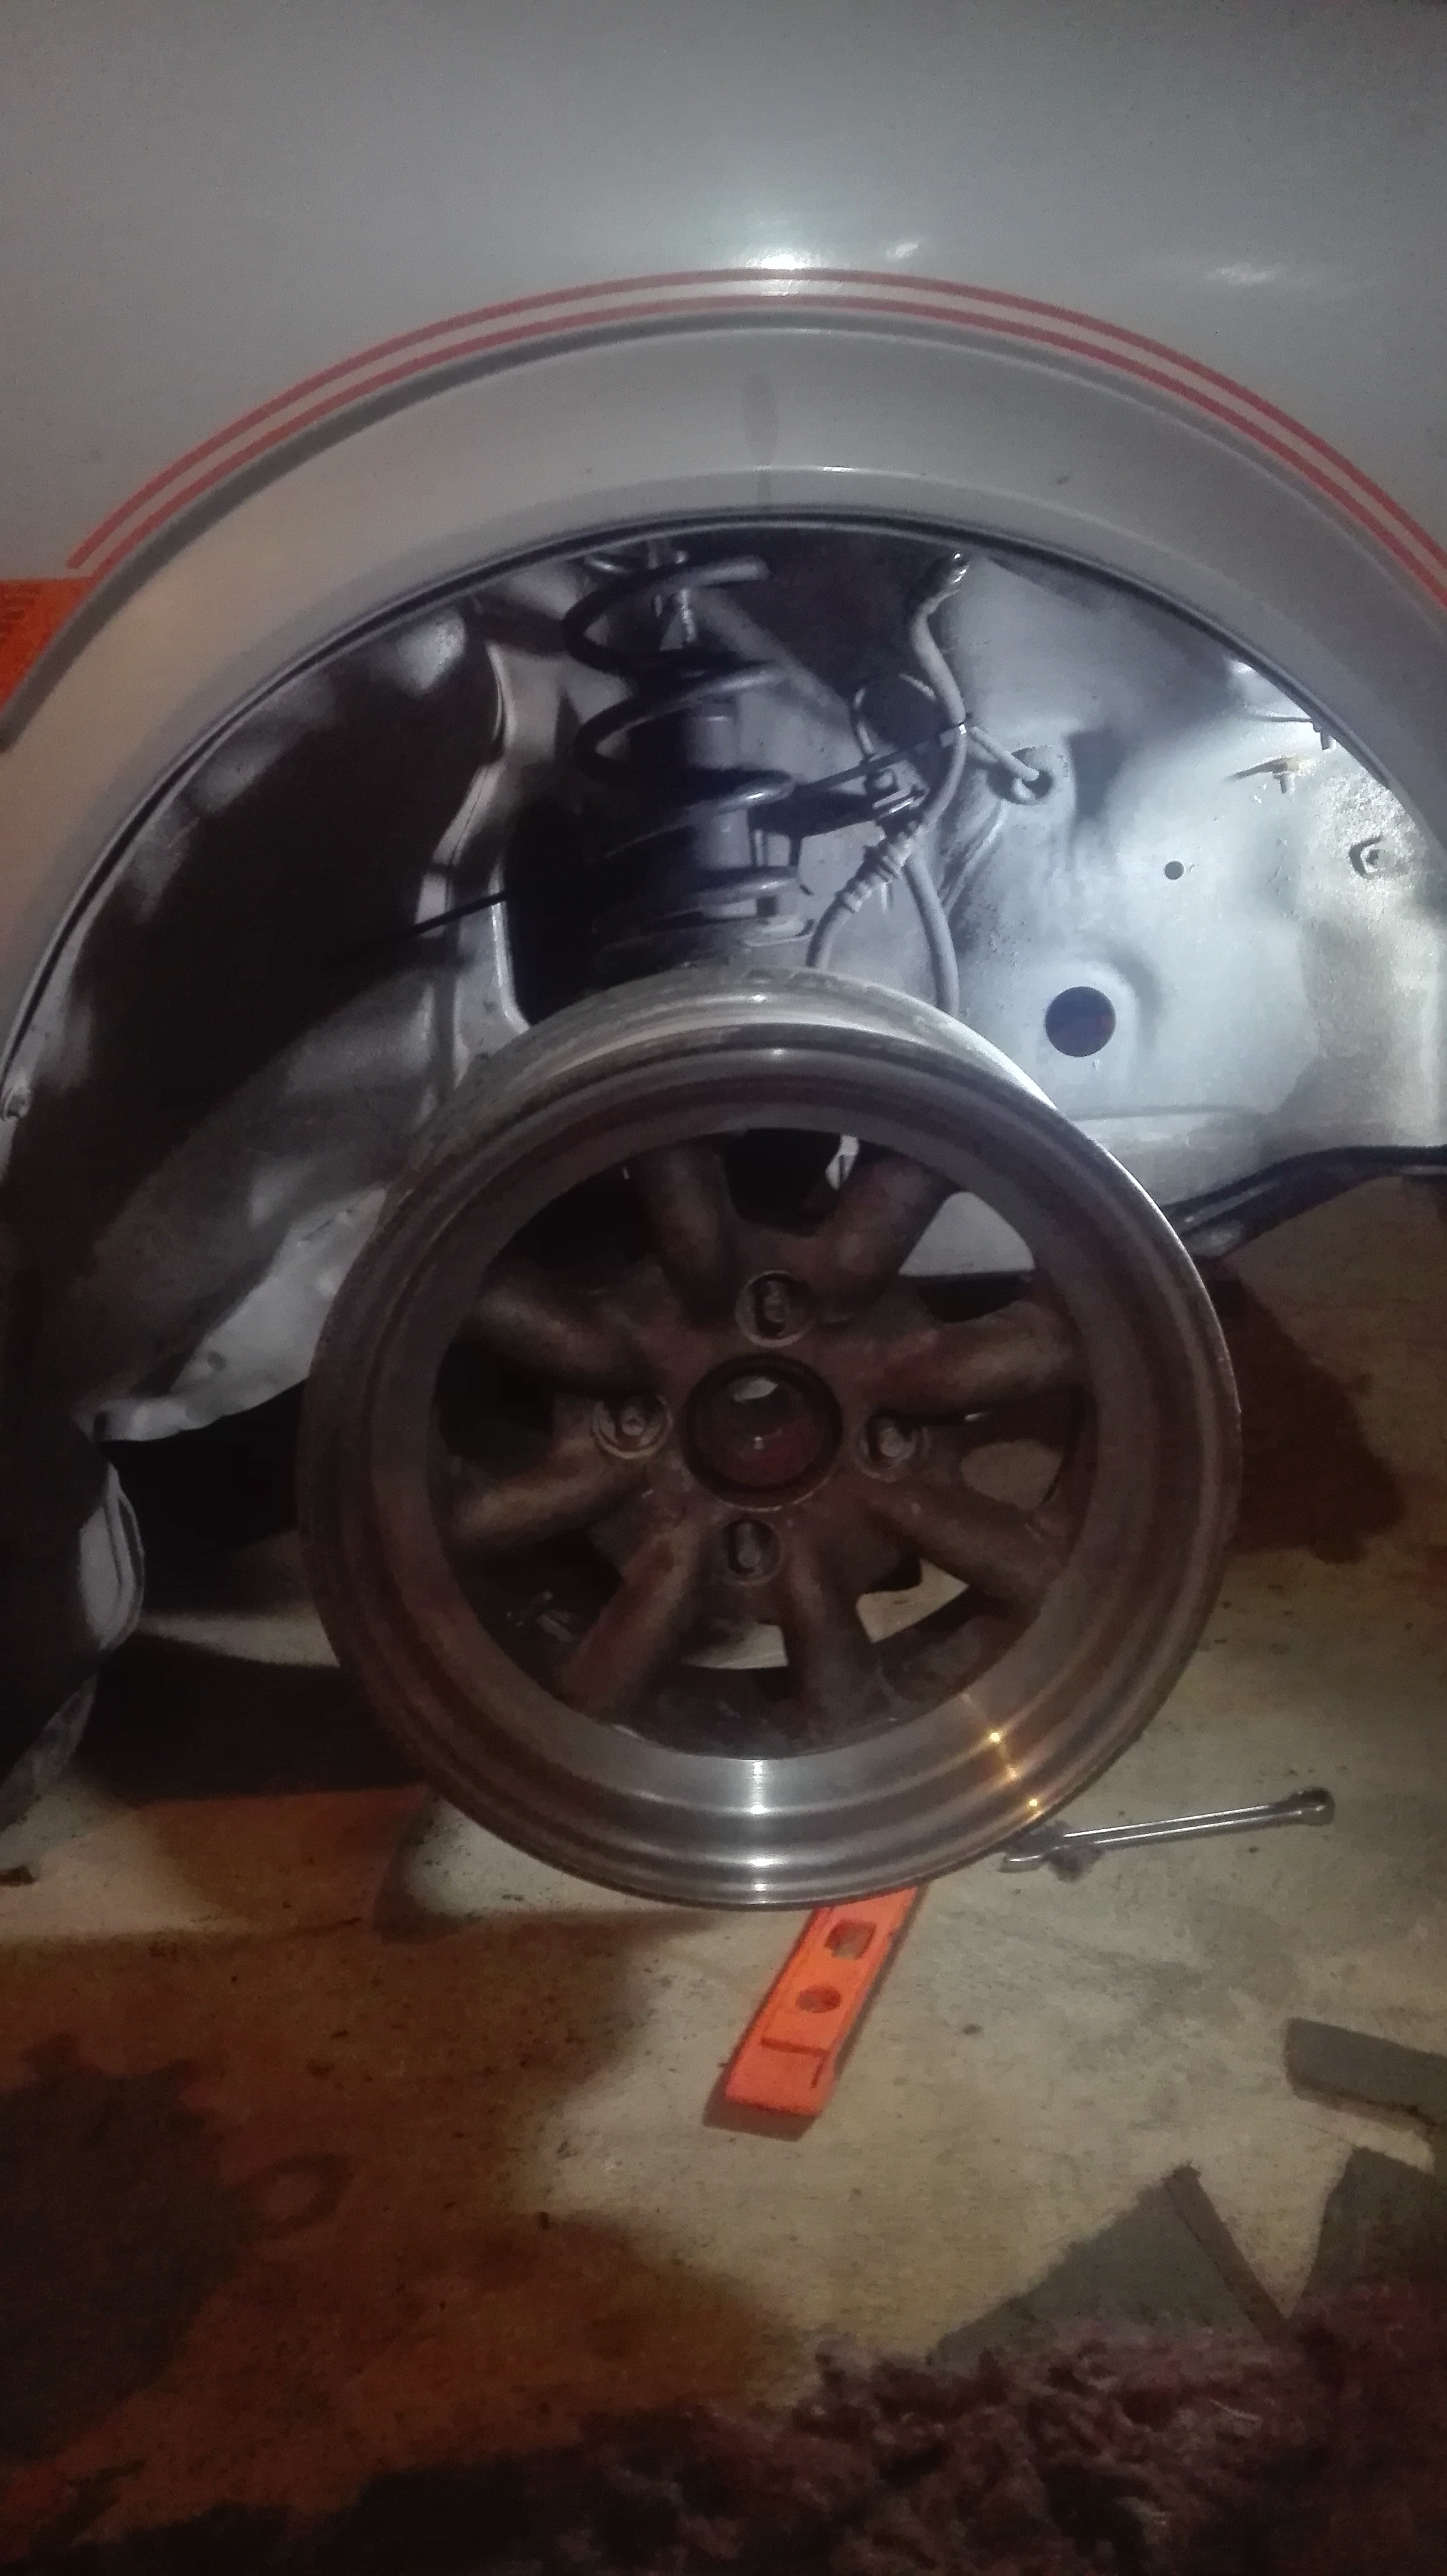
I bought some mix matched wheels when I buckled the steel rims.
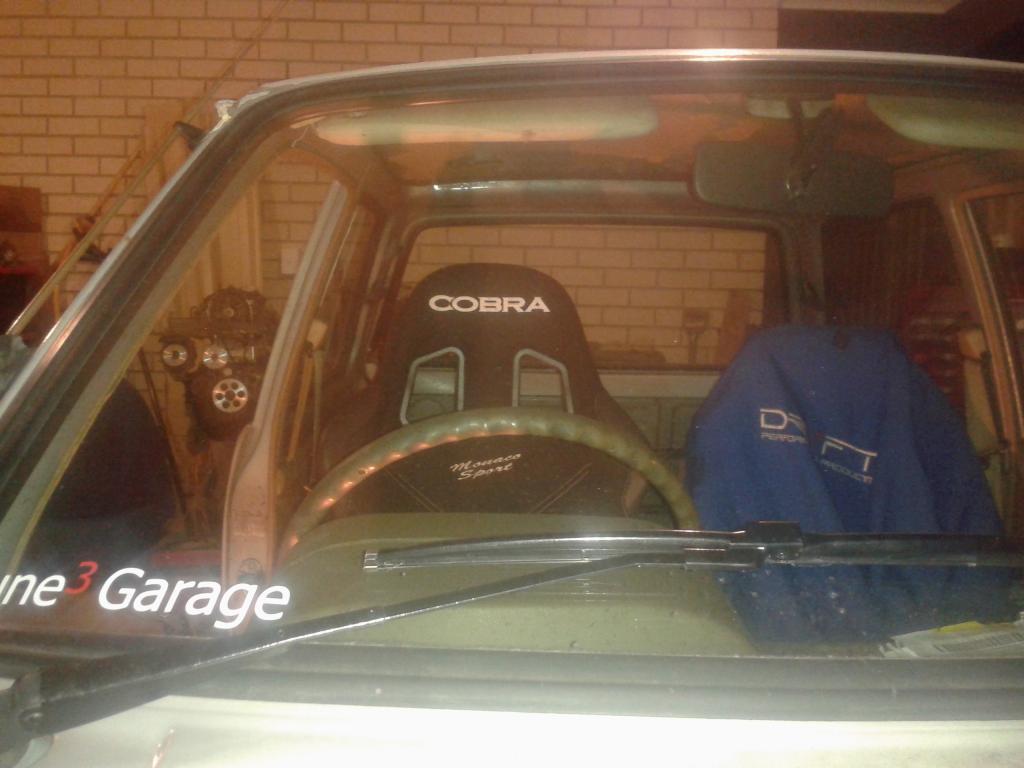
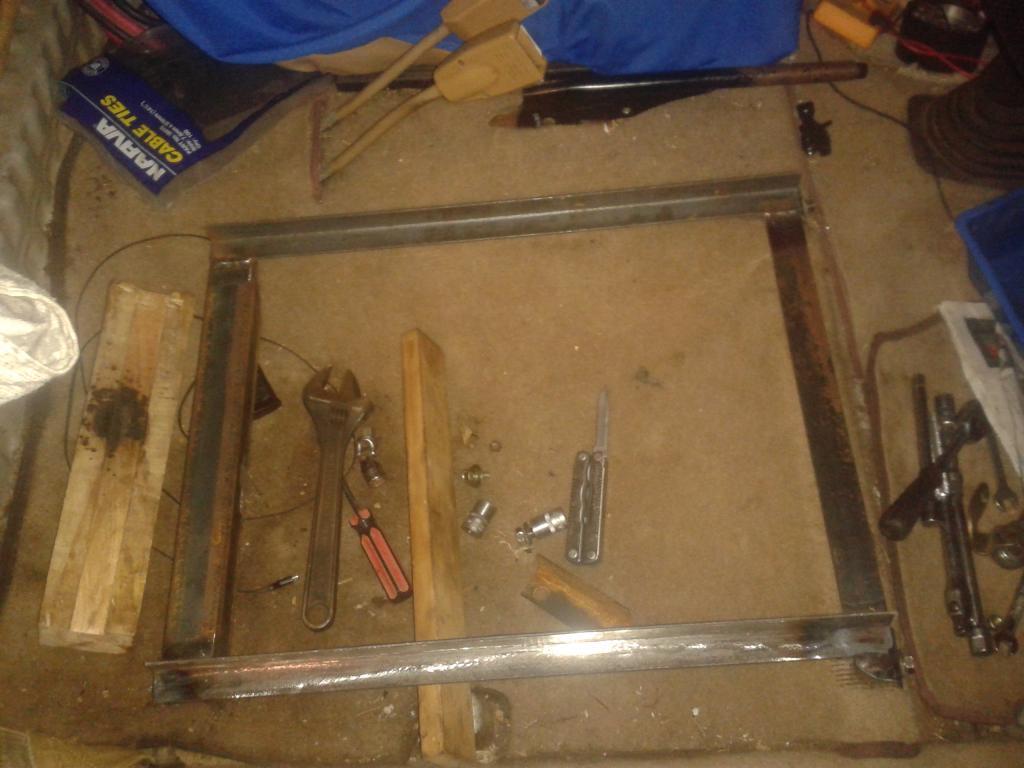
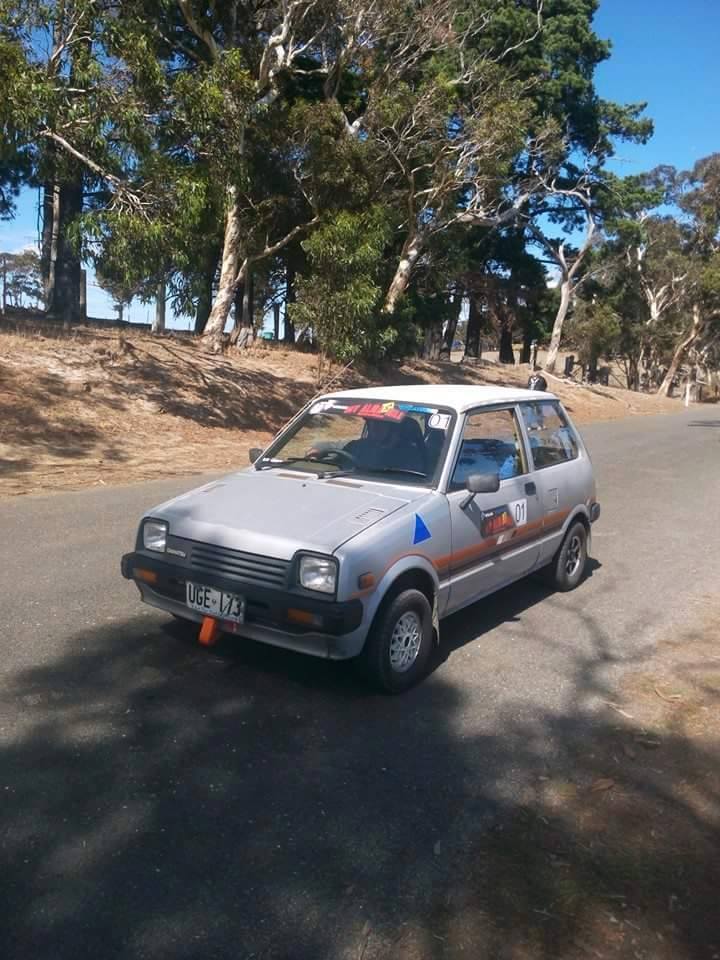
Things slowly got out of hand the seat was mounted and an extinguisher went in the car, as I had entered the car in the Mount Alma Hill Climb 2015 for a bit of fun. Front and rear towing points were added, with Velo towing straps.
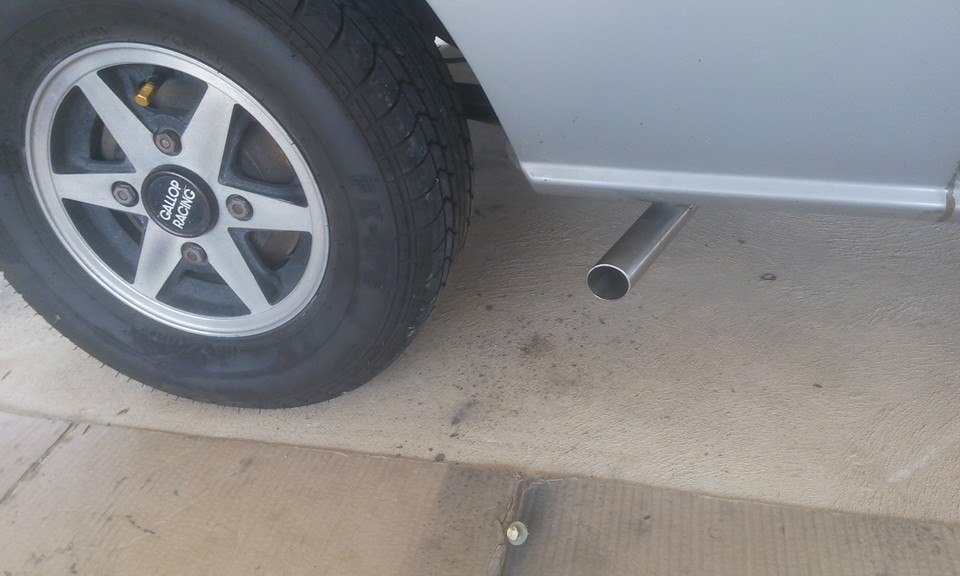
No race car is complete without the side exit exhaust, this set up eliminated one of the three resonators that makes up the exhaust.
Come late March 2015 I was at the hill climb in my two cylinder car, I had the time of my life. It was very slow compared to many of the cars there but it was also more reliable than those who DNS or DNF with mechanical failures (many WRX and Evo’s fell victim to mech failure).
It wasn’t until the second day of racing when someone said the tyres looked a little down that I checked the pressures and added 10 psi to bring the fronts back up to 30 psi.
After racing I decided that I needed more power, at this stage funds started to dry up as I was rebuilding my GTVi motor. Being at this stage my wife was pregnant that the GTVi took priority over the Handivan.
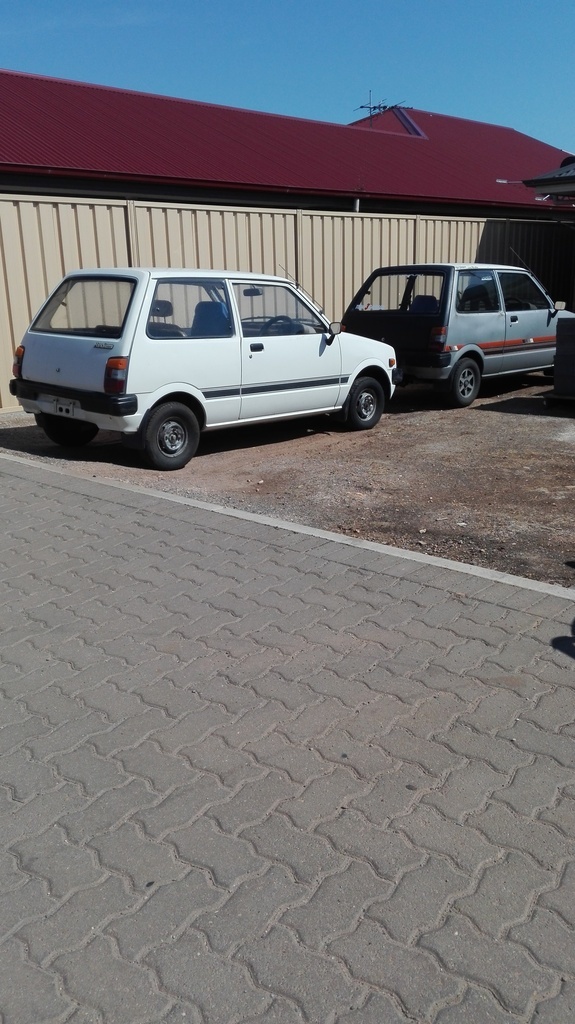
During the later half of my wife’s pregnancy I jumped onto a plane and flew to Tasmania to pick up another Handivan
Thanks to @Handigirl for acquiring it for me, and the basic servicing of the car before I drove it home from Hobart to Devonport, onto a boat and then drive from Melbourne to Adelaide. Not a trip I would recommend at a top speed of 90 km/hr, I think Melbourne to Adelaide was approximately 13 hours with a couple of short stops.
The day before my son was born the GTVi was running, and Darth was back where he belonged under cover.
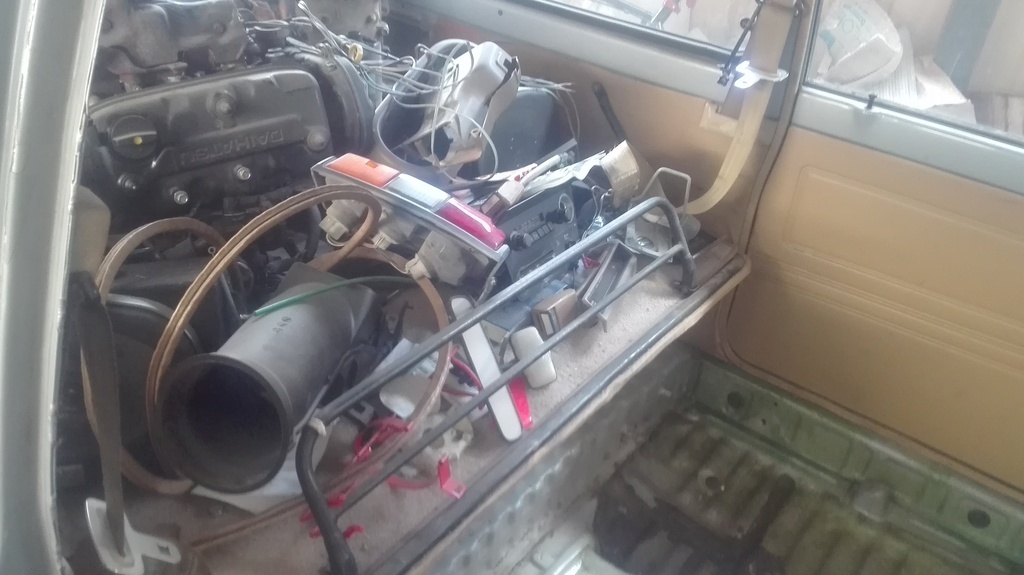
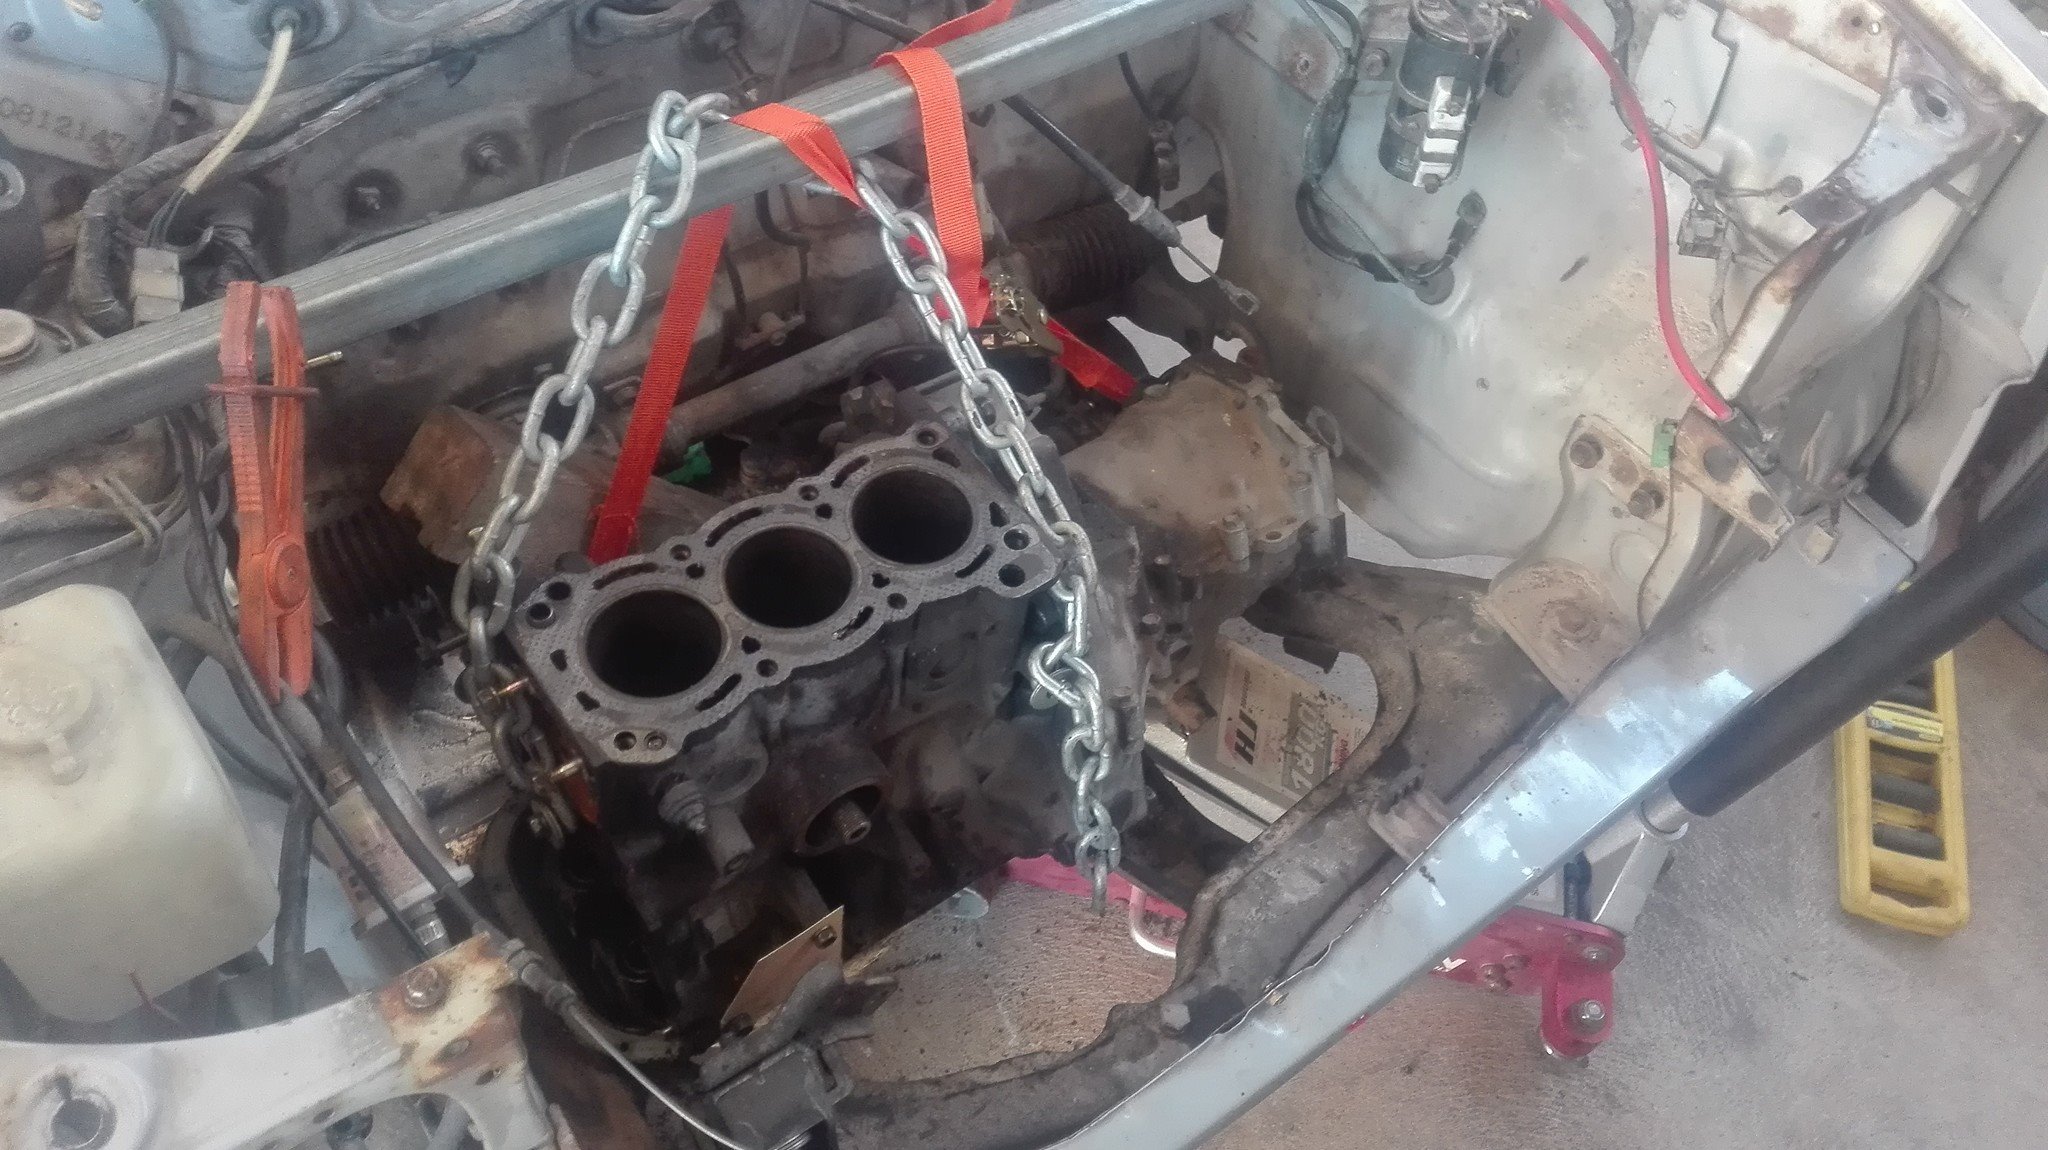
At this stage I was stripping the car down to transfer all that was good to the white Handivan
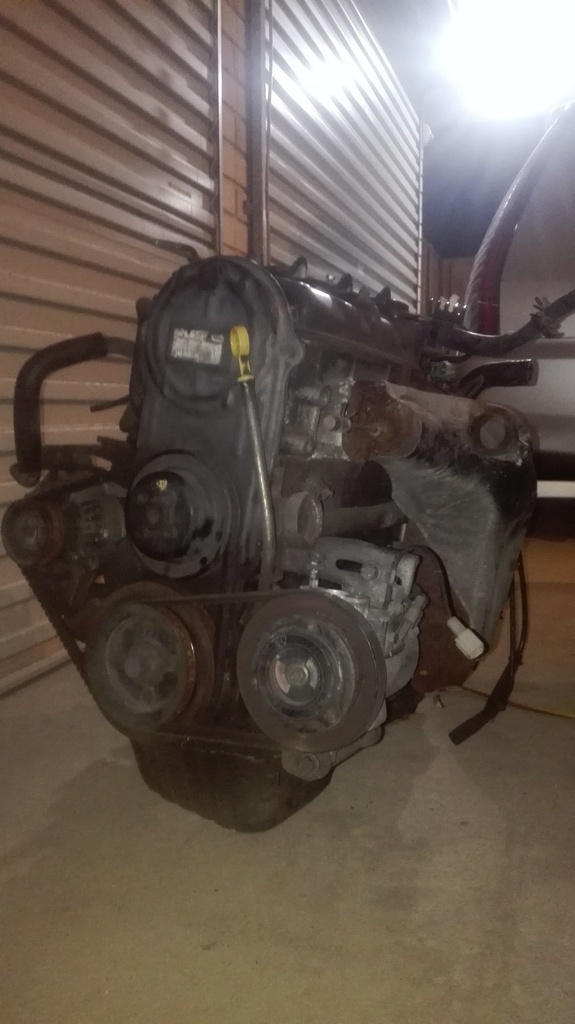
The plan for more power progressed with much back and forth thinking, nostalgia was keeping me back and wanting to go faster pushing me forward. Unsure of whether to stay AD or go EJ-DE, I compromise and bought an ED10 and added another uncertainty to the issue.
Both Handivans went for a holiday as we thought we were going to sell and move but those plans didn’t happen when the bank didn’t properly calculate our borrowing power correctly. After 5 and a half months the boys came back home.
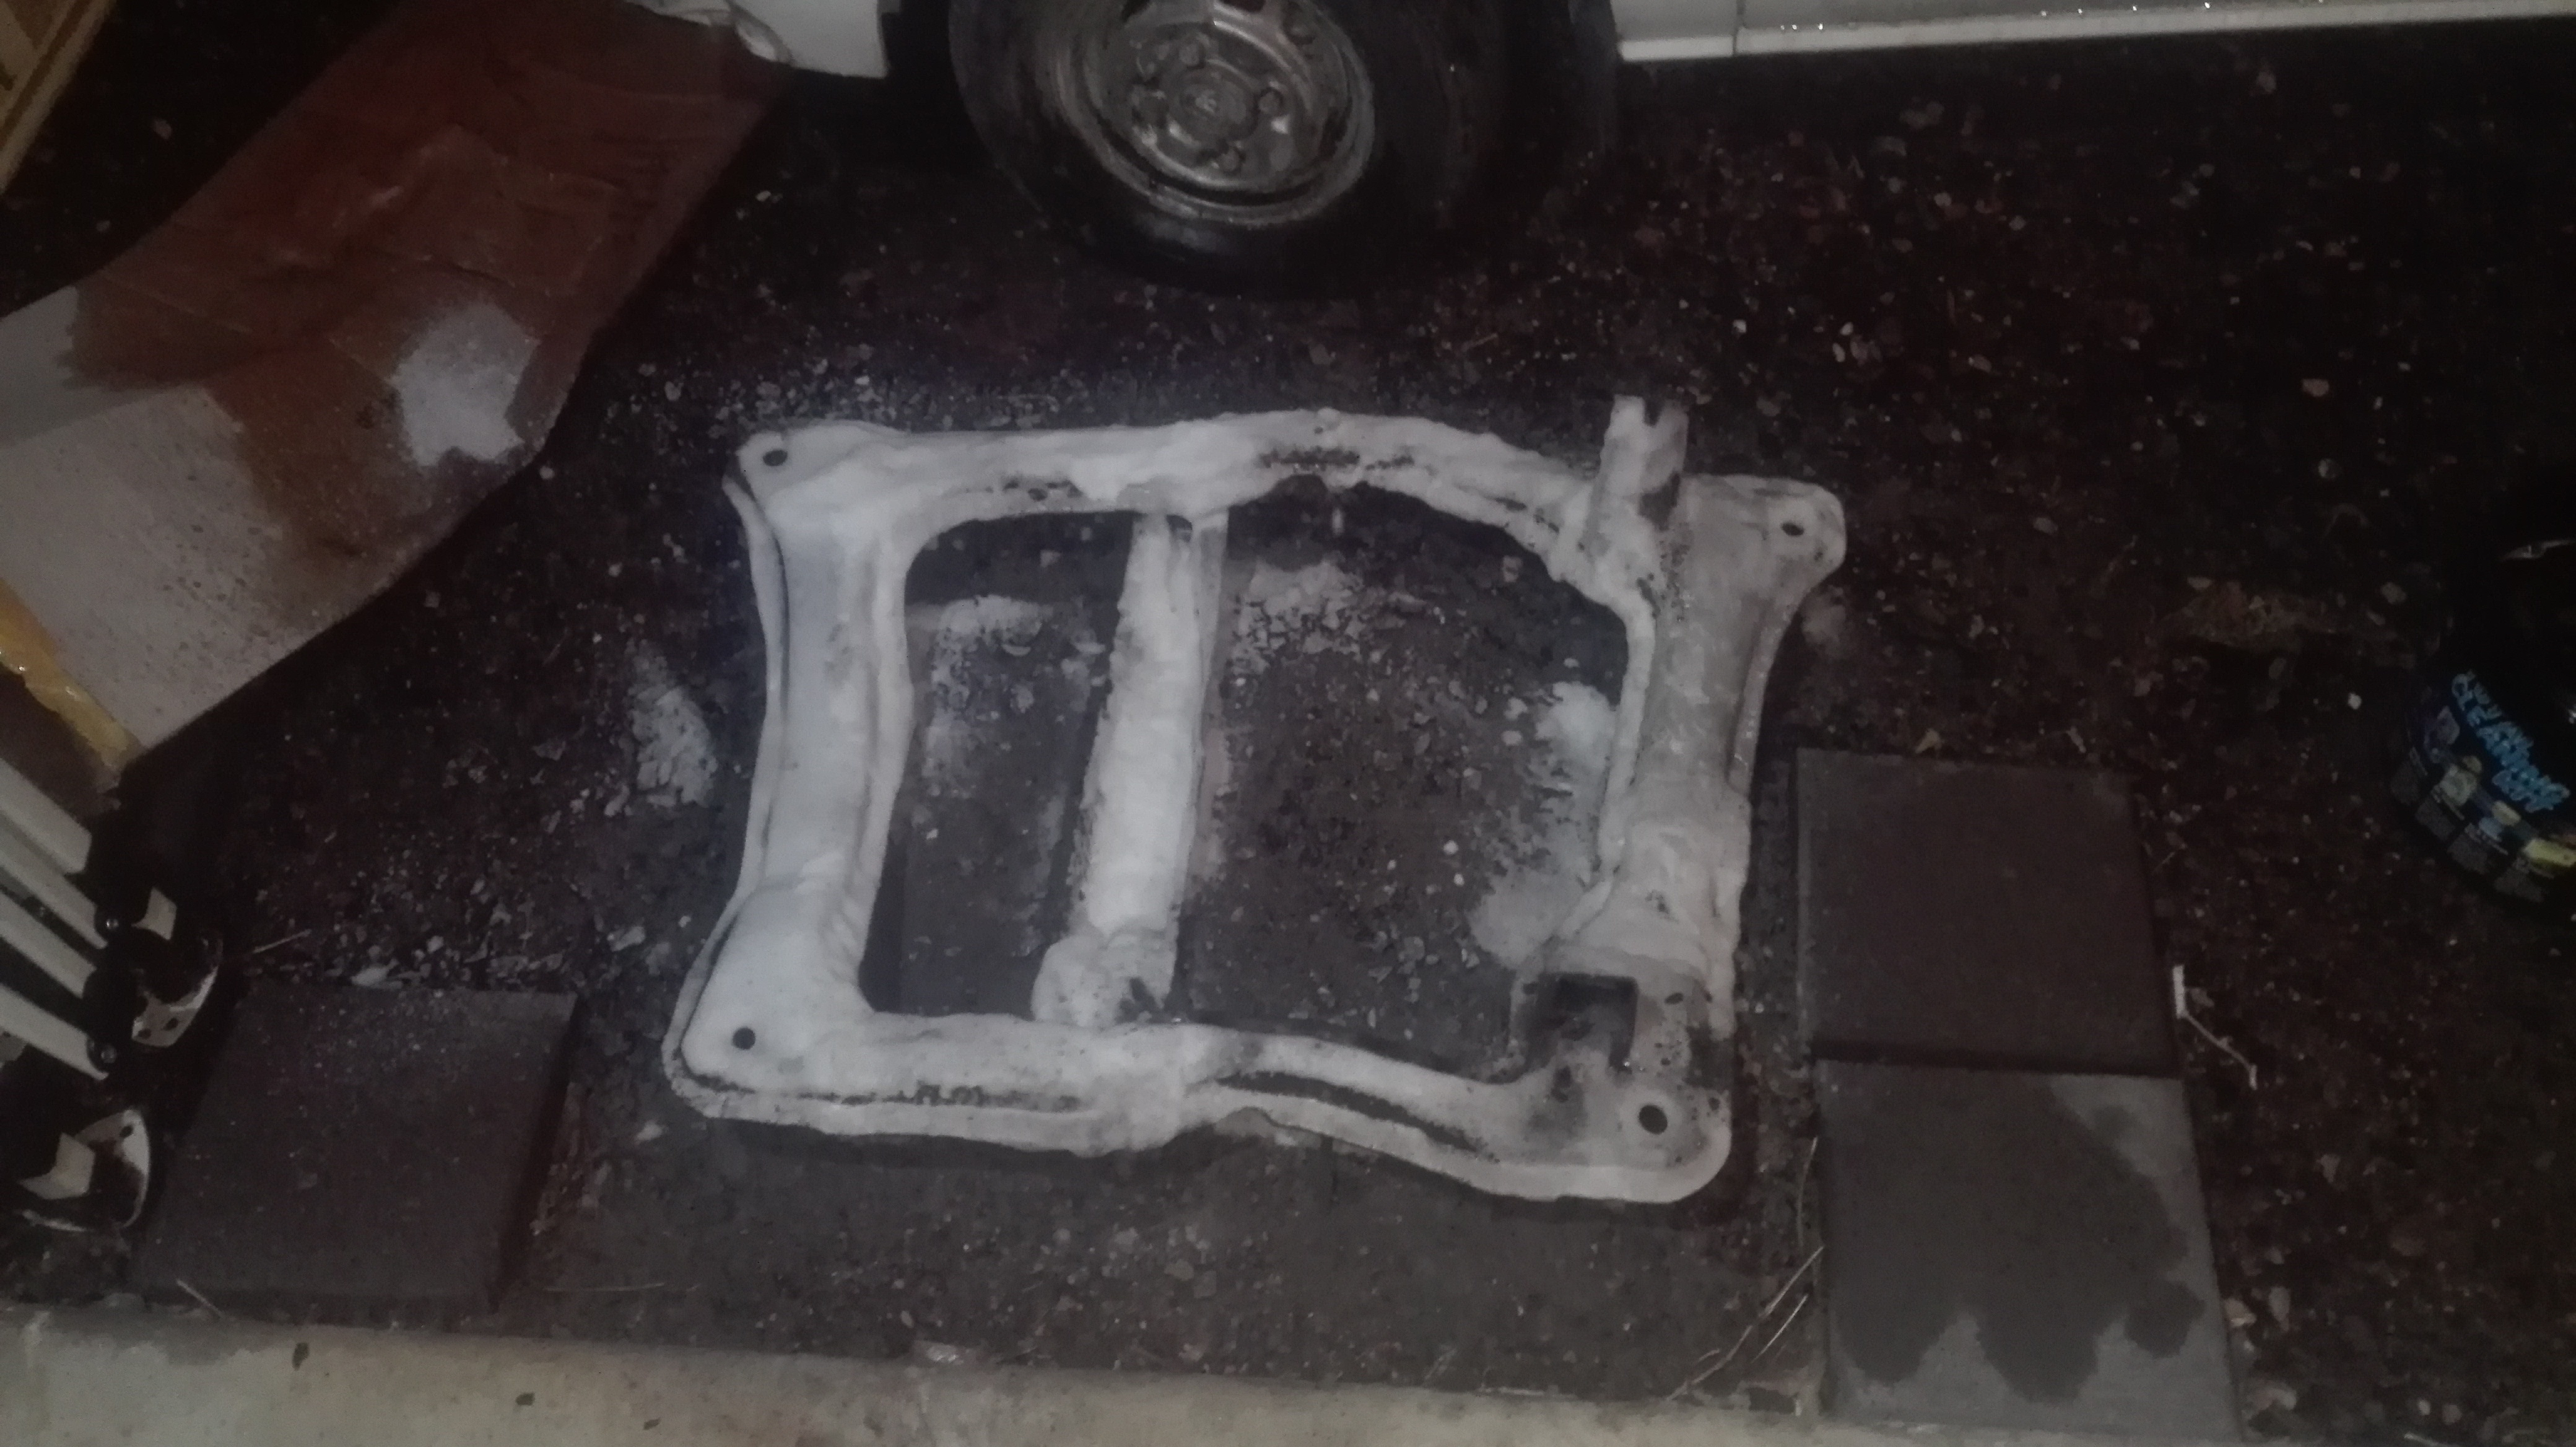
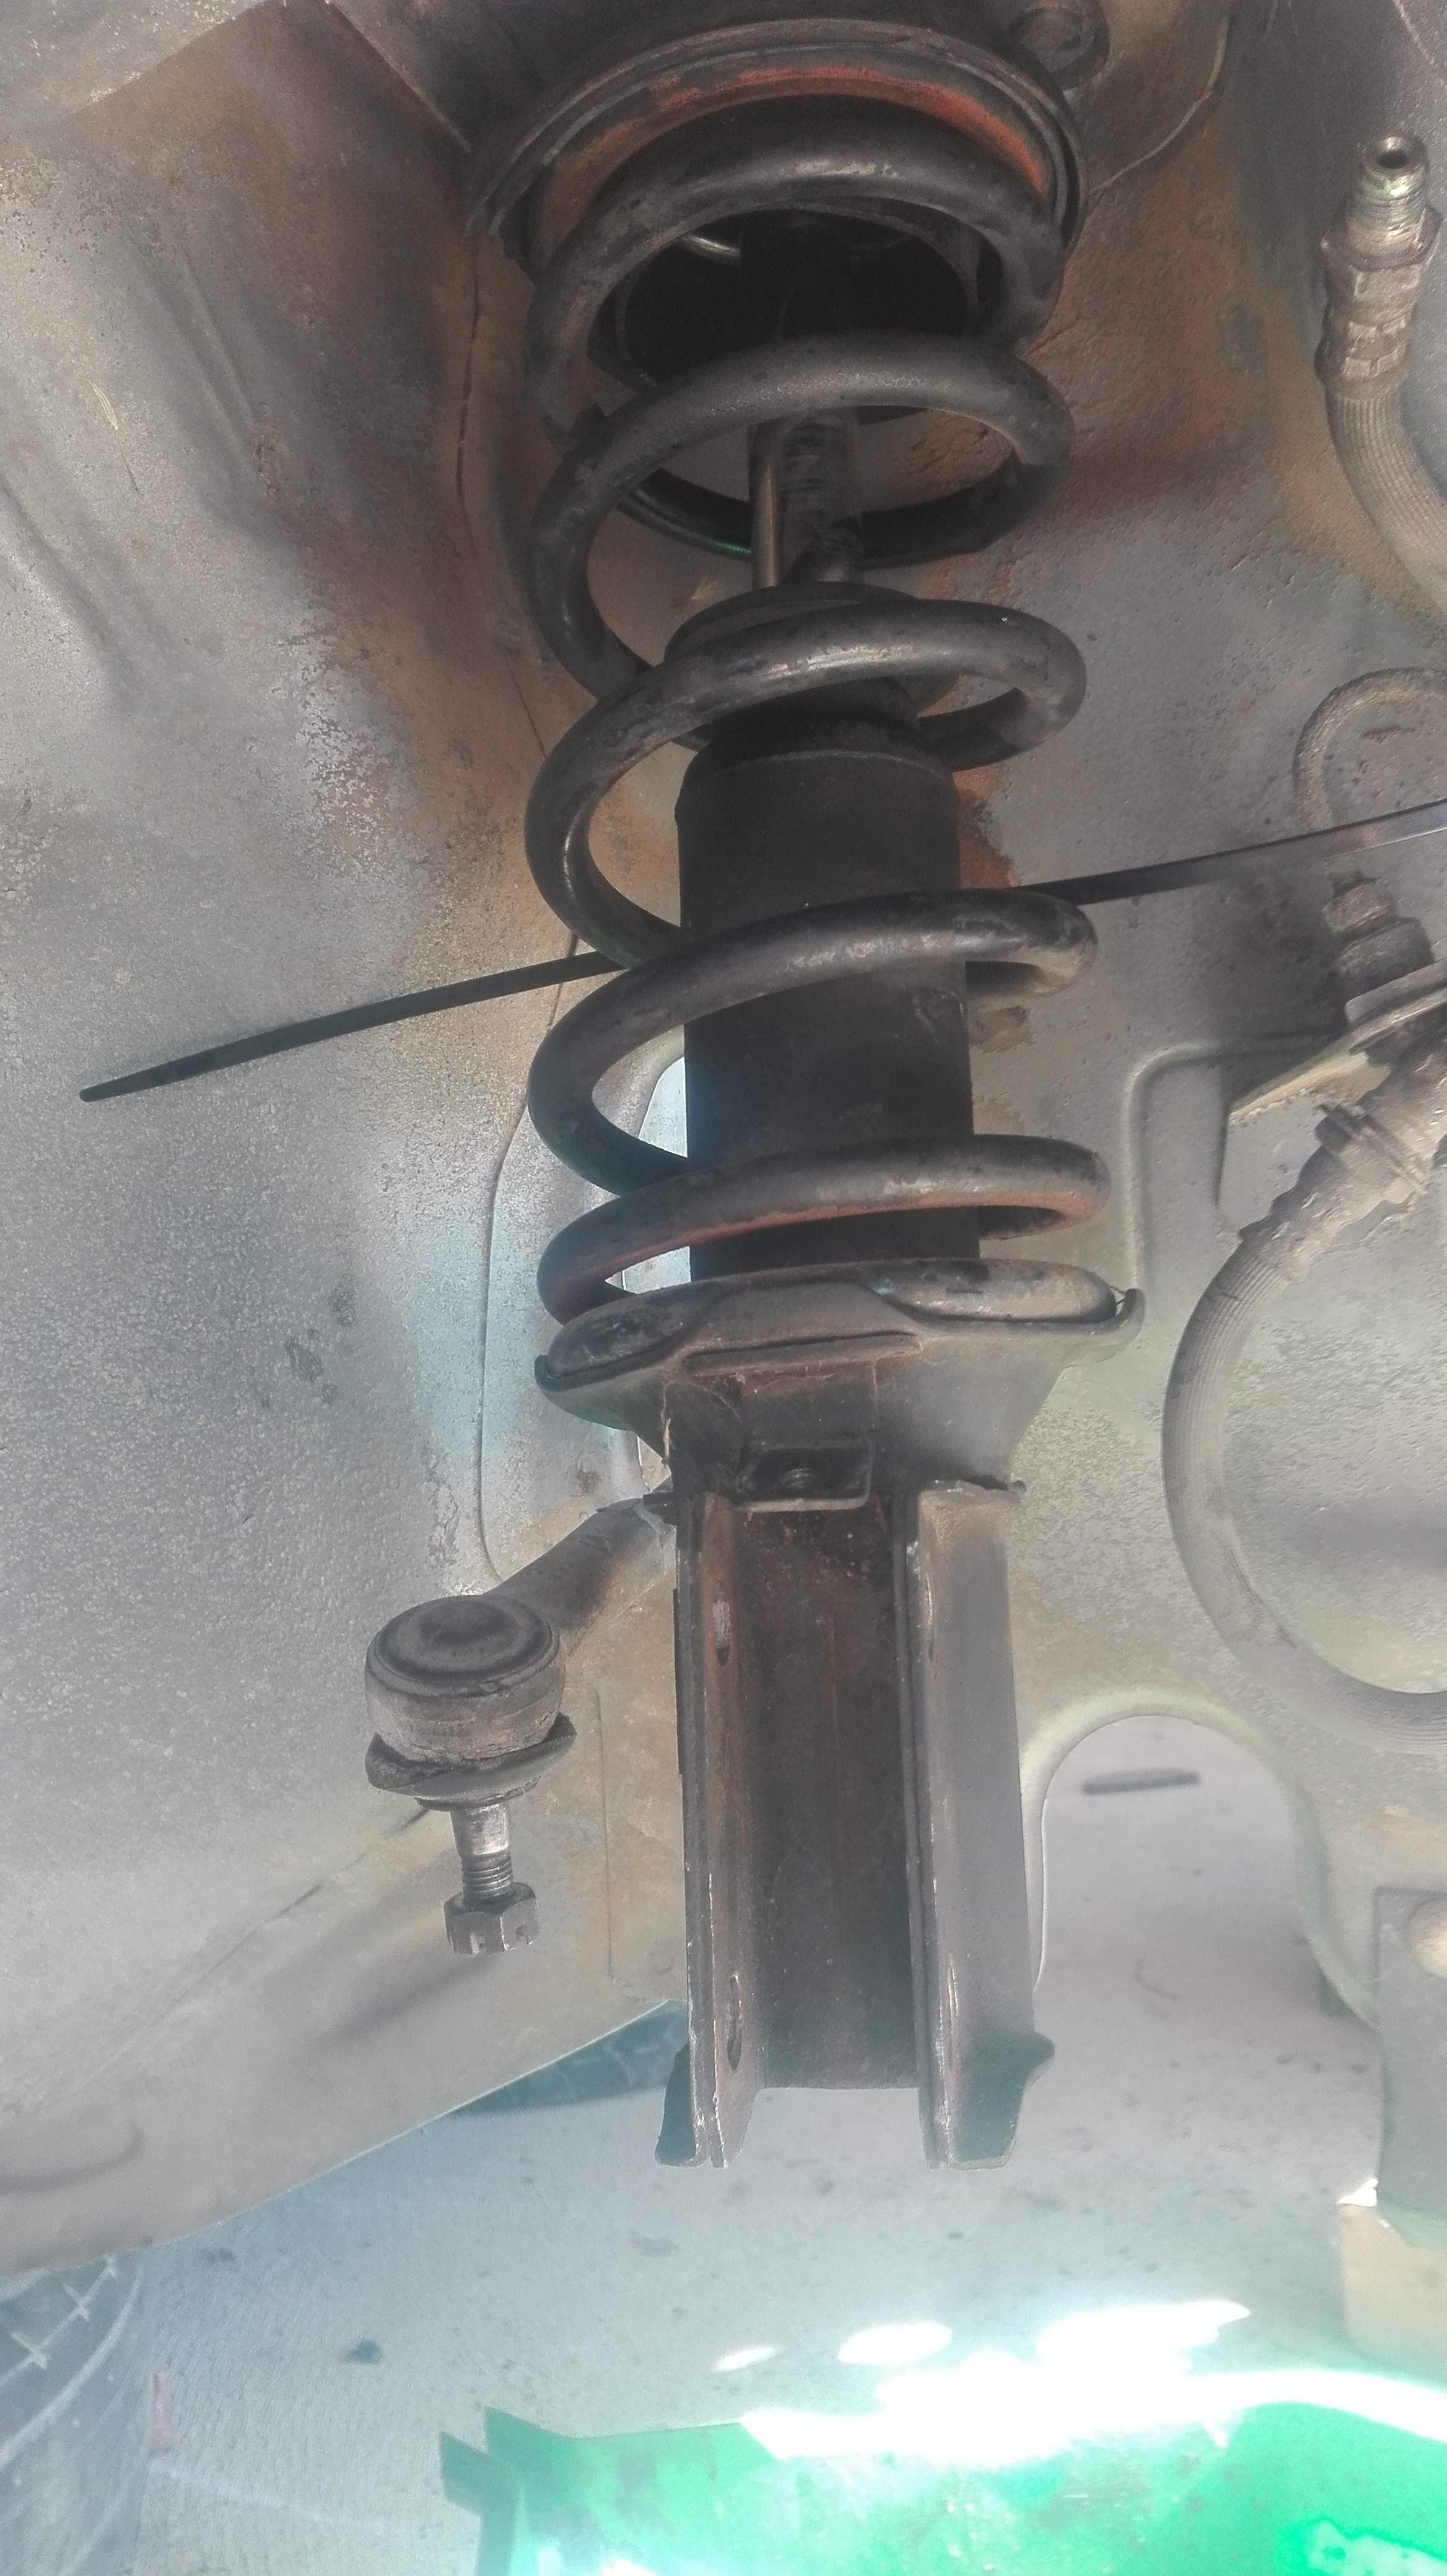
I knew it was time for them to come home as I started piecing together ideas for an upgrade for brakes, and started buying the parts to do it.
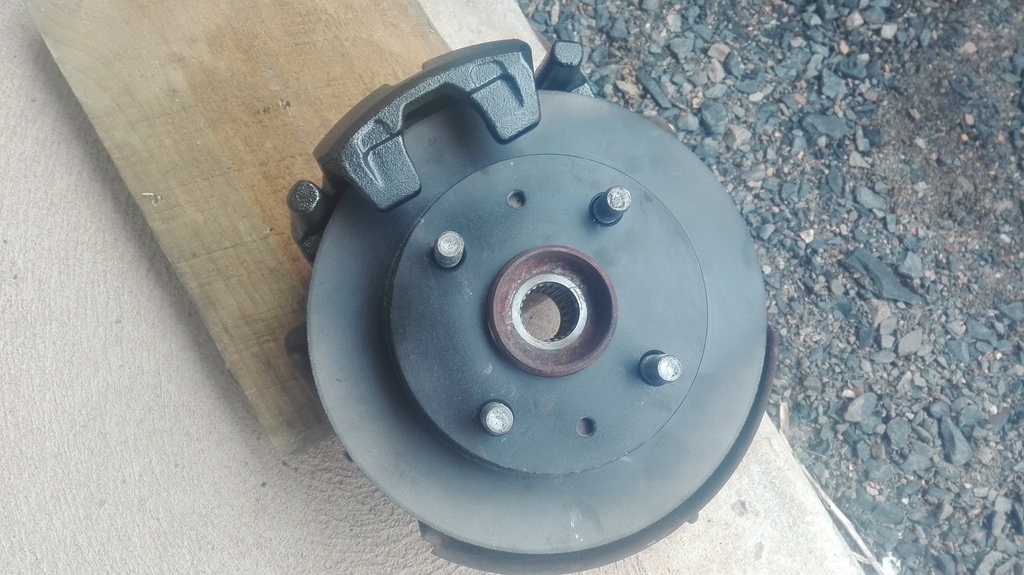
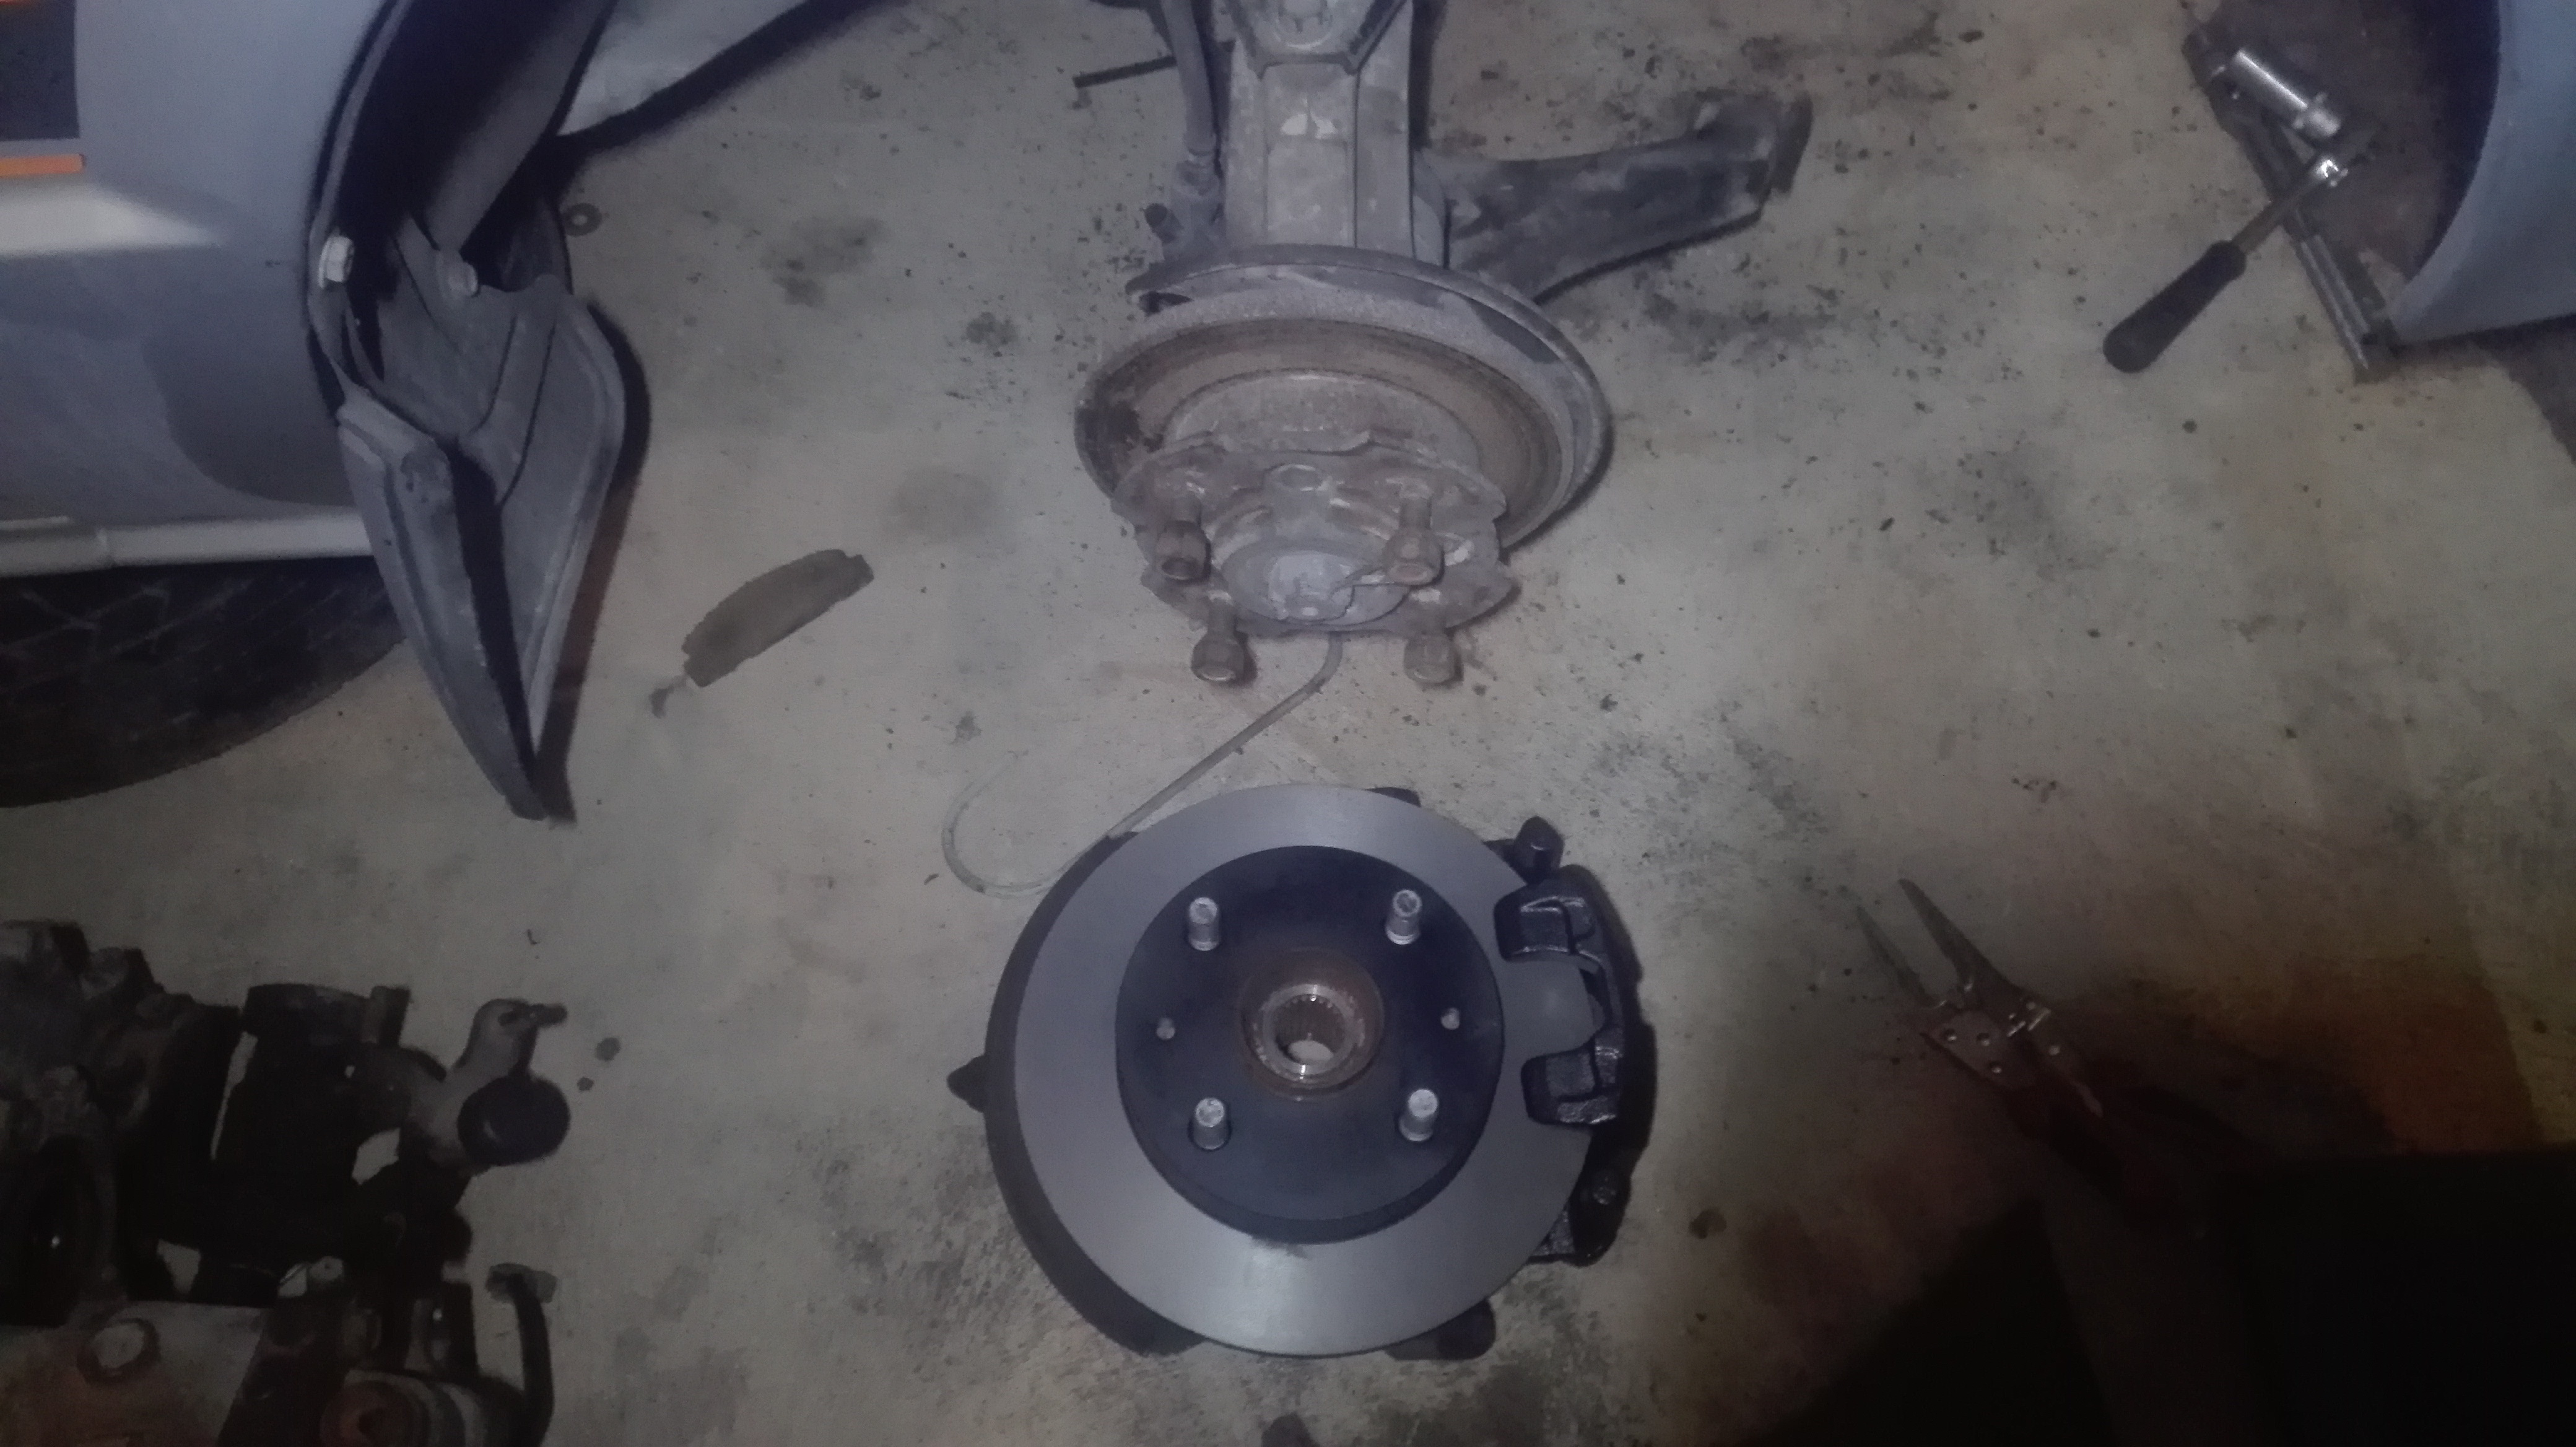
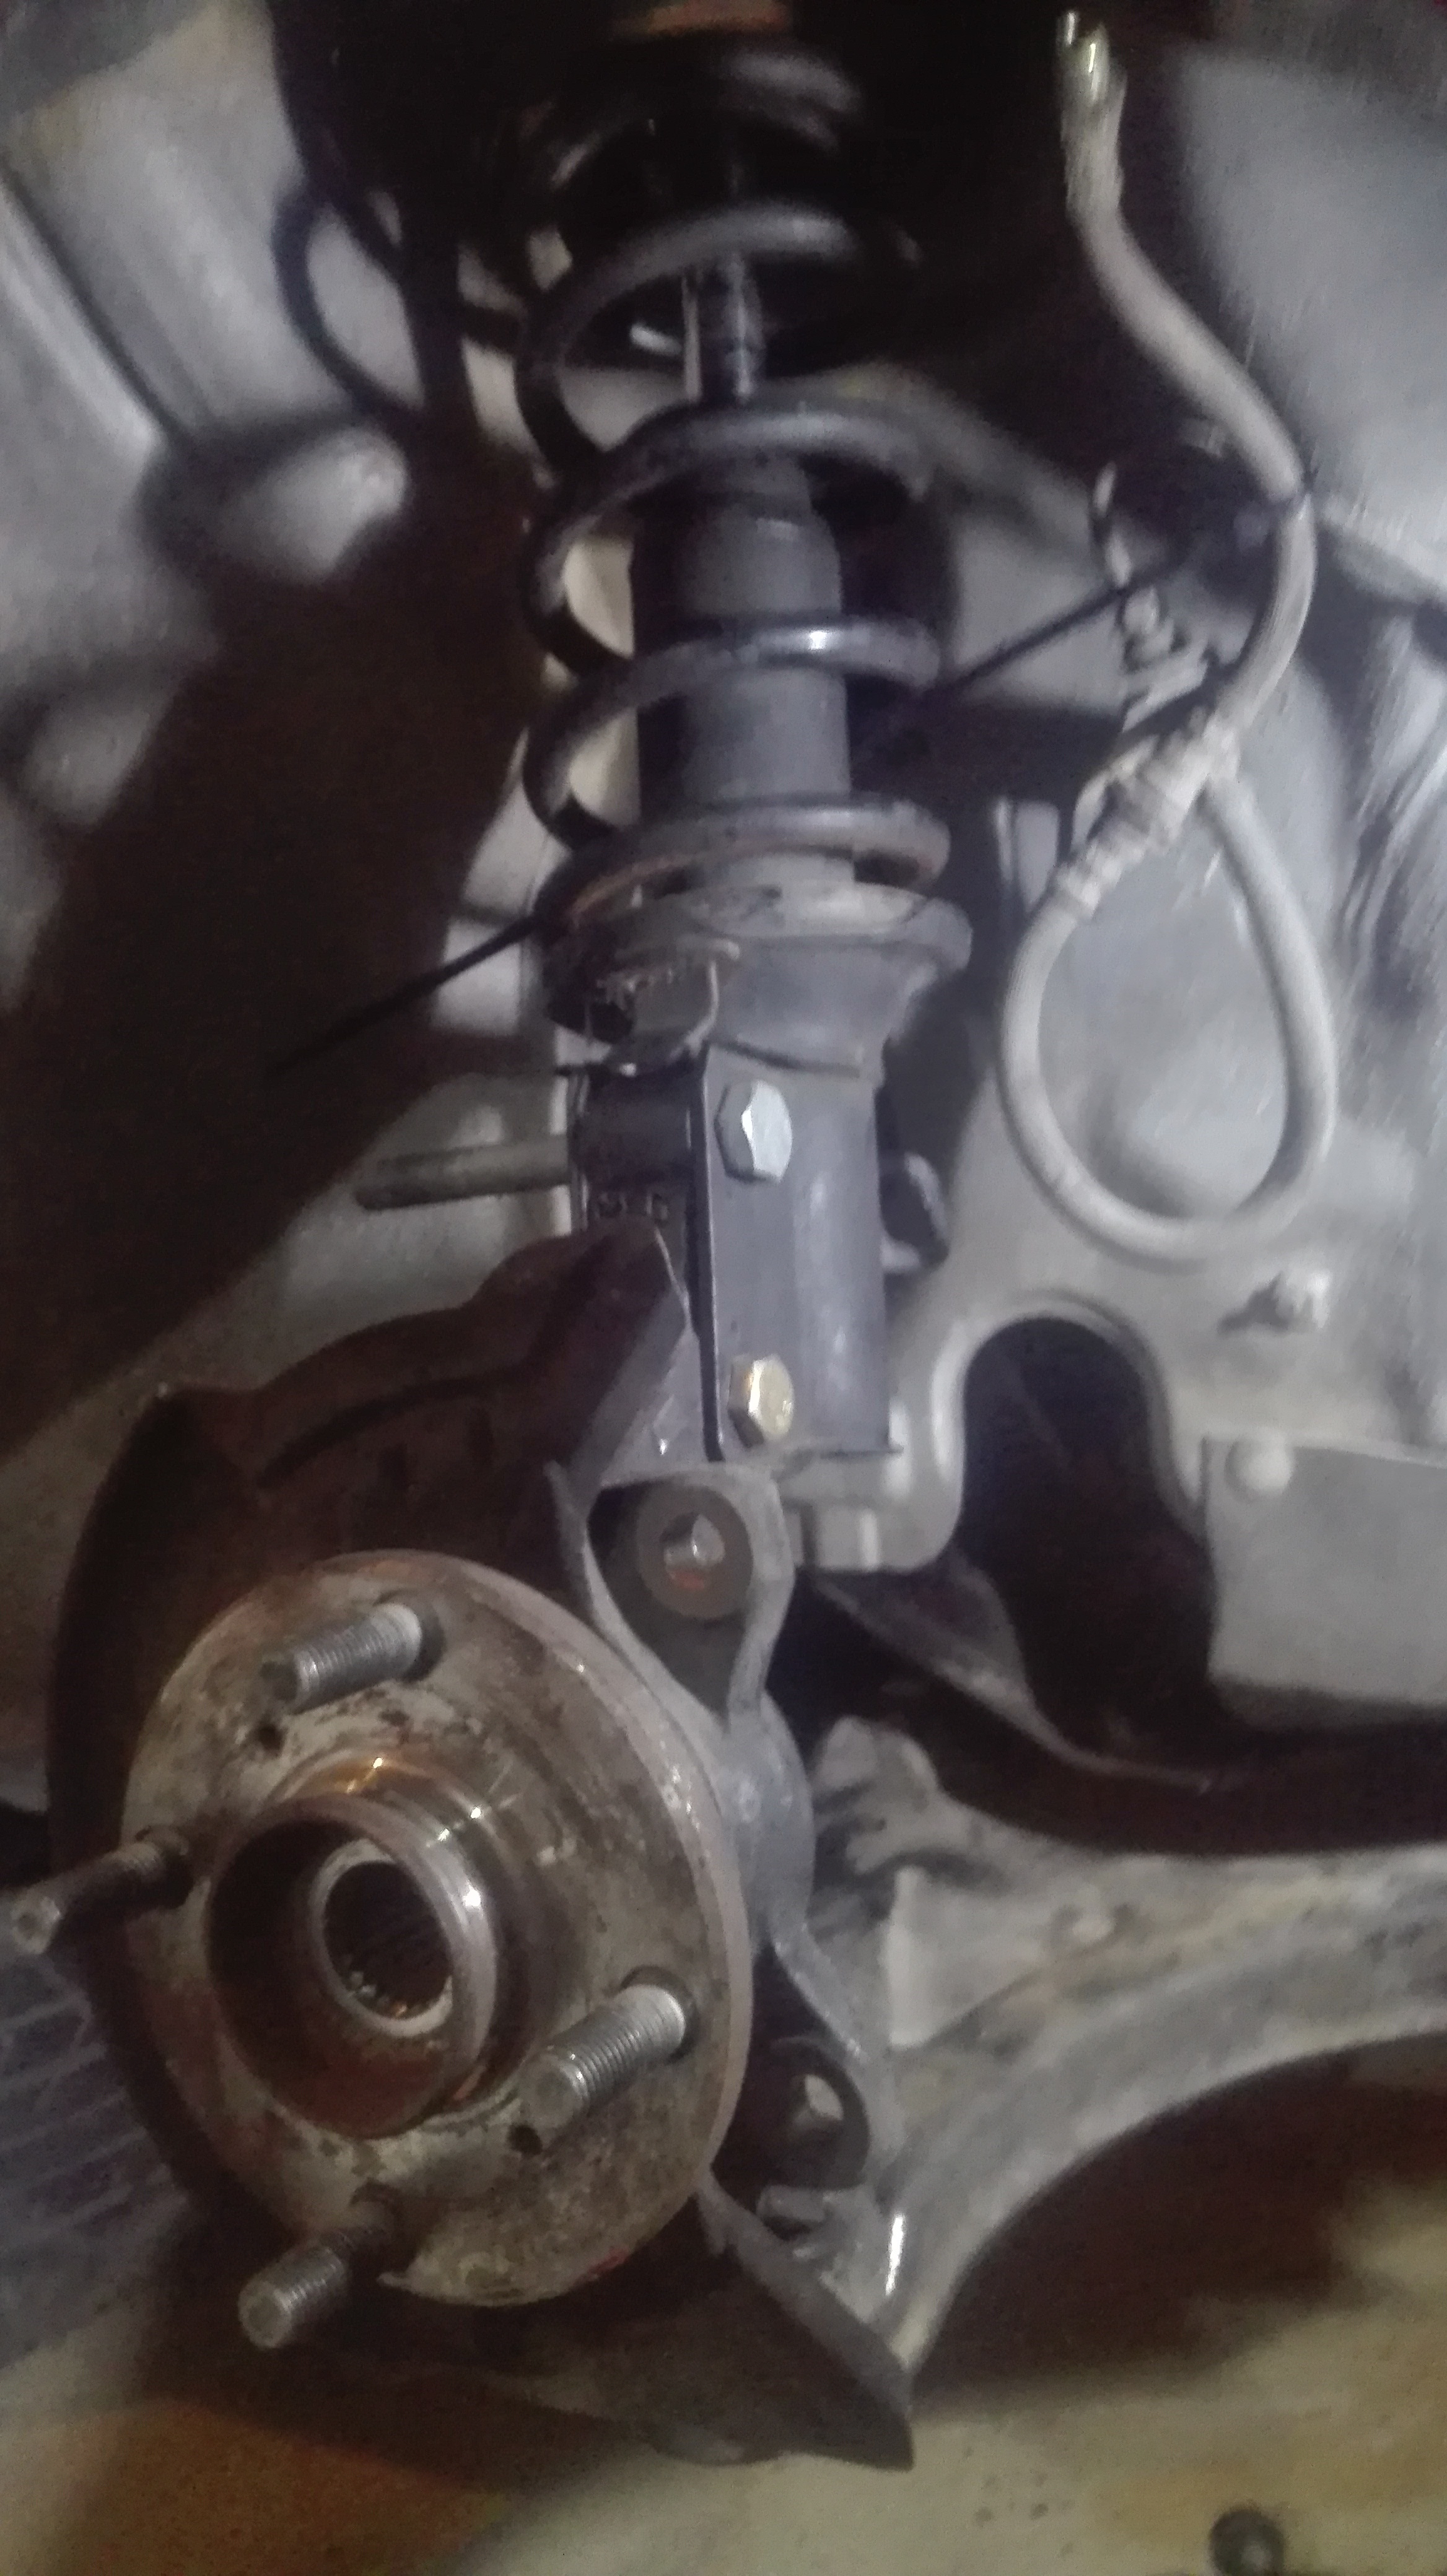
I bought some L700 Cuore hubs and brakes and a set of 12 inch wheels. The brakes have been coated with a thermal dispersant coating on the wheel mounting face, the out edge of the disc brake, and the brake calliper. The inner of the disc brake has a thermal barrier coating to lower heat transfer back to the hubs and bearing. A thermal barrier and a polyphen moly coating was applied to the calliper piston to improve brake modulation and lower heat transfer back to the brake fluid.
The discs have since been machined and the hubs are currently a display piece for work
The 12 inch wheels are 6 inch wide and I suspect will require a fender flare to make them “fit”.
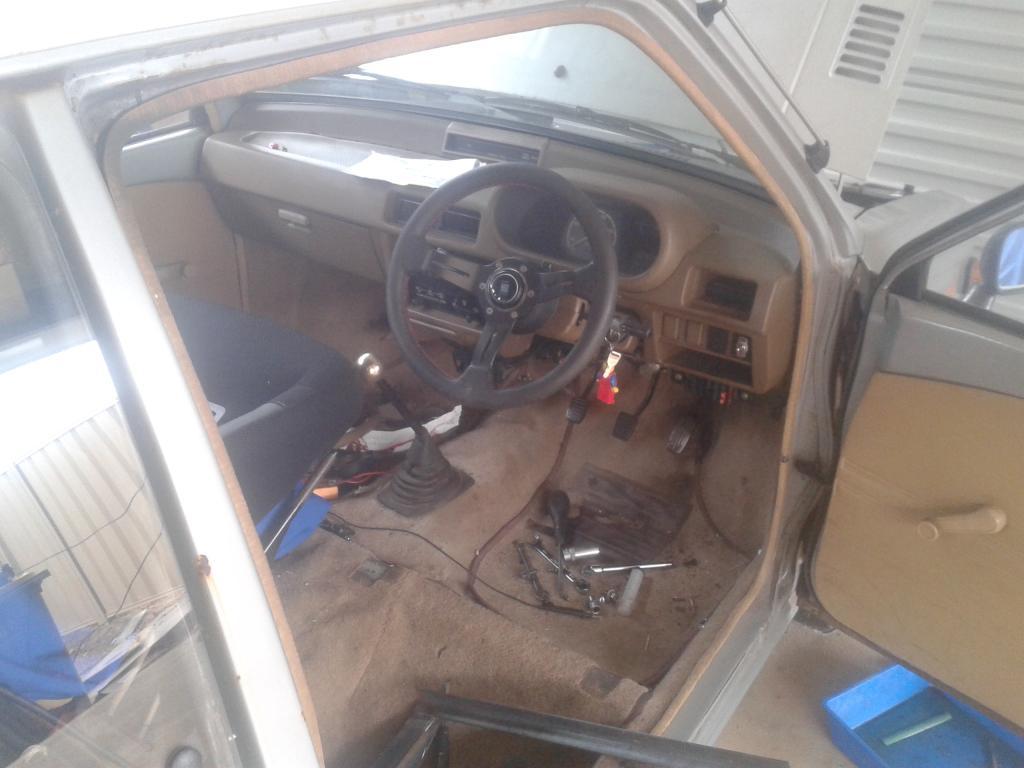
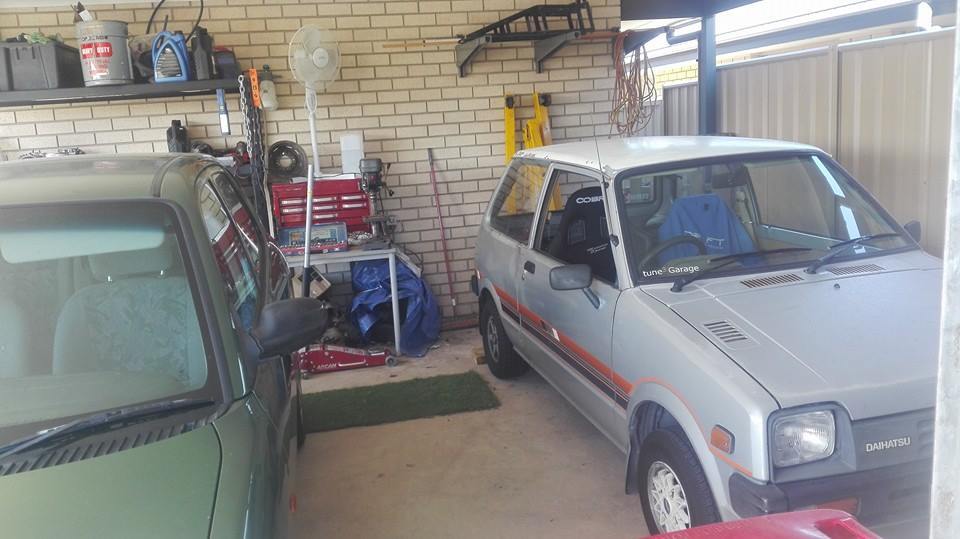
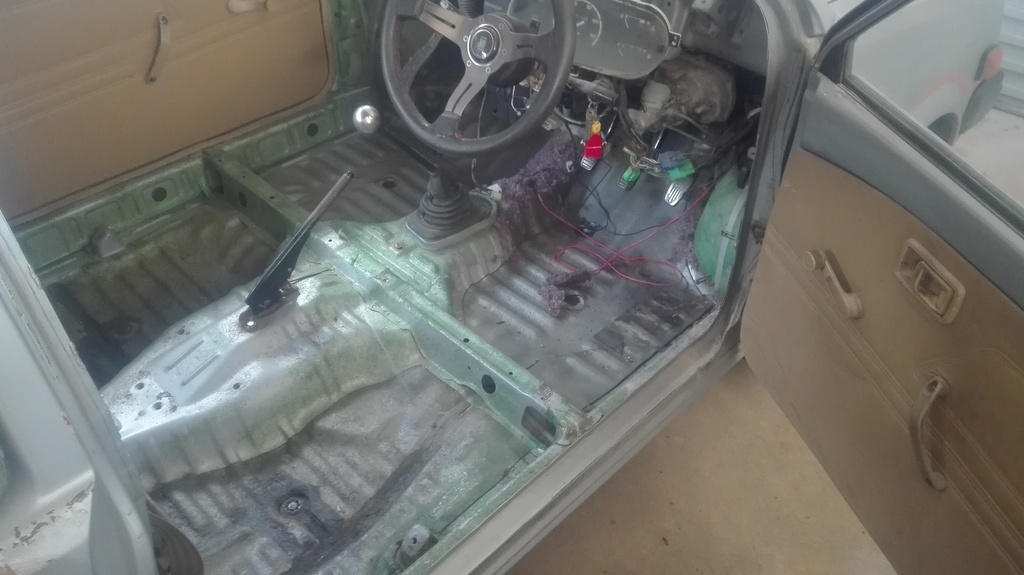
This brings me to today, I had some spare time and set to work on making a race car dream a reality. With the bonnet off it was much easier to vacuum the engine bay from the sandy soil that made the car it’s home while the cars were away.
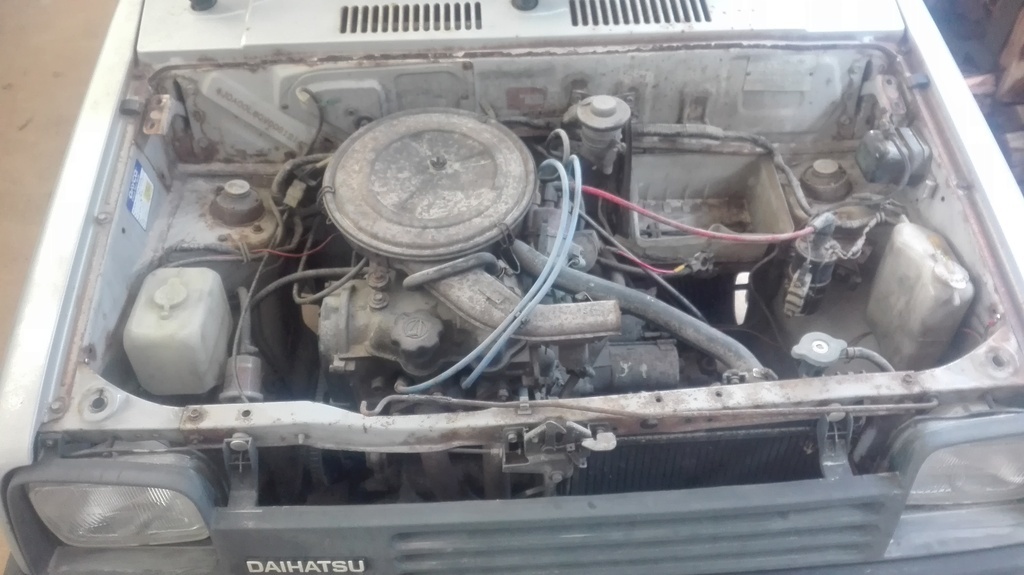
I removed the carpets and continued to vacuum the car, I need to remove the heater to remove the sound deadening from the firewall. I would like to remove the sound deadening from the floor with dry ice.
Still a lot to sort through but at this stage I will say that a three cylinder E series will be fitted to the engine bay, I am leaning towards the EJ-DE at the moment.

