MORE WIRE BRUSHES, MORE PAINT
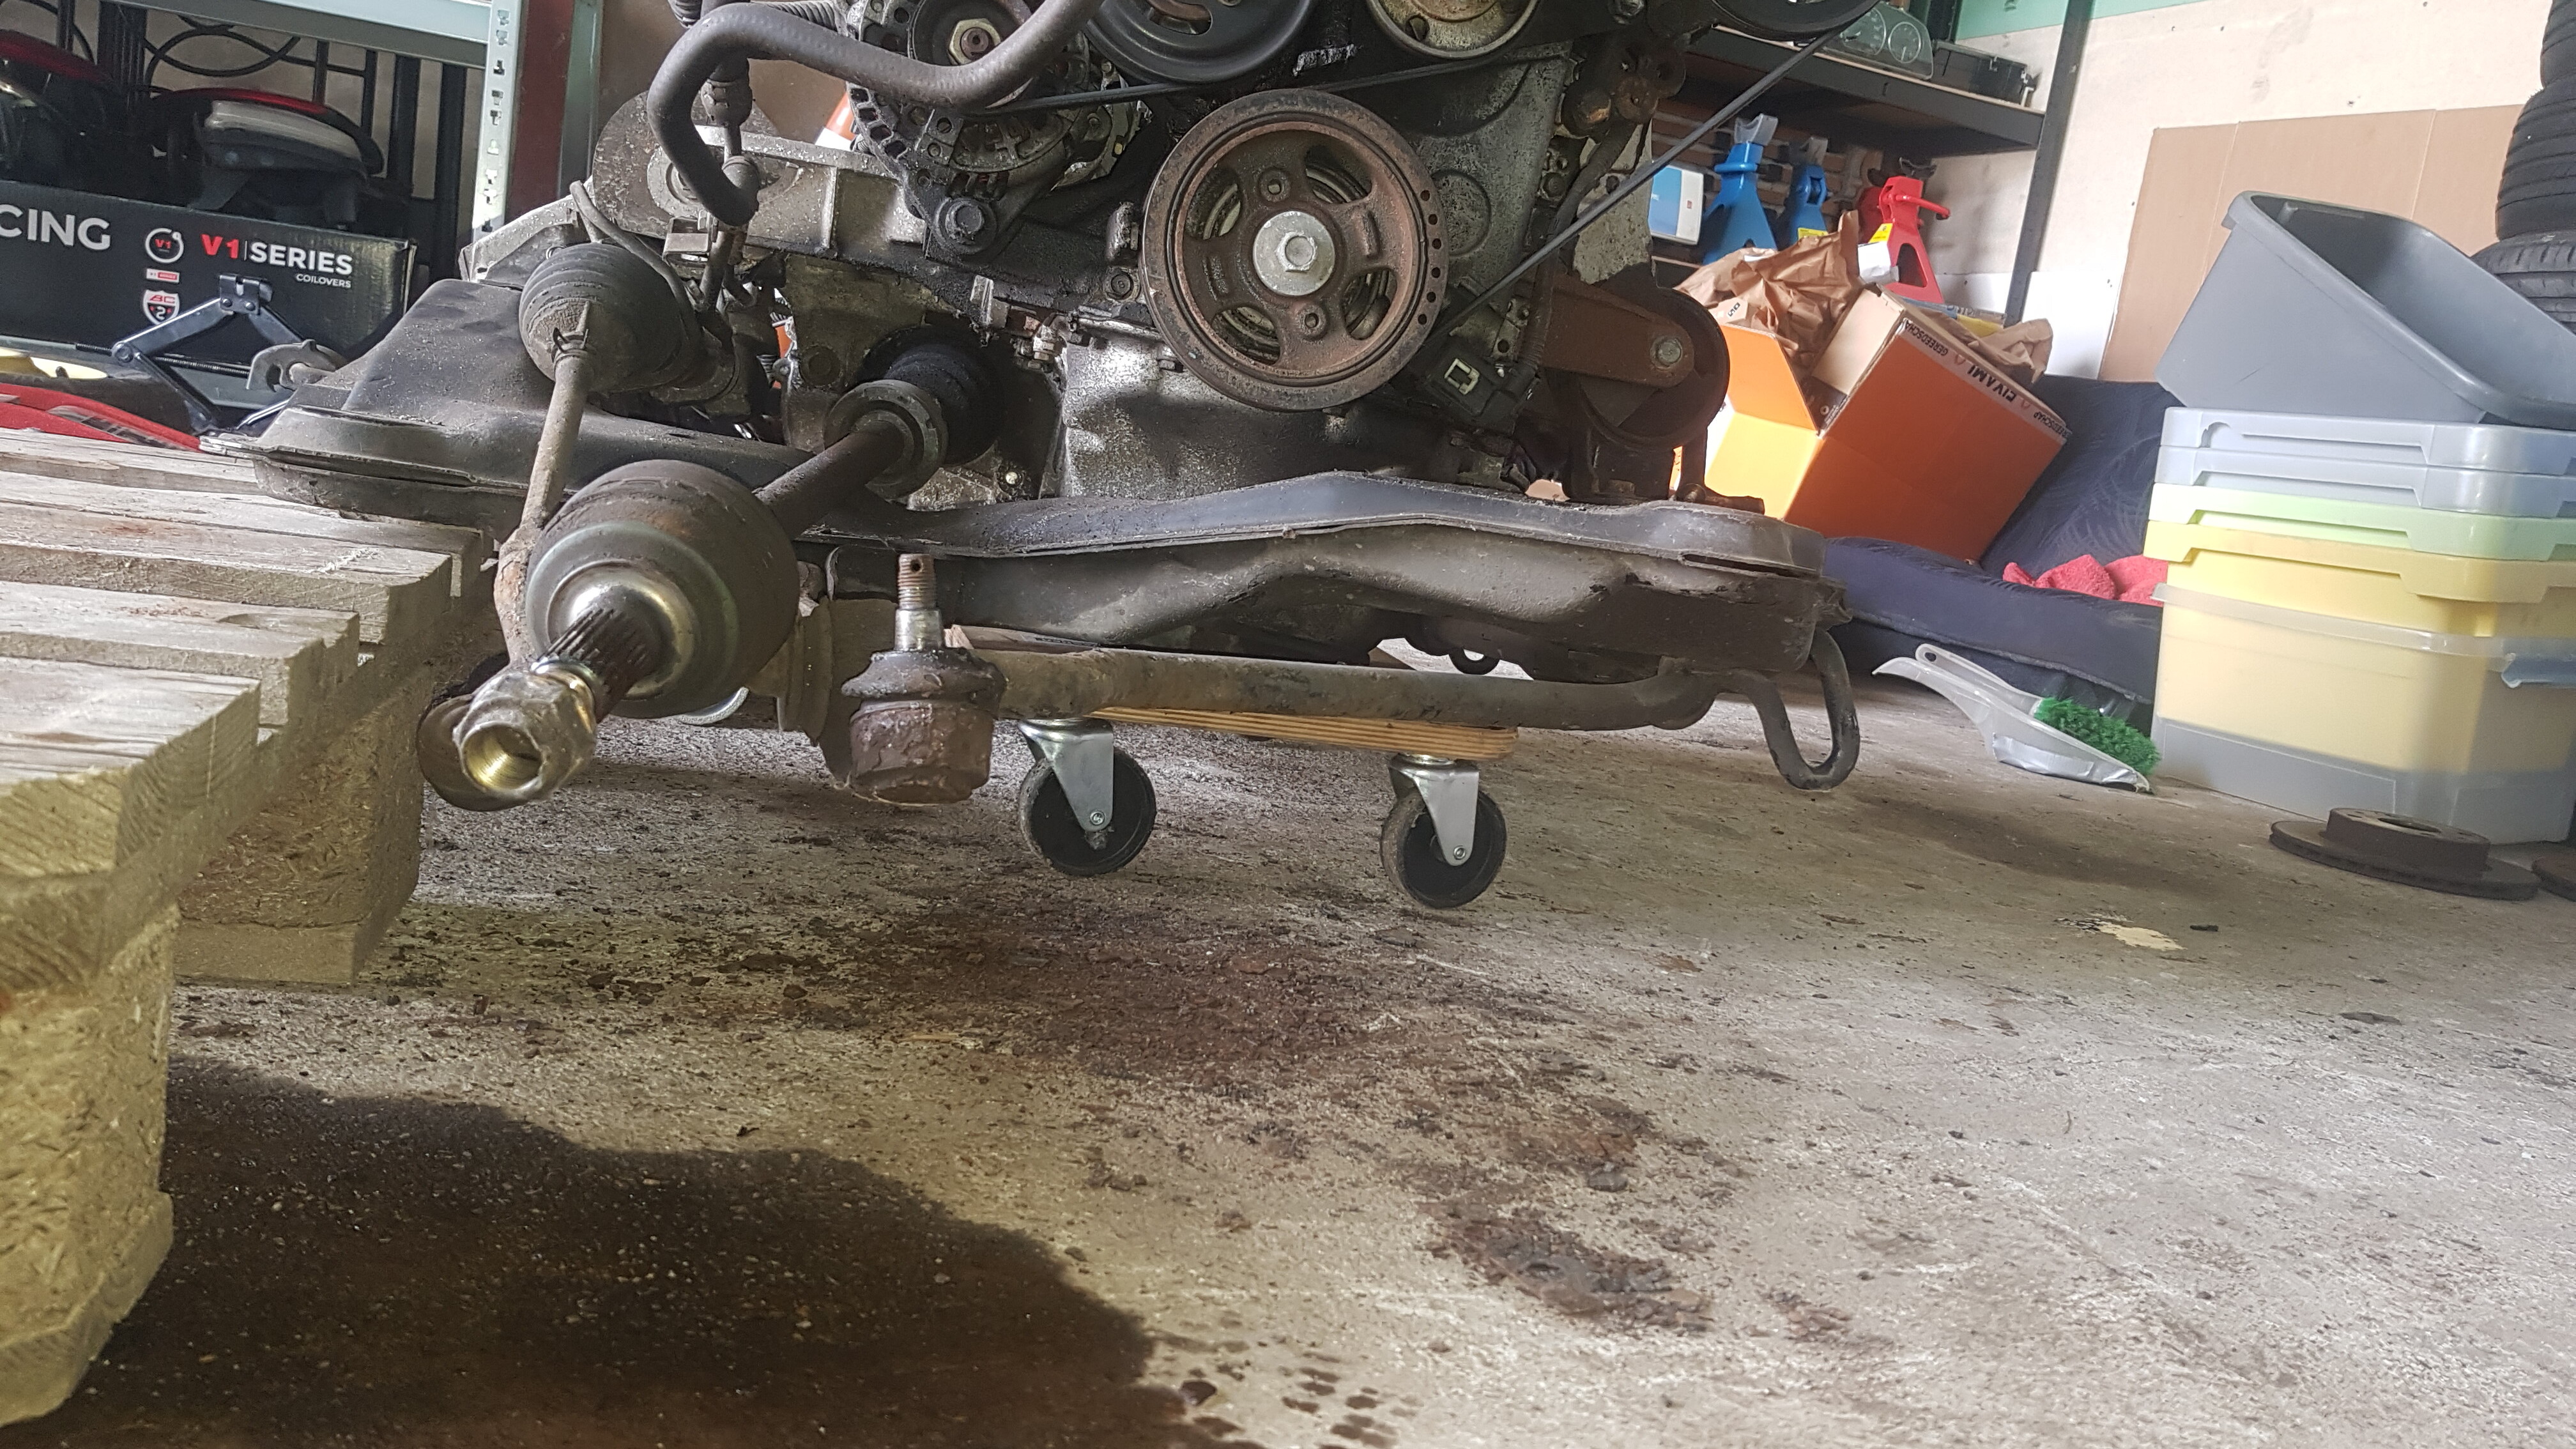
It’s been a month since my last update, and I actually wasn’t going to post a new one until everything was painted. However, because of reasons (I will come back to that later), I decided to post an update now, and another one when everything is painted. Hmmkay? Good. First up: the gearbox.
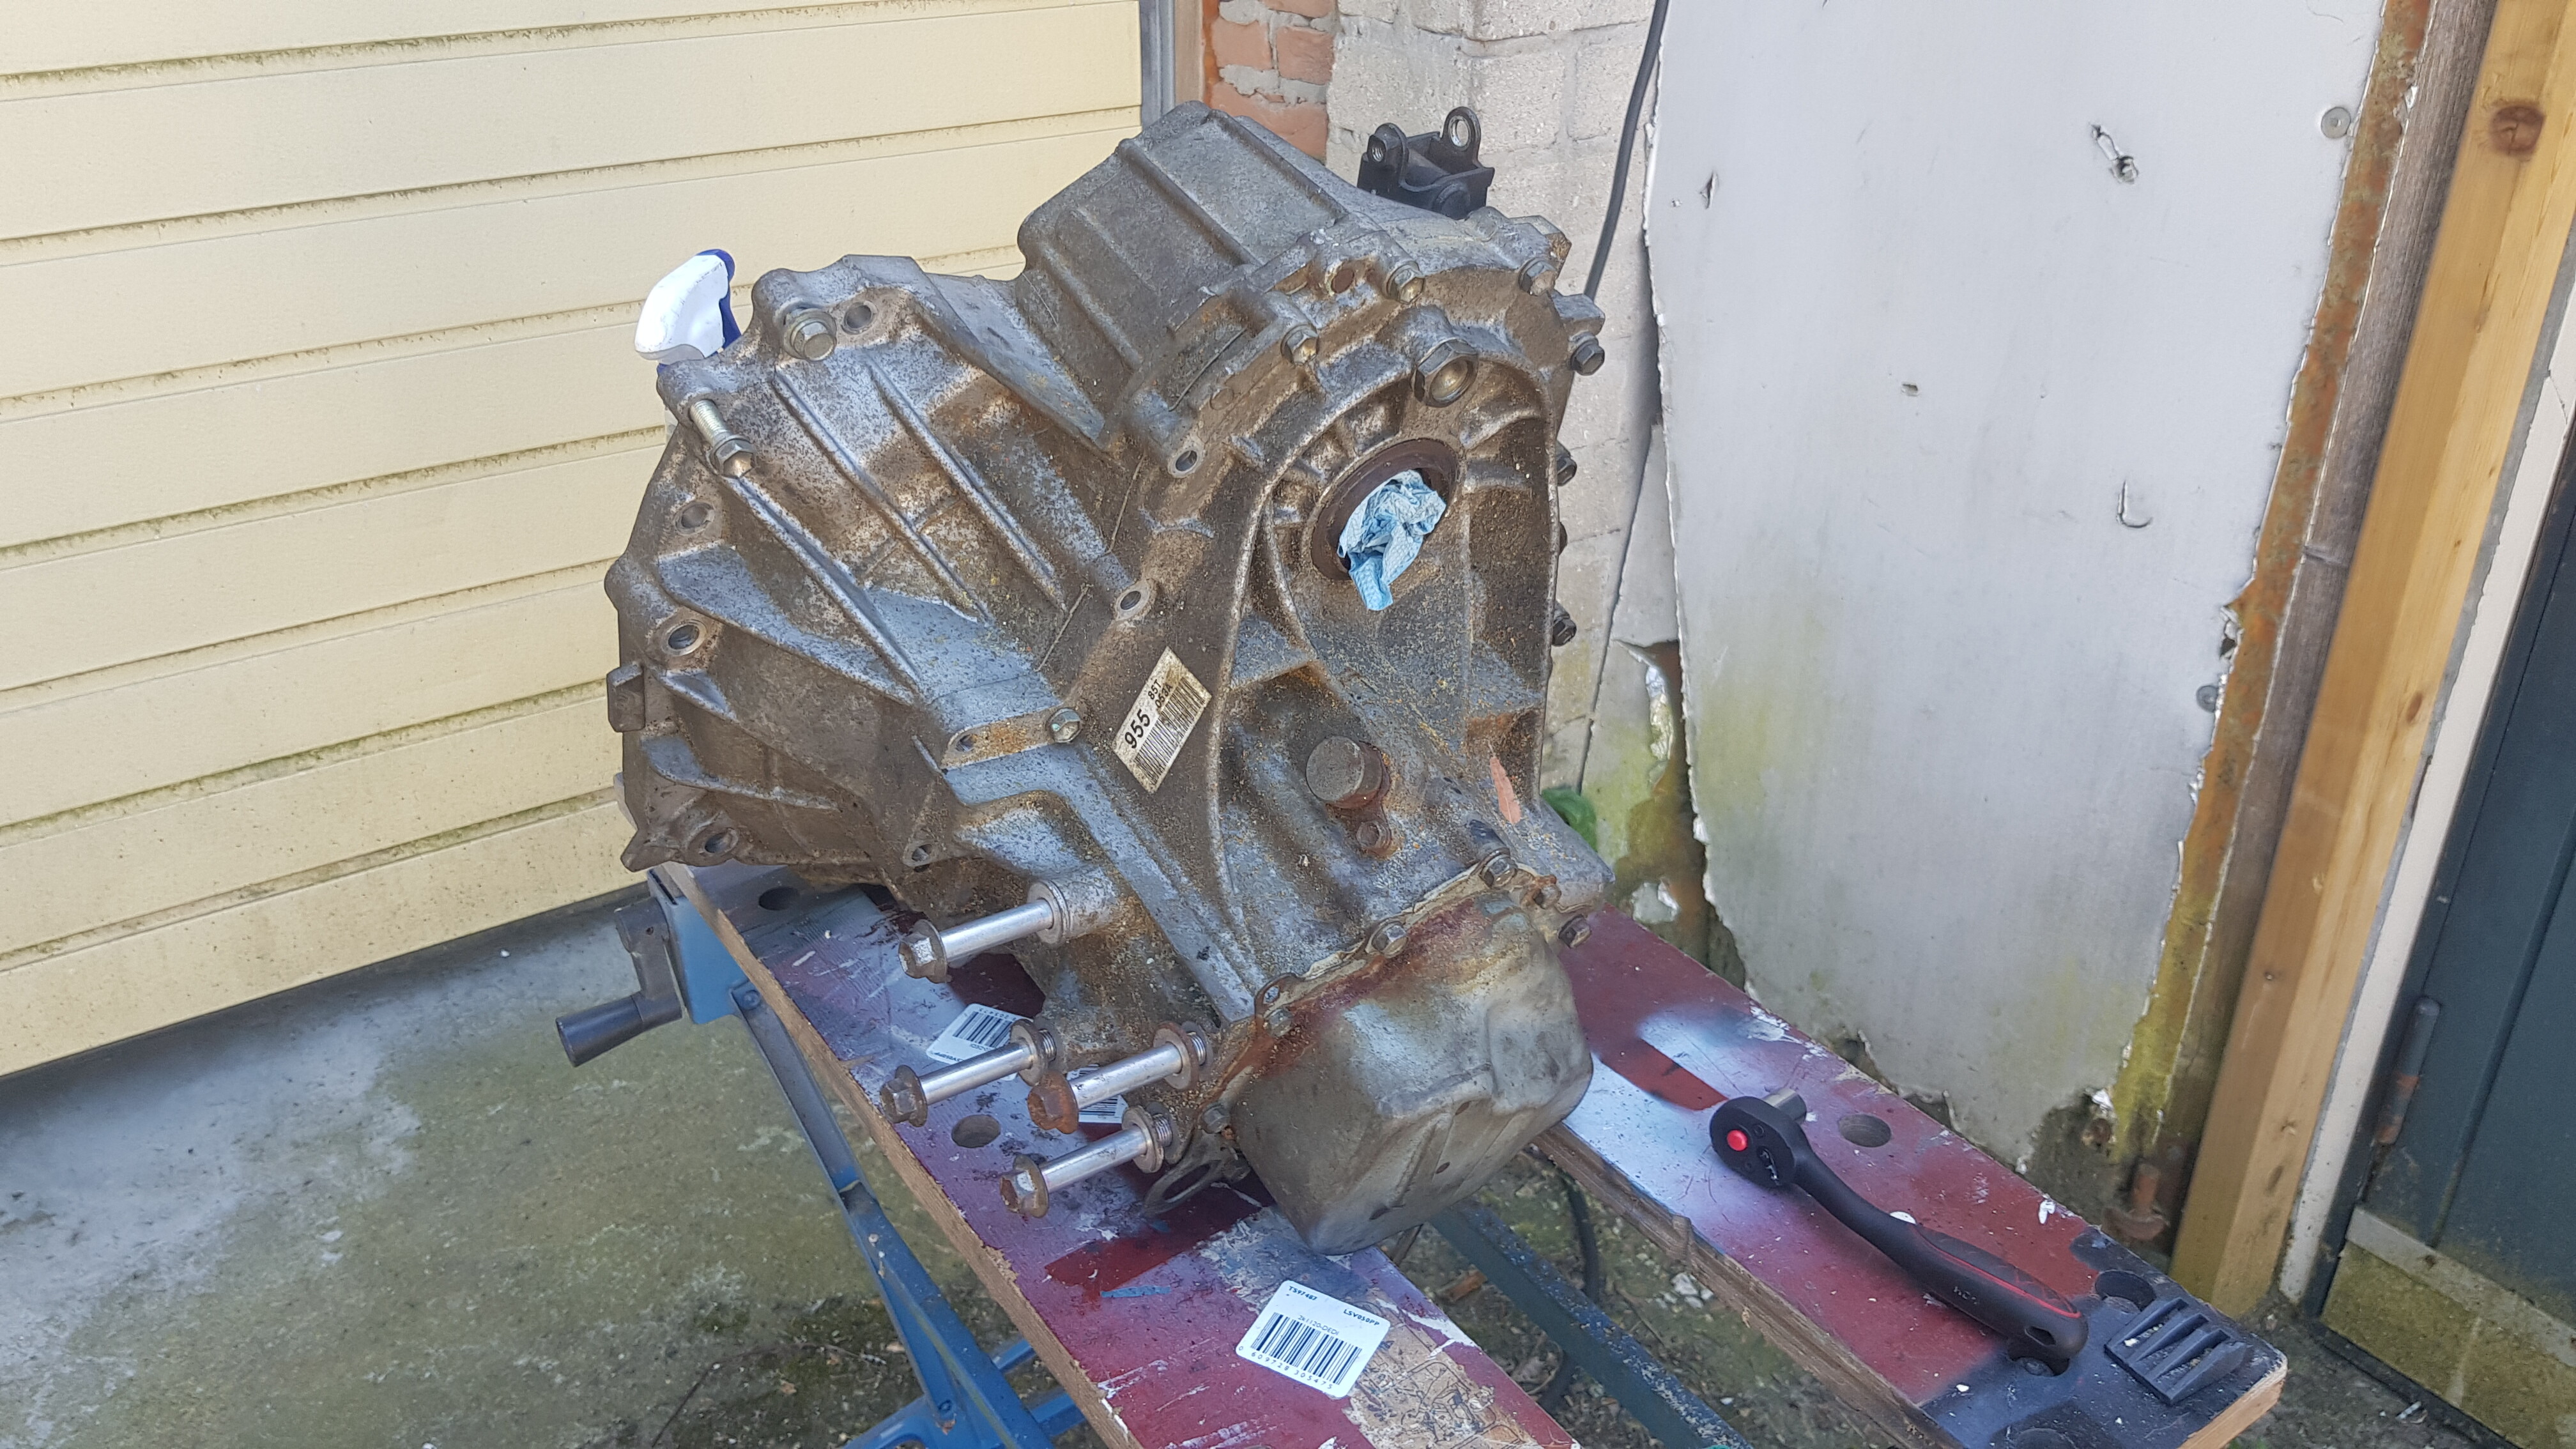
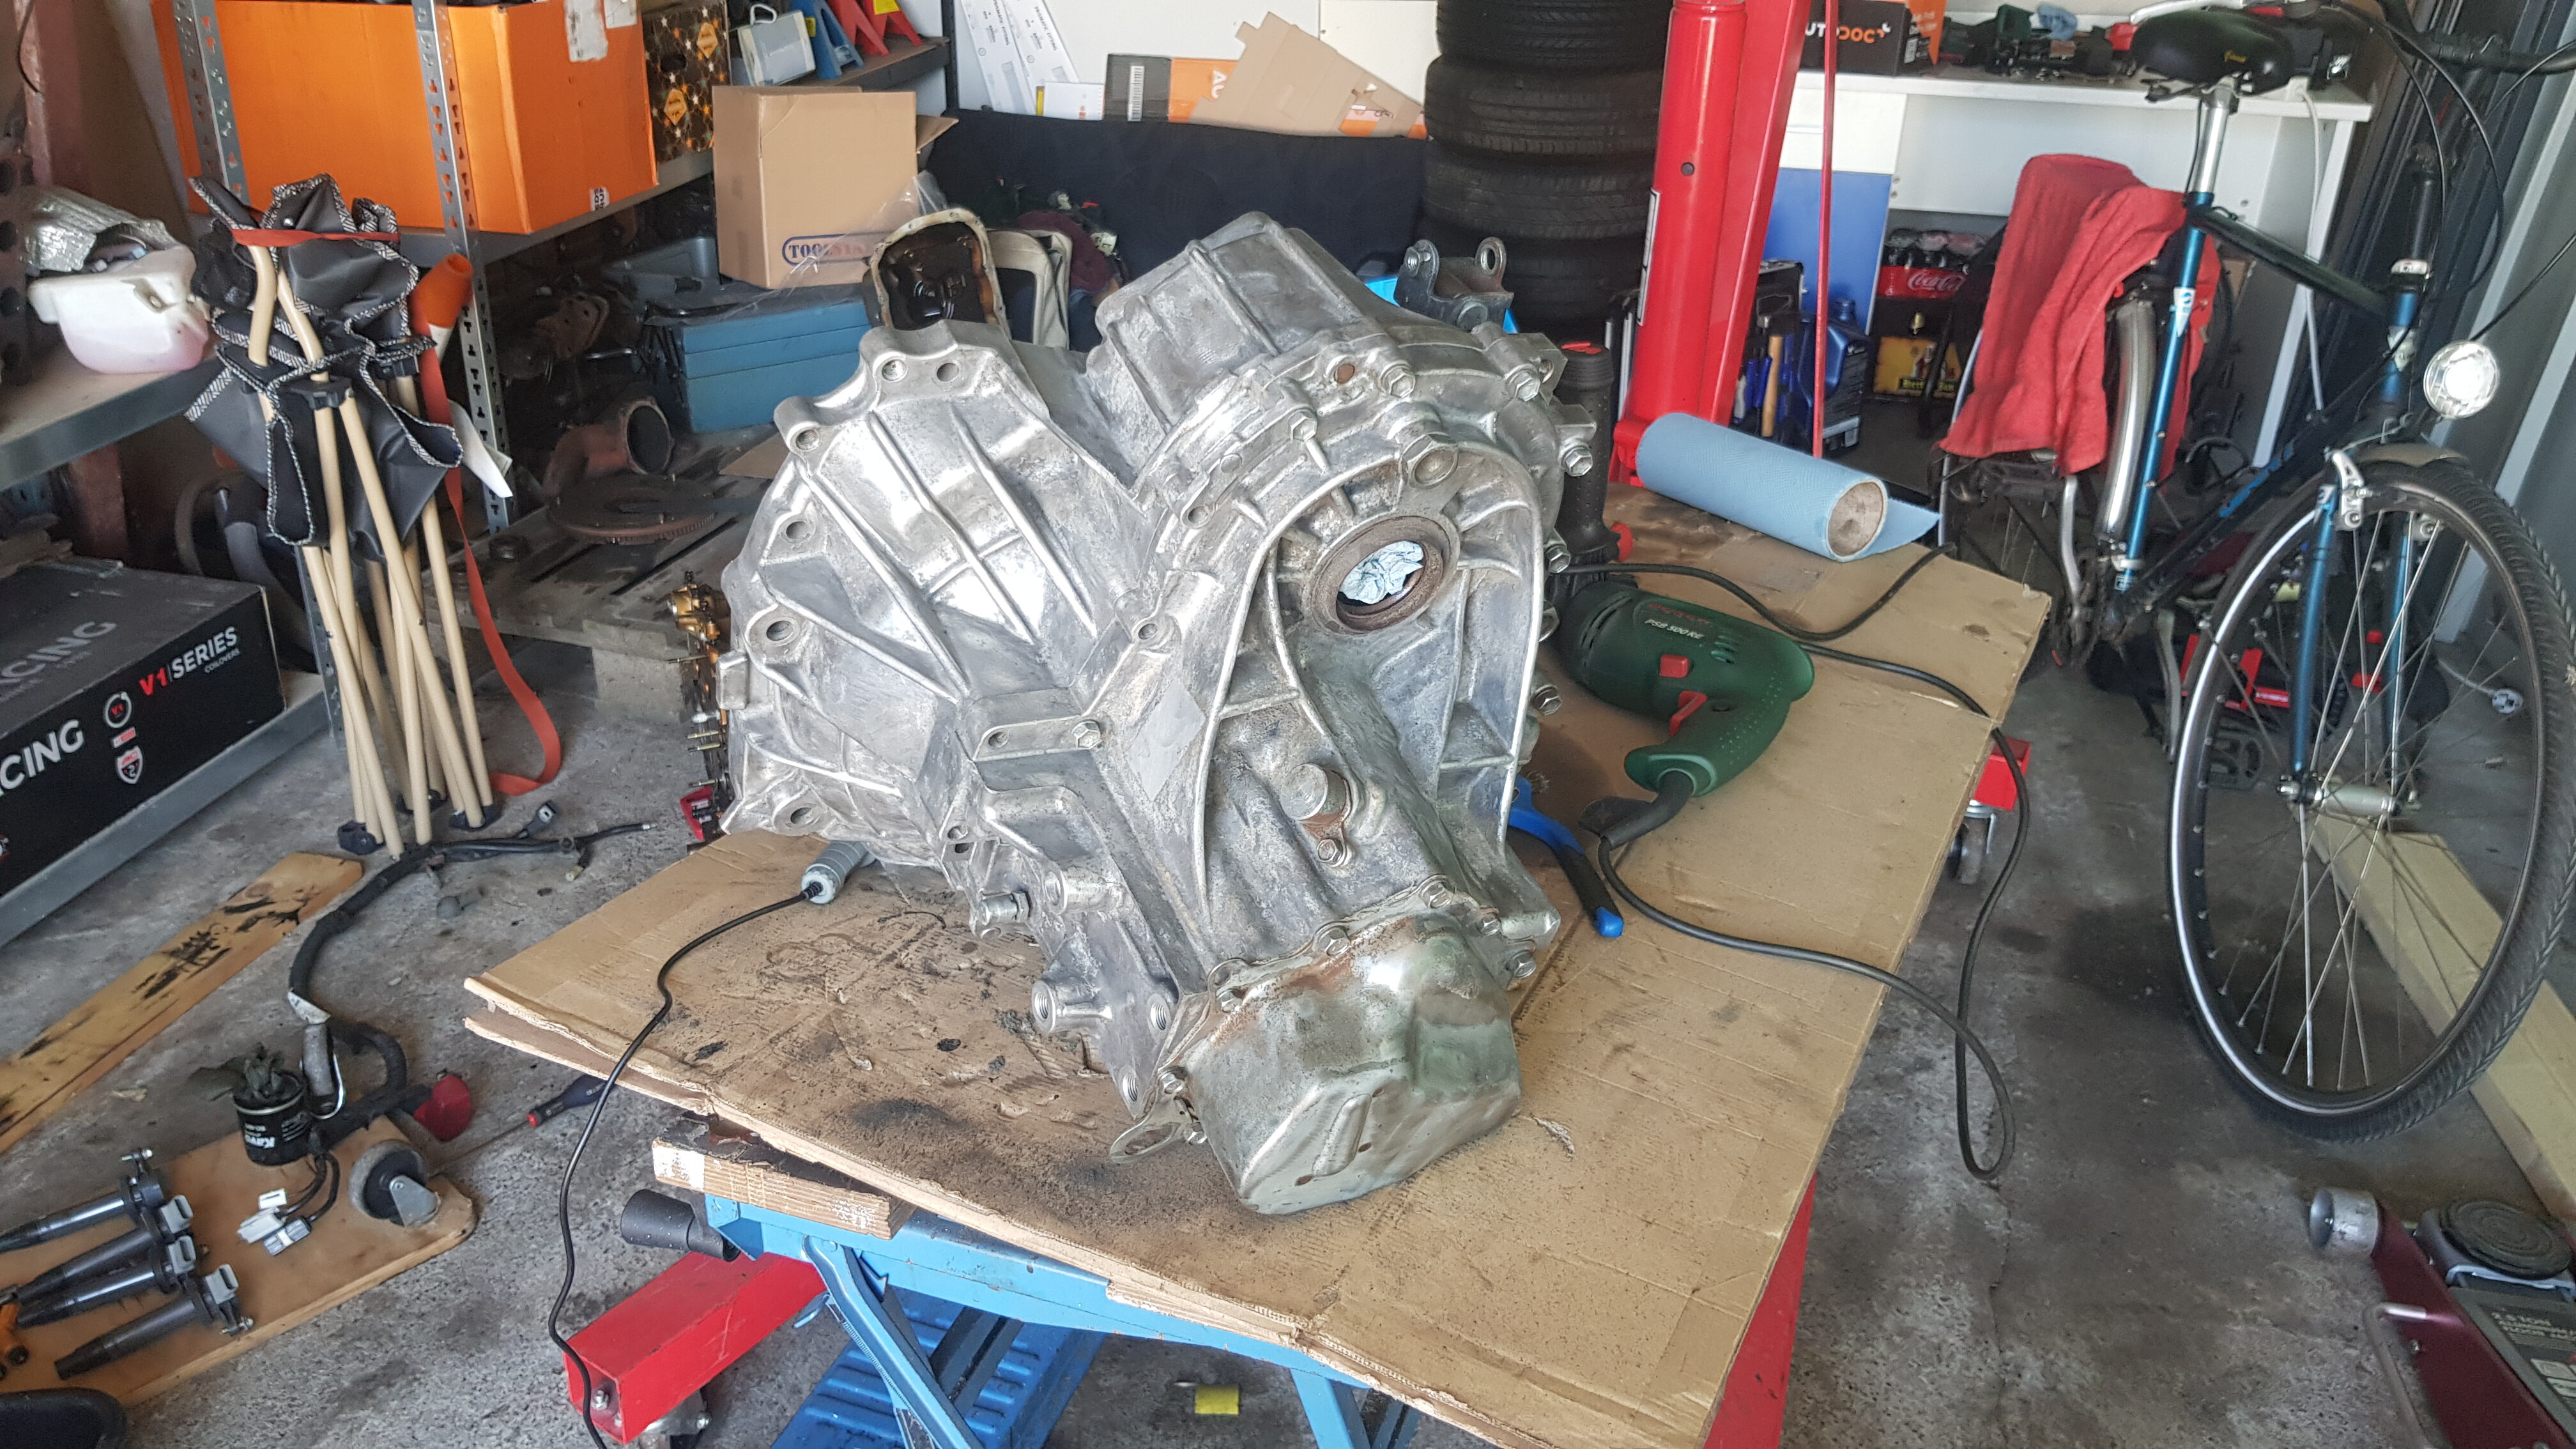
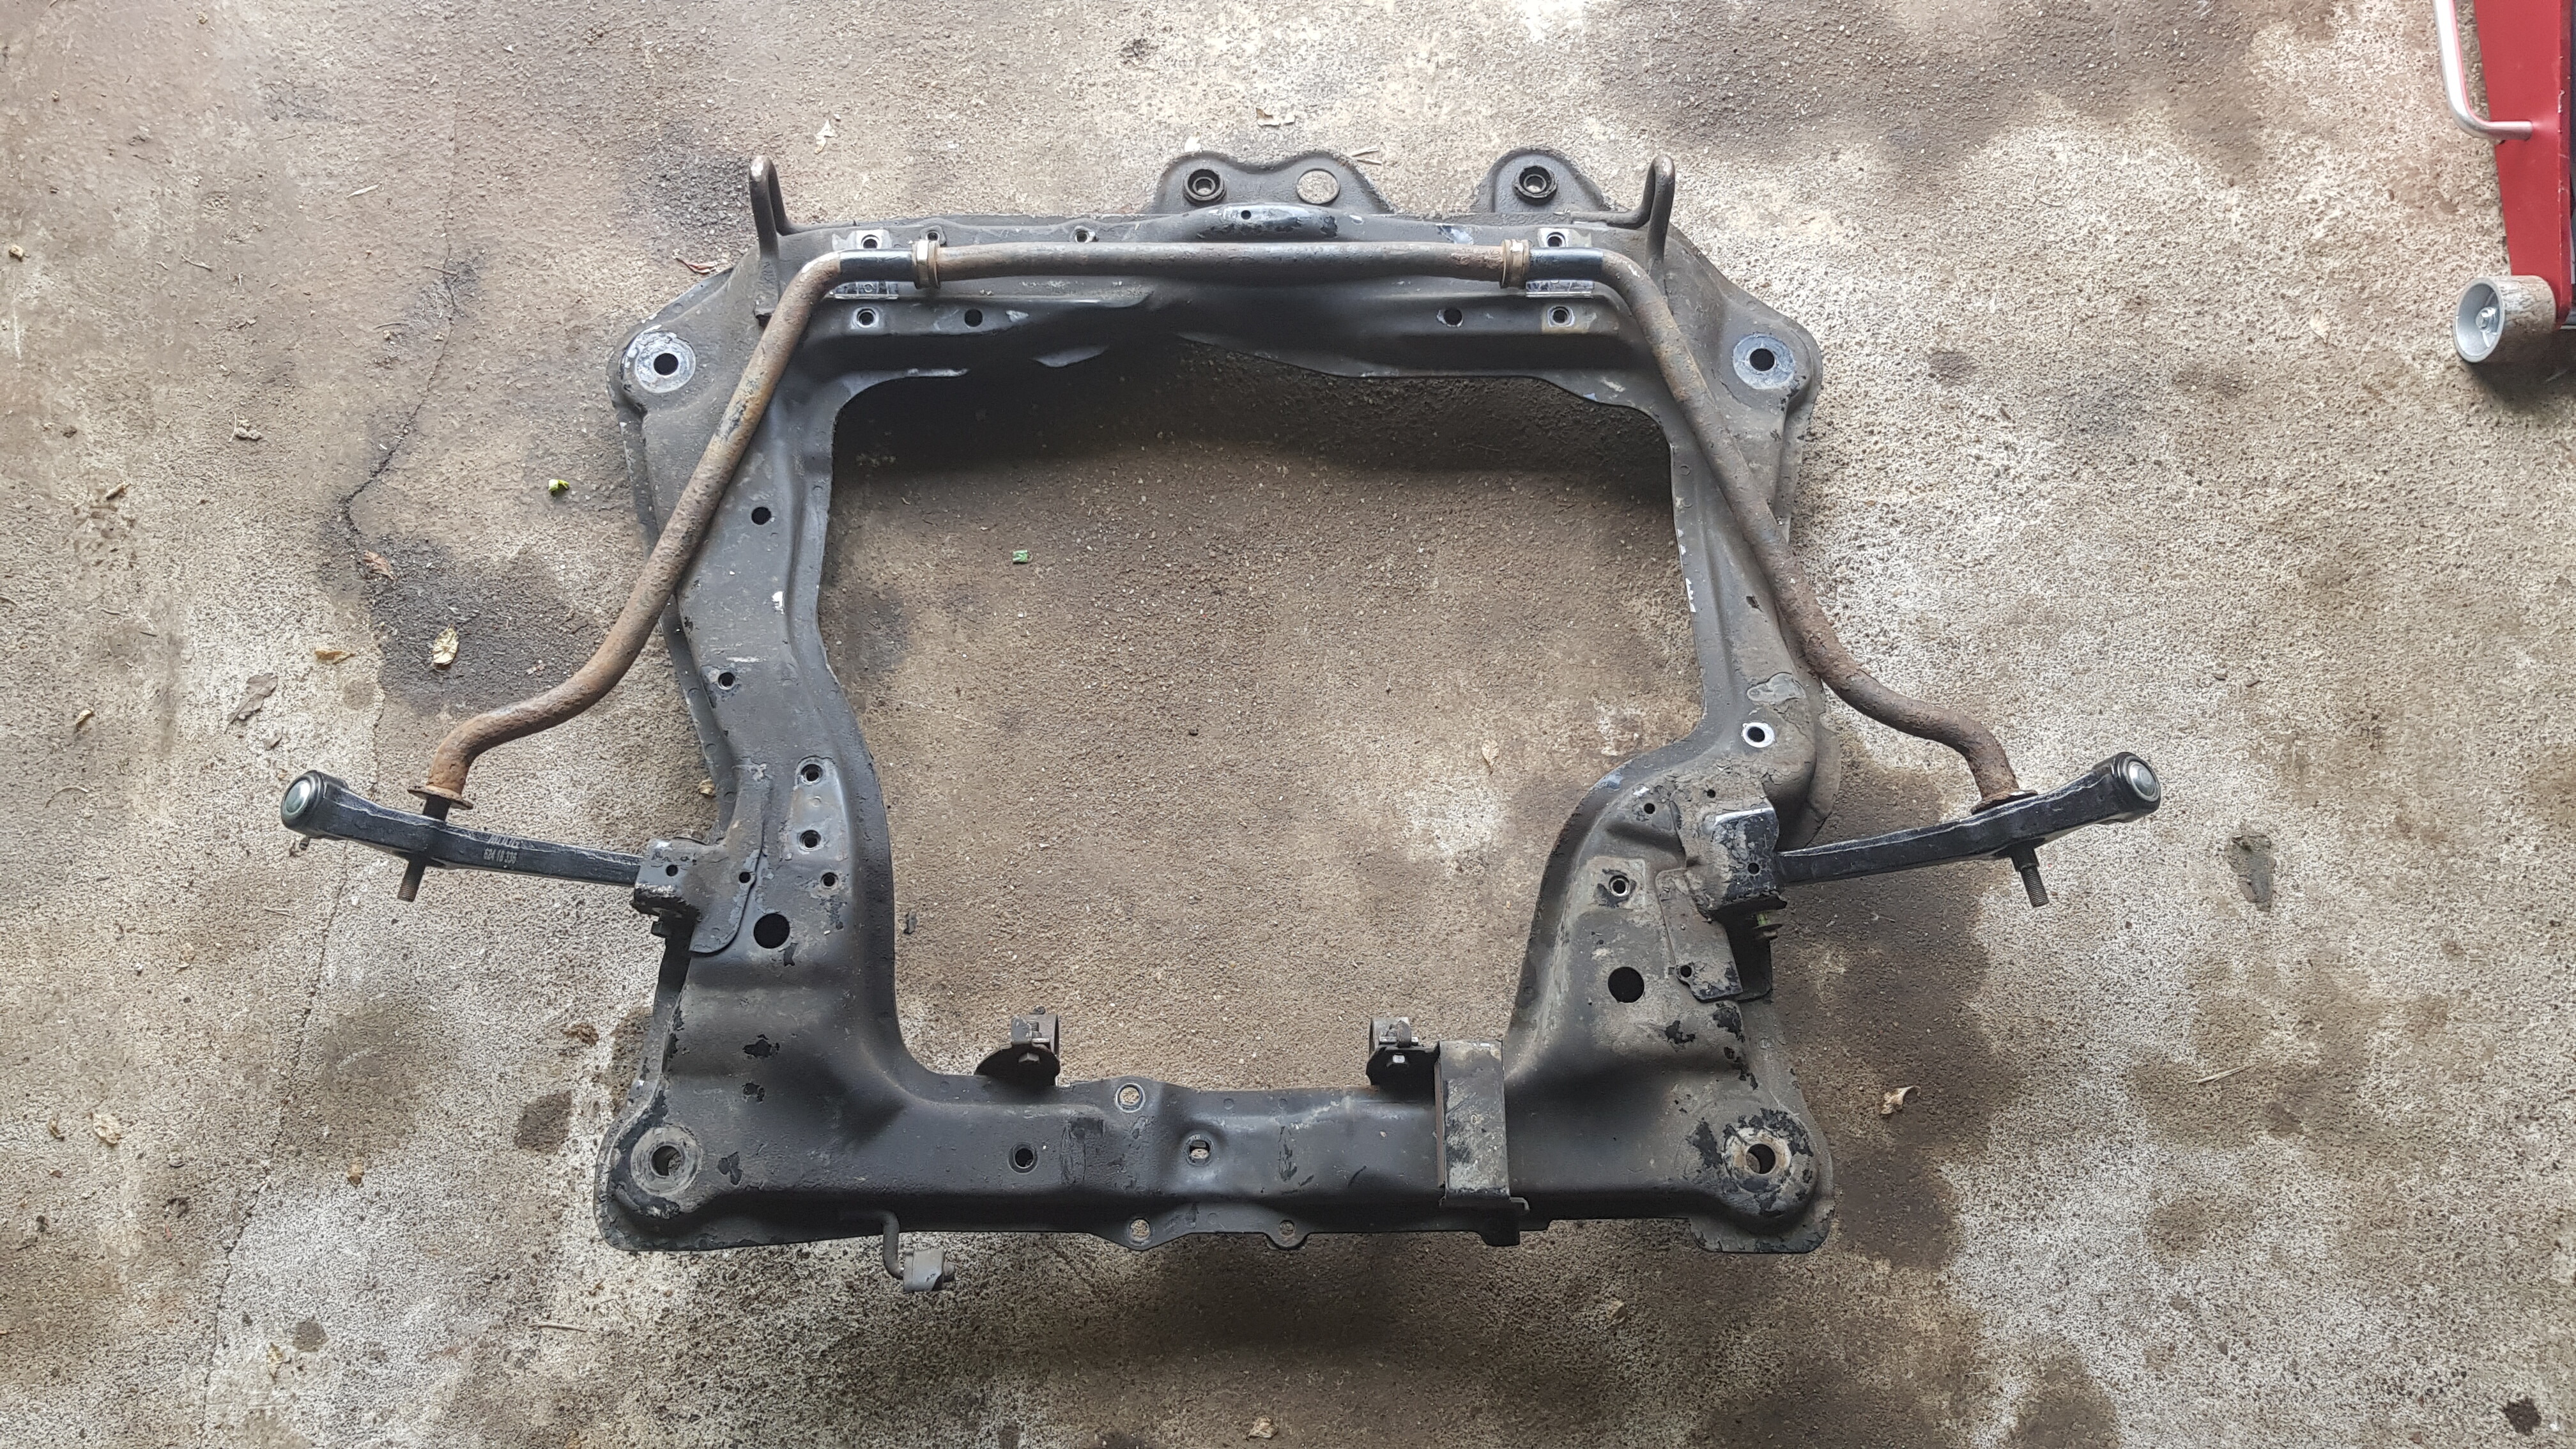
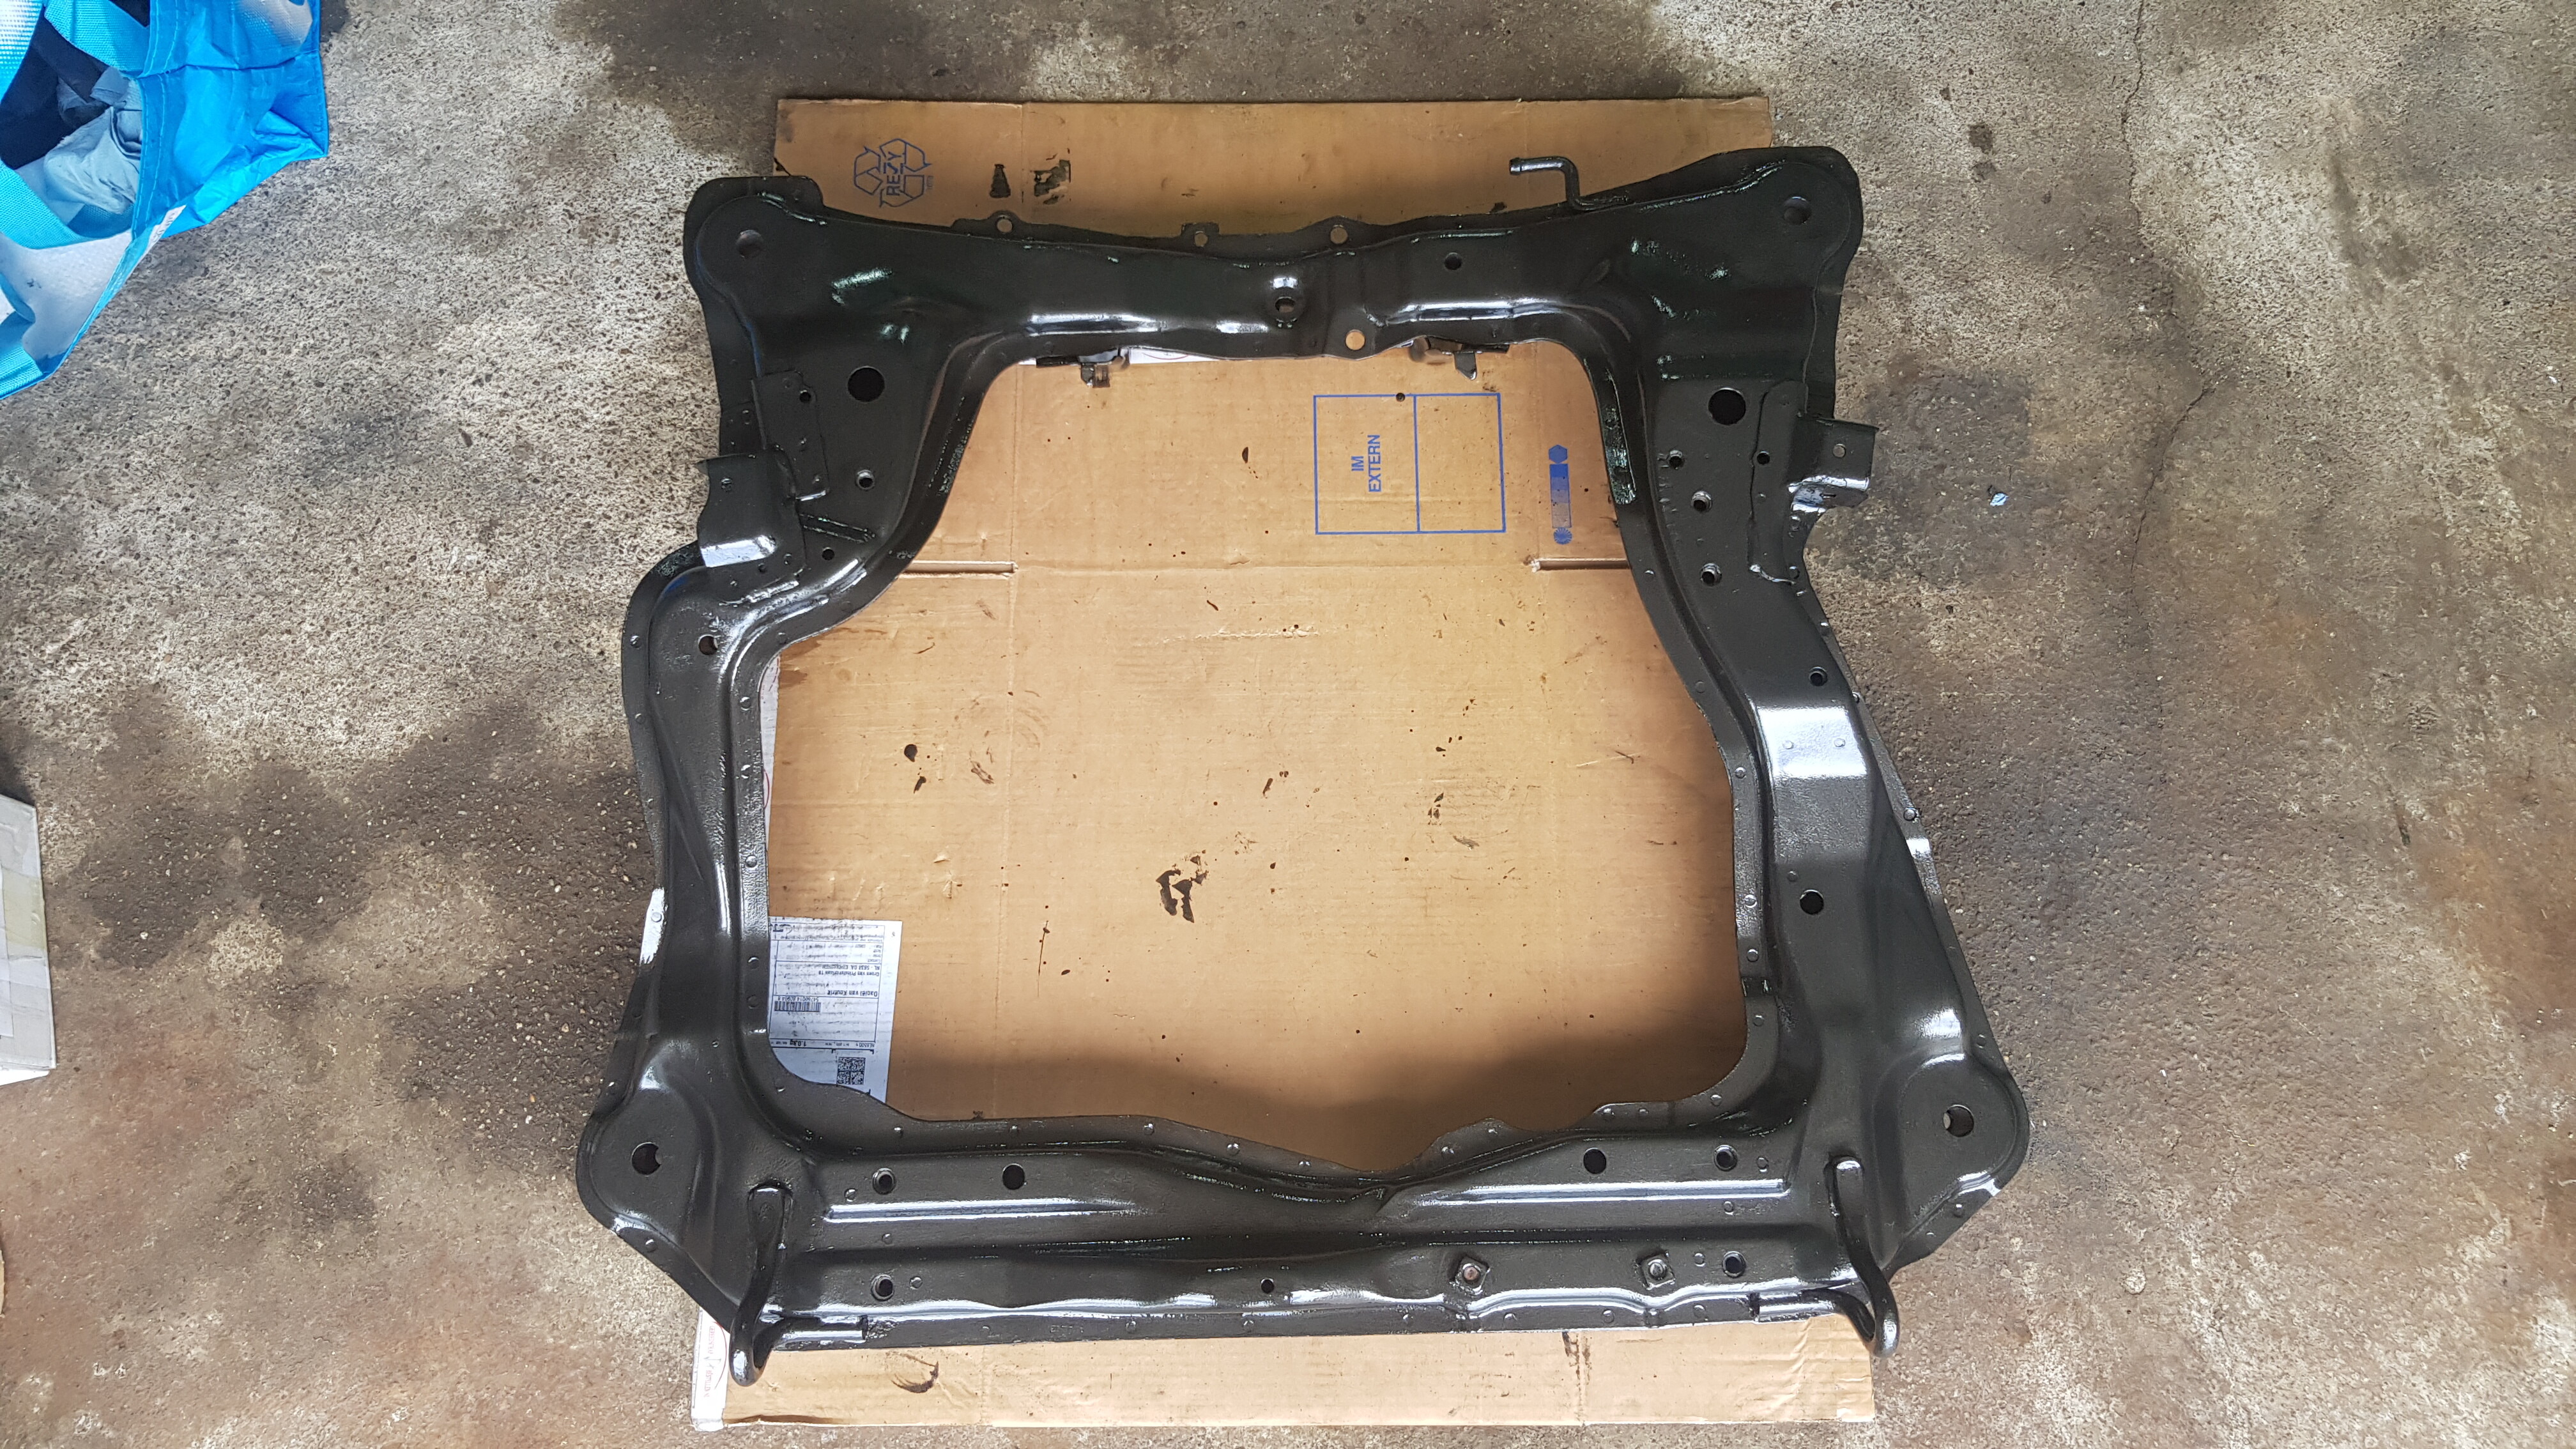
Before & after sanding
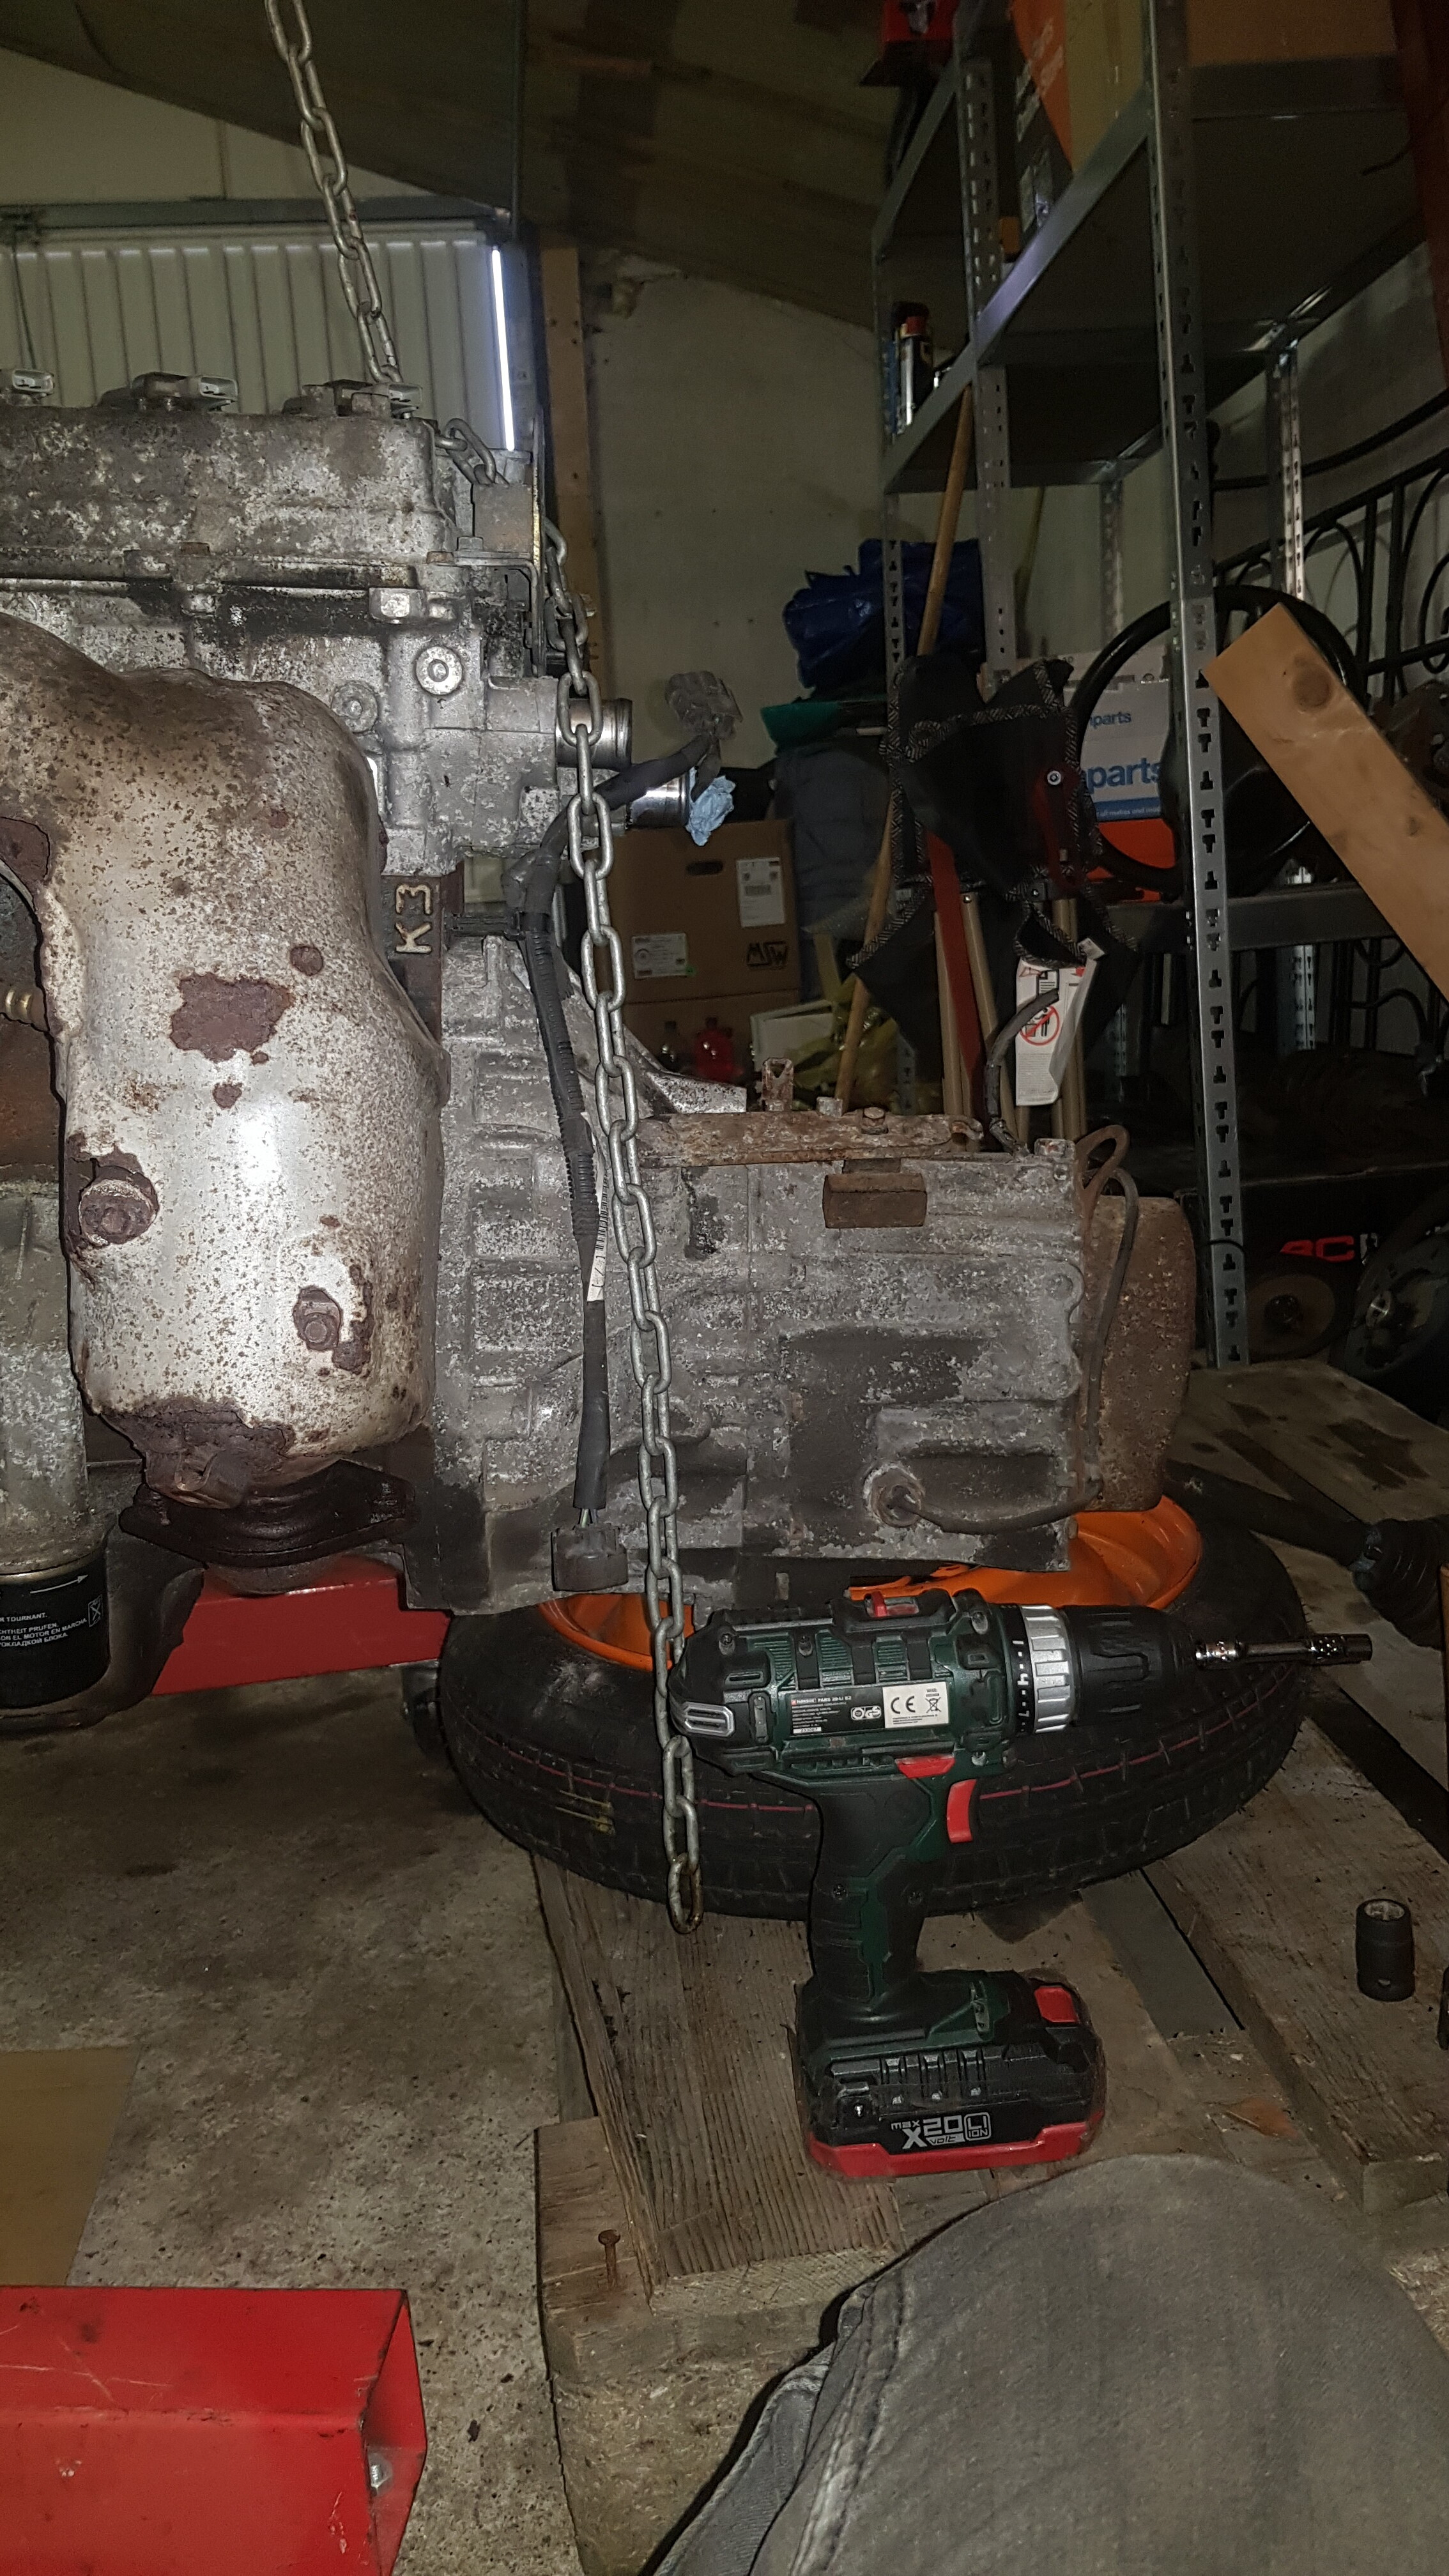
I started with the gearbox. It took several afternoons to clean and sand it entirely. A ‘pain in the butt’ is an understatement. It’s not exactly a nice flat surface and because of that, I basically had to sand the whole thing with a multitool. Oh well, in the end I managed to get it nice and clean.
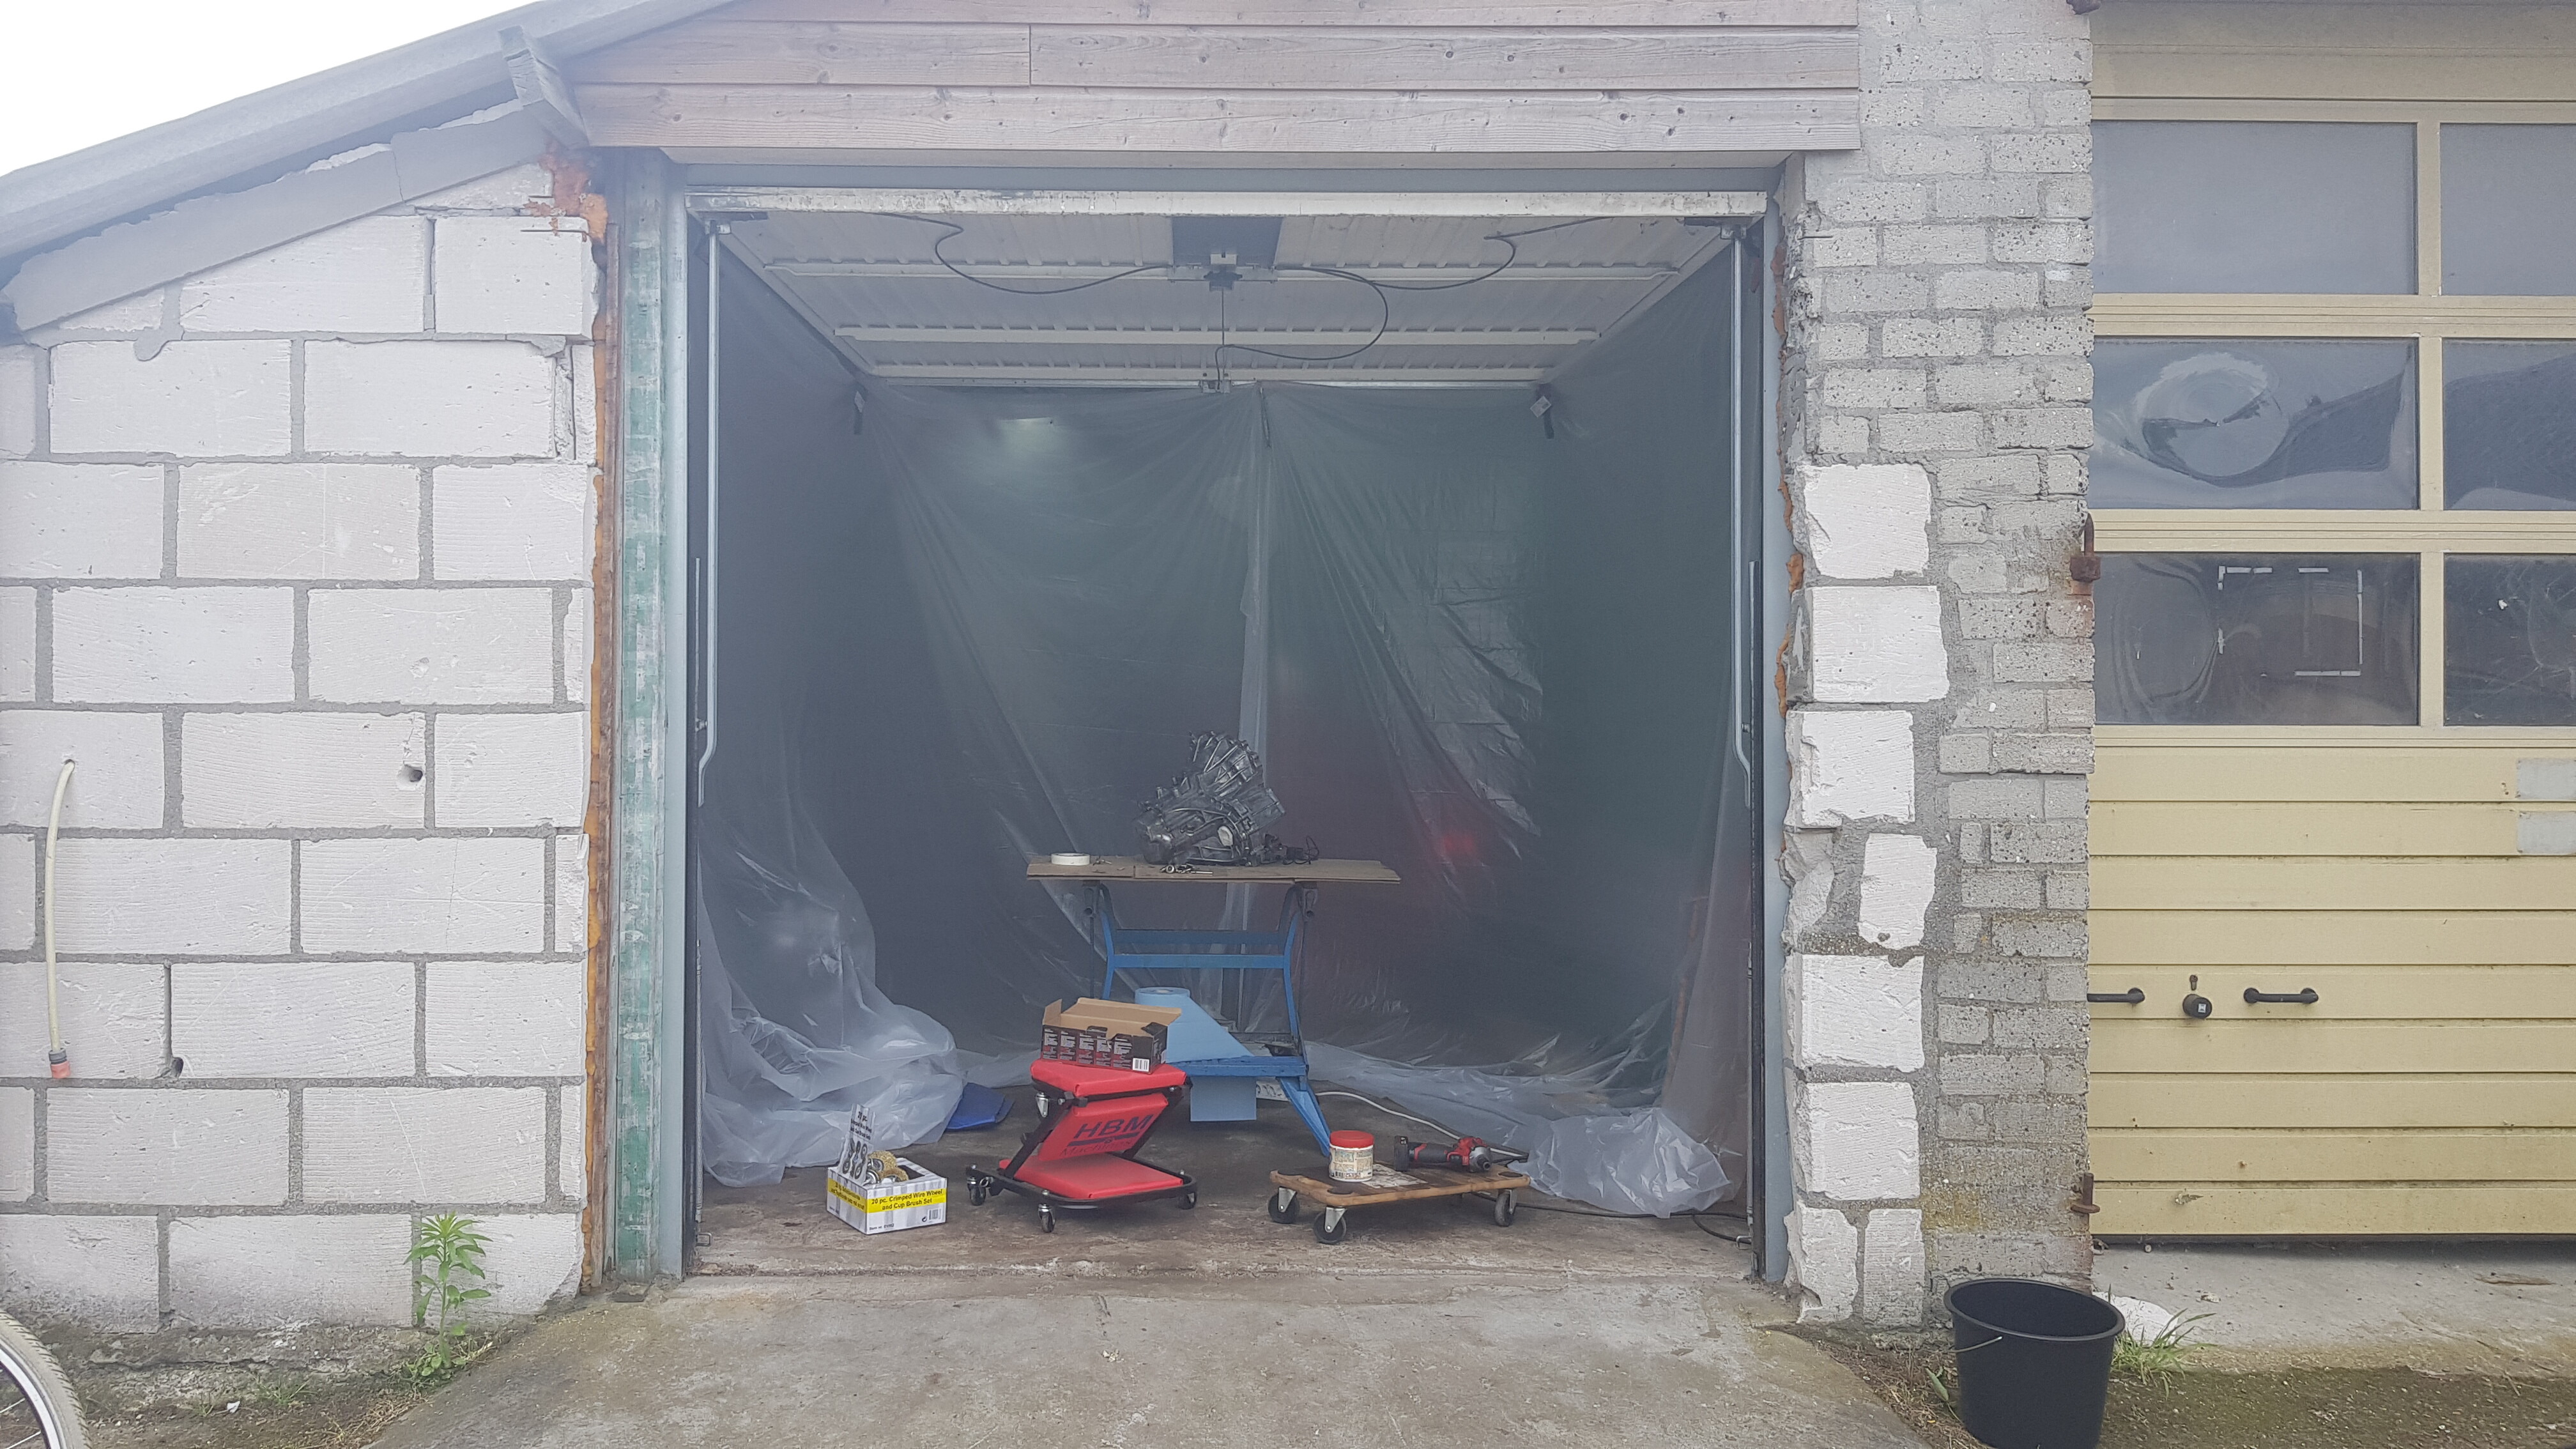
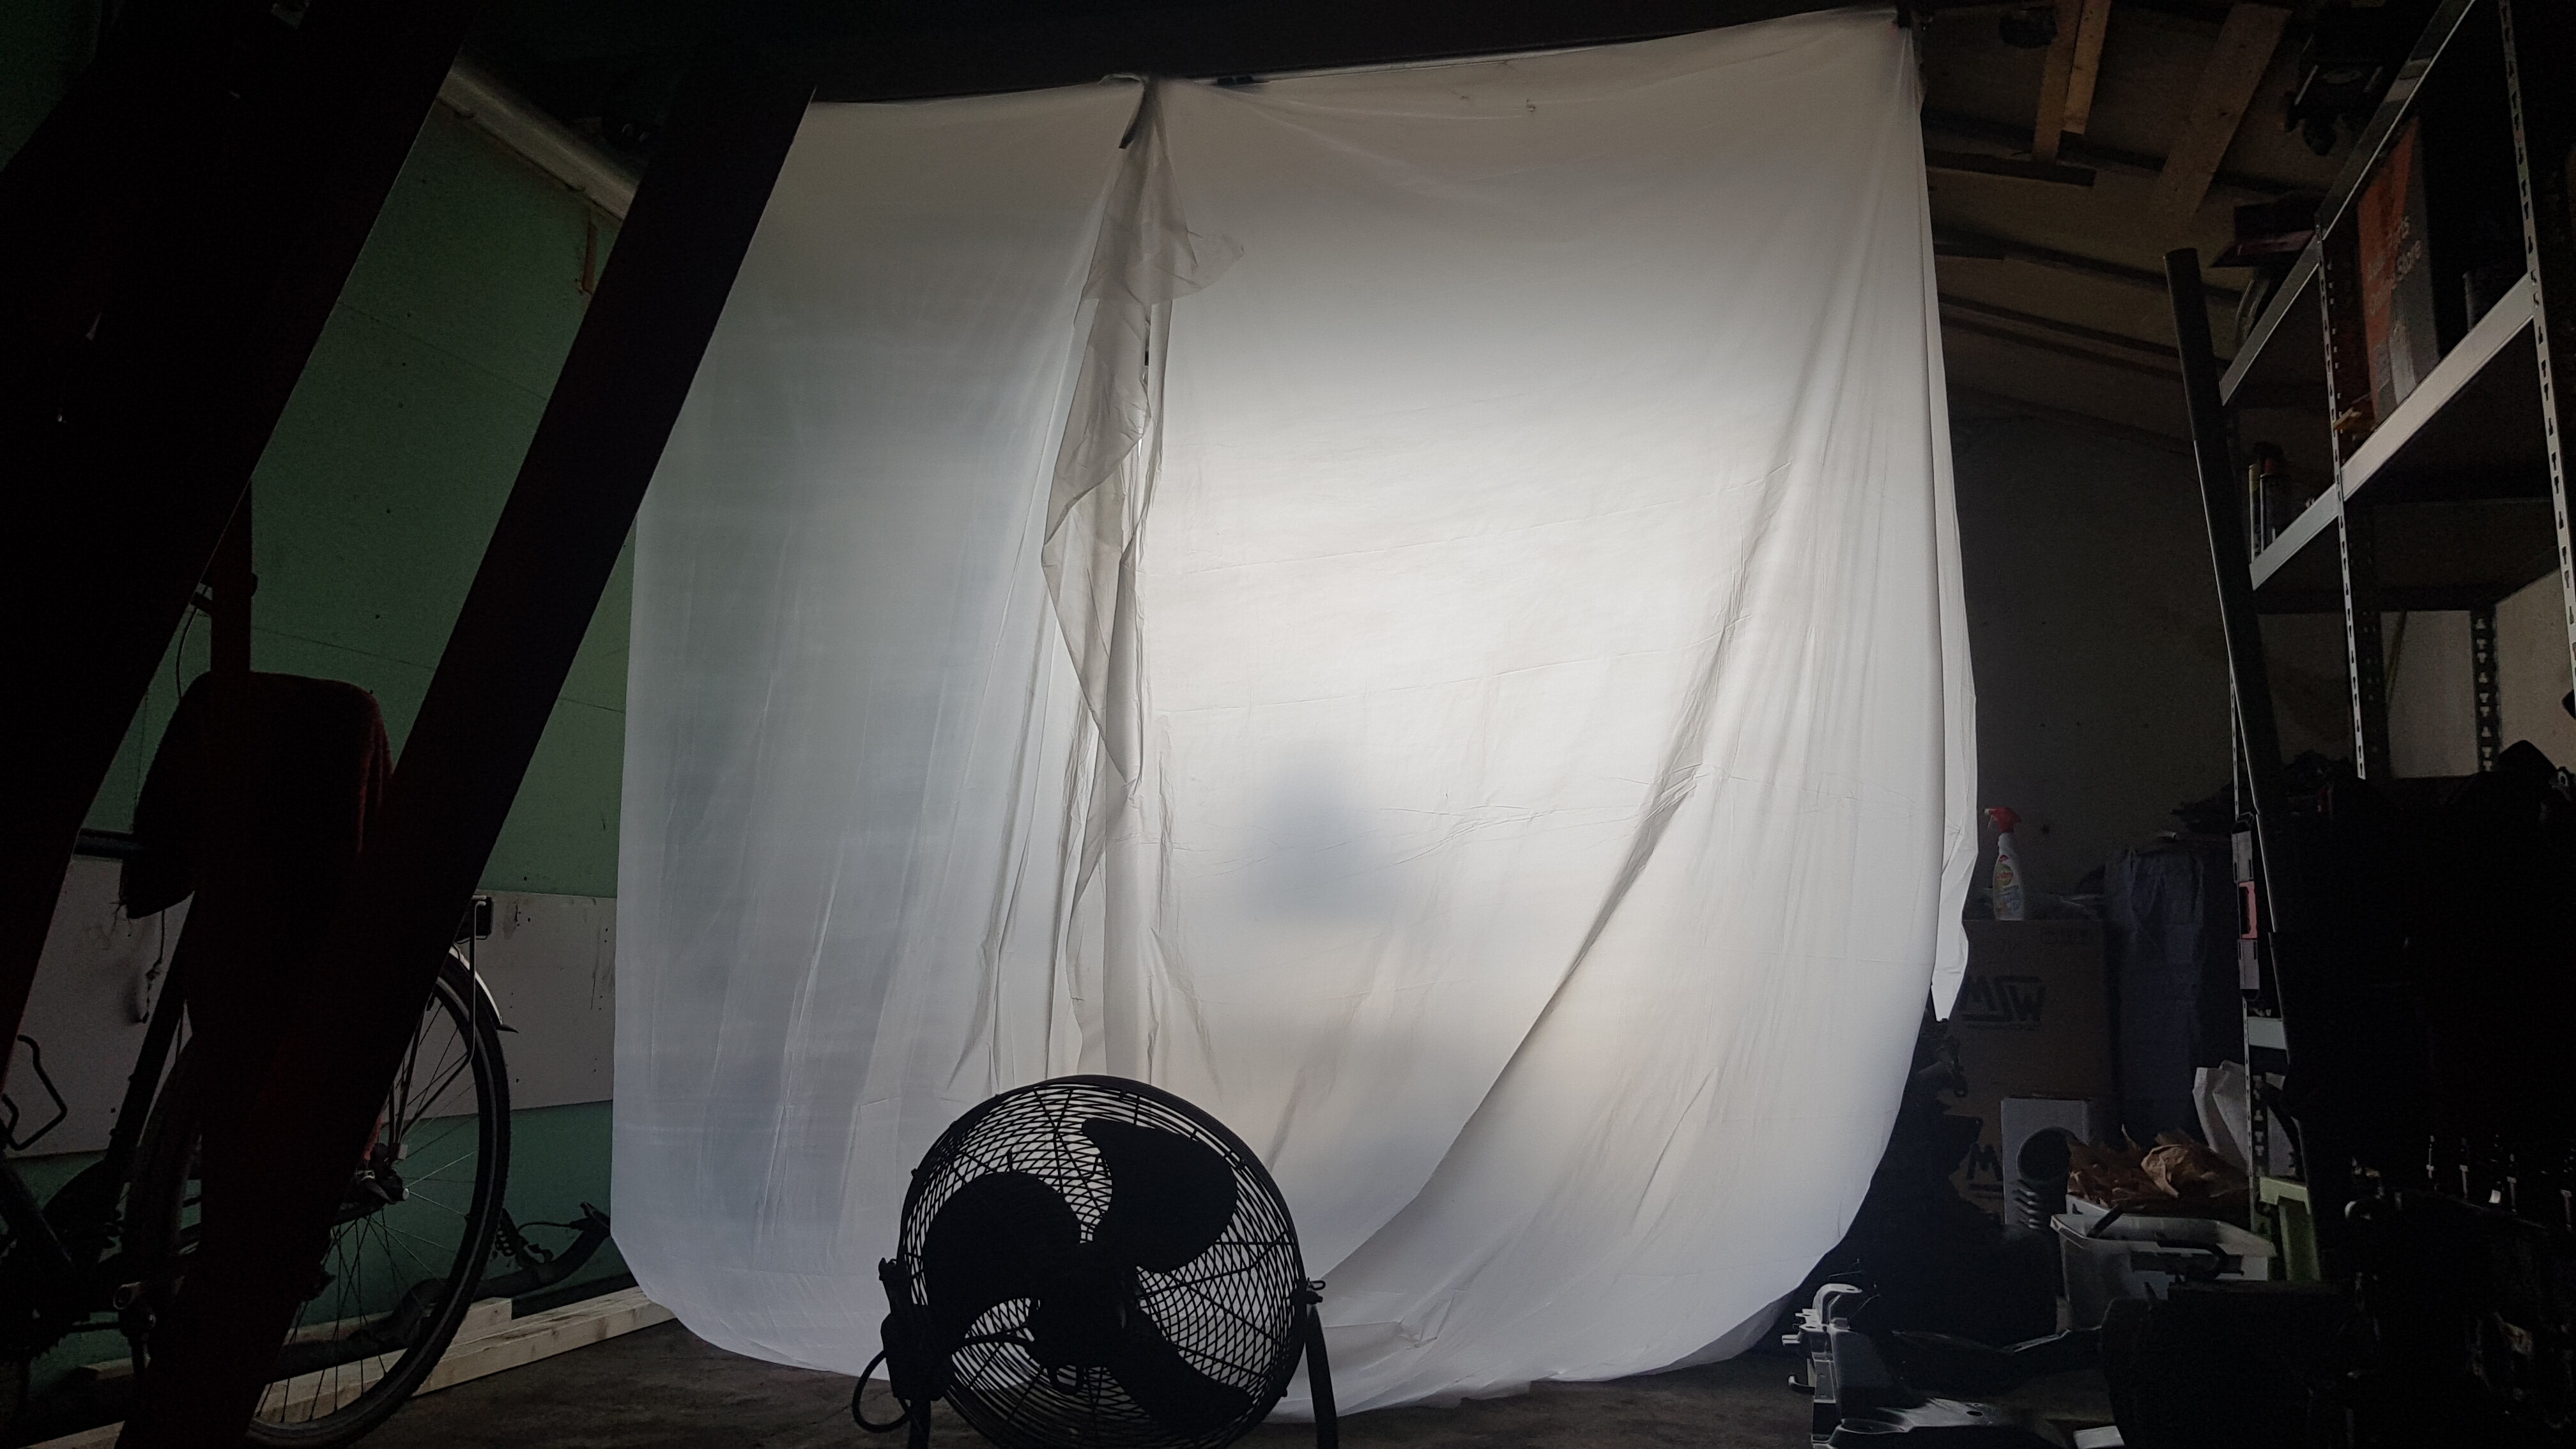
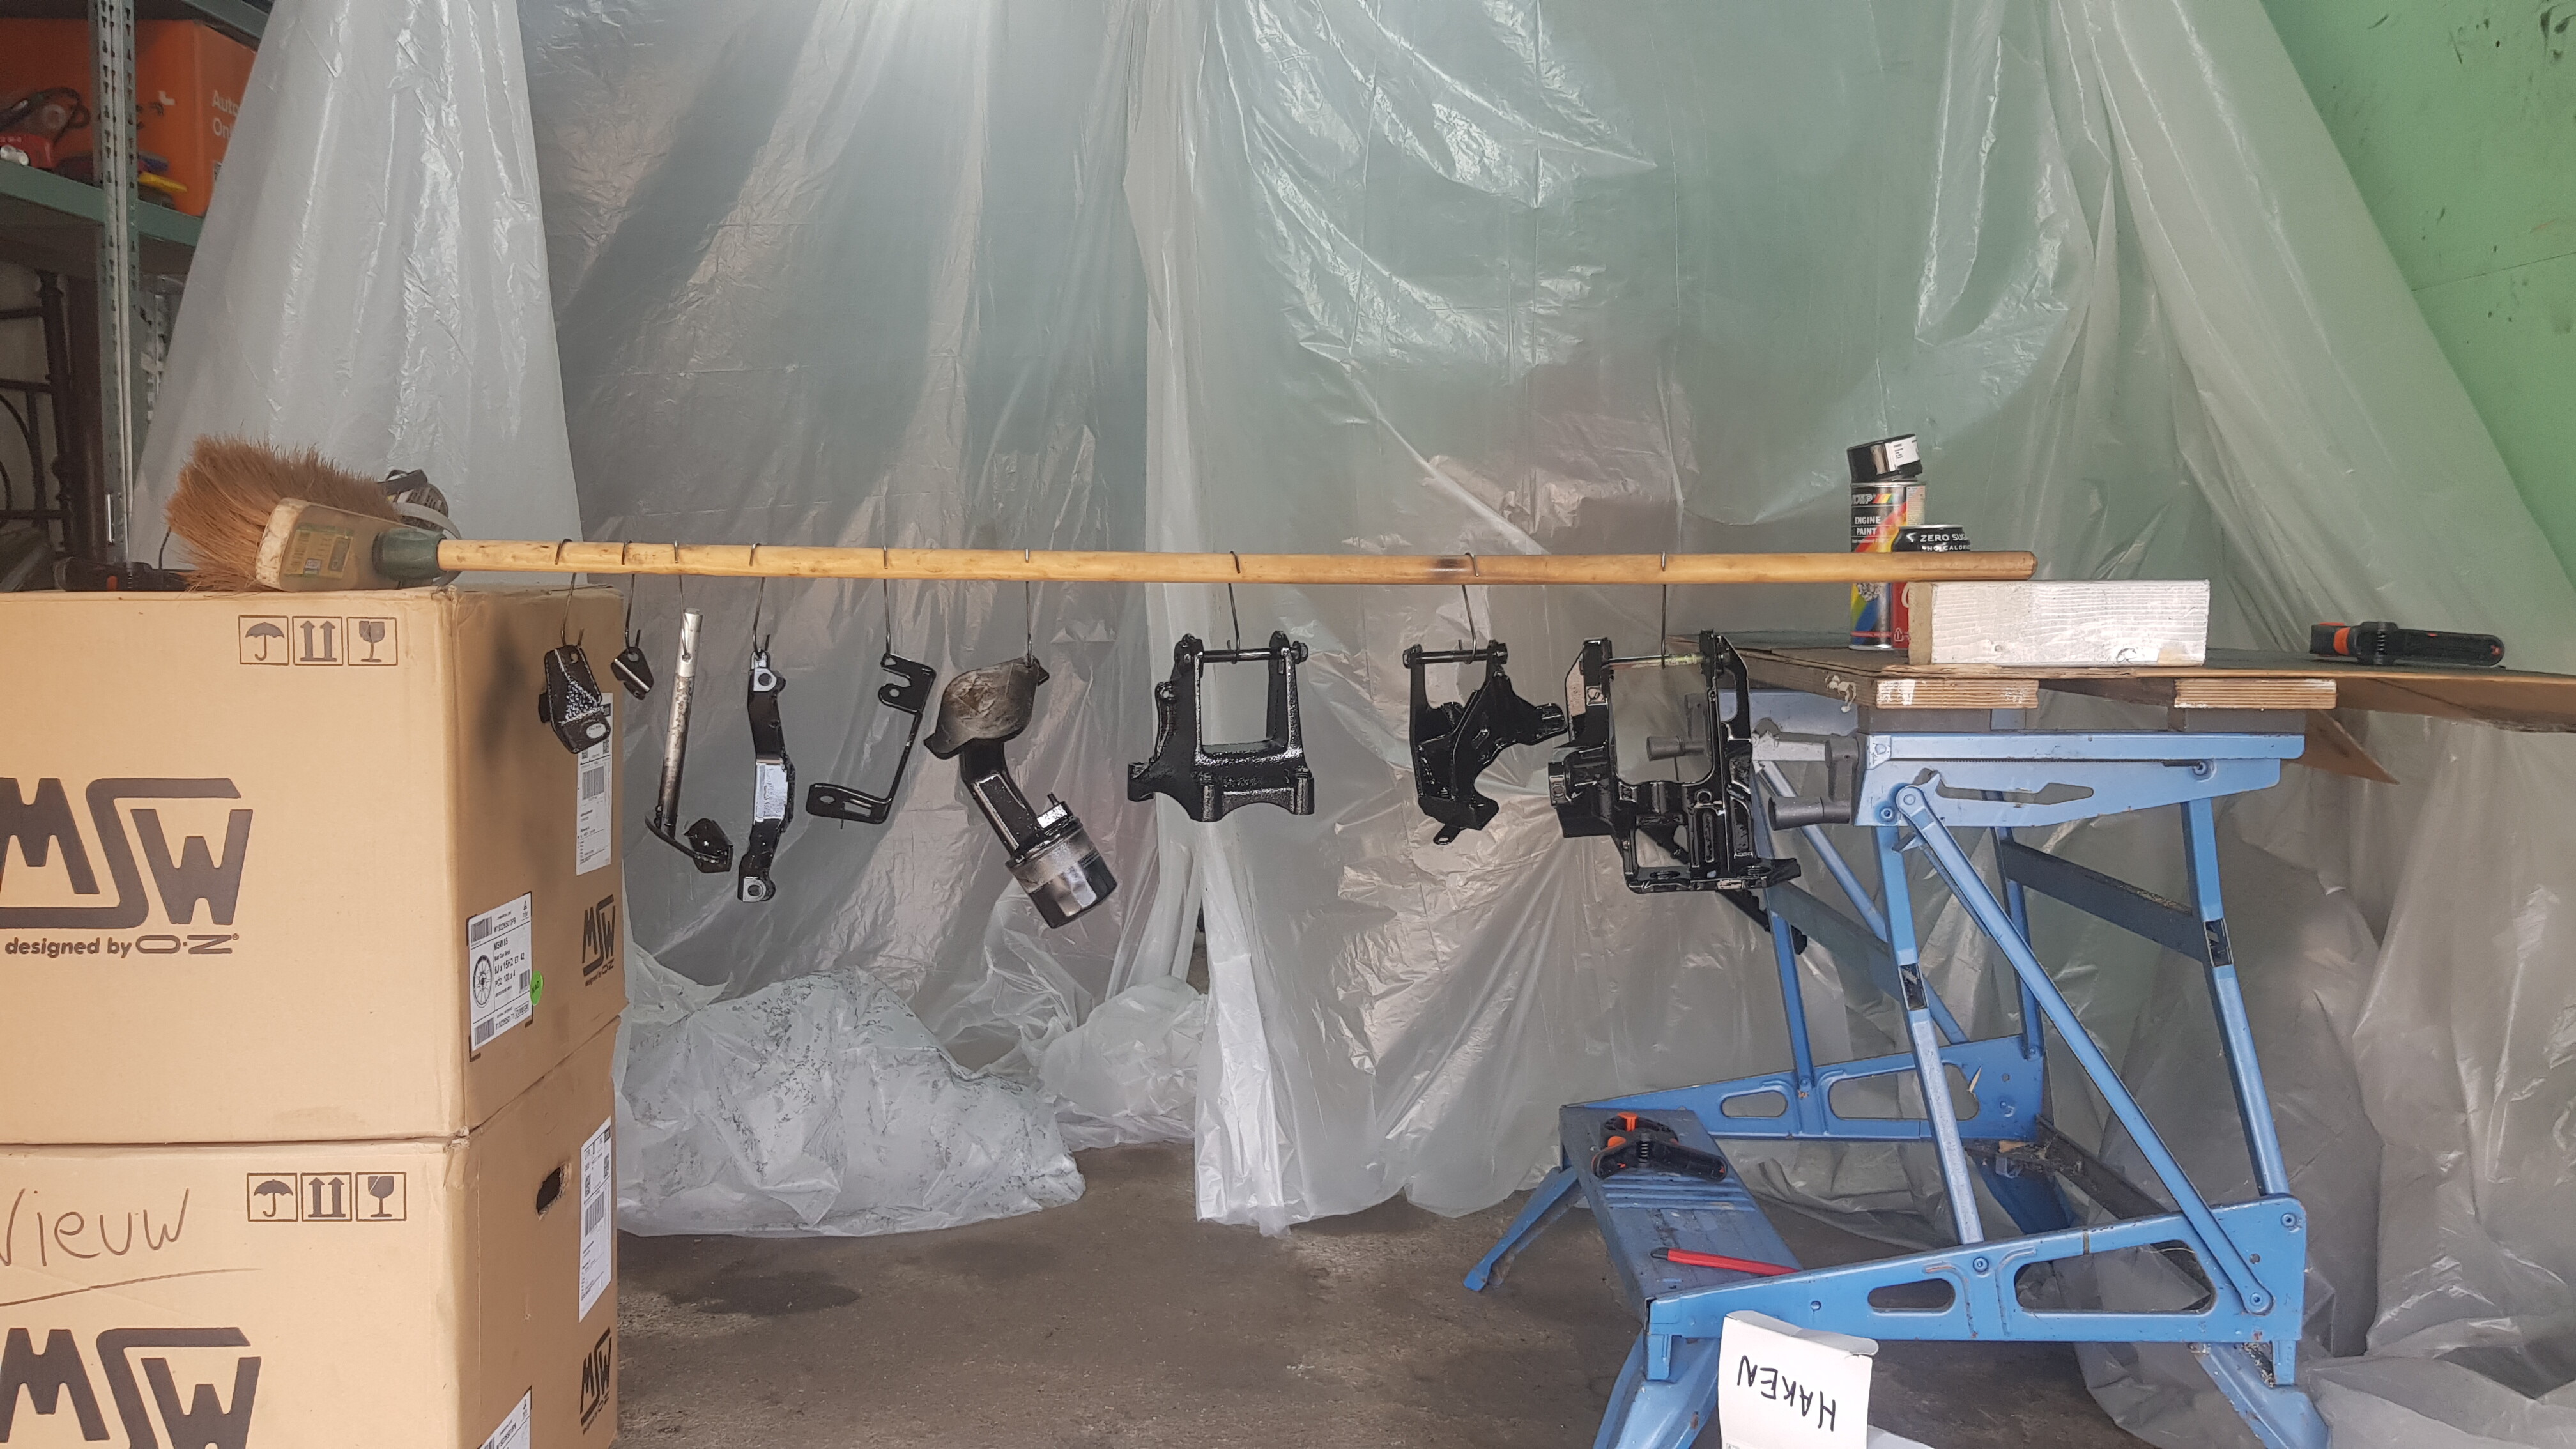
I didn’t have a paint booth, and I simply didn’t have the time and space to build a proper one, so I DIY’d the hell out of it. I bought some plastic sheets, and attached them to the frame of my garage door. With the door closed, it’s a pretty decent sized booth, and with the door open, it’s well ventilated too. Time for some paint!
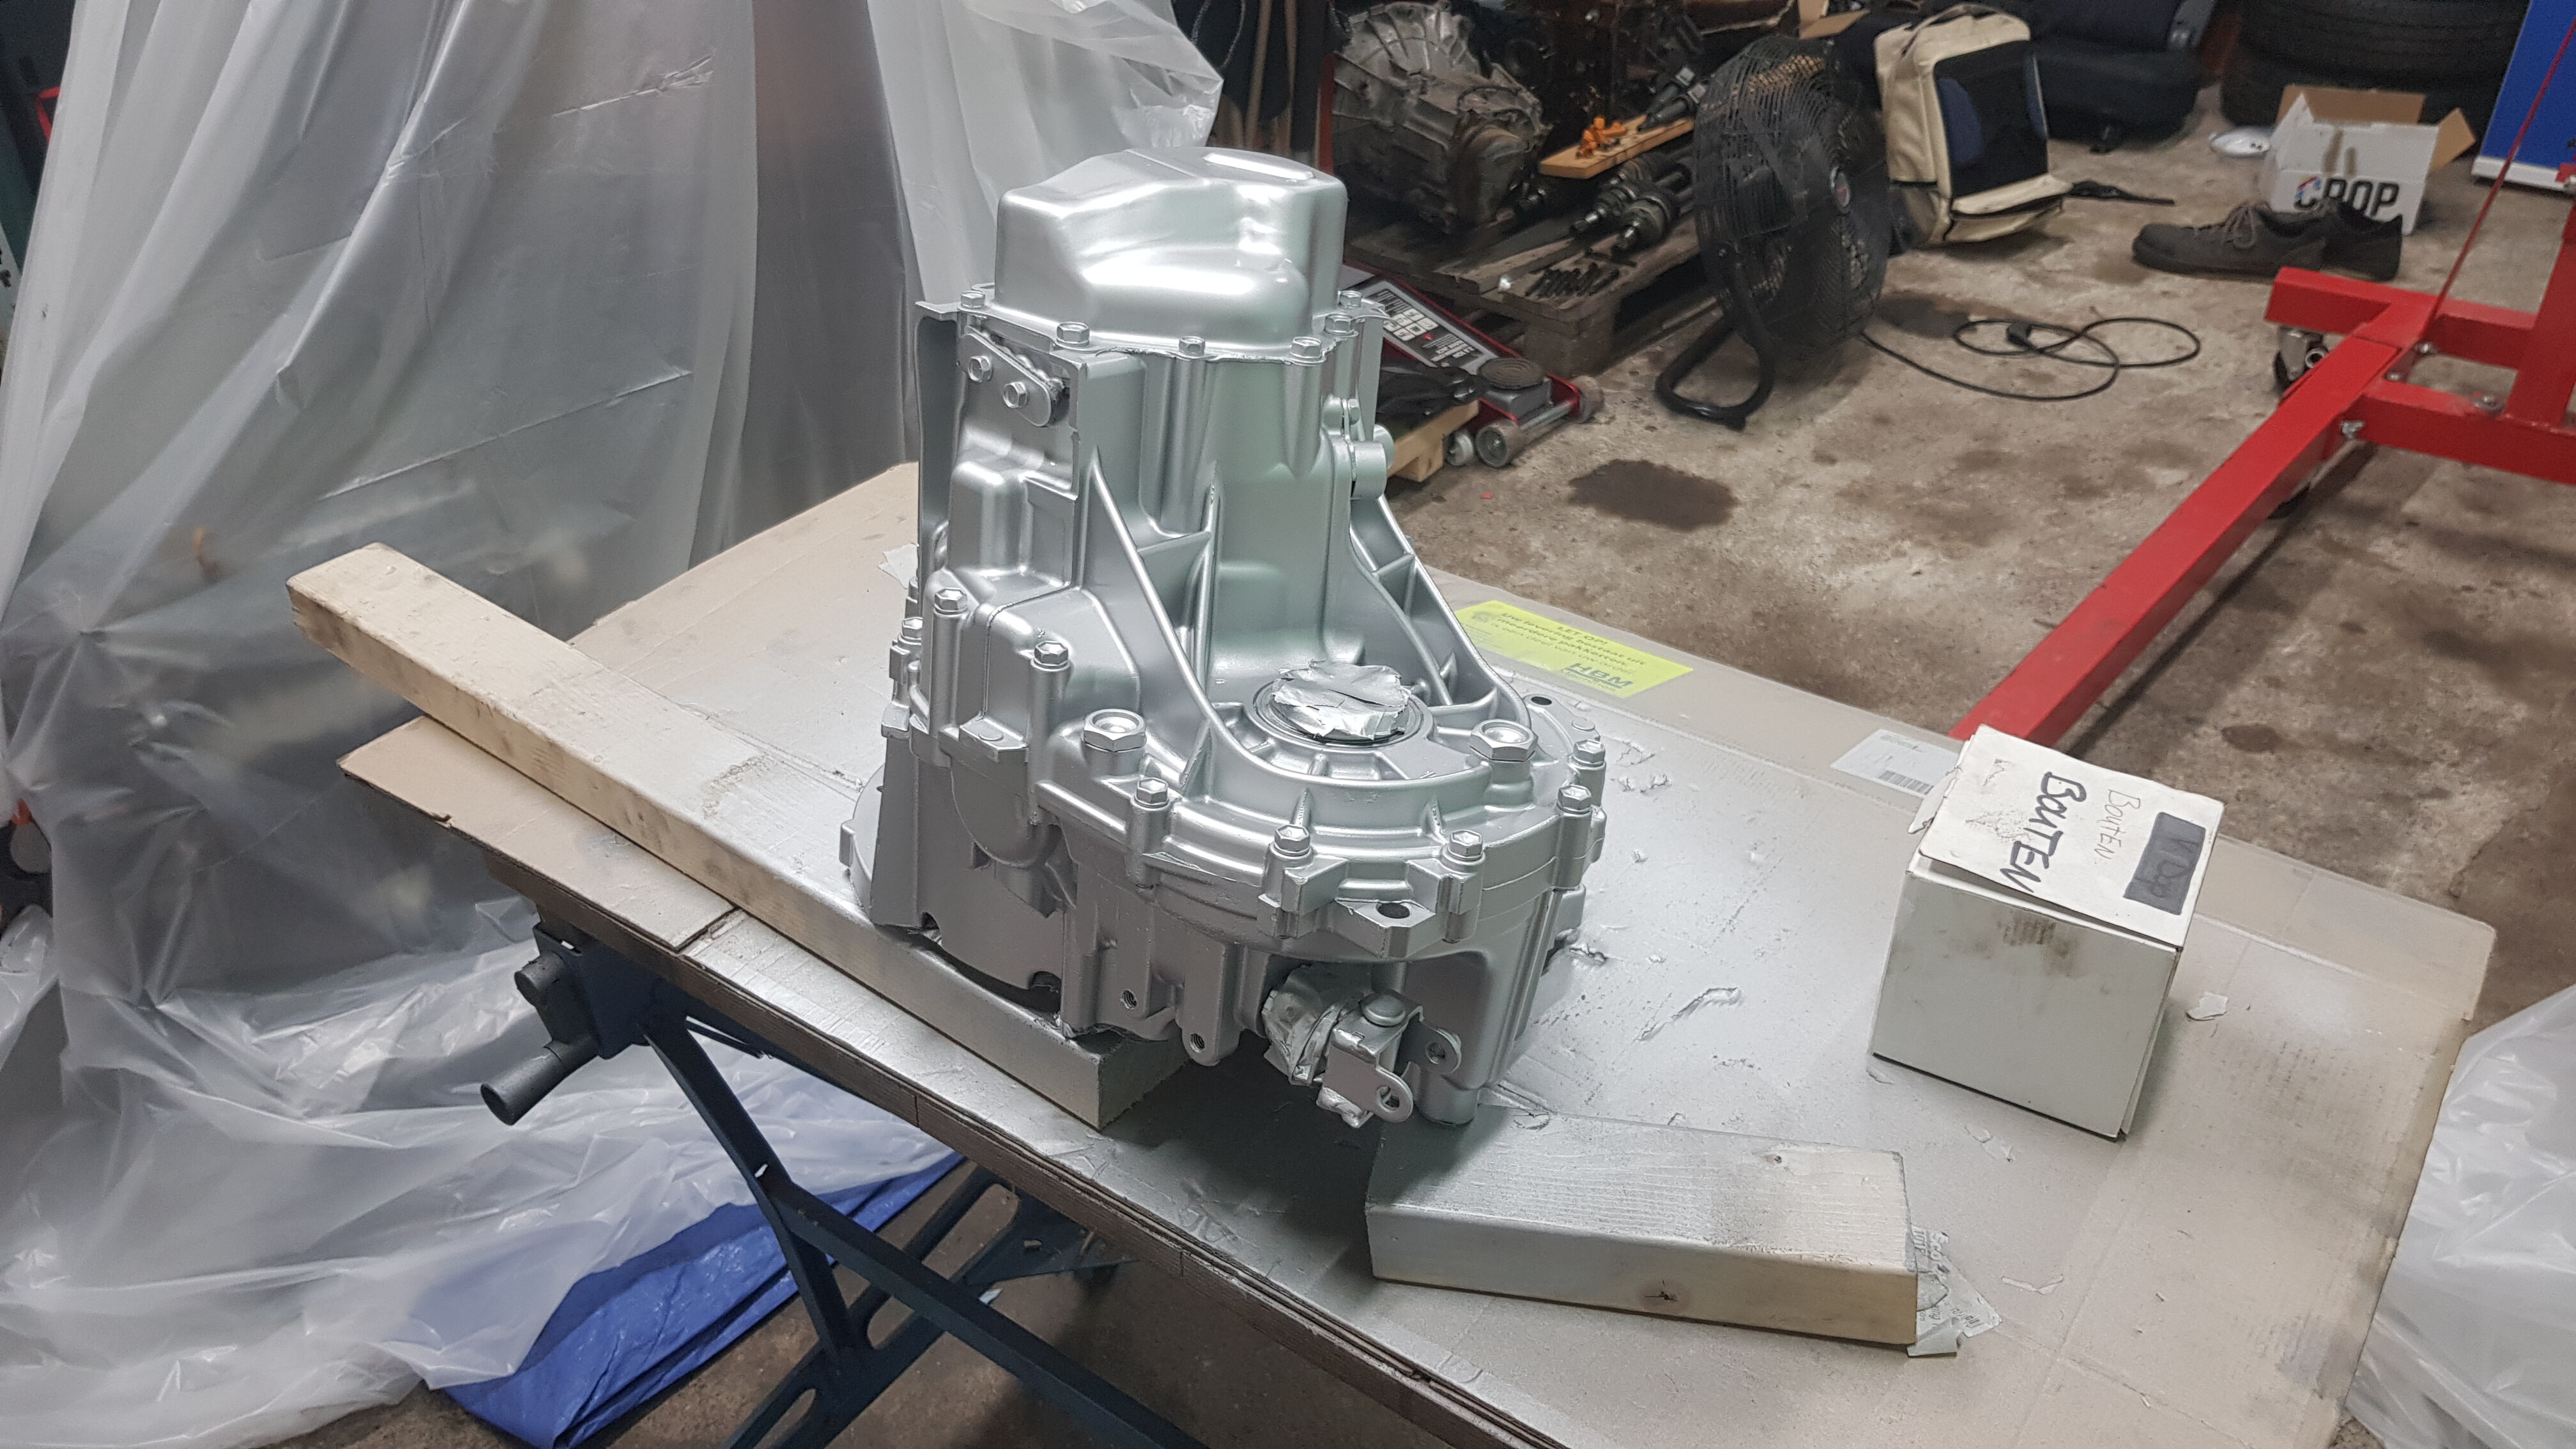
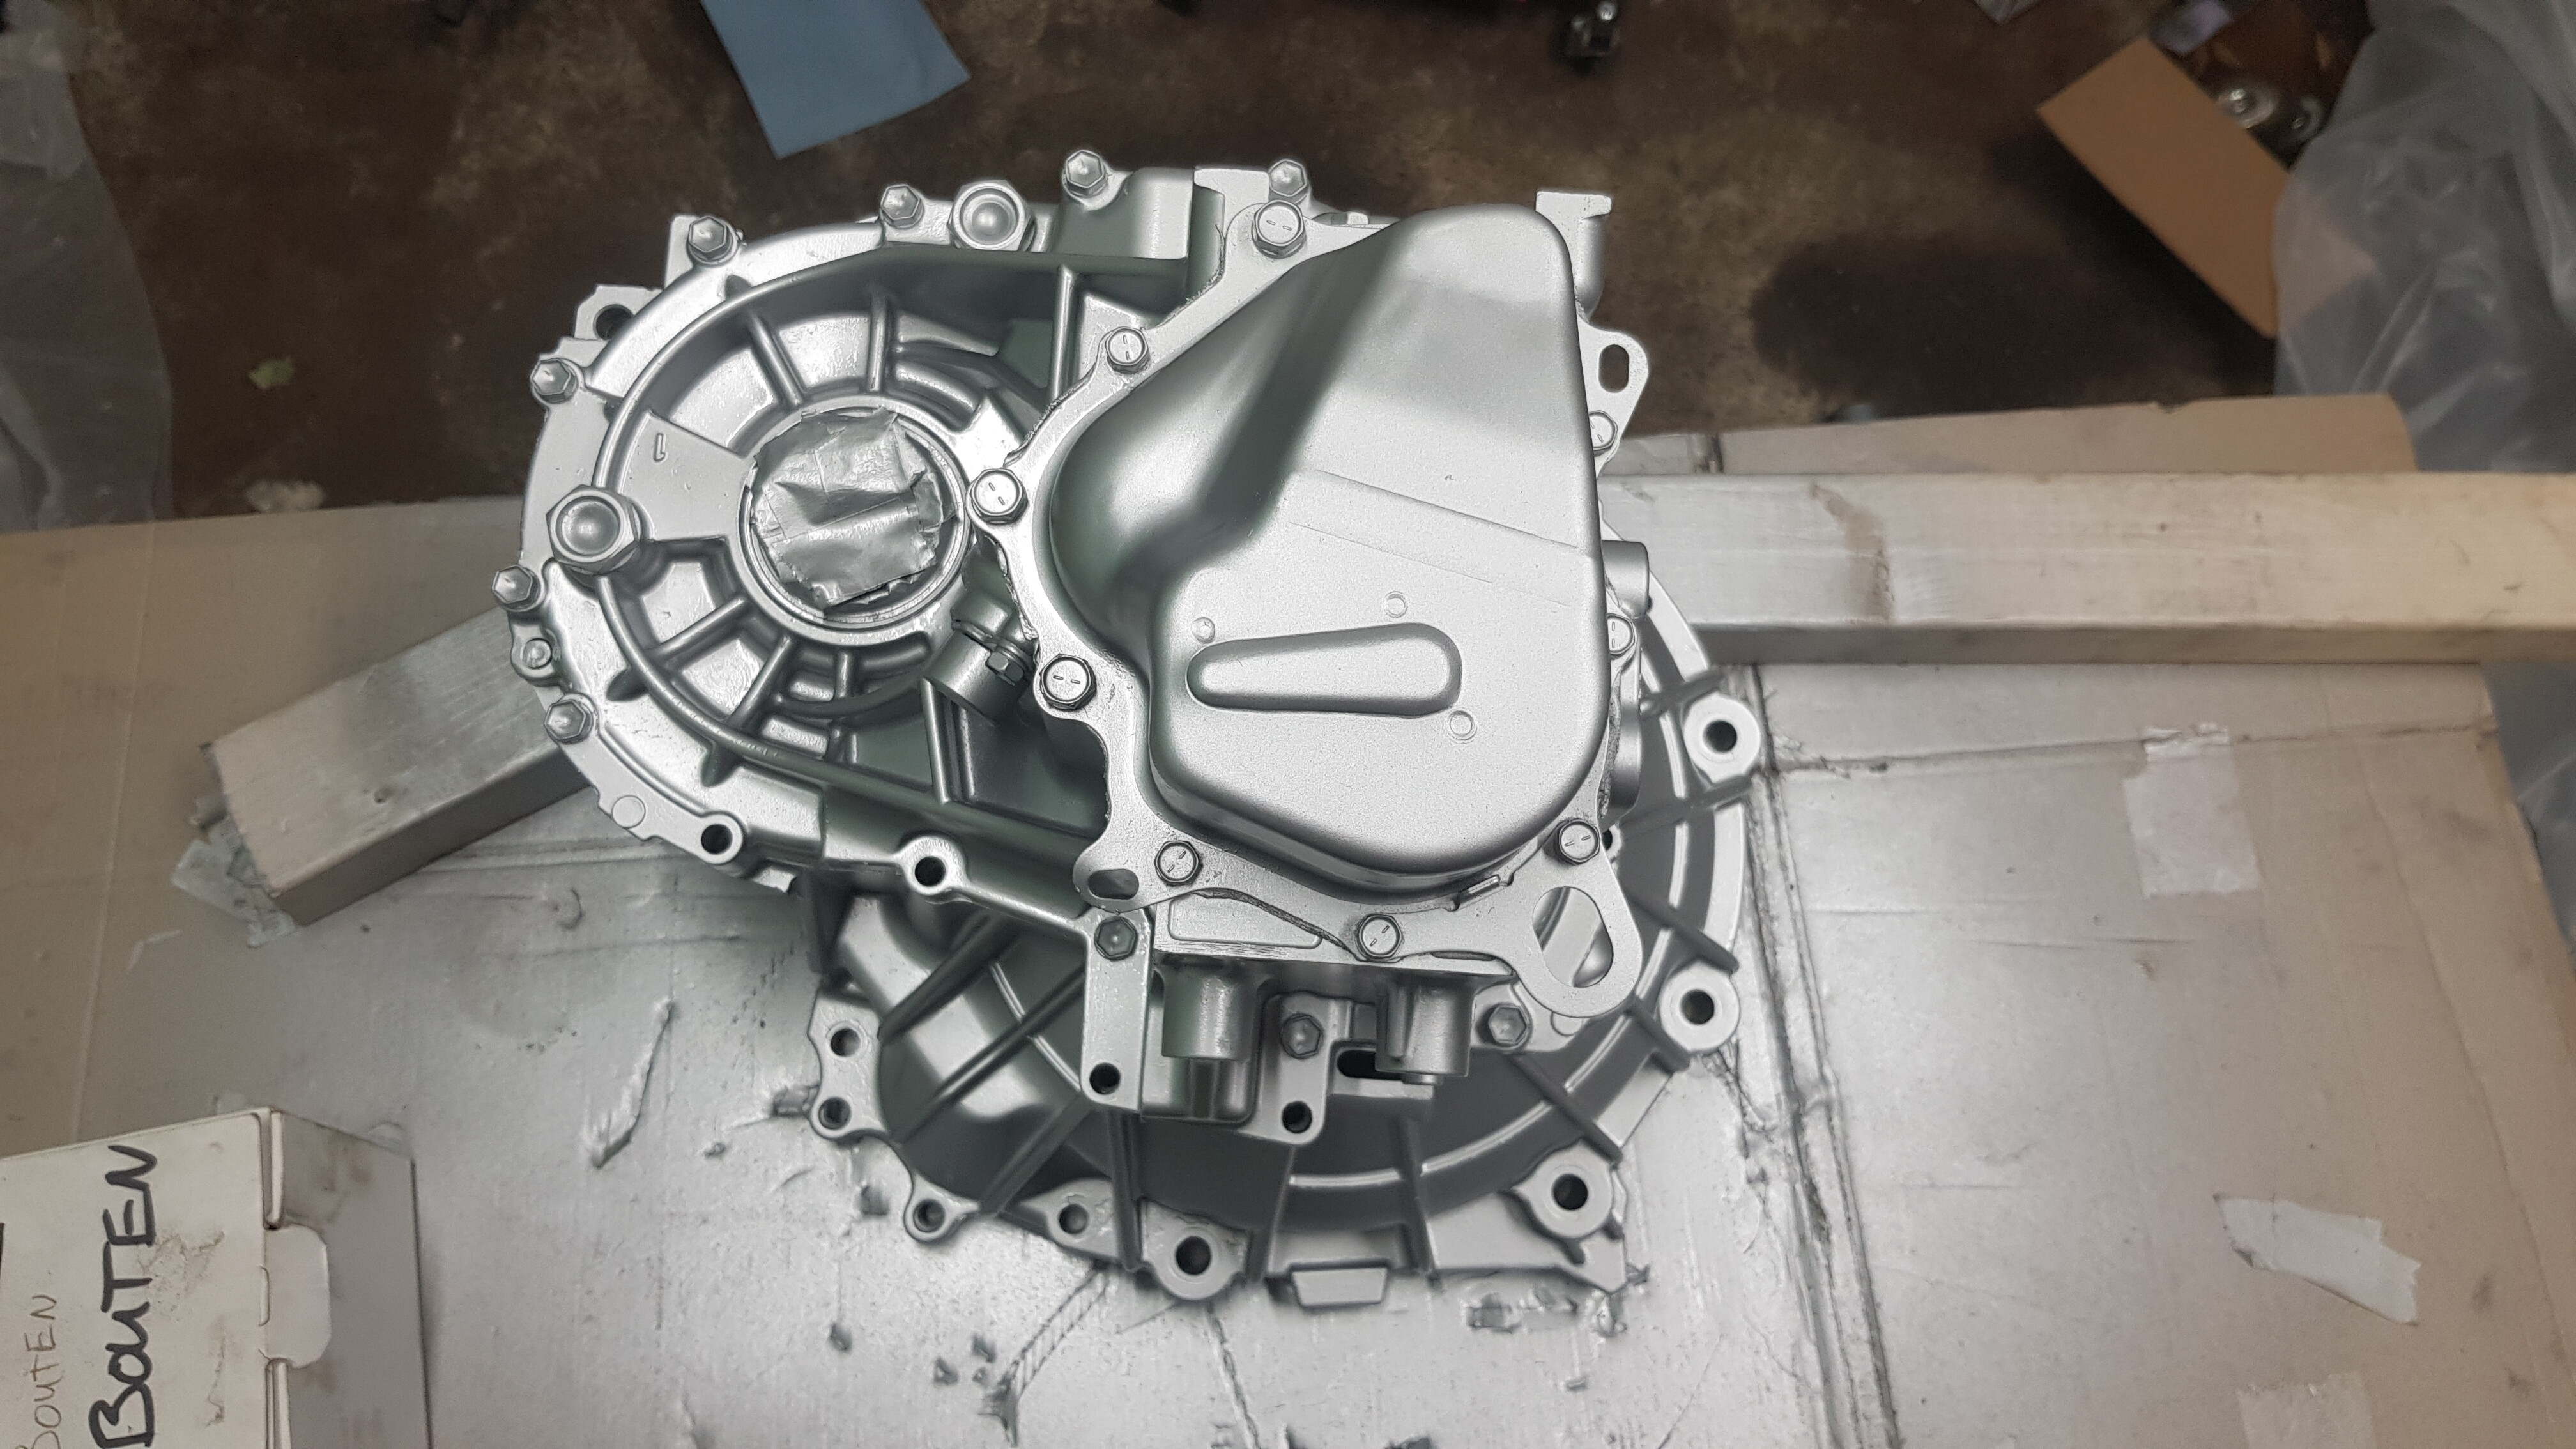
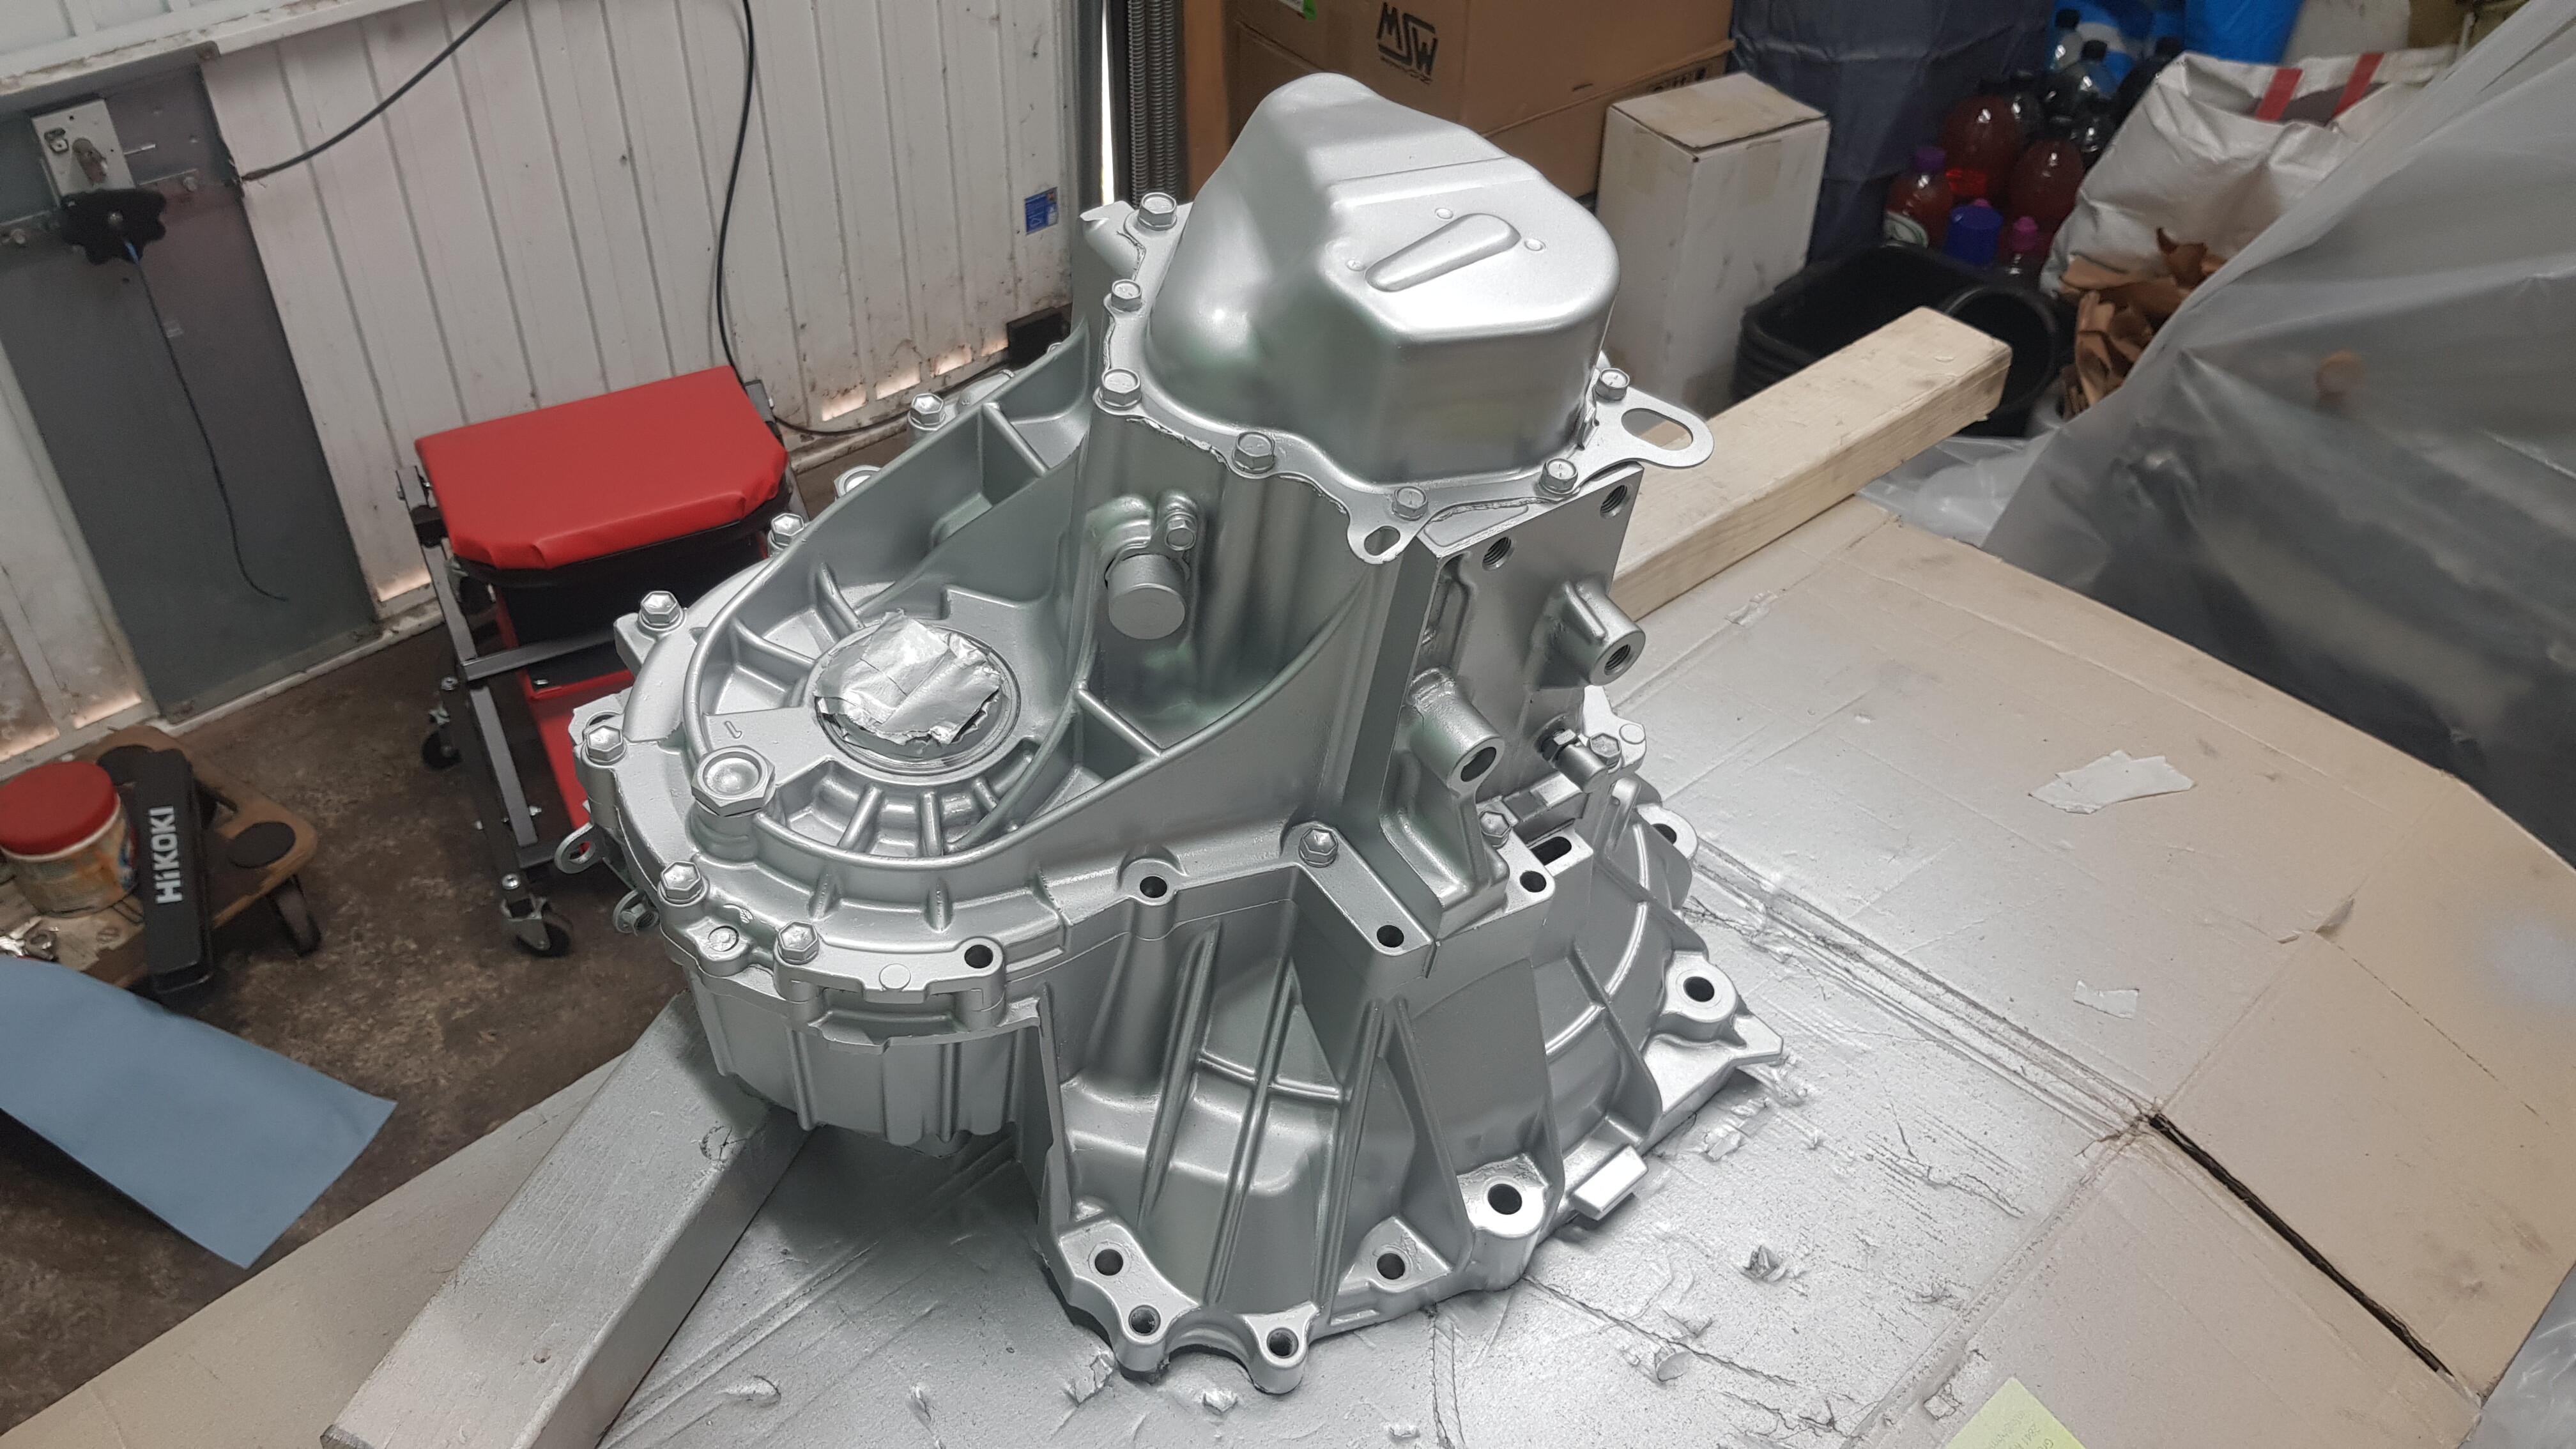
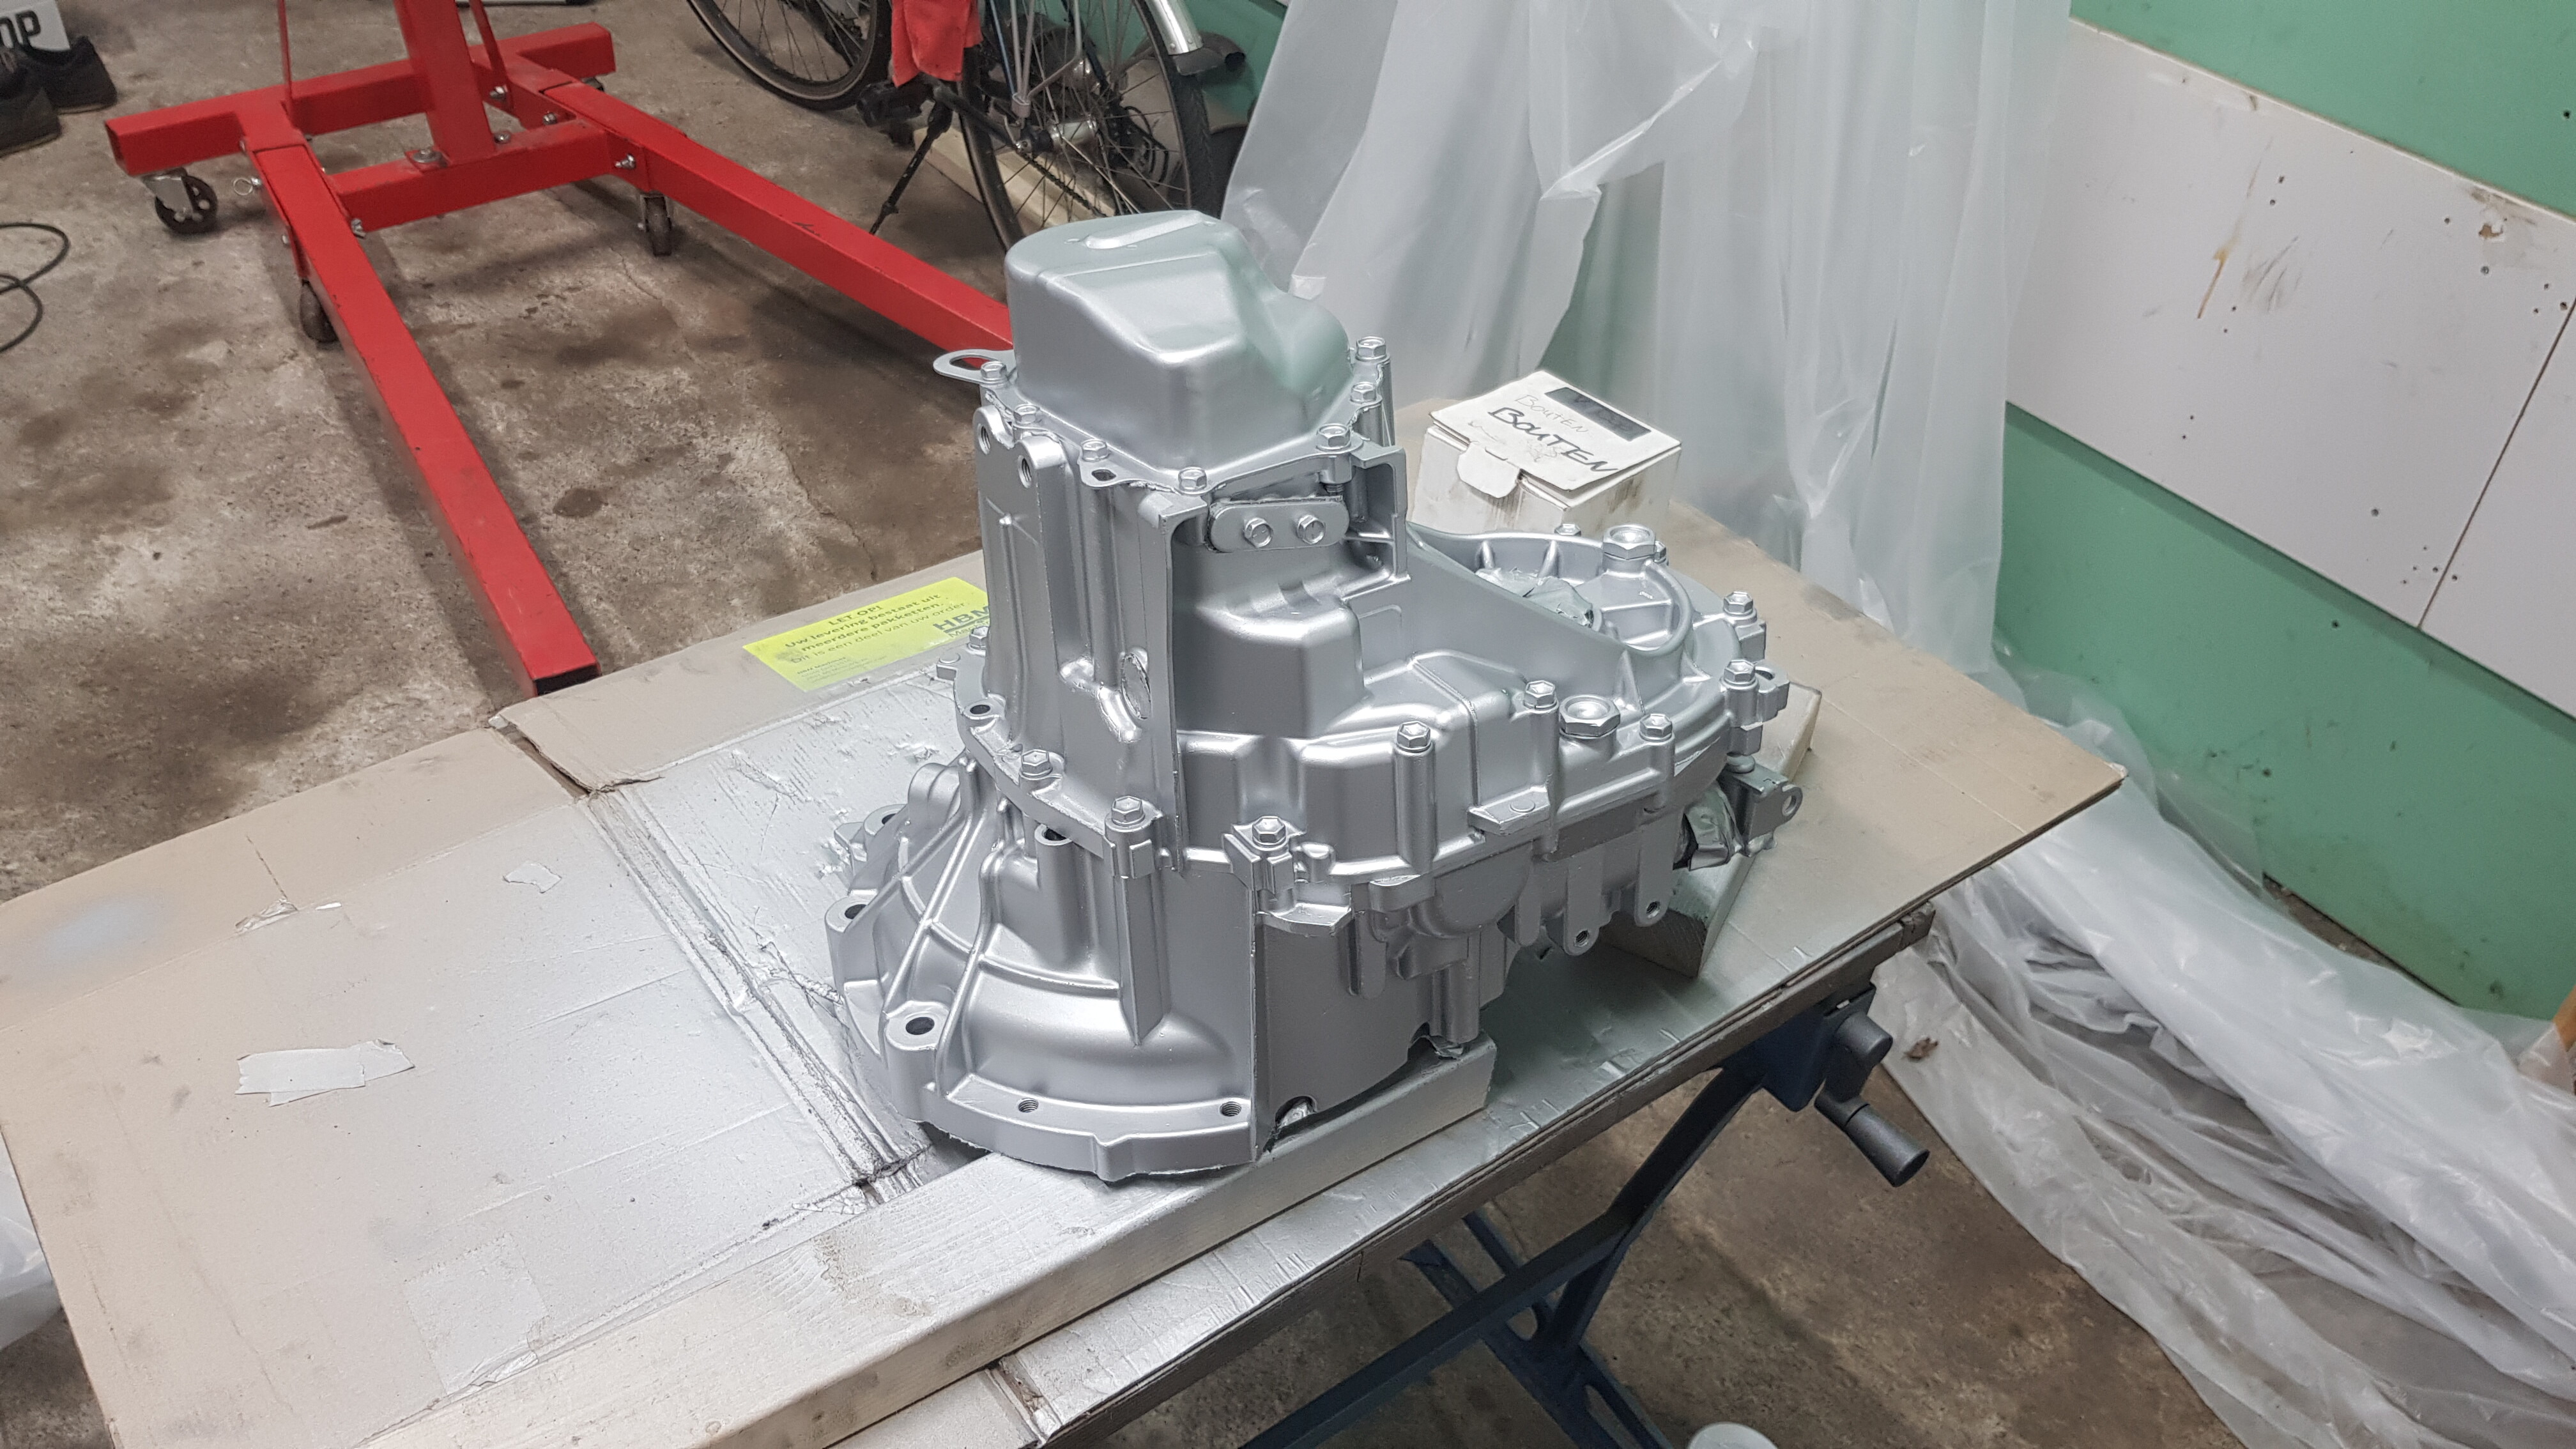
Both the engine and gearbox will be painted with the same heat resistant silver paint. I did a few layers of paint on the gearbox, and I’m pretty happy with the result. It’s definitely not perfect, but I’m aiming for decent and doable.
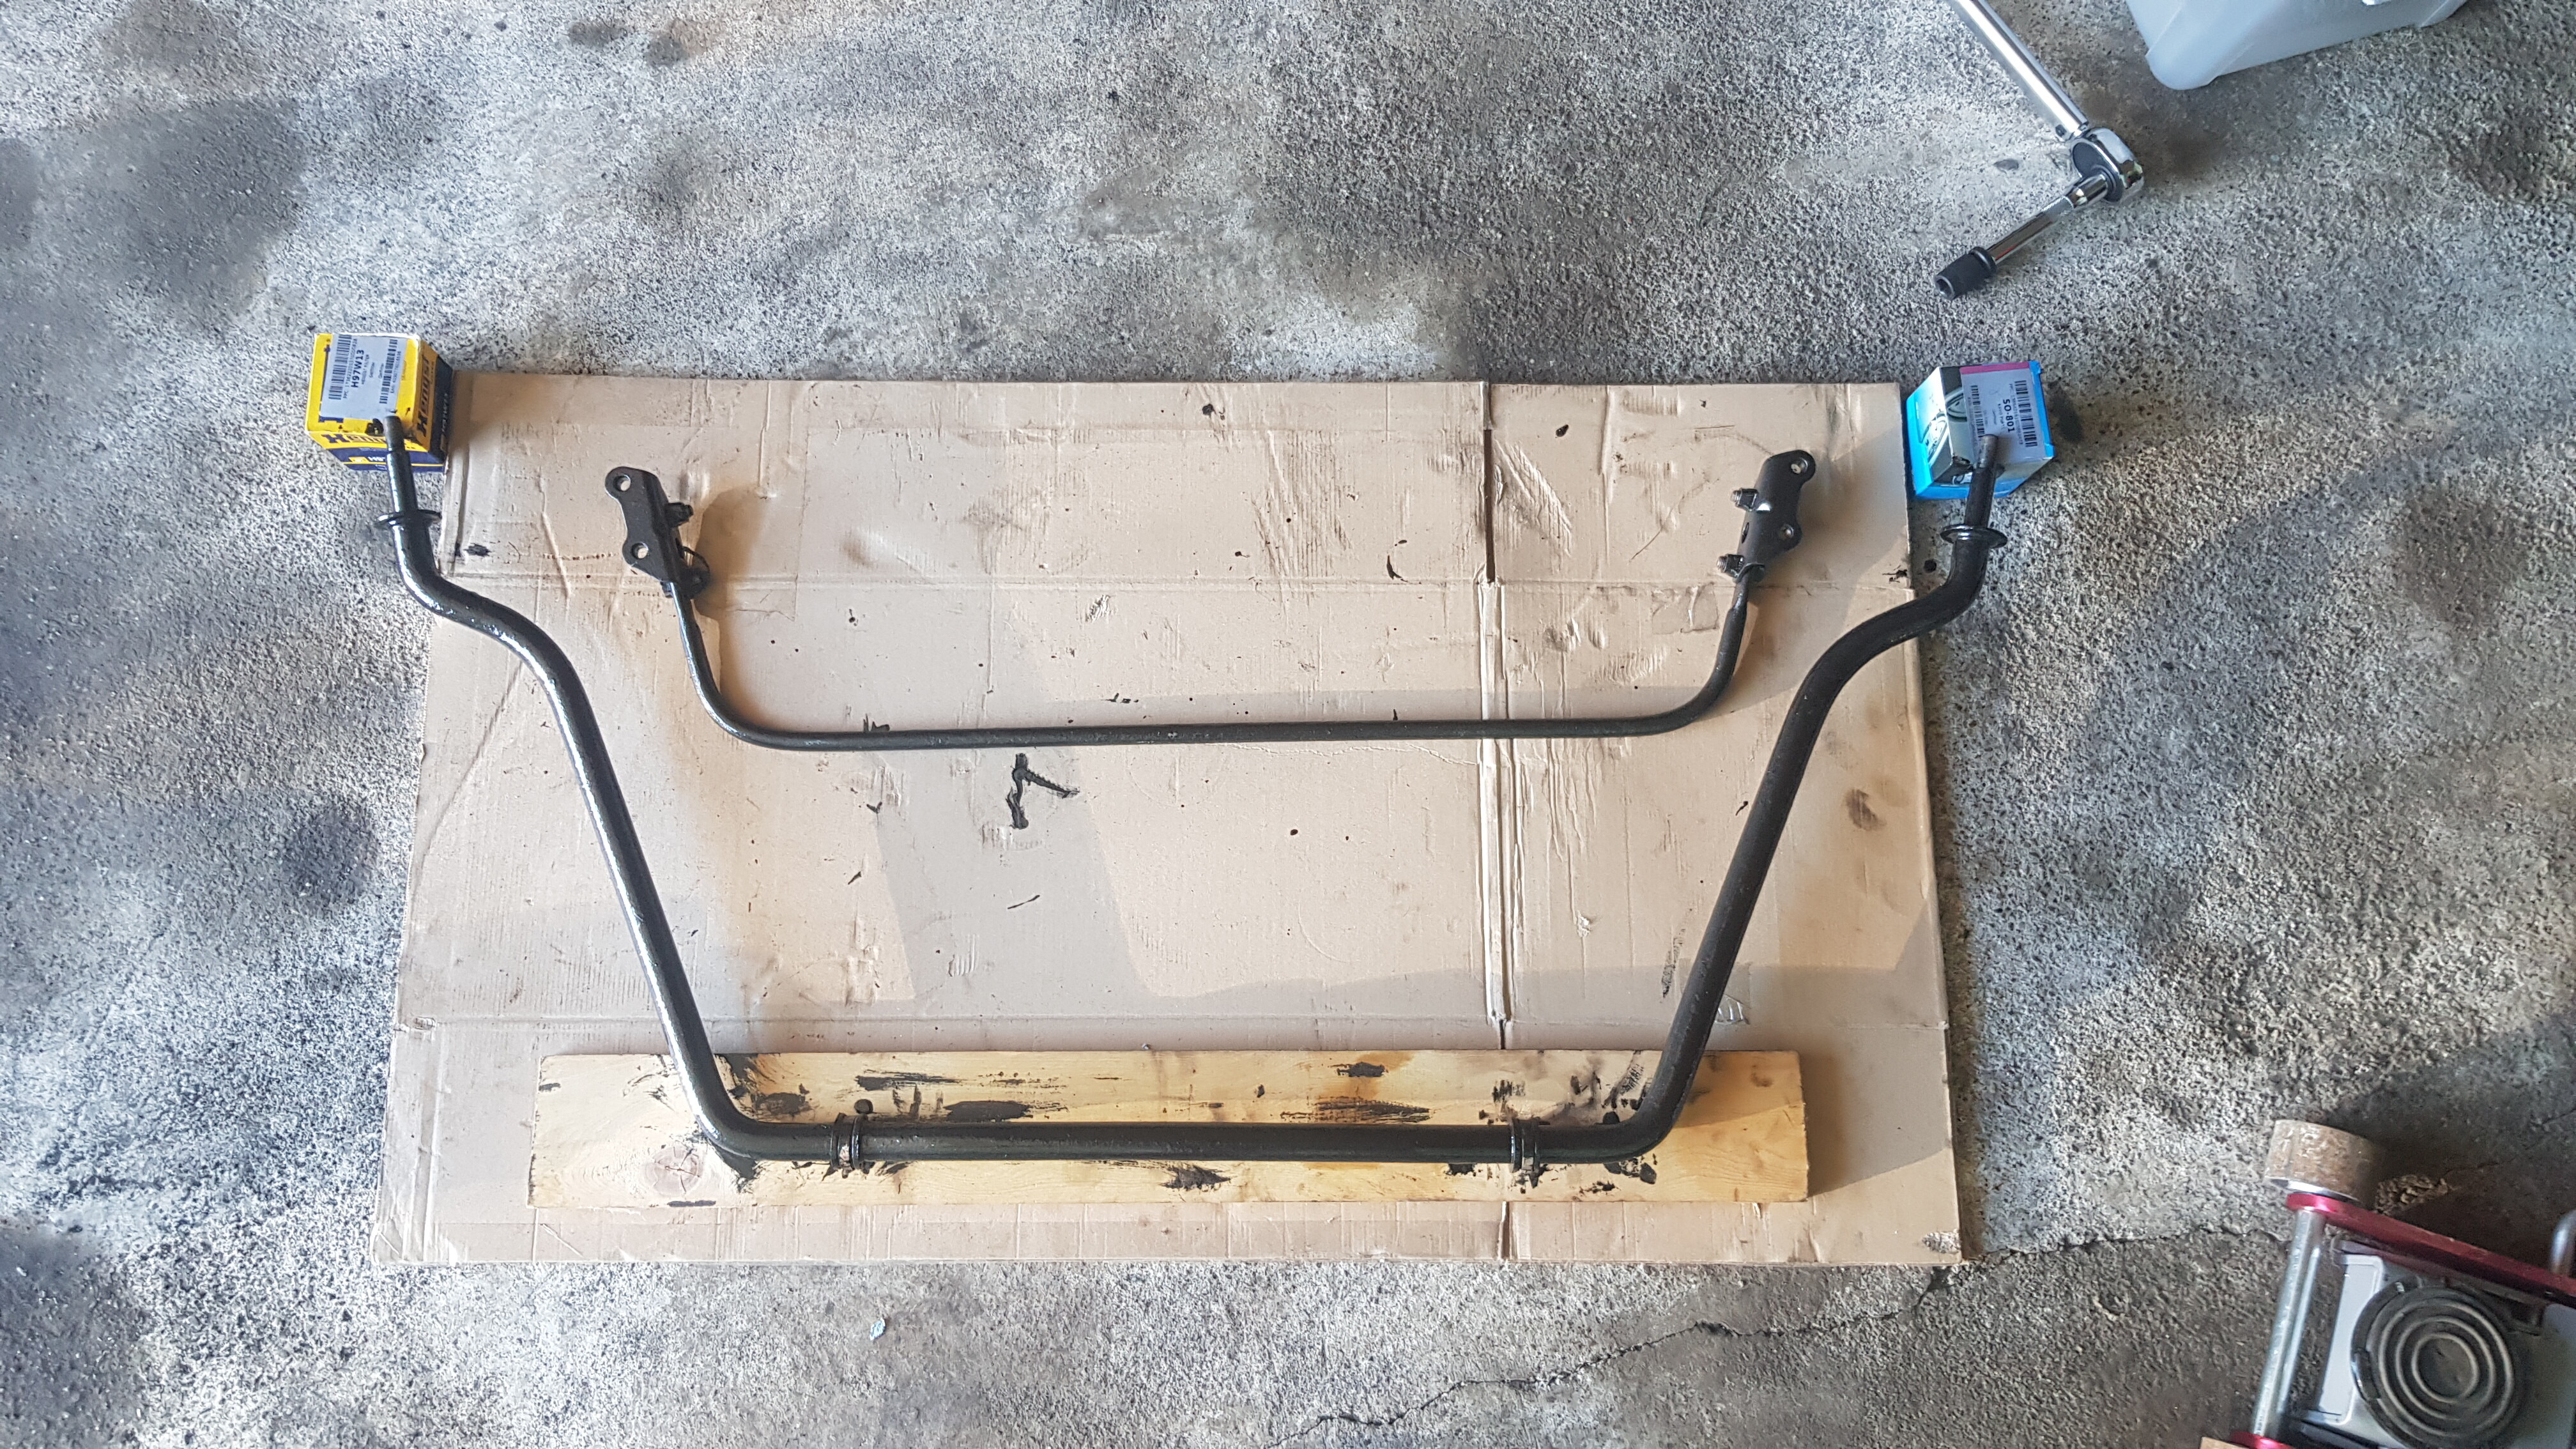
After painting the gearbox, I wasn’t sure if I would be able to paint the engine with what was left of the silver paint, so i decided to order some more, and paint the brackets (and more) with black heat resistant paint in the meantime.
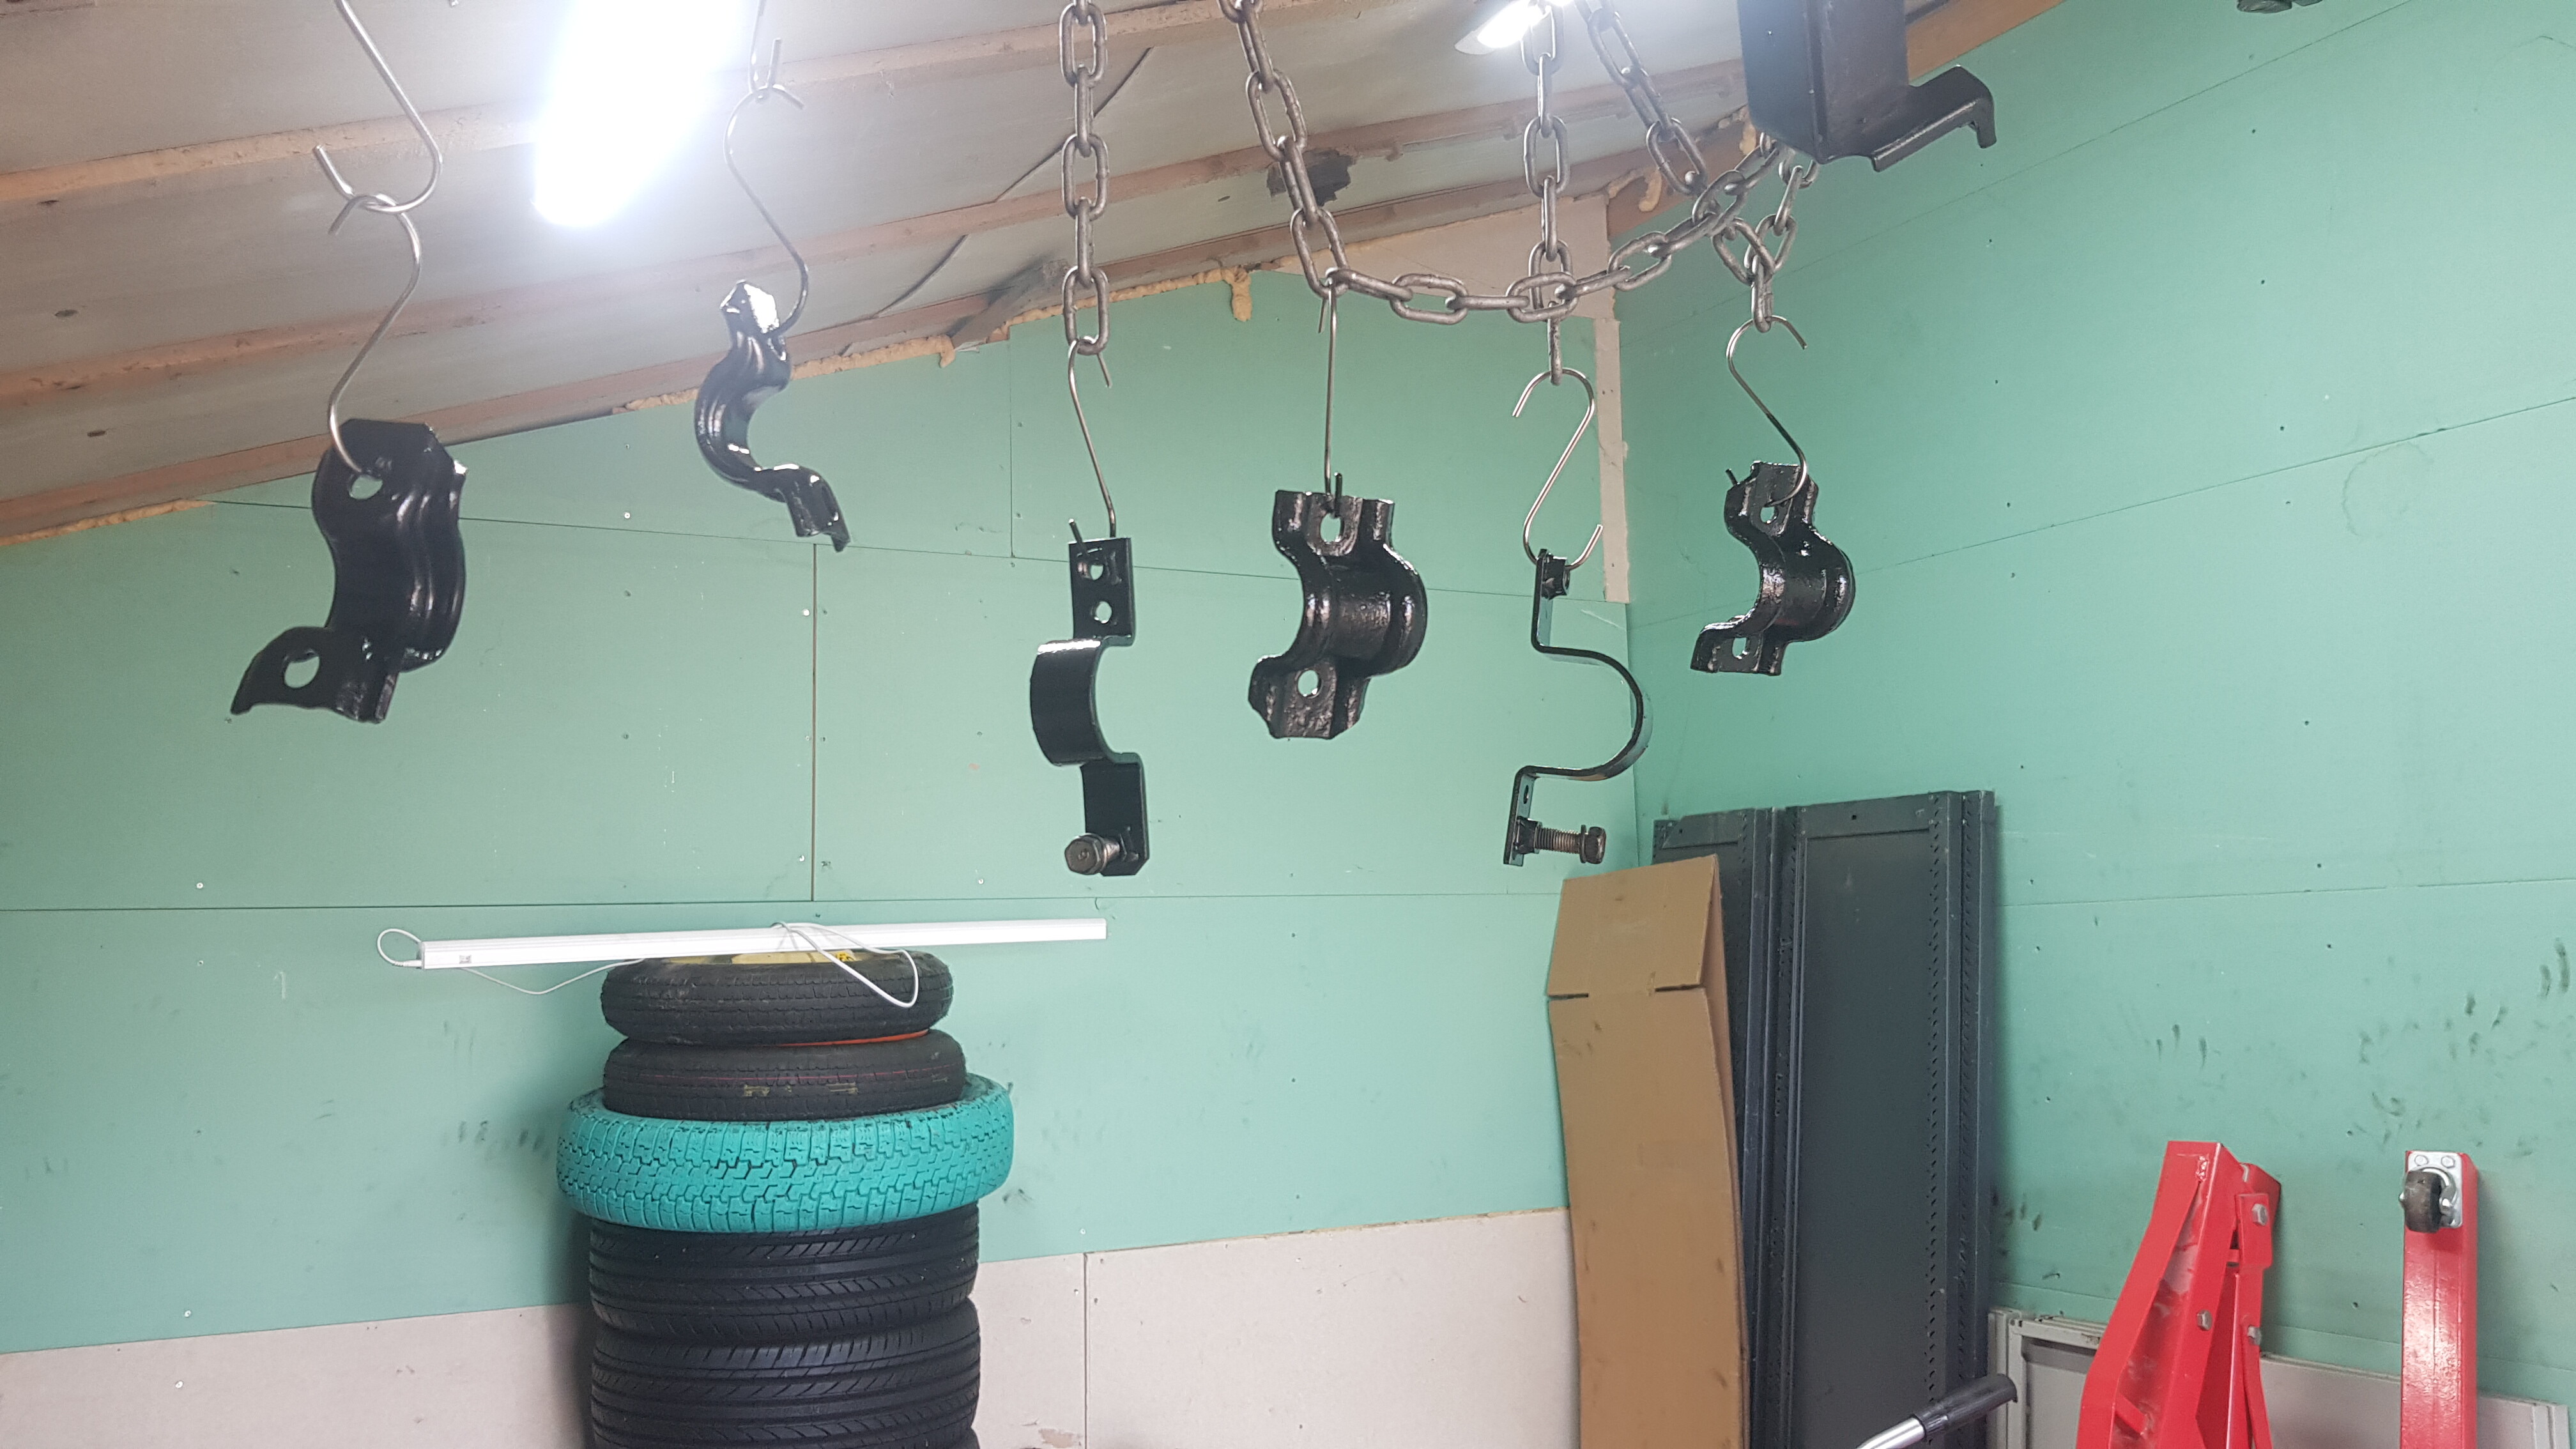
BRACK BLACKETS
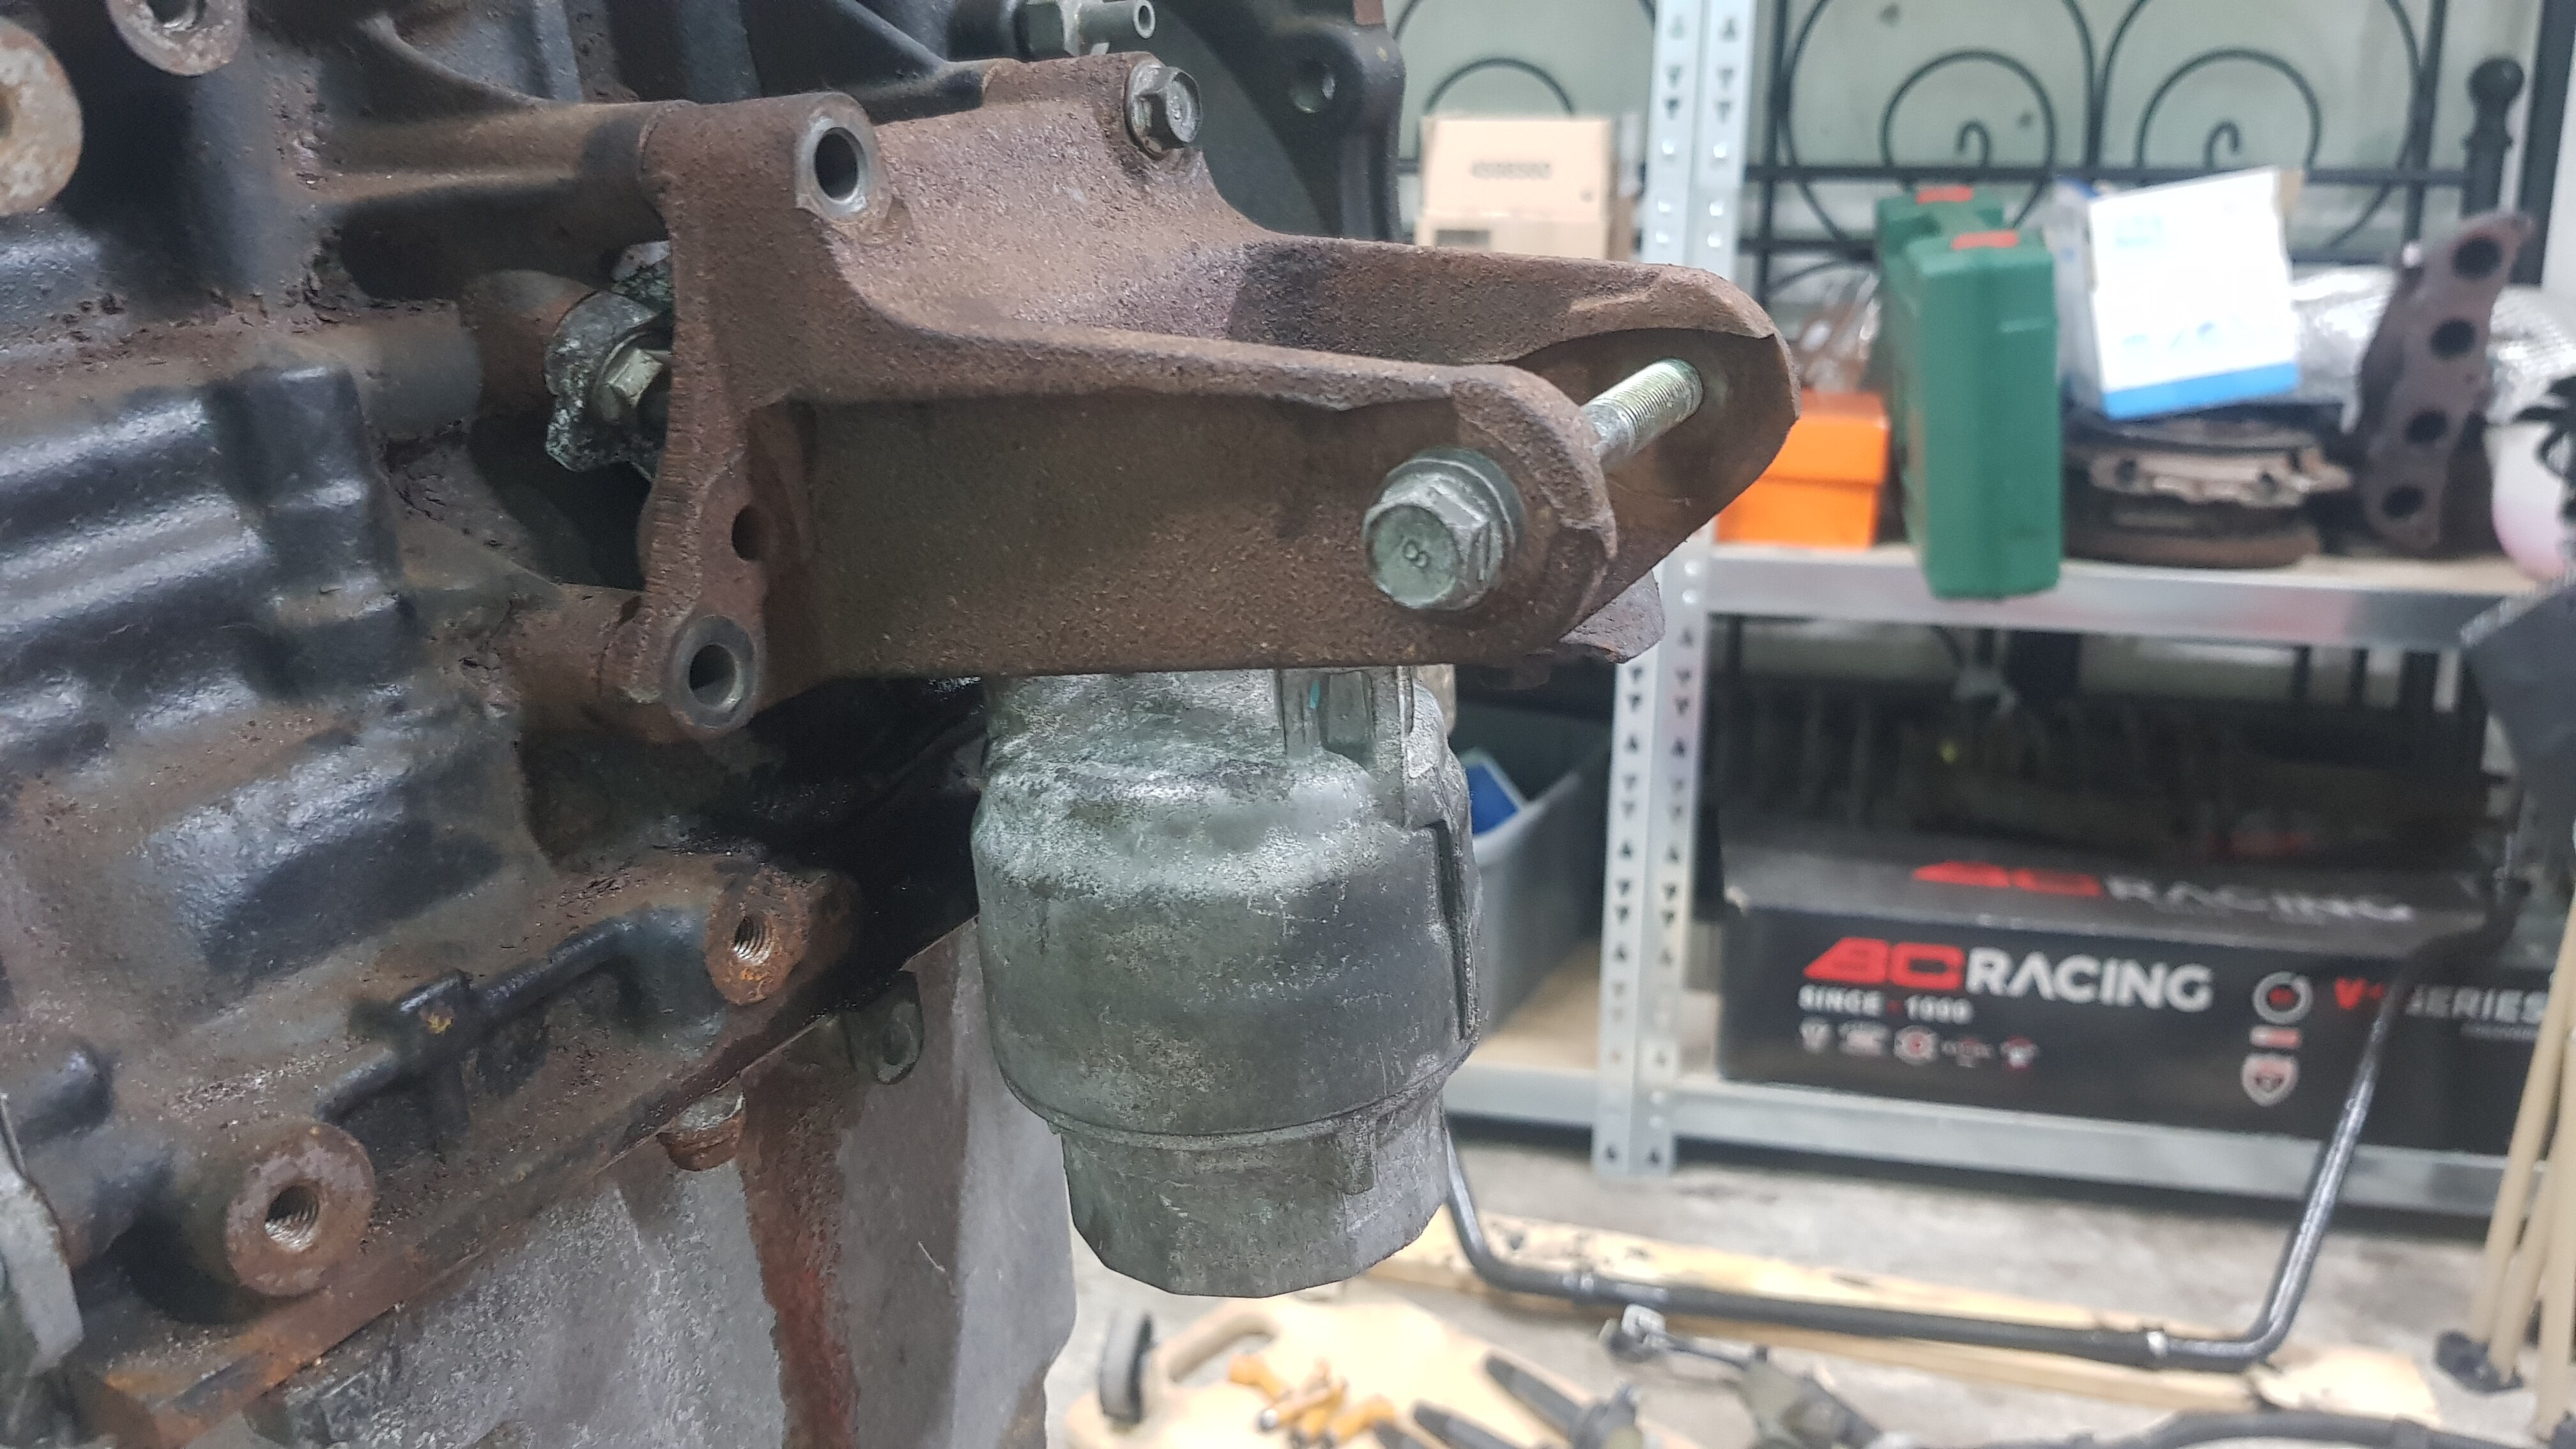
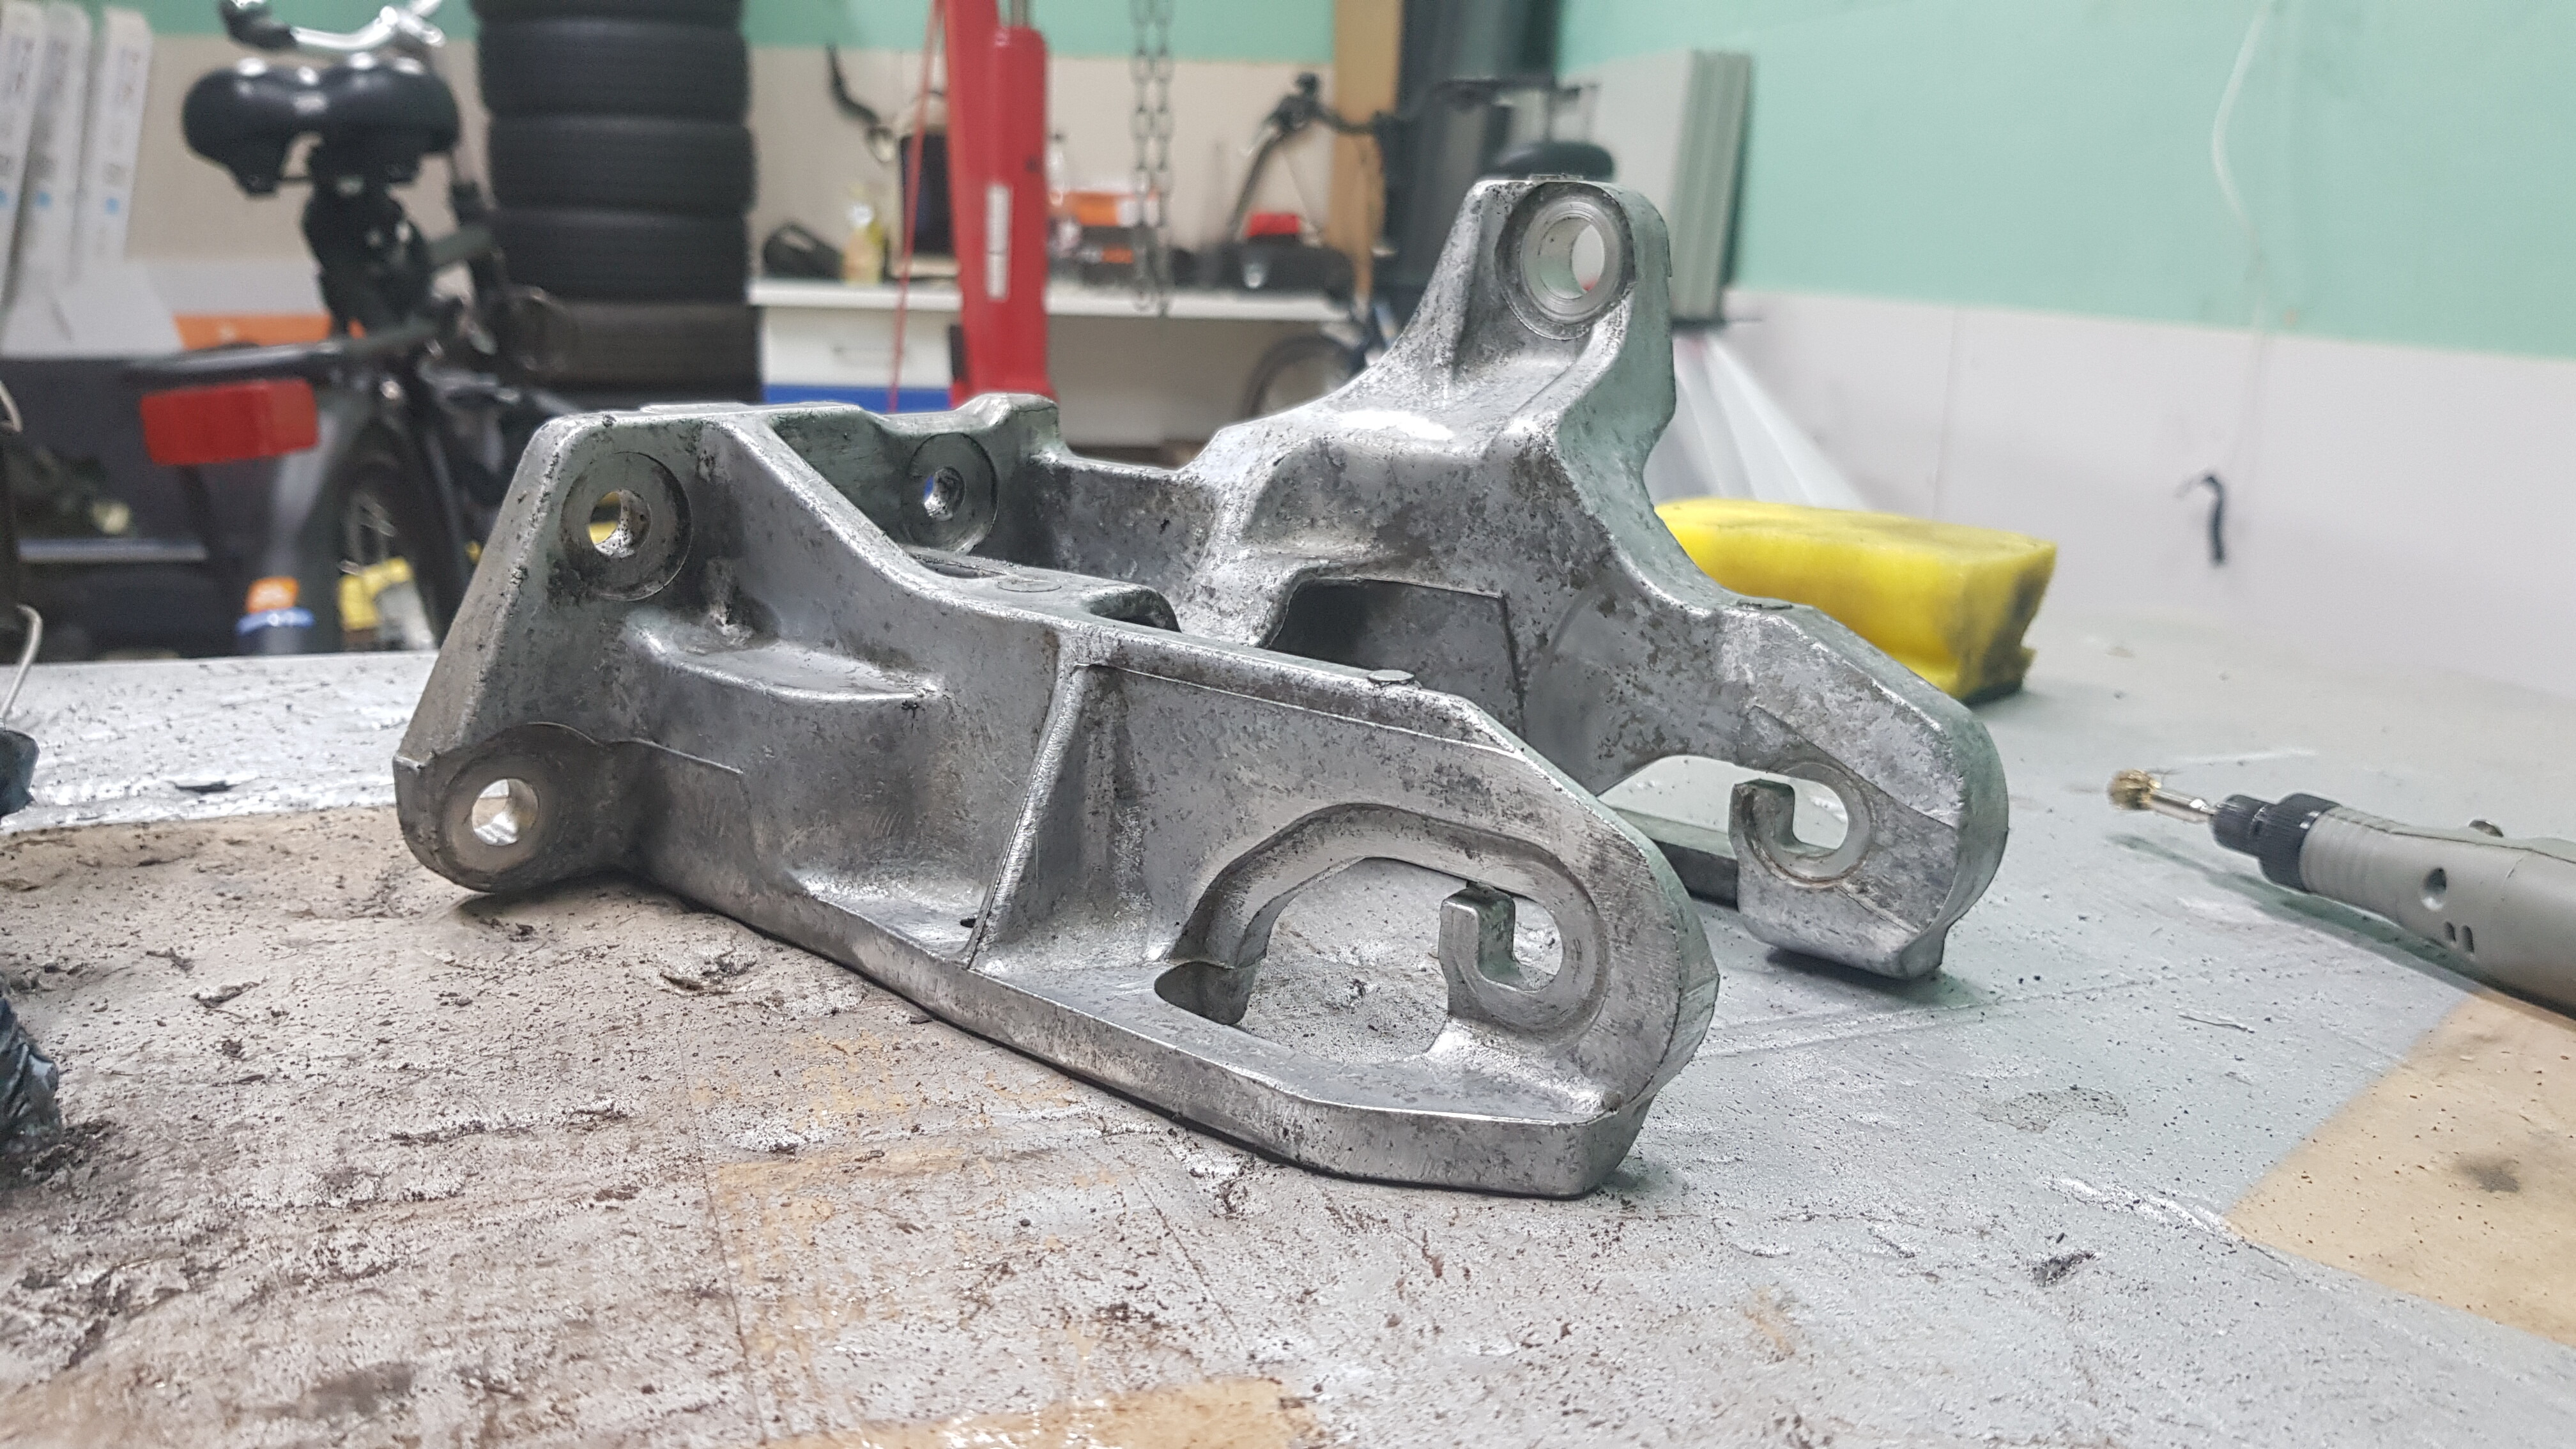
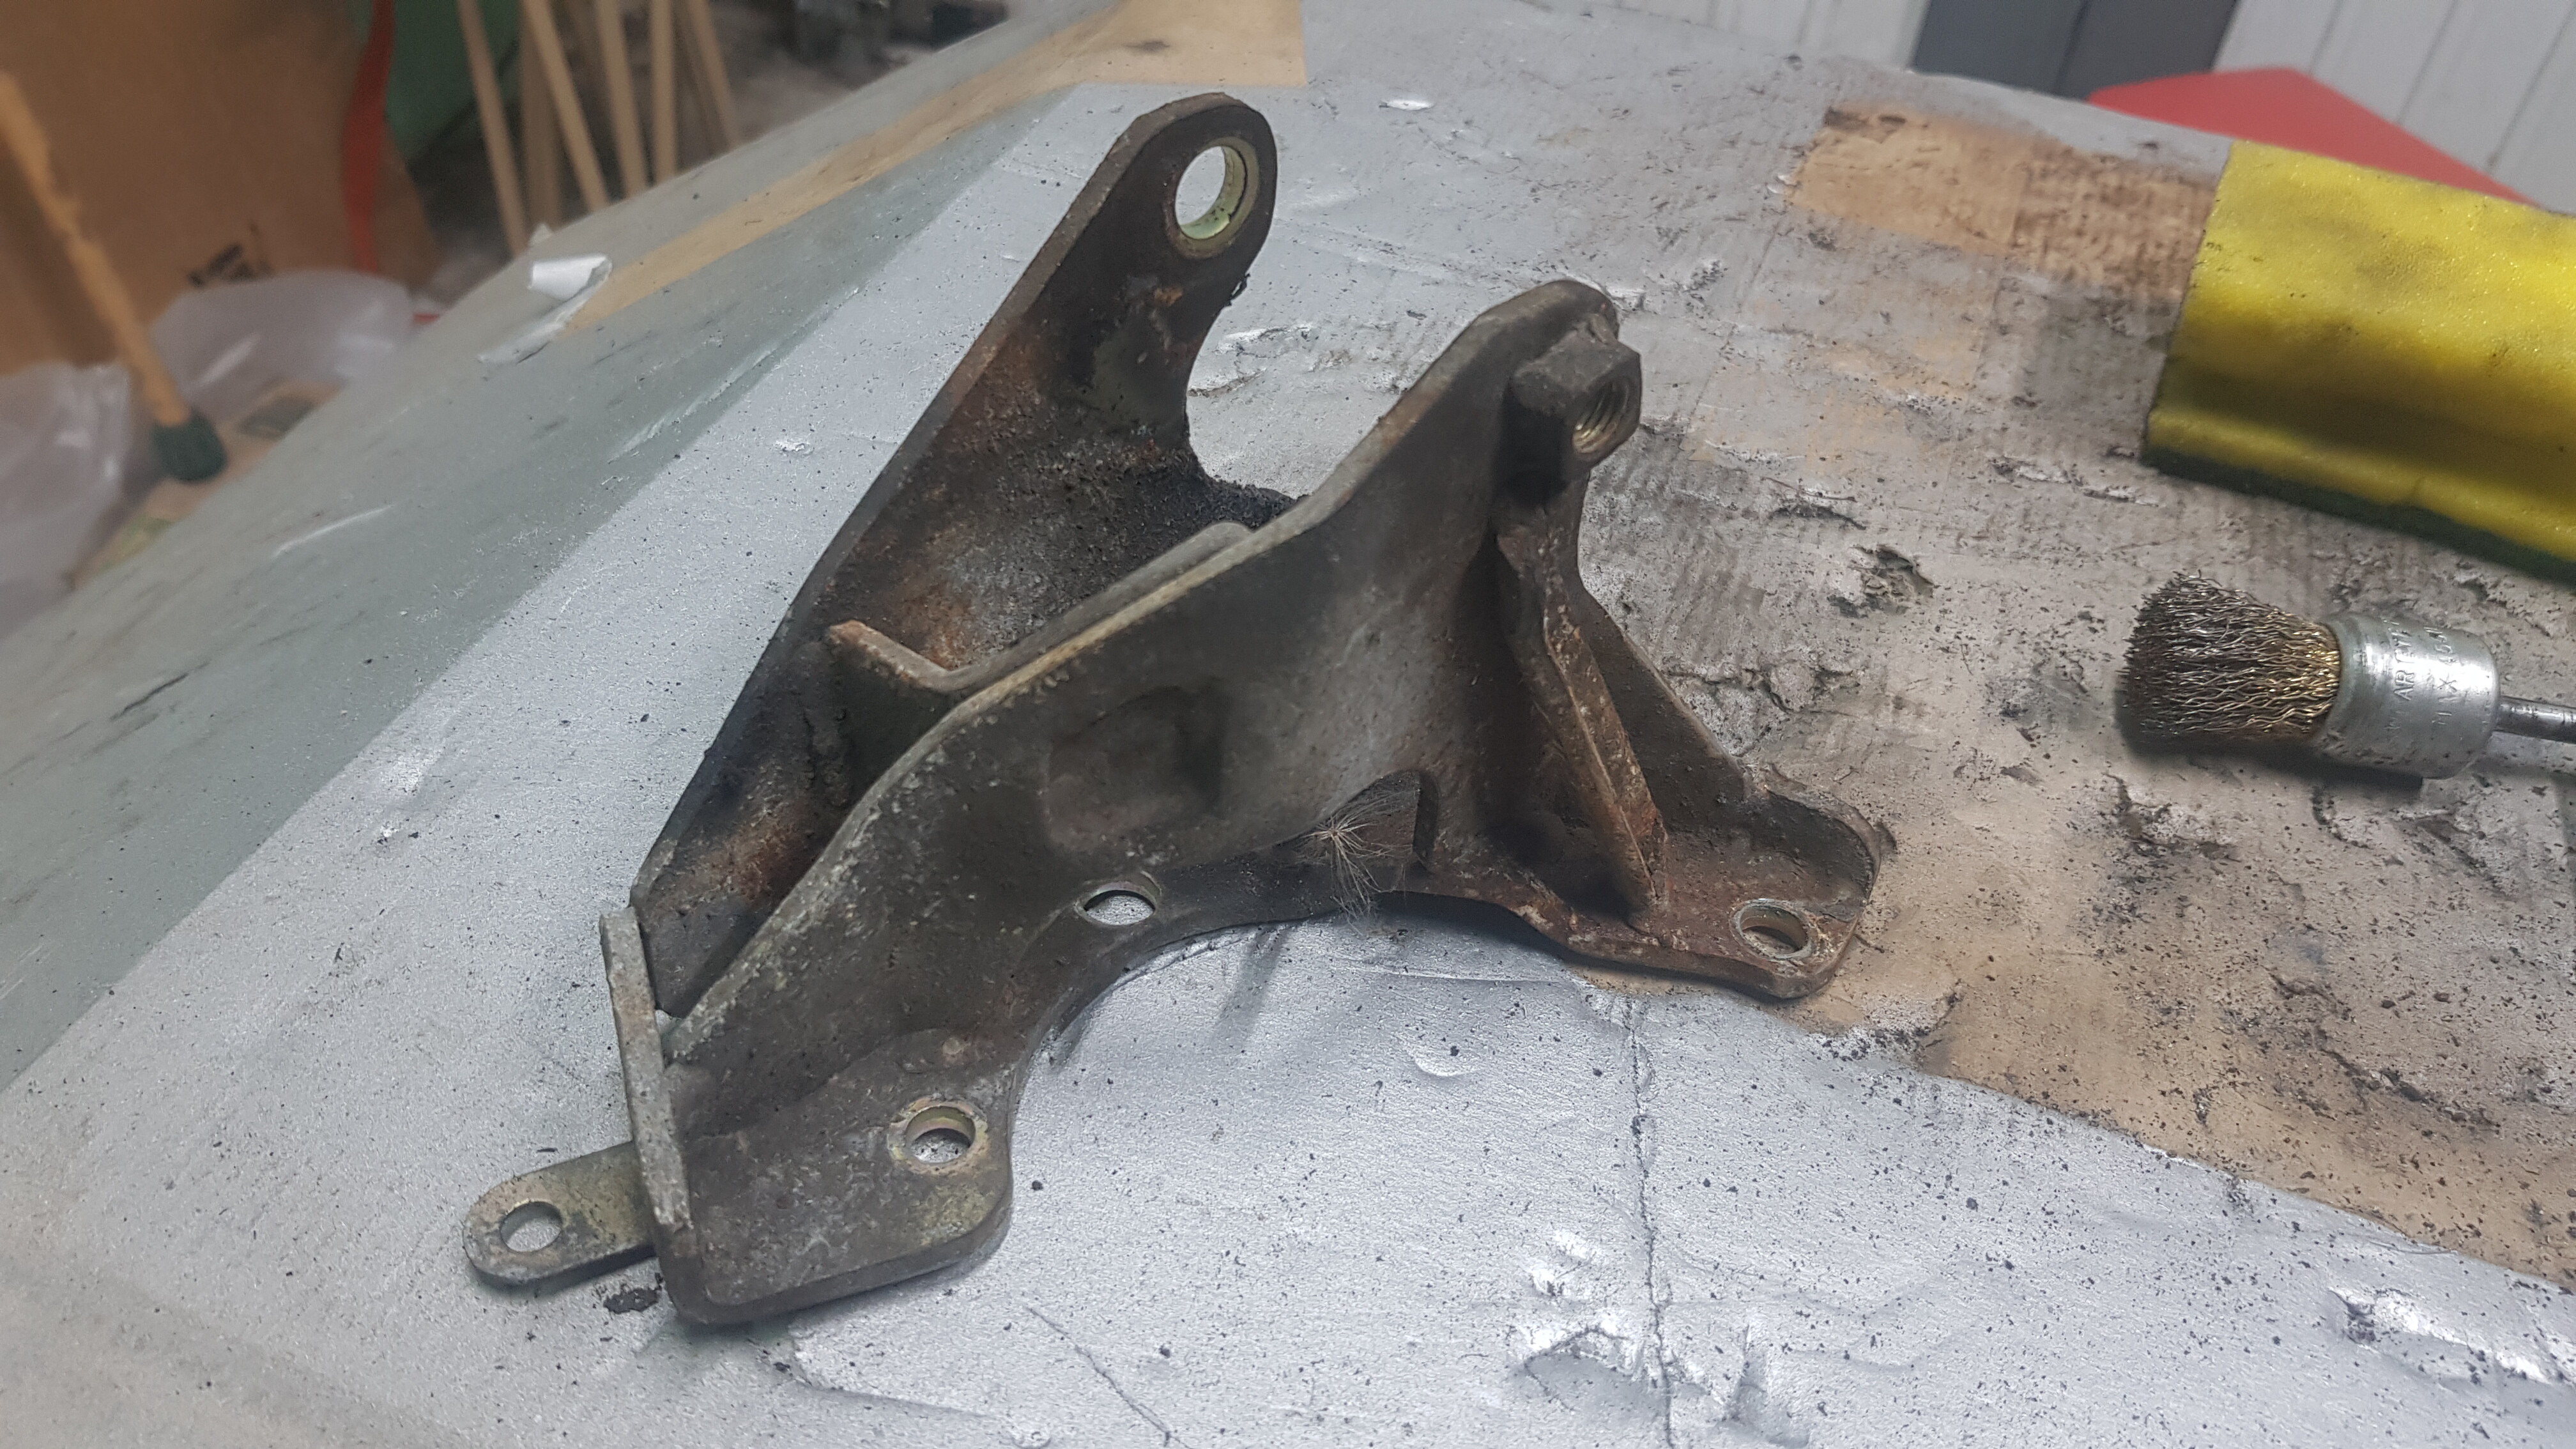
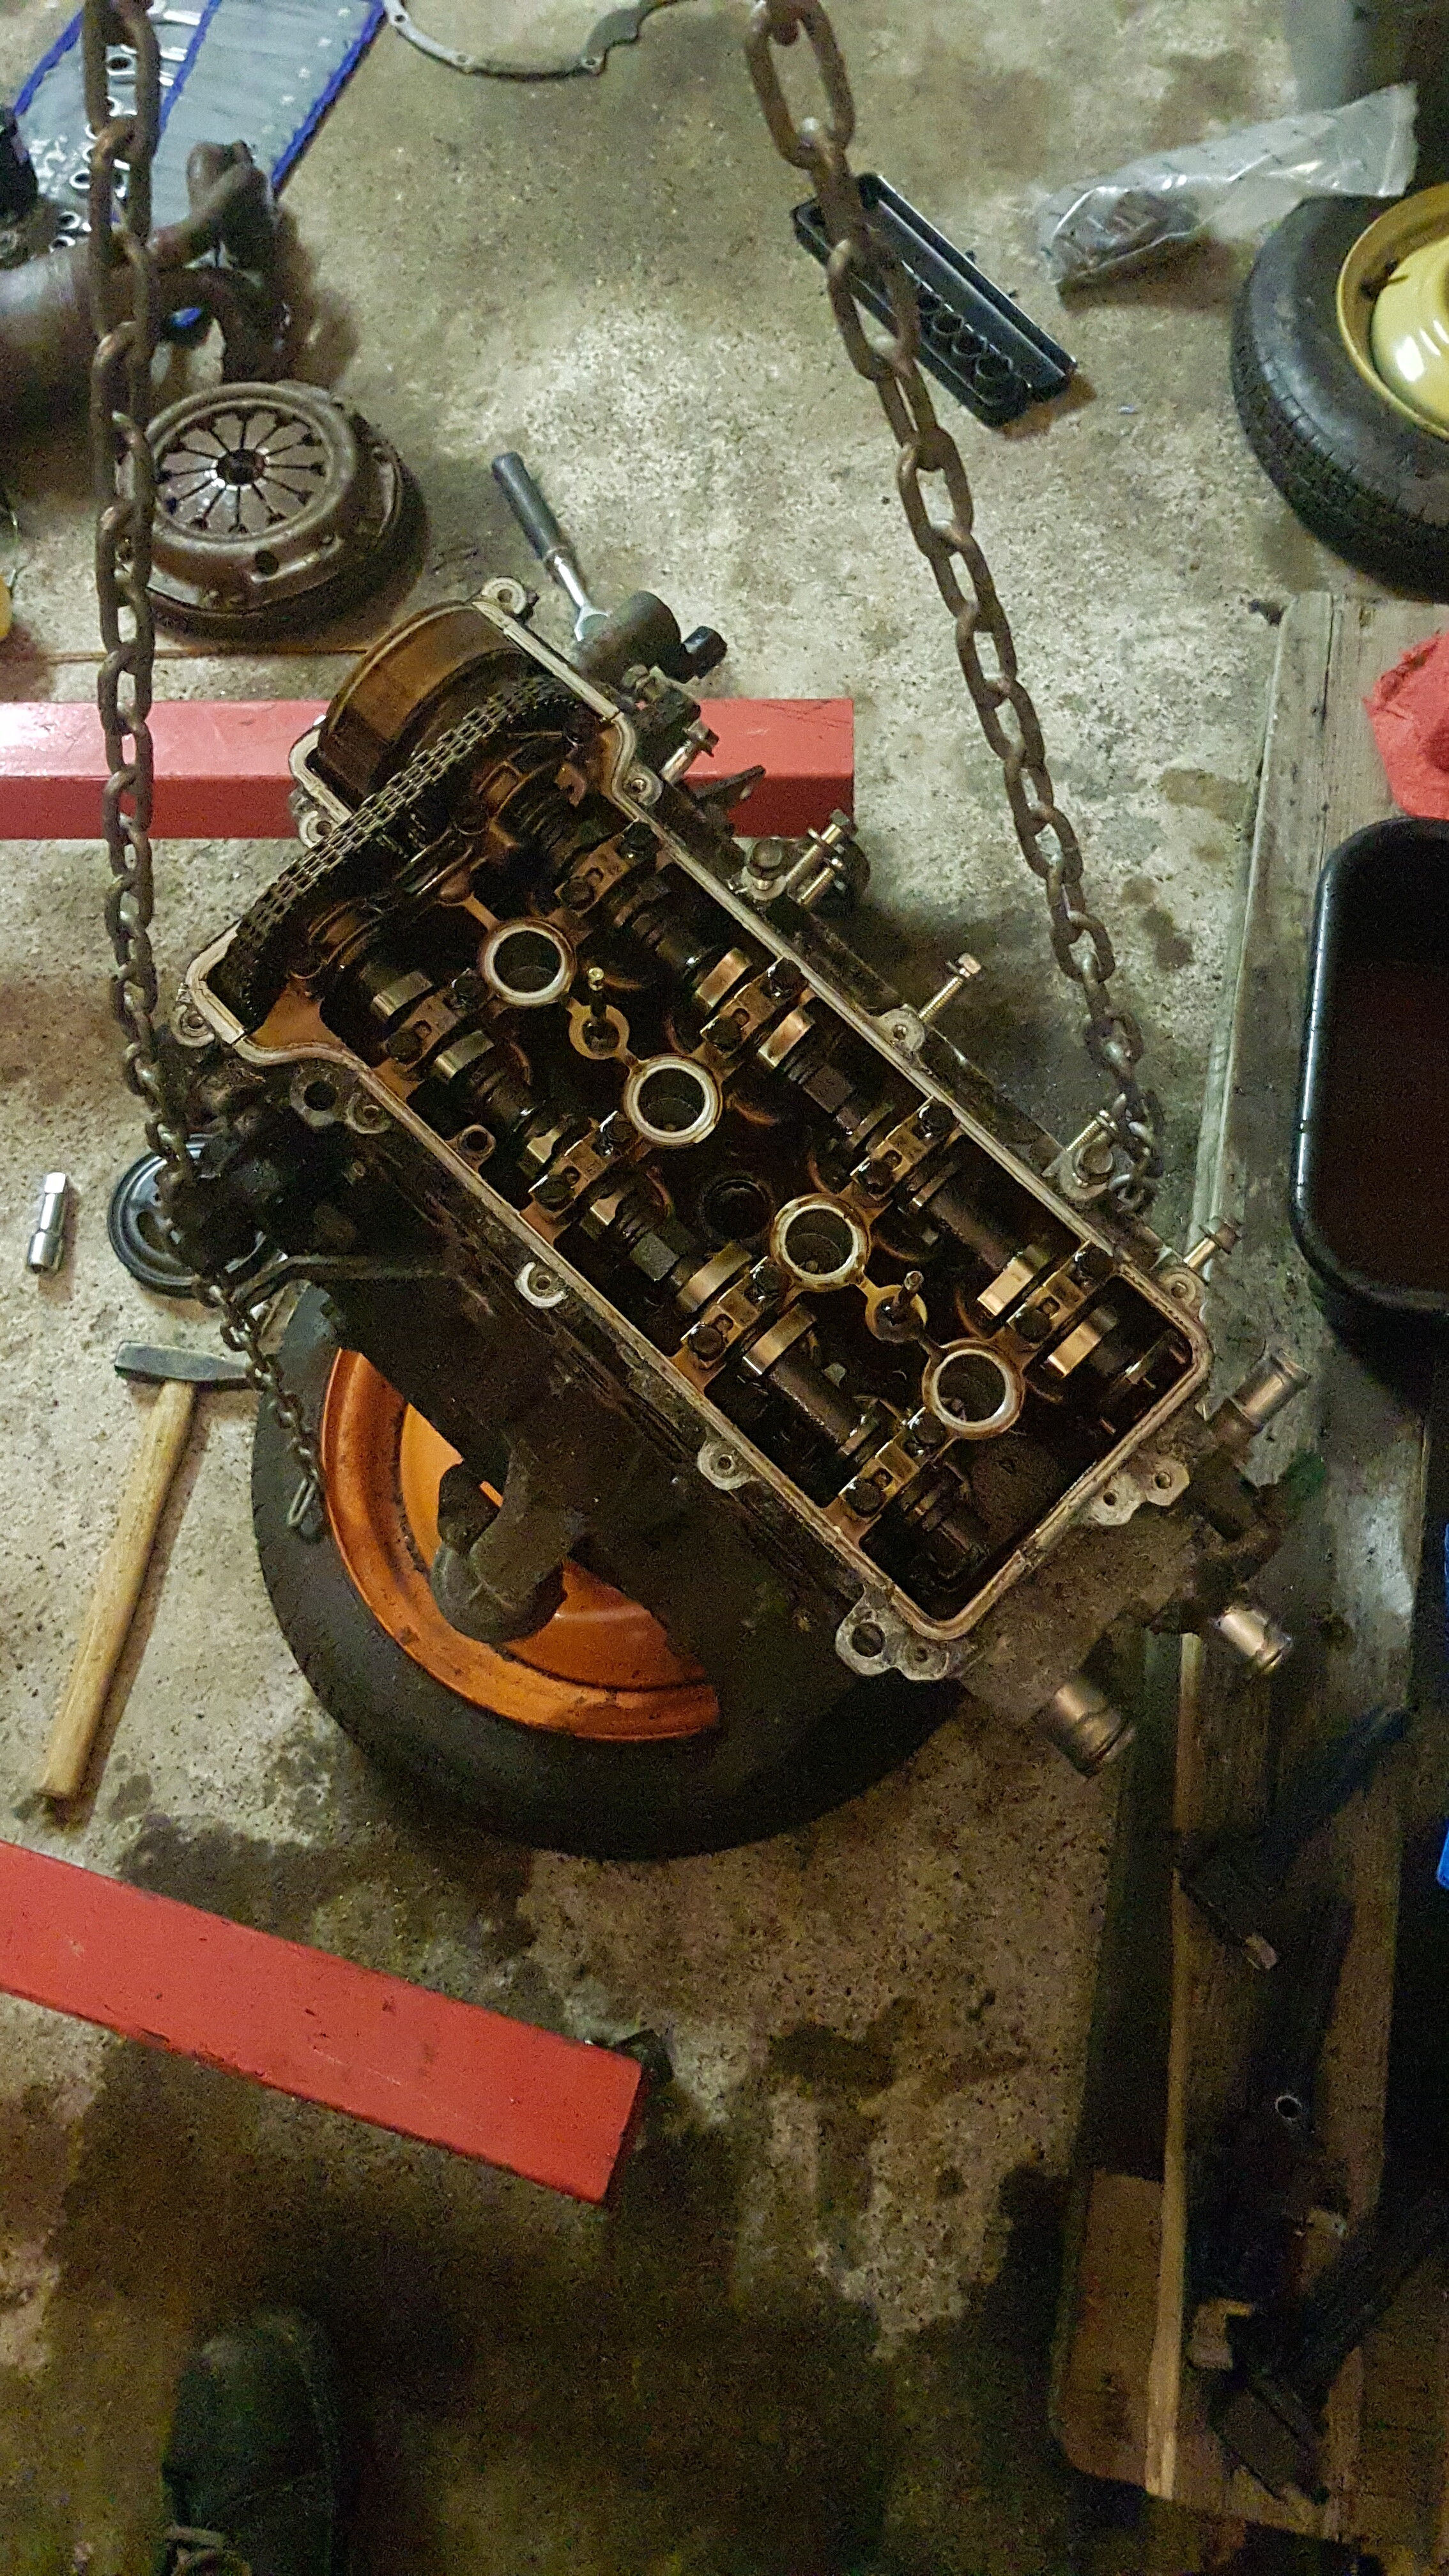
Black brackets. One of the ‘and more’ bits, was the oilfilterhousing. But since the housing from the 3SZ is different to the one from the YRV’s K3 (from which I will be using the brackets for the engine mounts), I wanted to do a testfit. Guess what?
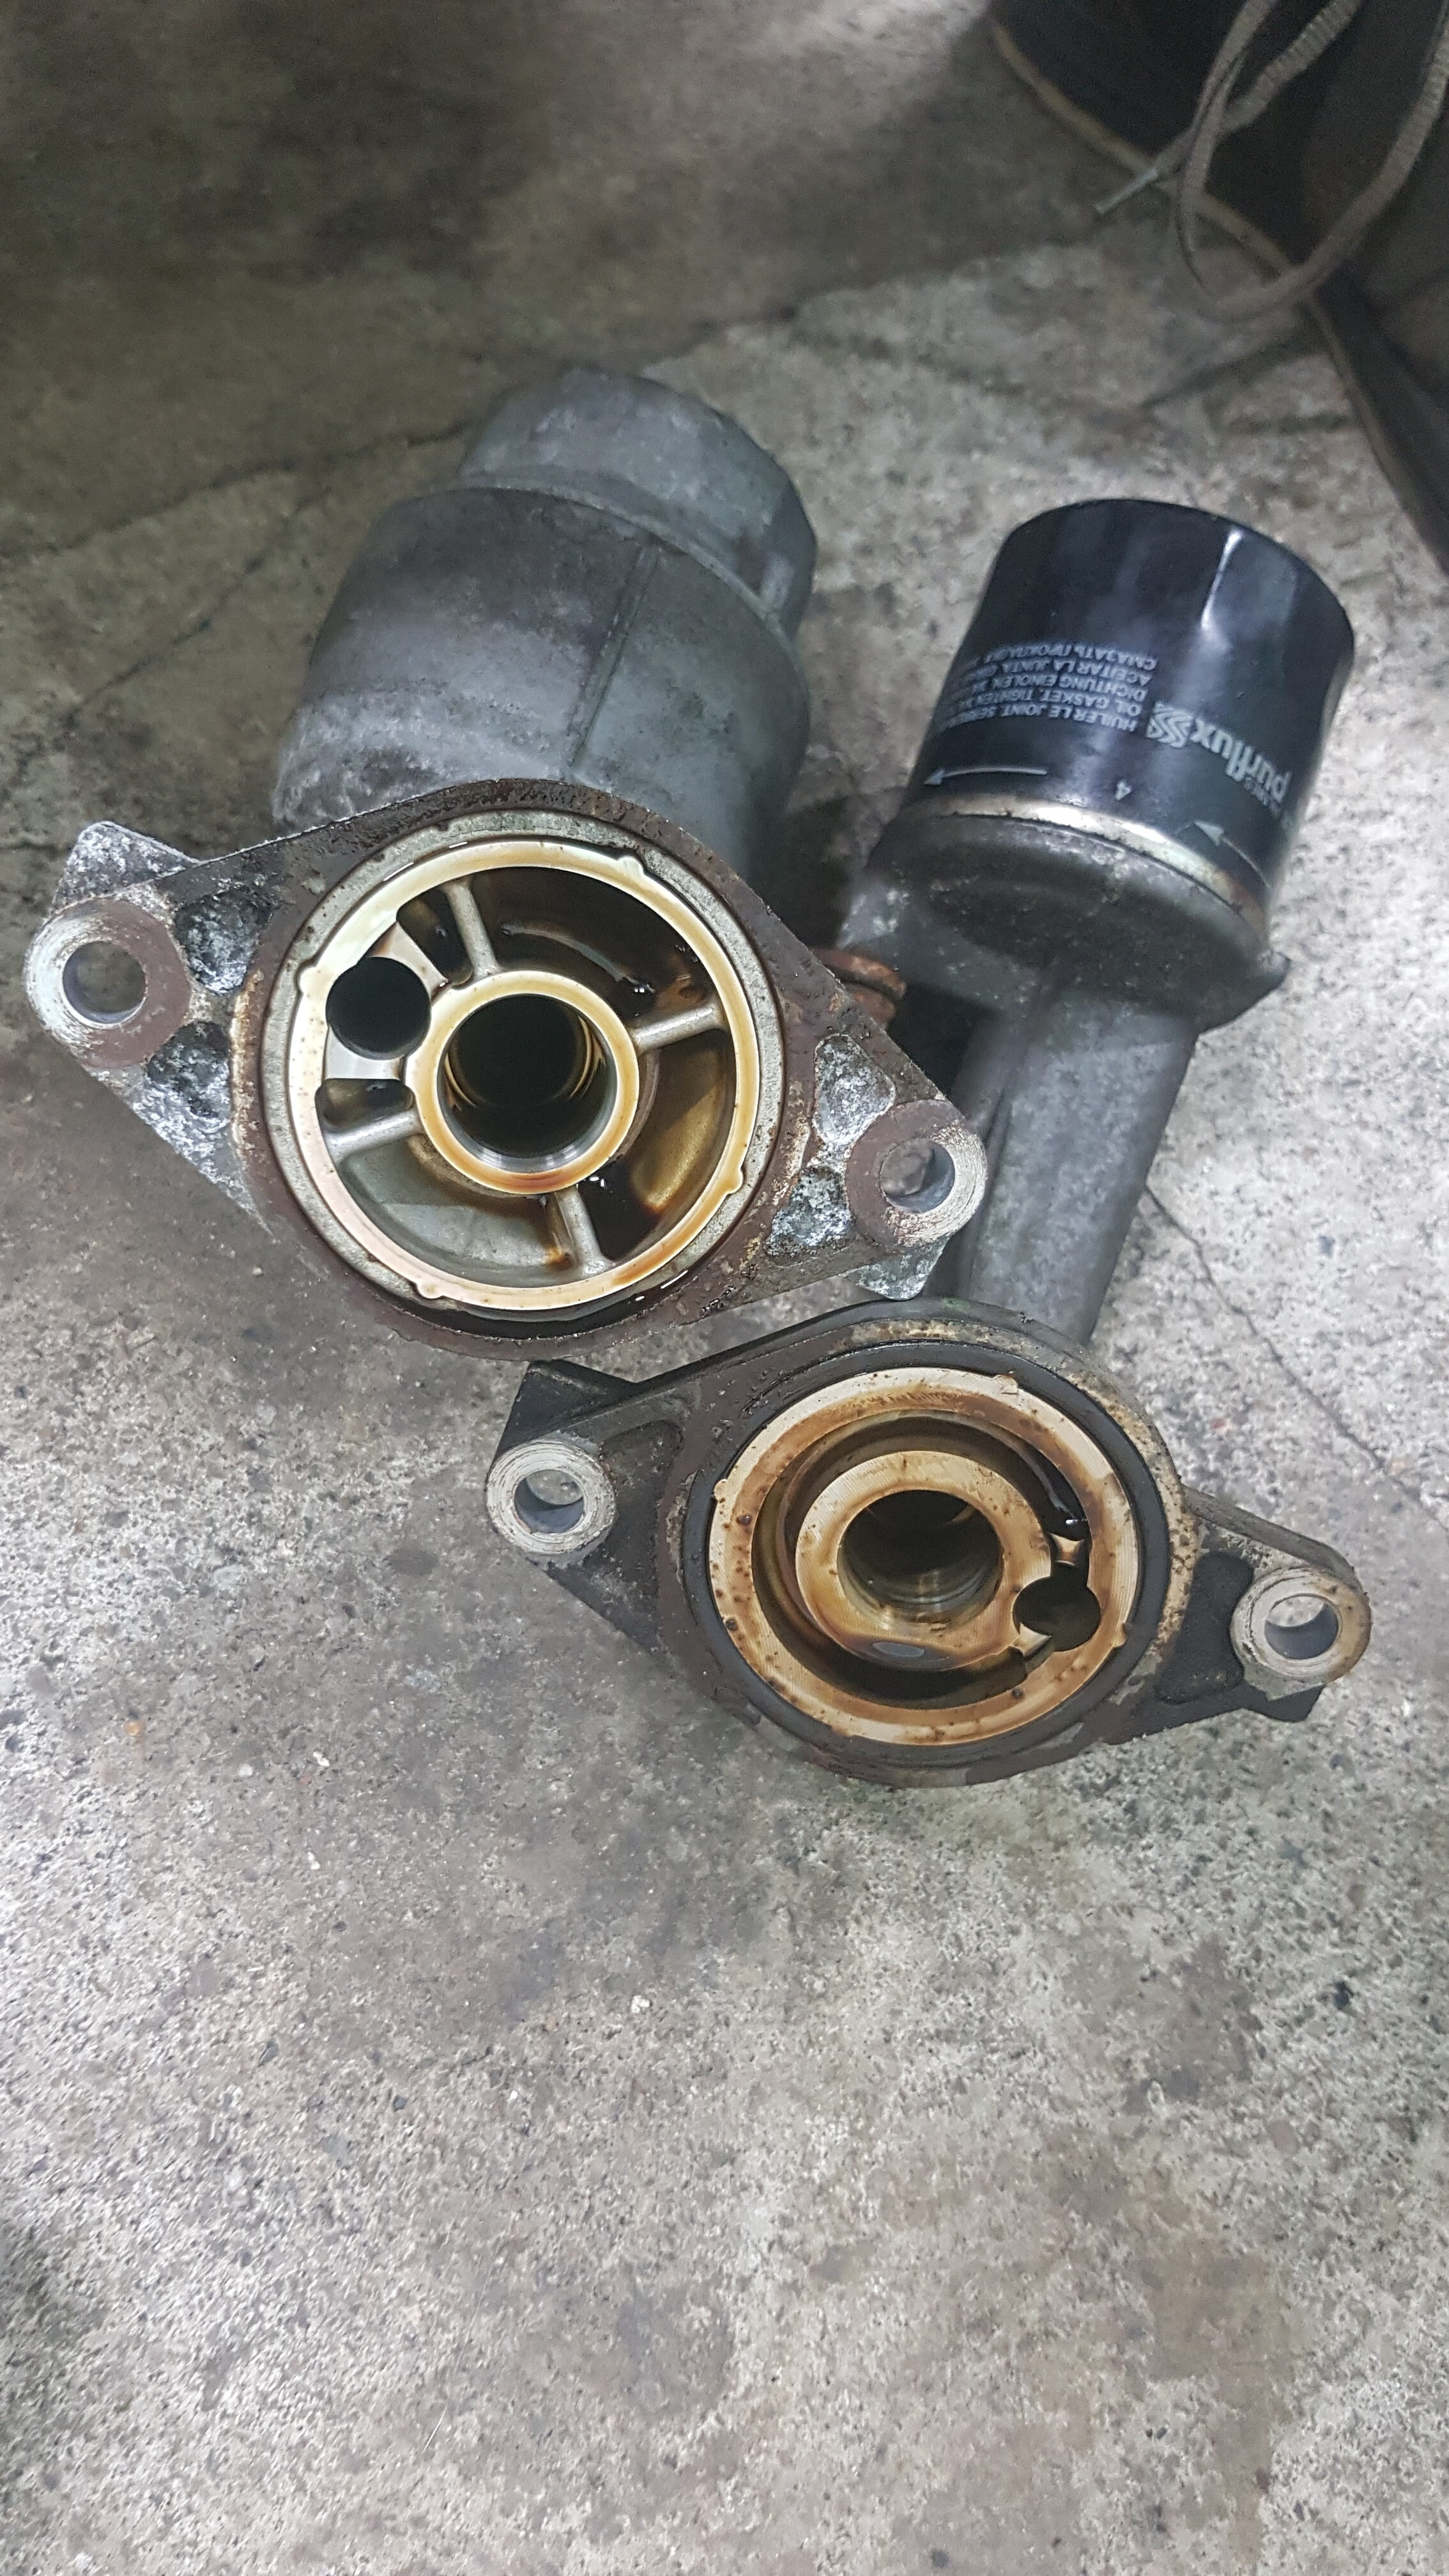
Yes, the oilfilterhousing-thingy clears the bracket (only just), but unless I decide to ditch the front engine mount, it wouldn’t work. So, I’d have to use the unit from the K3, so I put them next to each other to do a comparison. Which went well.
Straight away you can see the problem: the off-center hole (for oil return), is on opposite sides of each other. At this point, I had a new plan:
- give up
- go home
- go to bed
- try not to cry
- cry a lot
I can’t fab anything, so for the first time this project, I got to a dead end. After handling the situation very well (some tools may or may not have been thrown around the garage), I decided to compare the fronts of the 3SZ and K3 (where the housings bolt onto). And guess what? The hole for the oil return was on the same side.
w h a t
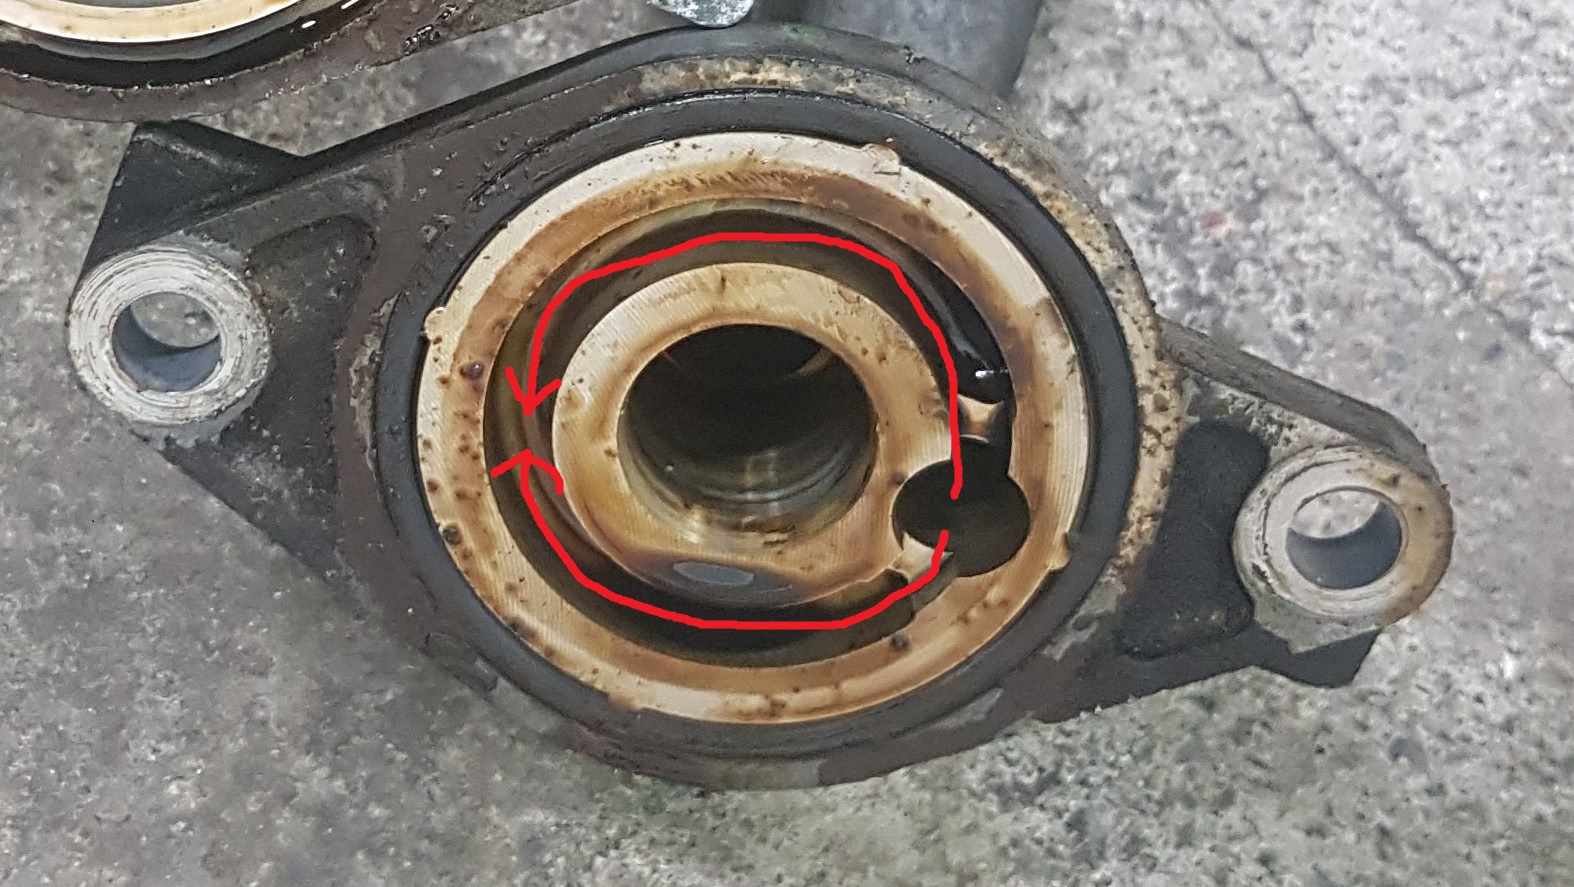
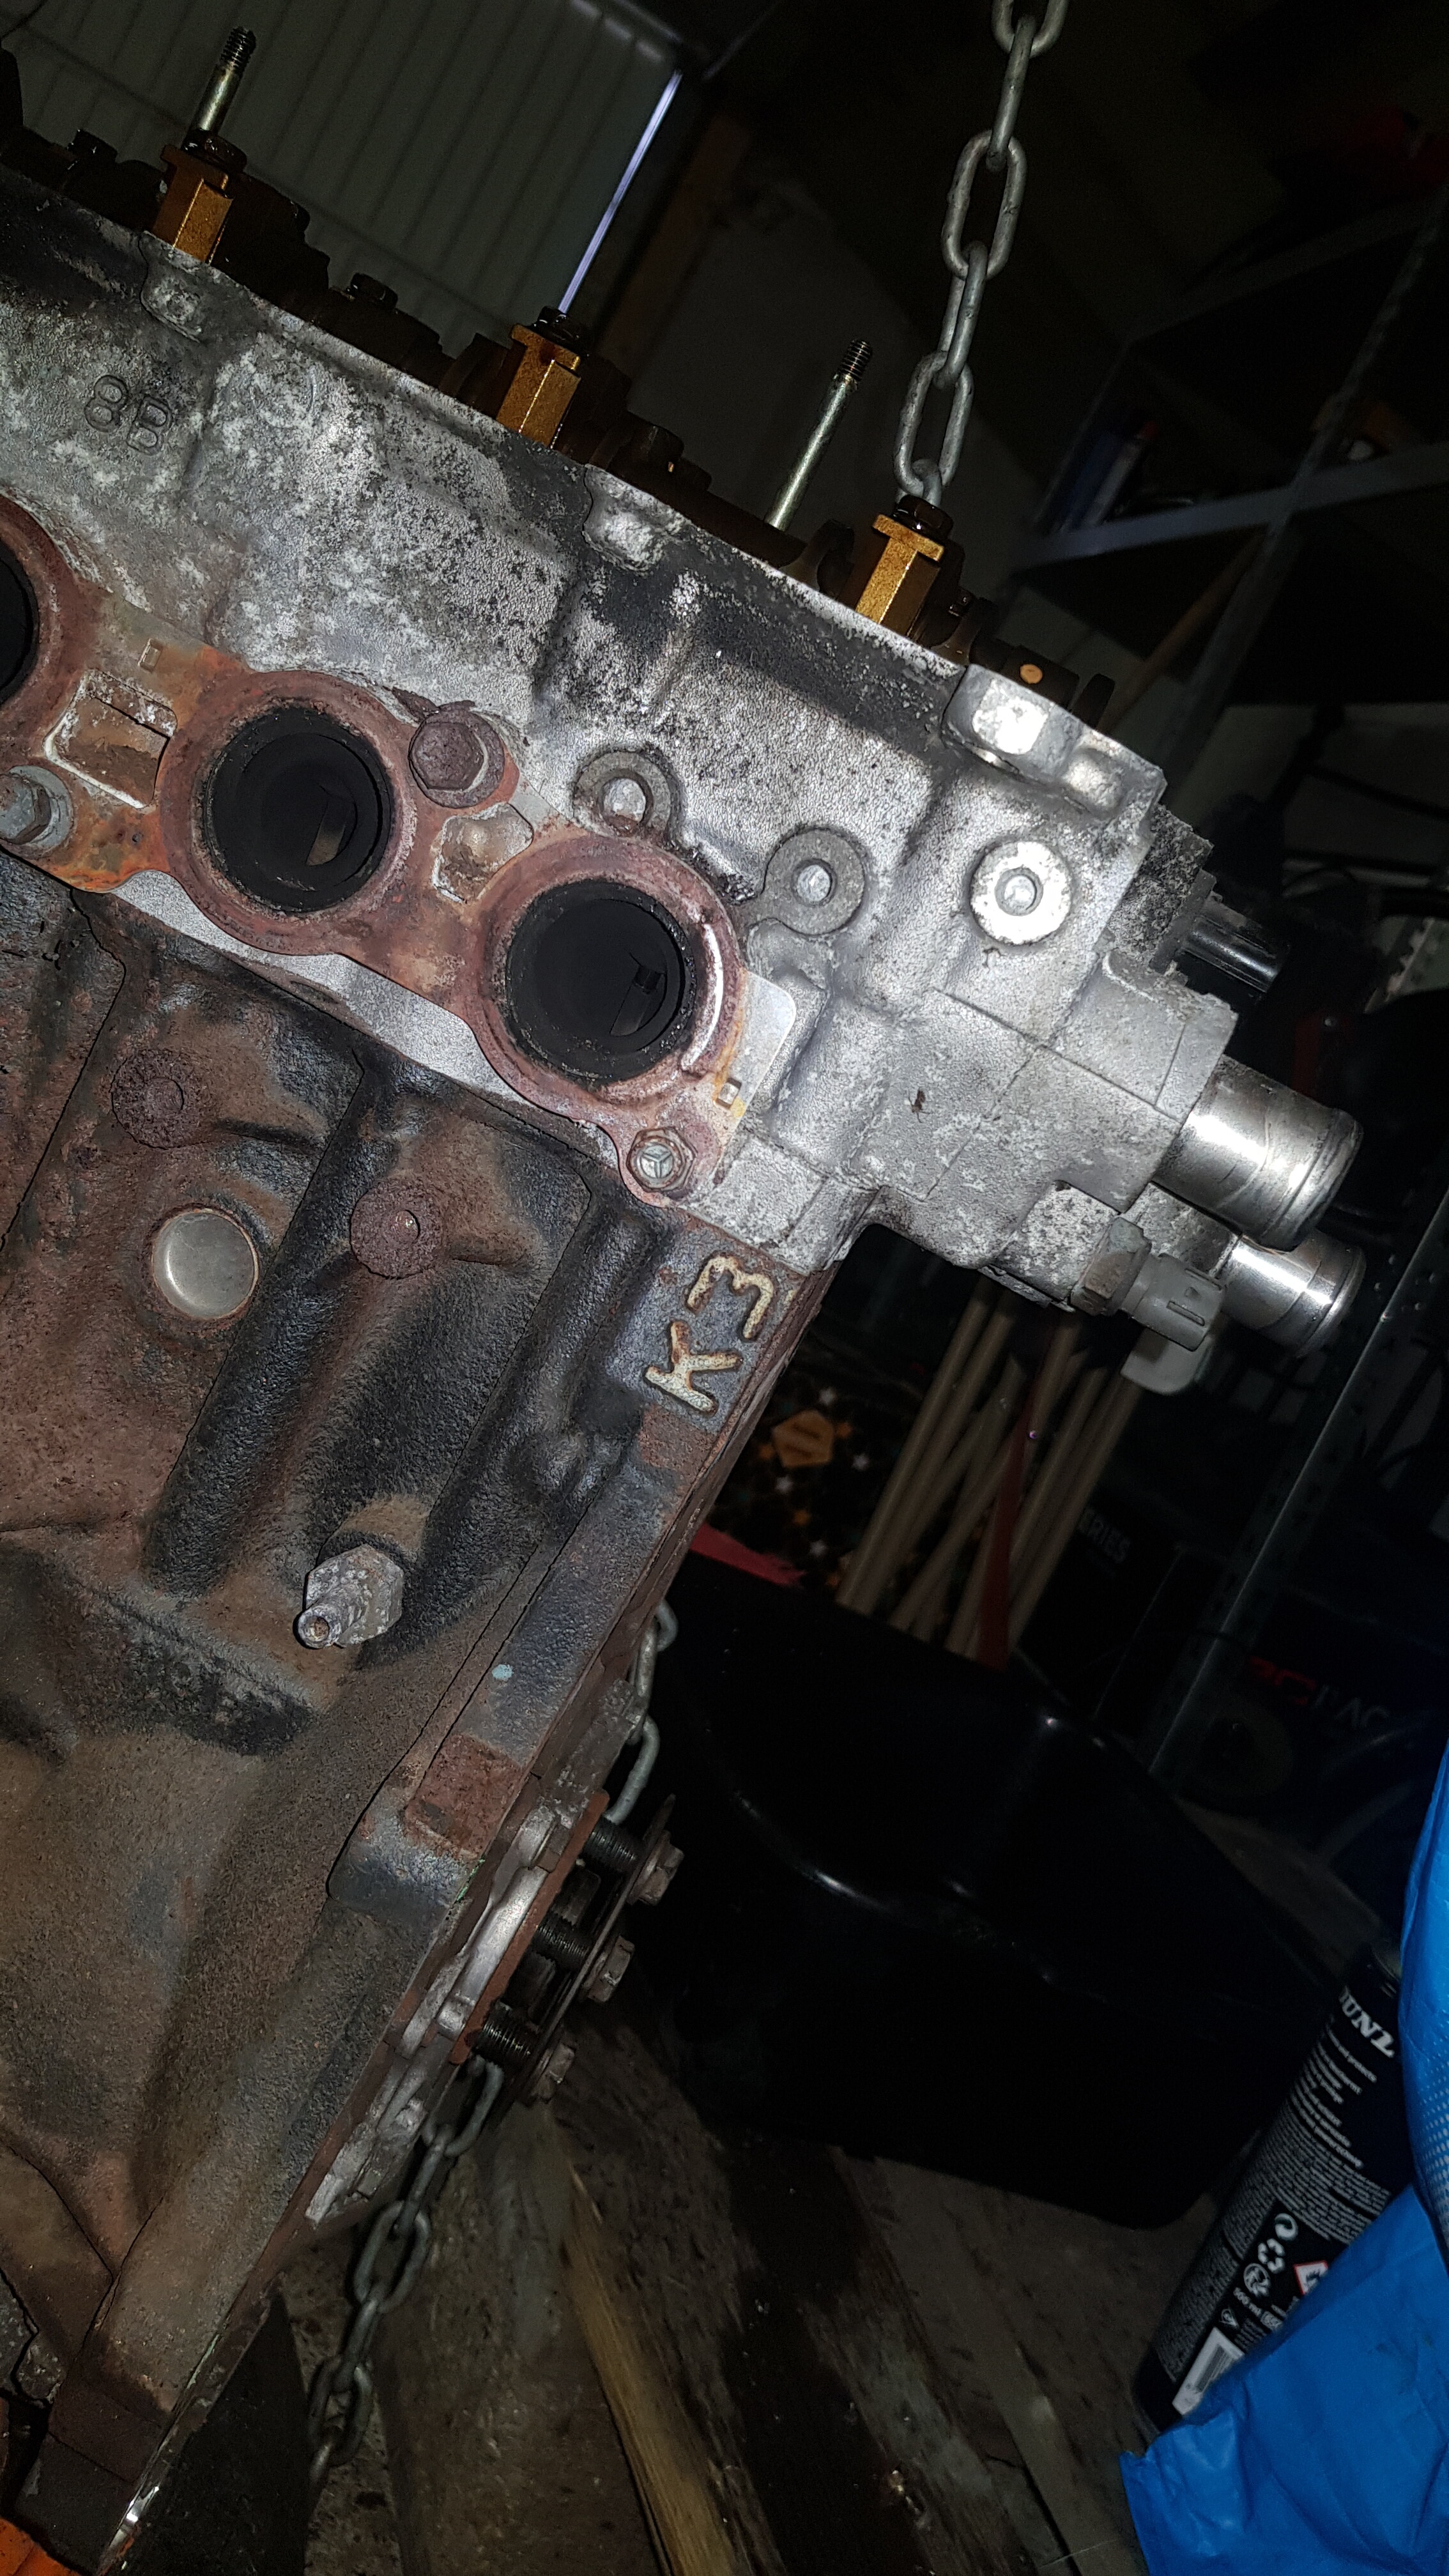
I took another look at the K3 housing, and then it hit me
The oil is coming out through that hole on the right, goes around that circle to the other side, on where it can flow into the engine block. (Sorry for the poor explanation). I was happy I figured it out, but I sure hoped that the designer of this bit, was having a bad day. I don’t even understand why it was designed like this in the first place, because as you can see, the 3SZ housing has the hole on the correct side. And as far as I can work out, I don’t see any (potential) clearance issues.
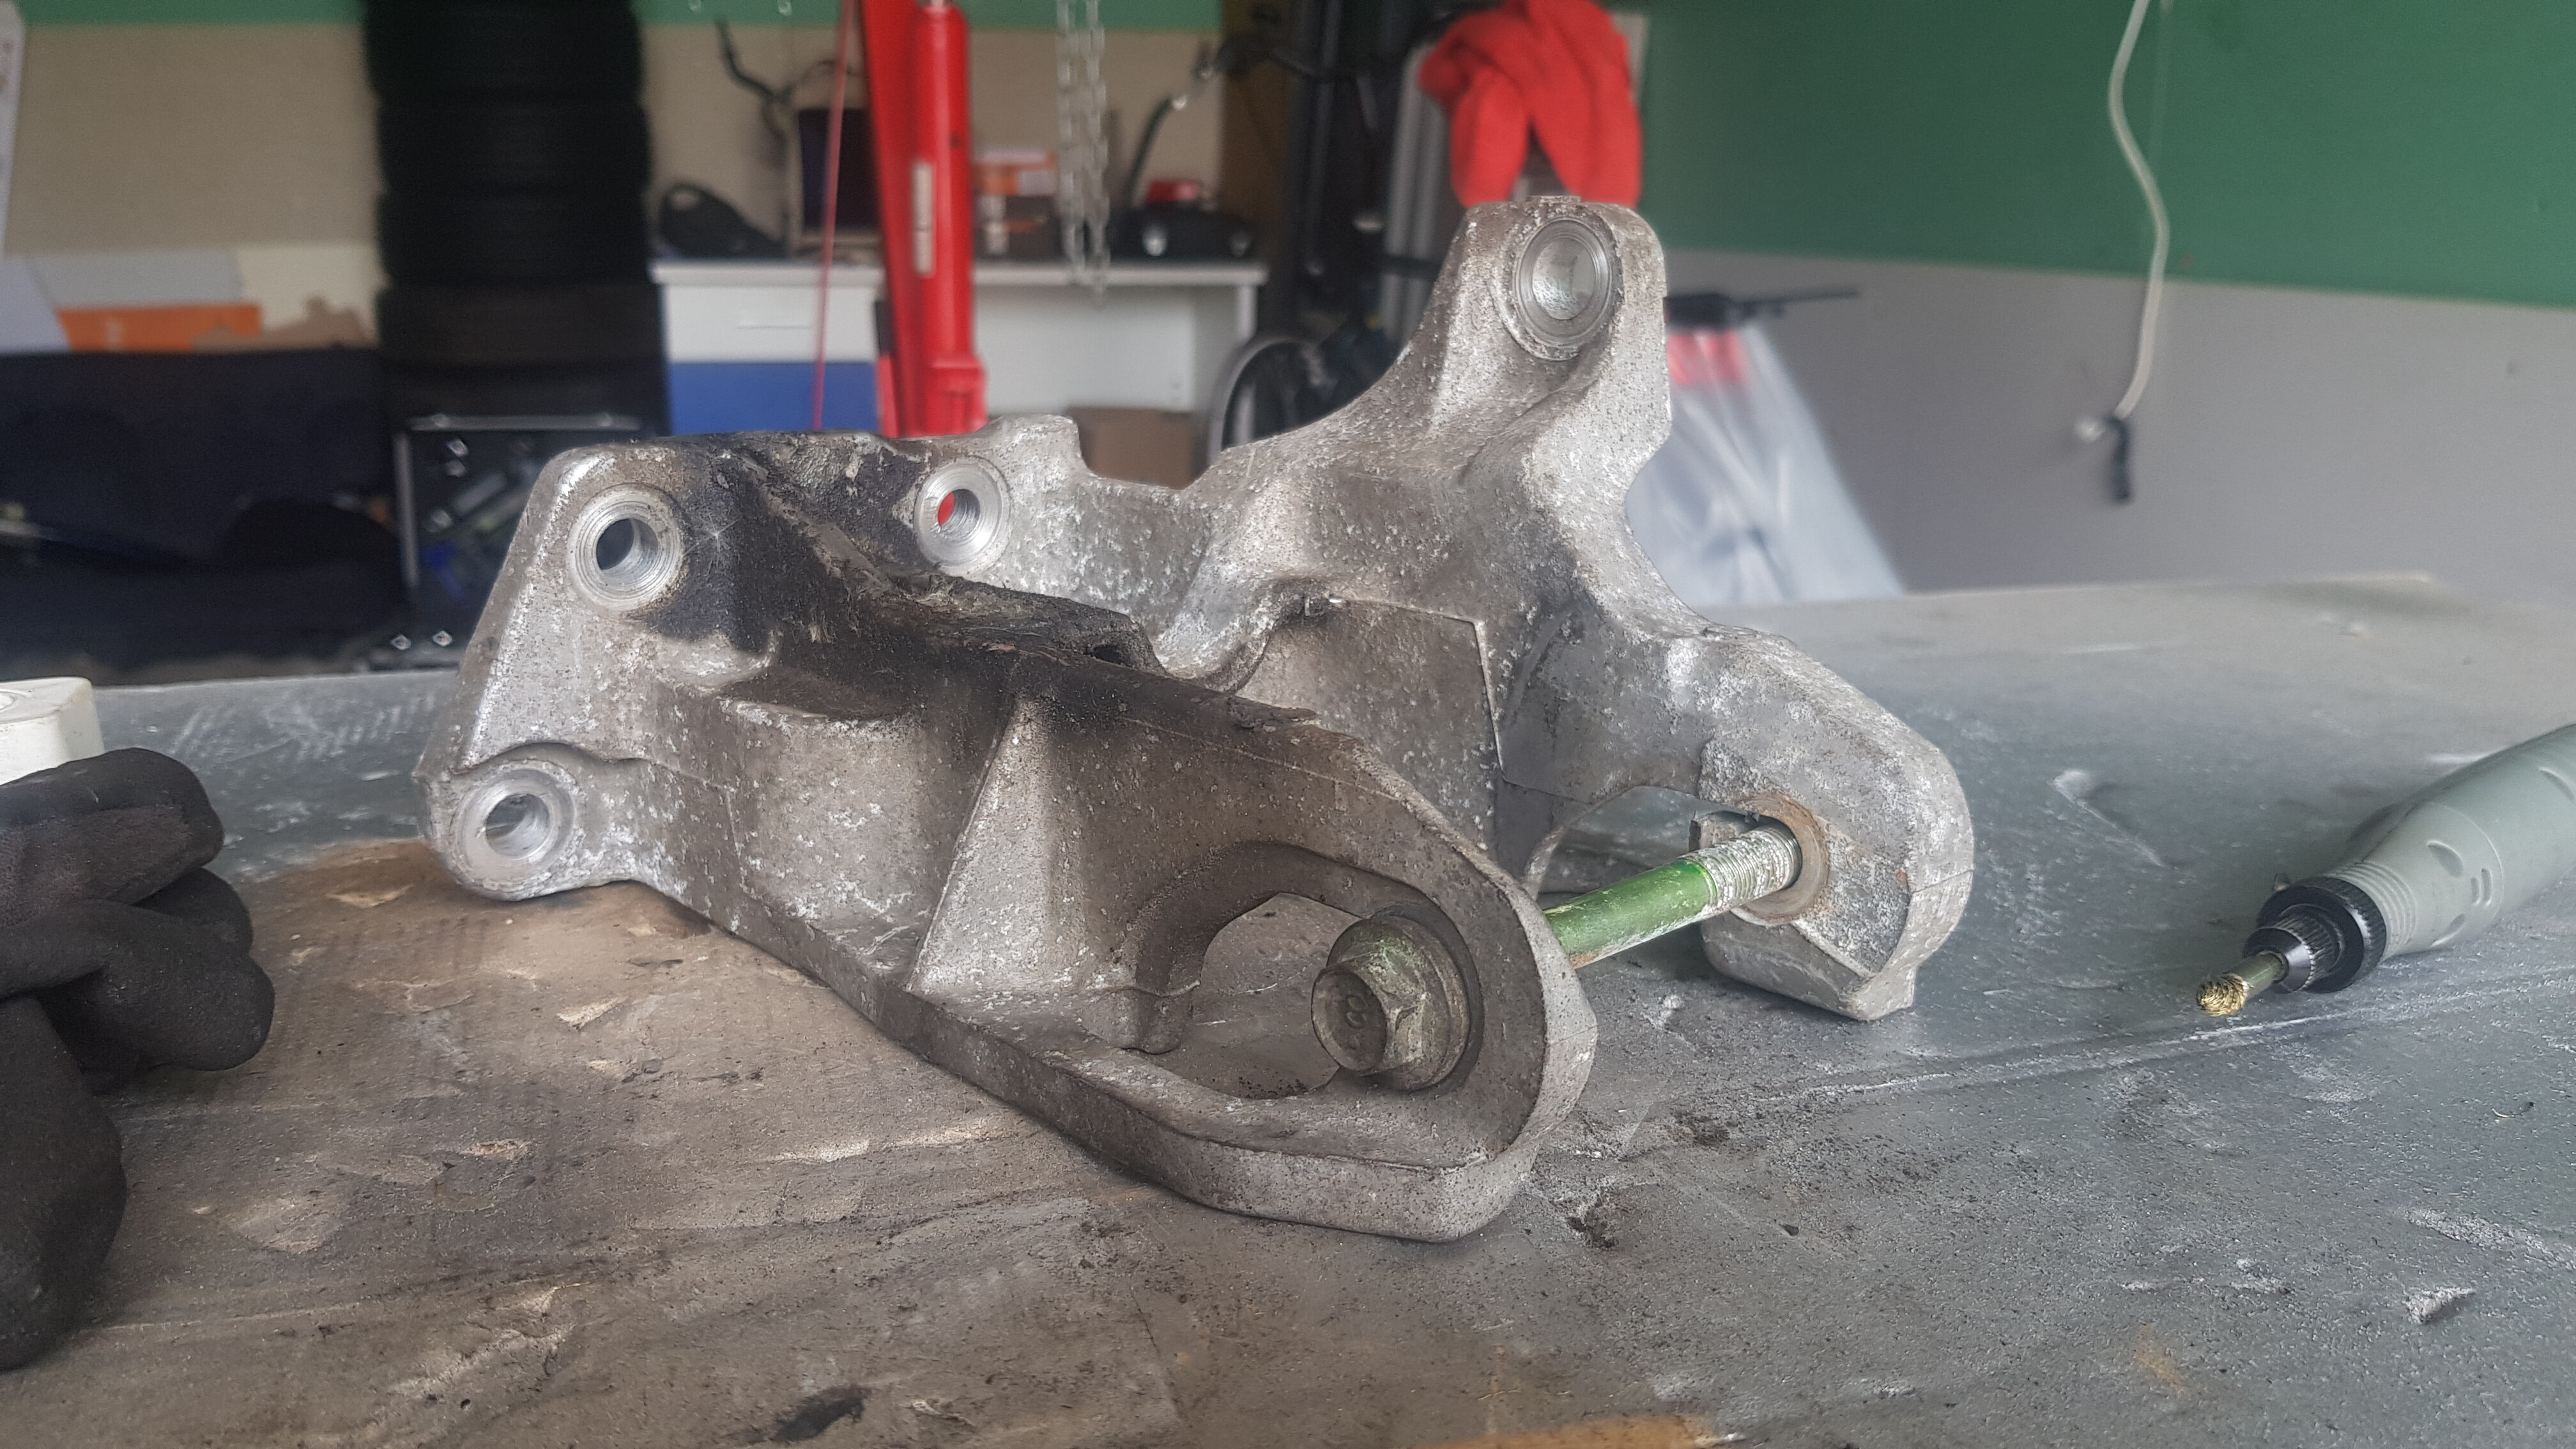
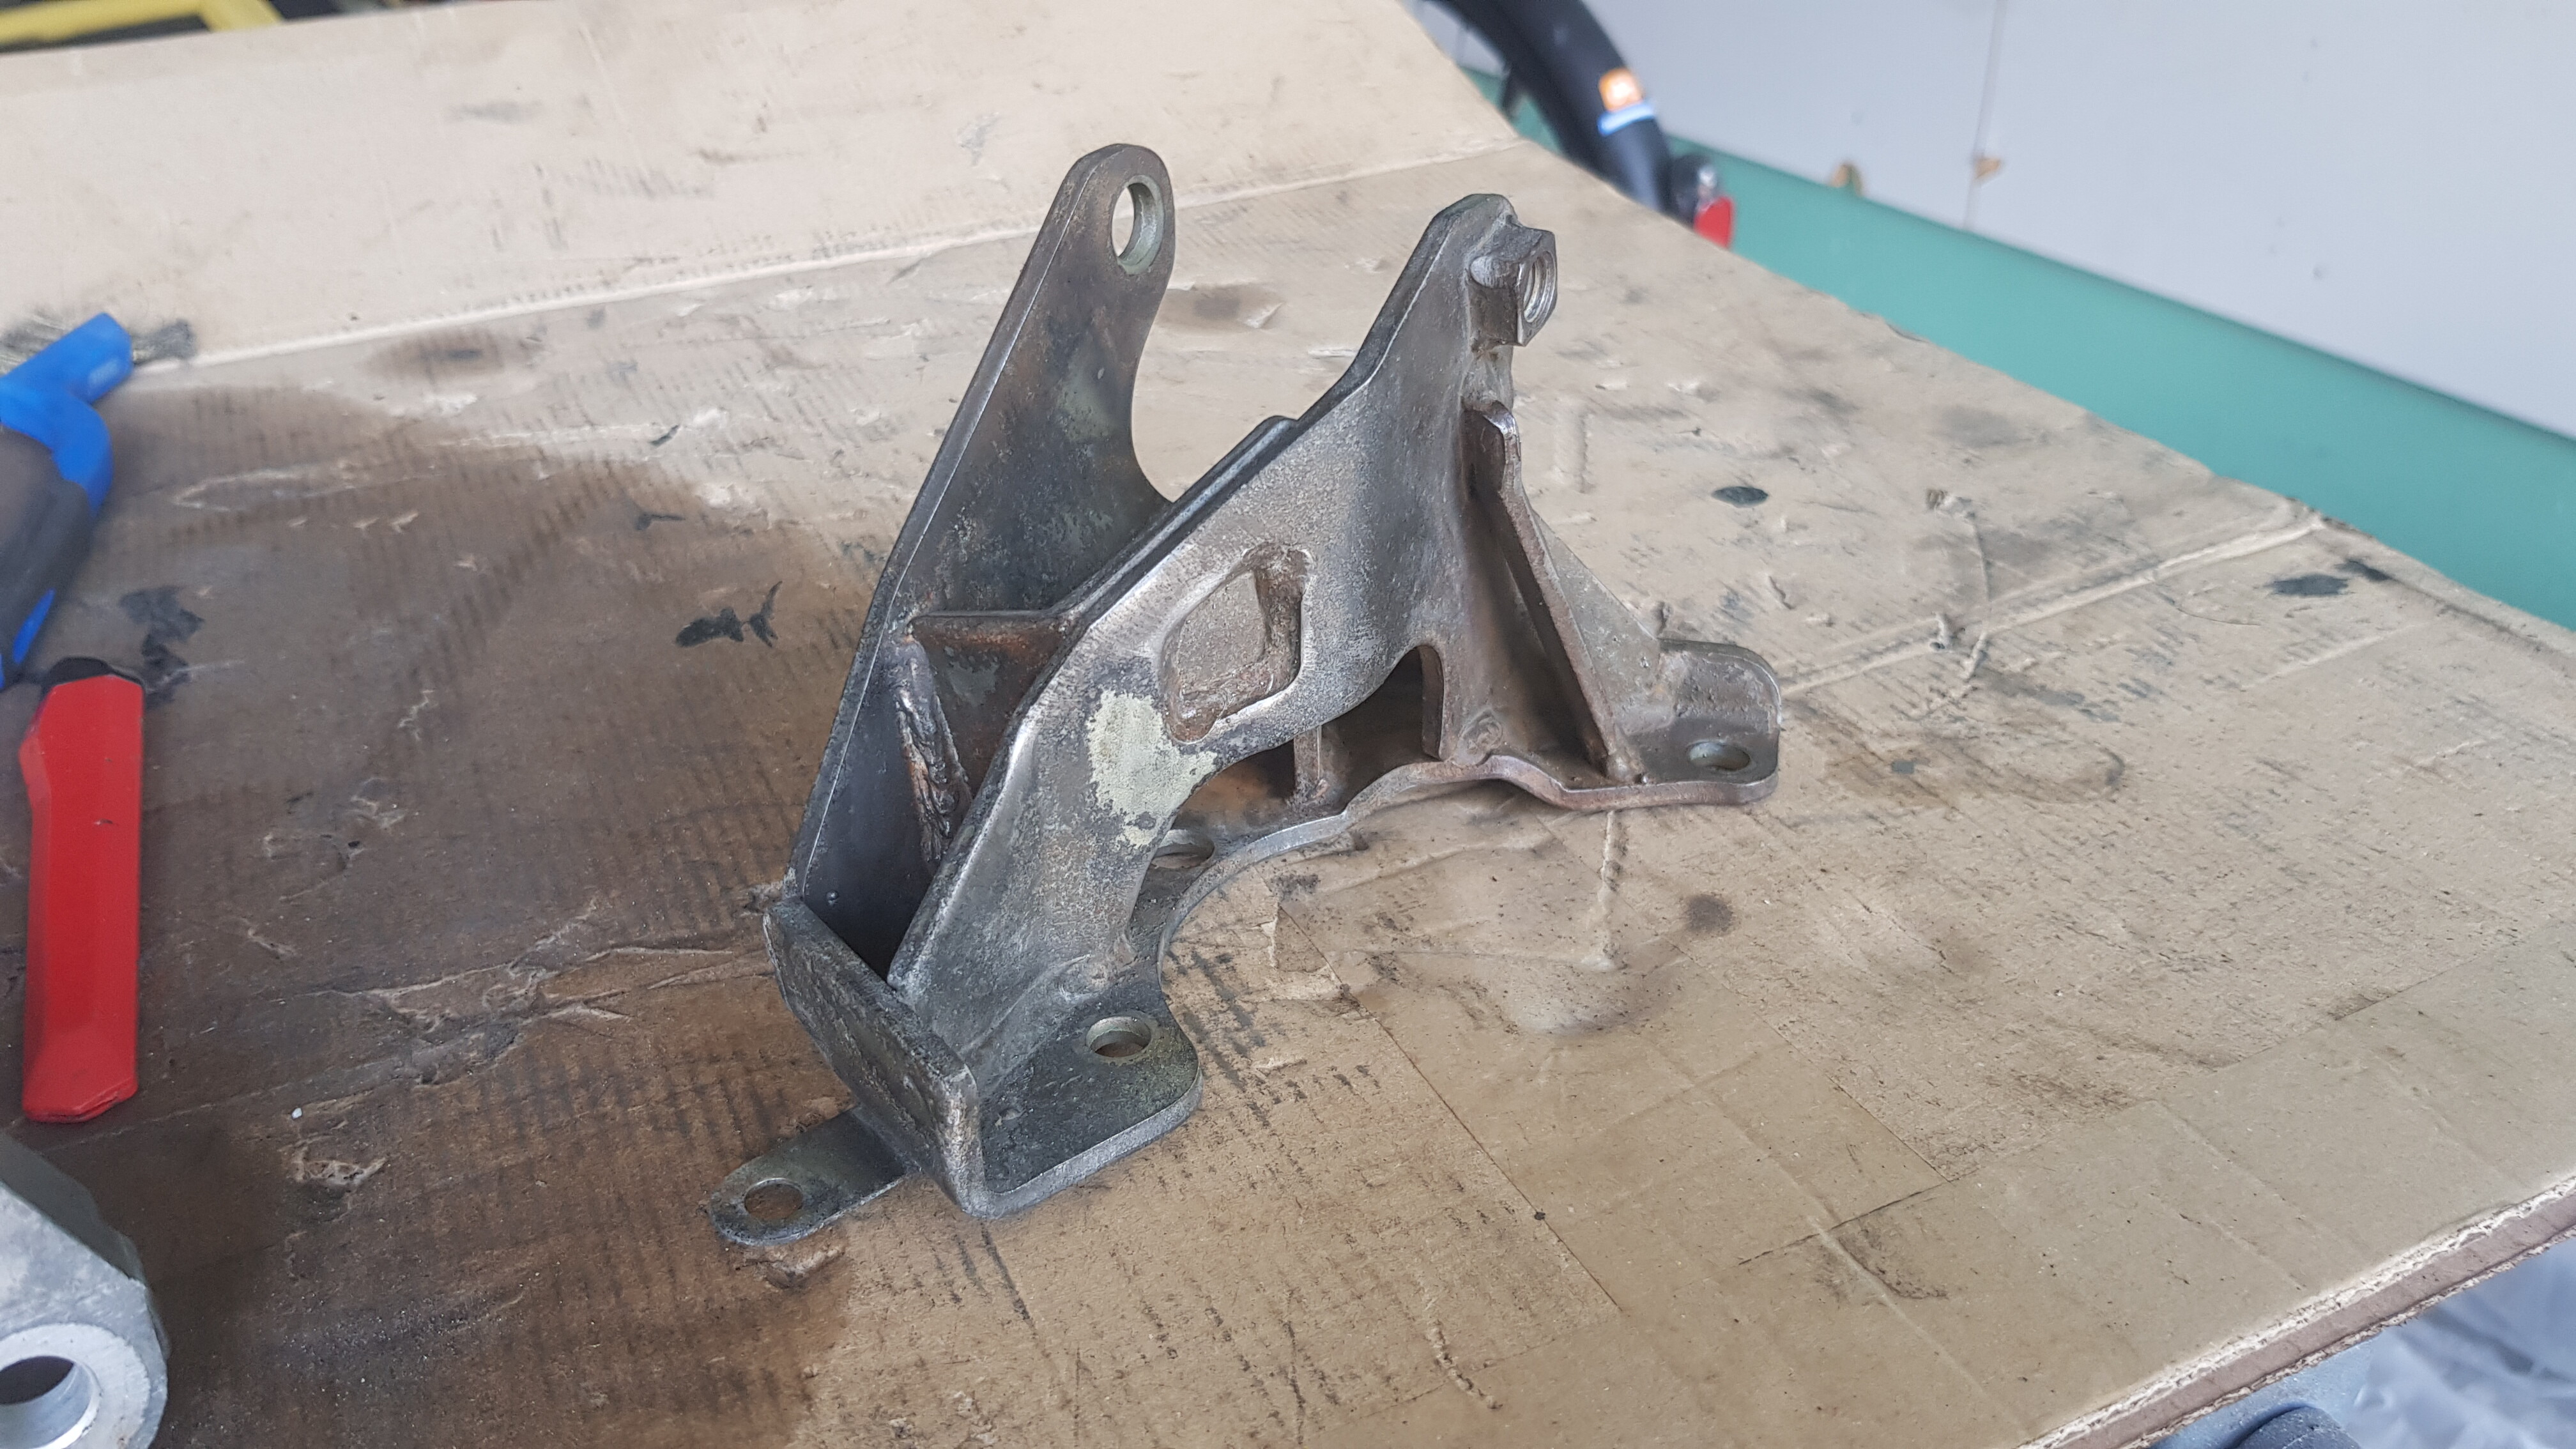
Oh well, I figured it out, so let’s get back to sanding.
Again, very tedious, but also quite satisfying. Time for paint!
Decent result, happy me! I later found out that I didn’t actually cover everything all that well, but I ran out of paint so I have to do a touch-up later.
MIGHT AS WELL
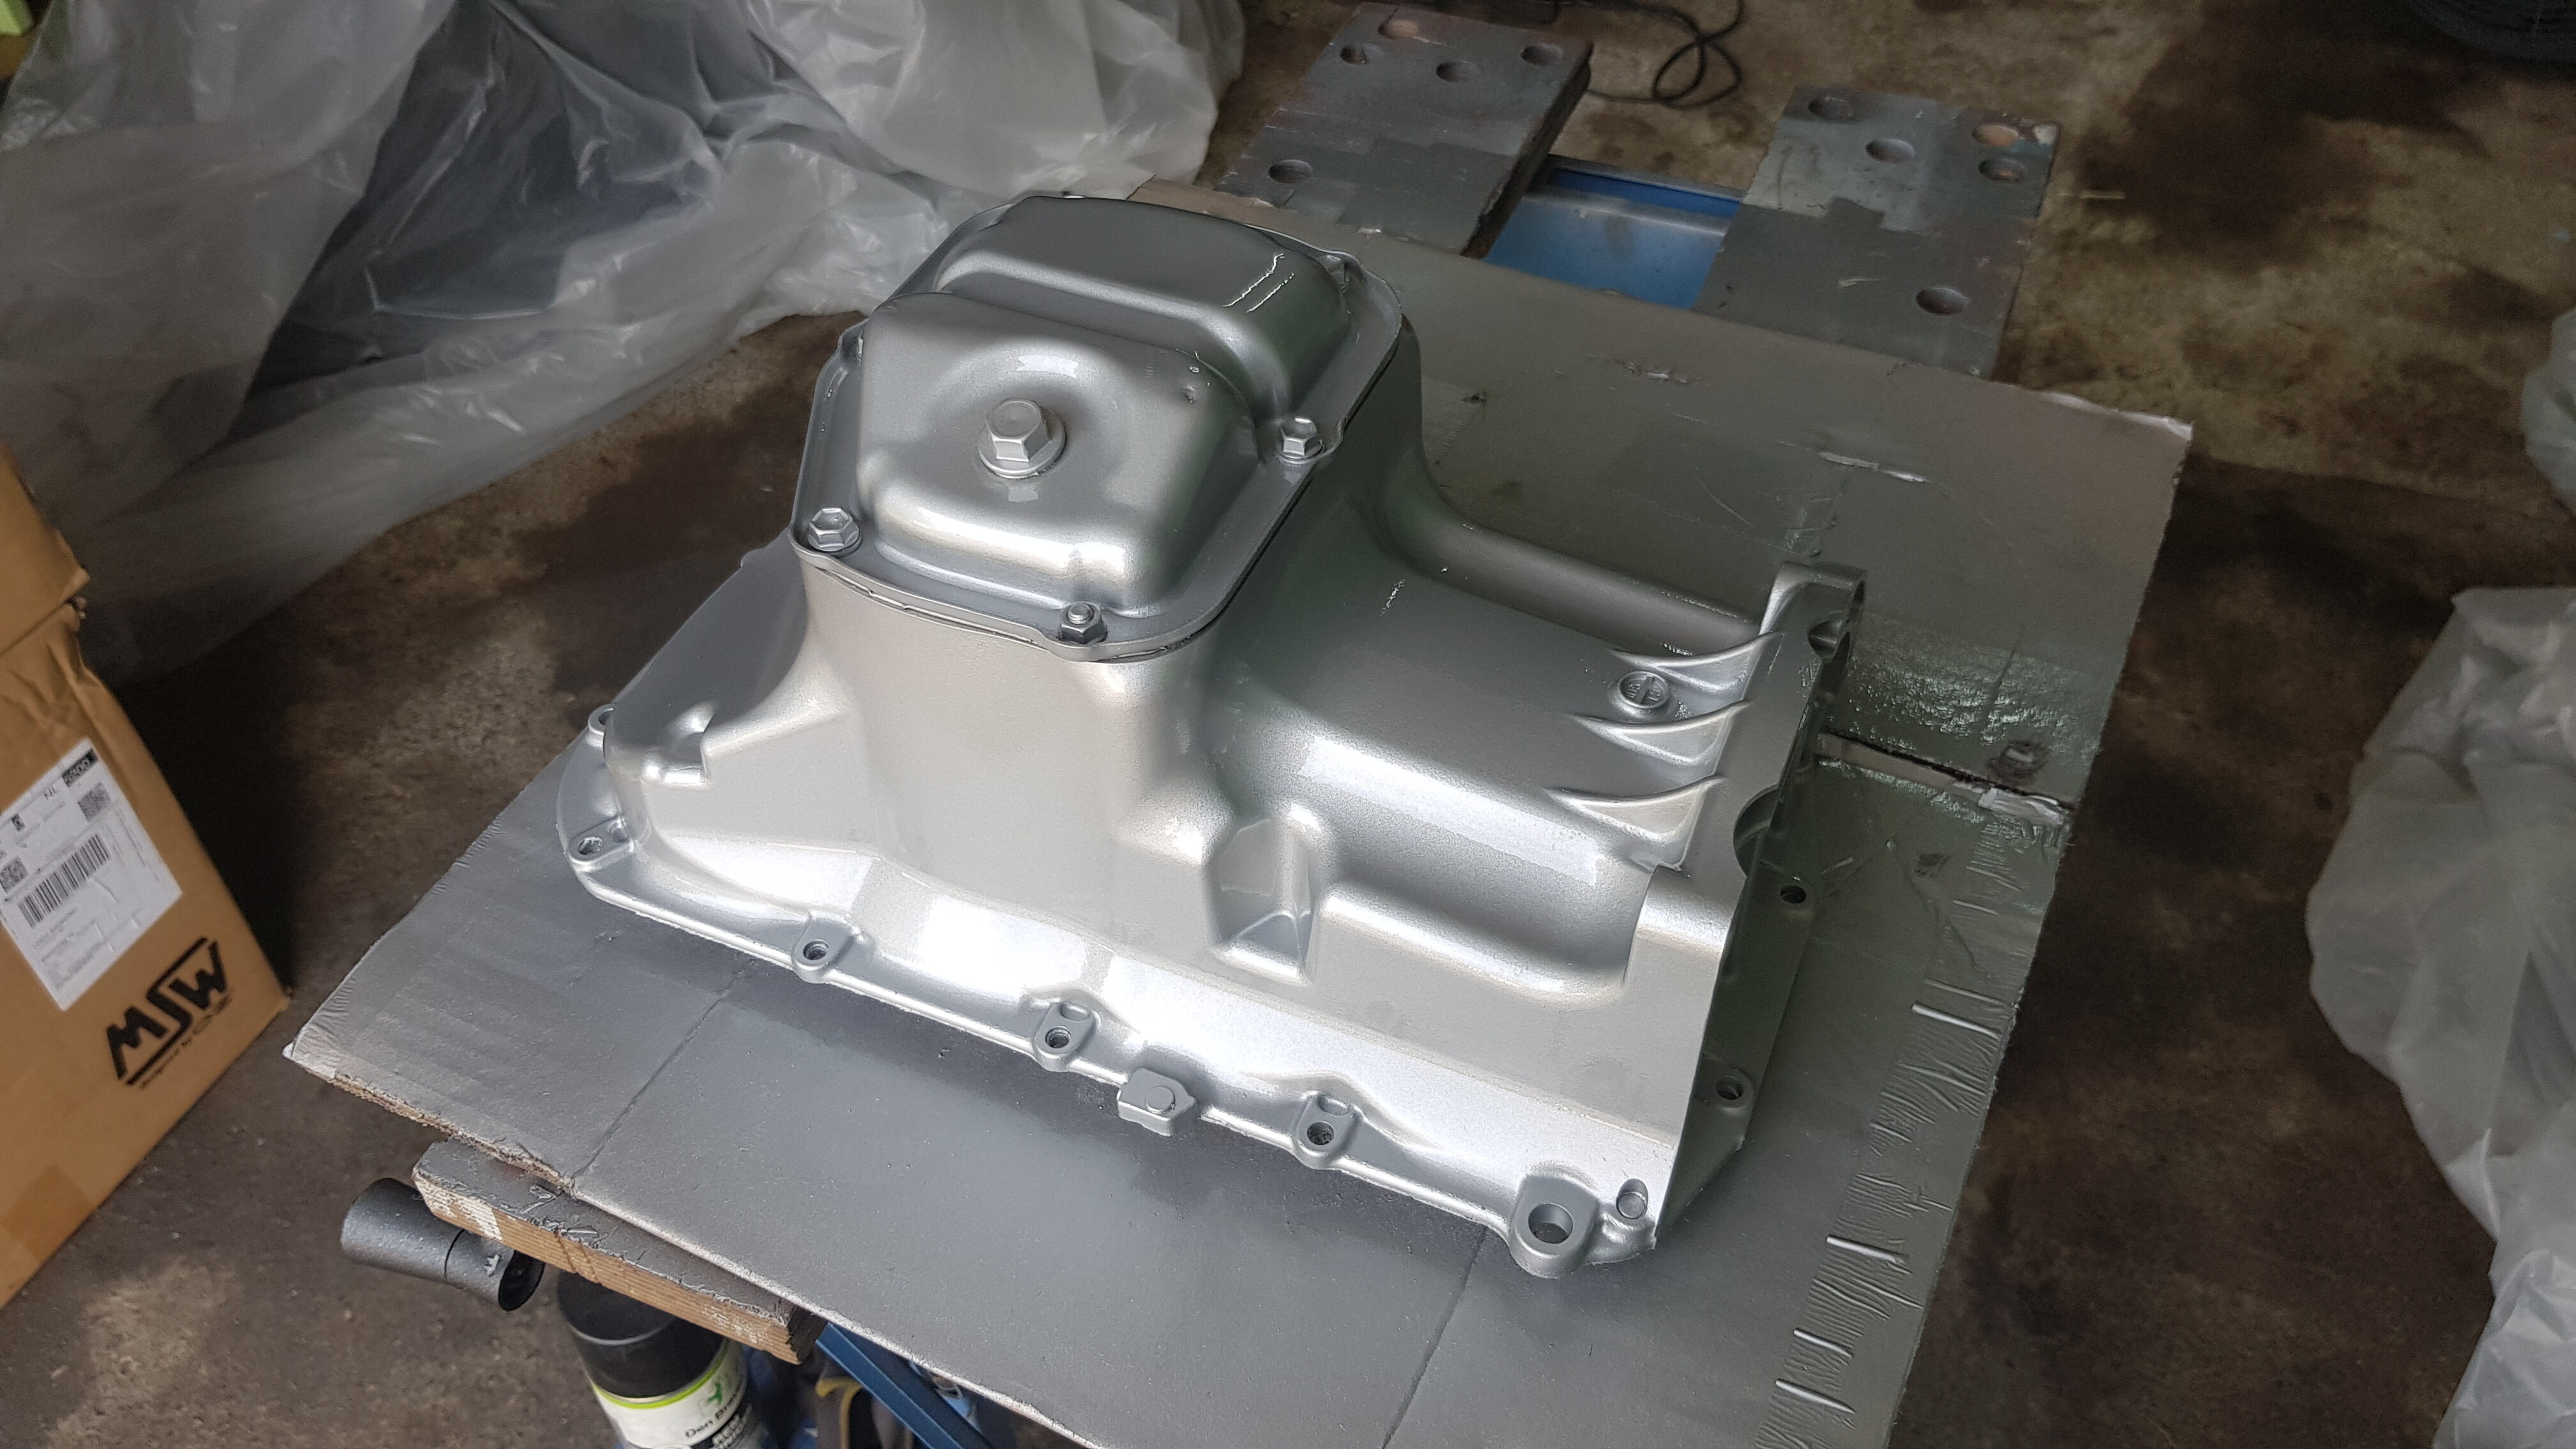
I had an extra day off, and I wanted to spend my time well. I challenged myself to take the oil pan off the engine, sand it, clean it and paint it, all in one afternoon. Luckily, the oil pan doesn’t have as many nooks and crannies as the gearbox, so I got it done.
WHAT COULD POSSIBLY GO WRONG
As I’ve mentioned before, summer break is nearly here, and I’ve been looking forward to that moment for weeks. I feel exhausted, and just want to lock myself up in the garage and work on the 3SZ.
When I ordered the paint I was talking about, I instantly got an email, saying that they didn’t have any paint left, which would cause a delay. Now, that didn’t have to be a problem, since I placed my order on the 29th of June, and would resume working on the engine on the 3rd of July, so I had some extra time. Unfortunately, I didn’t get the paint in time, so I couldn’t really do anything that weekend. I tried to do a few small jobs here and there, but I planned everything to be done in a certain order, so work got put to a hold pretty quickly.
I got my first vaccine on Sunday the 4th of July, and I’m not here to start a discussion about COVID or anything, but I just felt a bit off on Monday, so after an hour of sanding, I just went home and got to bed.
On Tuesday, me and my 2 friends/classmates had planned to work all day long, to finish our schoolproject (a crosskart). While I was working, I got a message from a friend from high school.
A friend of ours got into cardiac arrest, and she’d passed away. Even though I didn’t see her that often anymore, she was still one of the best friends I’ve ever had. Today I had to say goodbye to my 21(!) year old friend, and I can honestly say that it was one of the shittiest days of my life so far.
This week has been quite rough, to say the least, and it’s going to take some time to process all this. I’m sorry this was a bit non-car related, but I just wanted to give you guys an update on what has happened in the last month. Hopefully I’ll be able to pick up work on the engine soon, and show you the result of all the painting I did. Stay tuned!
 . I’ll tell him you like his car
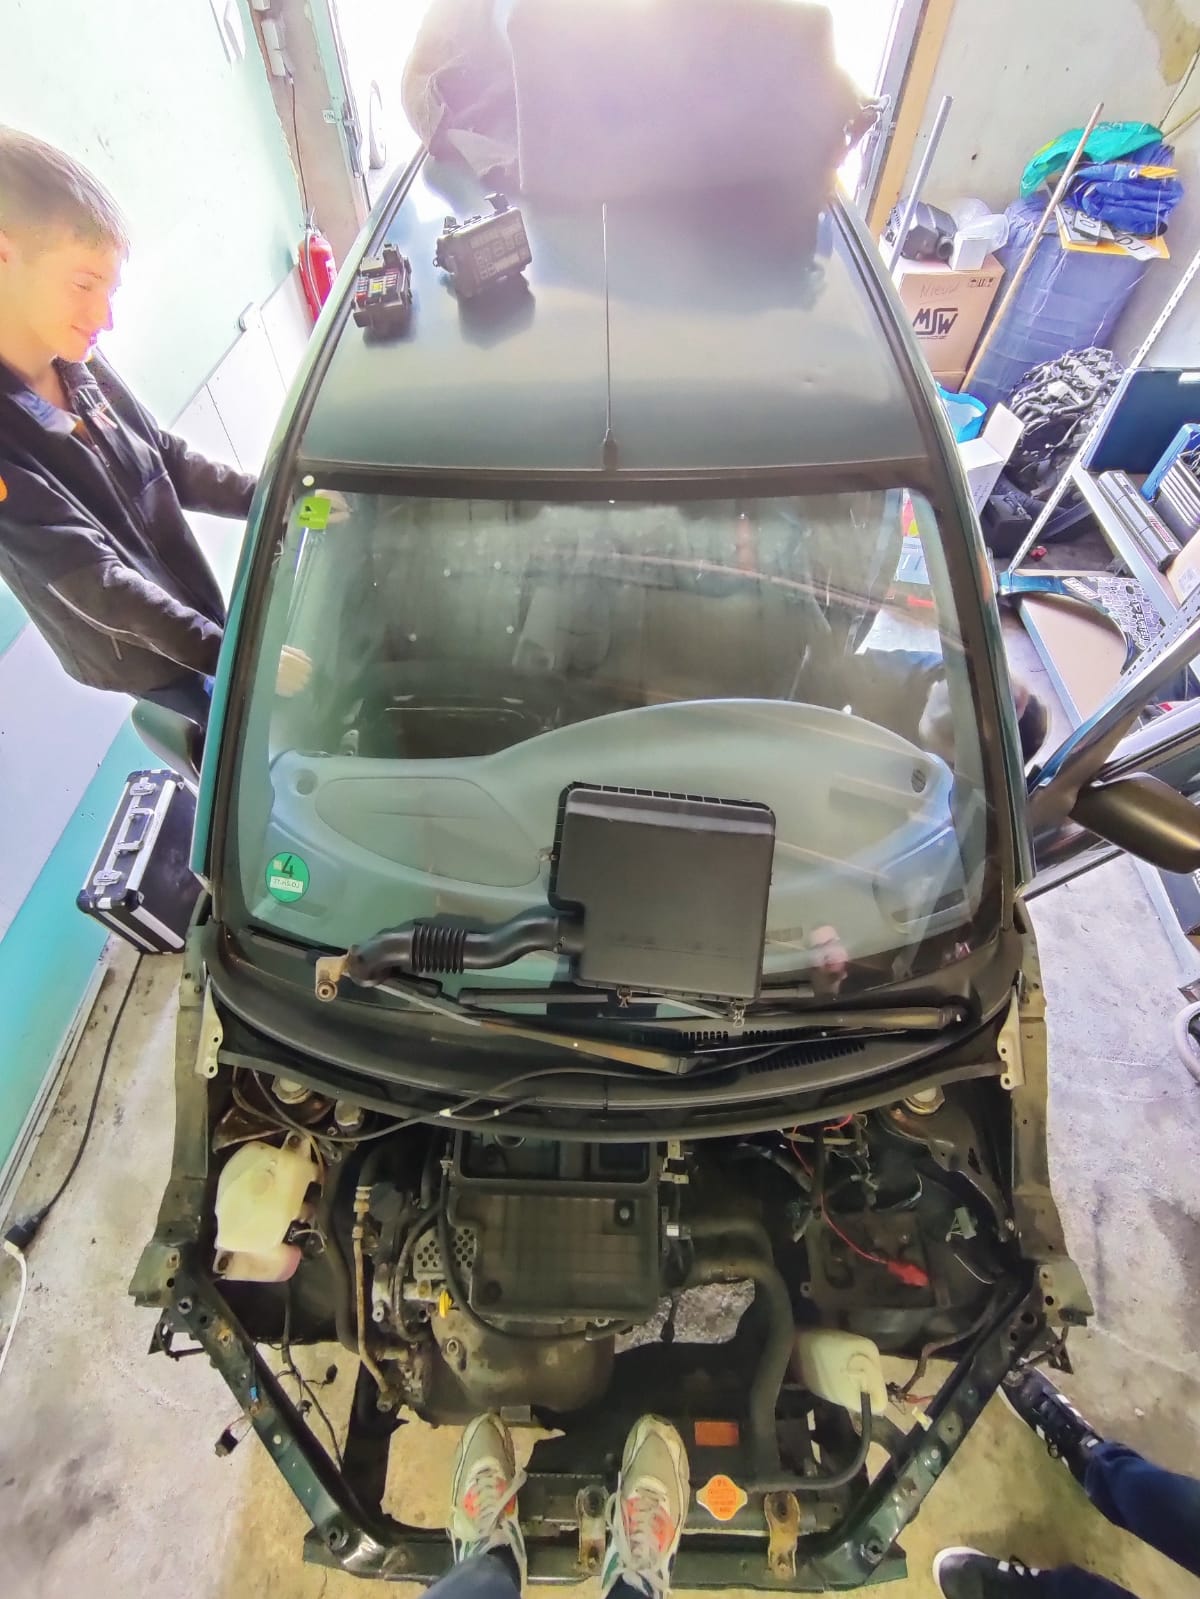
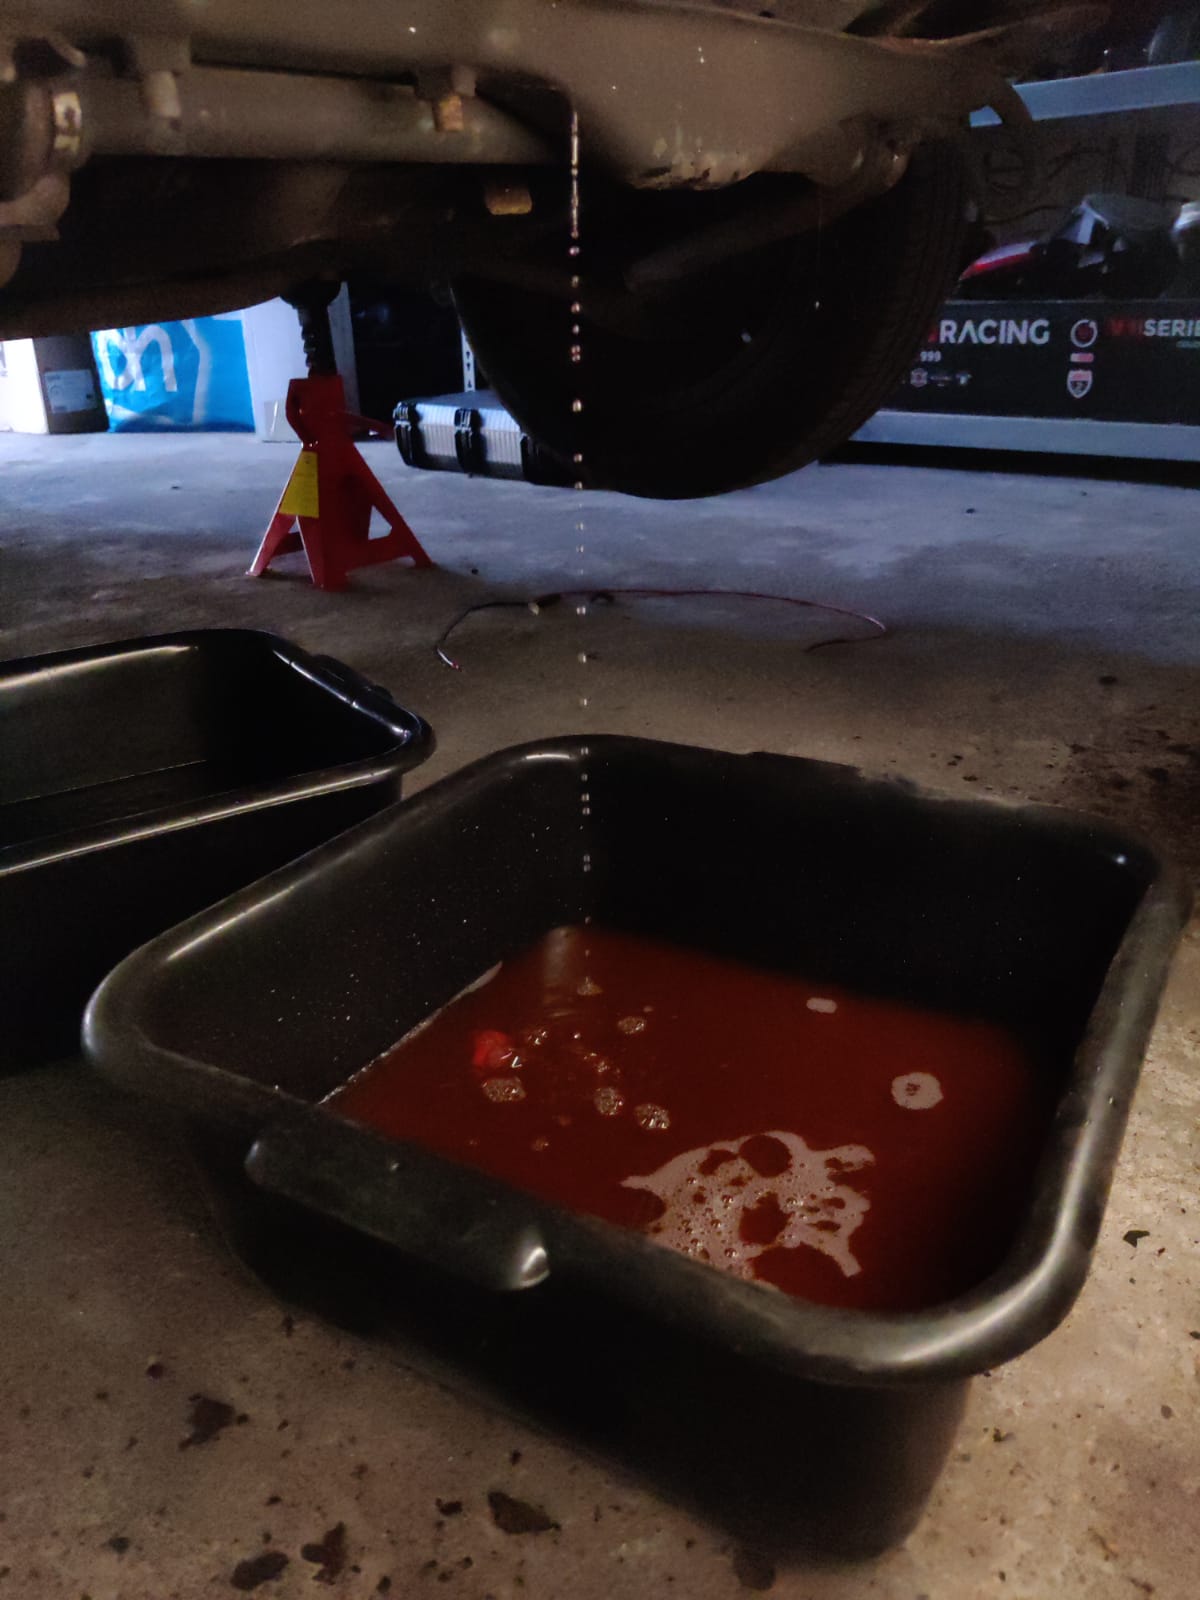
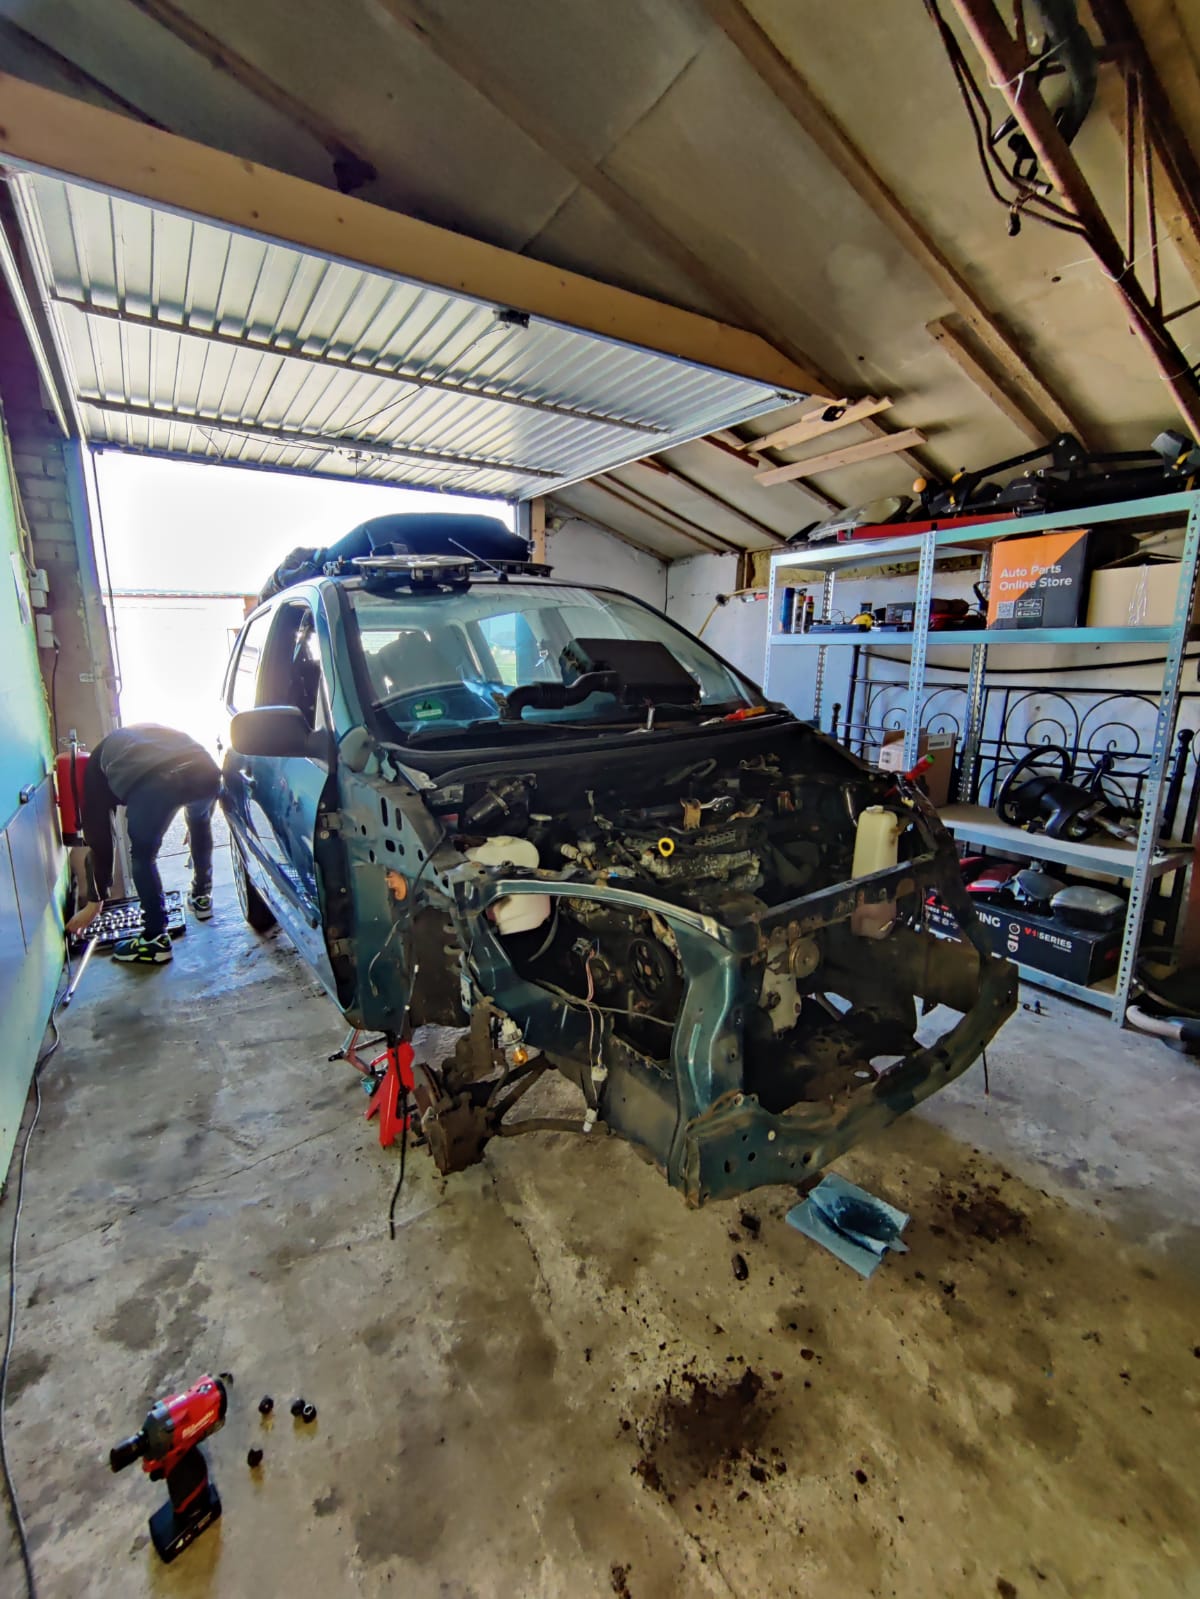
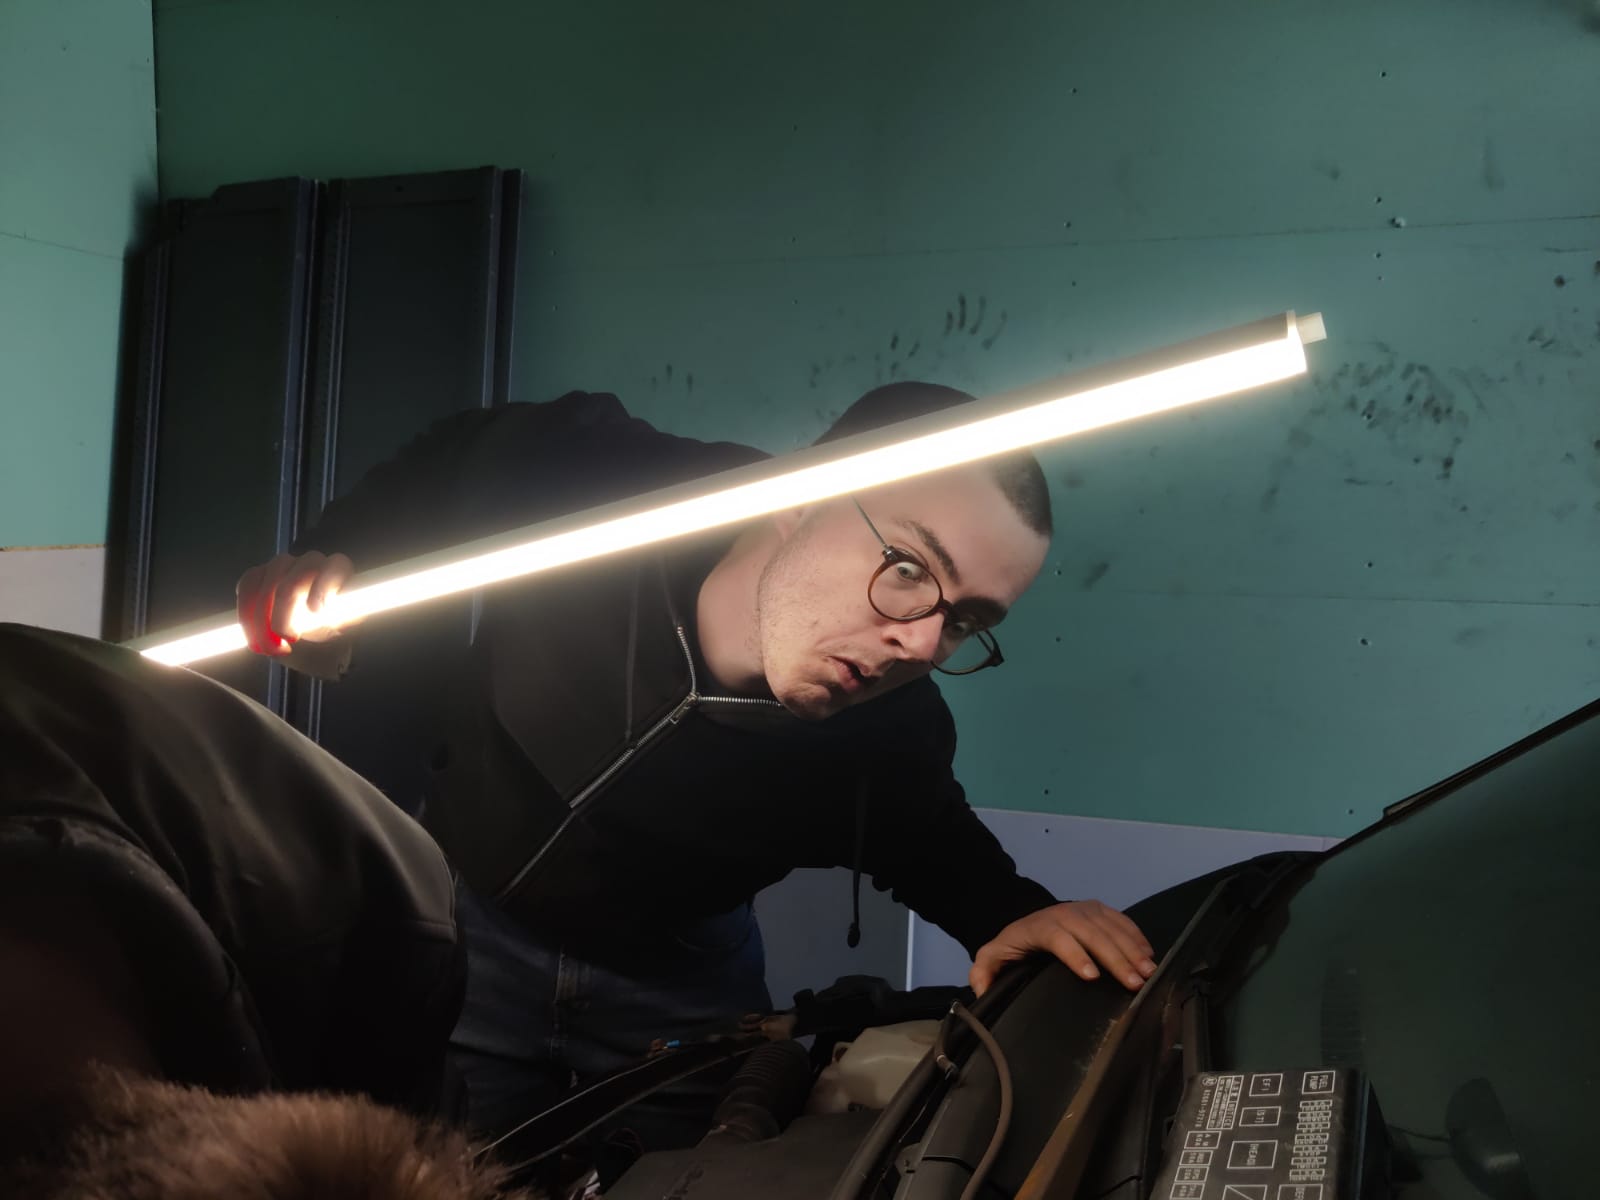
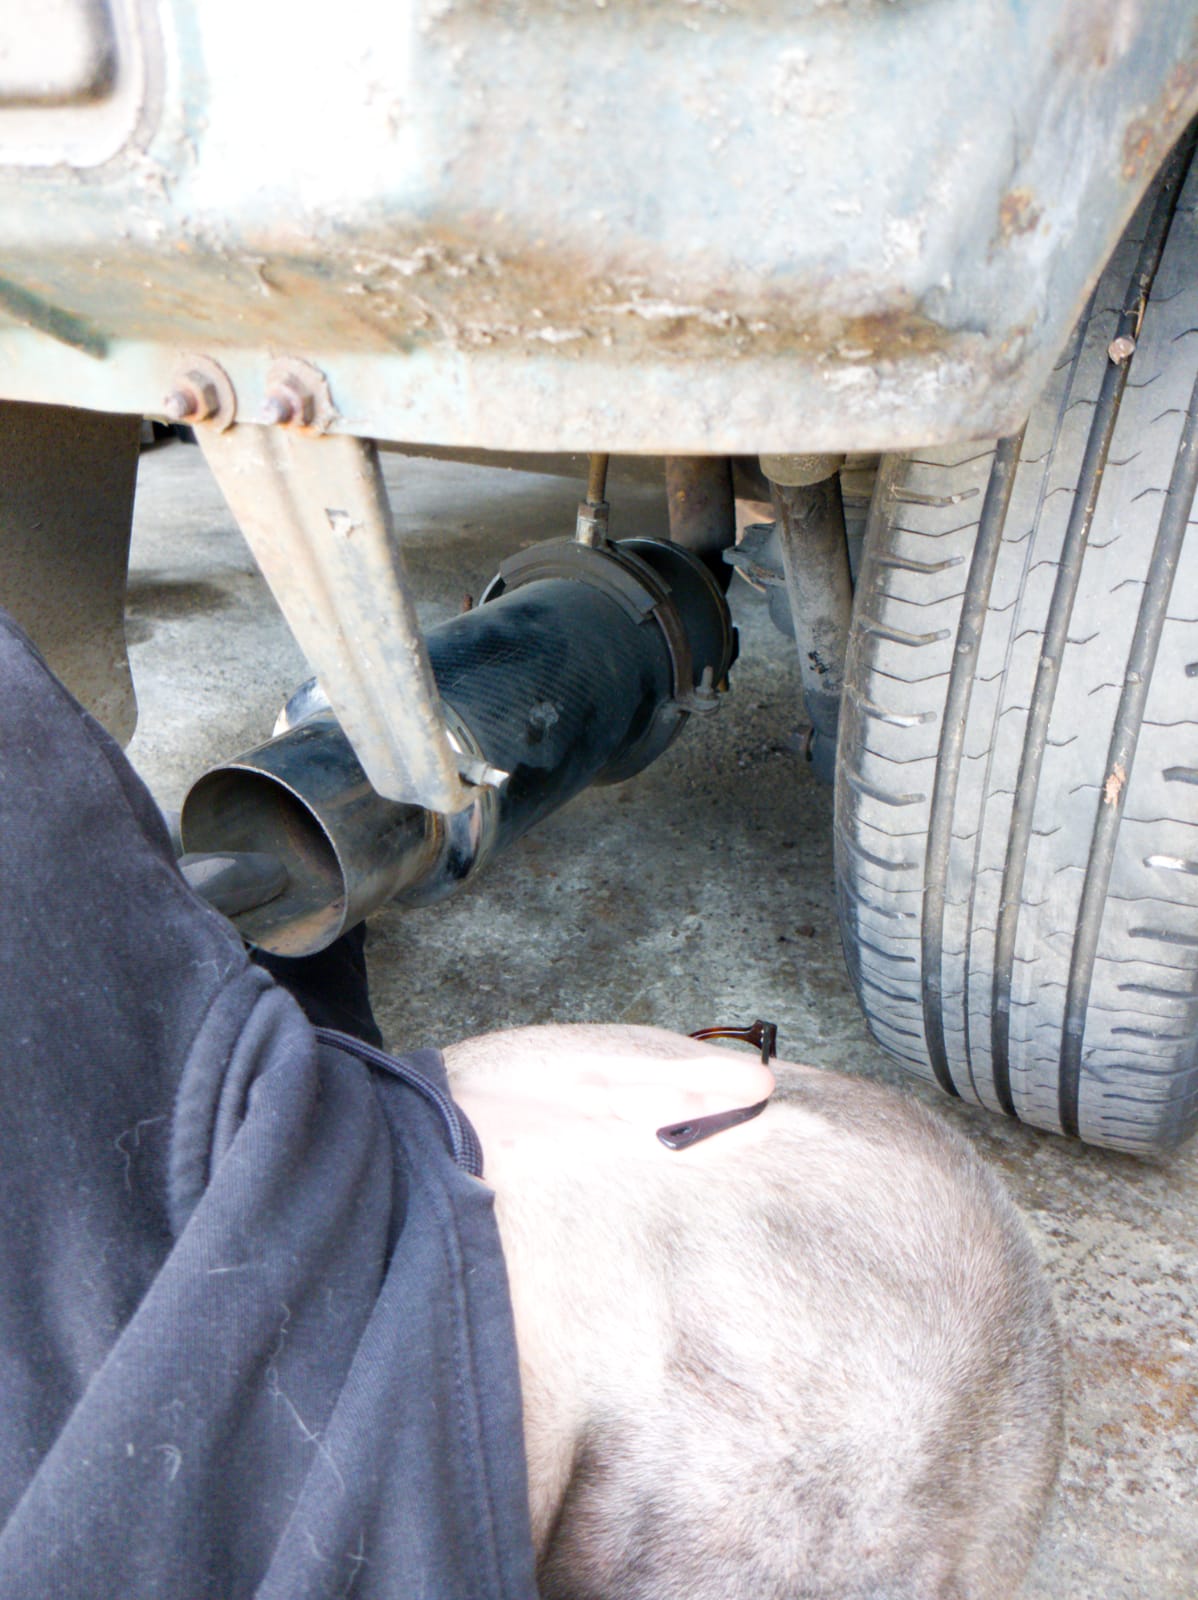
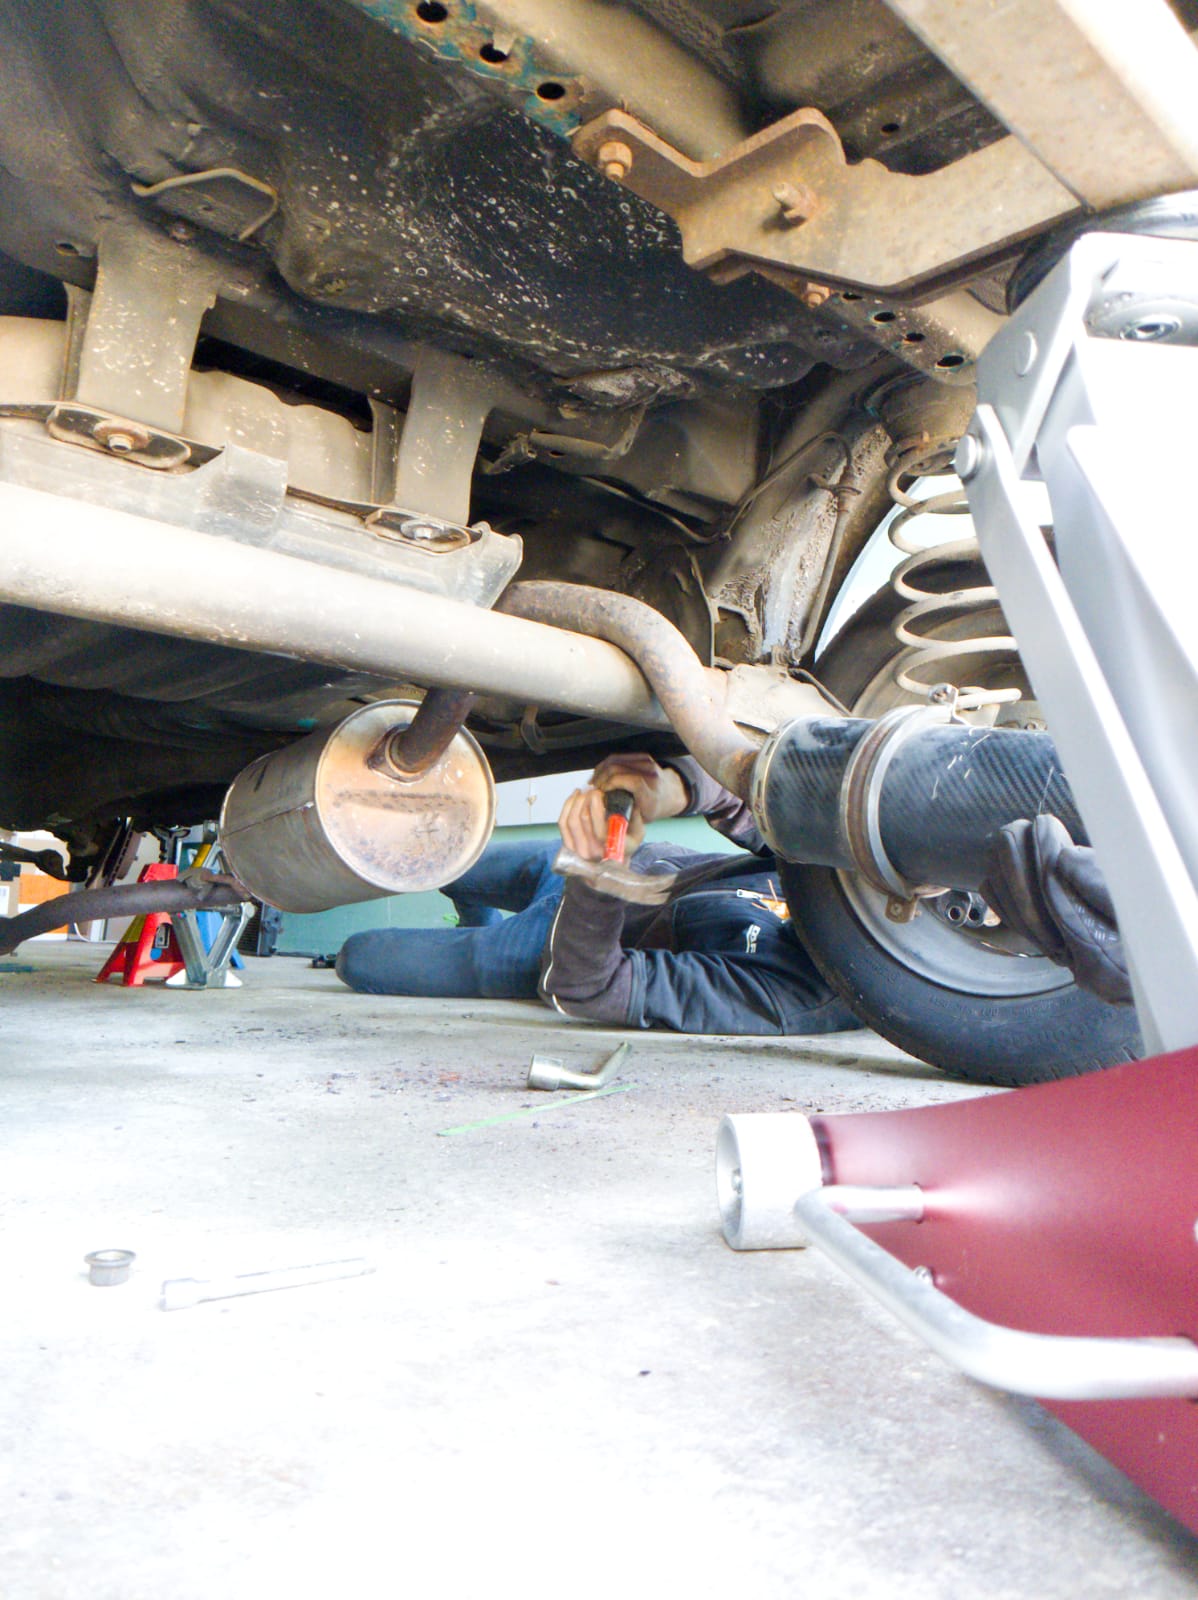
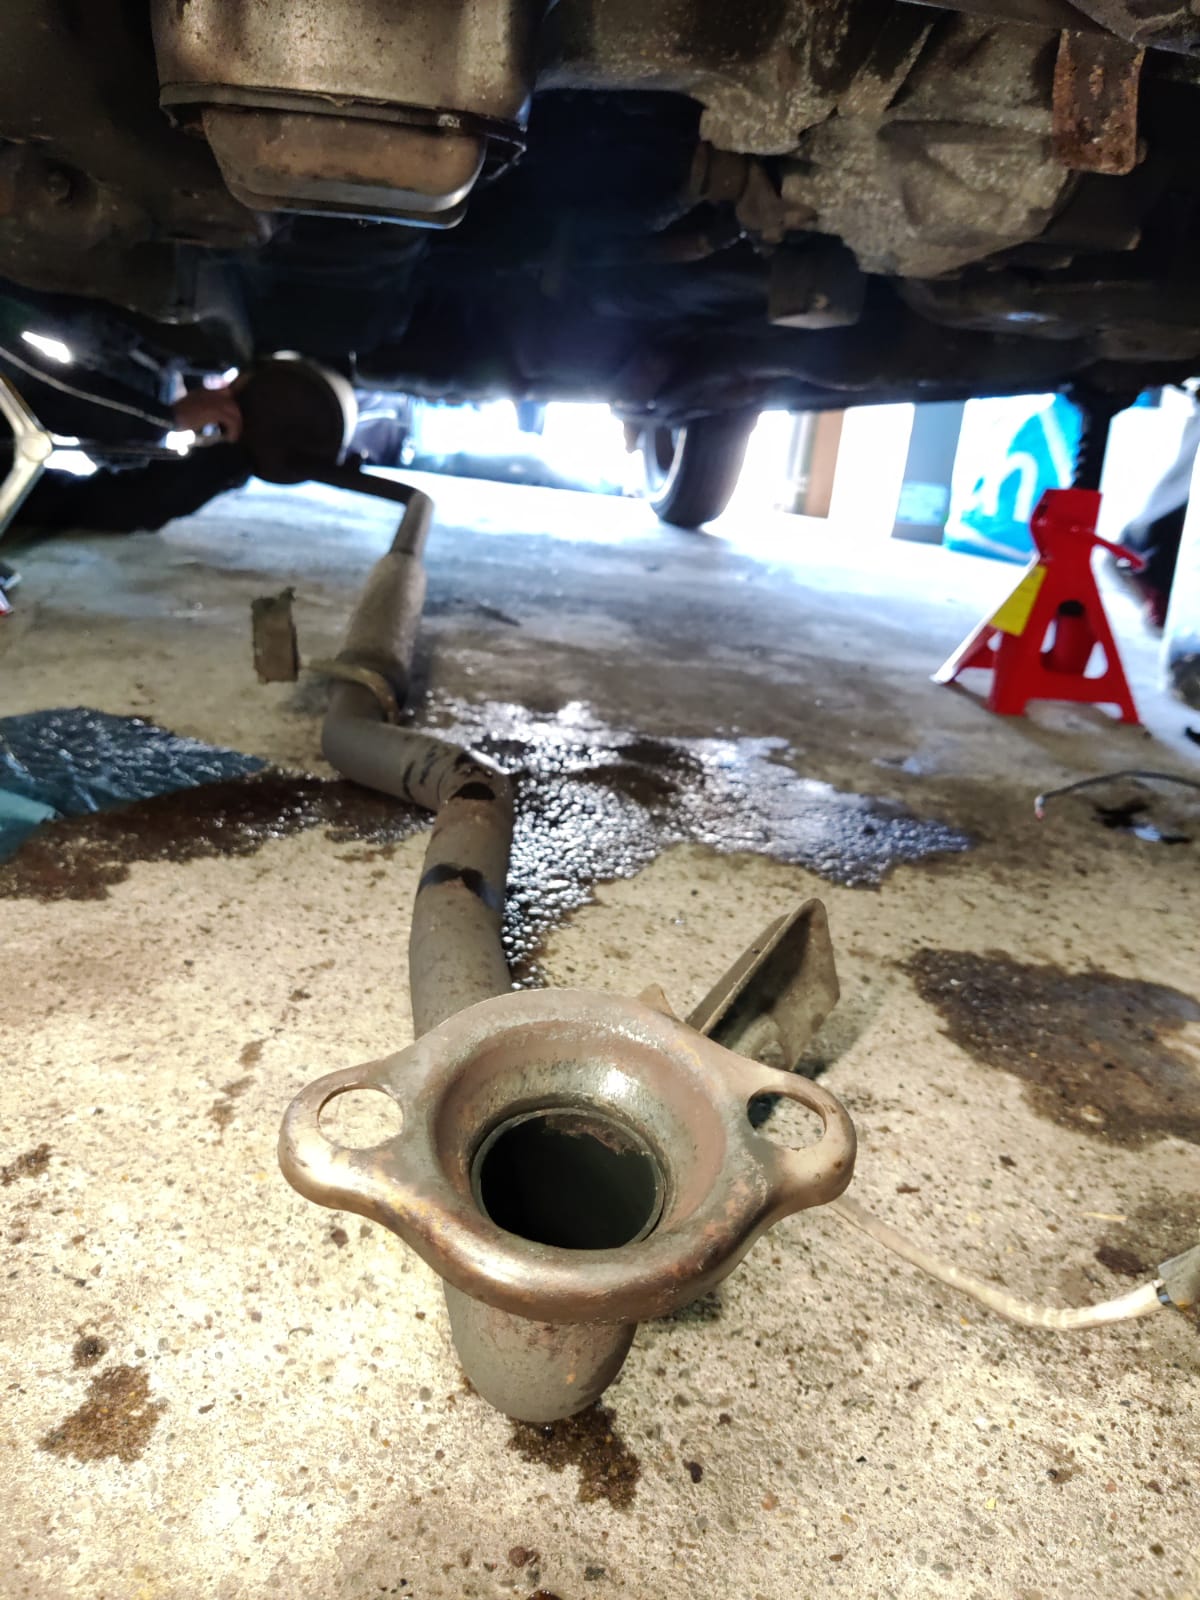
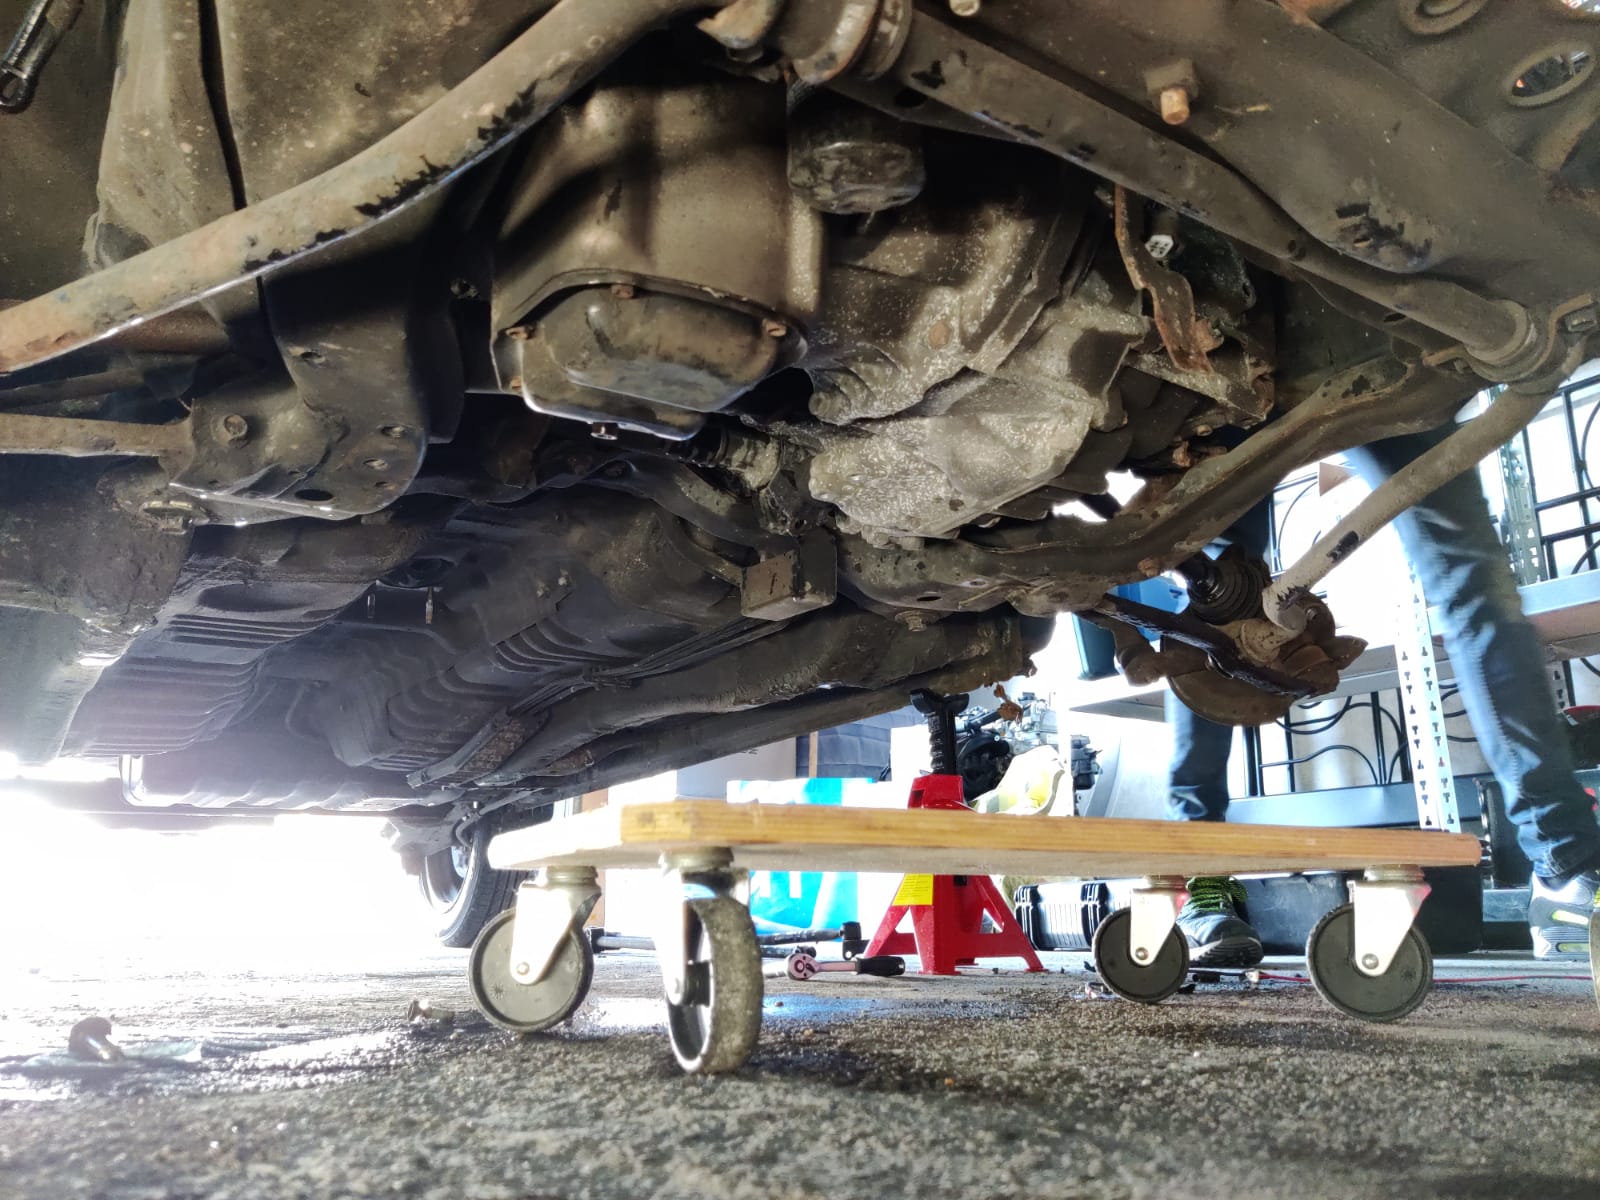
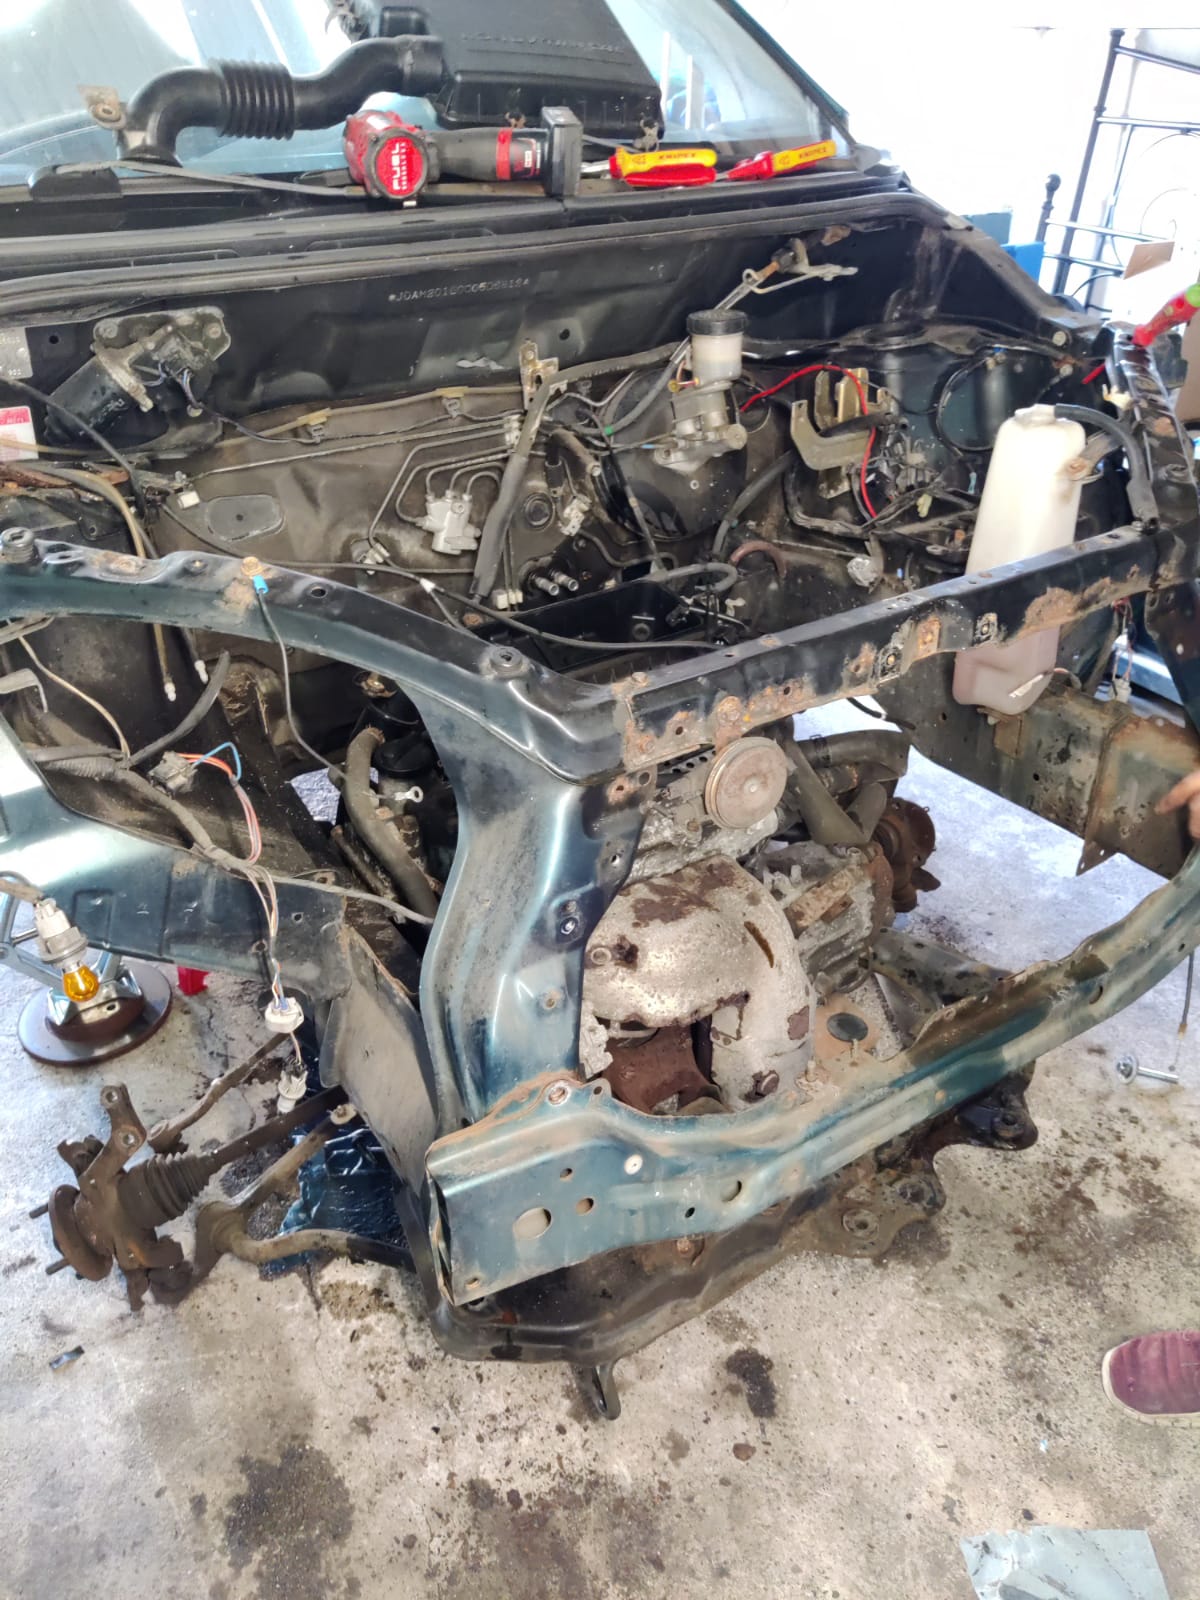
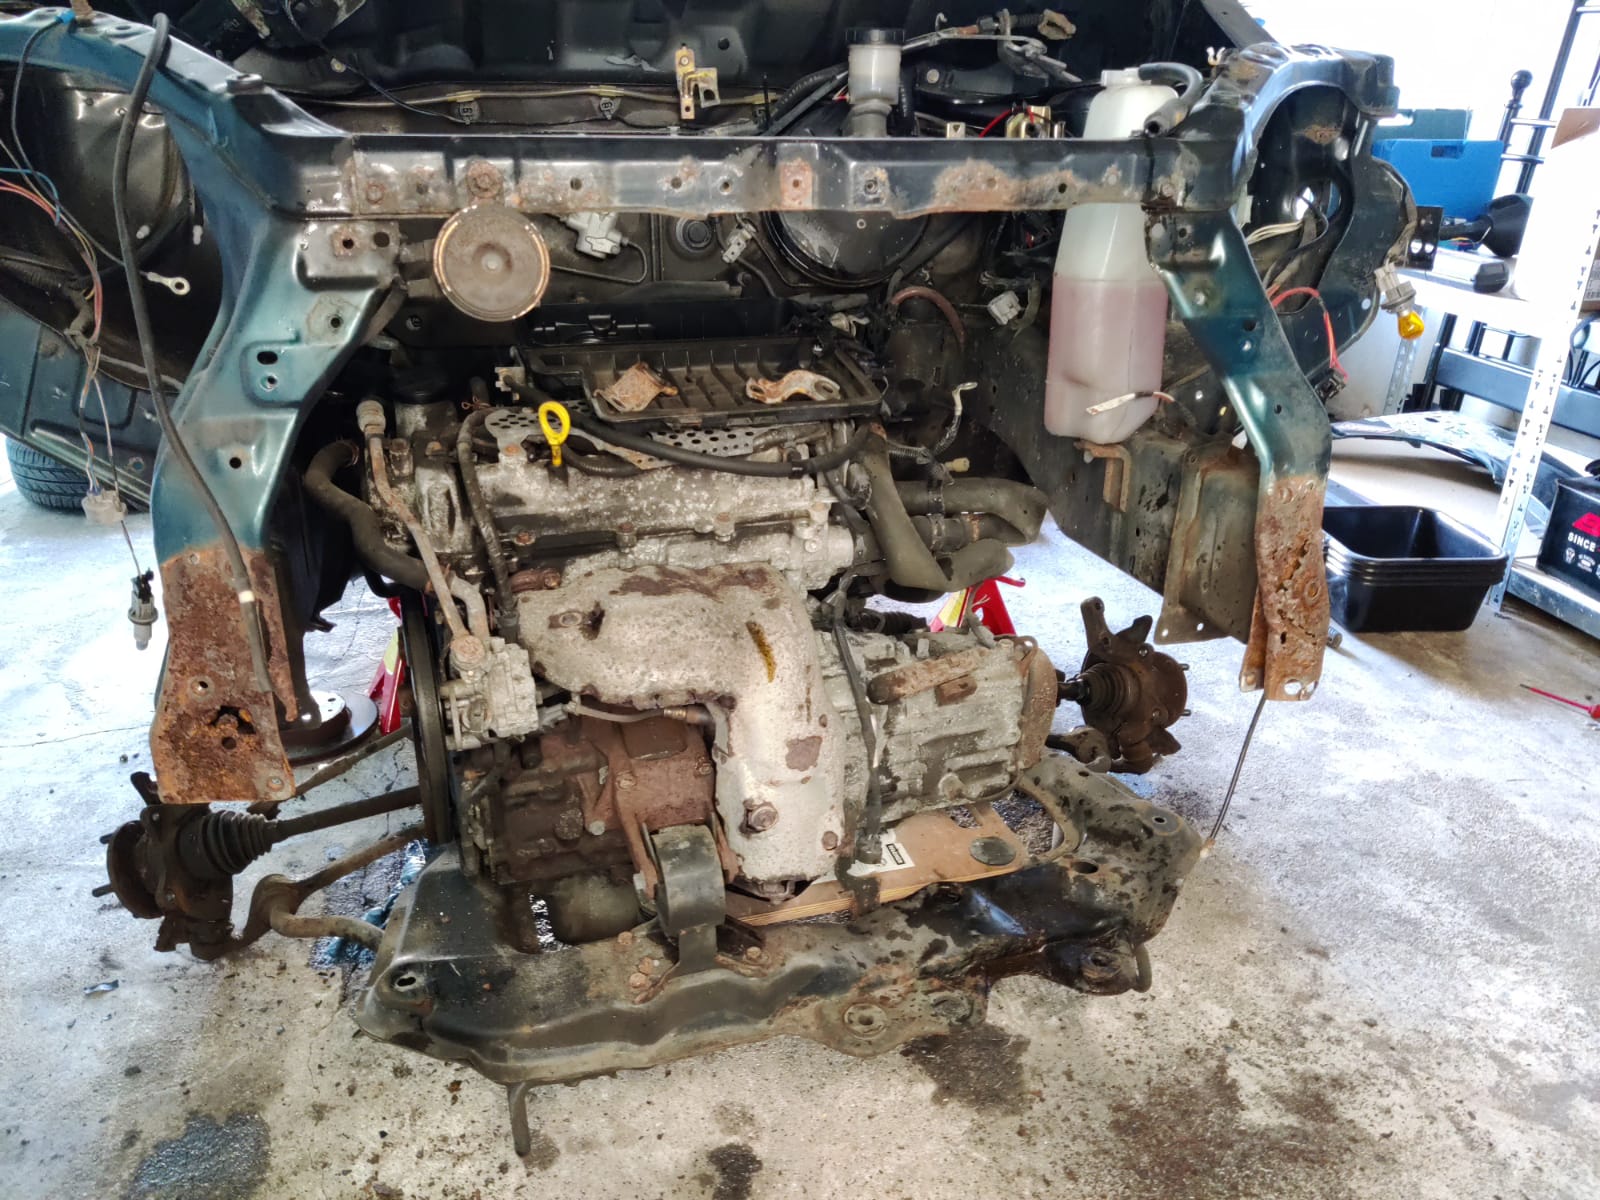
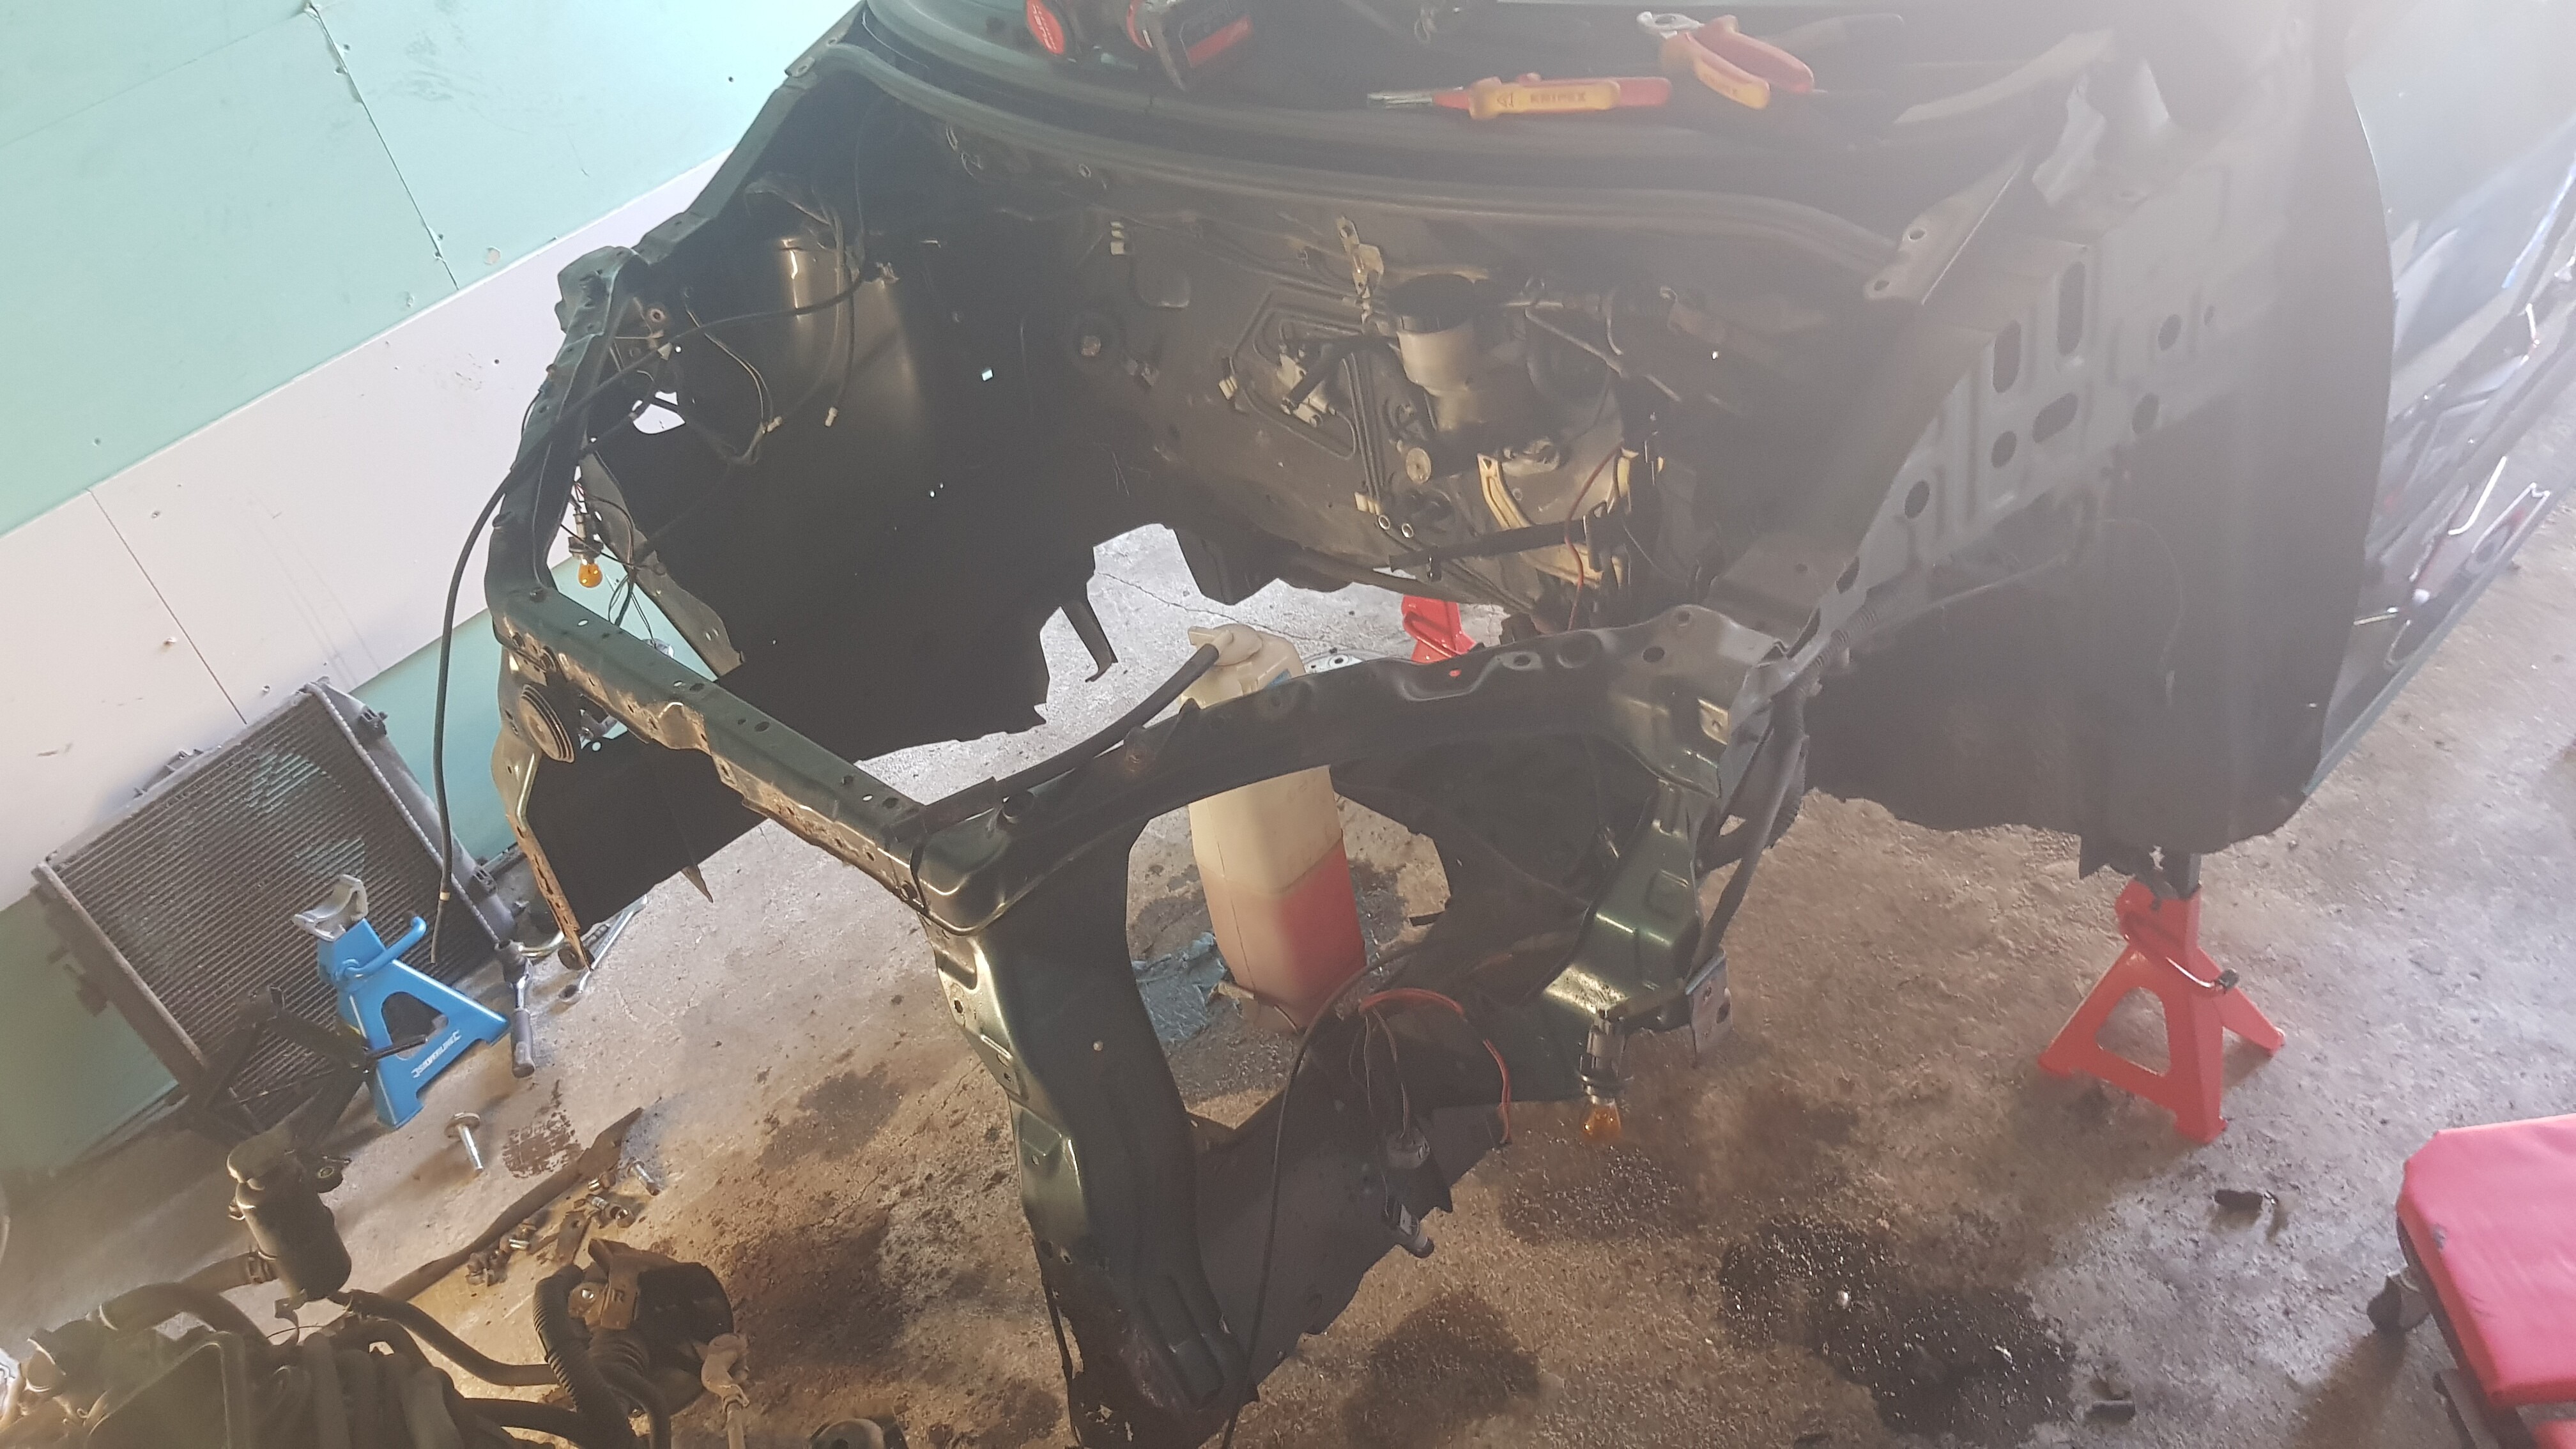
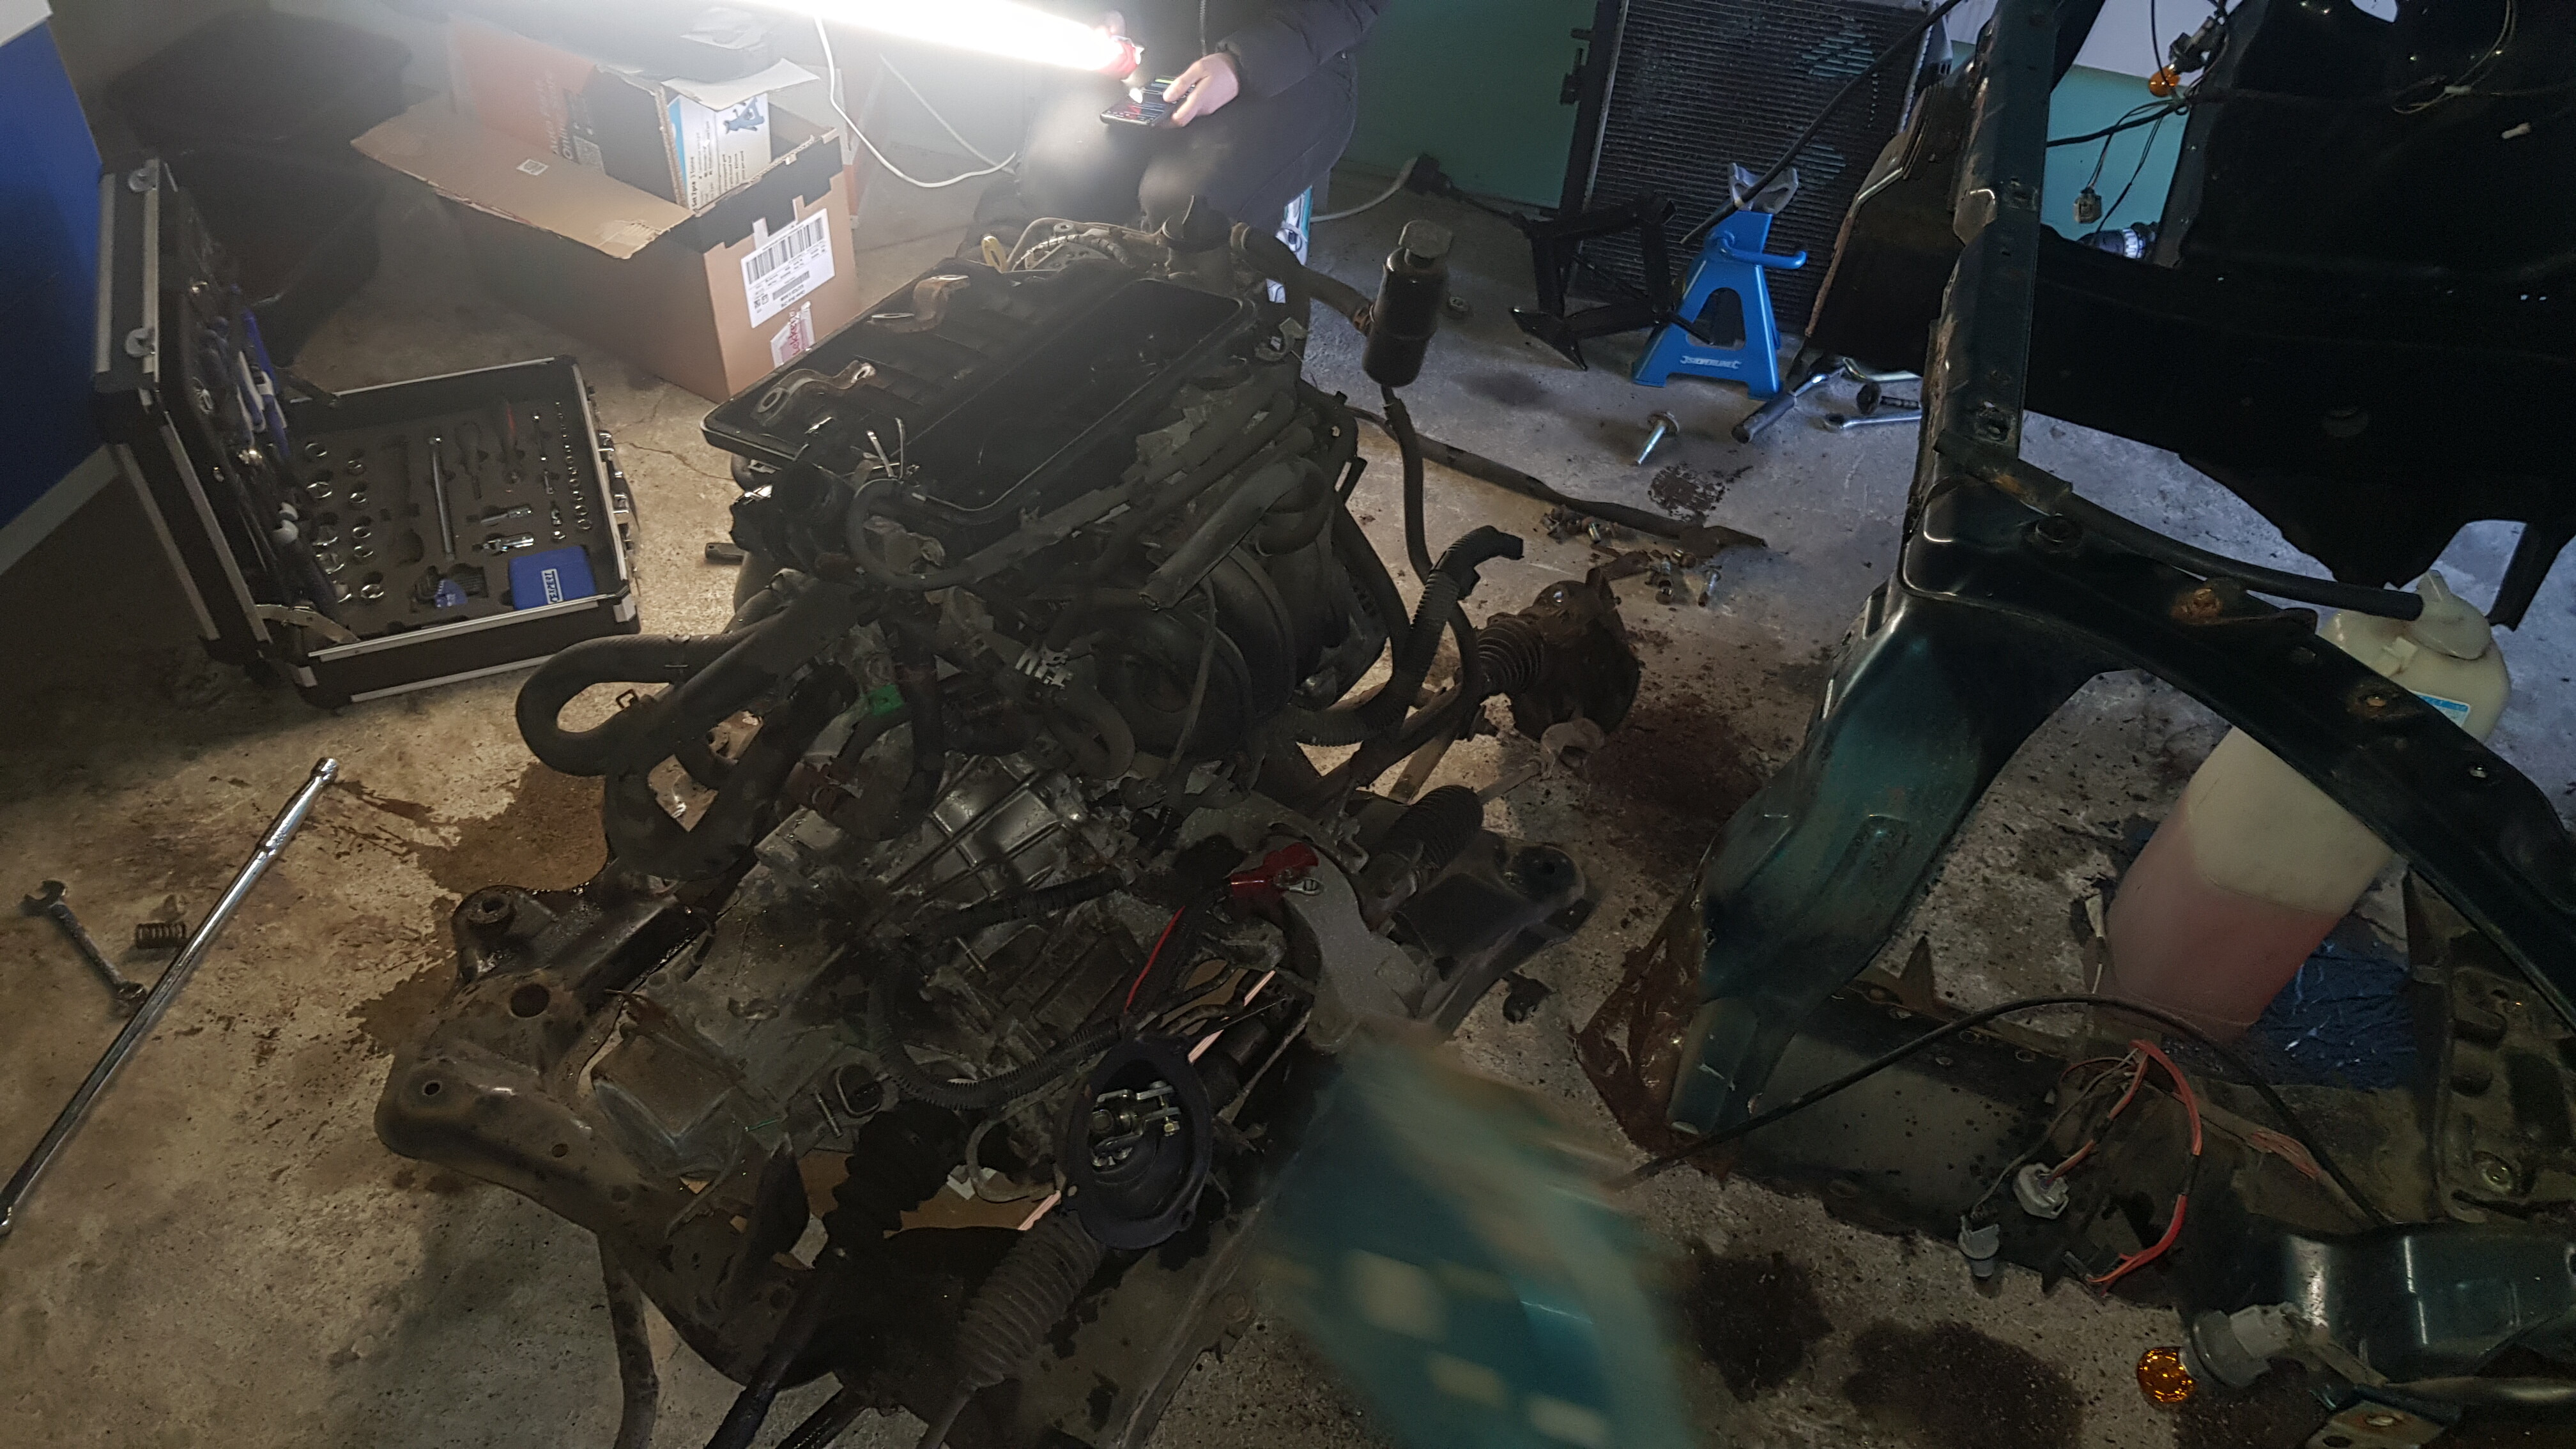
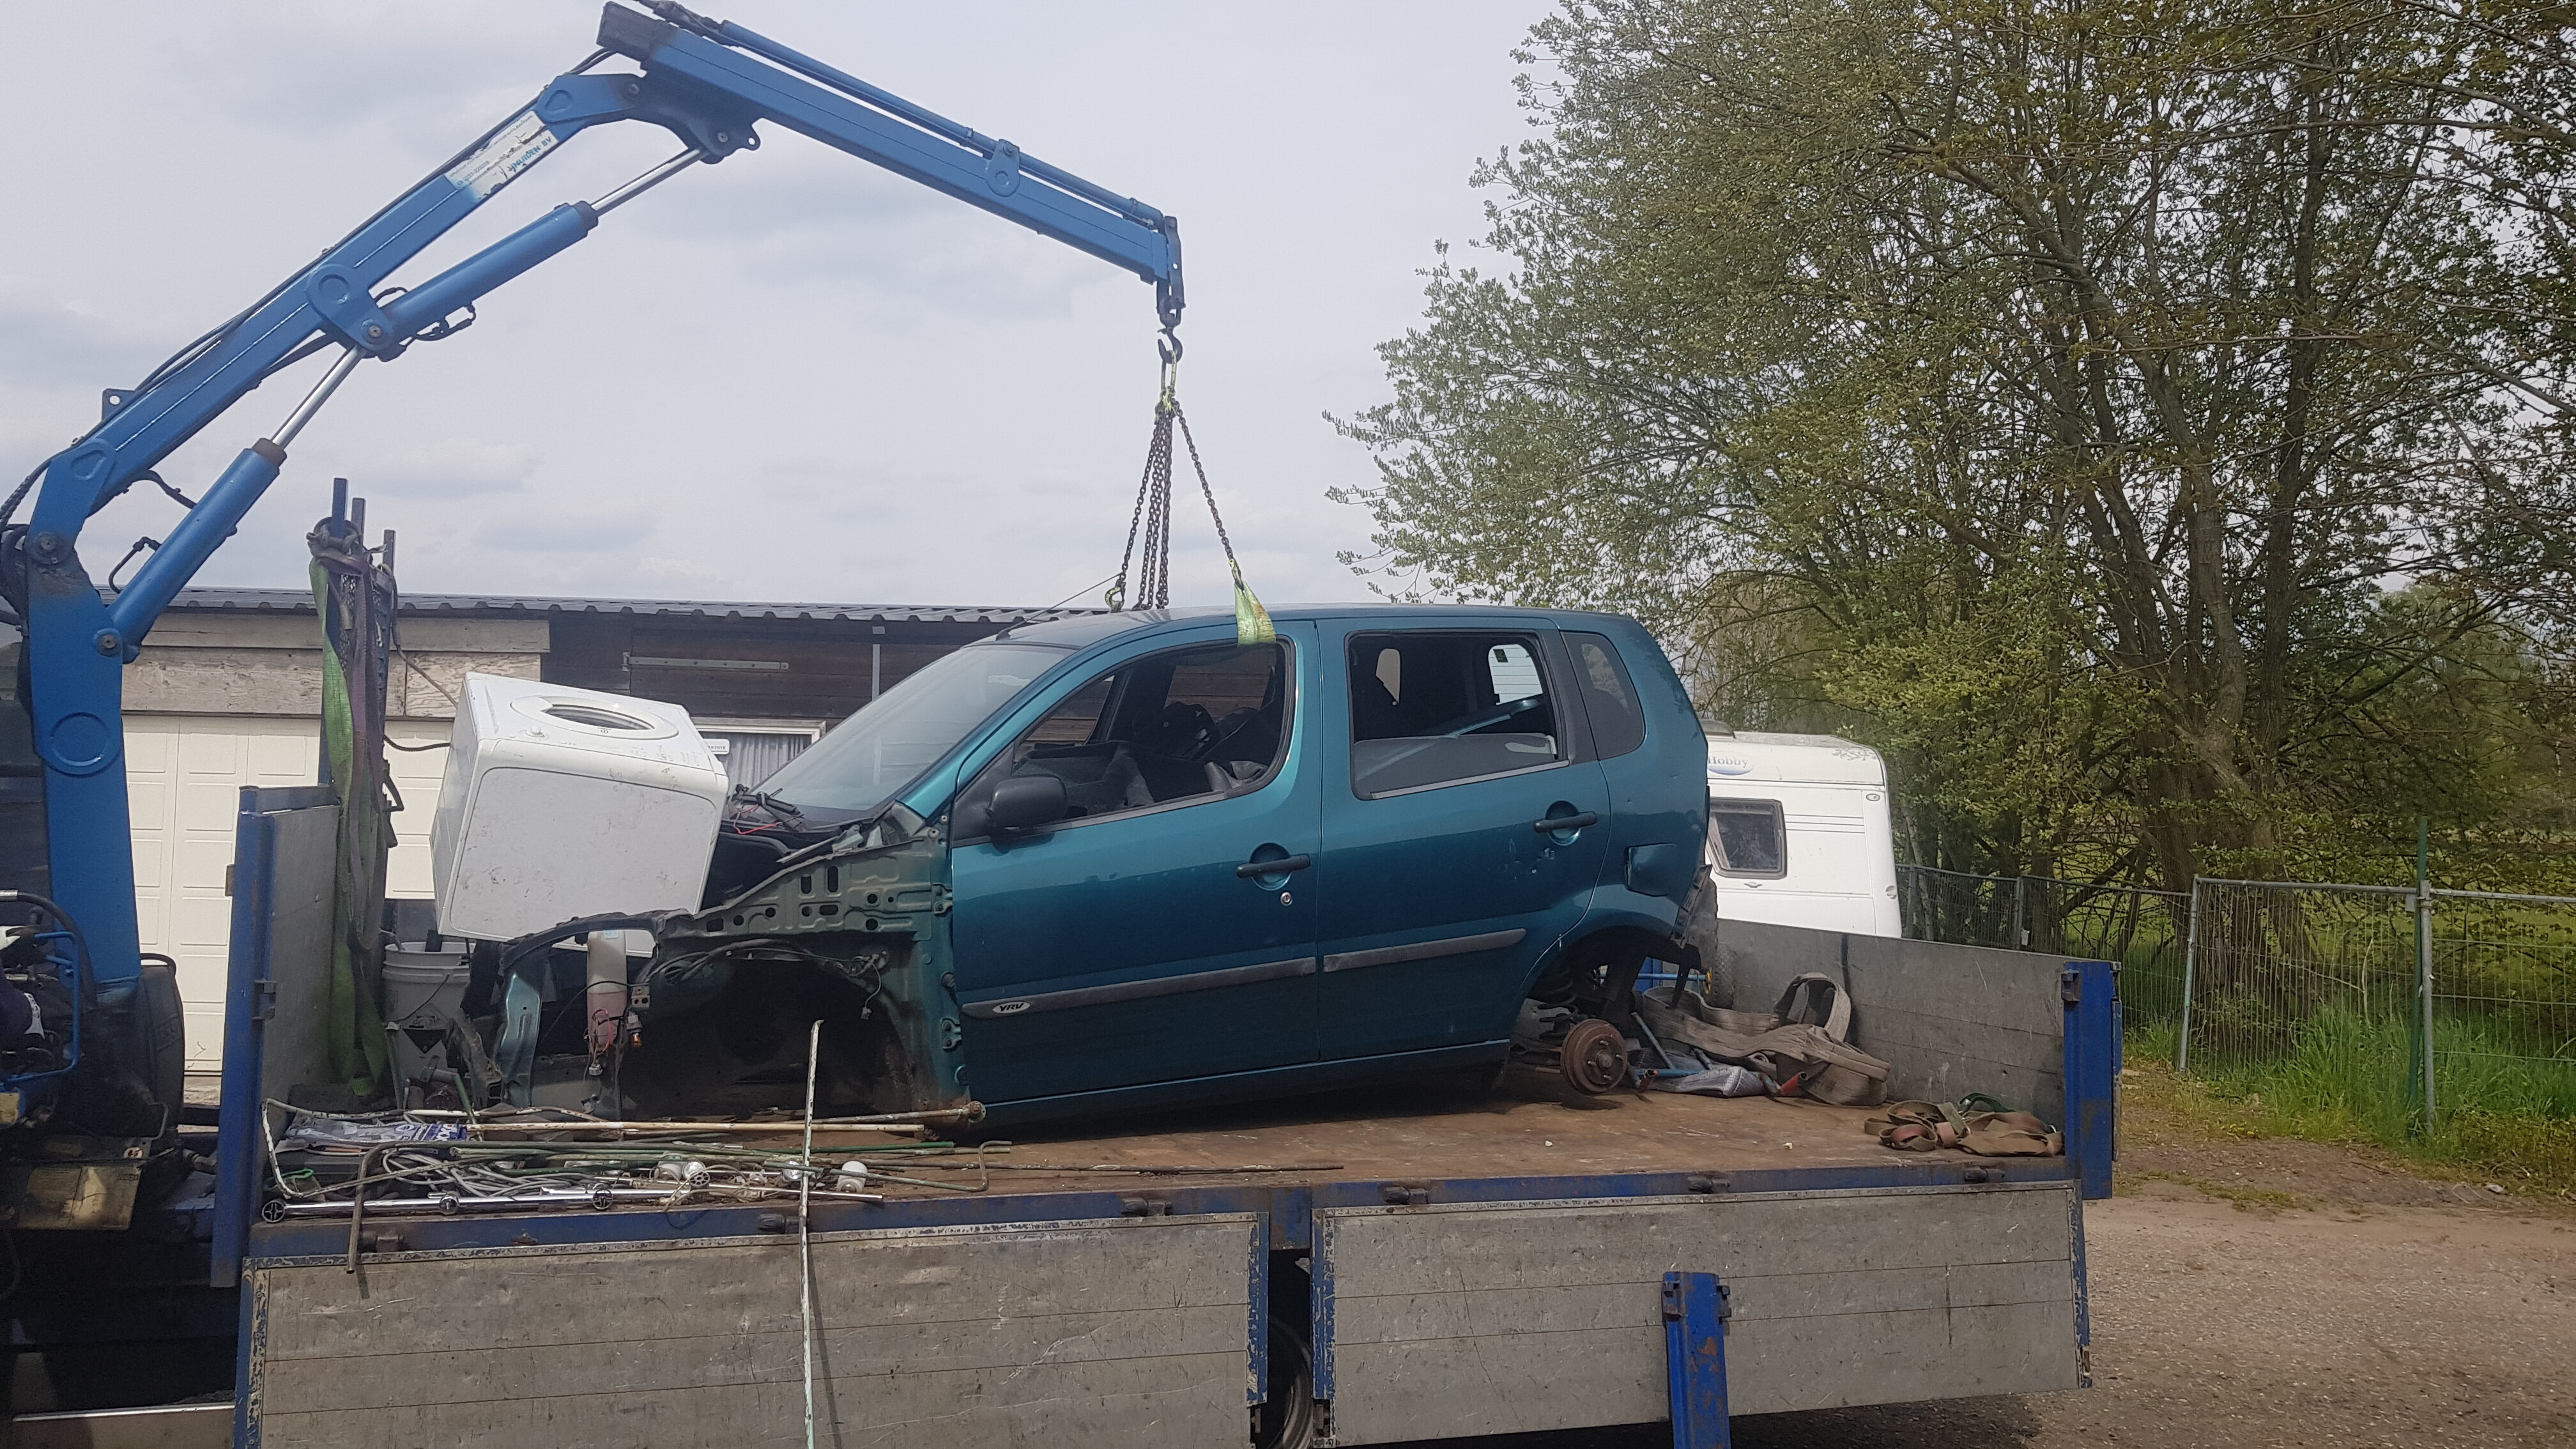
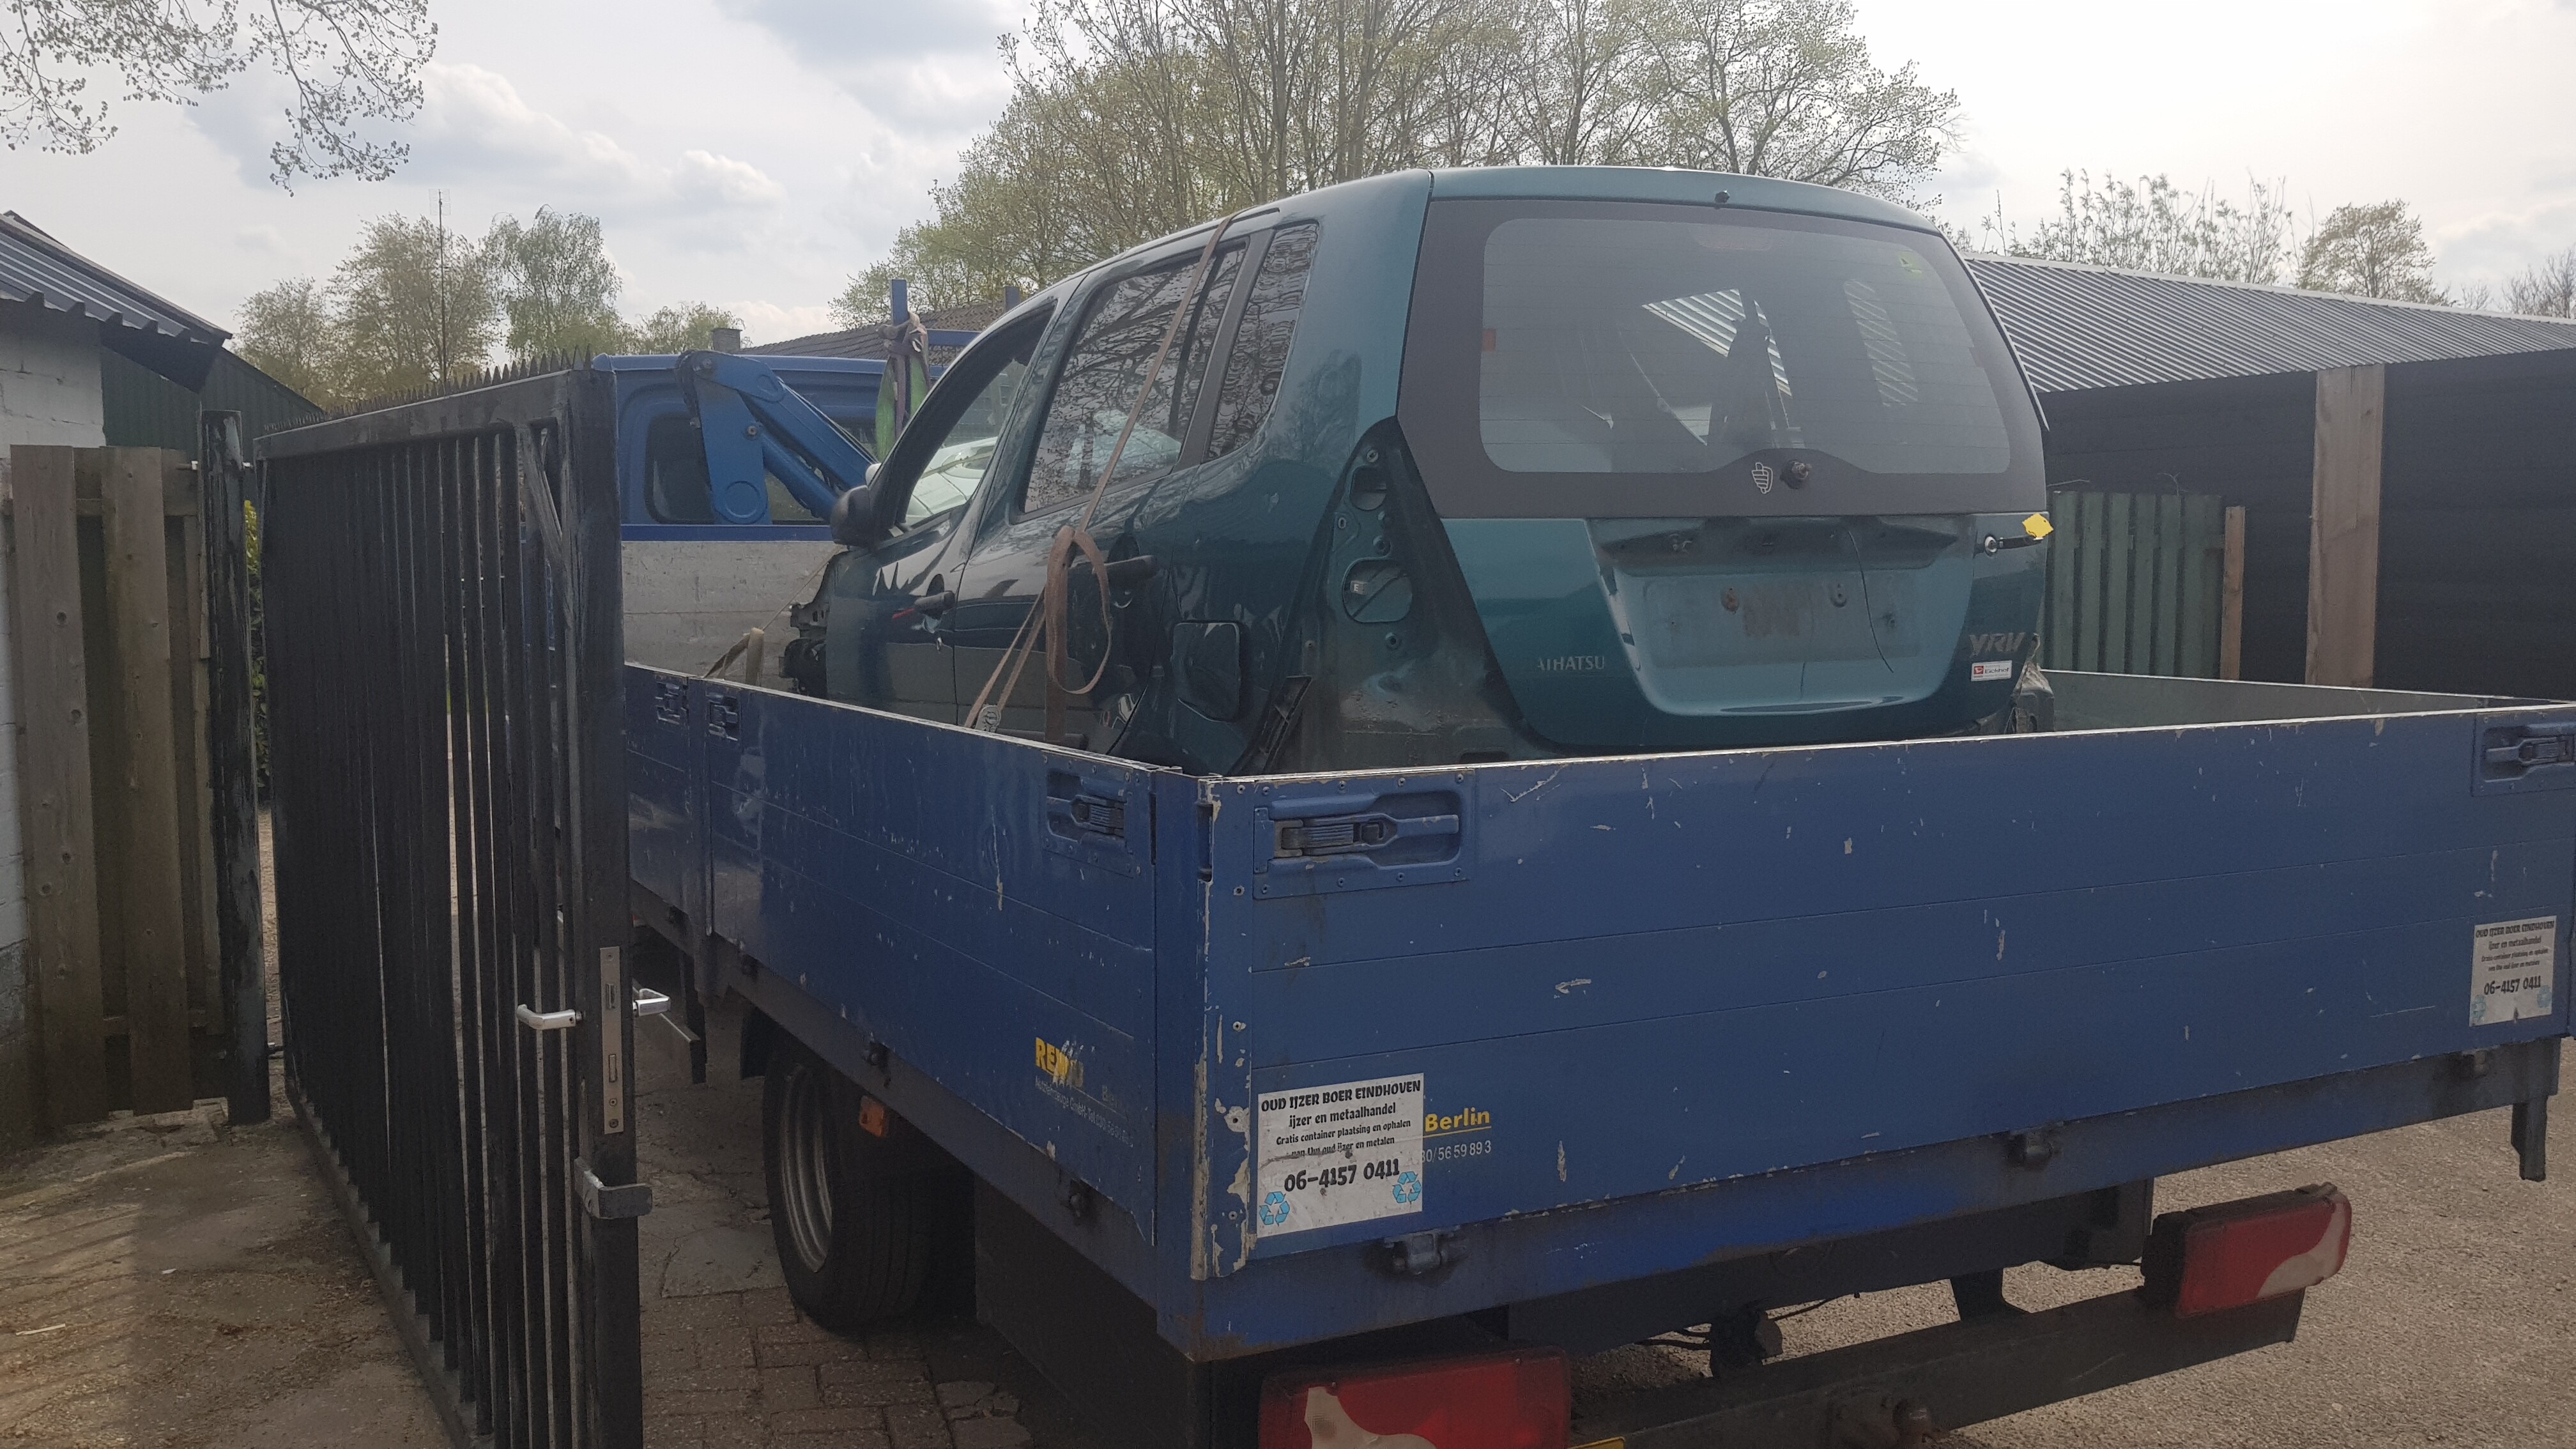
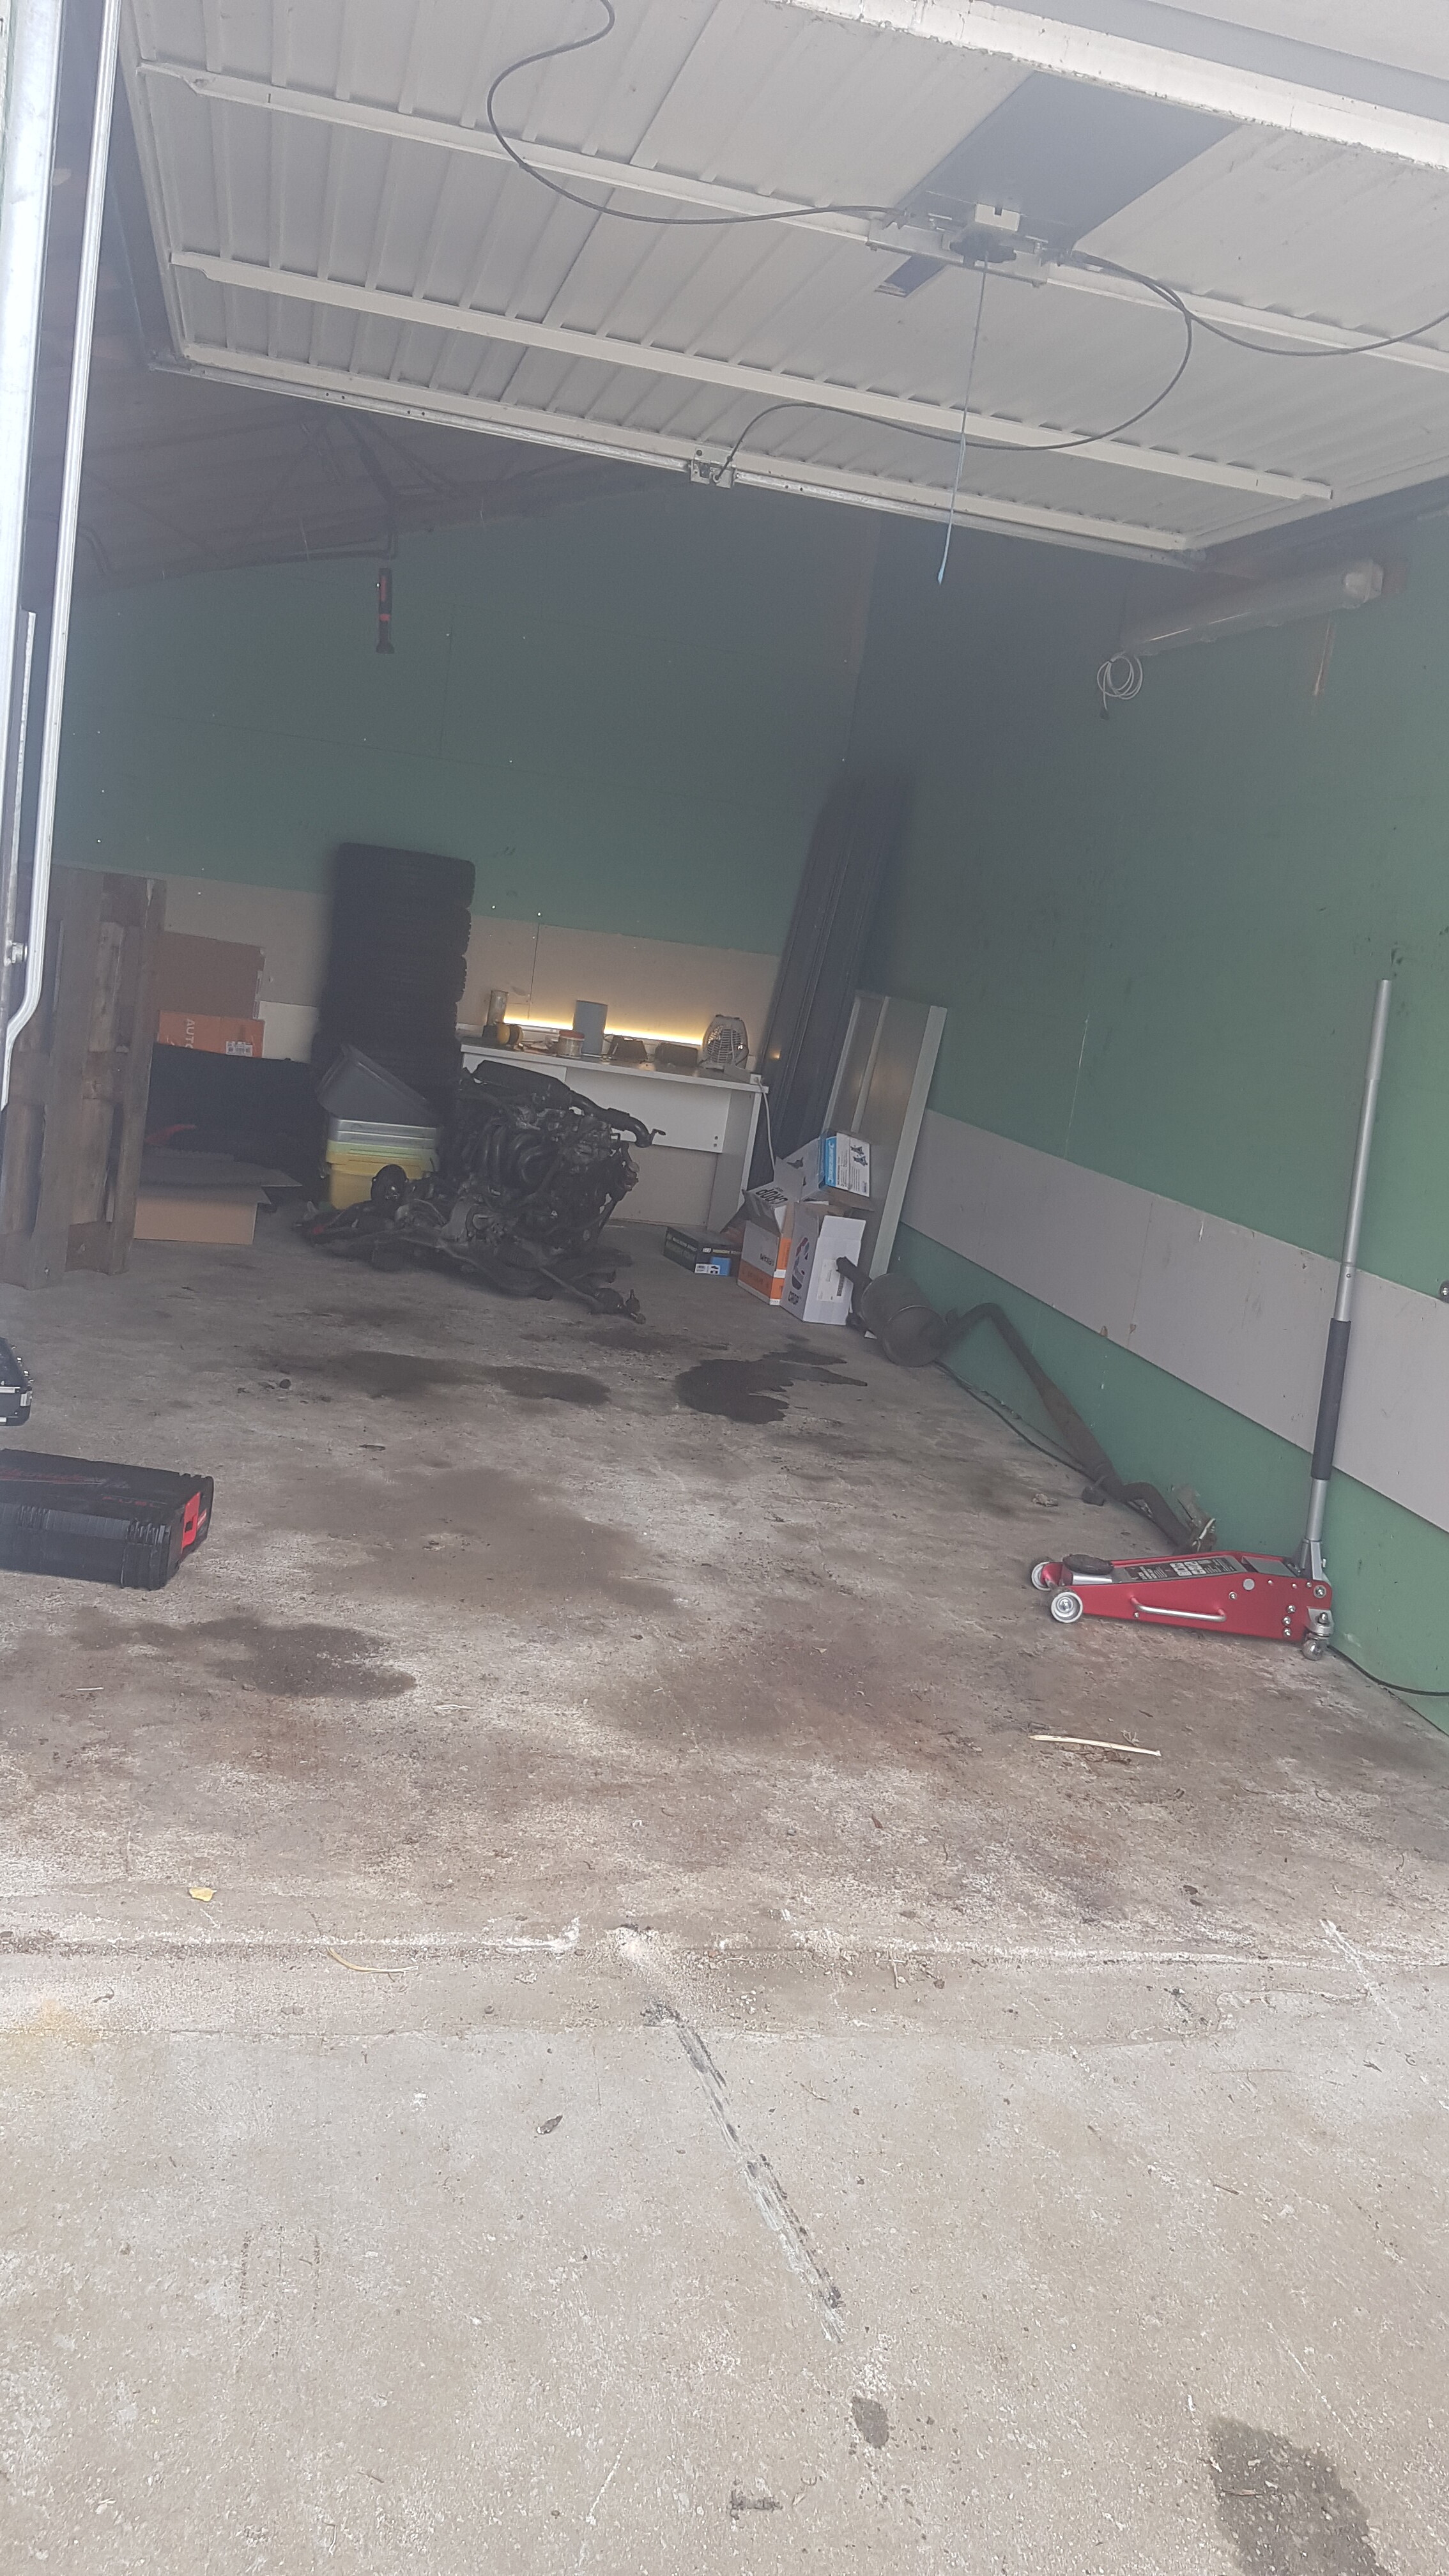
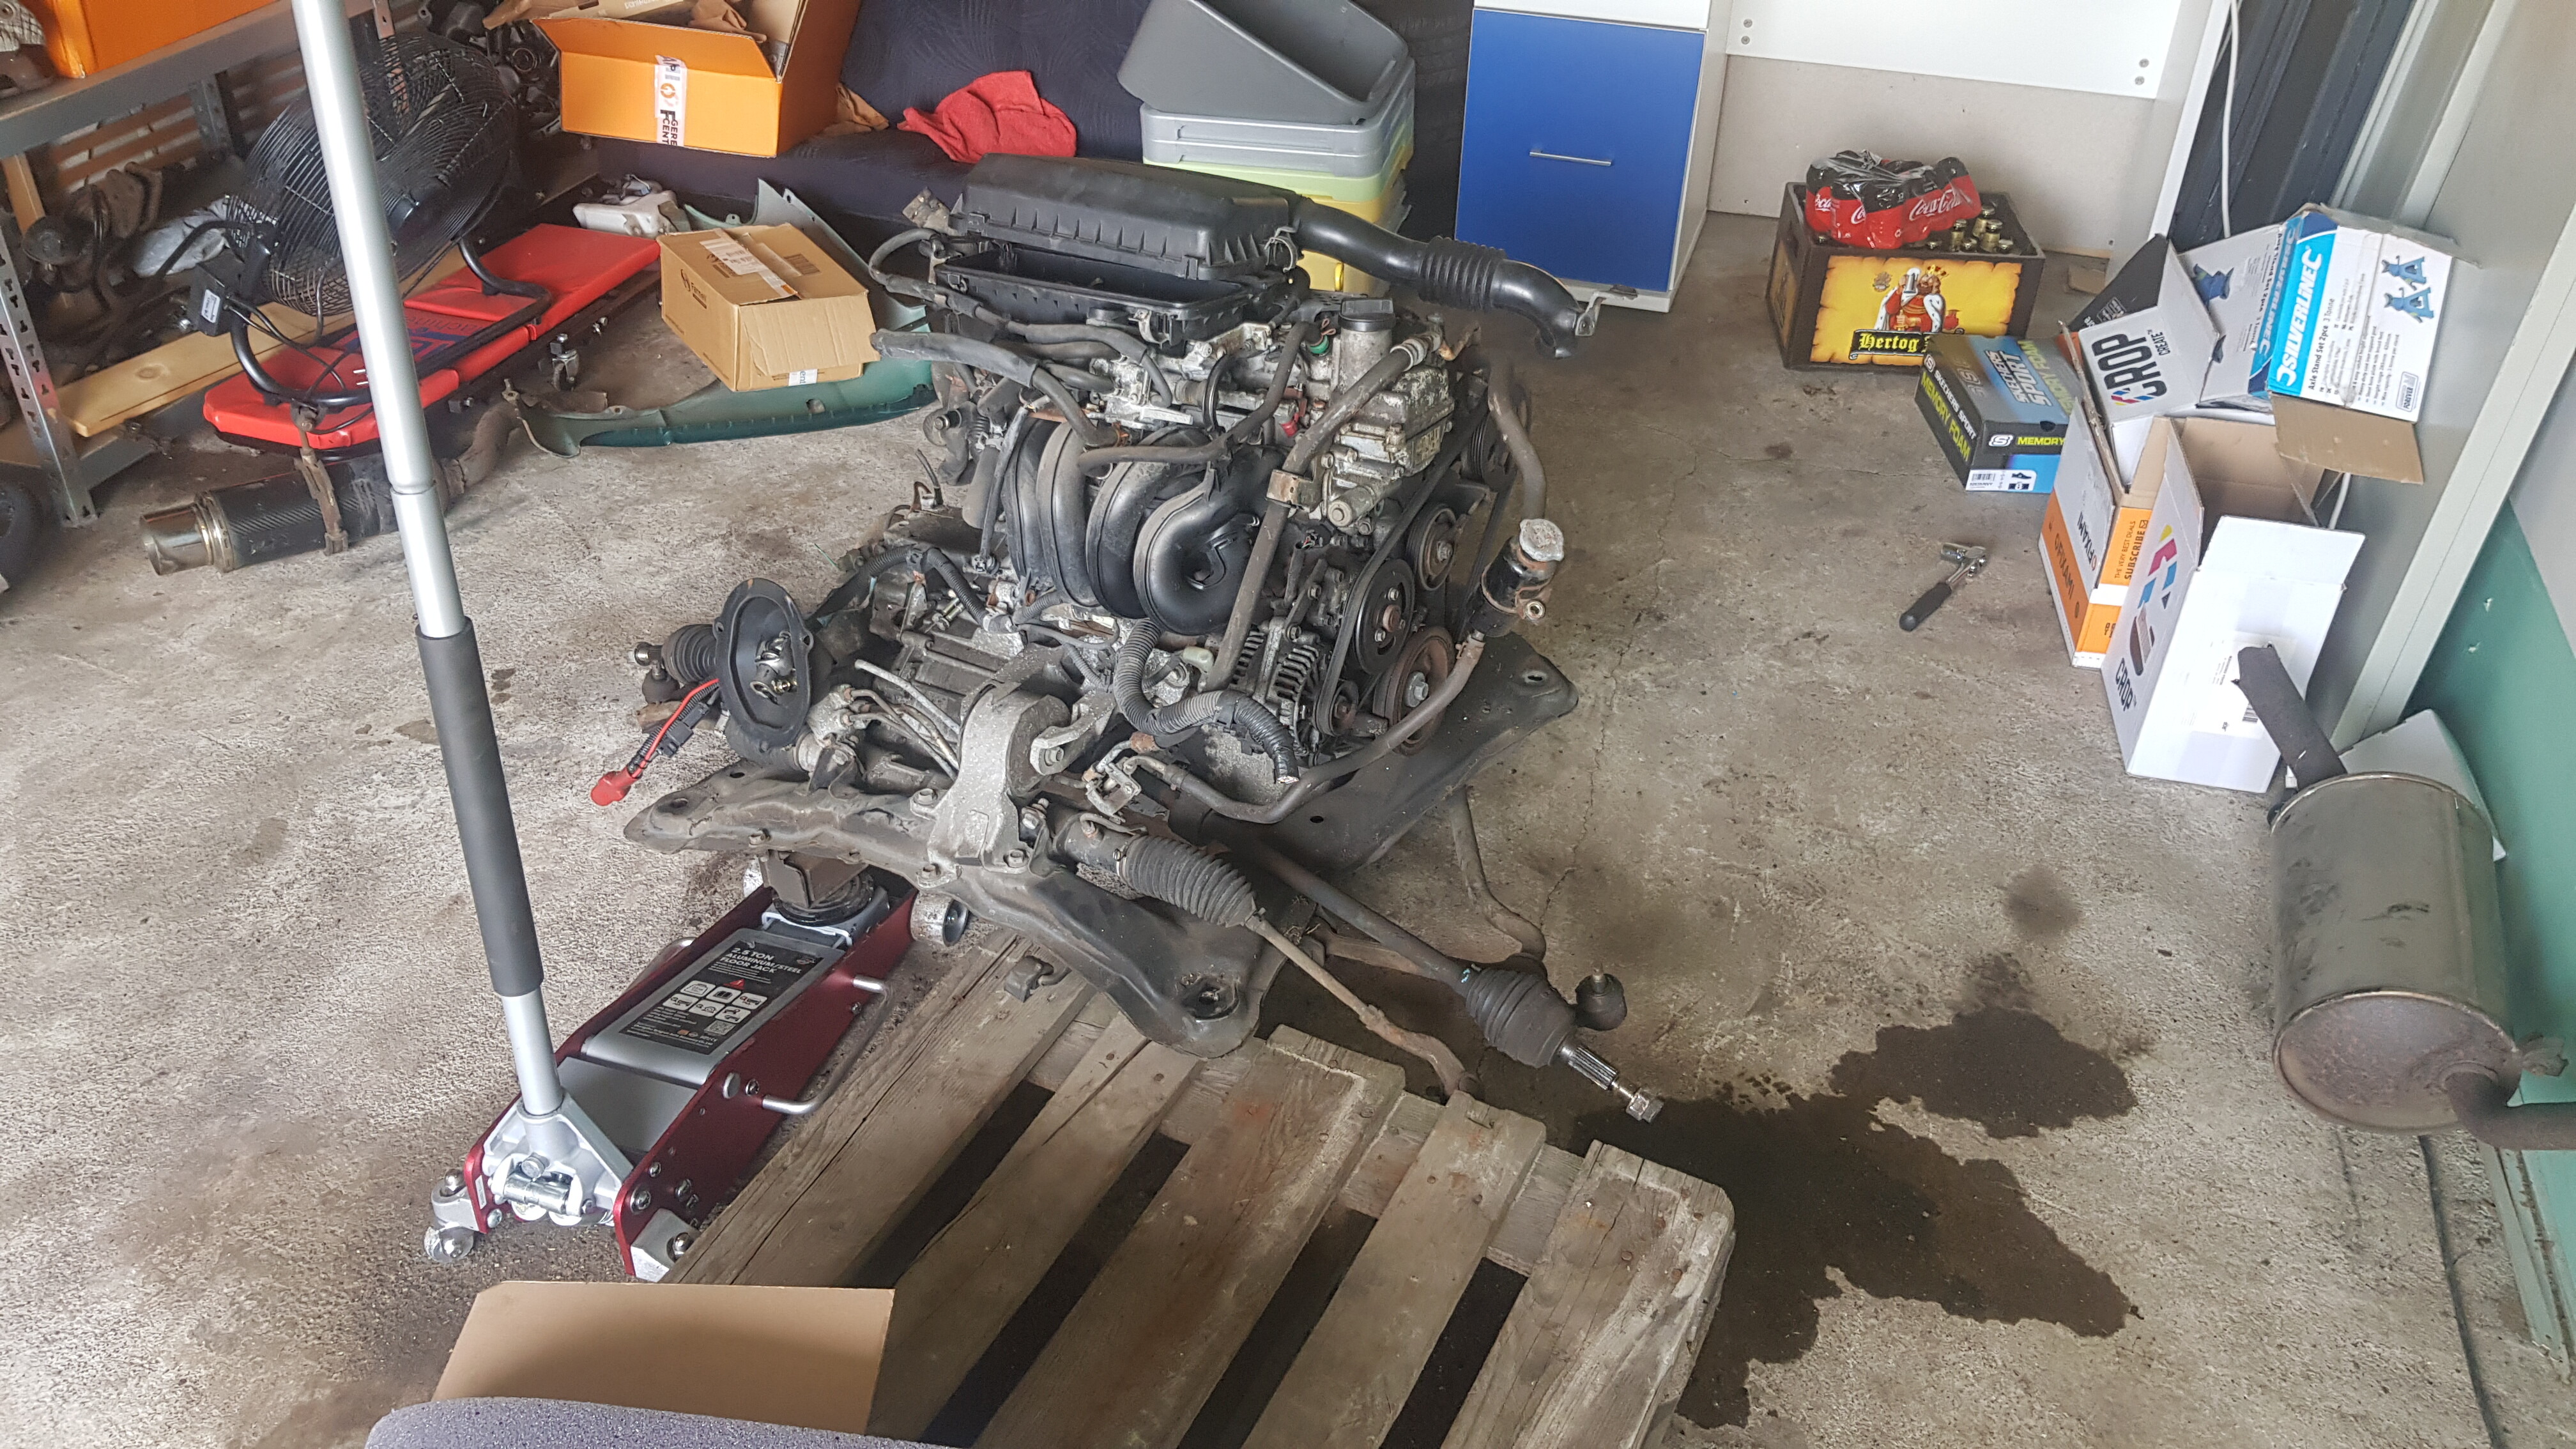
 . Here are a few pictures that were taken along the way:

 . Hence the smile of disappointment on my face.


 .
.