Since buying the Daihatsu Sirion Rally 2 last year, I’ve been working through a snagging list of issues in order of priority. Most of the big work is done, but there are still lots of smaller issues which are outstanding.
Today’s task was to look seriously at the linkage between gearstick and gearbox. The gearchange in the Sirion is good if you’re hoofing it along, changes above 5000rpm (it has a 7800rpm redline, should you wish to use it) are actually very slick, but pootling about it can be irritatingly difficult to change up and down ratios. Sometimes trying to select first or reverse can be impossible without going into another gear first and its generally a bit like stirring porridge - not befitting of a HALO MODEL SPORTS CAR I think you’ll all agree!
Thanks to brilliant content from @Blyatsu HERE I was able to order all of the bushes, bolts and o-rings for the job from Genuine Japanese Car Part Imports - Amayama, itself a goldmine of parts knowledge and exploded diagrams for all things Toyota. I bought everything I needed and had it delivered from Japan (they also have a warehouse in UAE, but didn’t stock all the parts I needed there) in under 2 weeks, and cost under £25 for everything.
The exploded diagram for the Sirion helped enormously, and having studied it and gathered the required parts I set to with the job in my garage this afternoon. The luxury of a garage has helped enormously with this job, because despite it being 6 celcius outside today, blowing a gale and chucking it down with rain, I was able to do the work in the dry and relative warm of inside!
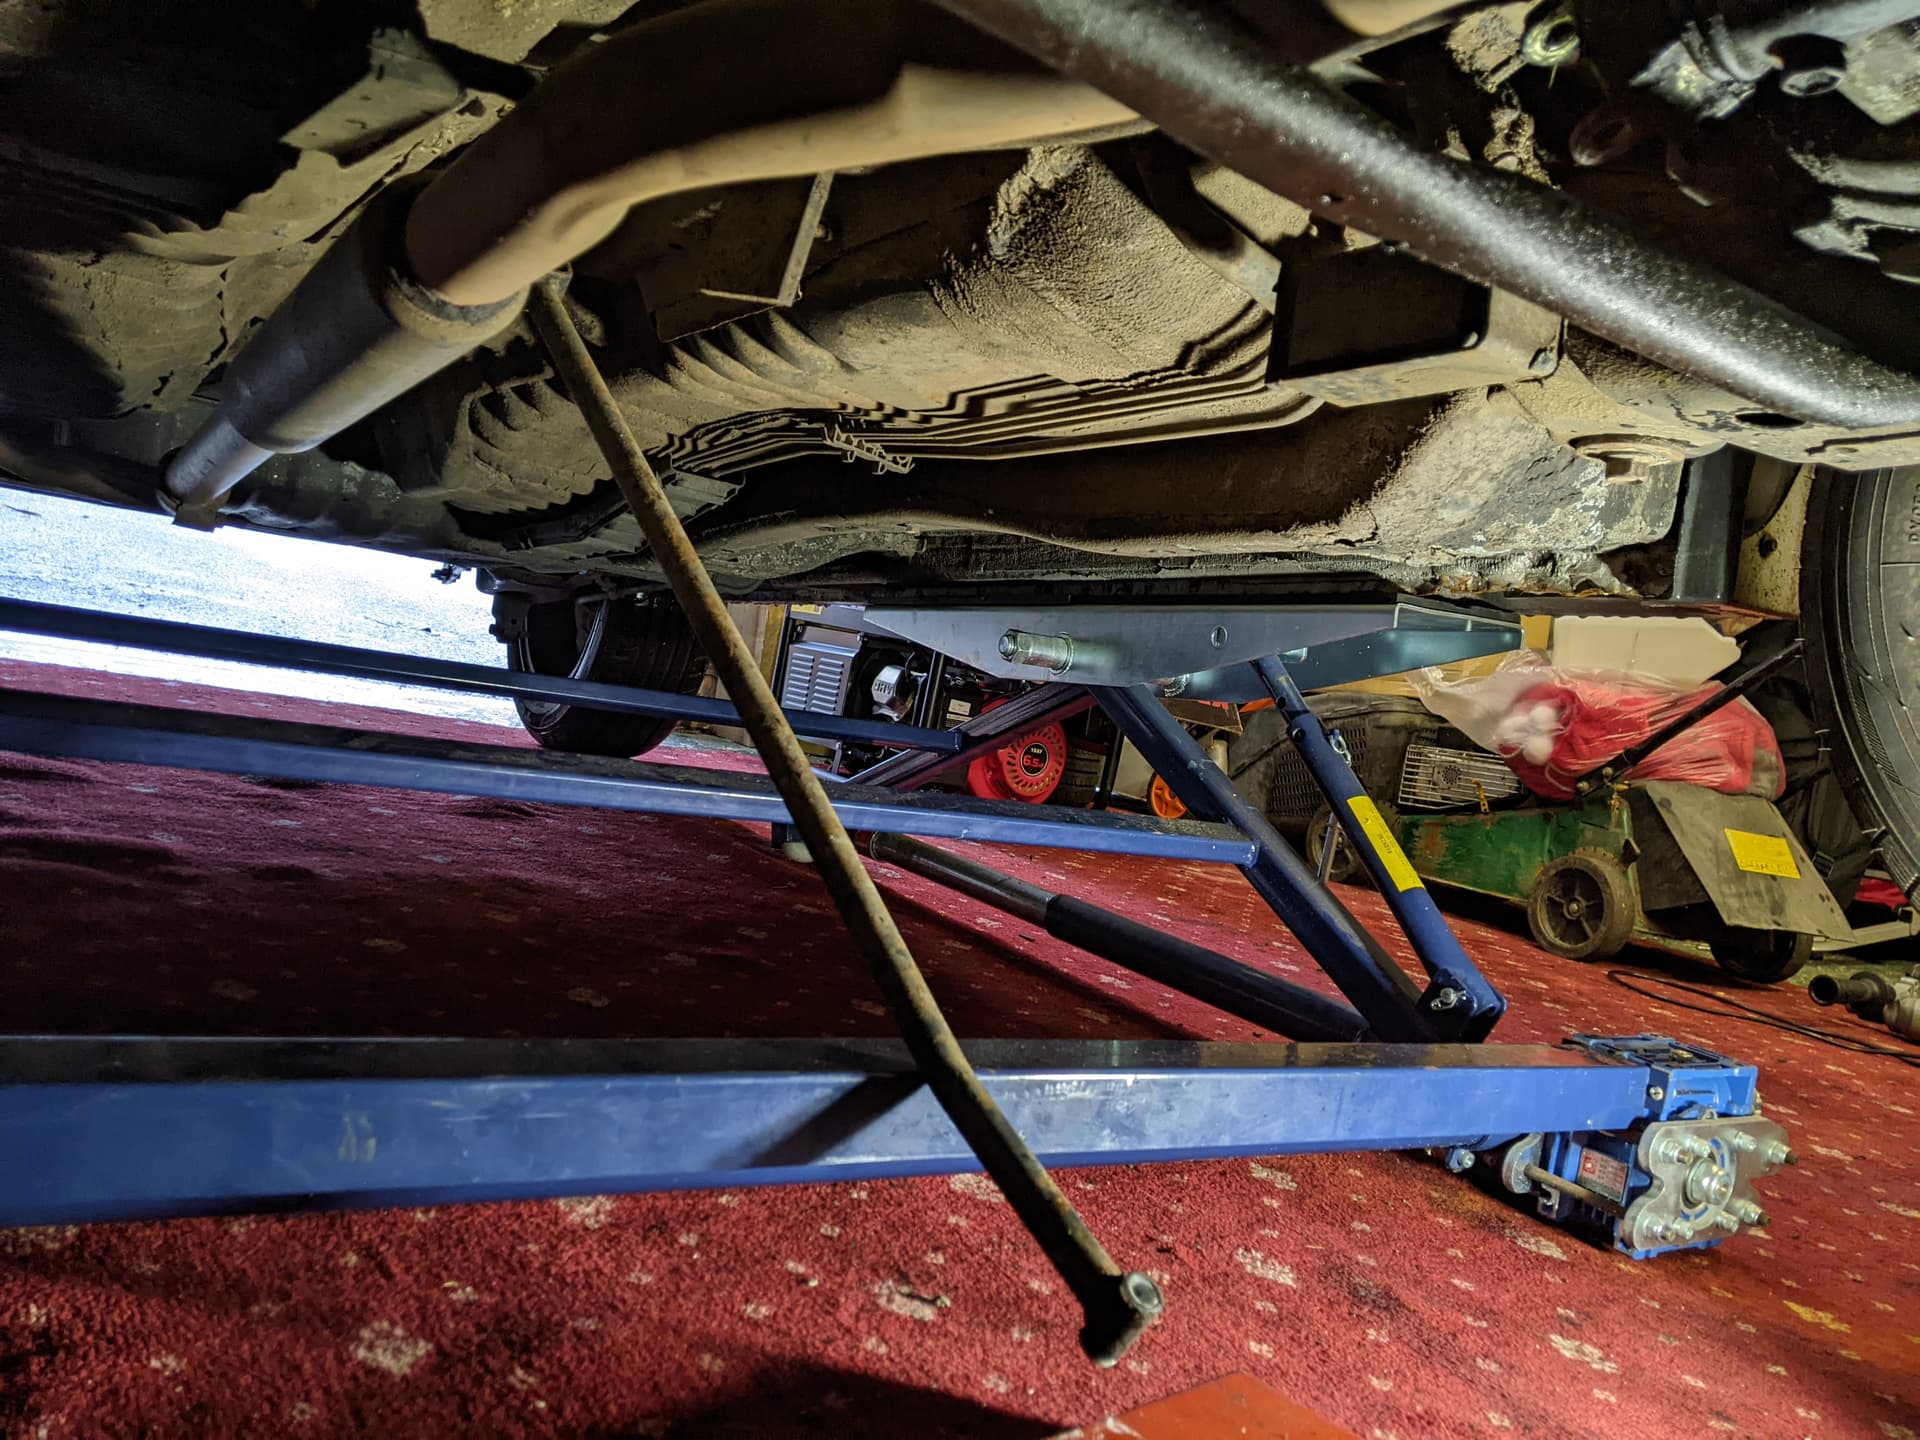
I got the car up on my scissor lift, with the boot weighted down with two 25kg bags of sand. This is necessary because the car is very short, and most of the weight is in the engine bay, so you need to counterbalance this with ballast in the boot. with the car up on the lift I could slide under the front and start work. The linkage between the gearstick and gearbox is basically two metal rods about a metre long, which have tubular sections at the end, which locate using bolts into the gearbox and gearstick. The bolts fit through plastic bushings with rubber o-rings to ensure a precise movement and protect from metal-on-metal action.
The first task was to ensure that the bracket was securely tightened to the gearbox at the front (gearbox) end, then undo the flange bolt from the captive nut and wiggle the tubular section of the gear linkage out from the retainer. This is held in with a 12mm head flange bolt
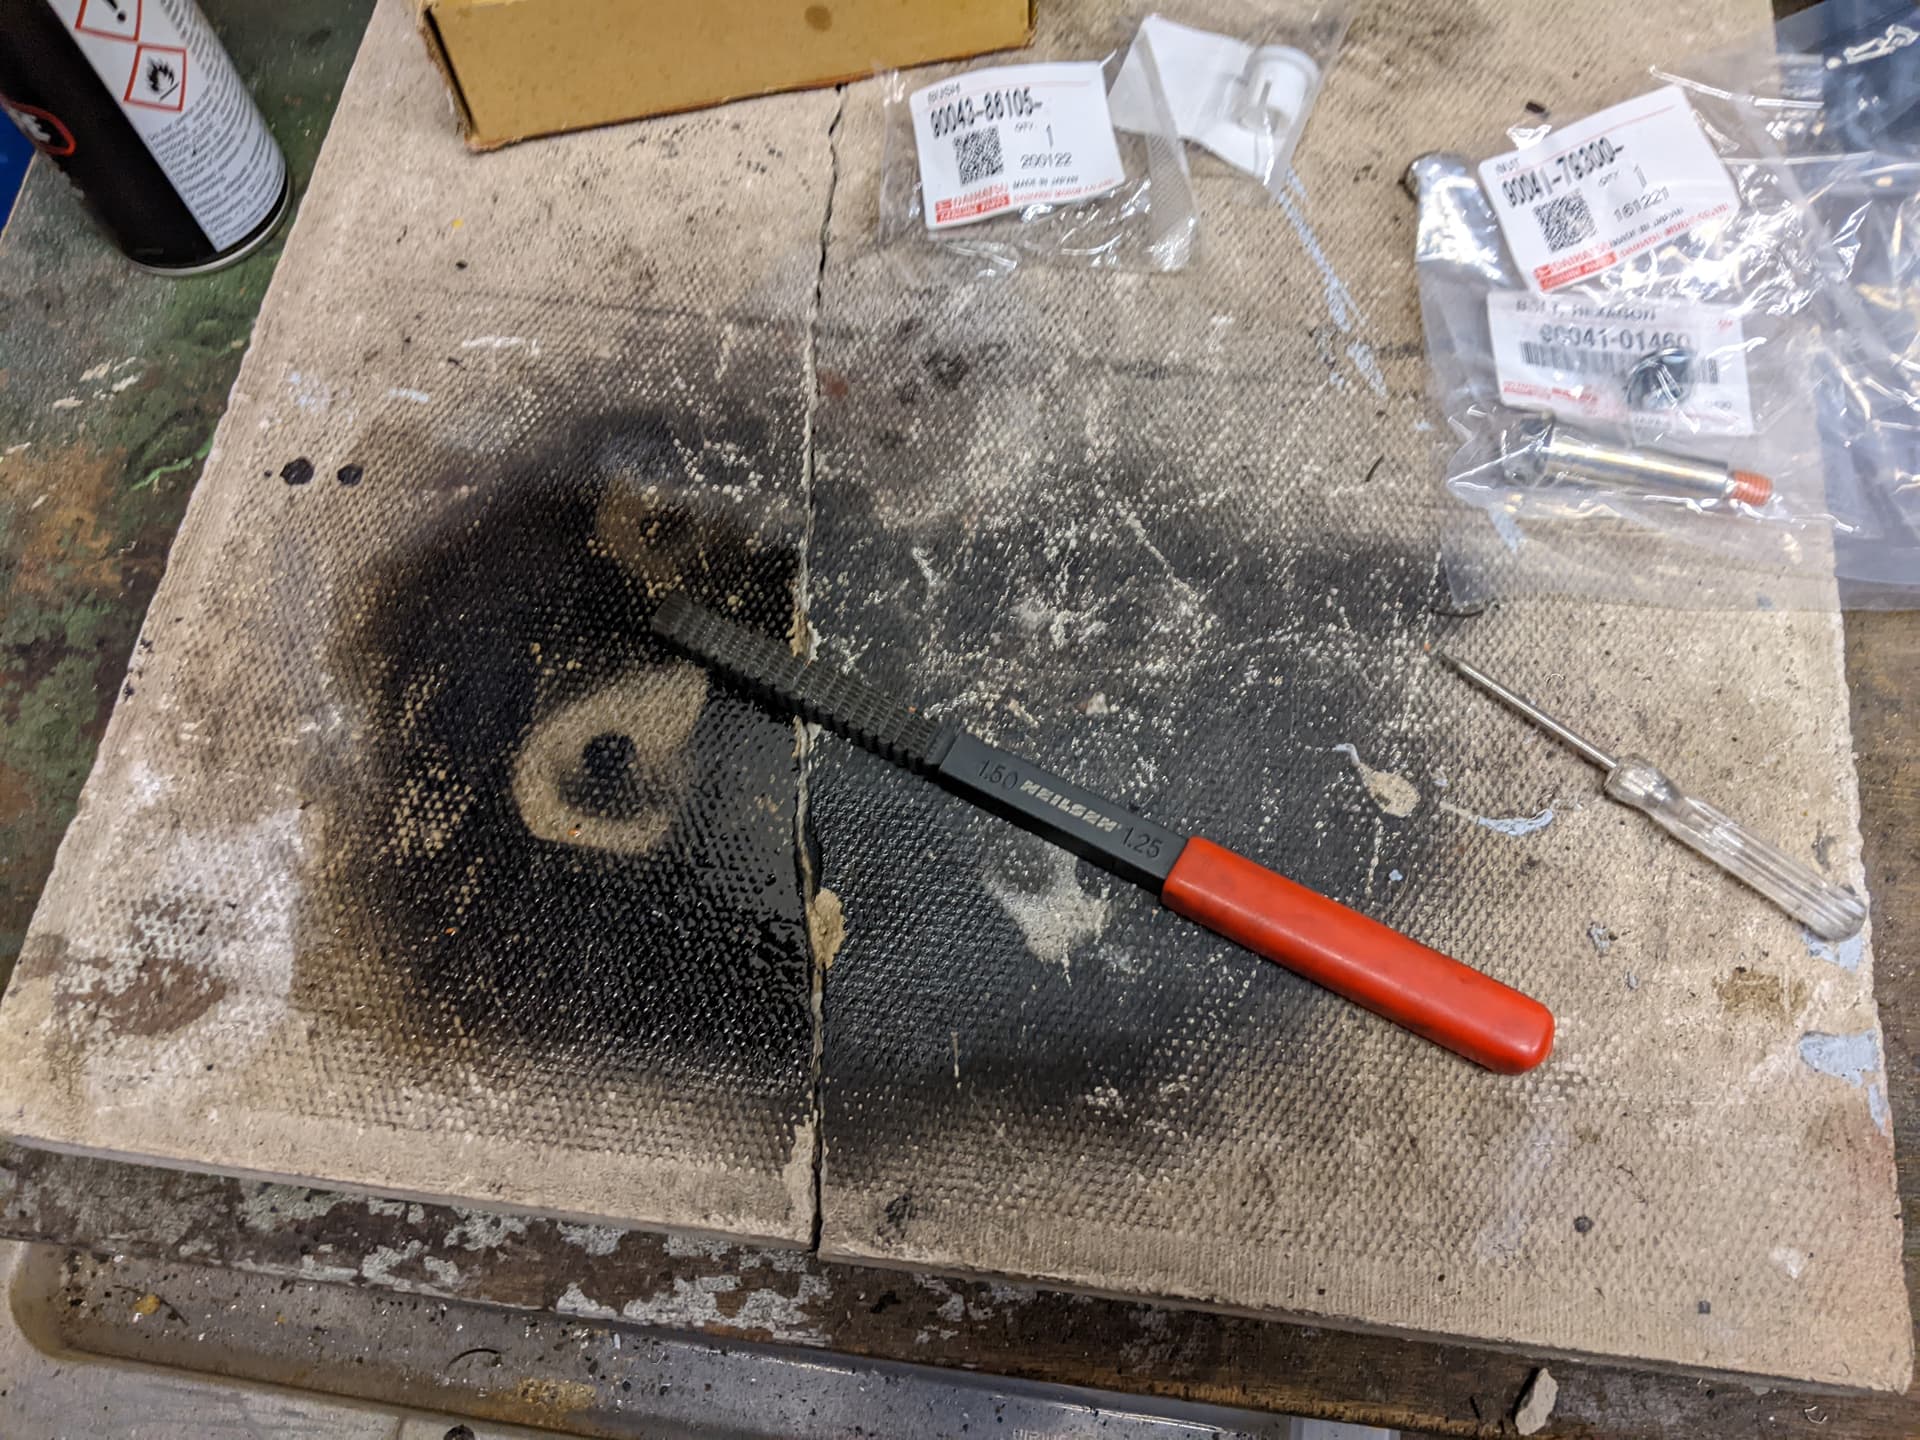
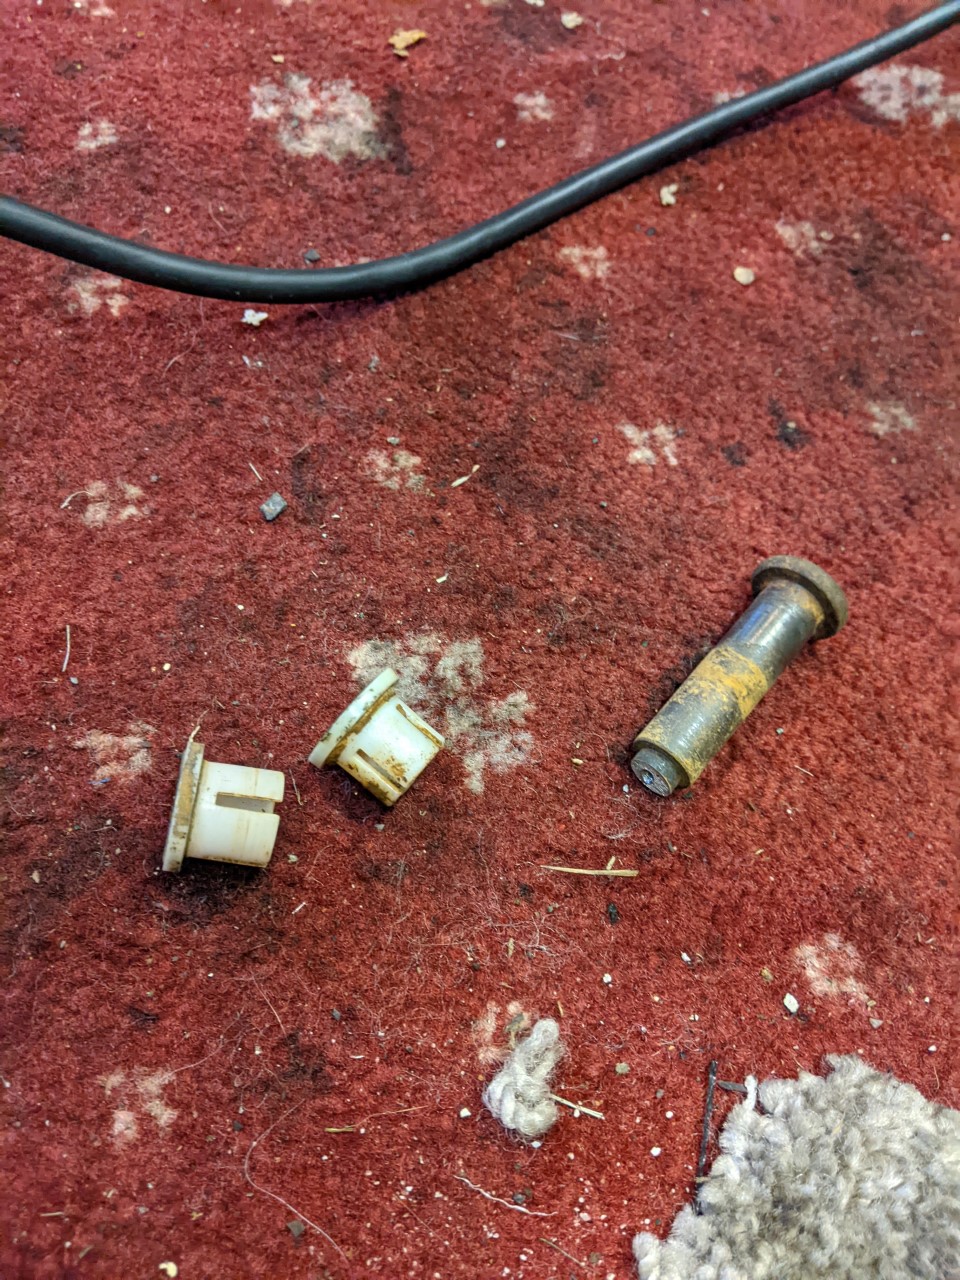
with this removed and the linkage rod flopped down, I could use a metal rod to push/drift out the two plastic bushings. These were probably original, being very faded and the o-rings having failed in several places. In this pic, the old ones are on the left and new ones are on the right

The bushings are really easy to fit, being press-fit into the tubular section. Before fitting I used a needle file to clean rust and muck from the inside of the tubular section for good measure
With the new bushings pressed in, I fitted the o-rings to the recessed section top and bottom. As I was going to be reusing the flanged bolt here, I took the time to clean up the thread with a thread file, and clean the smooth section with some light oil before refitting it. The bolt is exposed so there is no real point trying too hard to clean it up externally, but since it was apart anyway it seemed worth doing.
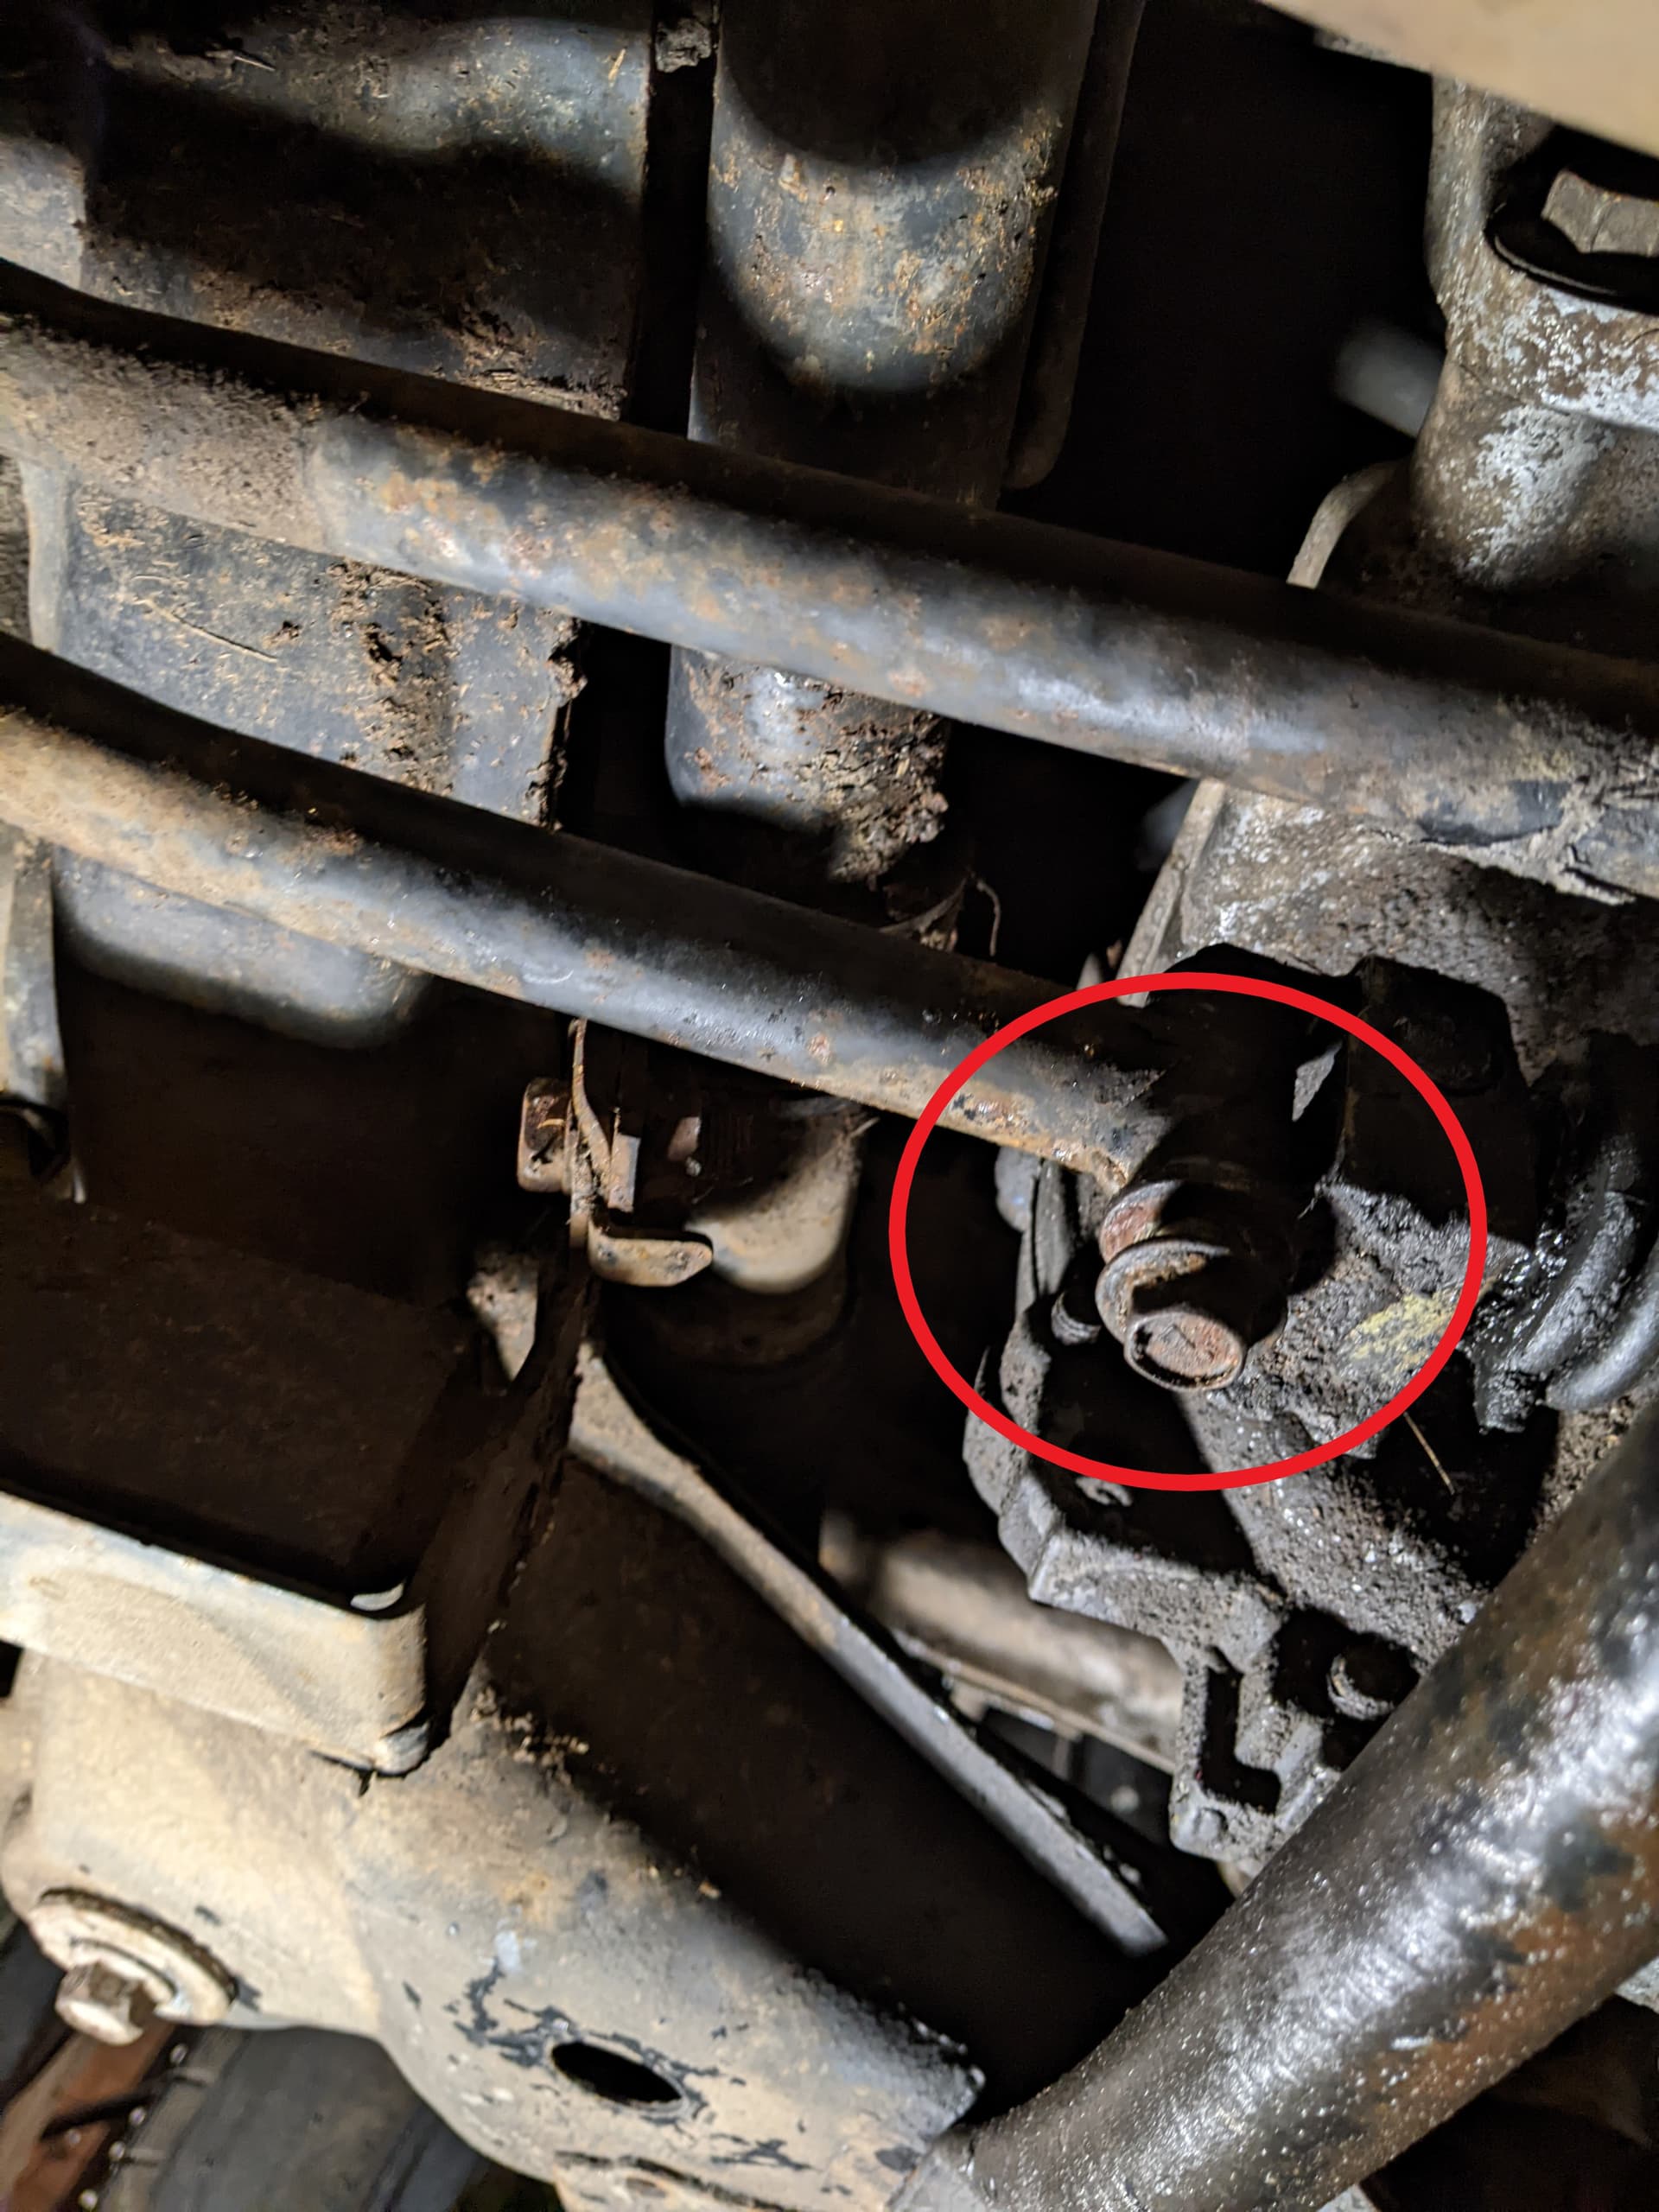
With the bushings and o-rings in position, I slotted the end of the linkage rod into the bracket where it connects to the gearbox, and slid the bolt in from below, using a small 1/4" ratchet with 12mm socket to do the bolt up tight into the captive nut in the top. I made sure to do up the two bracket bolts too, circled on the right hand side of this image. The leftmost bolt is the one which joins the linkage to the gearbox
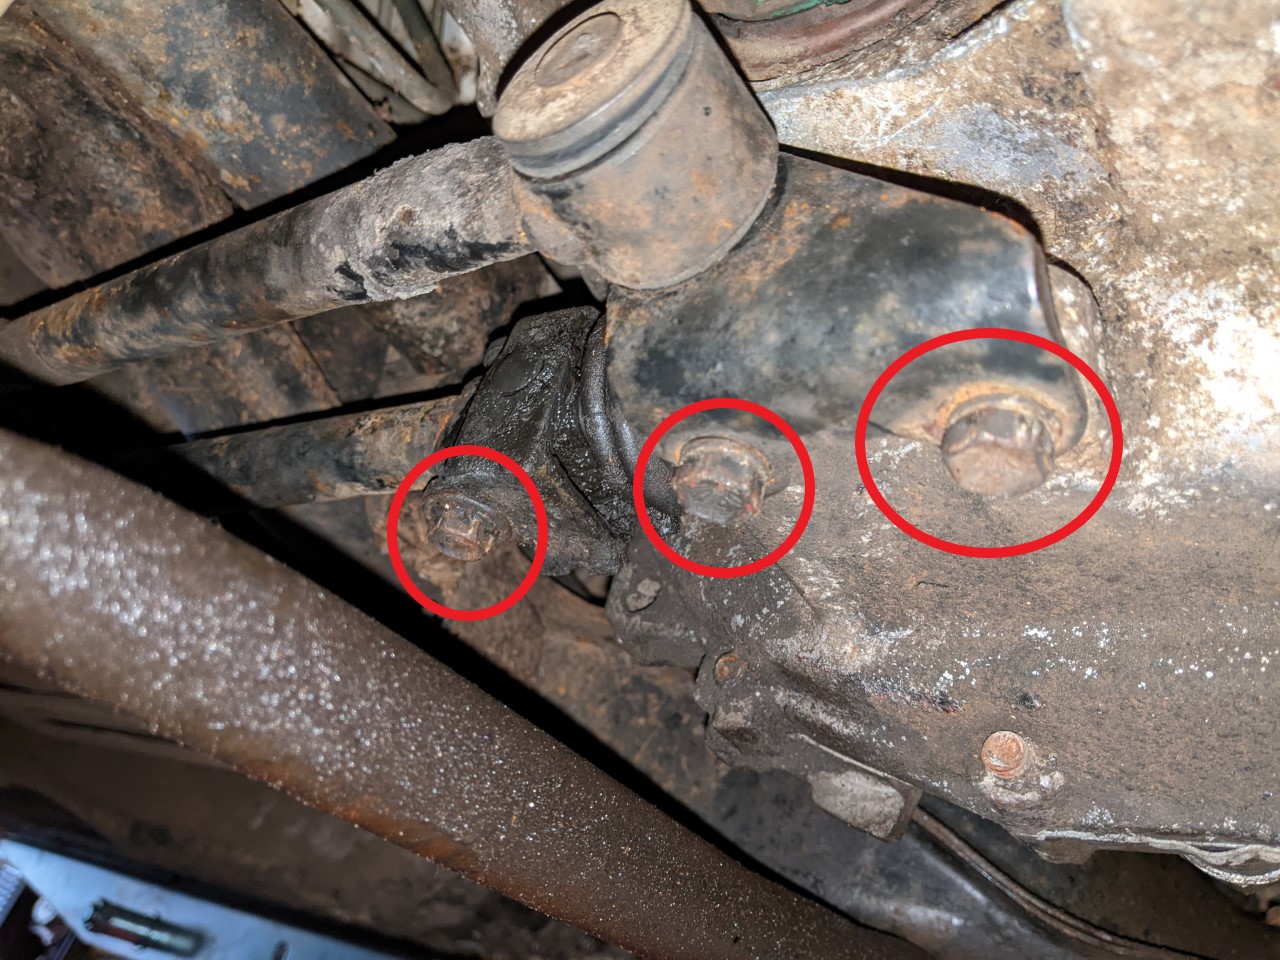
It looks a bit crusty, but is actually well greased and looking alright for 17 years exposure to road salt and general muck.
With this end done, it was time to wriggle further under the car to get at the gearstick end. This was trickier for several reasons, firstly the lift sort of got in the way of what I was trying to do, secondly, the tubular section on the gearstick end was held in with a factory pressing which you had to grind off and thirdly the gearstick, once released from the linkage was free to move in all directions!
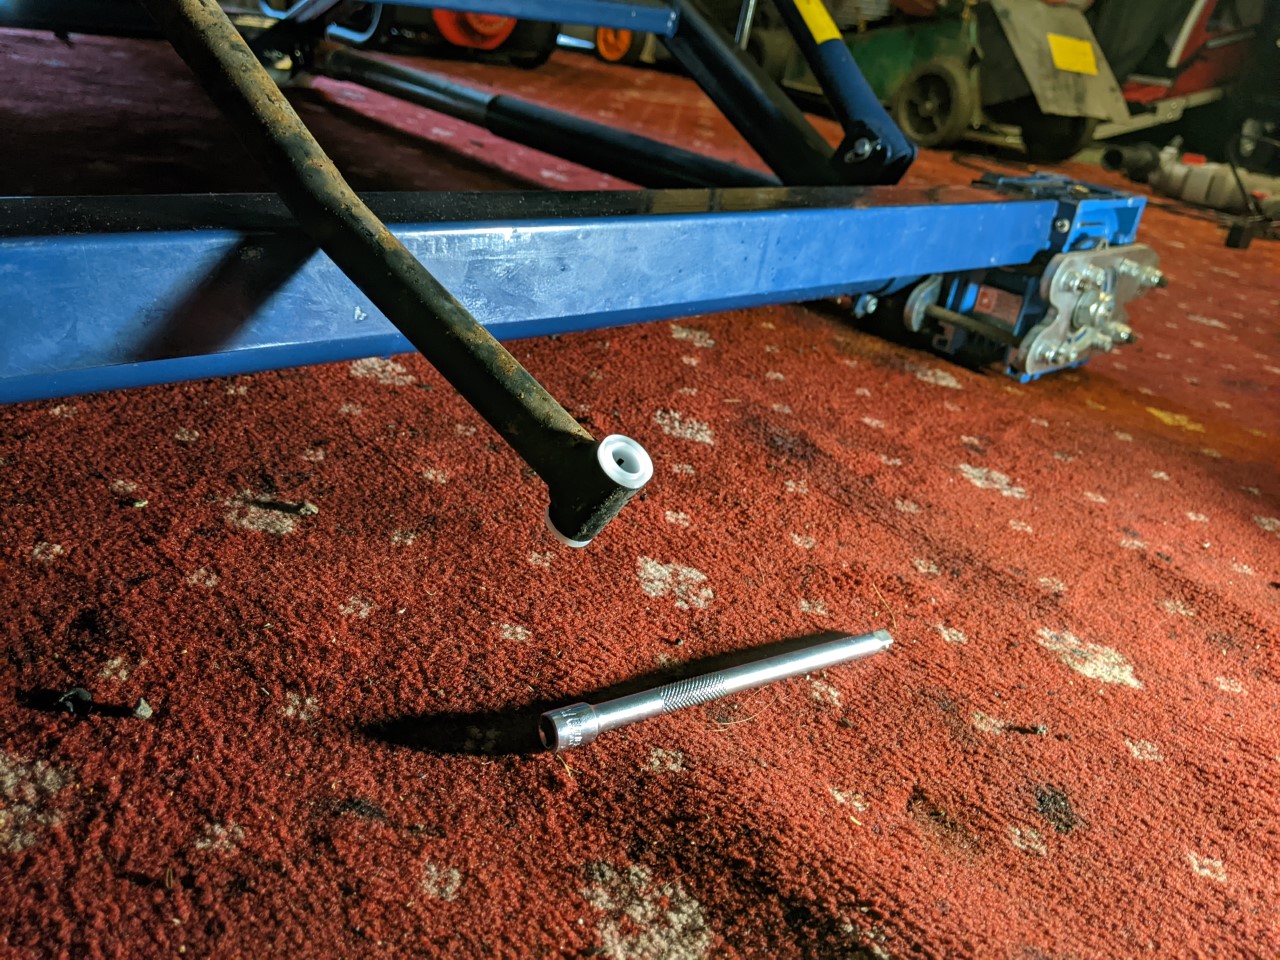
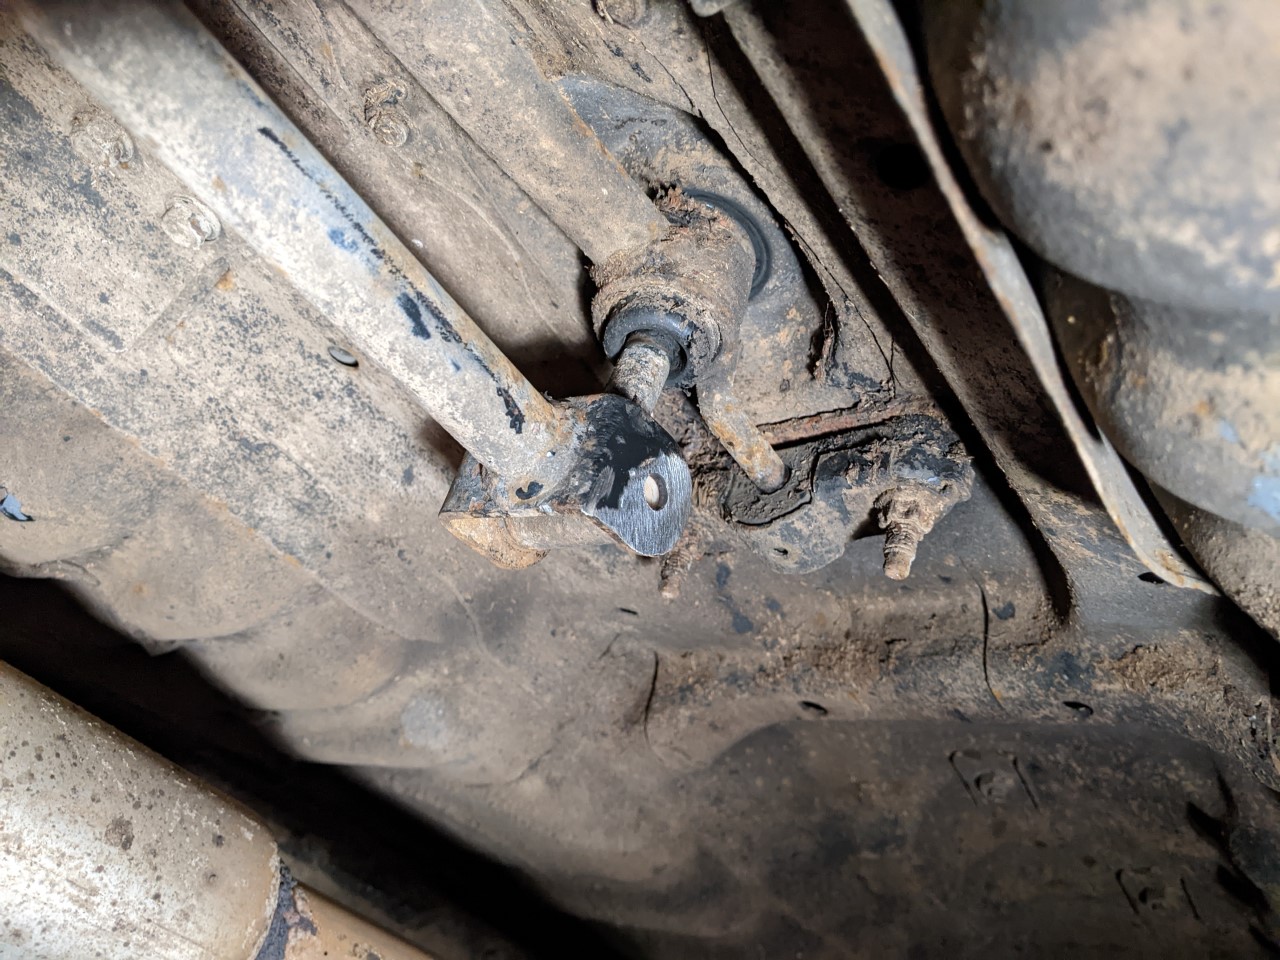
The first task was to grind the head off the H shaped retainer. I didn’t get a ‘before’ photo but this is a horrible job, requiring holding an angle grinder at full reach, upside down, to carefully grind off the head of the metal retainer without grinding through the linkage bar. You’re almost blind doing this, with grinding sparks going everywhere. Eye protection is CRUCIAL with this! This is the ‘after’ picture to give you an idea of what you’re working with
I took some metal off the linkage bar, but not much. With the head ground off, you can use a hammer and punch to drift out the remains of the retainer and swing the linkage bar down and out of the way
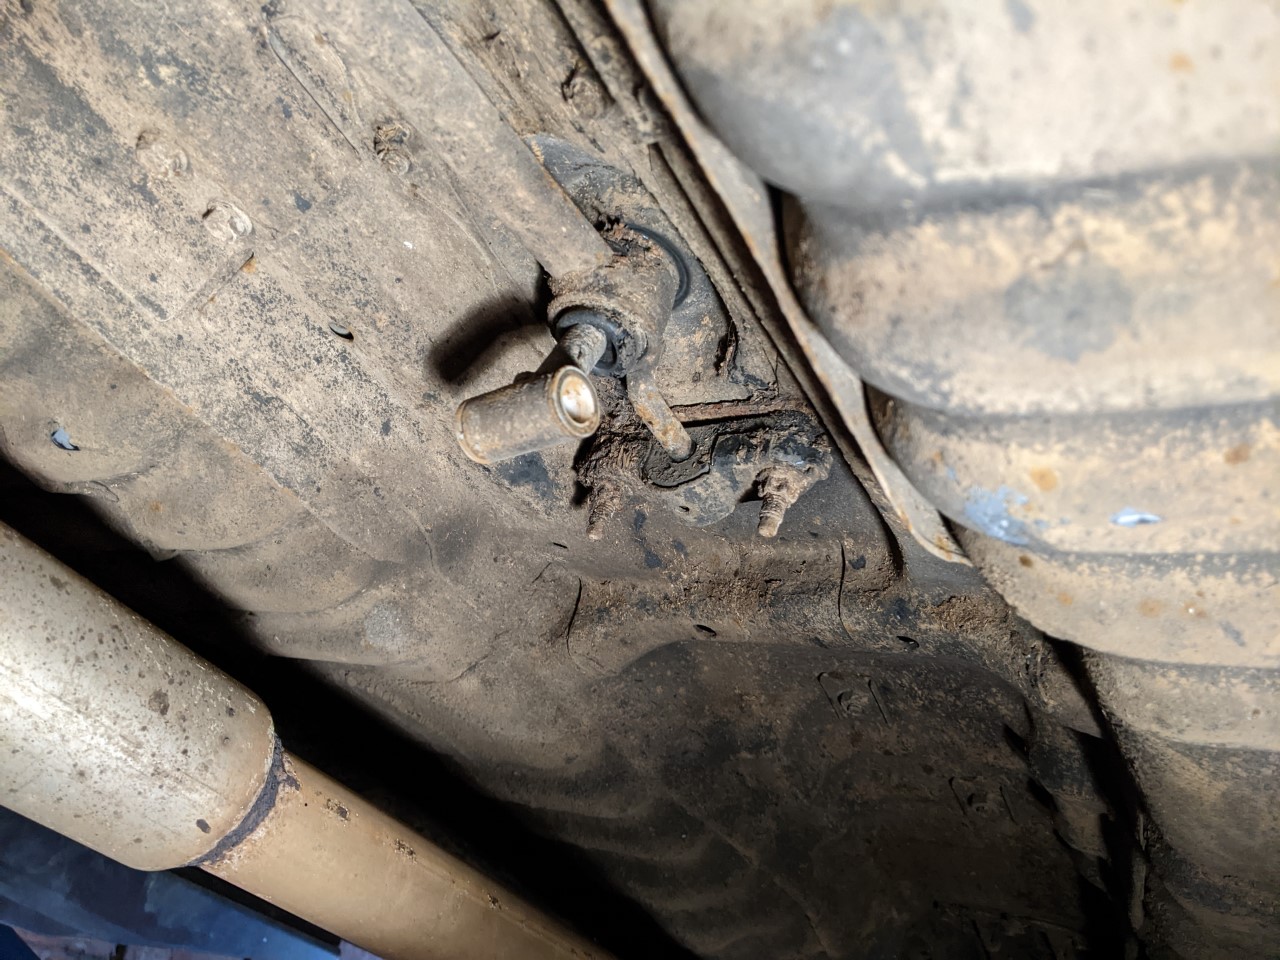
Again, you can see the plastic bushings and remains of the o-rings here, in the tubular section on the bottom of the gearstick. I drifted these out with a bit of metal rod and cleaned up the void with a needle file. With all this off, you can see the factory retainer on the right of this picture
The head I ground off was on the bottom end and looked very similar to the top, in that it was a stepped section that would keep everything together. The bushings were well past their best on this end too. The kit of parts I ordered came with a nut & bolt to replace the retainer - an altogether better idea!
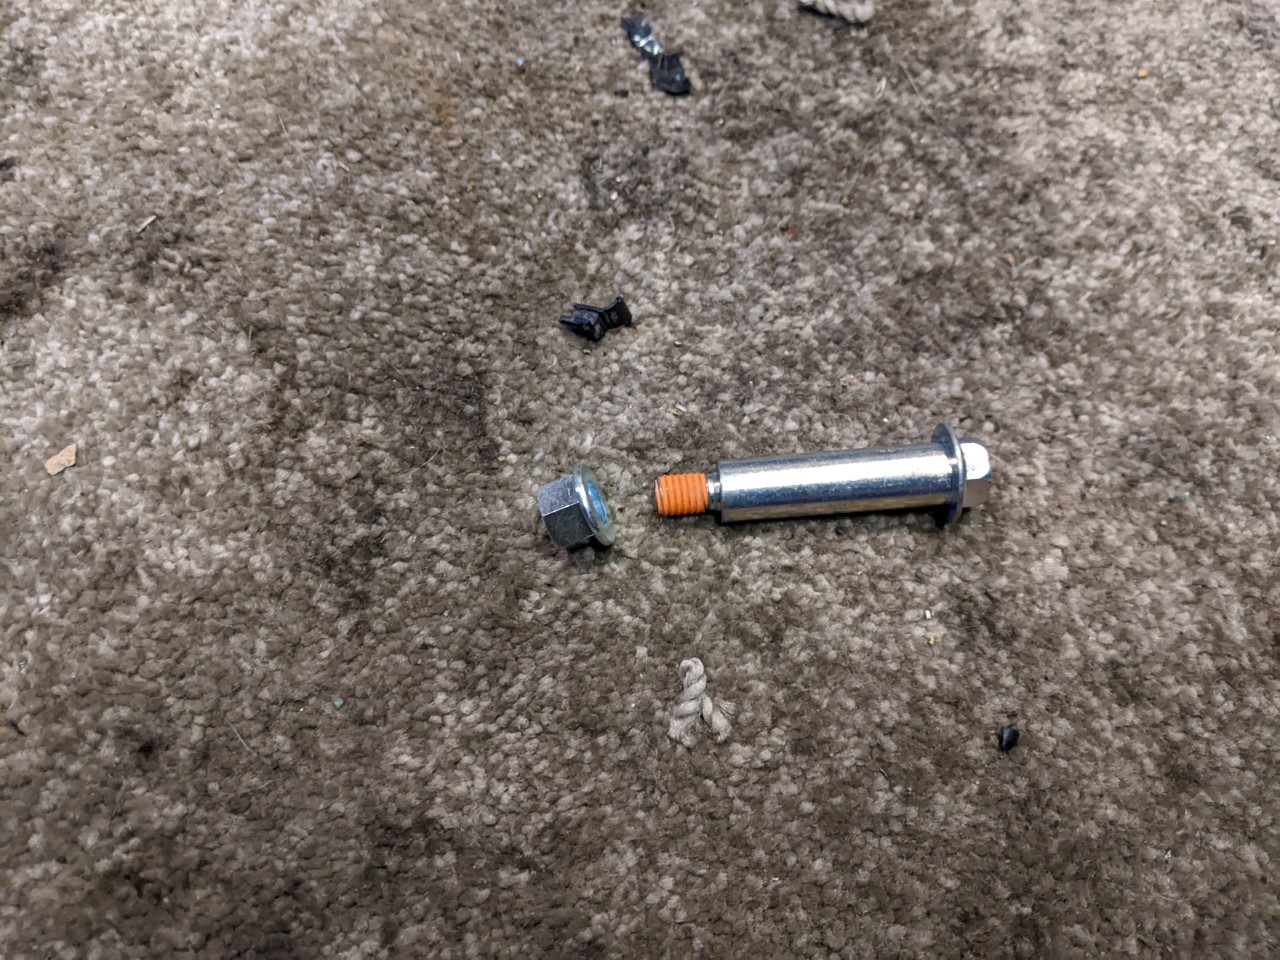
It comes with threadlock pre-applied and is stainless steel for longevity. I did the same here, fitting the new bushings, o-rings and sliding the linkage rod into place then tapping the bolt through, this time horizontally

then tightened up the nut and its job done. It looks a bit wonky in the last picture, but this is just due to the angle of the phone when I took the pic.
I put all my toys away and took the car out for a run to check all was well - what a transformation! The gear selection is mow much easier and more precise, even at low speeds & lower revs. All gears engage cleanly and the ‘crunch’ I often got going from 1st to 2nd gear is gone. The only issue I have is that in the 3rd → 4th gear plane the gearchange feels a bit too stiff, I think this is because I overtightened the nut & bolt on the bottom of the gearstick, next time I’m under the car I’ll slacken this off by 1/8th of a turn and see if that makes it move more easily.
Overall a fiddly job, but one which has helped a huge amount and well worth doing! It hardly required any tools too, the only things I needed were a small socket set or a 12mm spanner and either a hacksaw or a grinder to get the cast retainer off the gearstick end. I’m baffled why this wasn’t a nut & bolt from the factory, especially as the gearbox end is exactly this, but what do I know?