if your temp gauge didn’t get overly hot it should be fine, driving it will still have kept a reasonable airflow happening for it.
1 Like
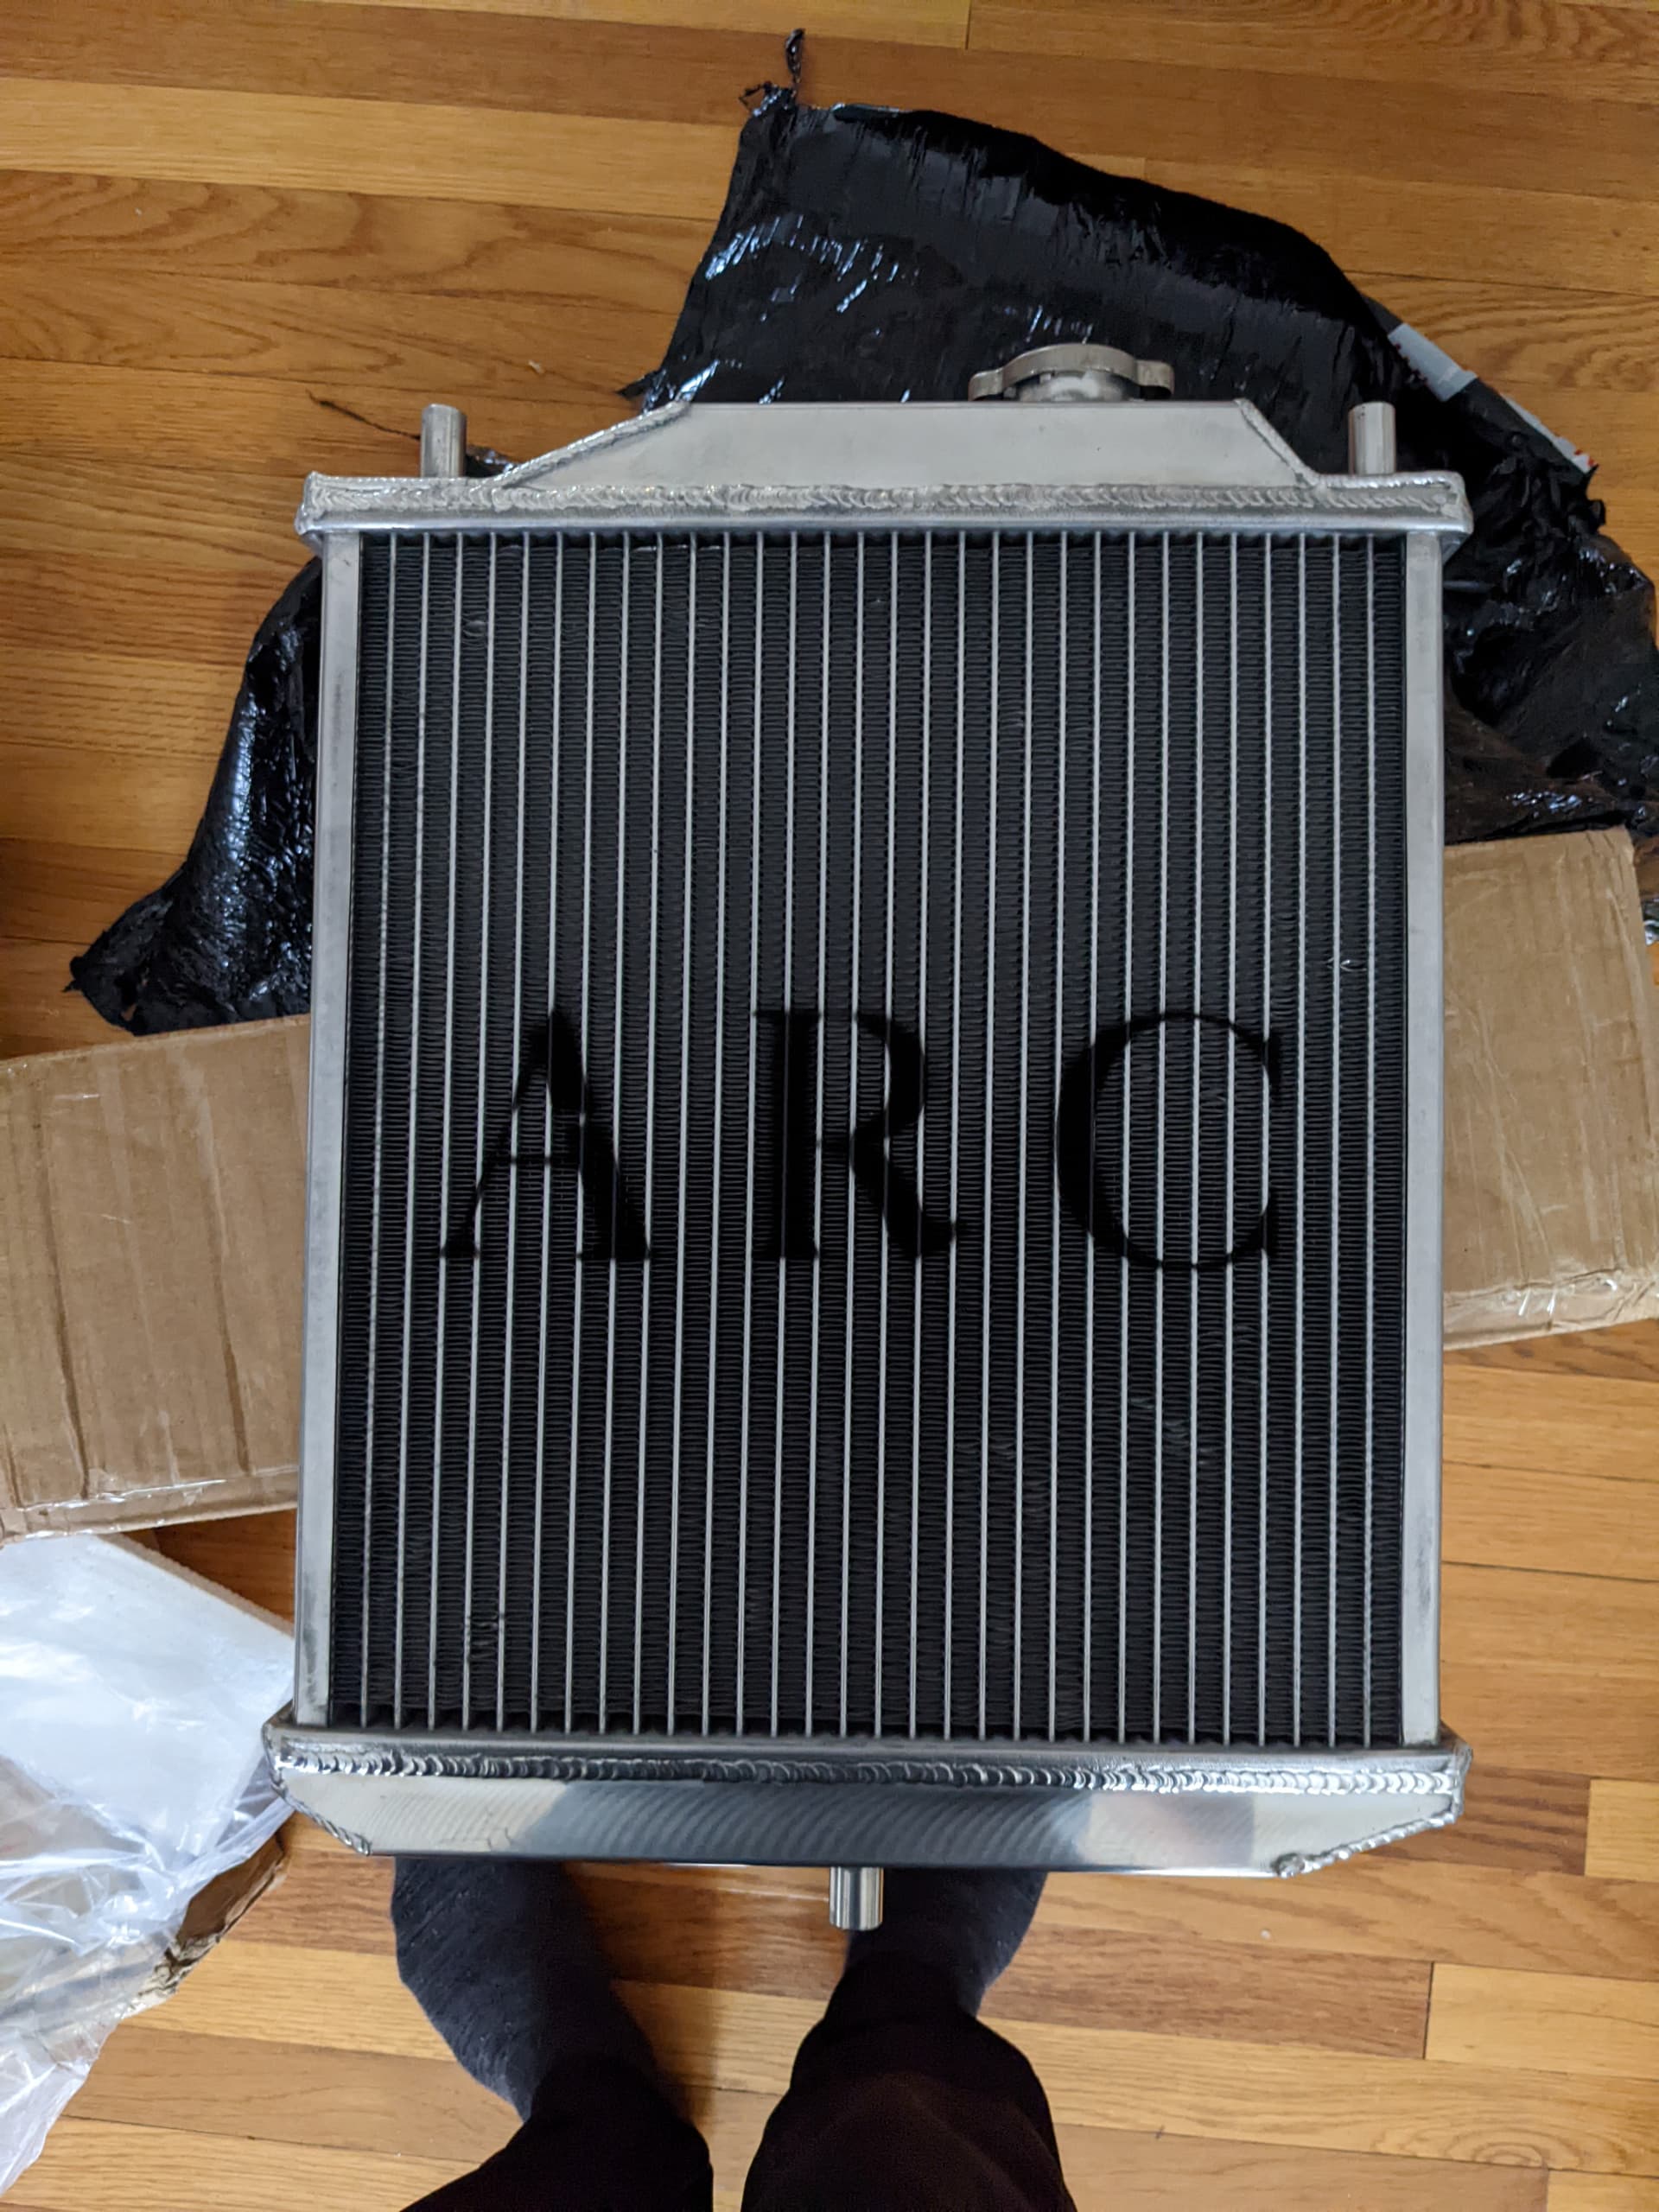
That’s a decent point, I’ll burp the cooling system this weekend, I have a funnel that should fit perfectly actually. Radiator on this thing is so tiny.
Also, another question, I’m trying to cross reference and find a suitable oil filter stateside, does anyone have a part number or filter number I can Google?
Think this one is a GREEN SZ001 I want to say , but looking for other numbers I can cross check against stuff I have over here.
1 Like
ryco z443 would be your best bet there is a z386 I think it is but it is larger and may not fit with the room you have with a turbo model.
I use that as a cross reference.
If you have silverline brand the cross-reference for it is OF67SL
and Microfresh cross ref is AH044
Please note these are cheapies and the Silverline ones I have were bought really really cheap like a couple of aussie dollars each. In comparison to a store here that will sell a ryco for around $15.
I can’t remember the link for the website and don’t know if they post to the US.
Maybe @Luke knows what the website is
1 Like
nah i forgot the website haha, but being a toyota style filter it should be easy to find in the states.
1 Like
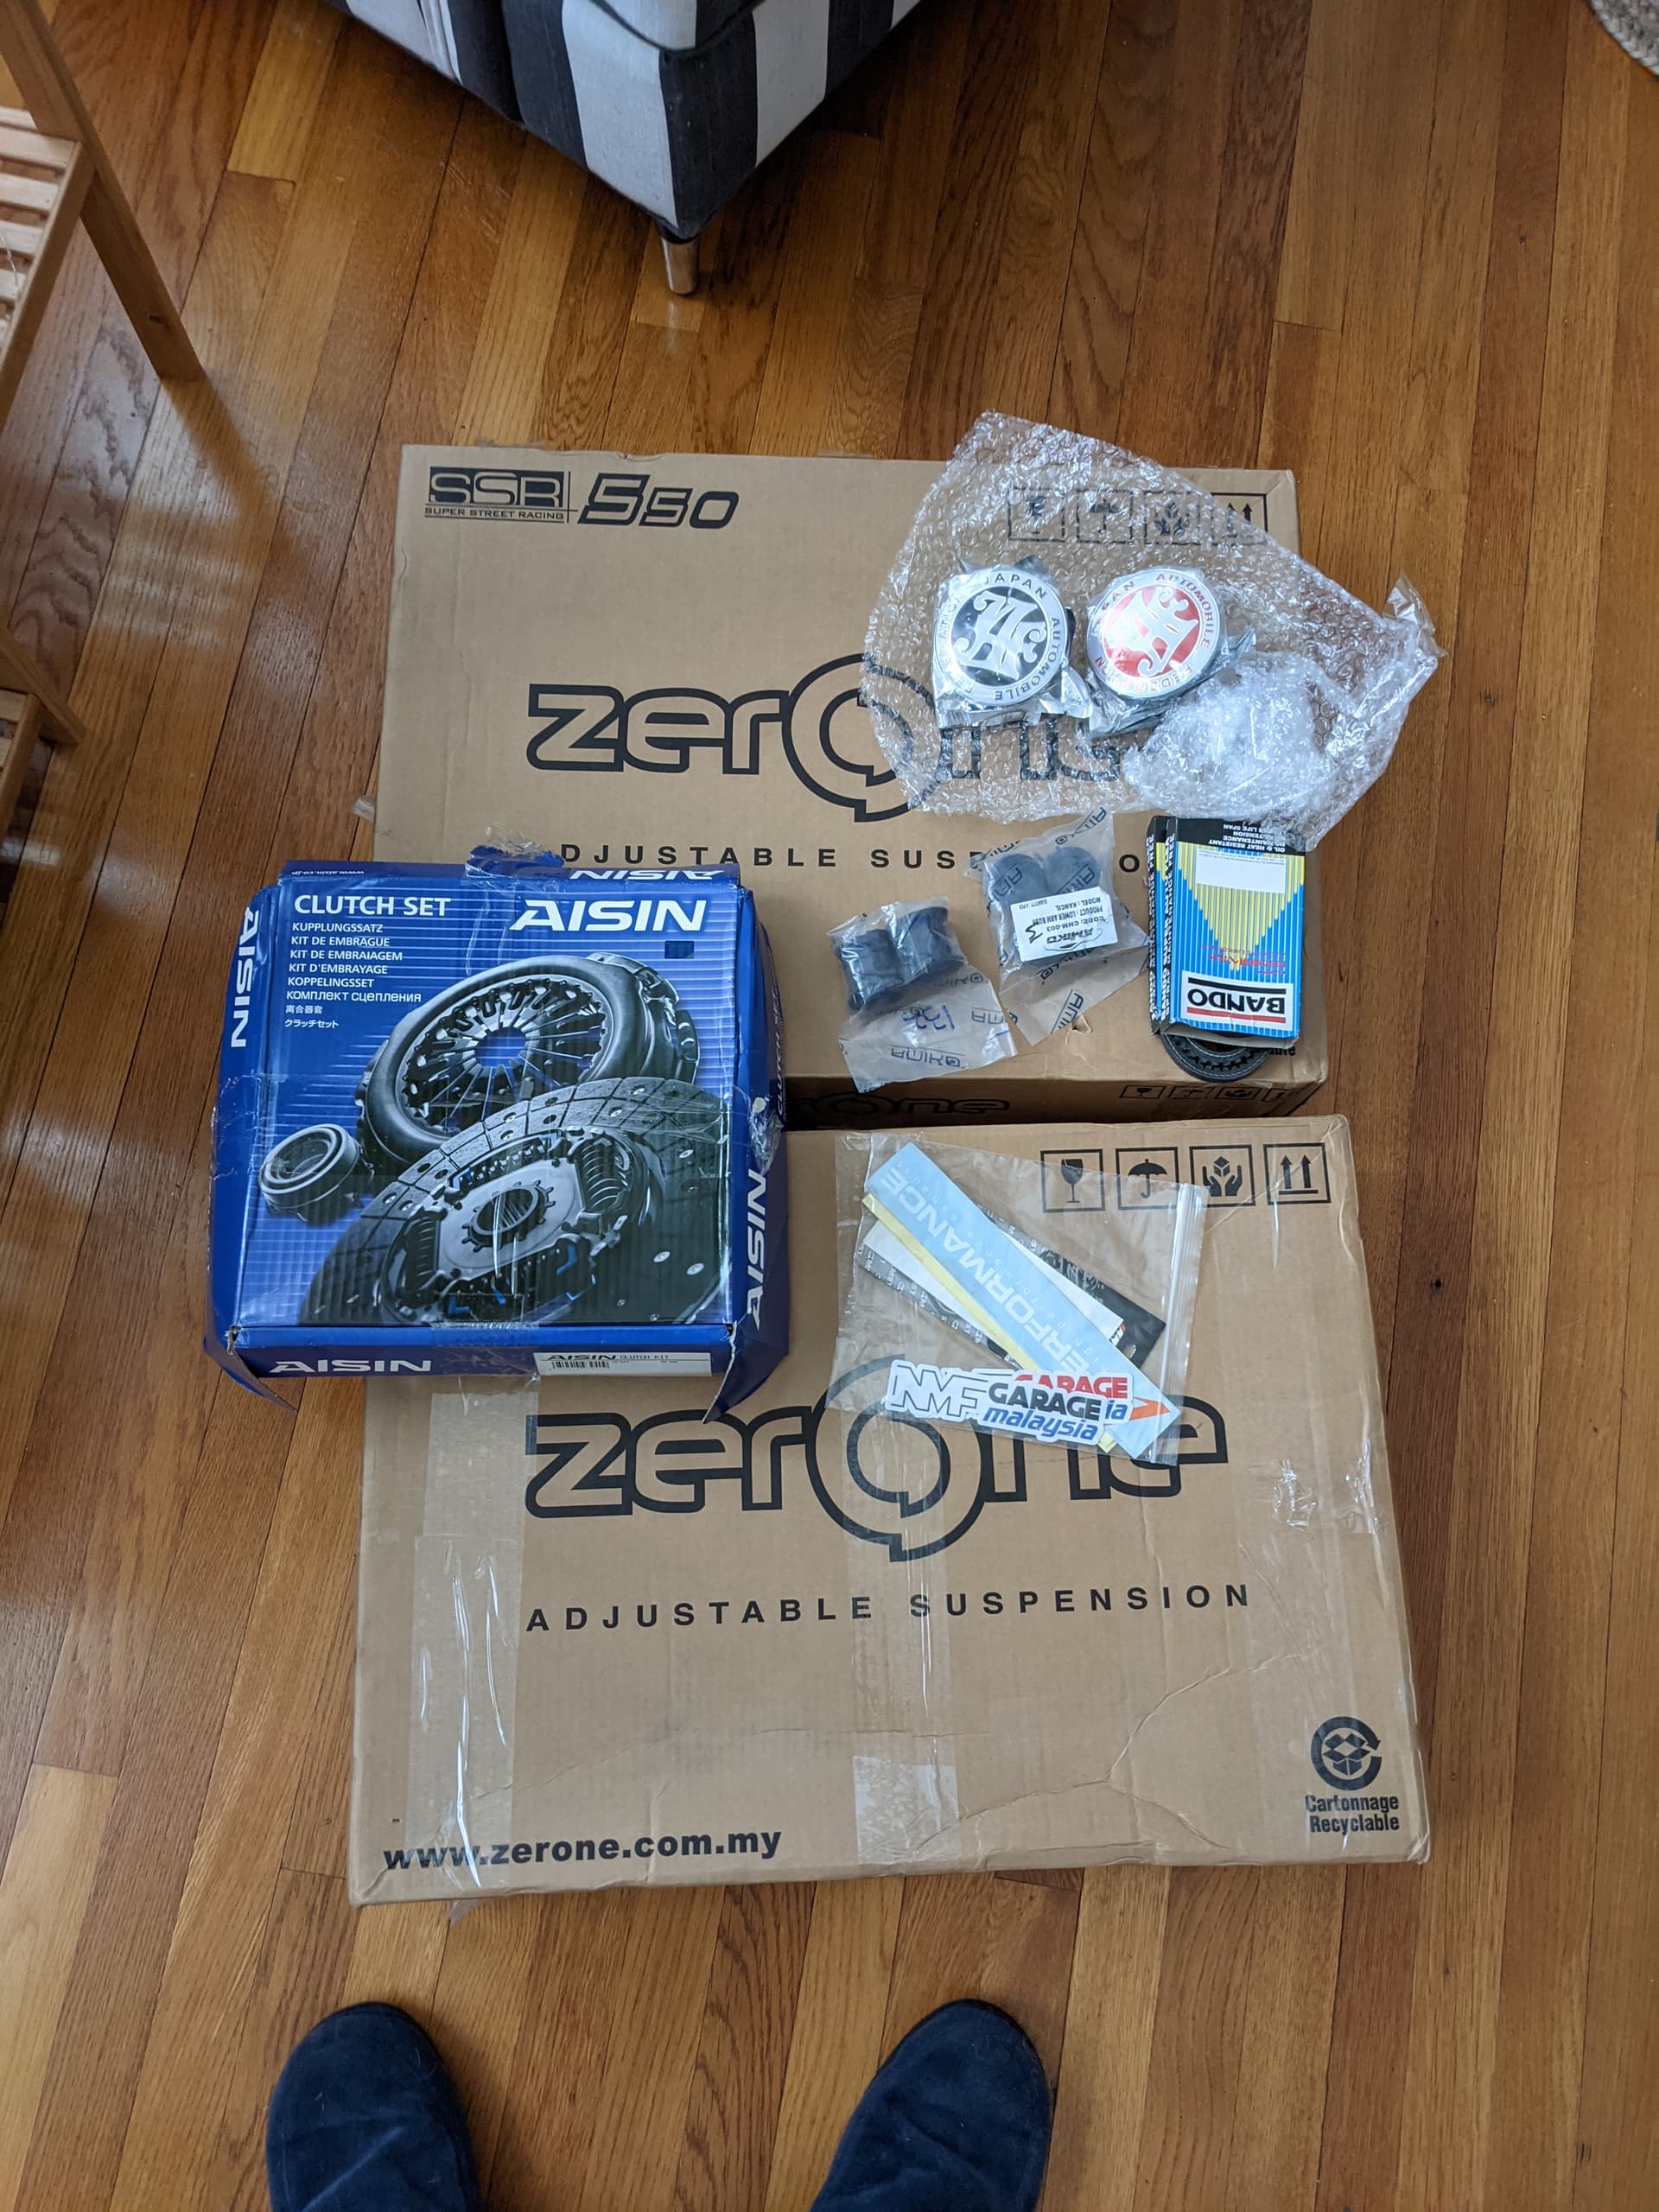
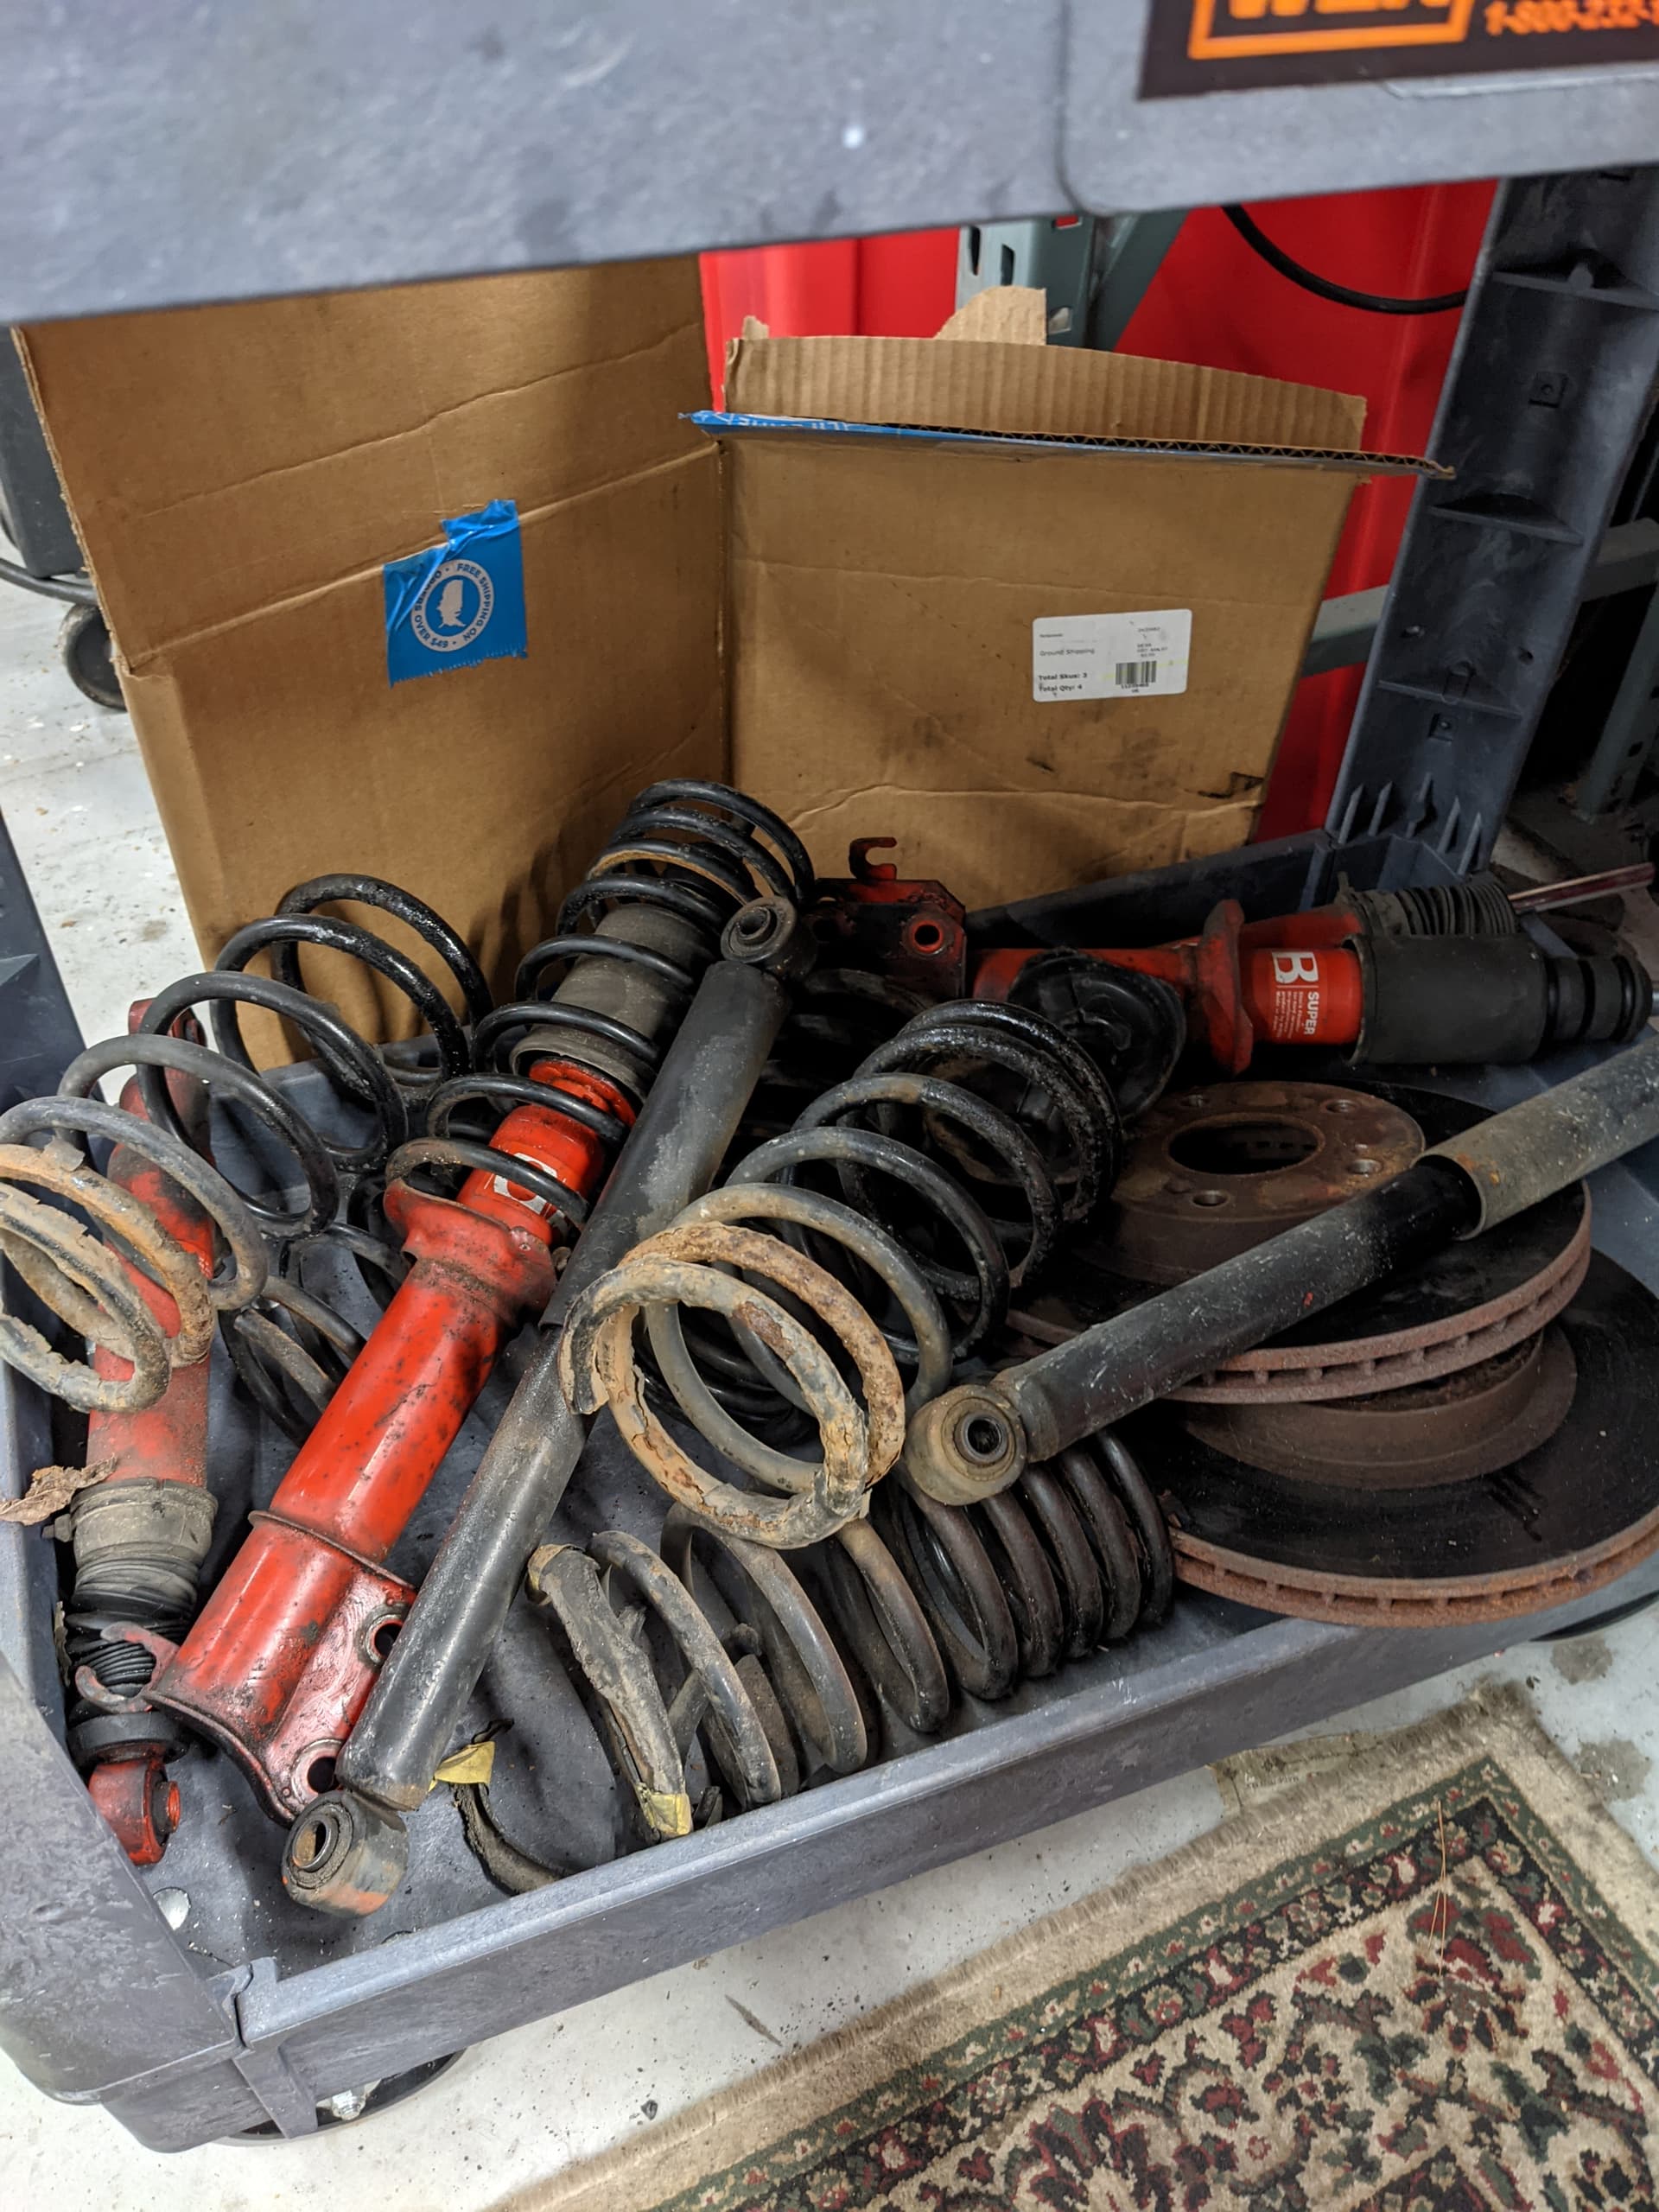
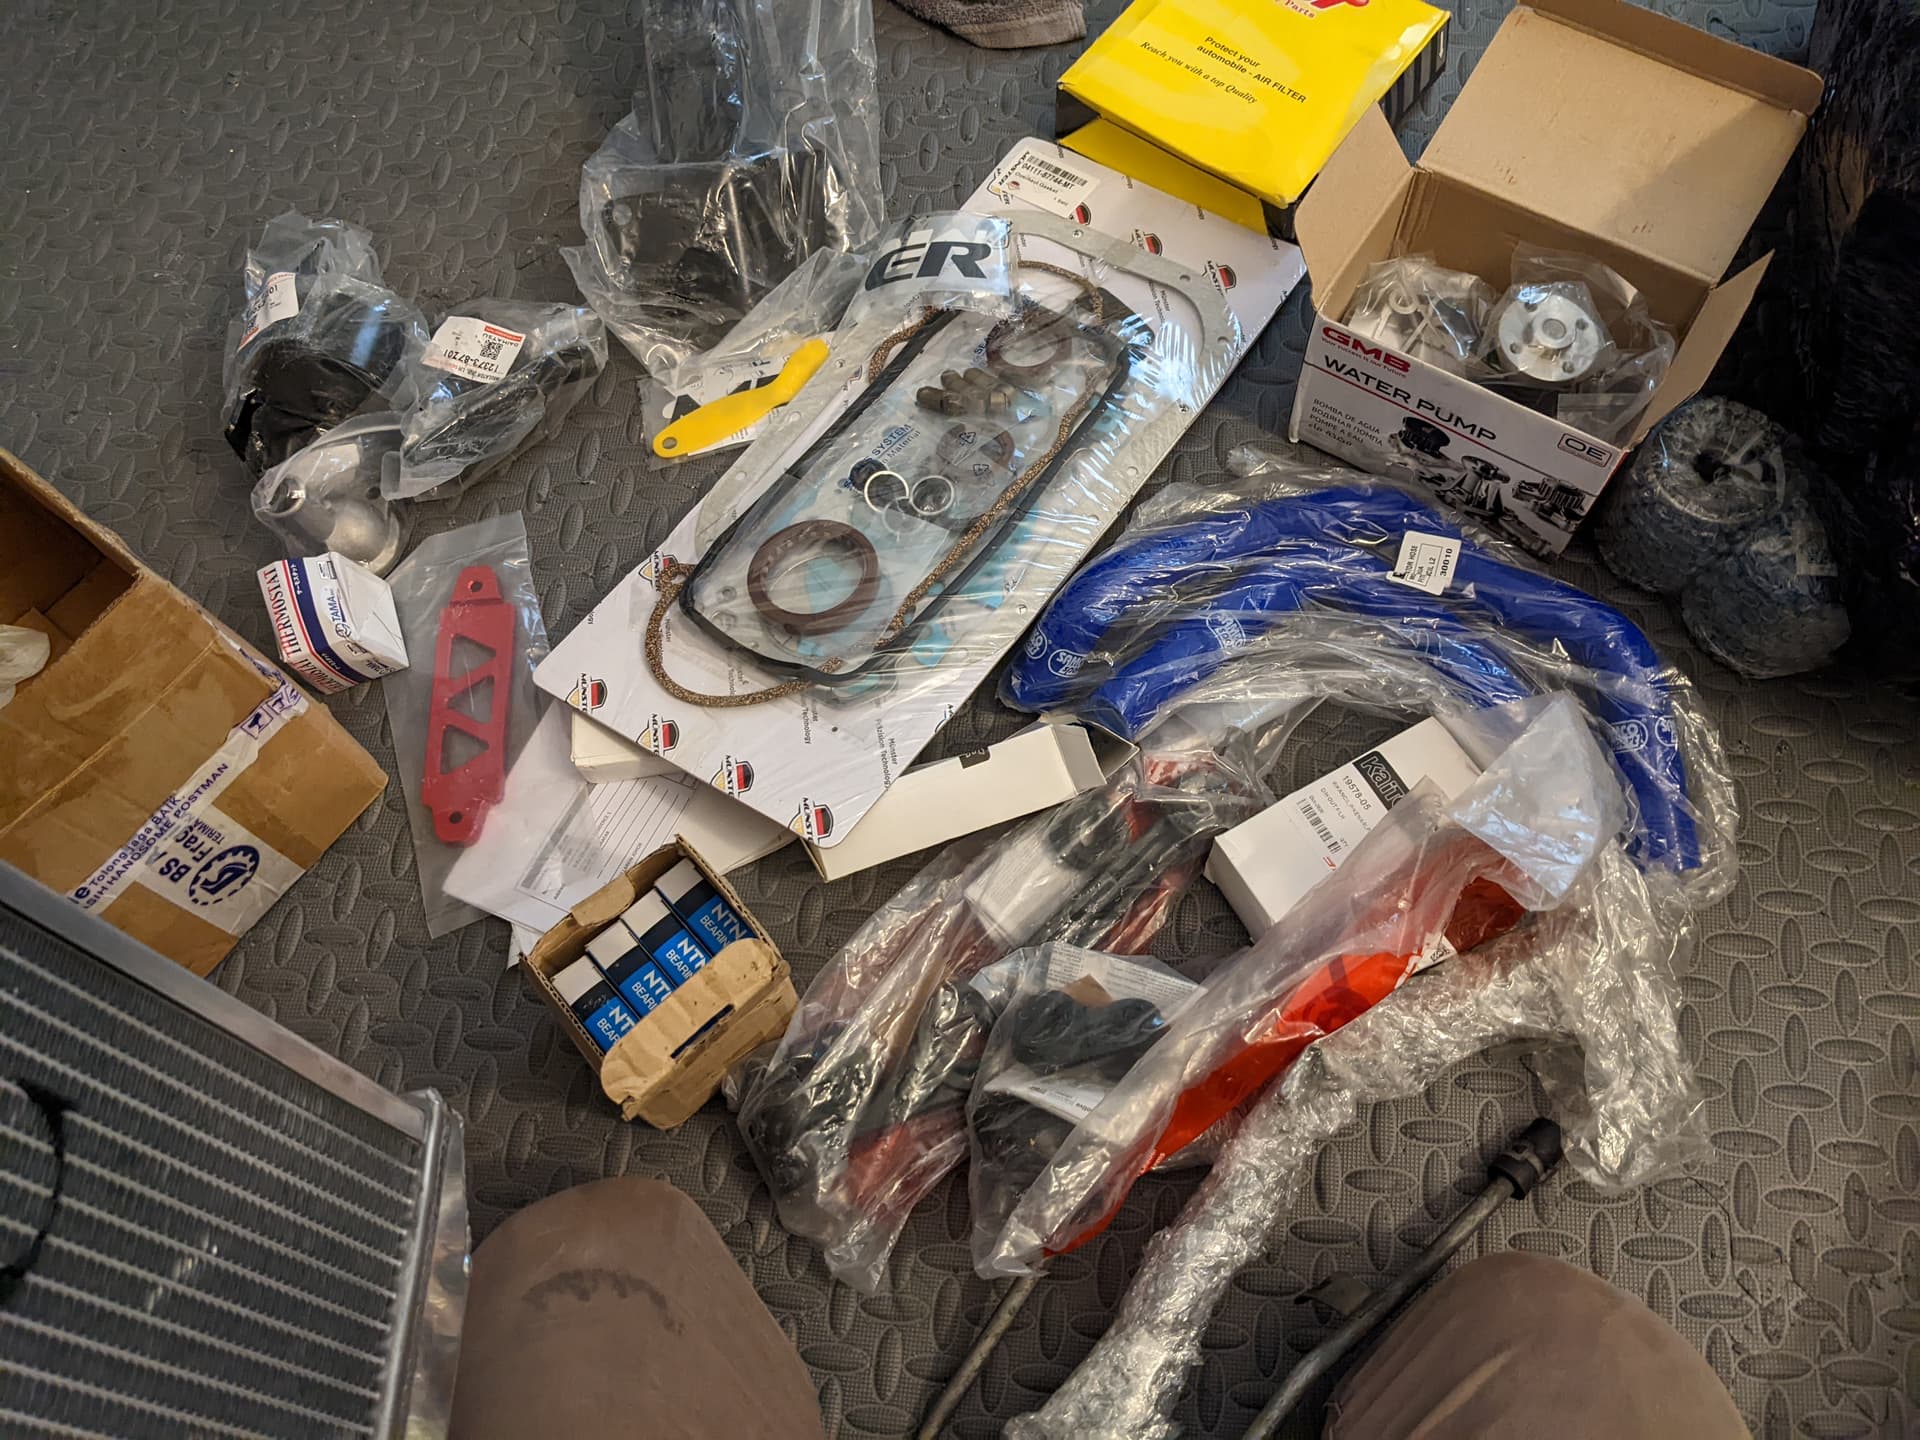
Appreciate everyone helping me to get in touch with Nik at NMF Garage, got a box full of parts!
Nik is THE MAN, can’t thank him enough for his help.
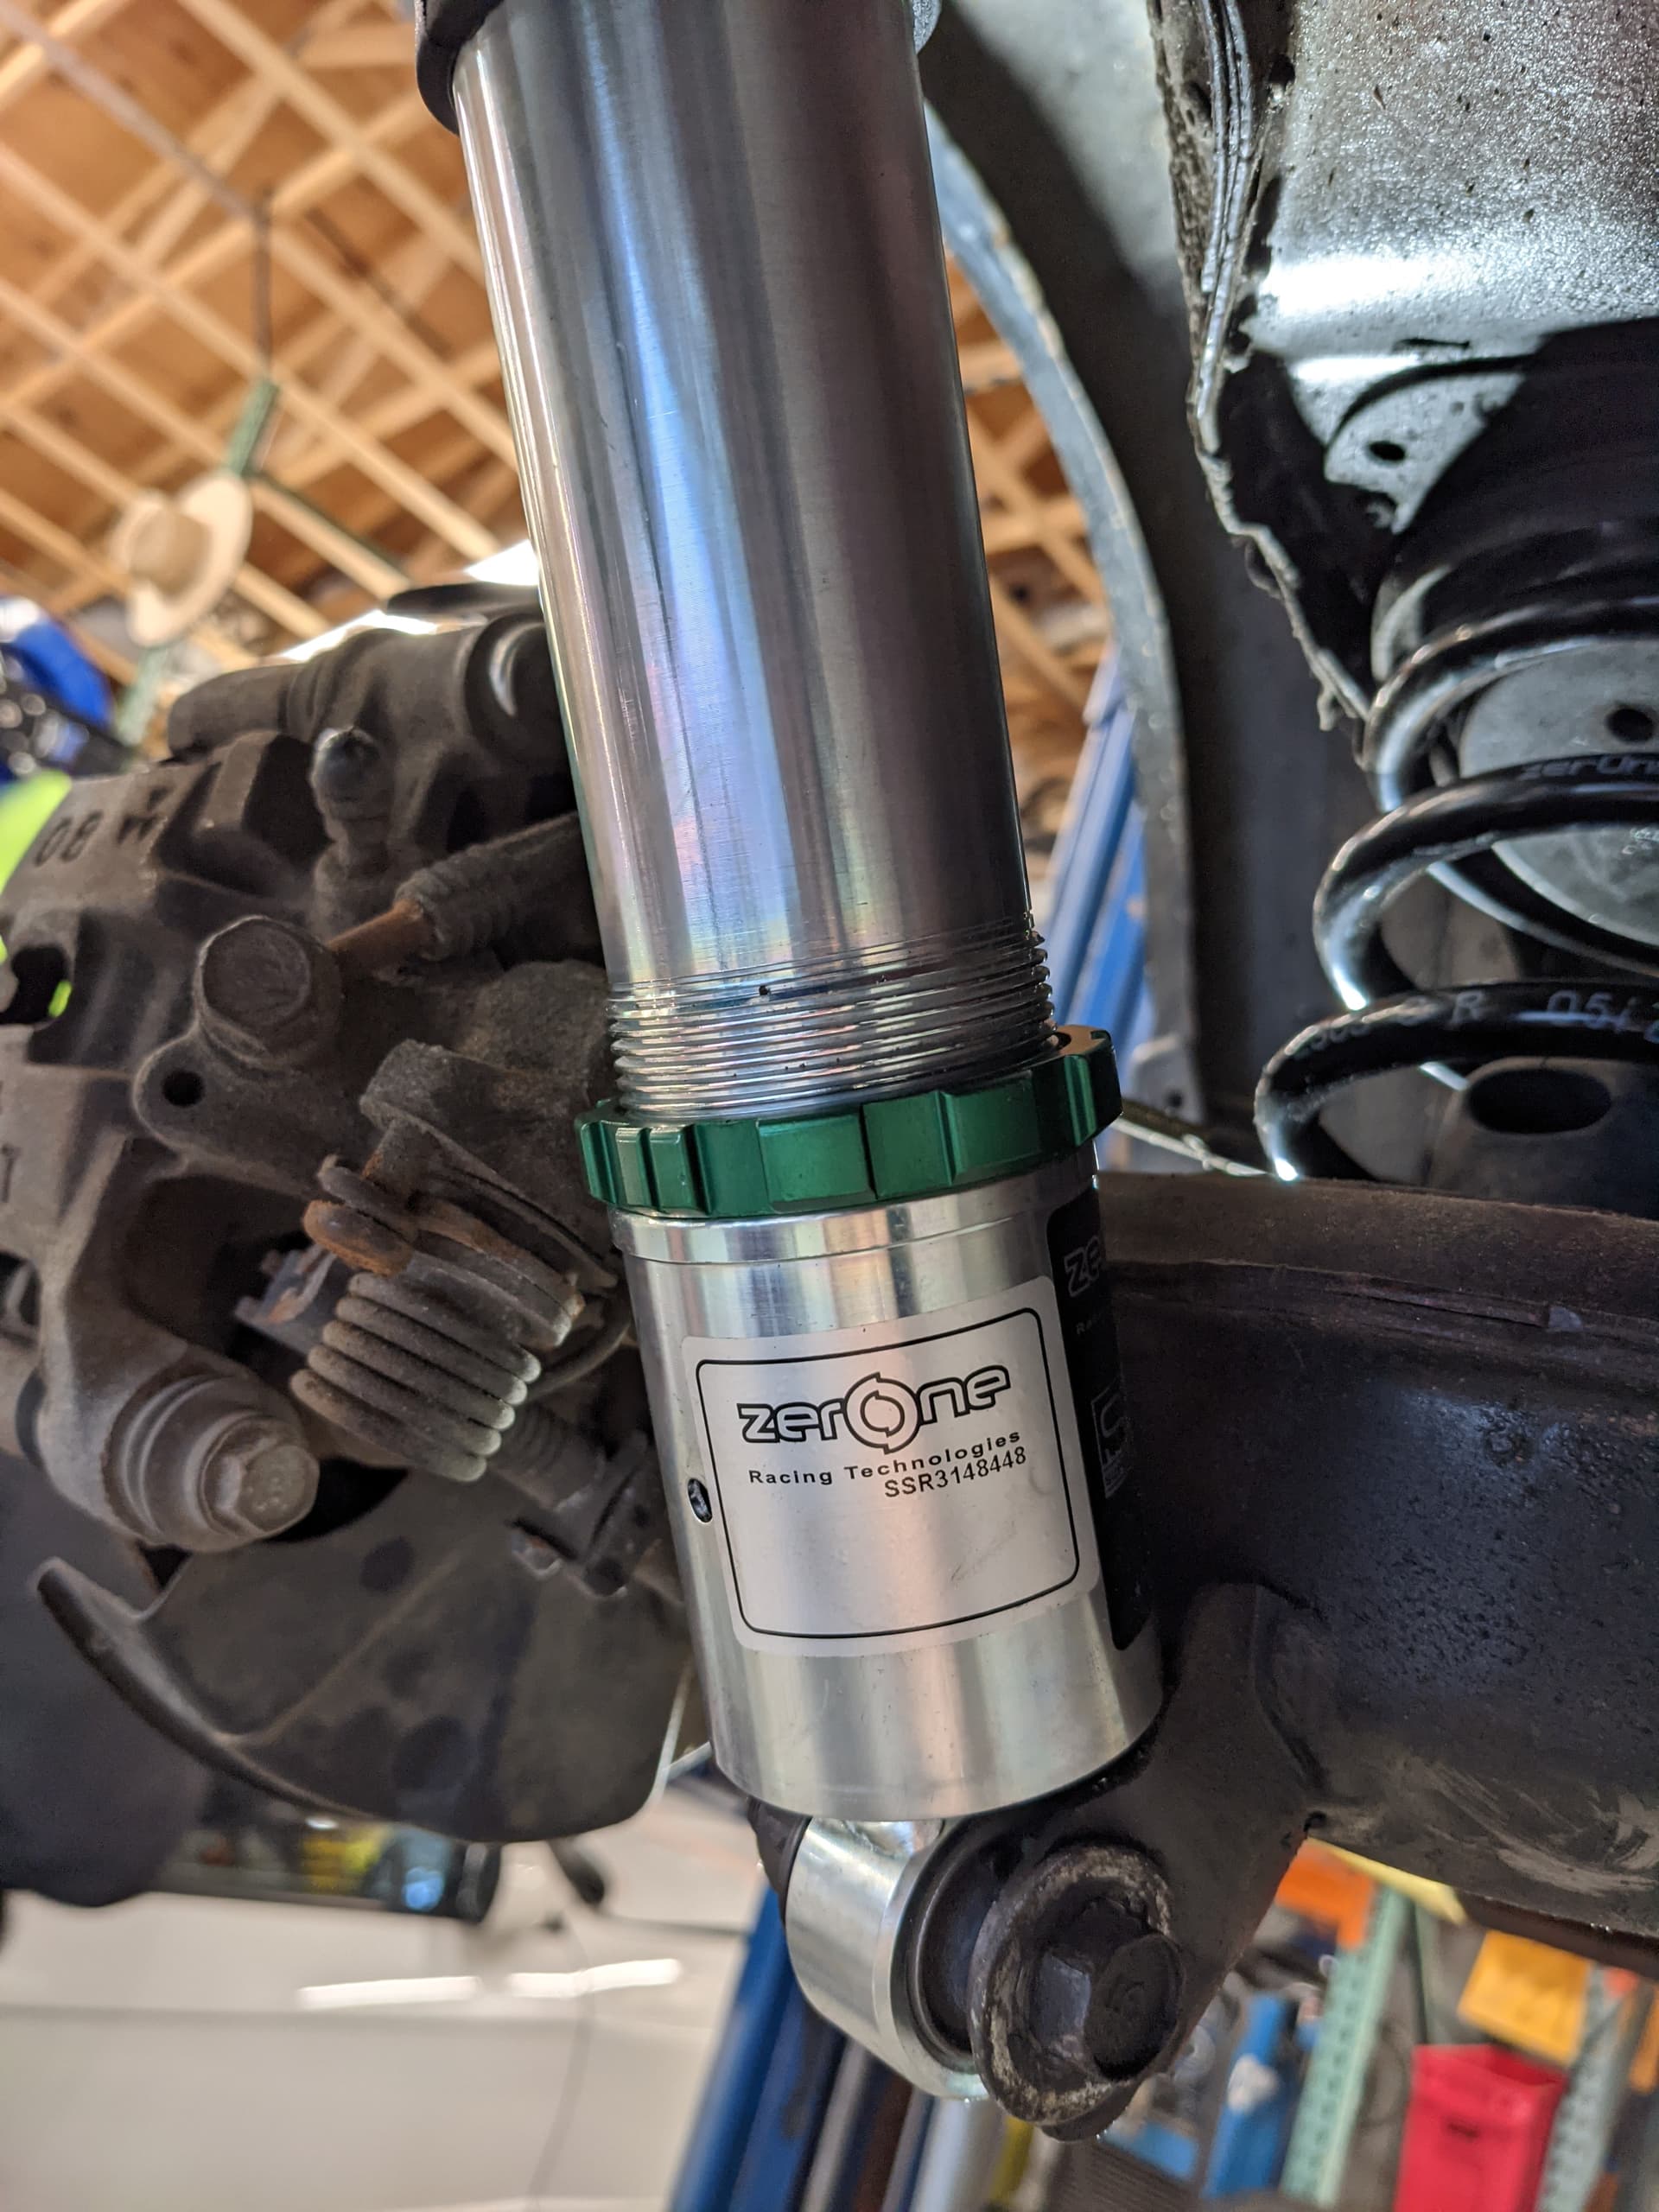
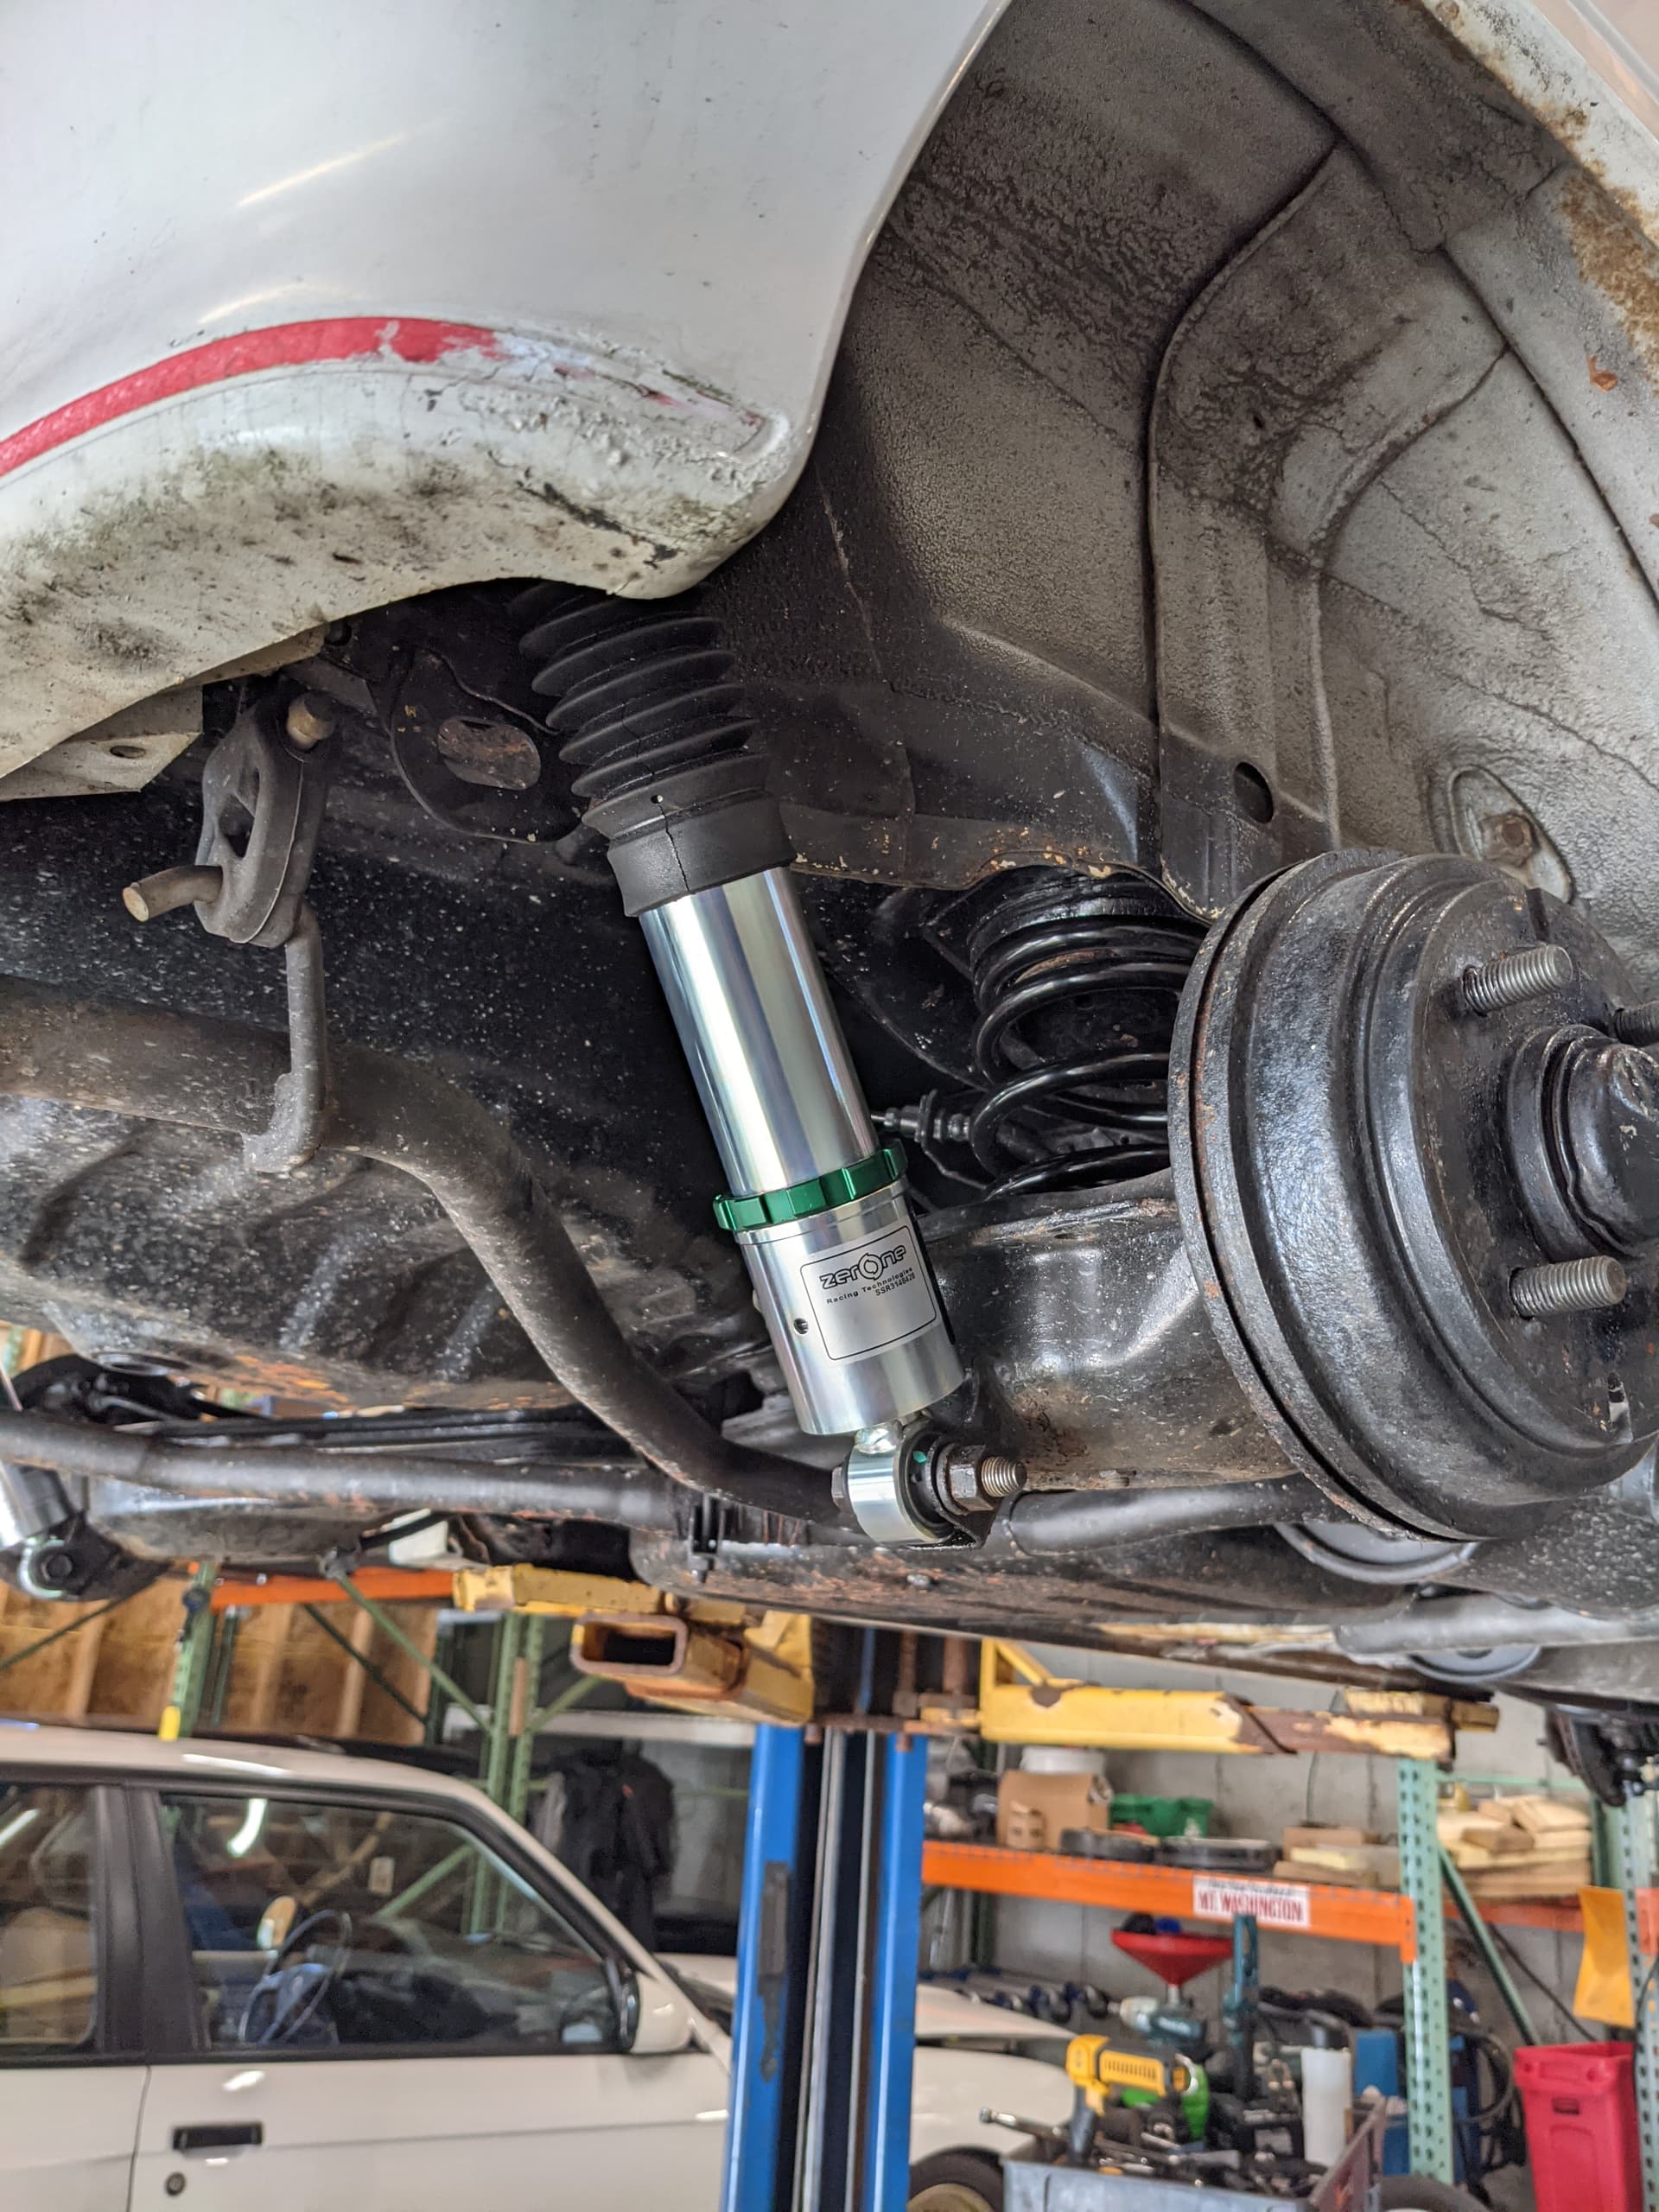
2 sets of Zerone coilovers, clutch kit, tie rod ends, belts, and various bushings. Does anyone know of TEIN makes these Zerones?
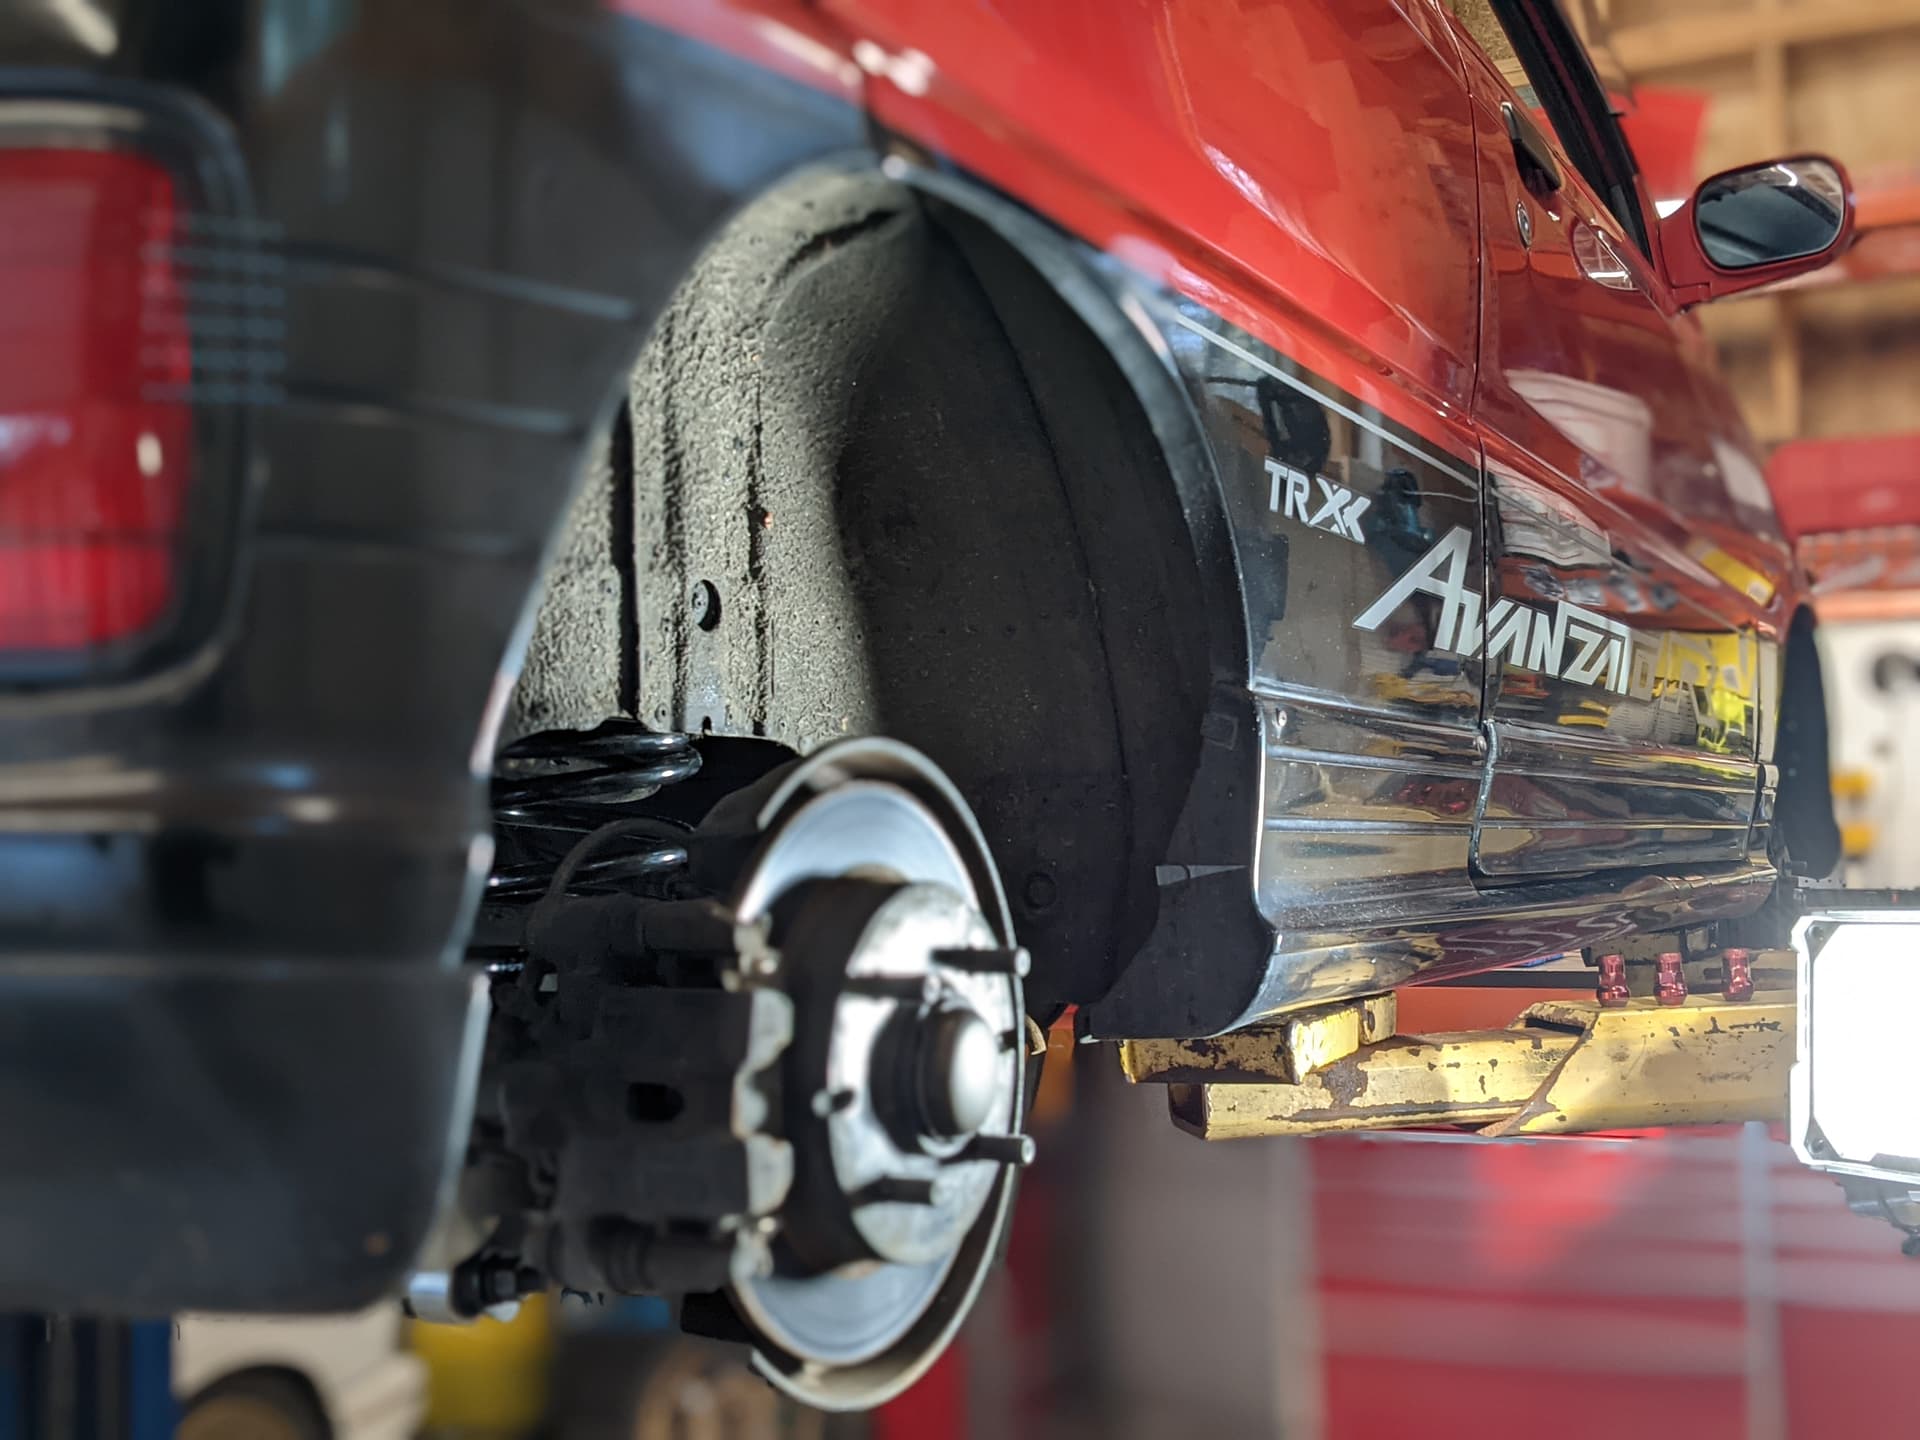
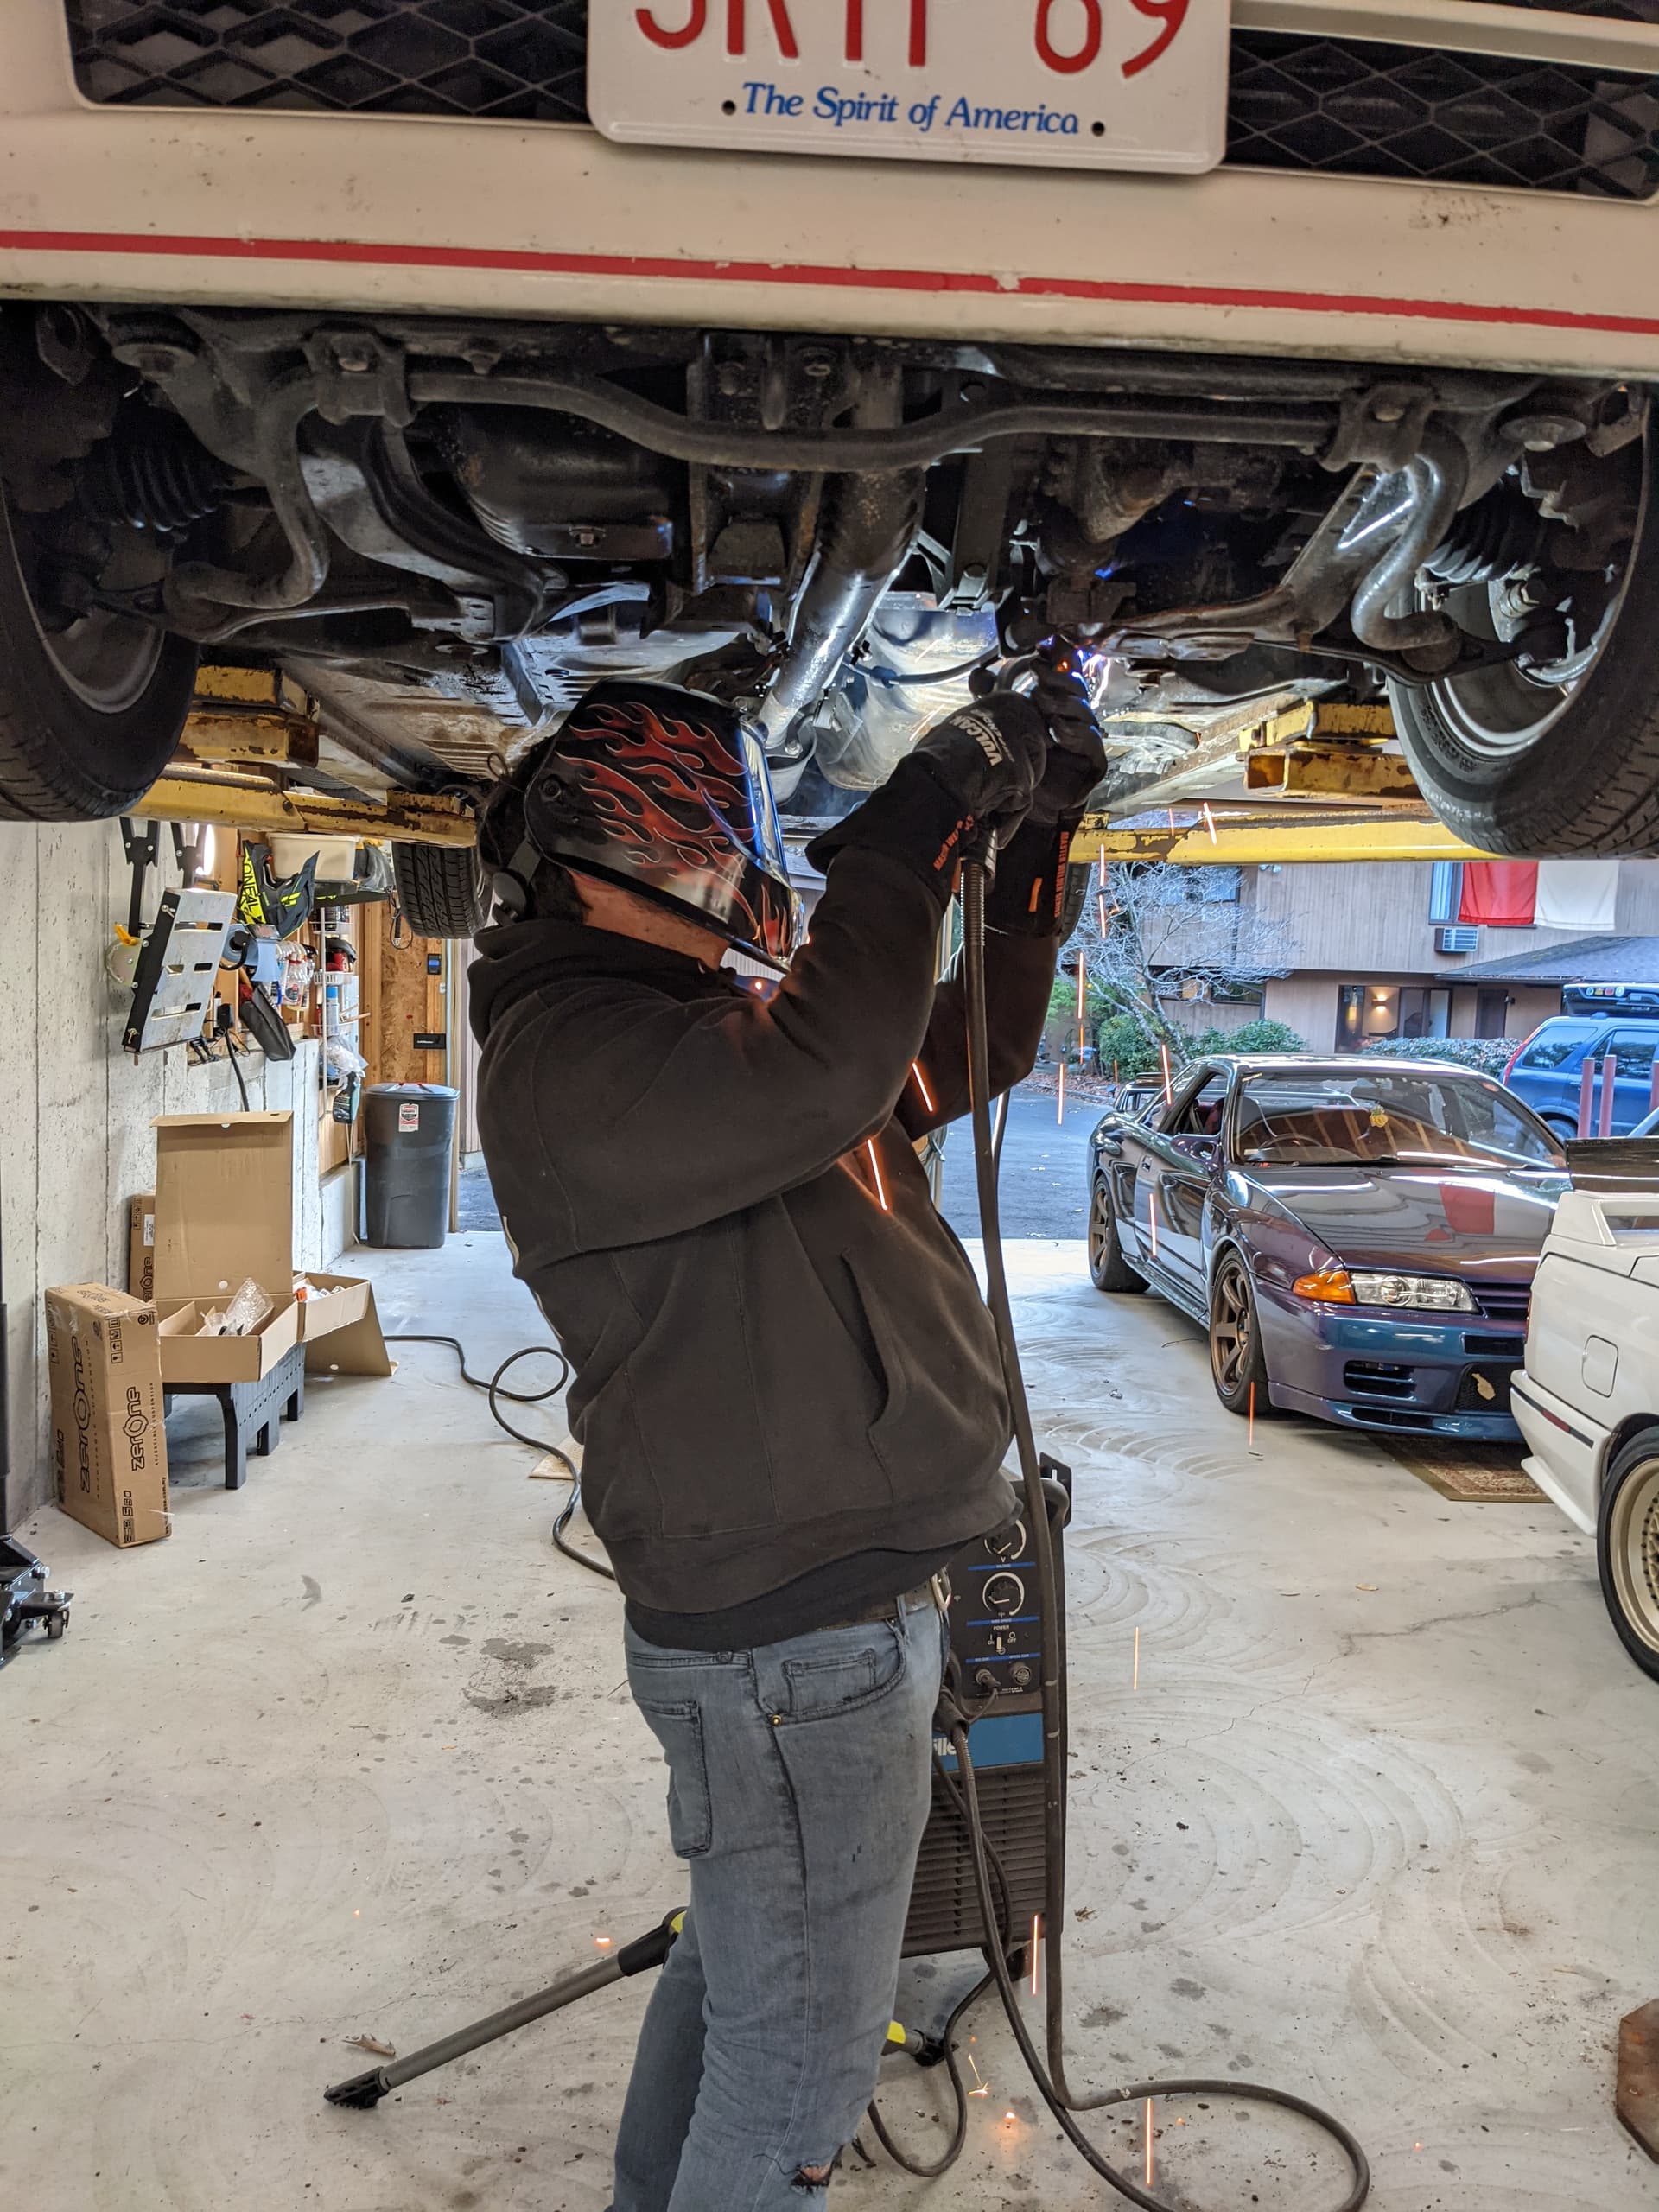
Got both sets installed on my buddy’s '94 TR-XX and my '92 today, found some rust and patched up one of the bad spots.
Thing drives SO MUCH BETTER with new suspension, and it’s sitting pretty now, need a proper alignment but our string alignment is surprisingly good. Adjustable top hats are now next too.
However, I now need a passenger side wheel bearing or hub, and it does not look like it’s going to be fun.
Also, any tips or best practices for doing the clutch? That’s the next job.
7 Likes
Pull engine and gearbox out as one, then separate them to do
the clutch.
1 Like
Yes as Mr G said engine and box out and then separate for doing clutch.
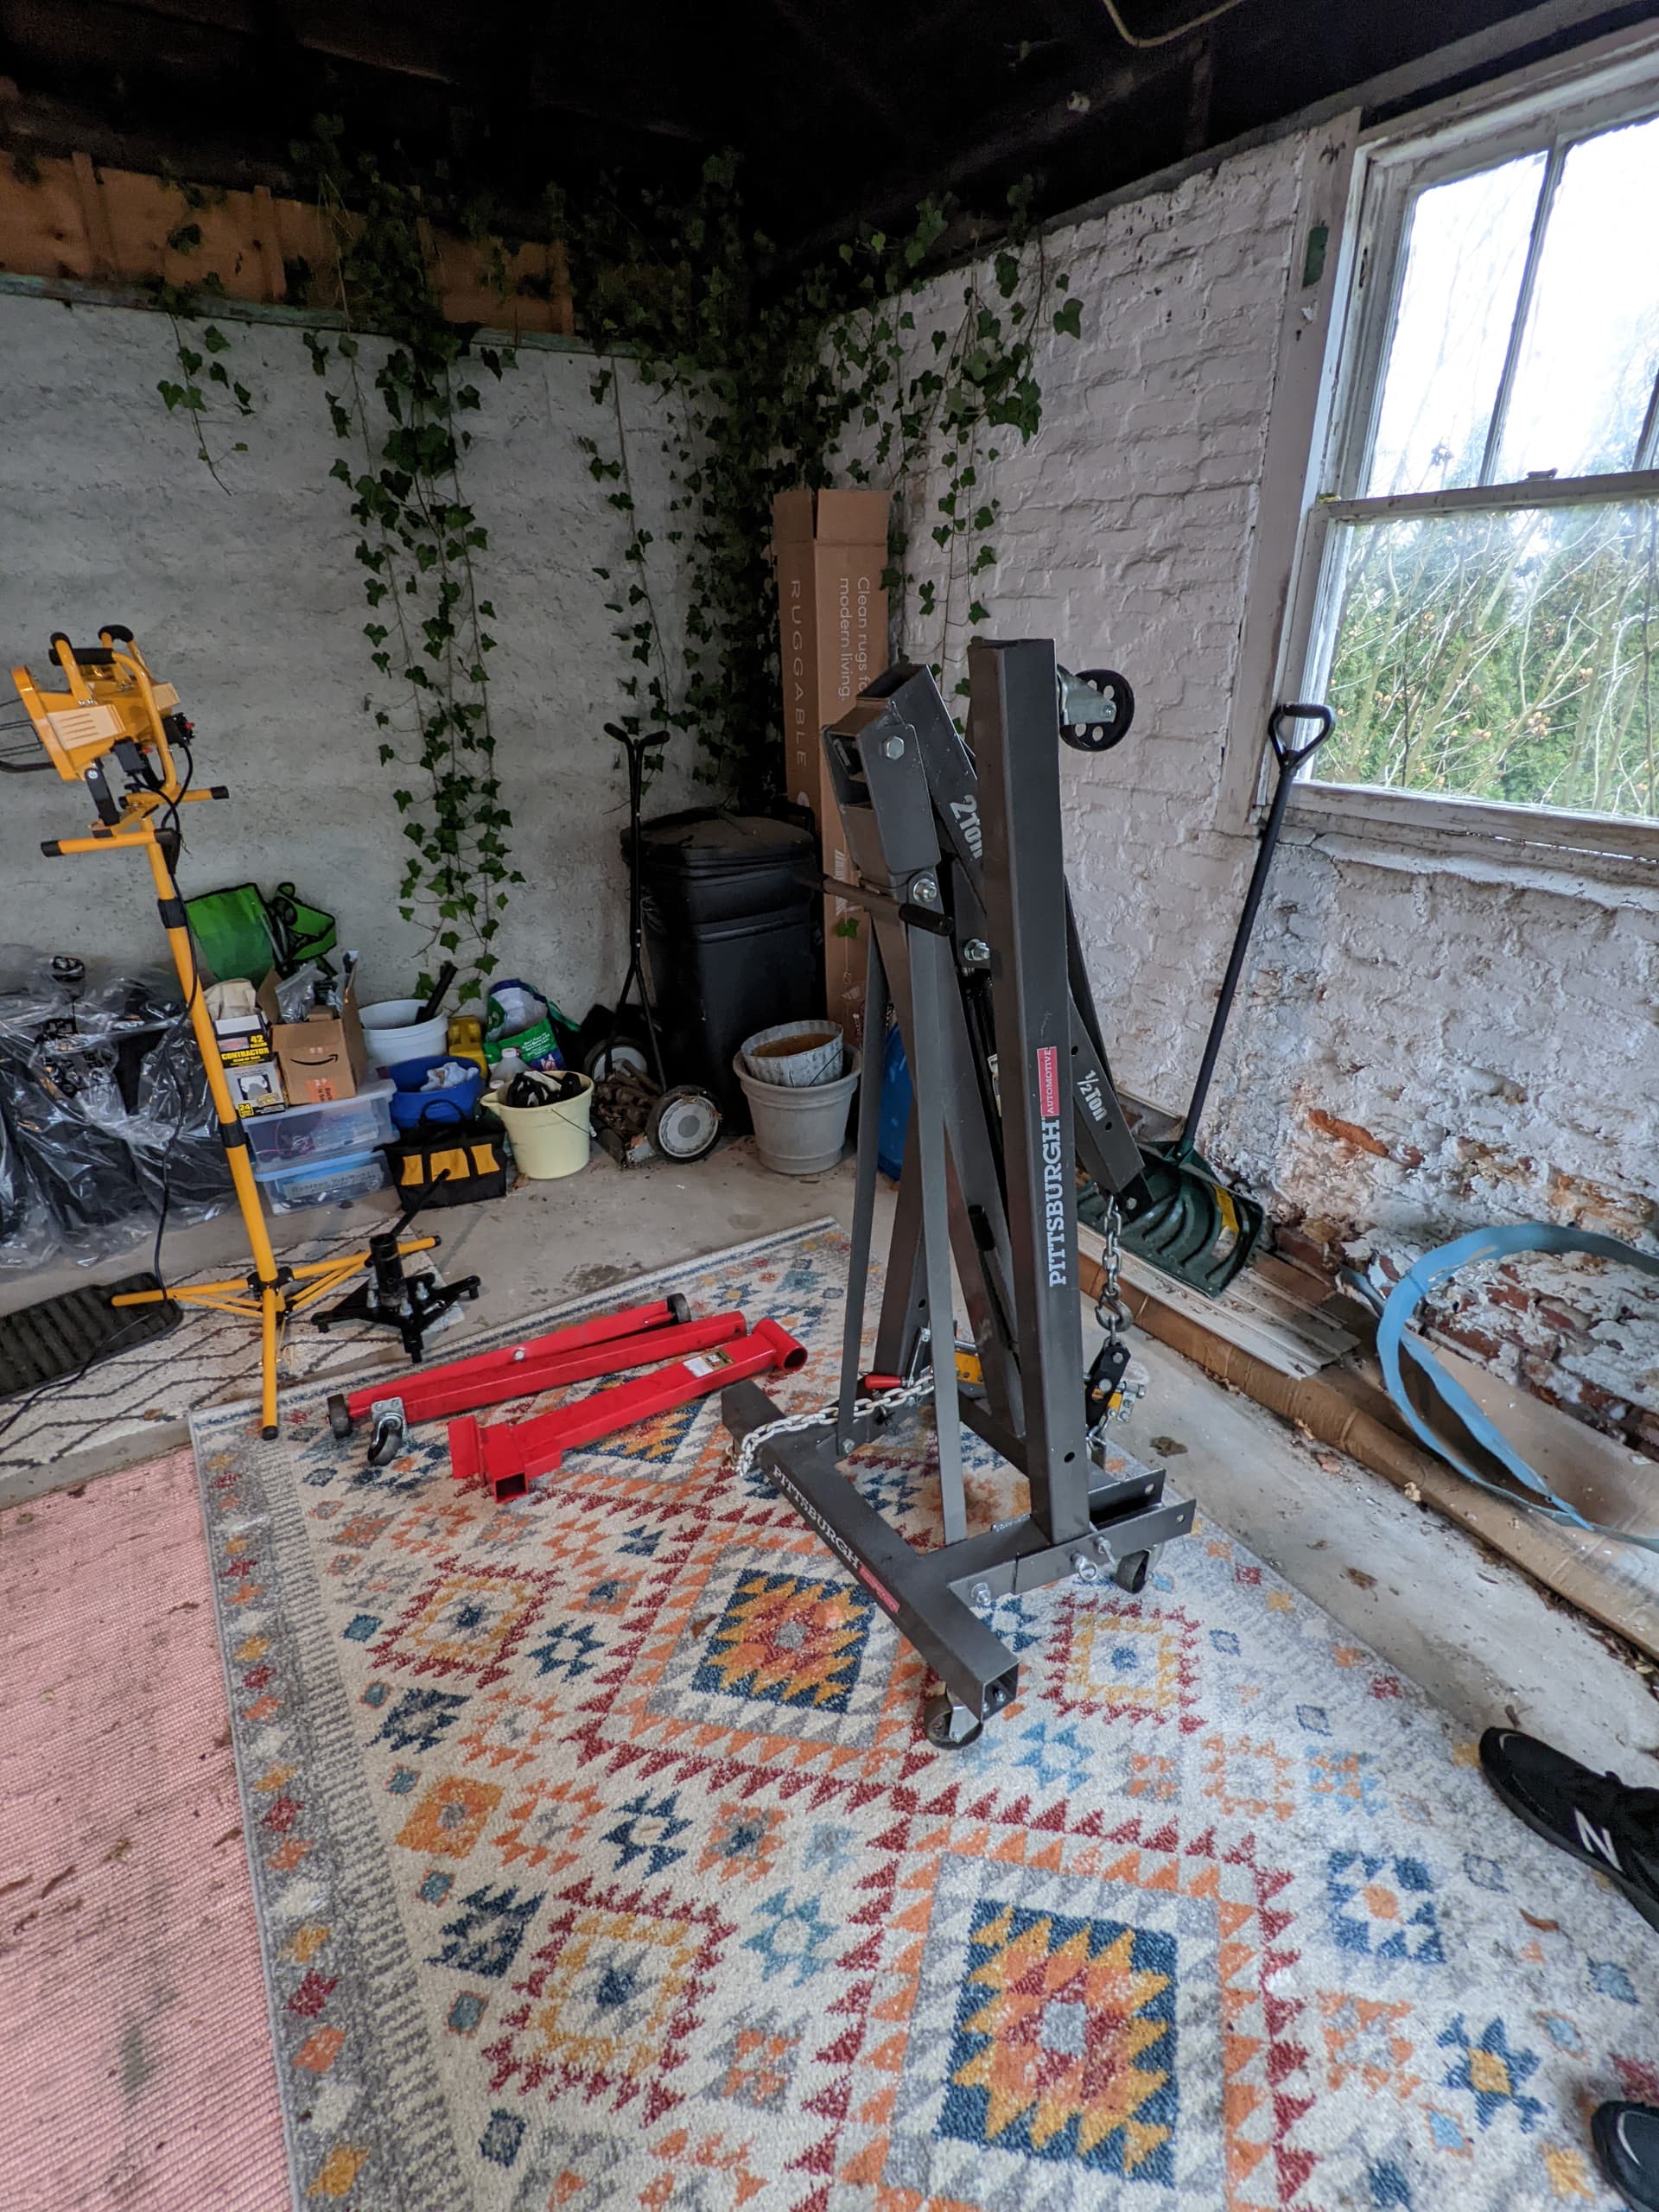
Okay so finally getting ready to pull the motor/clutch, buddy is bringing over an engine puller and stand.
Any tips on removal? Or anything to specifically look out for? Was considering dropping the entire front subframe and maybe doing it that way, but since I have a hoist/stand available going that way.
Also going to try and absolutely soak every nut and bolt with PB blaster or liquid wrench before hand.
When I have taken engine/gearbox stuff I have taken them out the front of the car. A lot of the front assembly of the car can come off, including the top radiator bar.
1 Like
+1 on what @b_hoves says, give yourself at least the length of the car in front of the engine bay, remove front bumper, crash bar, radiator - as much as you possibly can remove really. Then lift the engine enough to clear the subframe cradle and wheel the whole lot out the front of the car. I’d say you want 20% lifting, 80% wheeling if that makes sense?
The mistake I made was that I didn’t have enough room in front of where I’d parked the car, so getting the engine out and then swung round was a pain. Not as much of a pain as it was getting it all back in though…
Have a good think about it before you remove the front wheels & driveshafts because by that point there is basically no going back. Think about how much space you’ll need, then double it, then start taking thing to bits.
2 Likes
I also take engine/gearboxes out the way @b_hoves describes. In your case to do the clutch This is the way I would do it.
1 Like
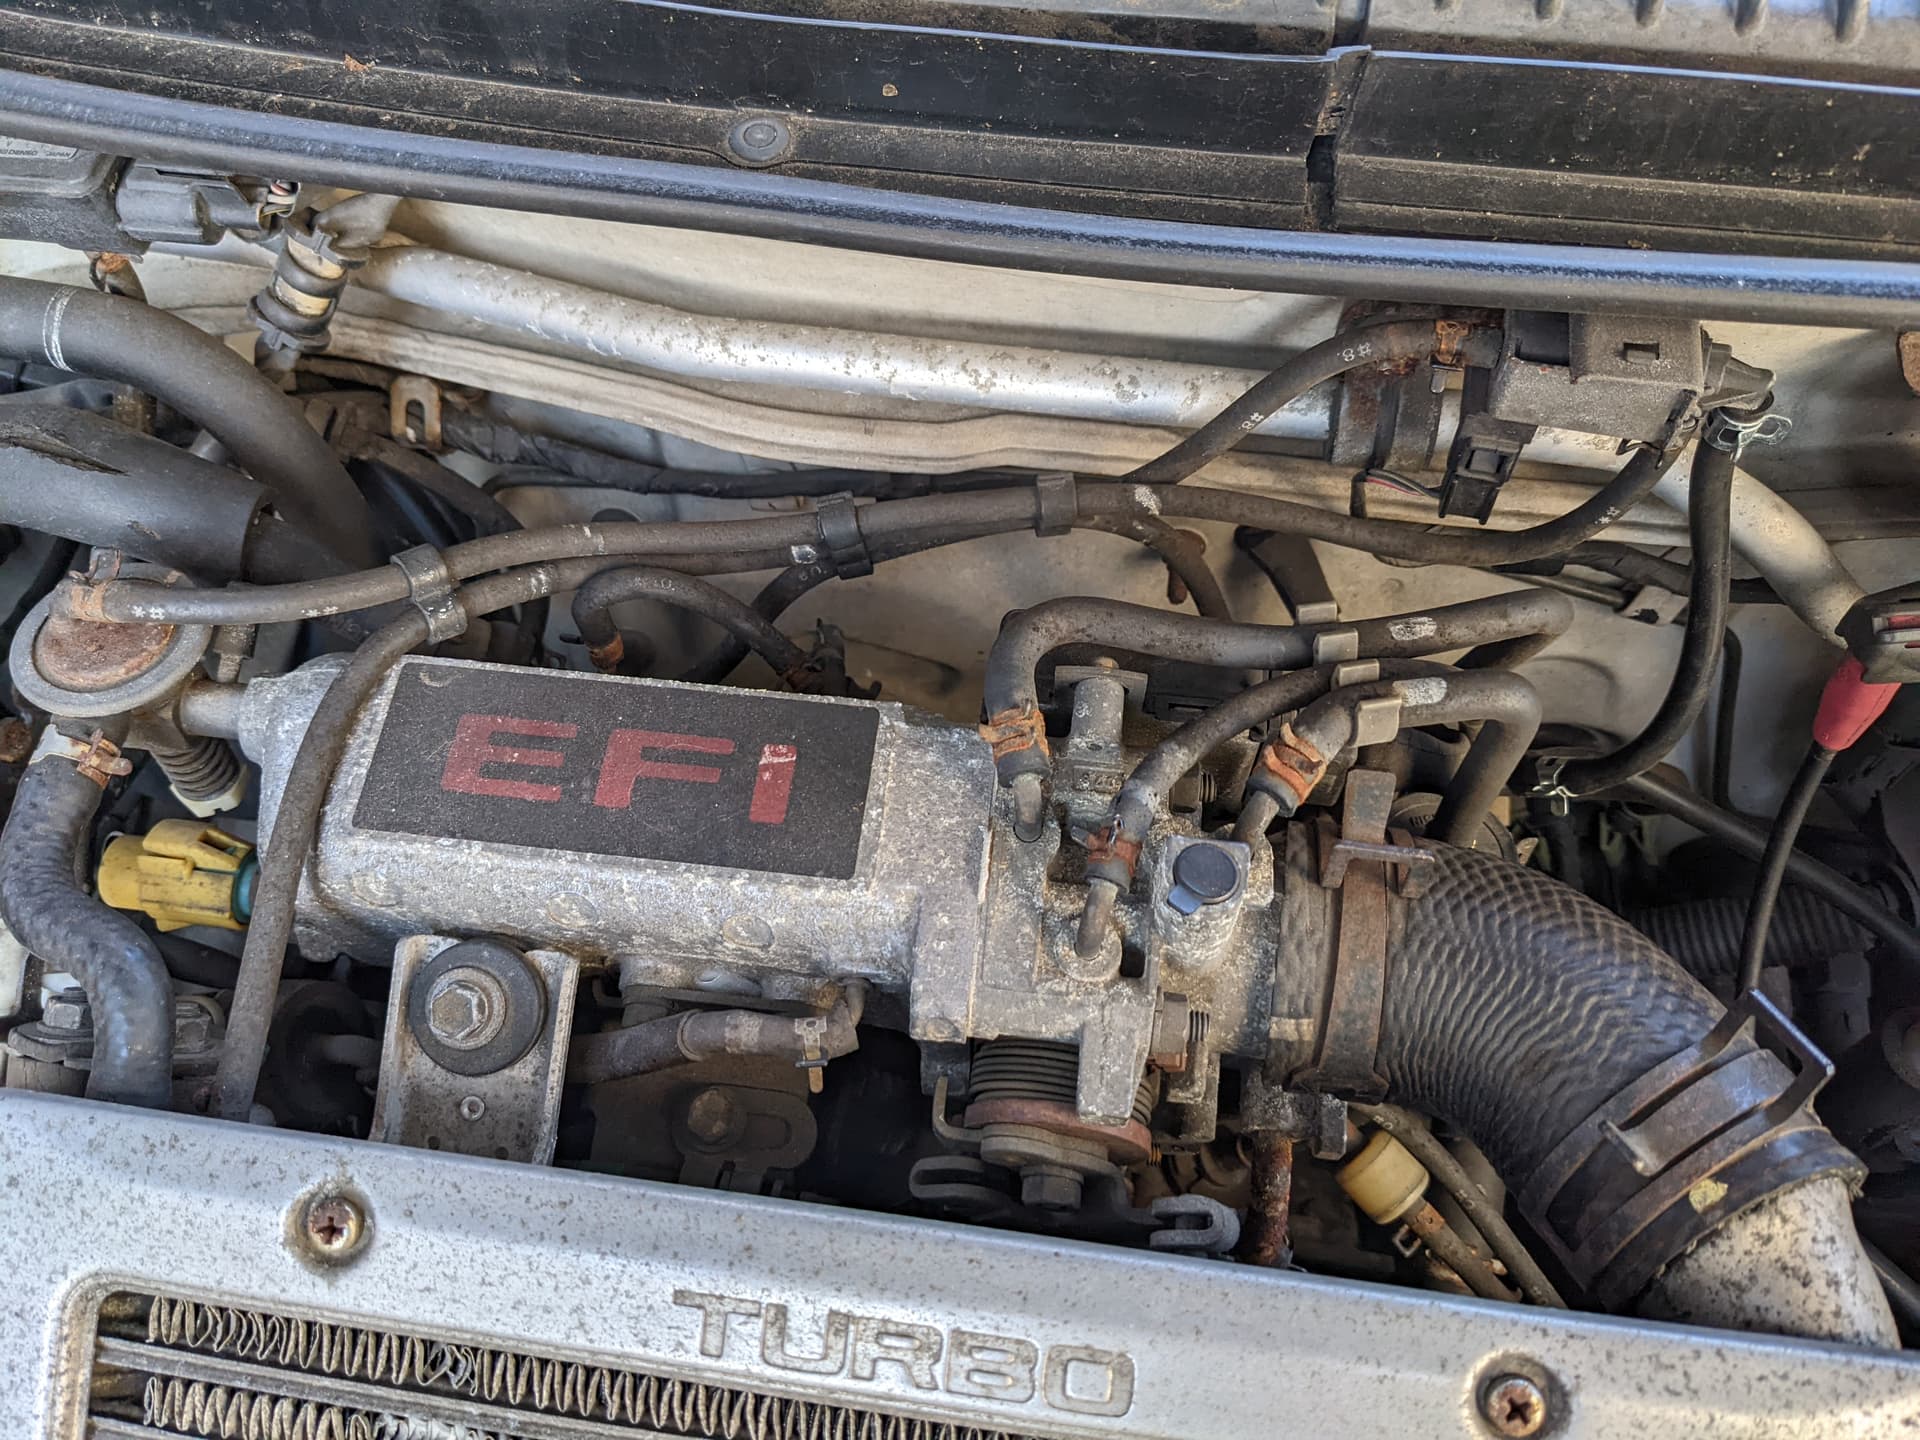
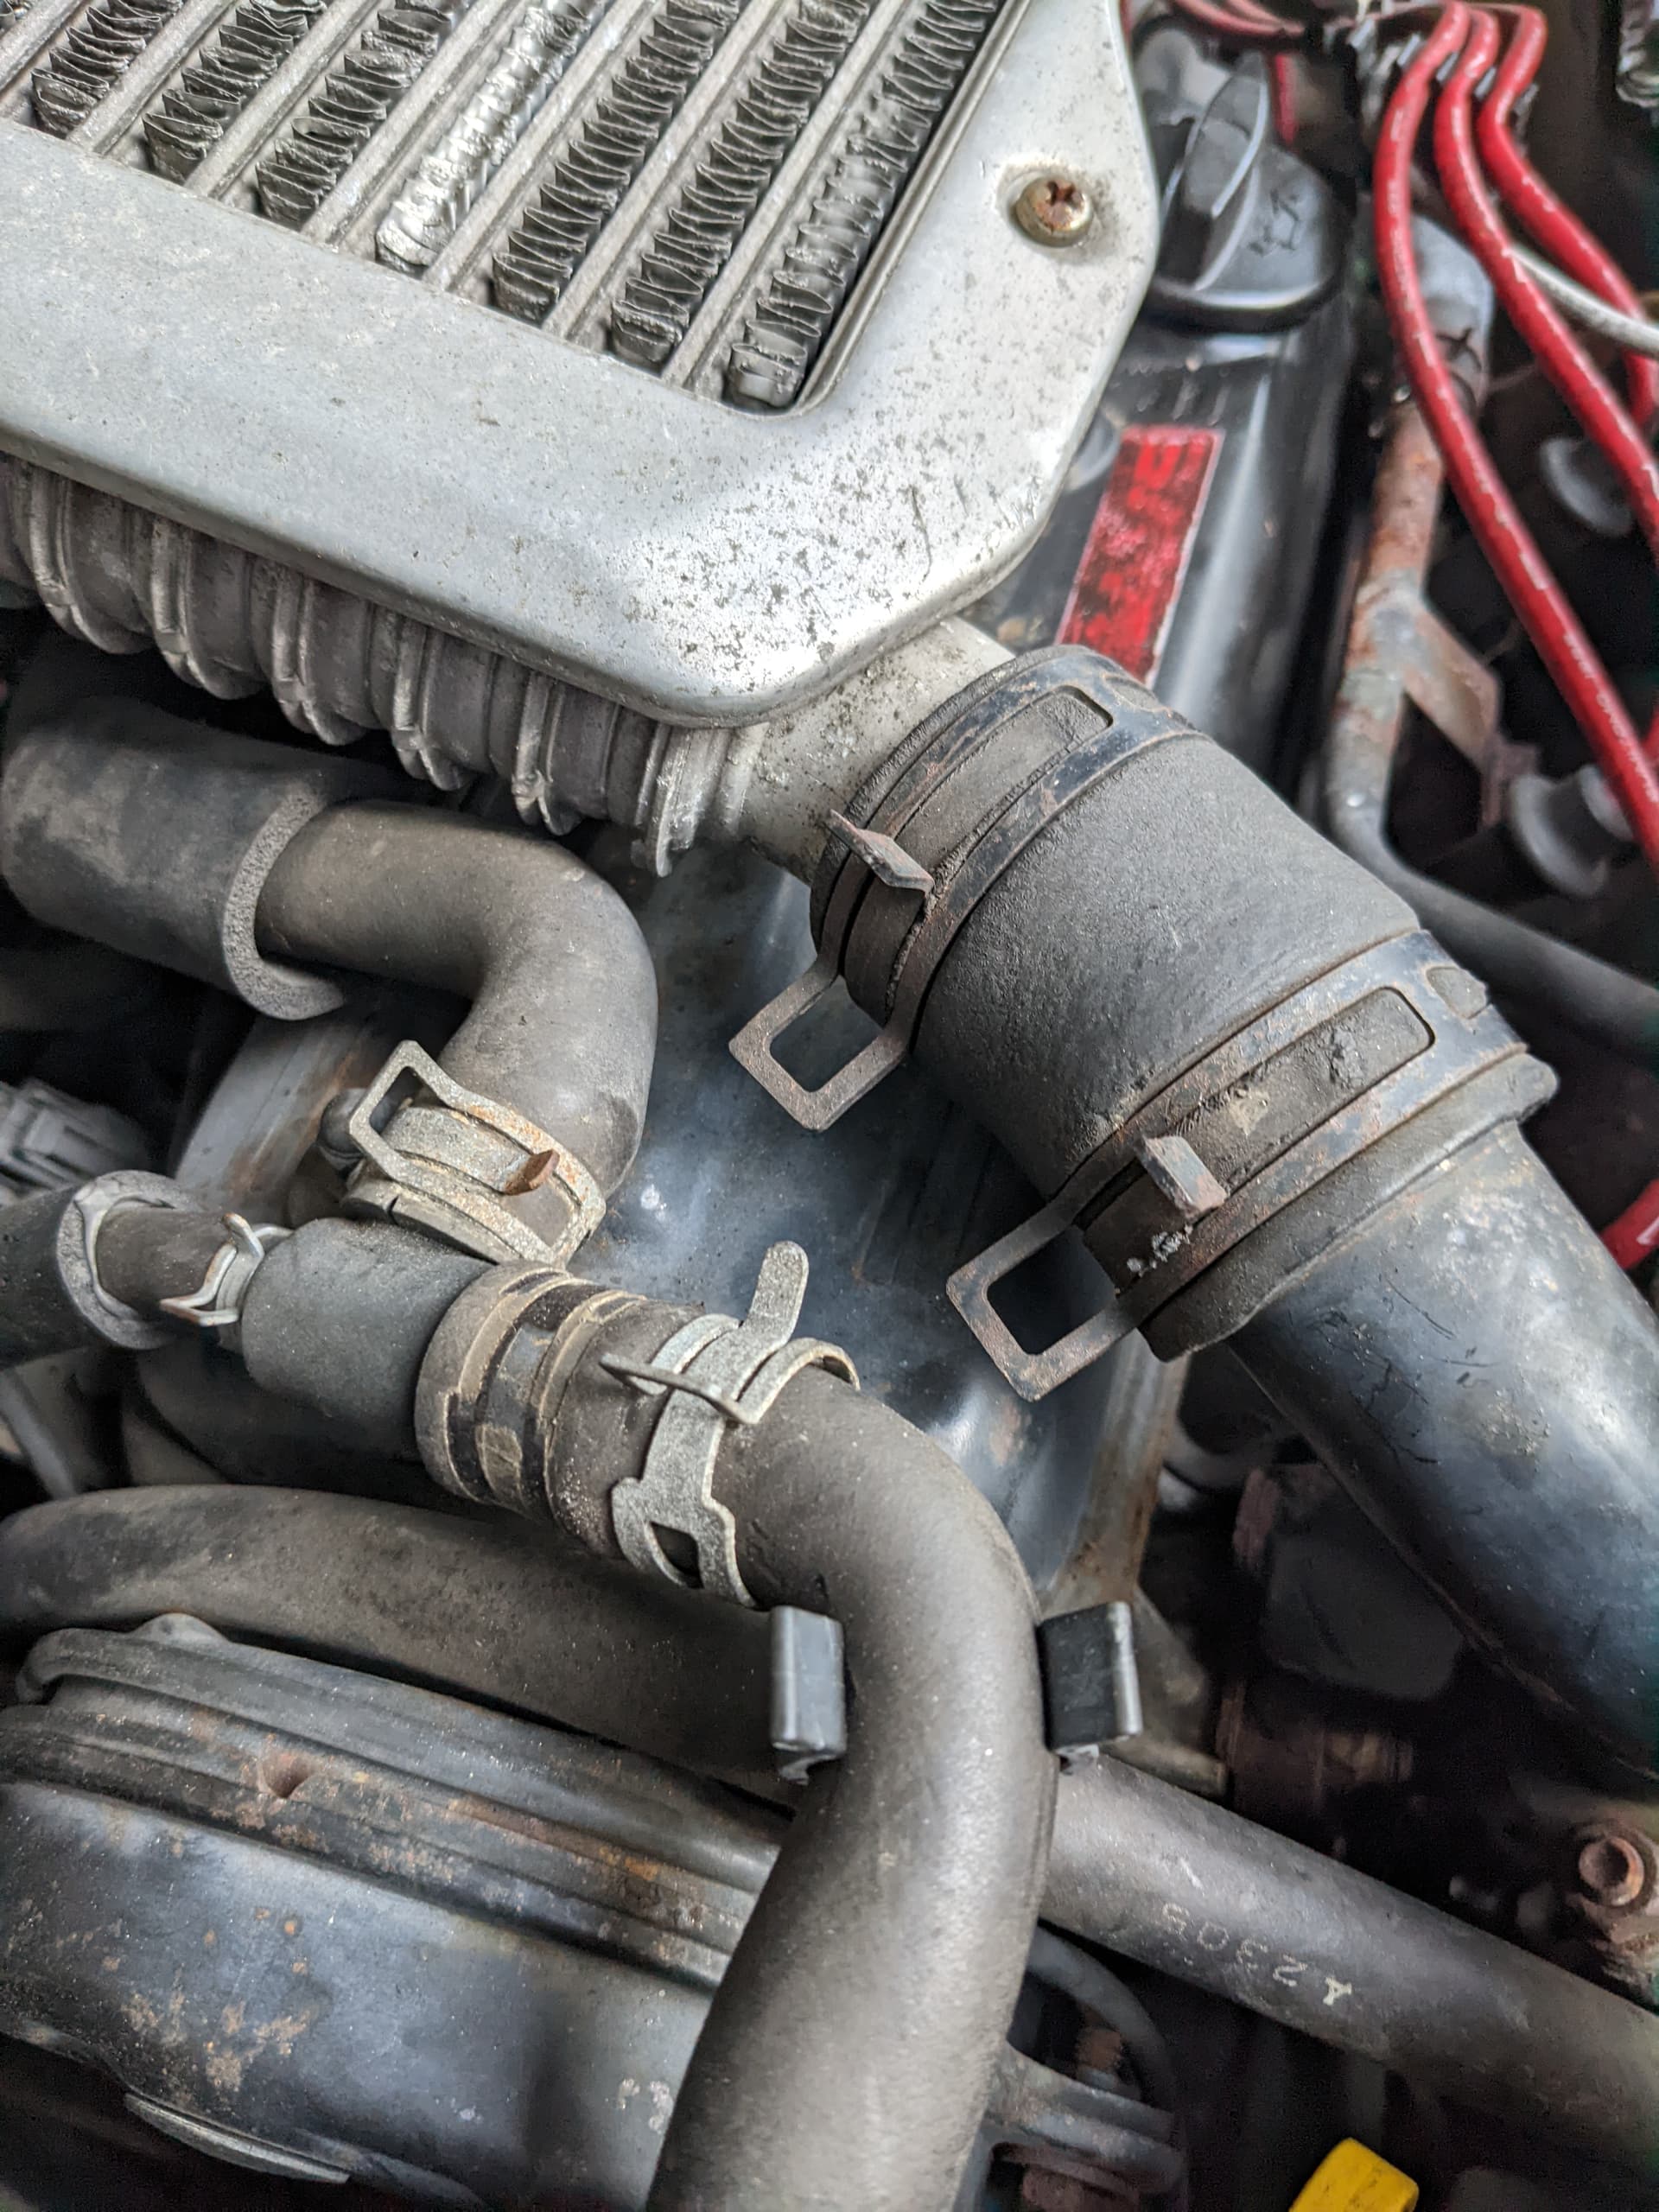
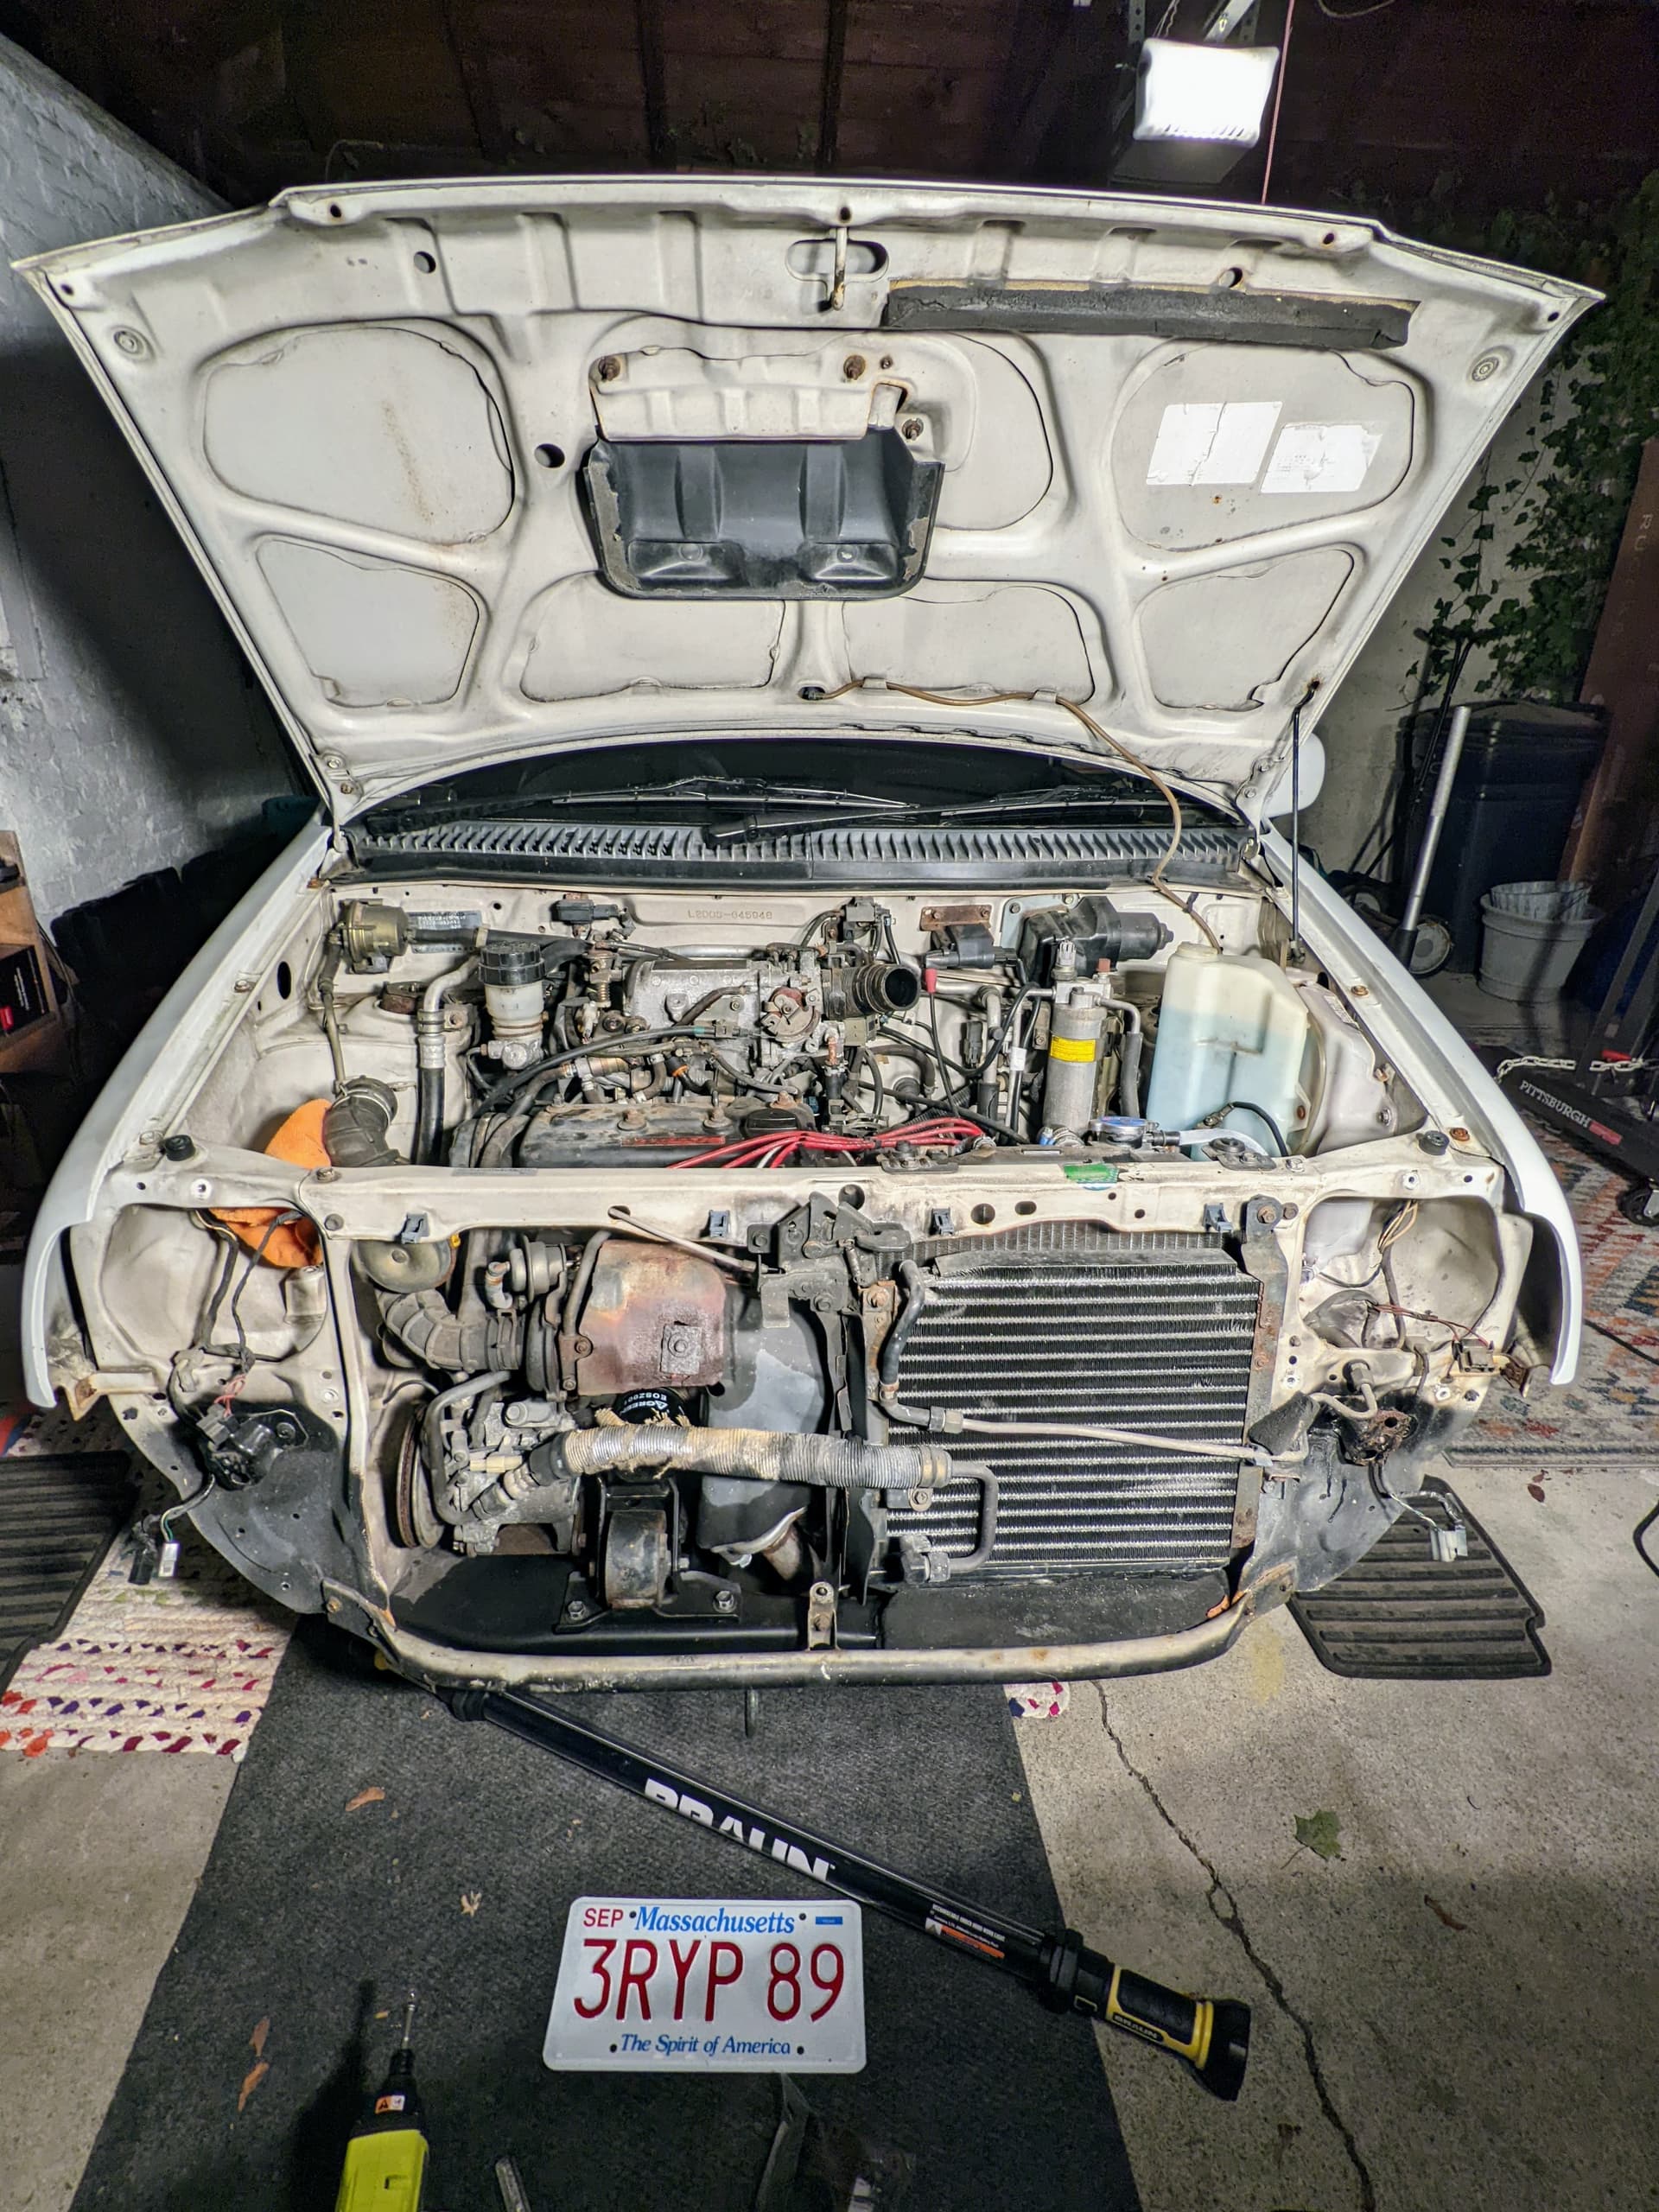
Warm enough to make me get started today, tried to get a few good shots of all the vac line routing ahead of time.
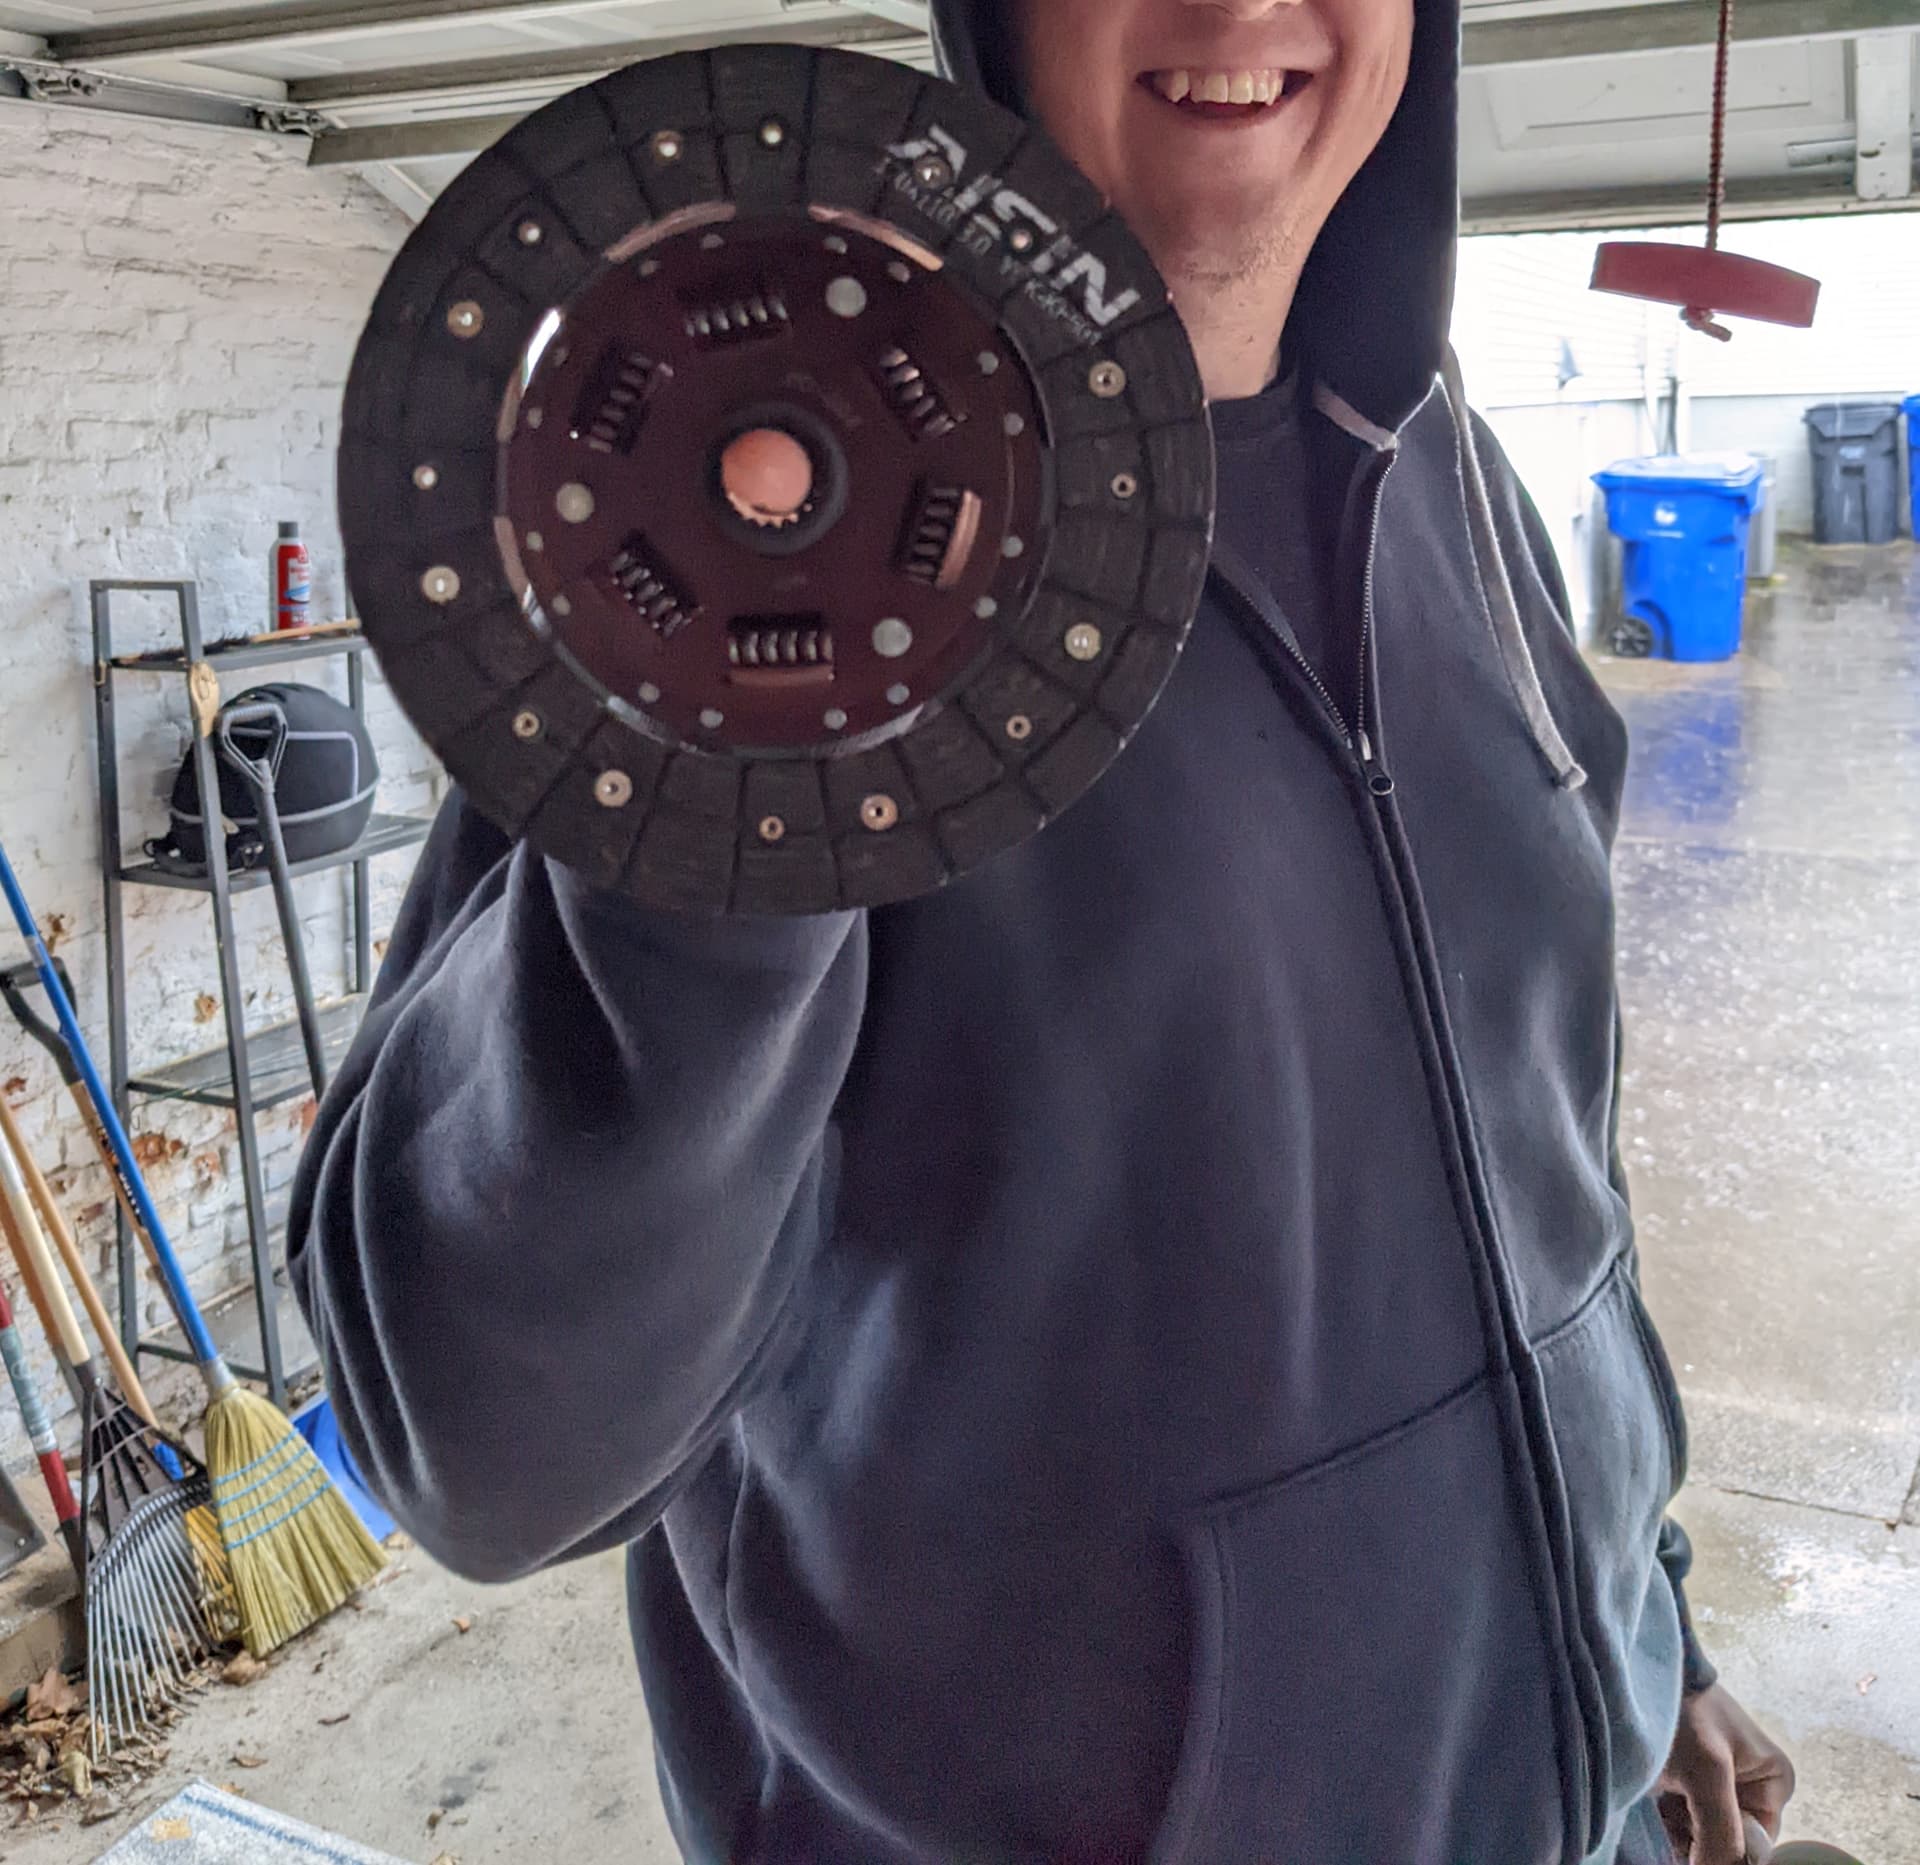
My buddy enjoyed the size of the clutch:

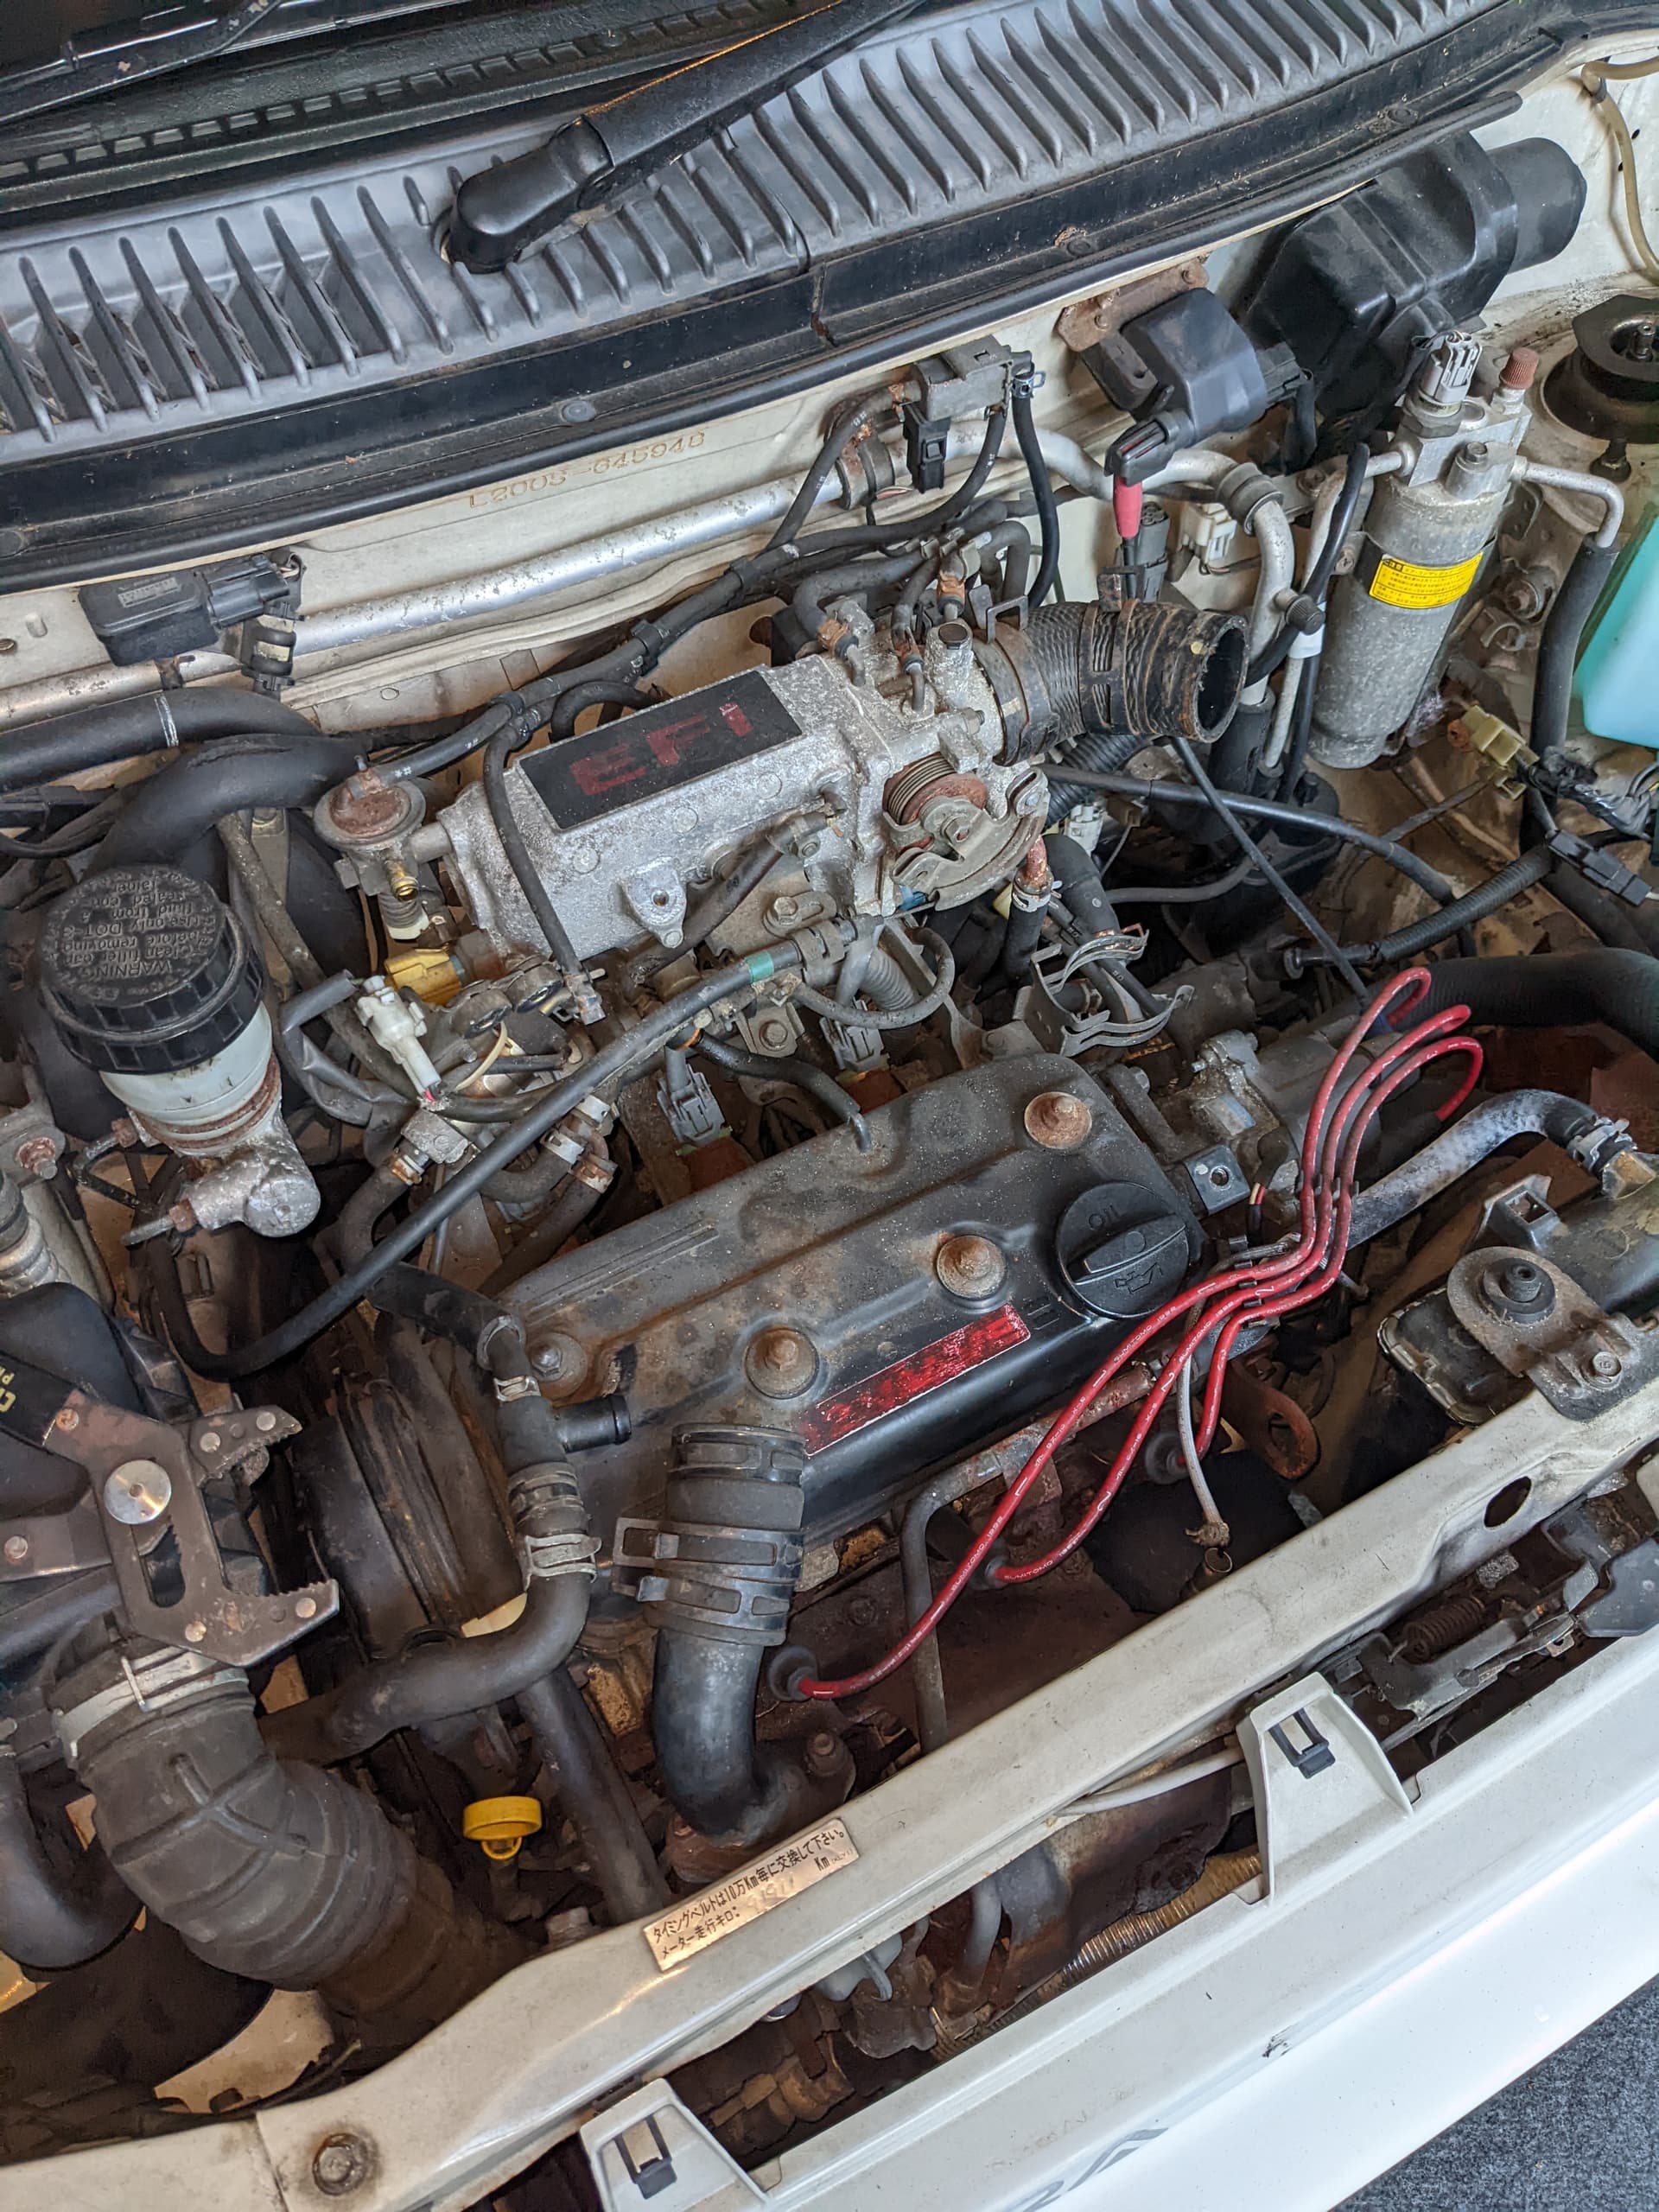

Spent half the time looking for various tools in a few different places but will remove the bumper next, then drain coolant and remove rad/fan/rad support, after that and disconnecting AC lines and vac lins/electrical, then axles, but I am wondering if I will have enough room swinging it up and out front where I can keep the intake and exhaust manifolds on the motor? Would save a lot of headache. Wondering if I should go ahead and remove the hood while I’m at it.
Also, considering putting the front end on jack stands before I do the rad/front support, because the axles will come up next.
Edit:
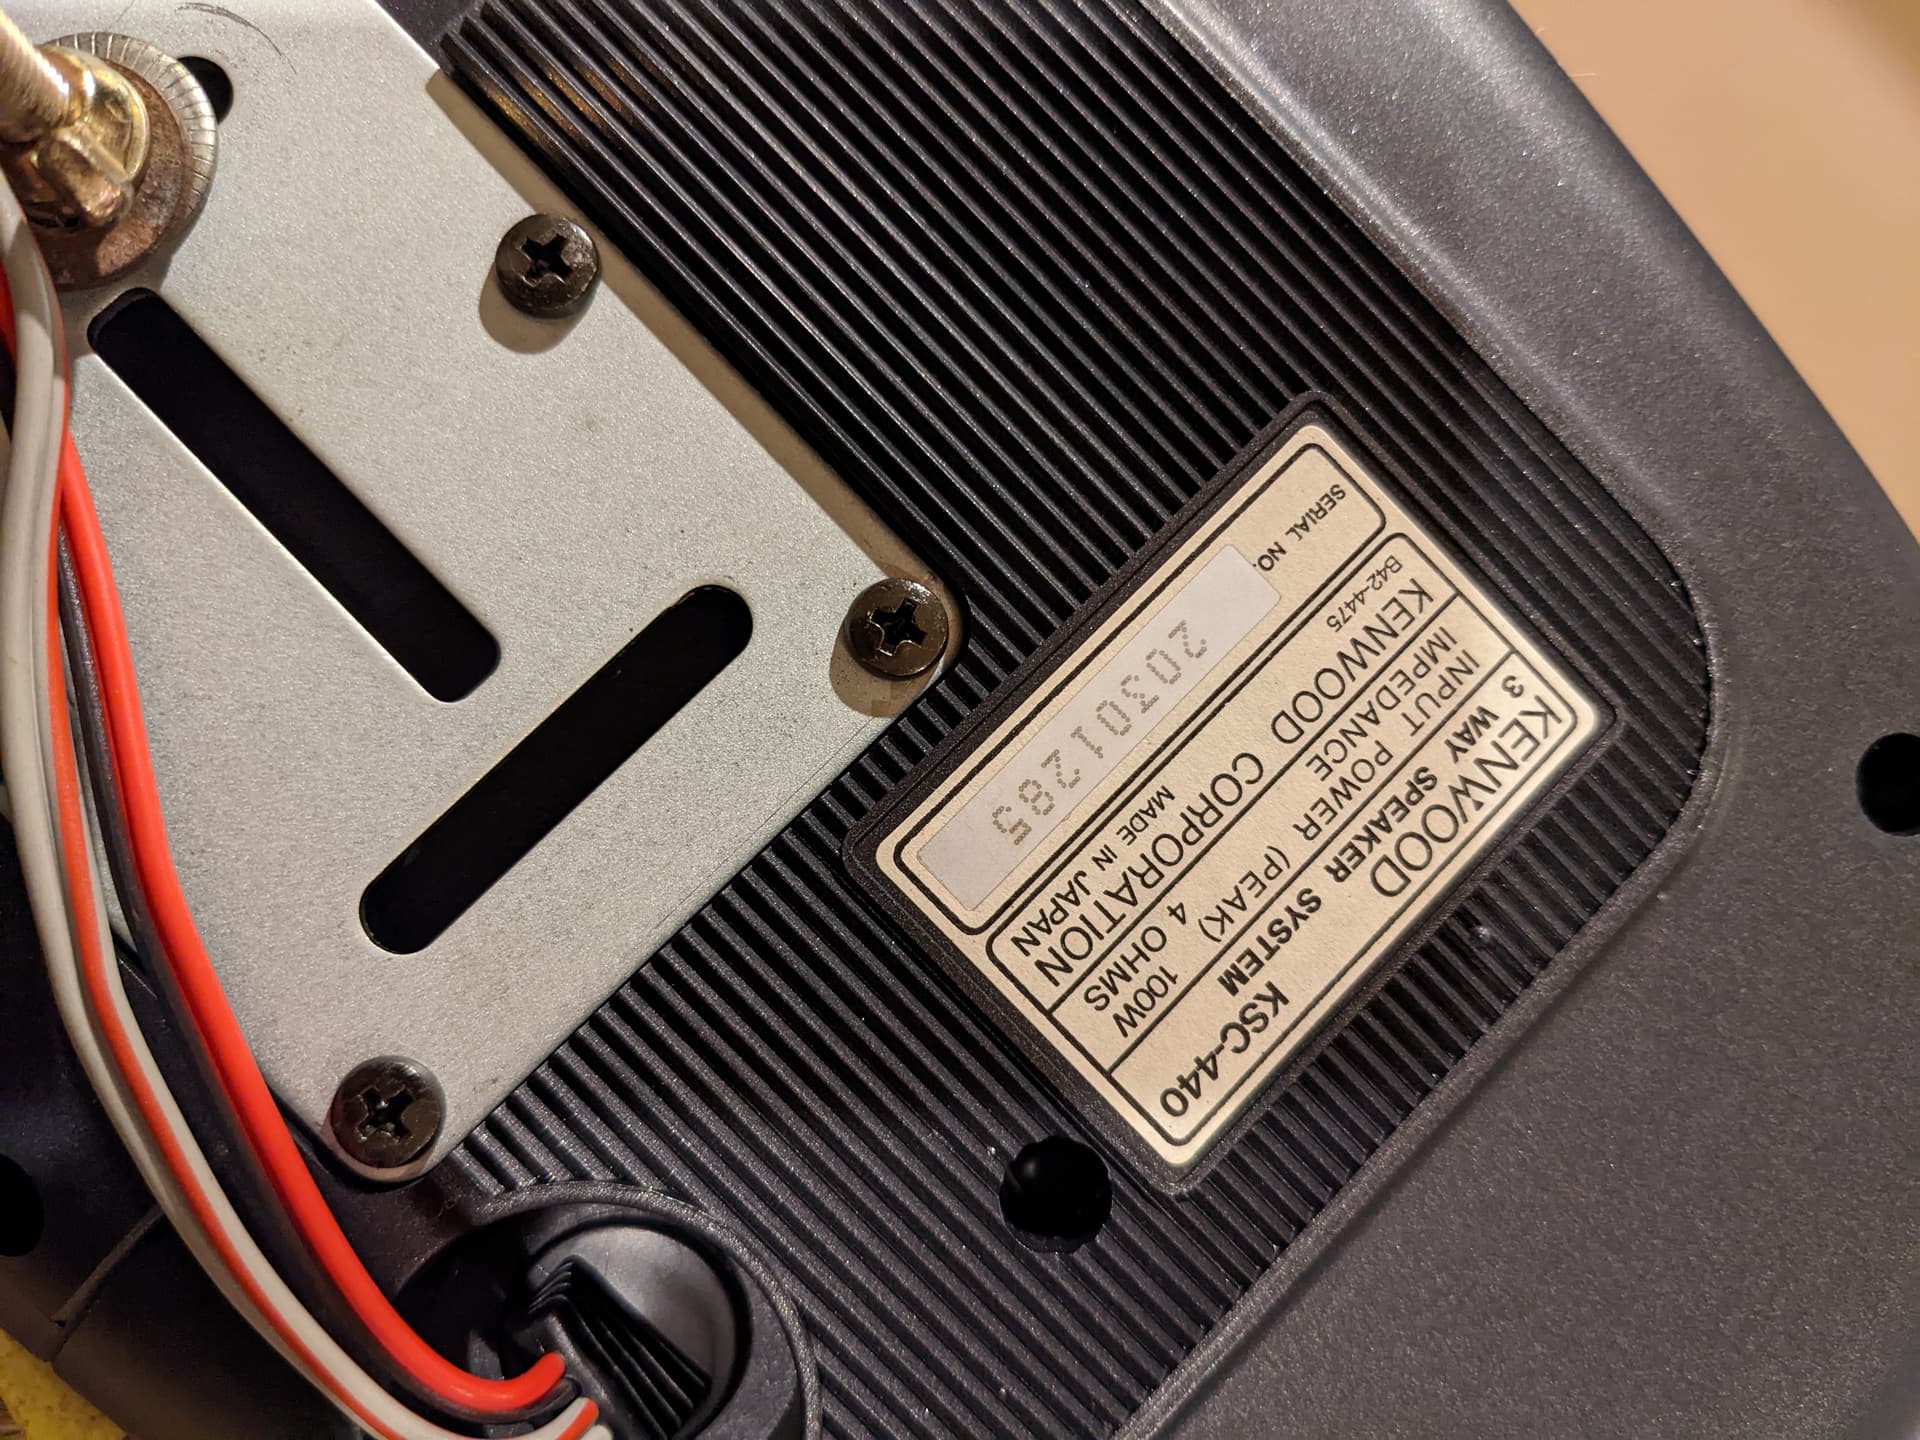
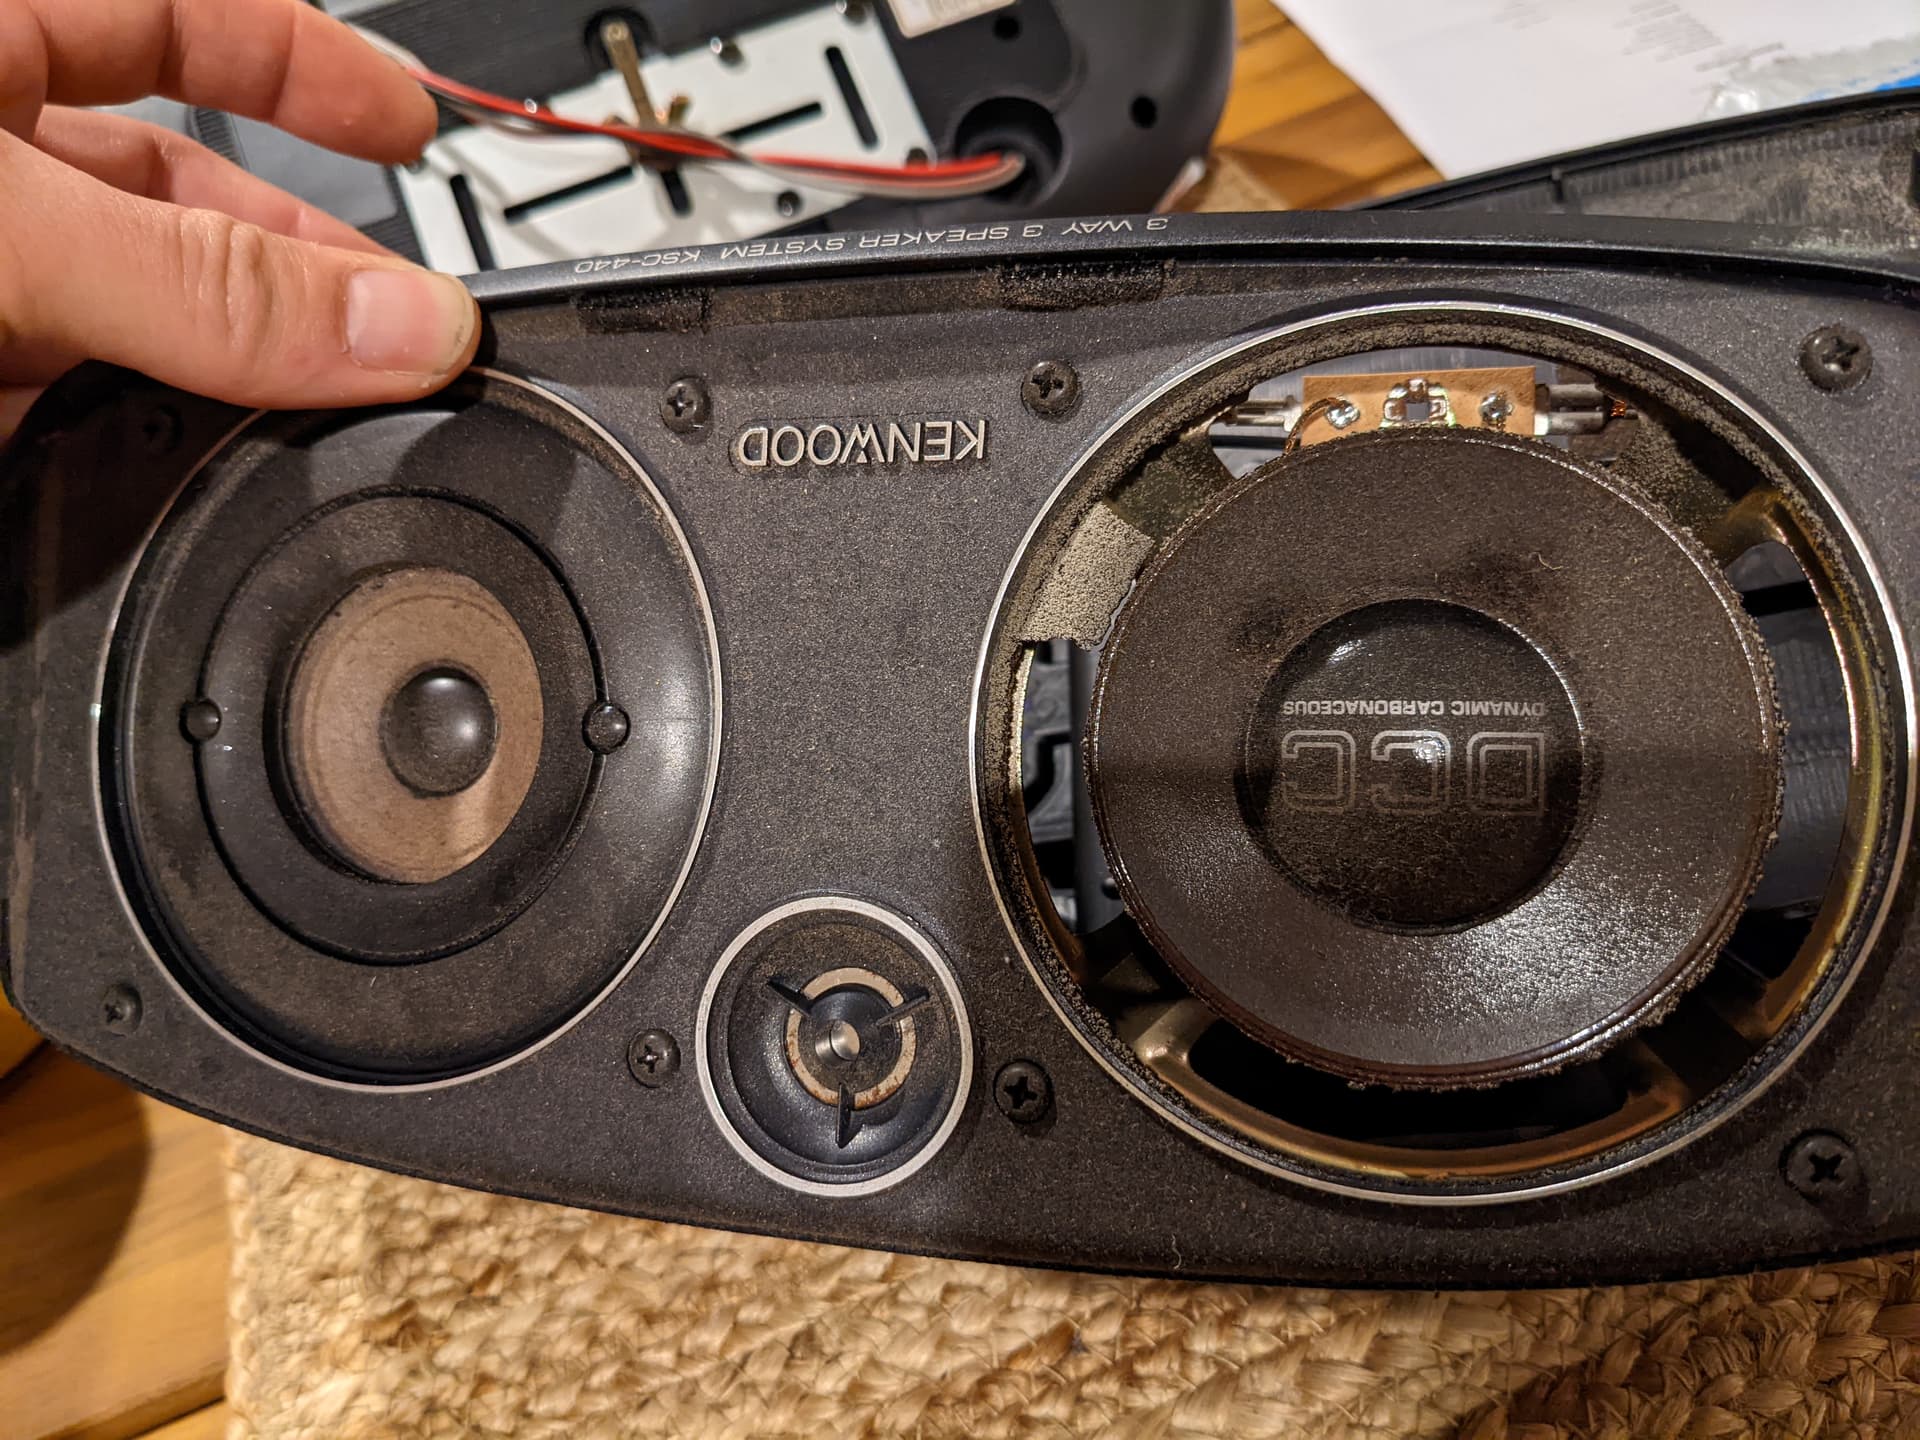
Does anyone know what size these old Kenwood woofers are? Mine are destroyed and I want to source replacements. Also I saw a video on YouTube that seem to have them wired into the turn signals, is that possible?

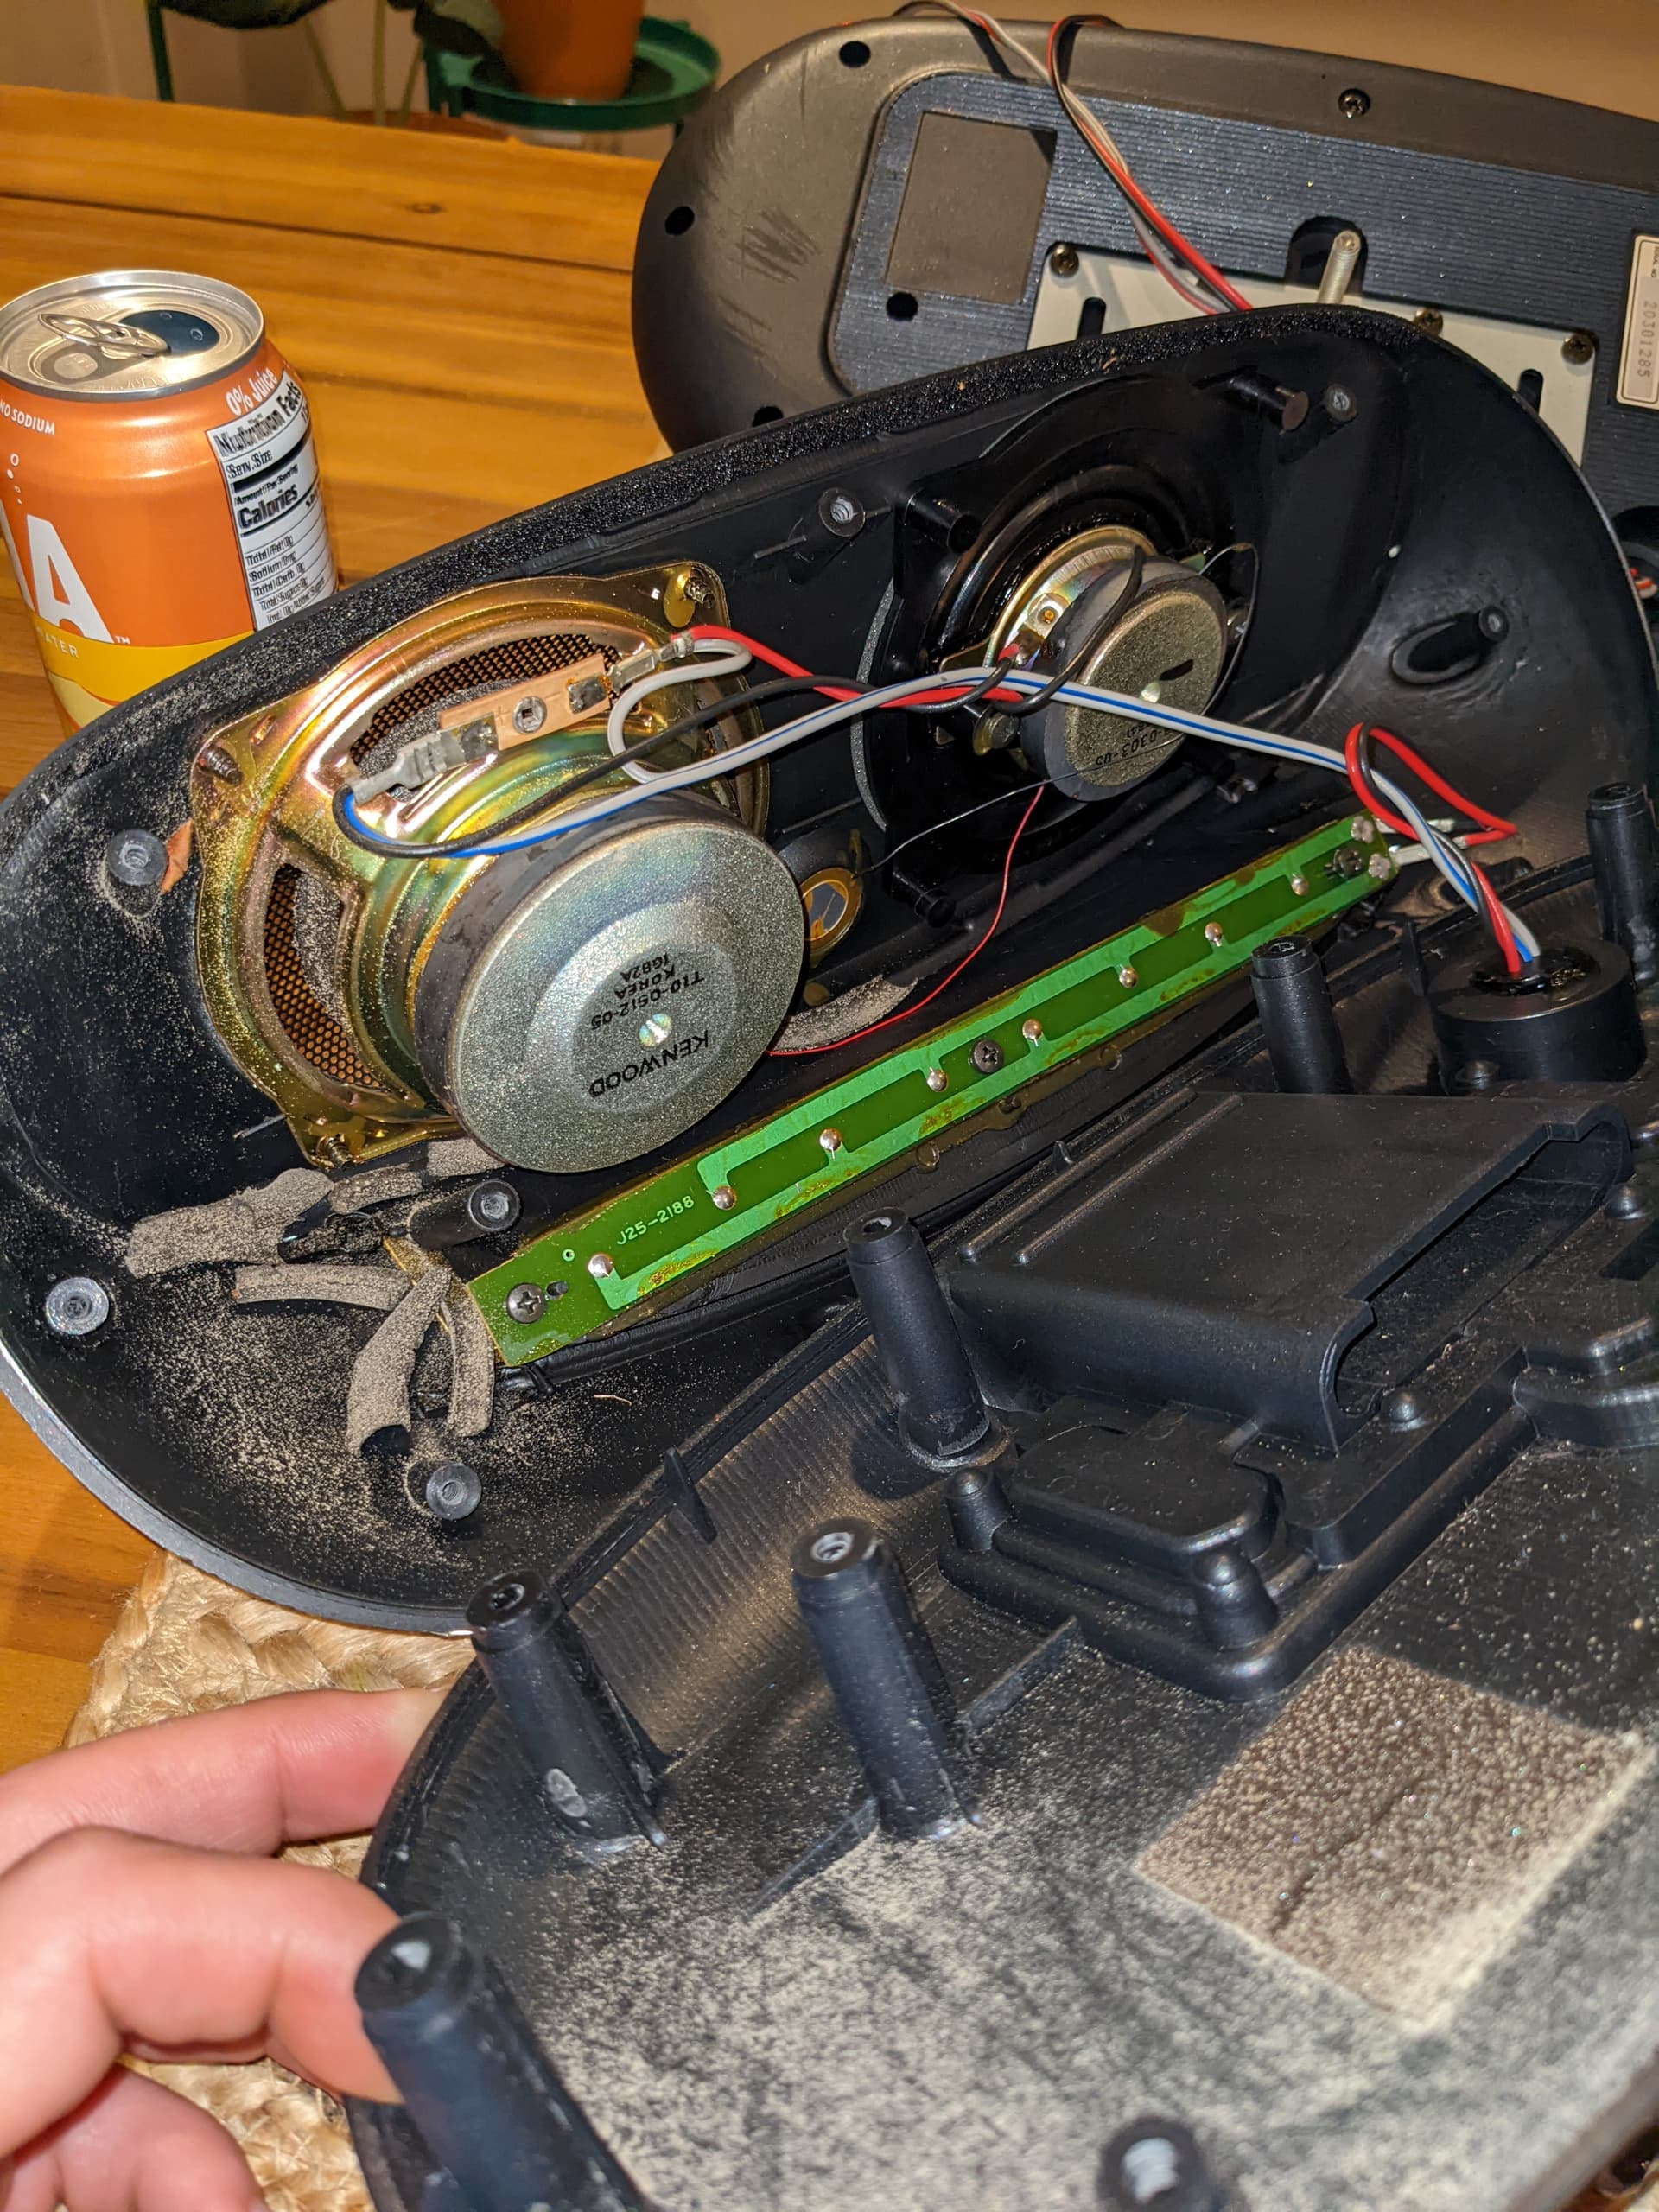
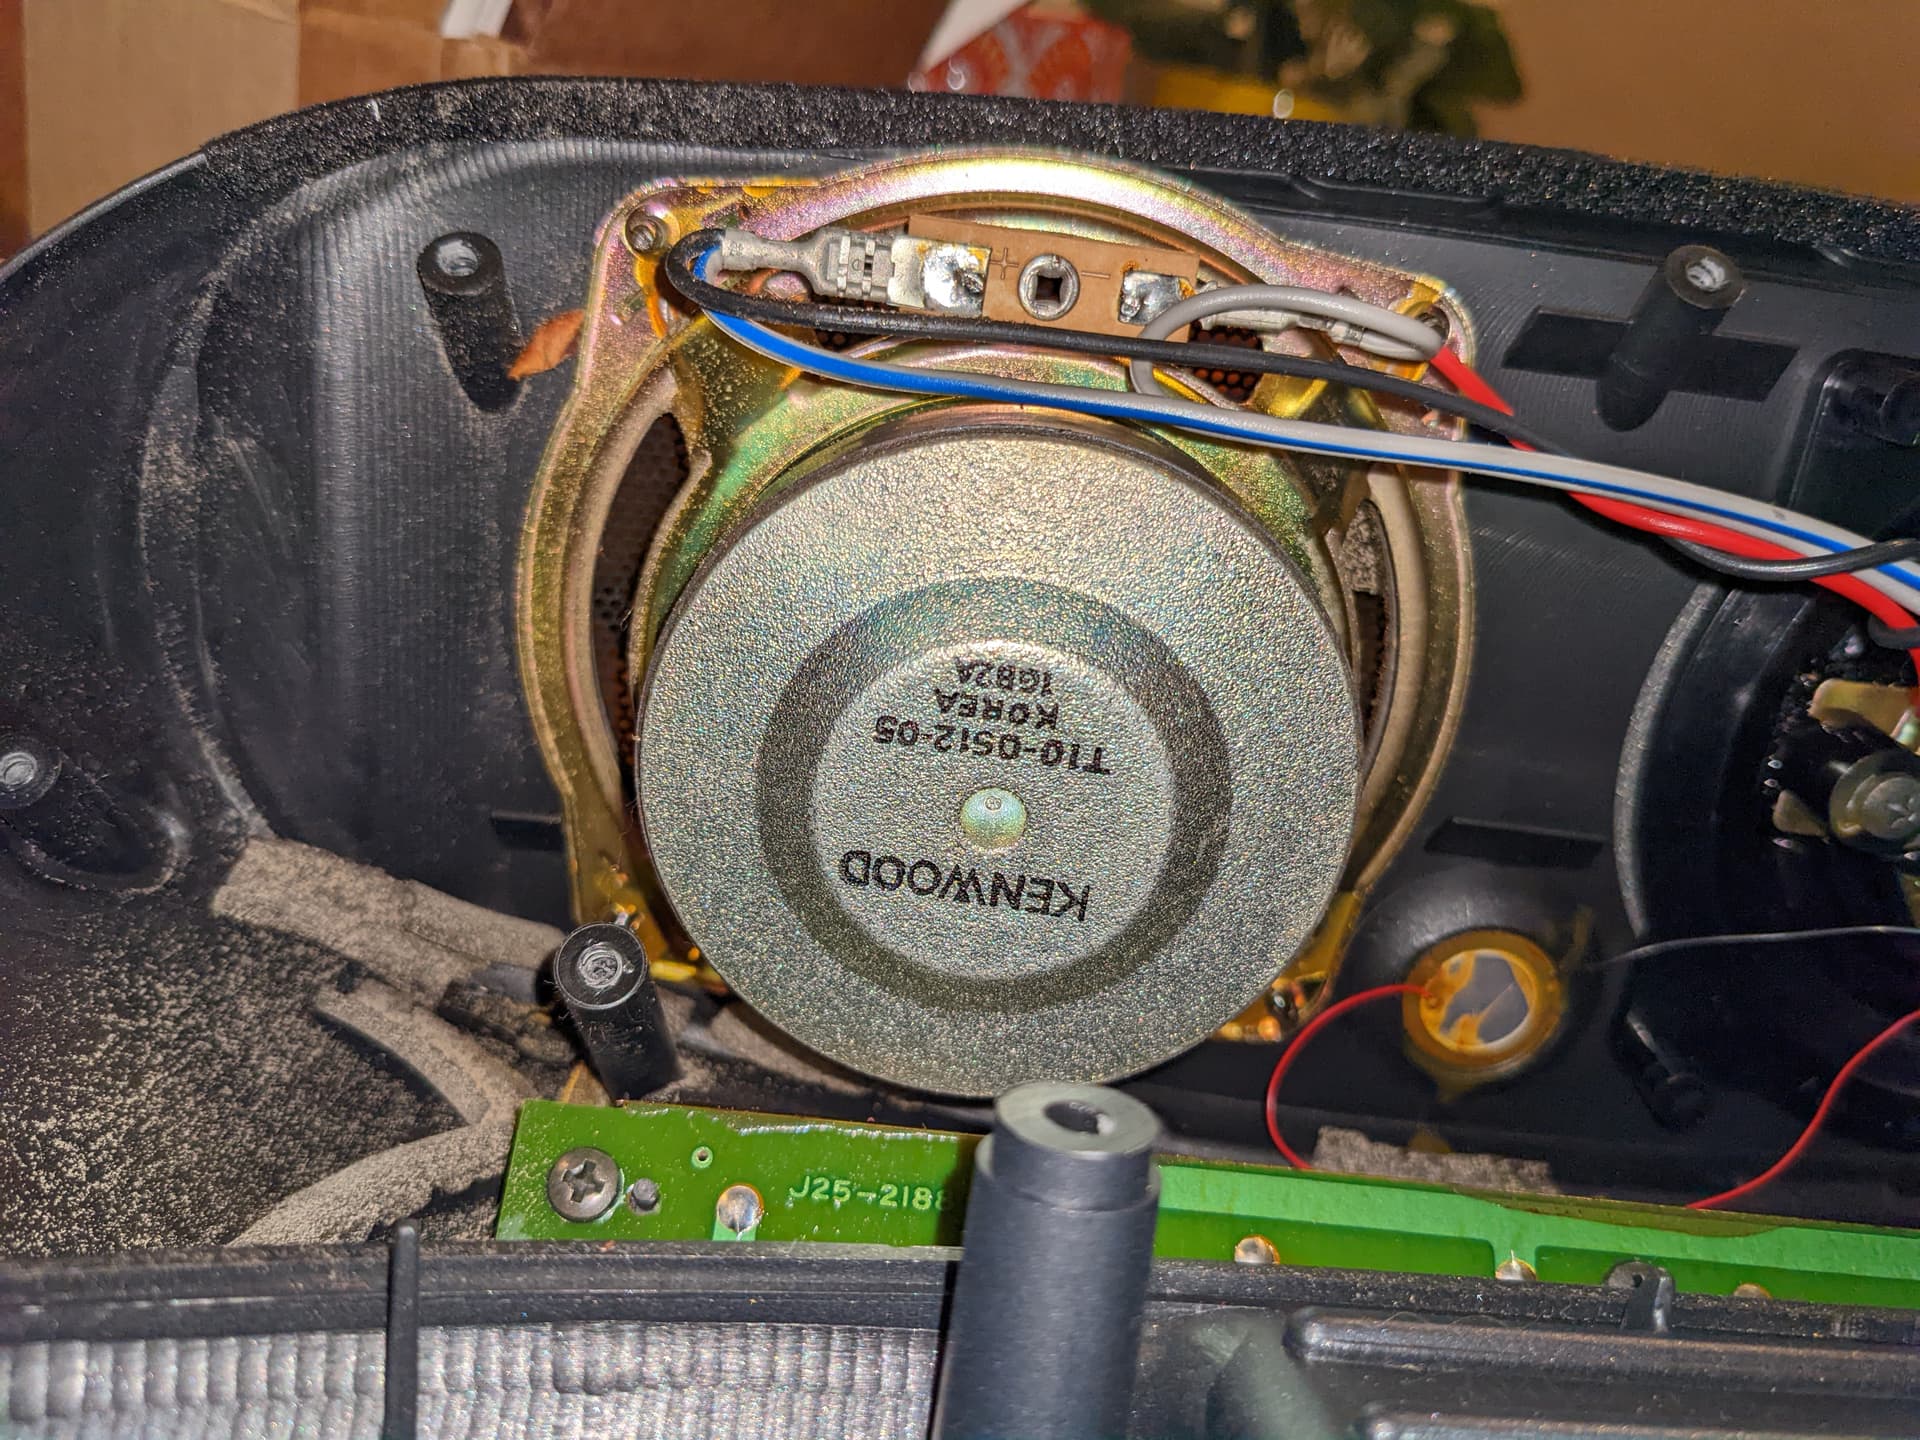
2 Likes
take off the bumper. Have it on jackstands. take off top rad support and rad’s etc and you will have enough room no need to take off manifolds.
Ugh, broke the first sacrificial bolts sadly. And the headlight mount broke/fell apart.
Air conditioning crap is going to piss me off, I’m tempted to just tear it all out and never look back but think I’ll end up regretting that.
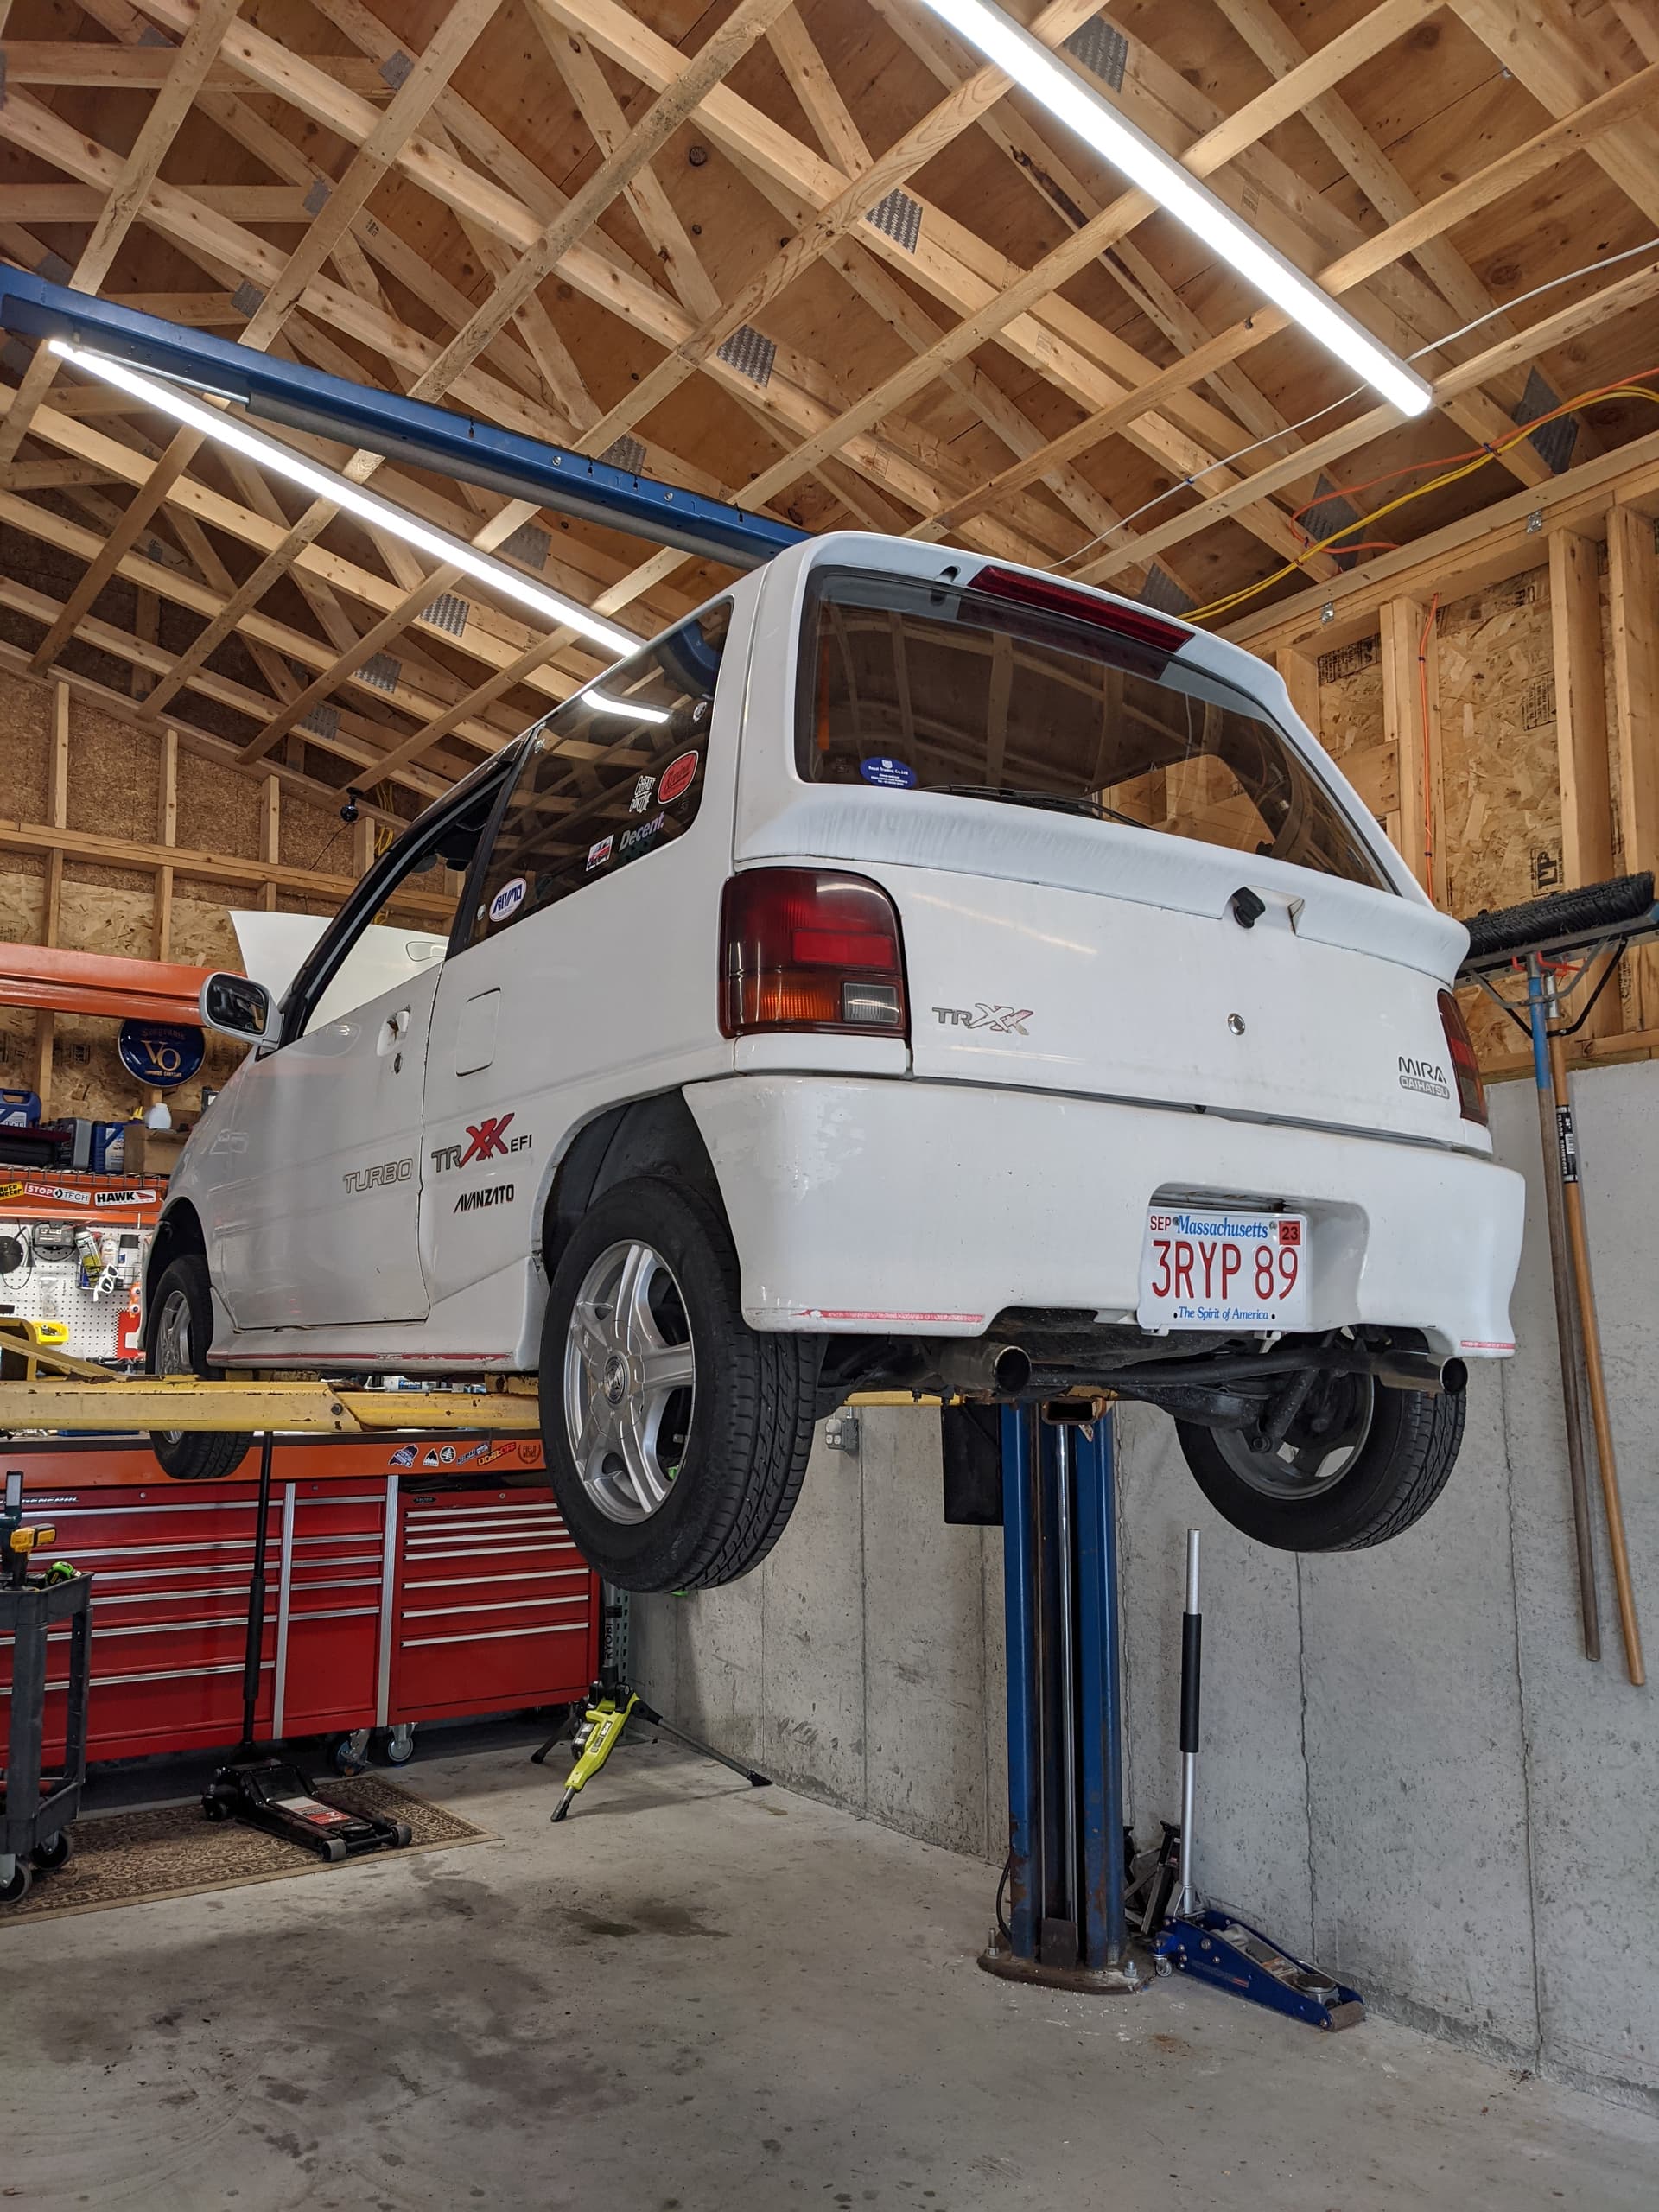
Pretty crazy to me to see the car tripod when jacking it up.
Anyone know what size the axle nuts are? And is it preferable to keep it in gear when removing the castle nuts?
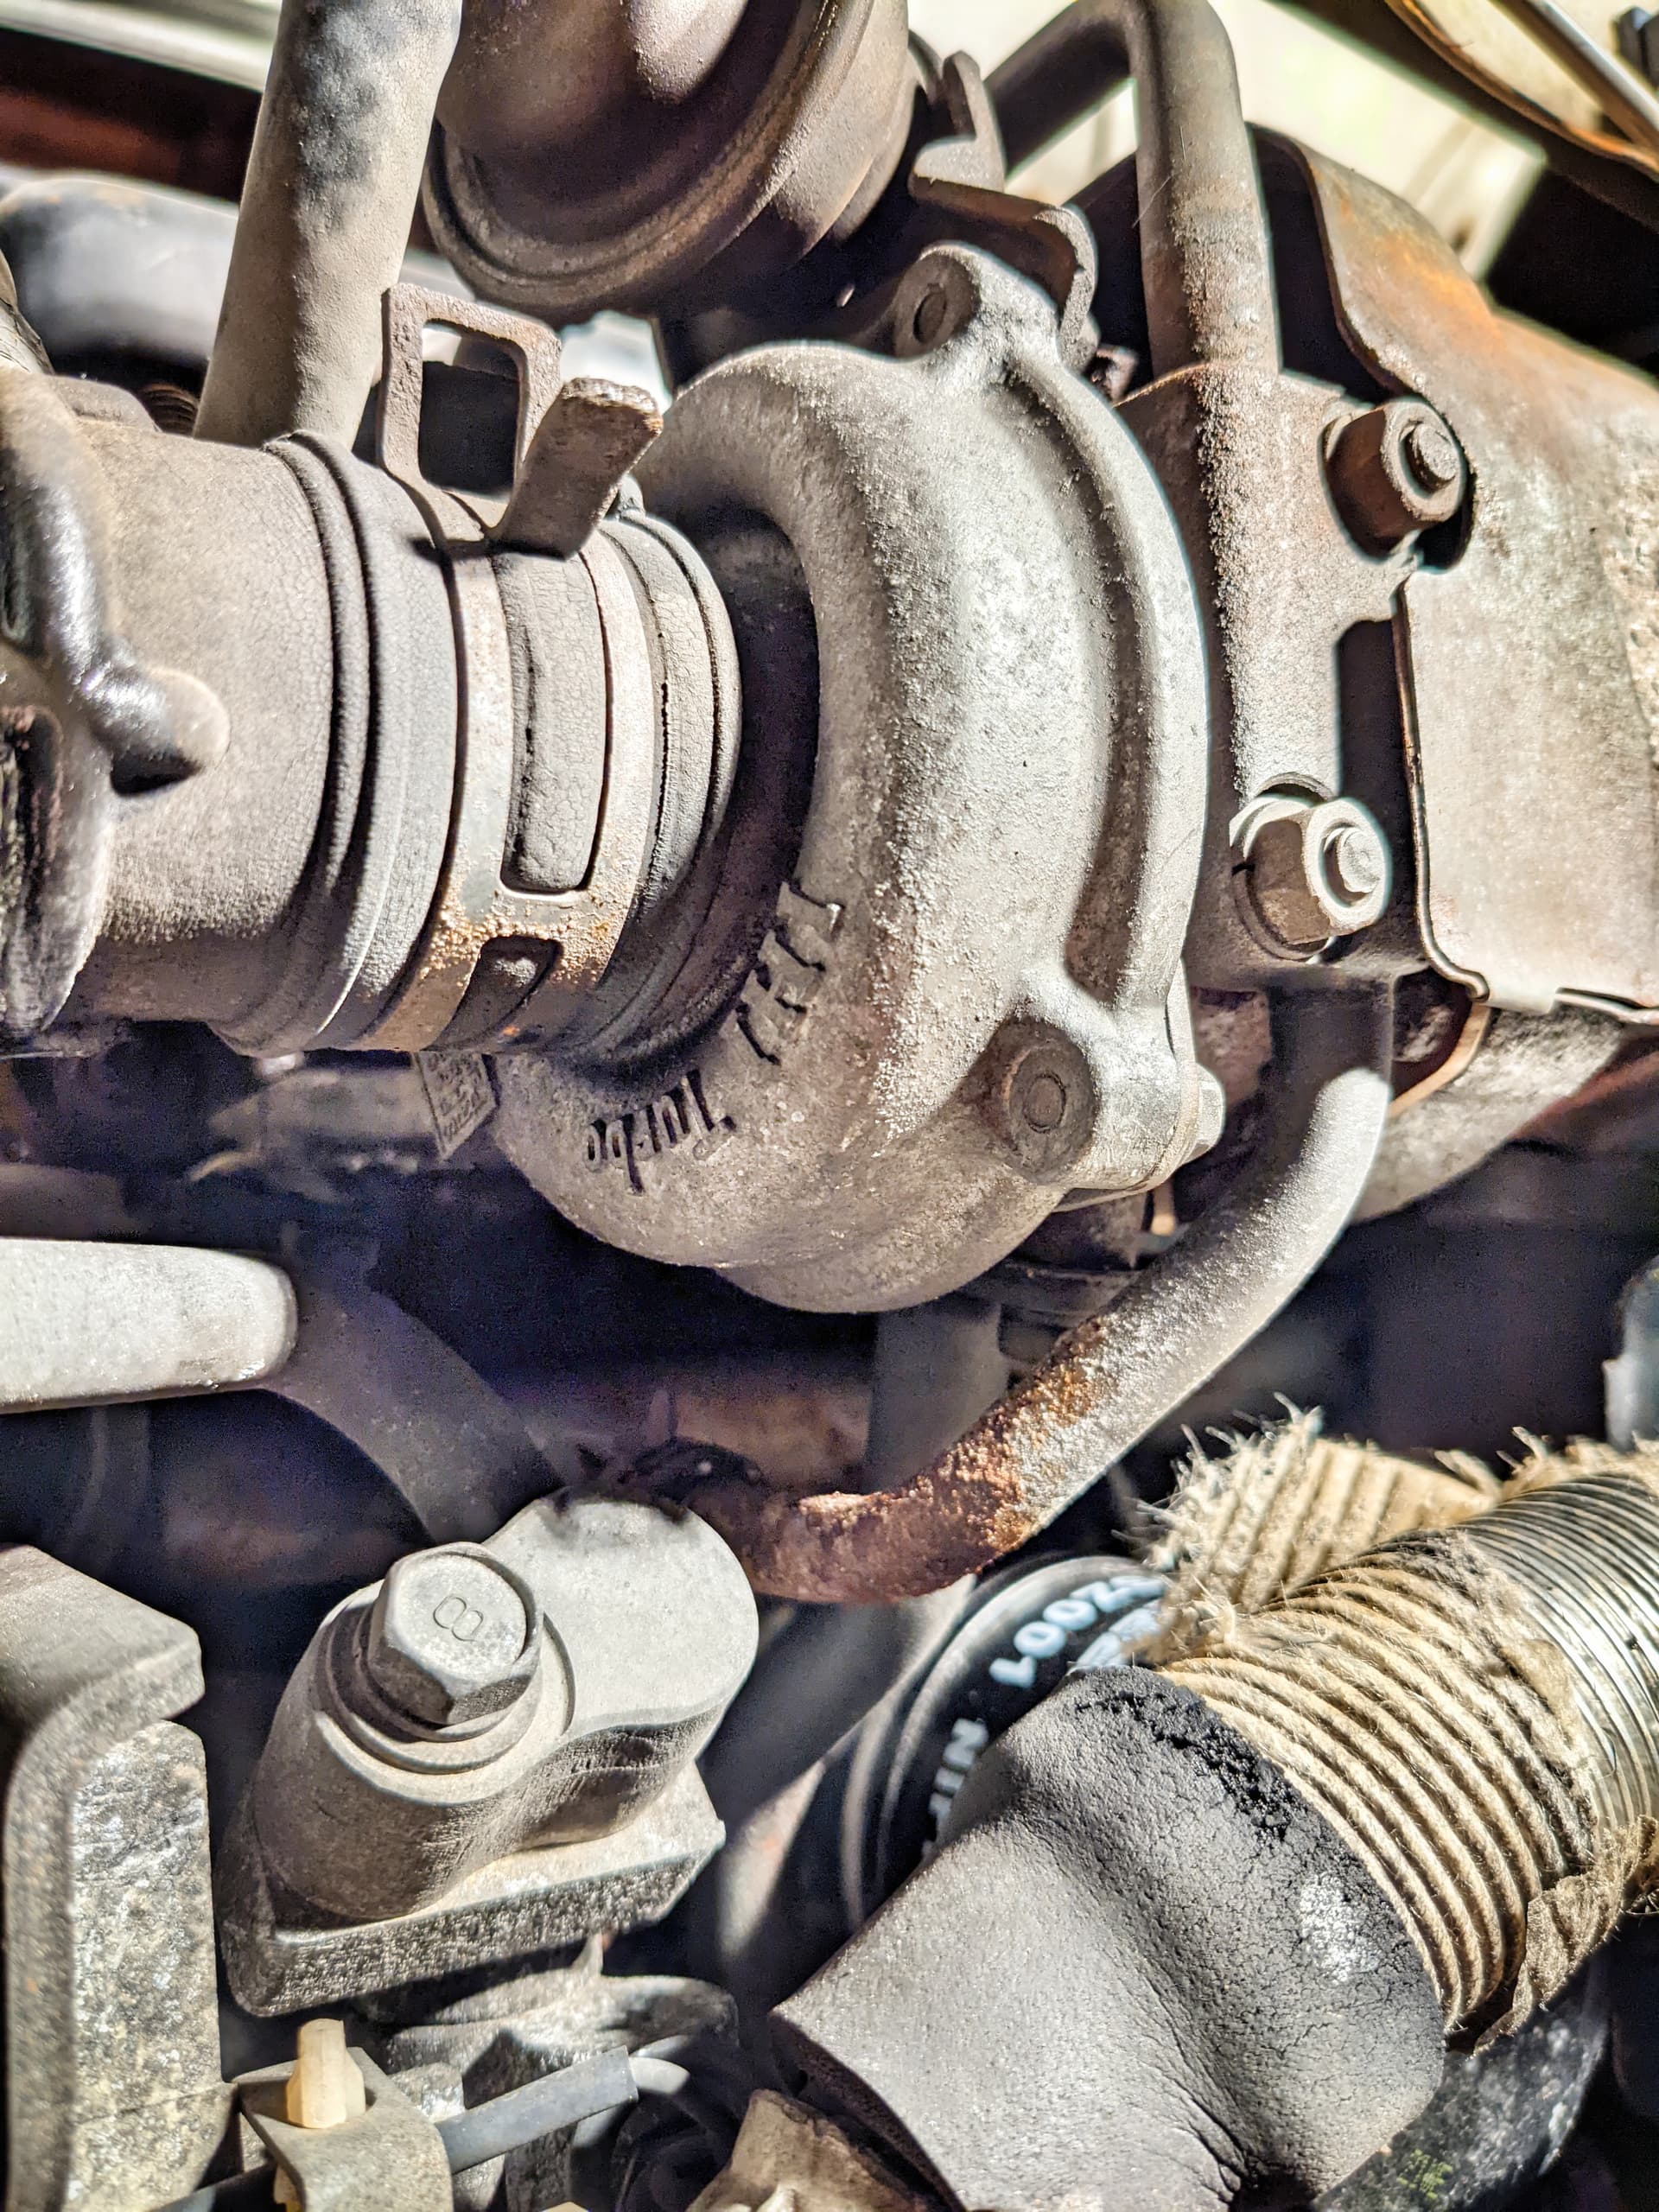
This turbocharger is insanely small btw
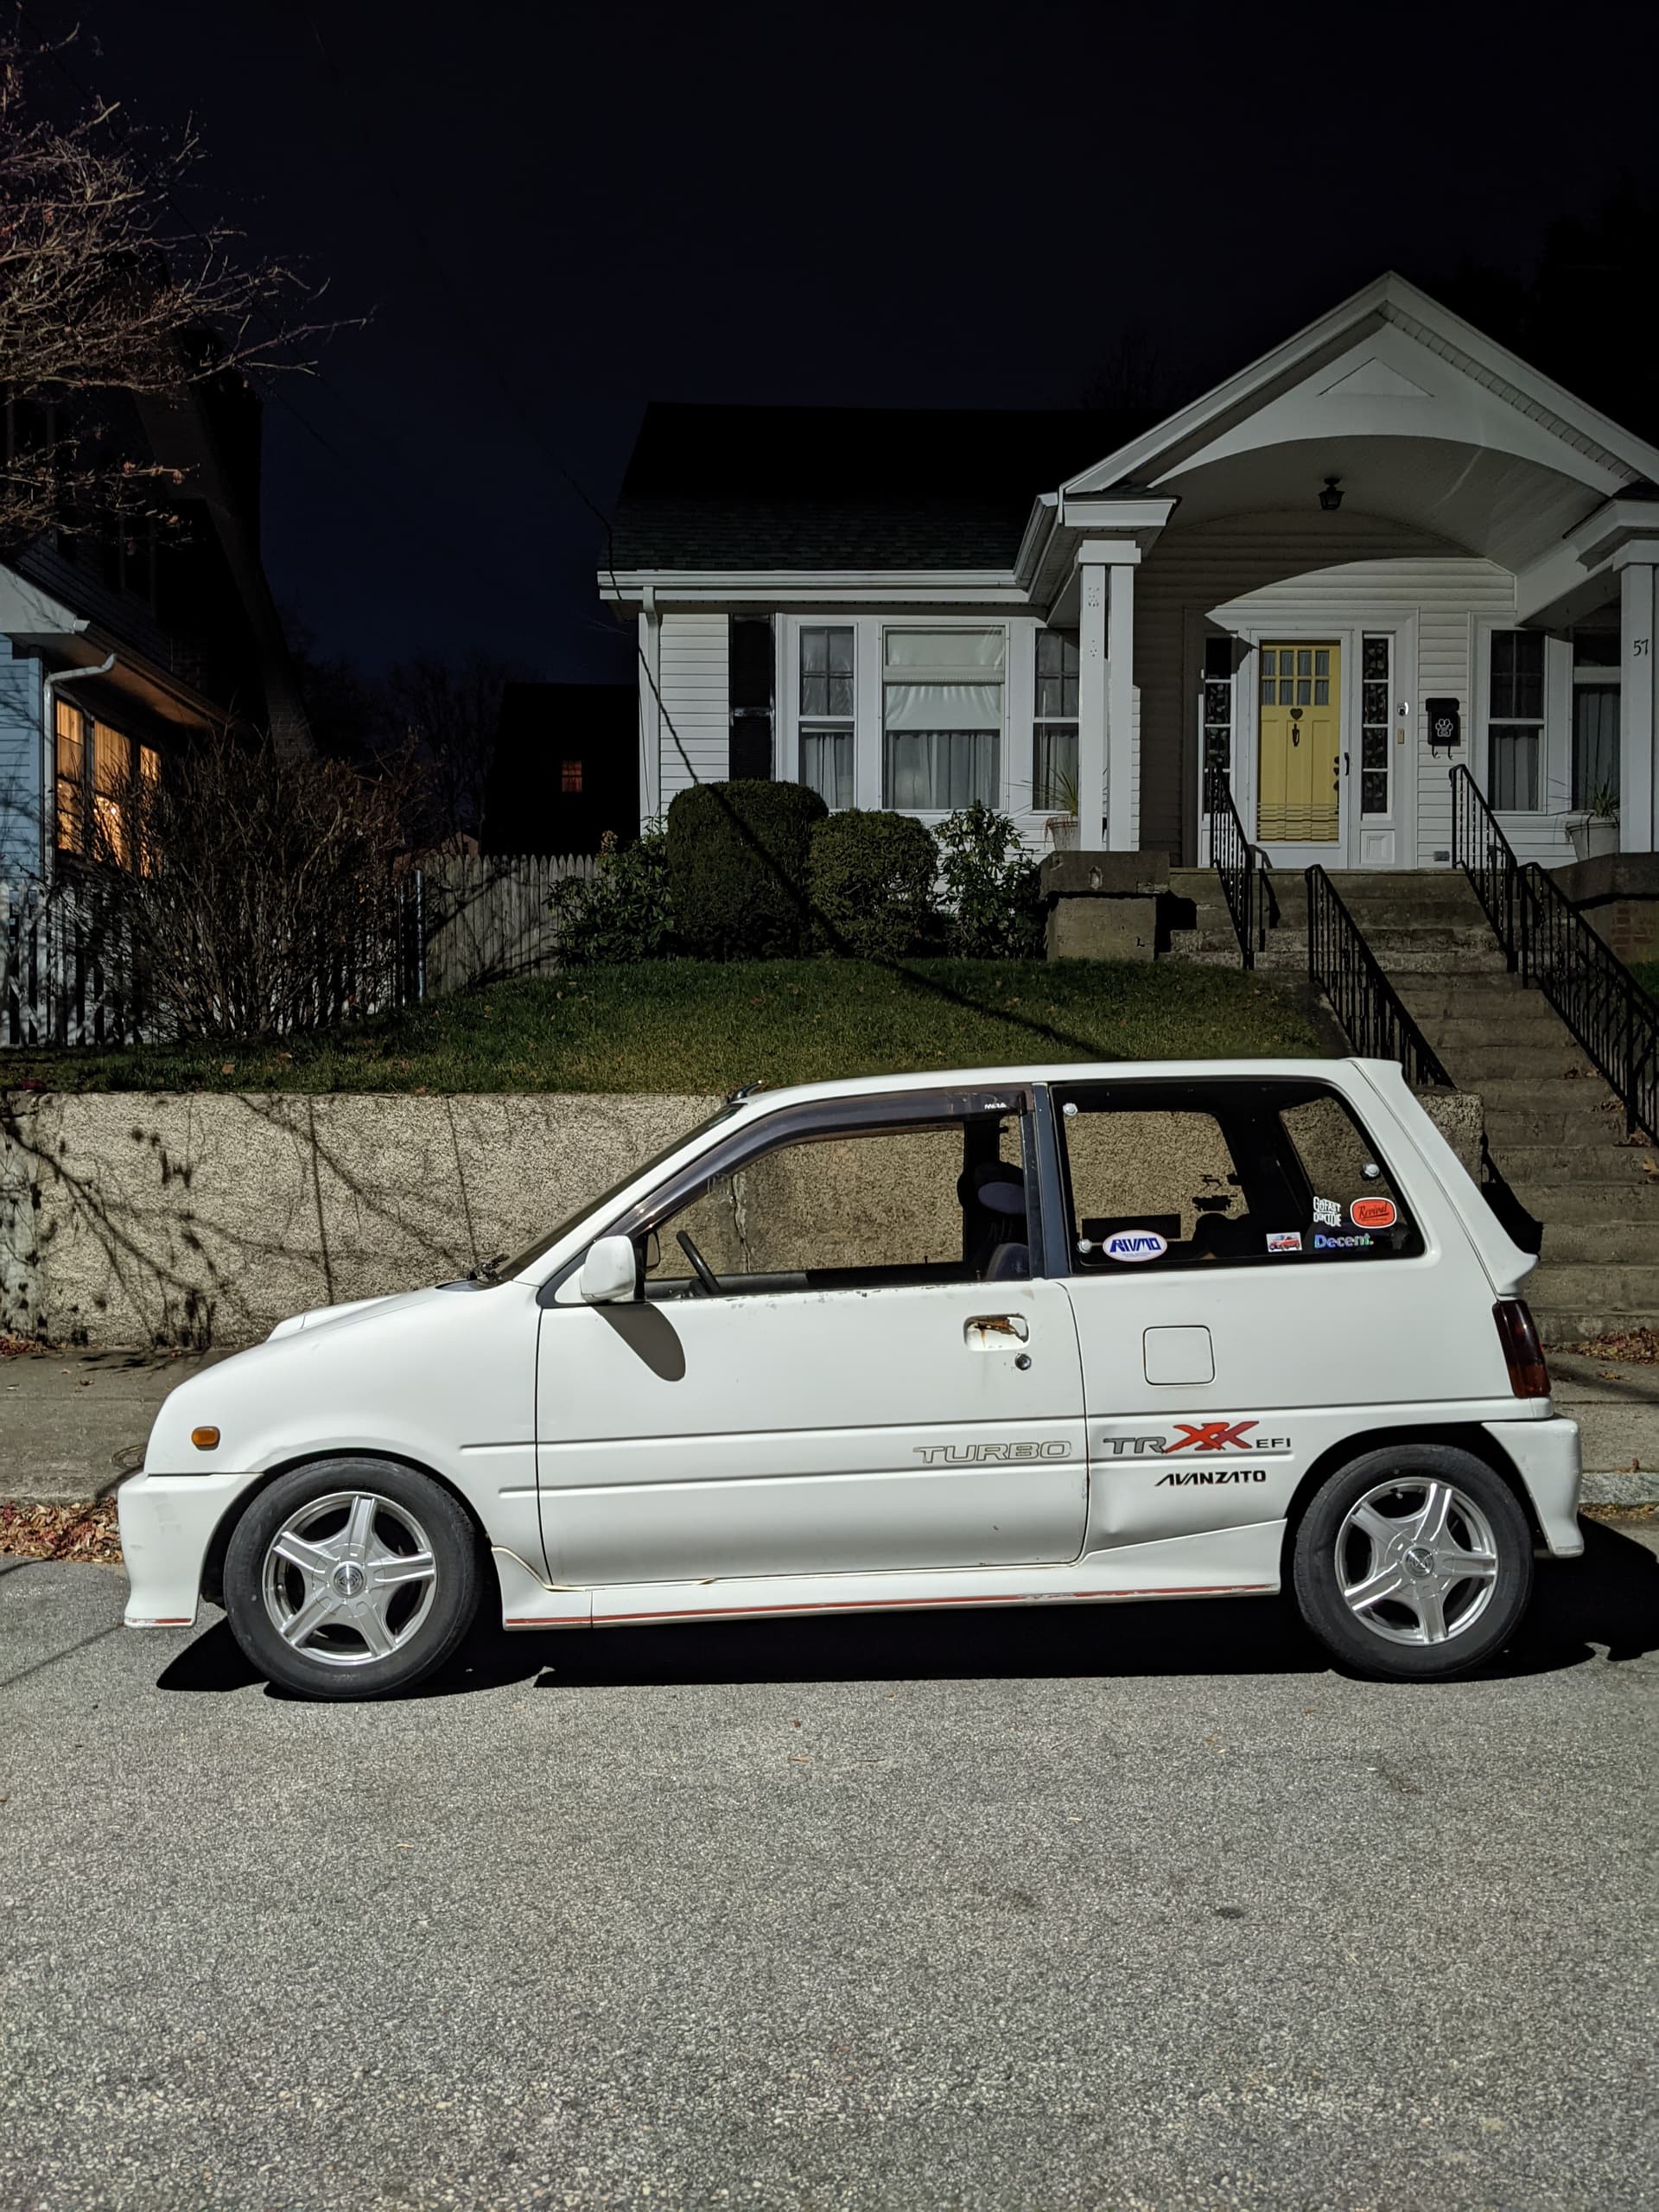
Also wondering how bad it would be to go from a 155/65/13 to a 175/65/13 fitment wise
Edit: found a caliper I can just measure the nut
Bear in mind that the second set of numbers represents a percentage of the first, its not a fixed height in milimetres - e.g. A 155/65/R13 has a tread width of 155mm and a sidewall height of 100.65mm (65% of 155mm). A 175/65/R13 has a 175mm tread width and a sidewall height of 113.75mm (65% of 175mm) - so the overall diameter of wheel and tyre in the arch will be 26.15mm (2x(113.75-100.65)) greater.
You’ll probably be fine with space in the arches, but look very closely at how close the existing tyres run to the suspension components. If you can get a local tyre place to fit a scrap 175/65r13 to a wheel while you have the car in bits (for a few $$$, or a pack of beers or something) so you can fit the wheel to the front and rear hubs in turn, and check for issues, it’d be money well spent! You’ll be swapping the tyres off those wheels anyway, so its not a waste.
I suspect the hub nut will be an M20, but may be wrong.
Axle nut ended up being a 32mm, took a while to locate one locally that wasn’t ridiculously expensive
1 Like
Made some progress today, but have a few questions as well.
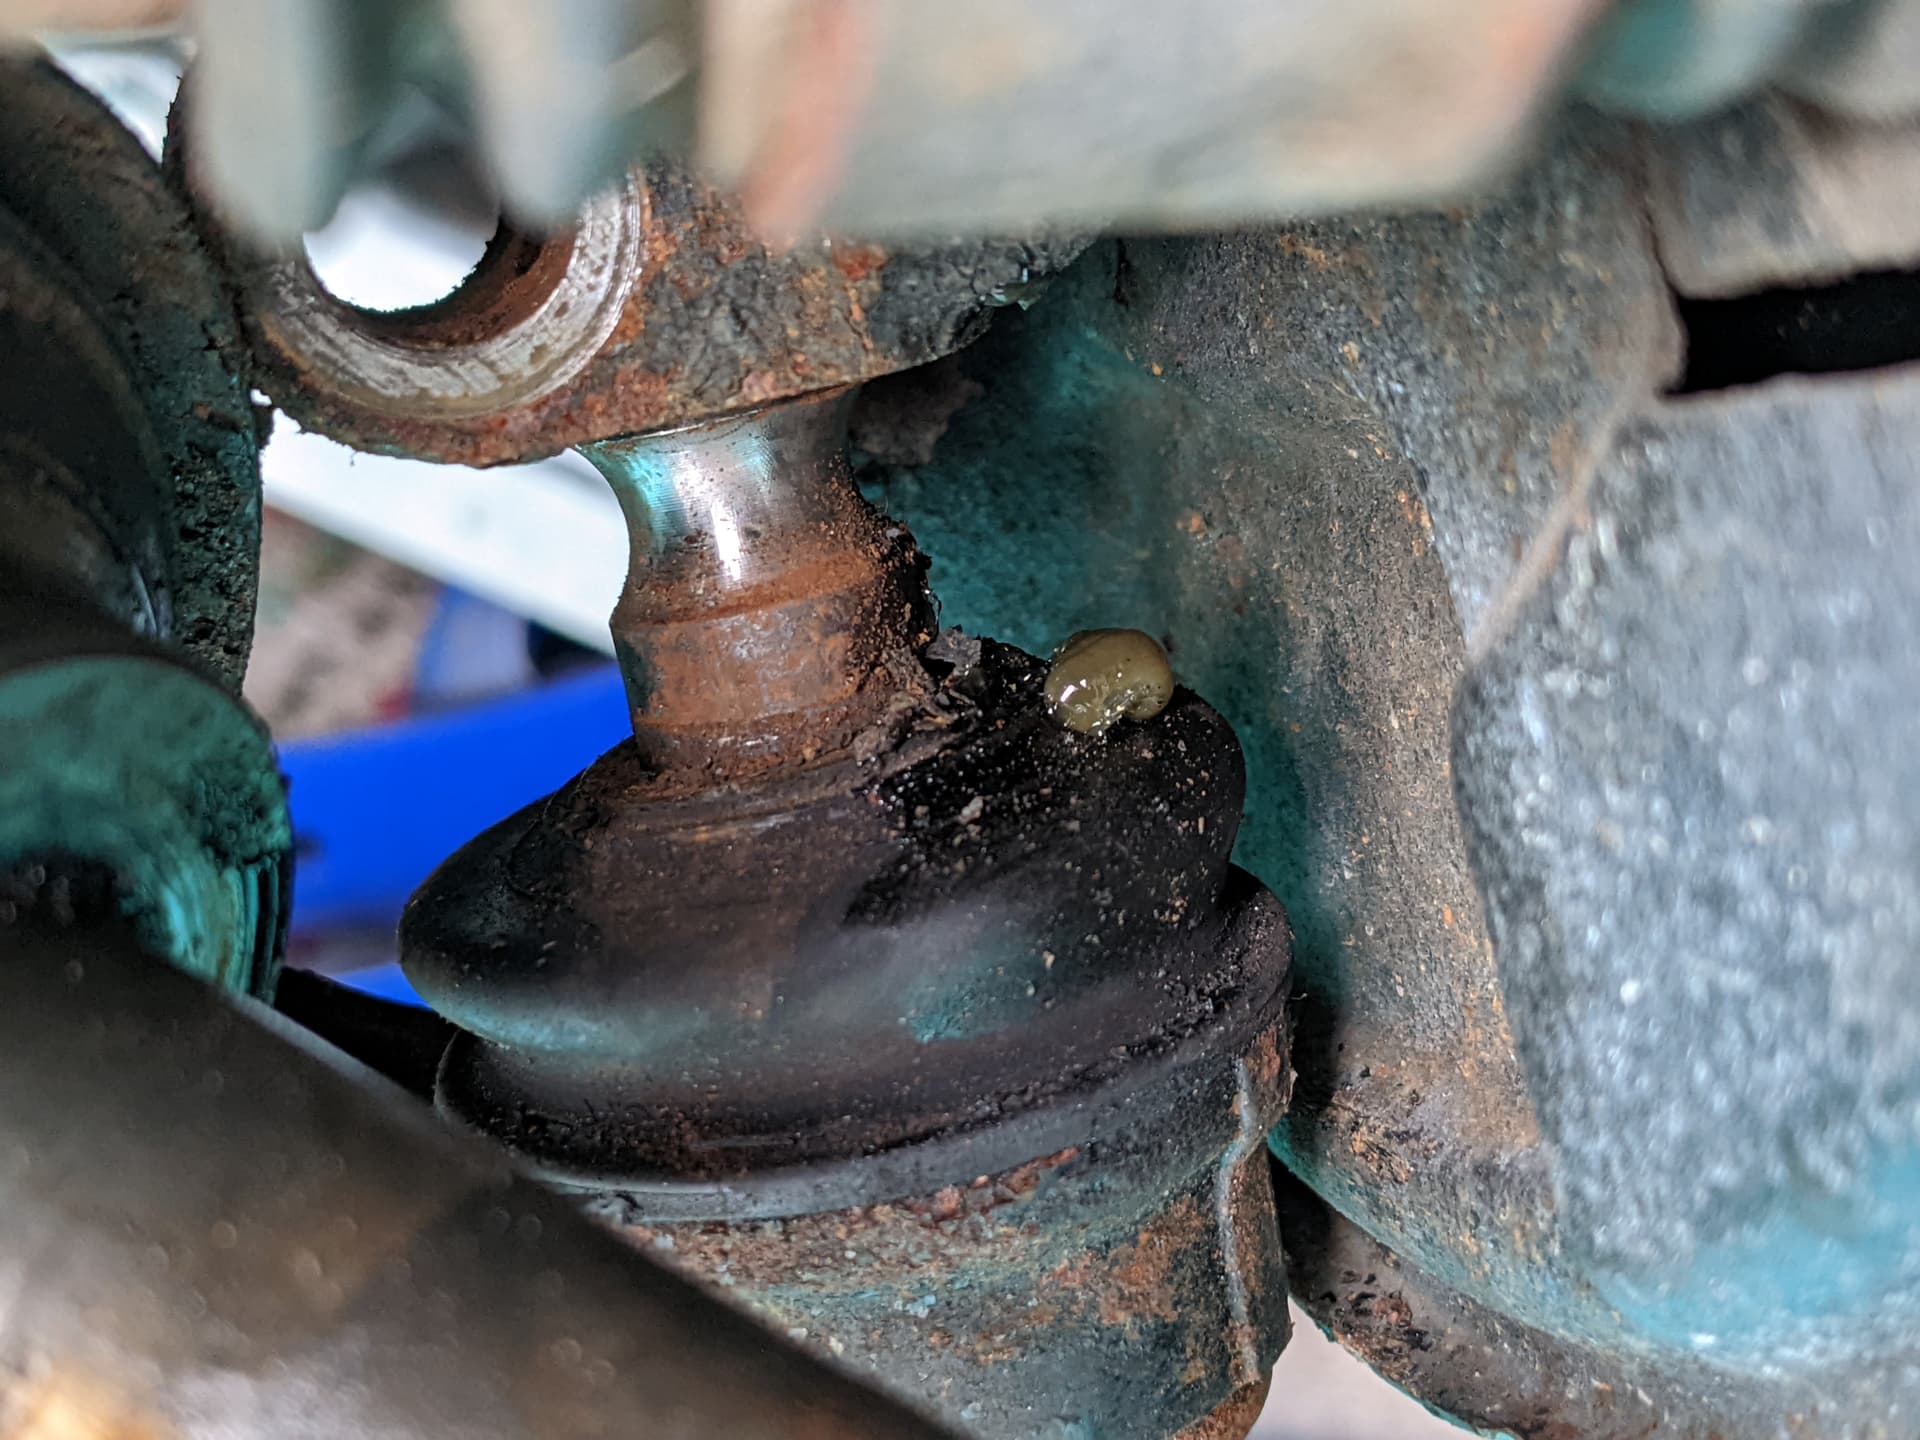
Tore a lower ball joint boot, but going to just repack and repair the boot for now until I can order a lower control arm, it seems that they might not be available separately from the looks of it.
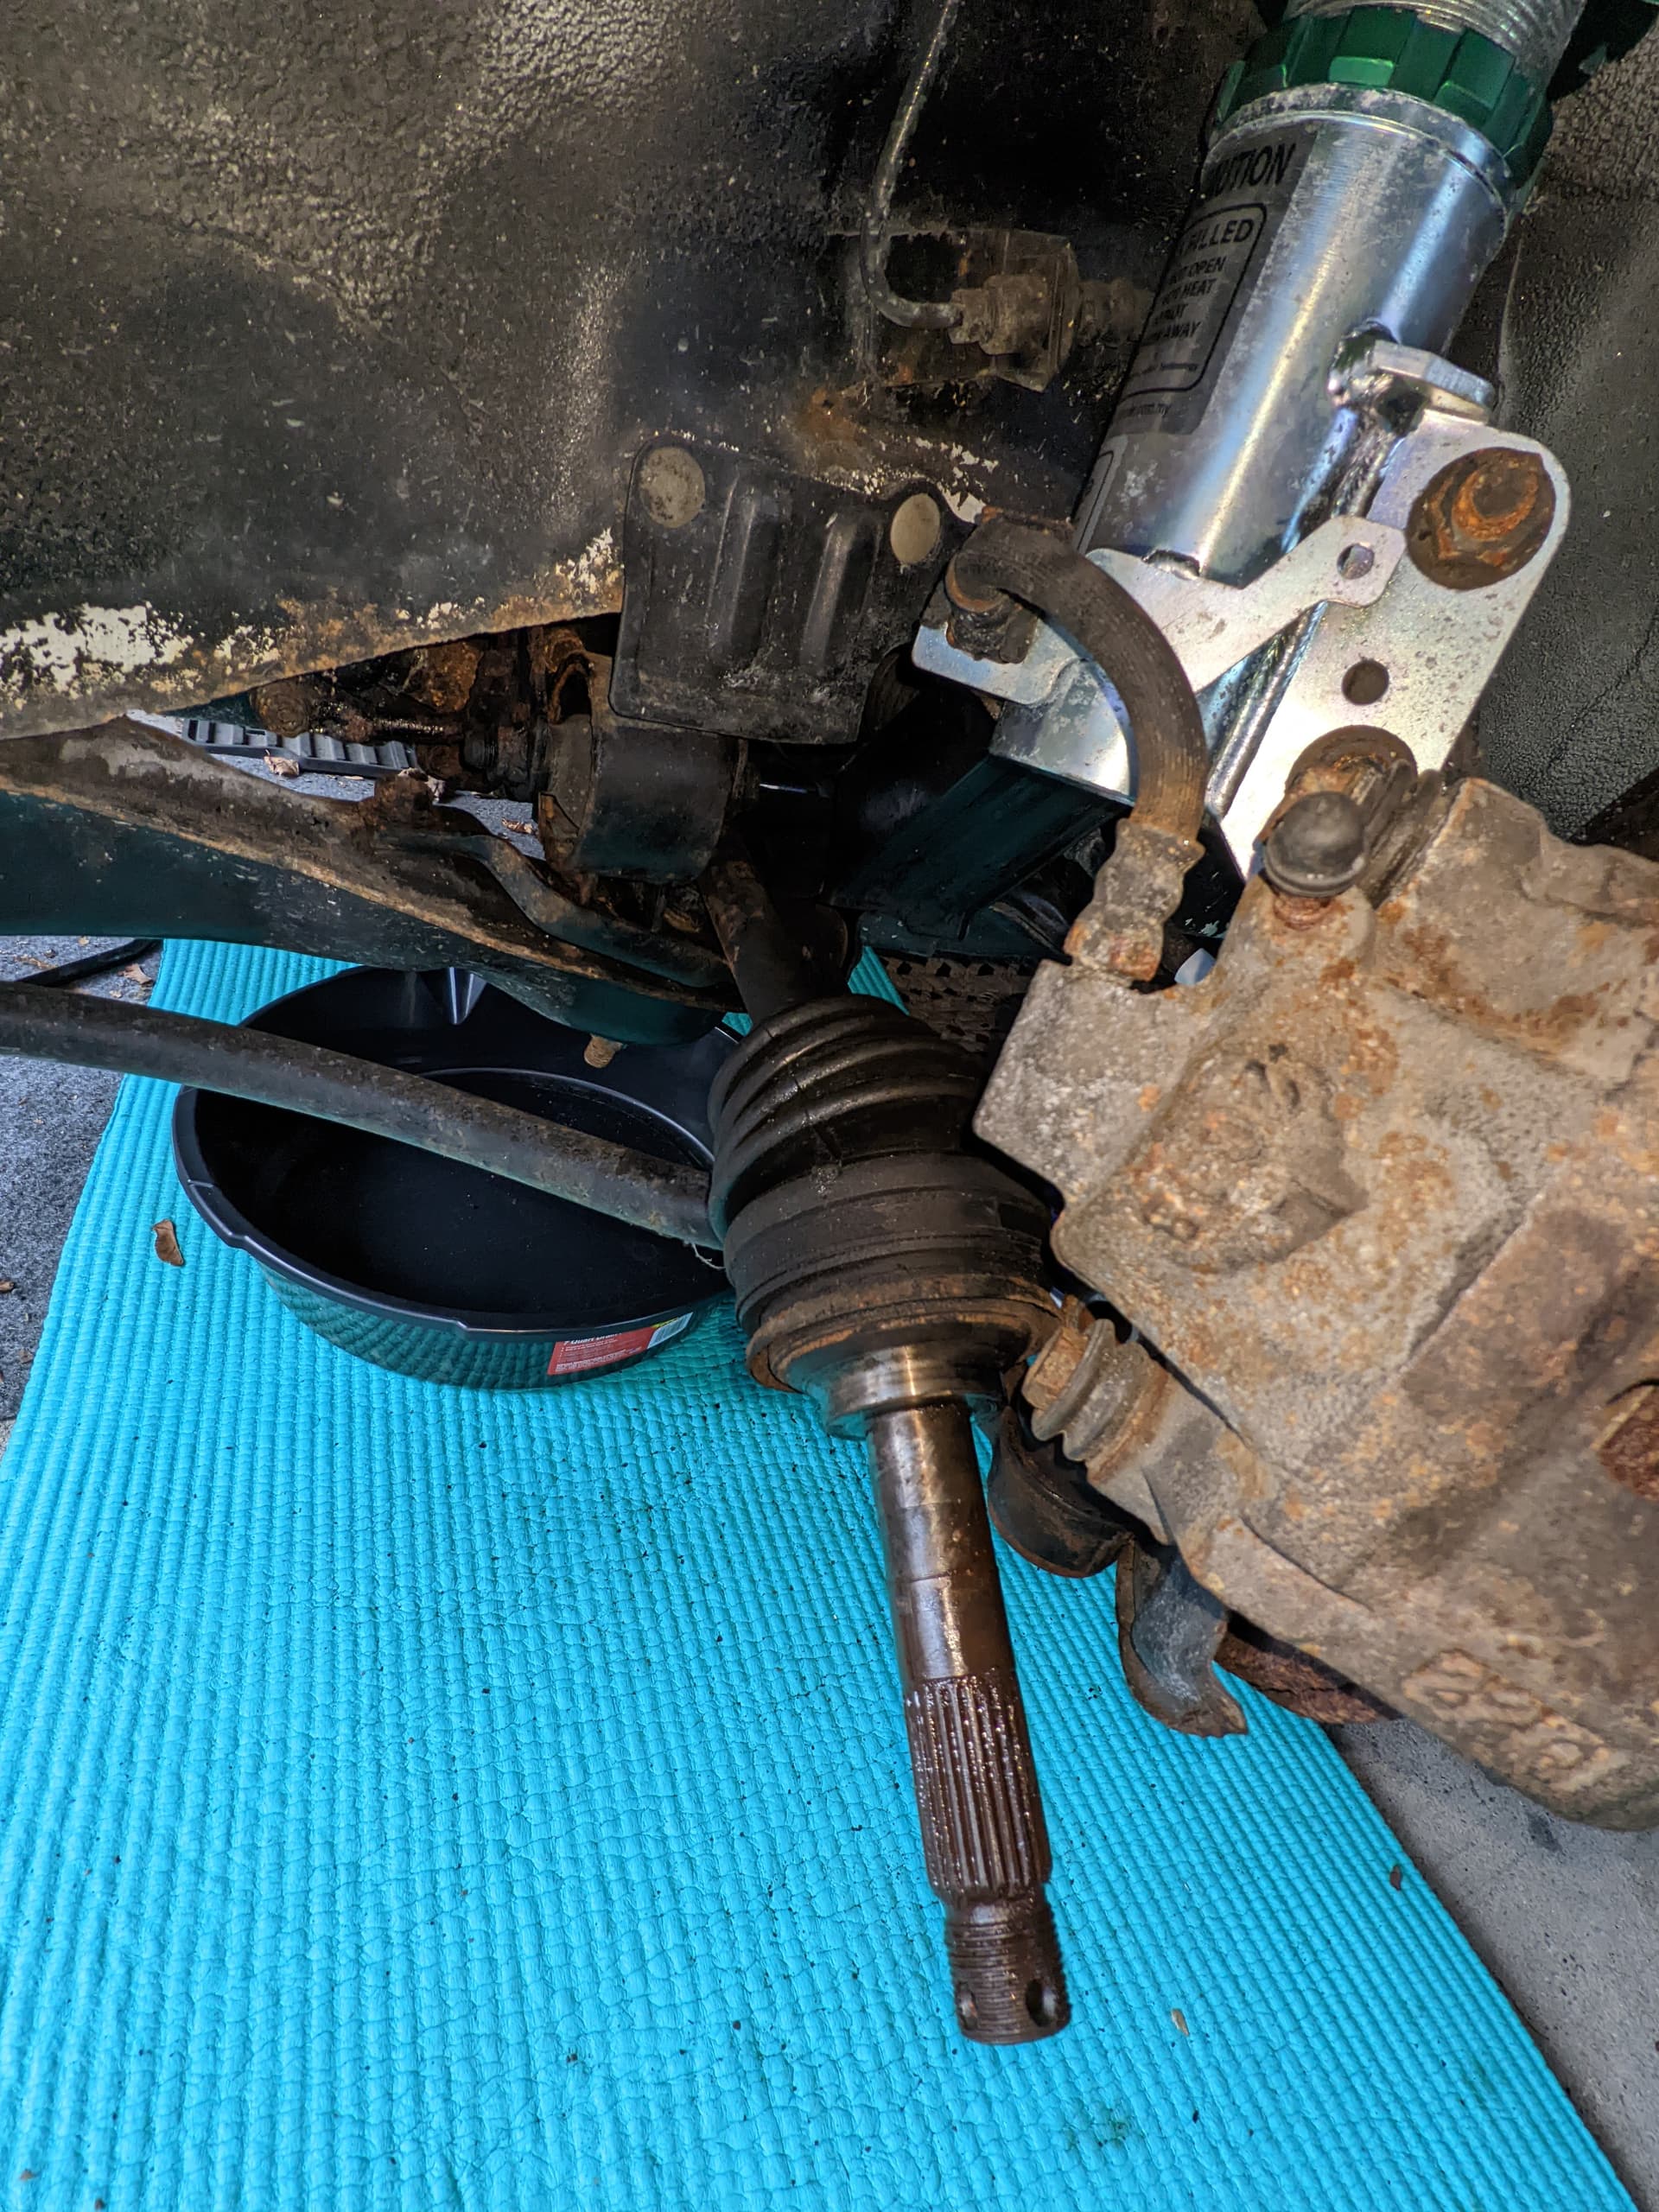
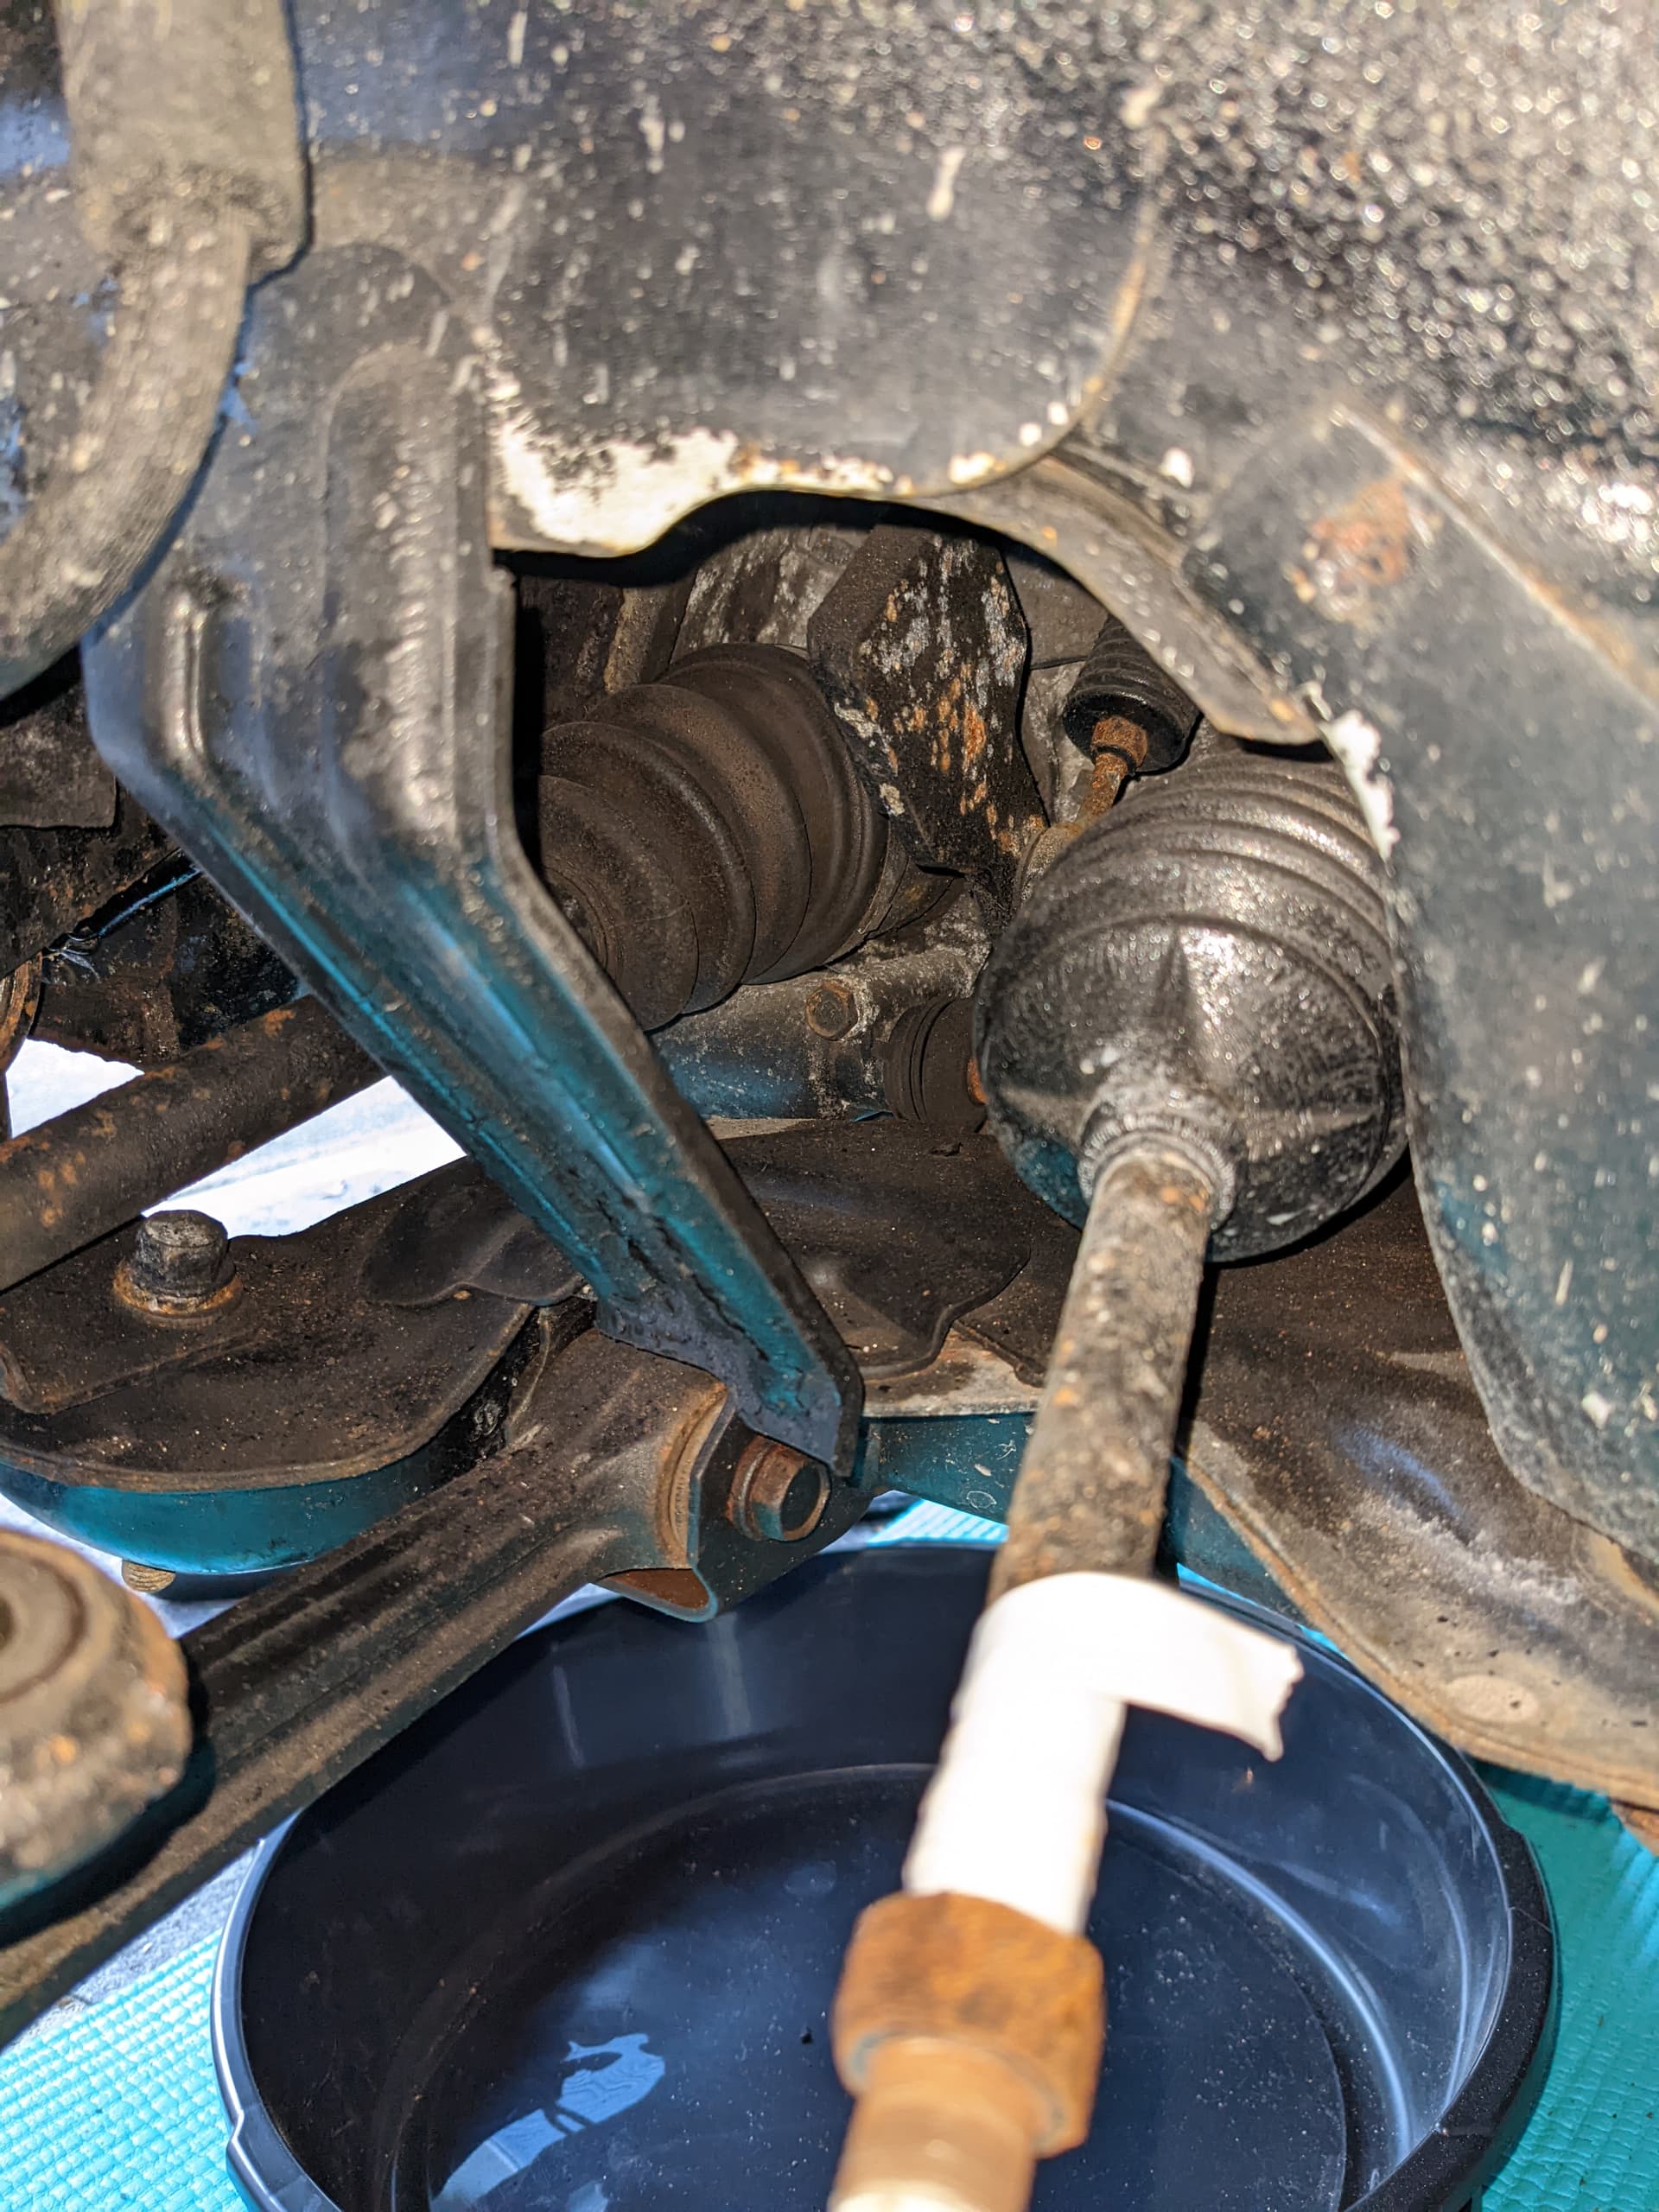
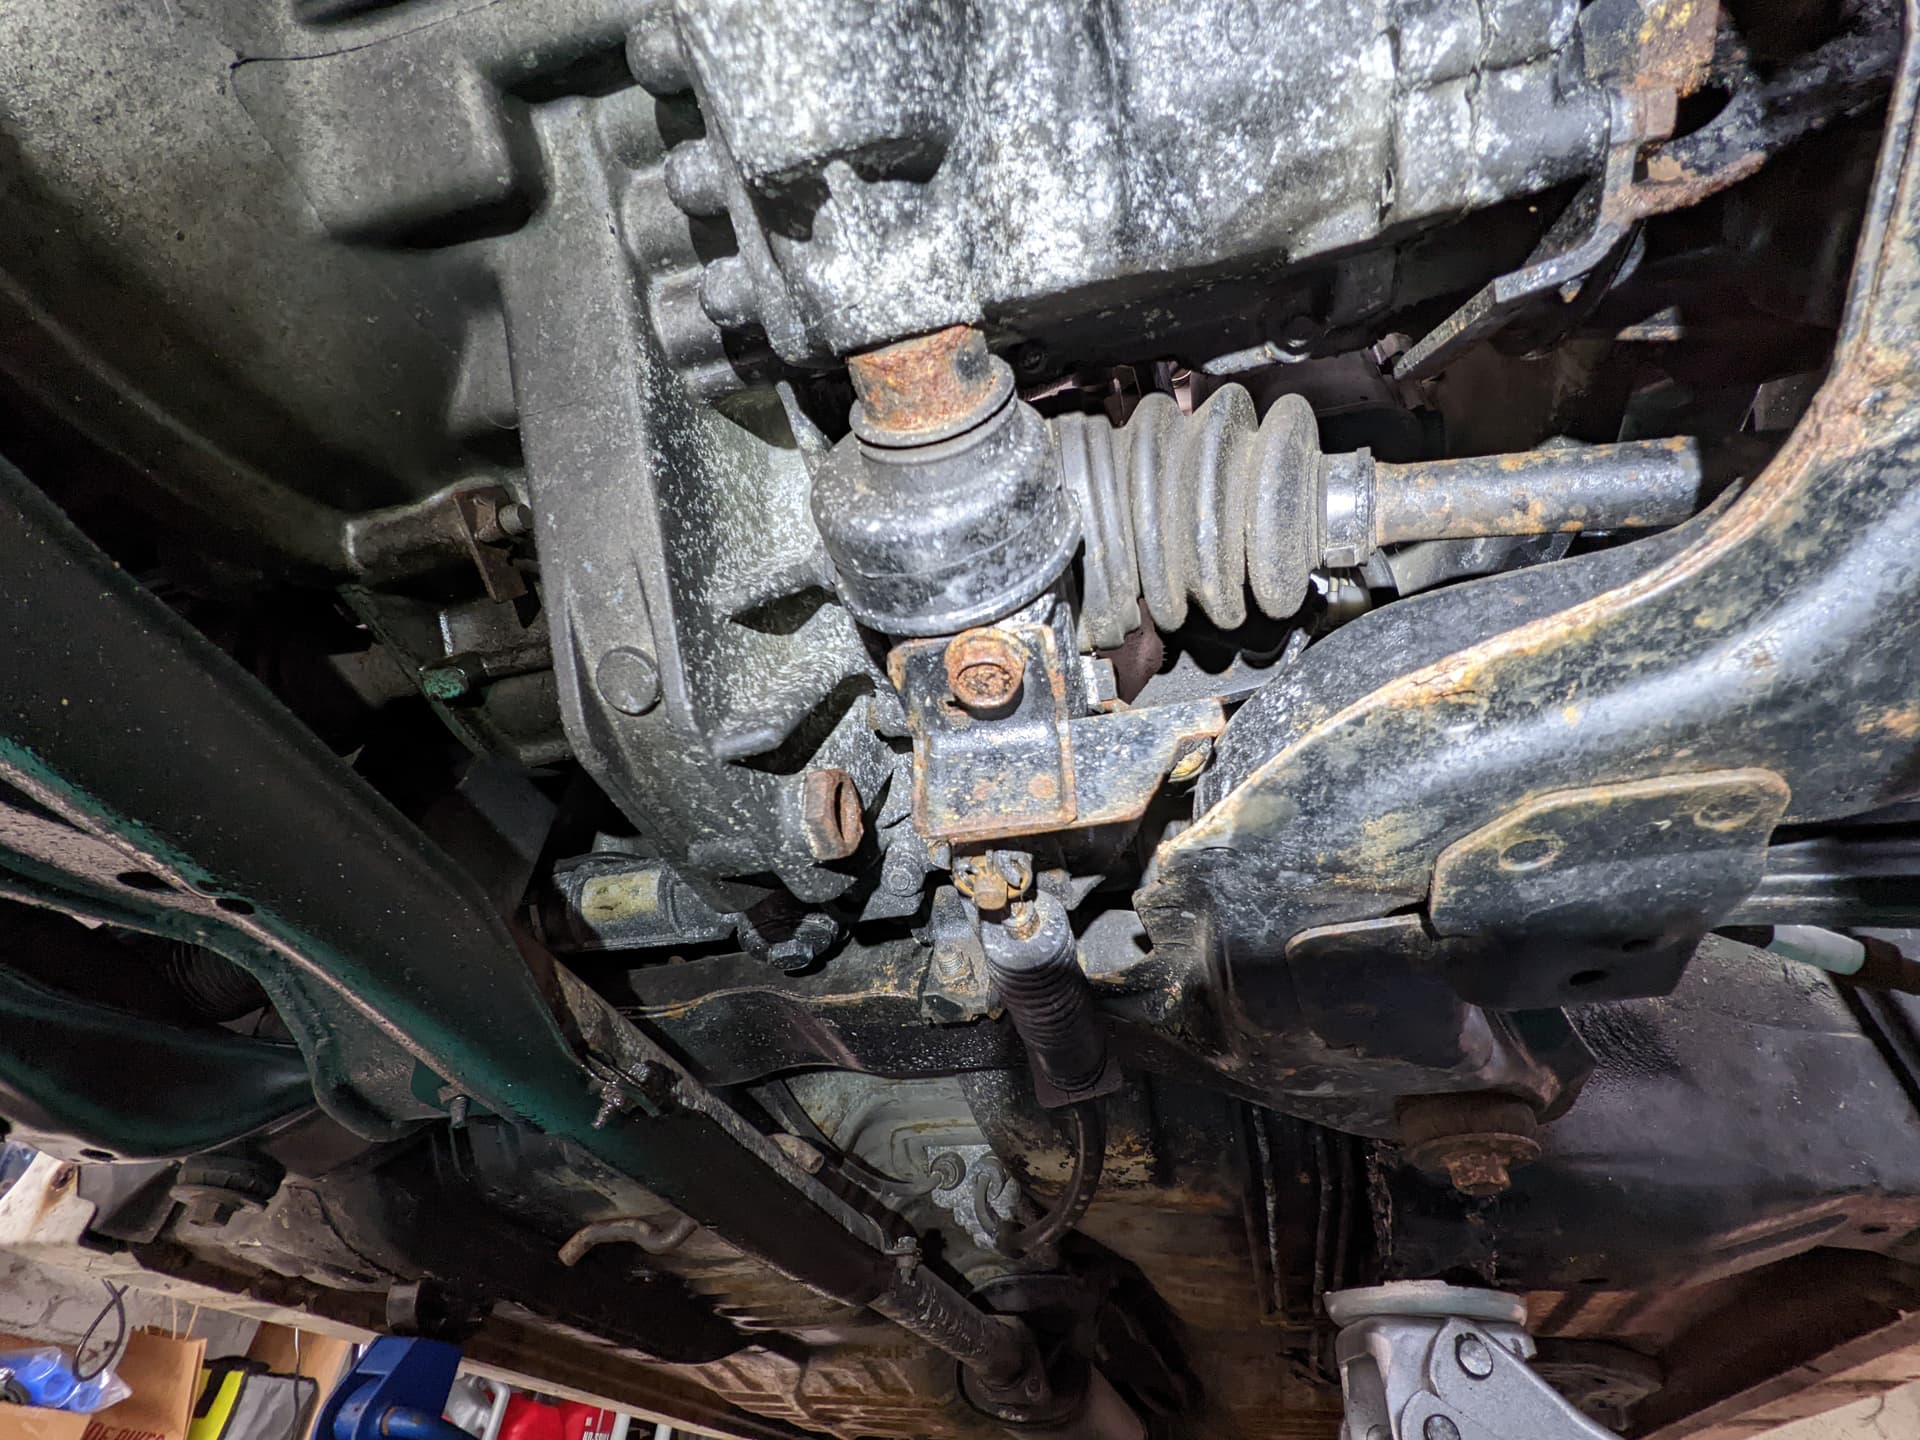
Any tips for removing the axles? Are there any retaining clips/Circlips that I am missing? Looks like the shift linkage will have to come off and out of the way before I can get access to the pass side axle for prying it out.
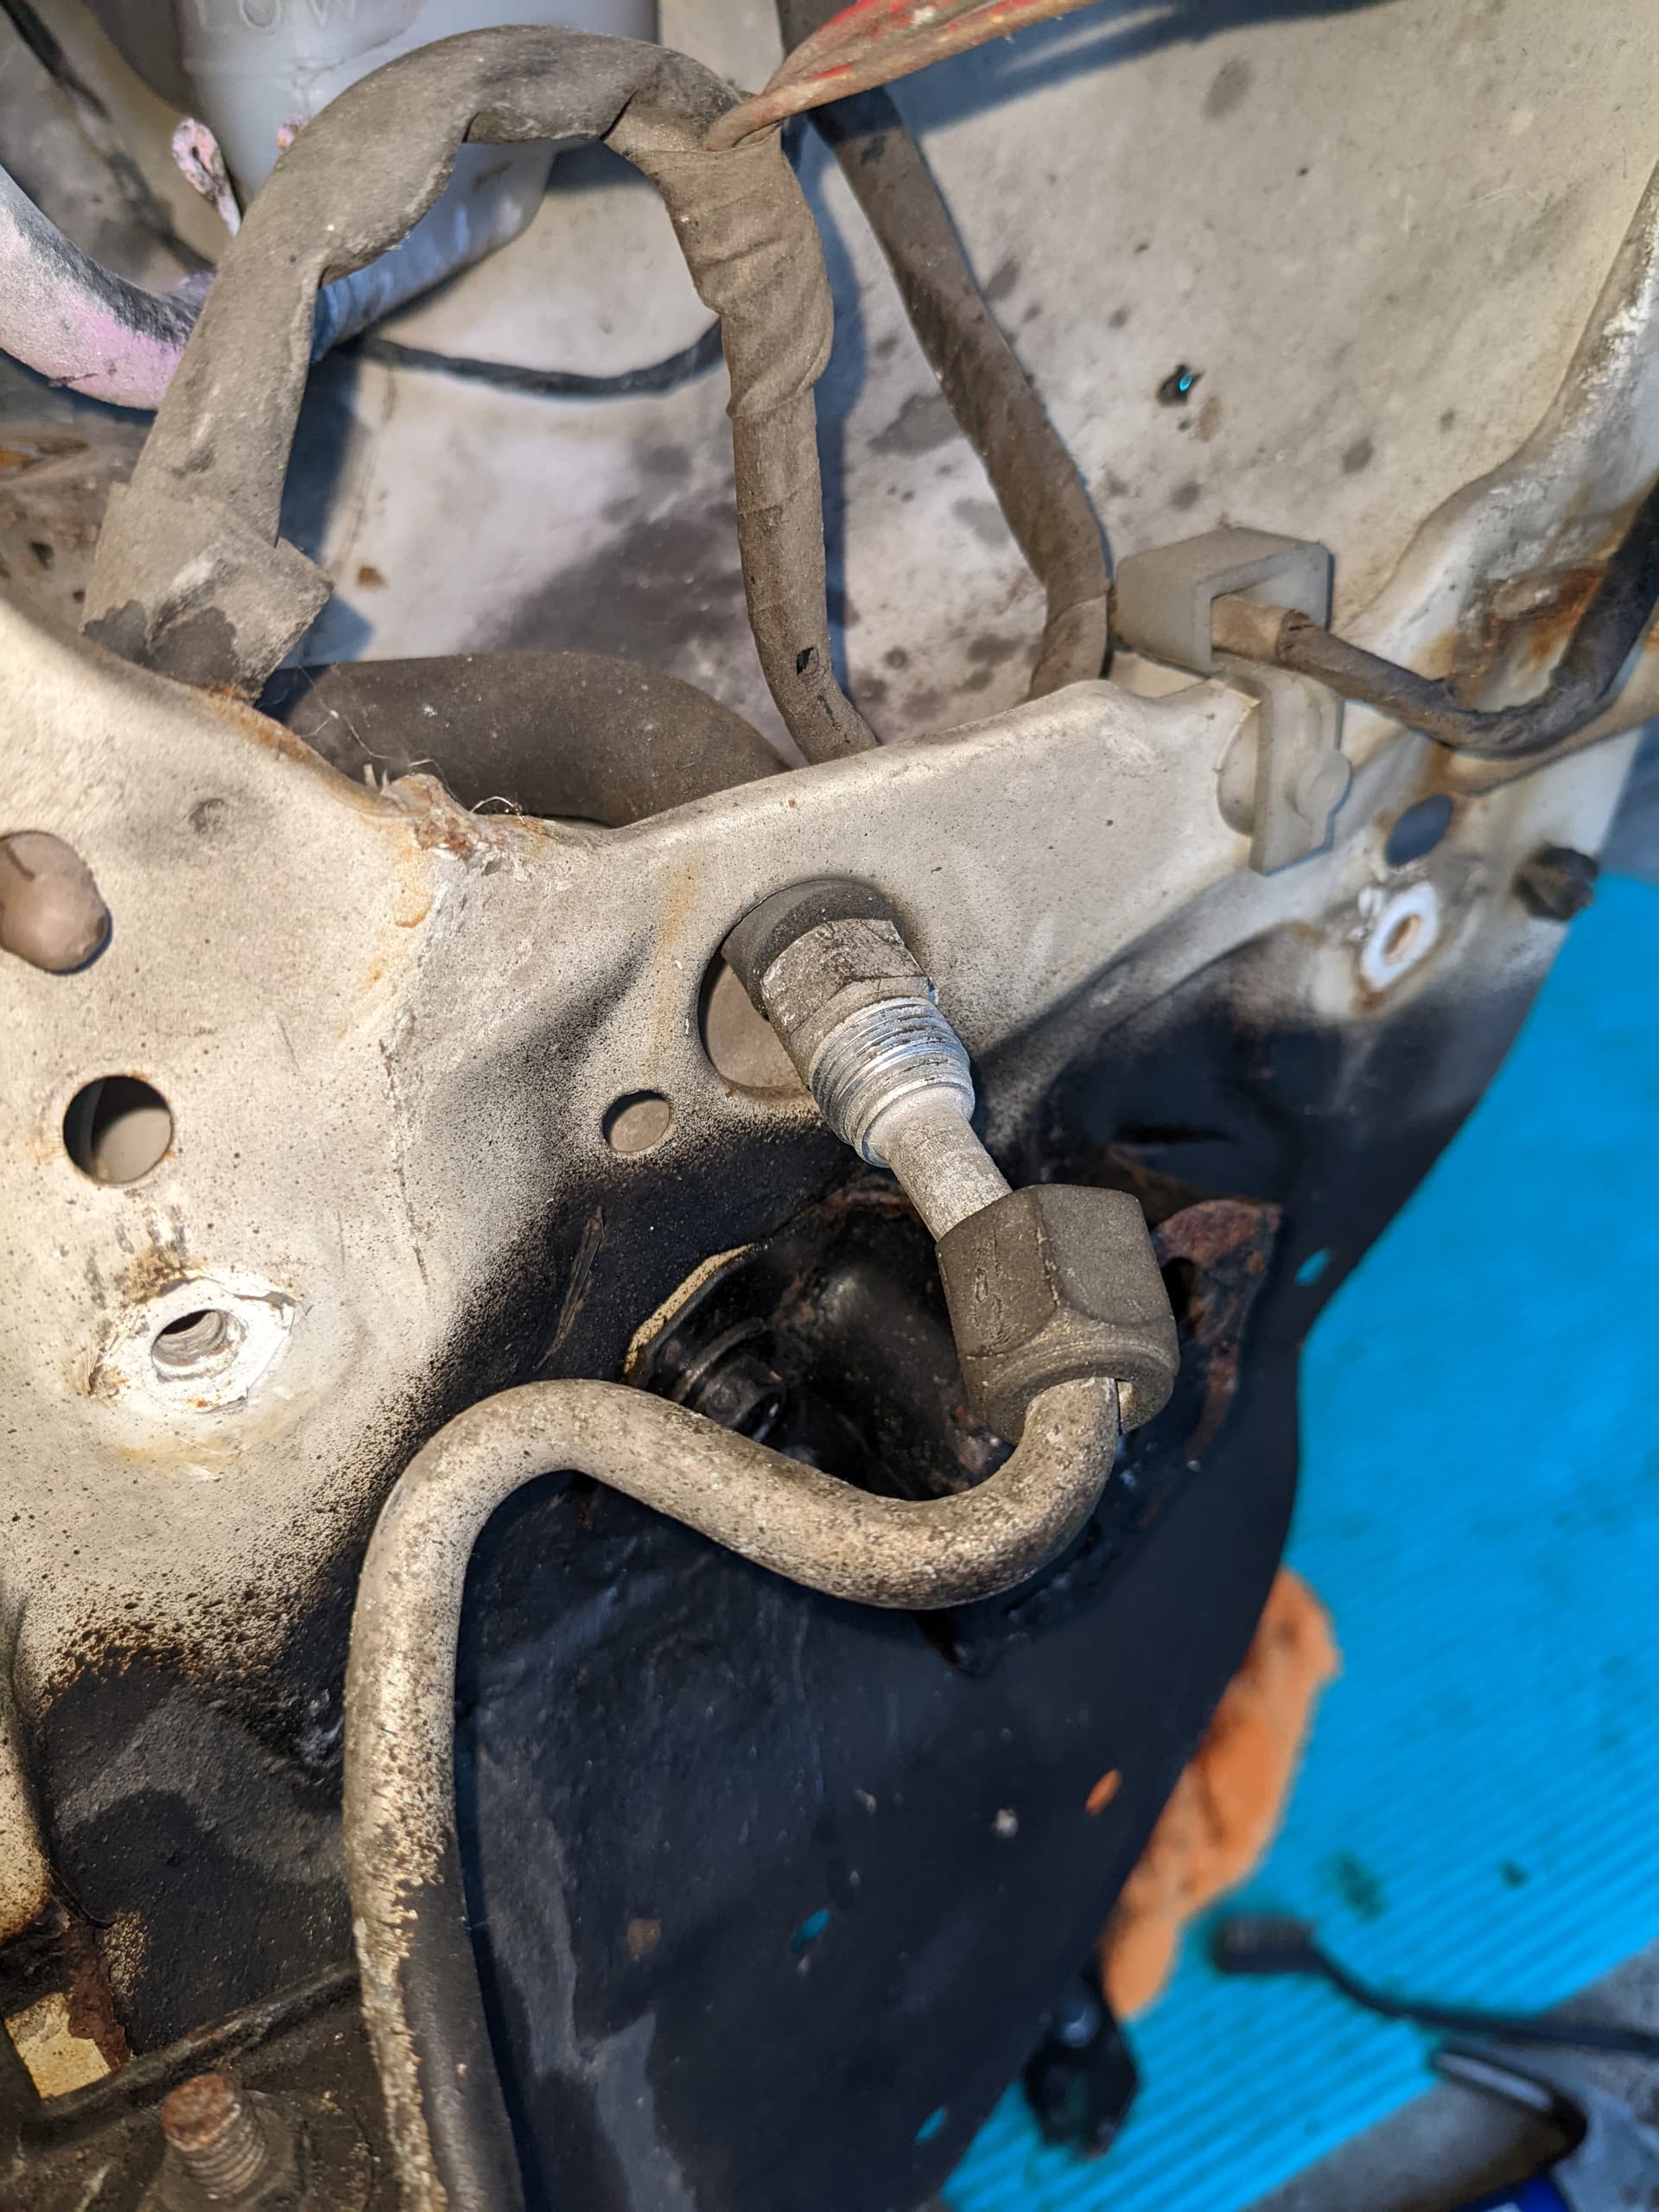
Few more questions, any tips on how to get these AC lines separated? I’m assuming their flared to match and are basically bonded together at this point lol
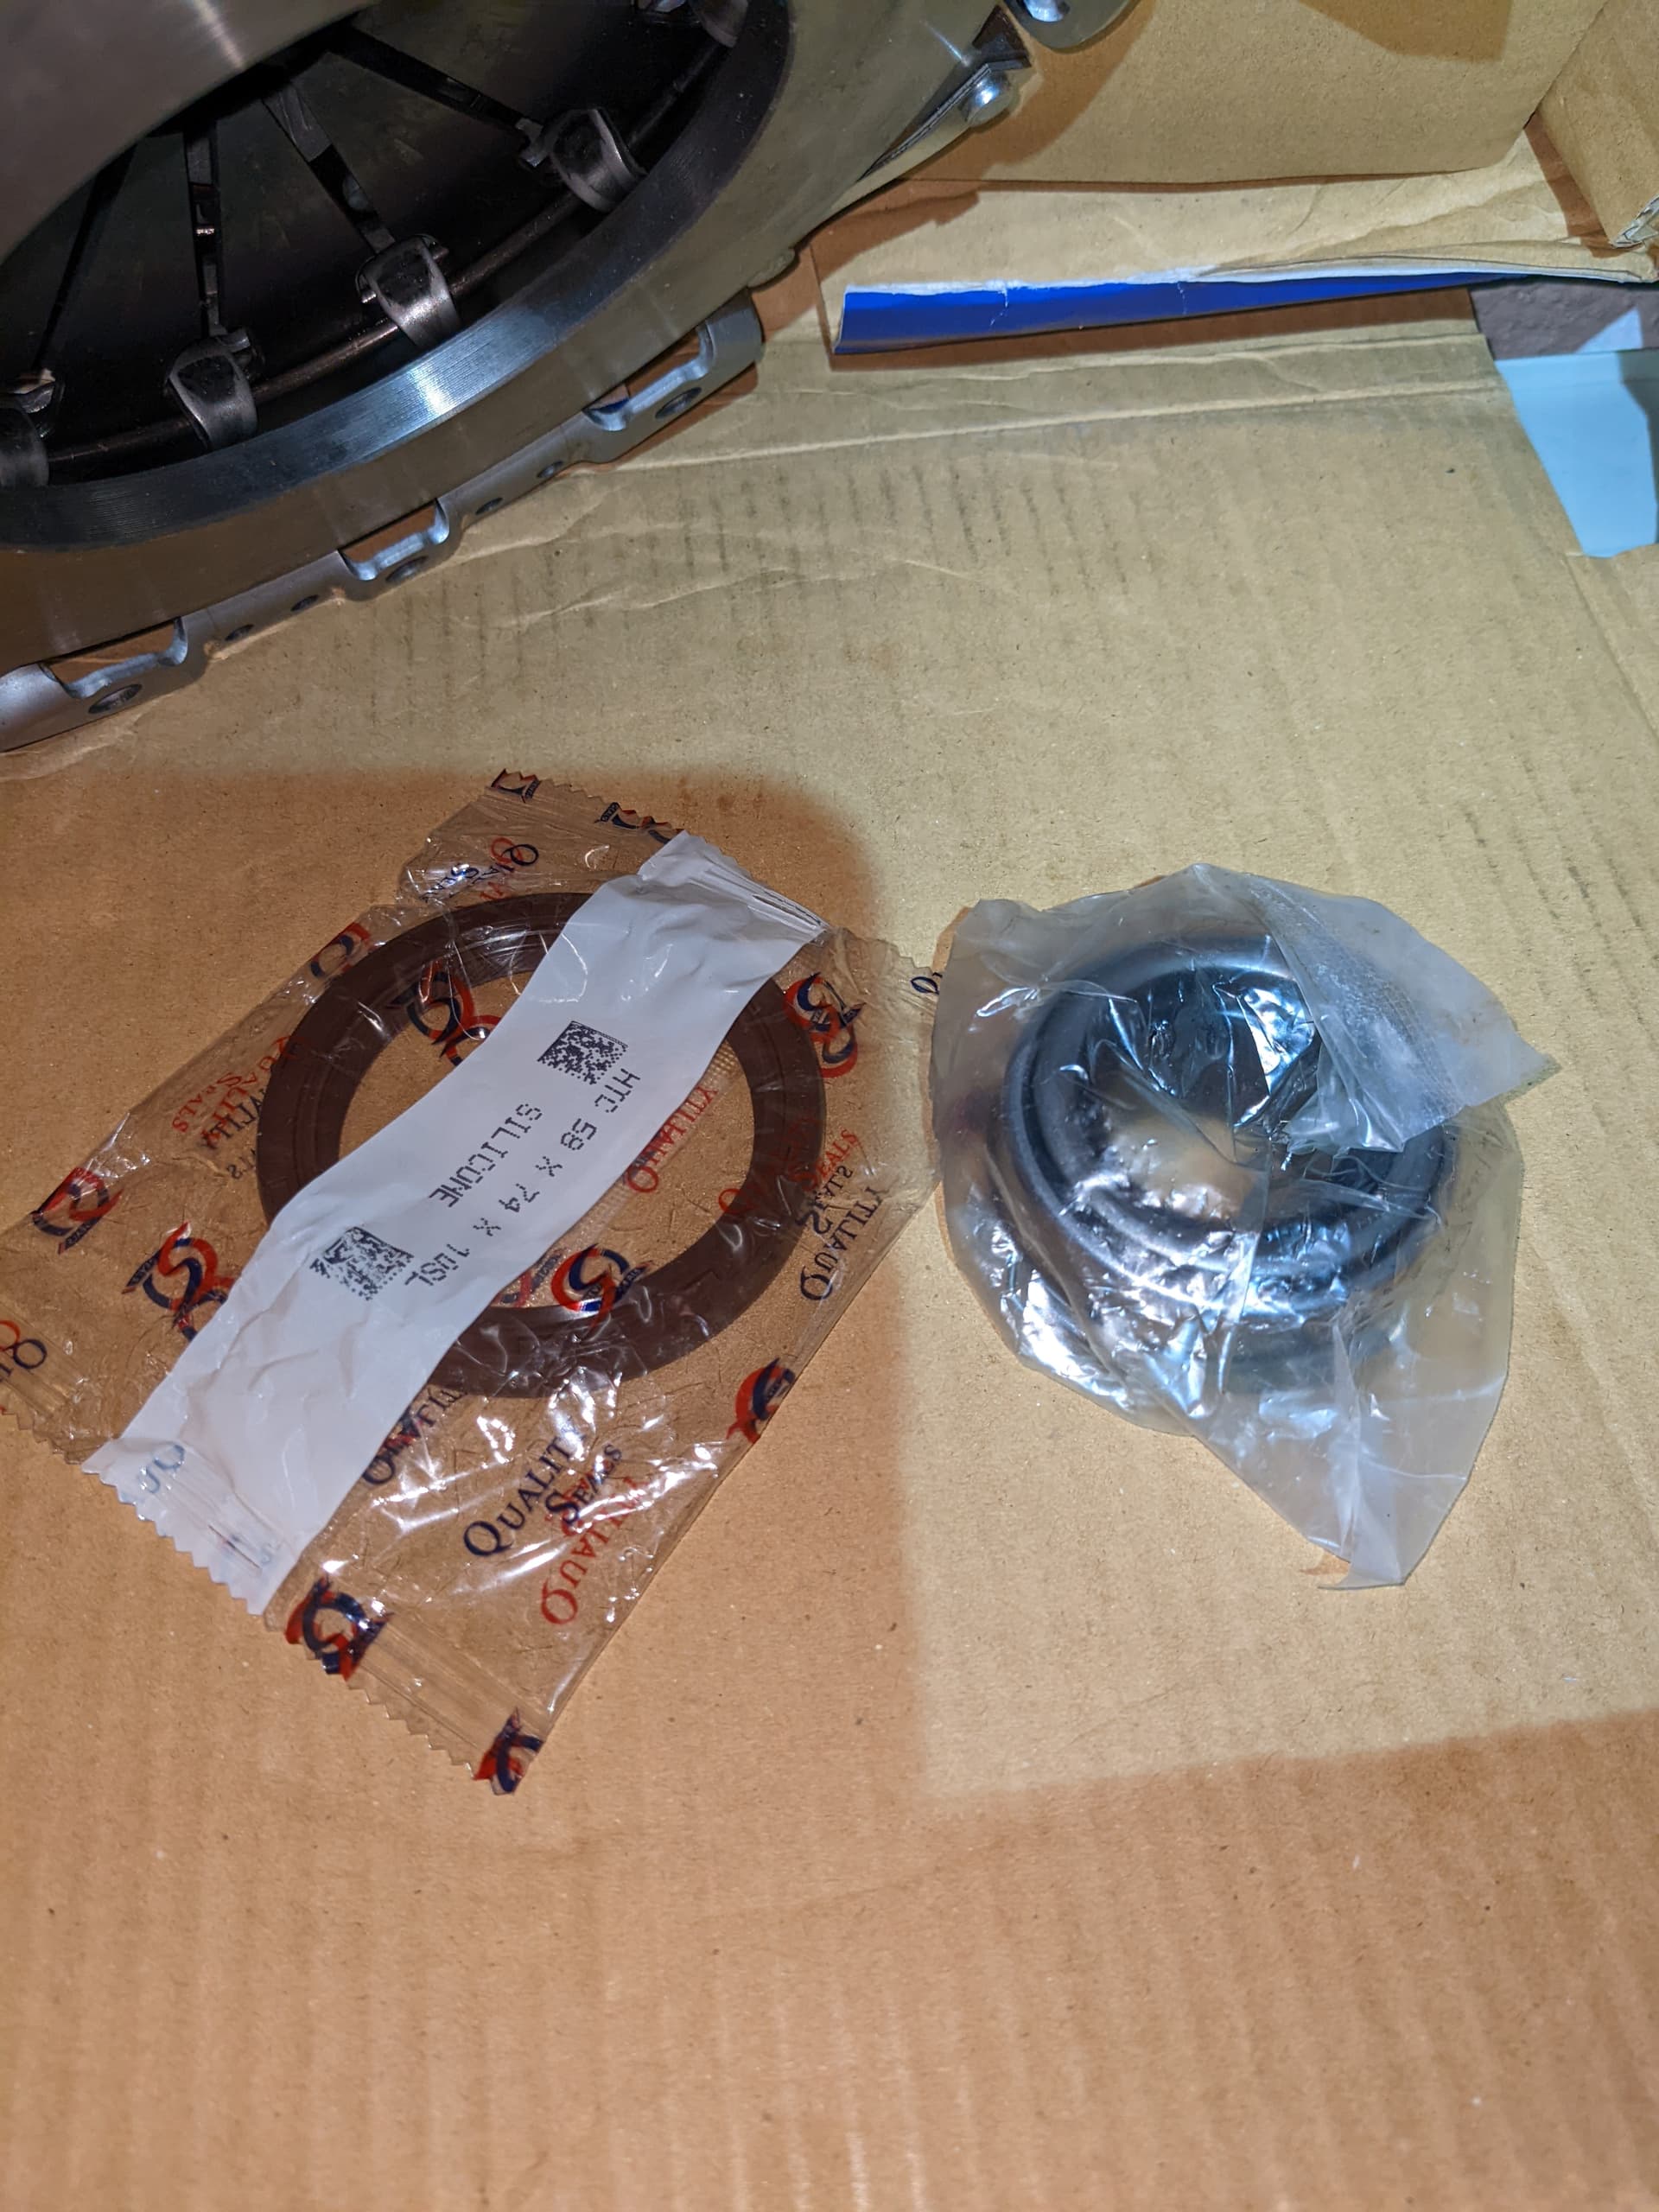
Also, I’m assuming this is the throw out bearing, but what is the other one? Looks too large to be a pilot bushing?
And should I replace the pilot bushing while I am in there if I have access?
Man these things are tight to work on, I’m used to wrenching extensively on RWD Foxbody Mustangs, this tiny FWD nugget is an entirely new learning experience to be sure.
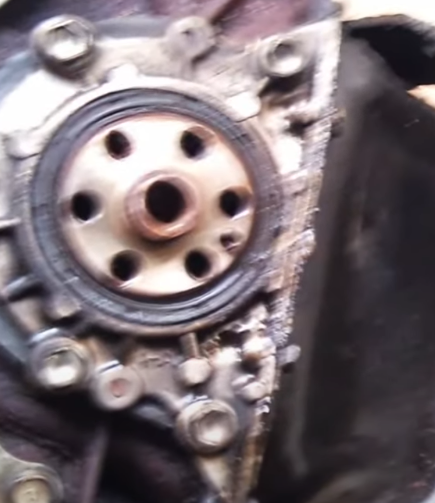
Edit: I’m assuming the silicone bushing is the one seen here behind the flywheel, rear main seal;
2 Likes
The axles should just pop out. I used a big flat screwdriver to carefully pry the axle out of the gearbox.
1 Like
Can someone confirm which thermostat I need? Apparently there are two versions.
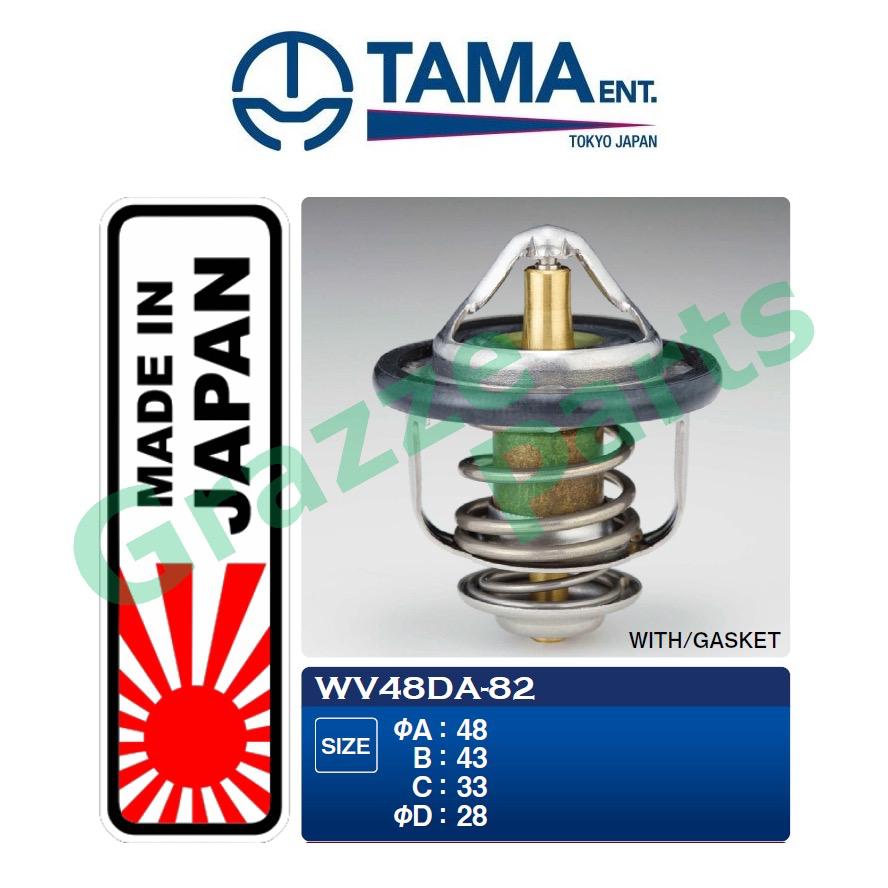
And
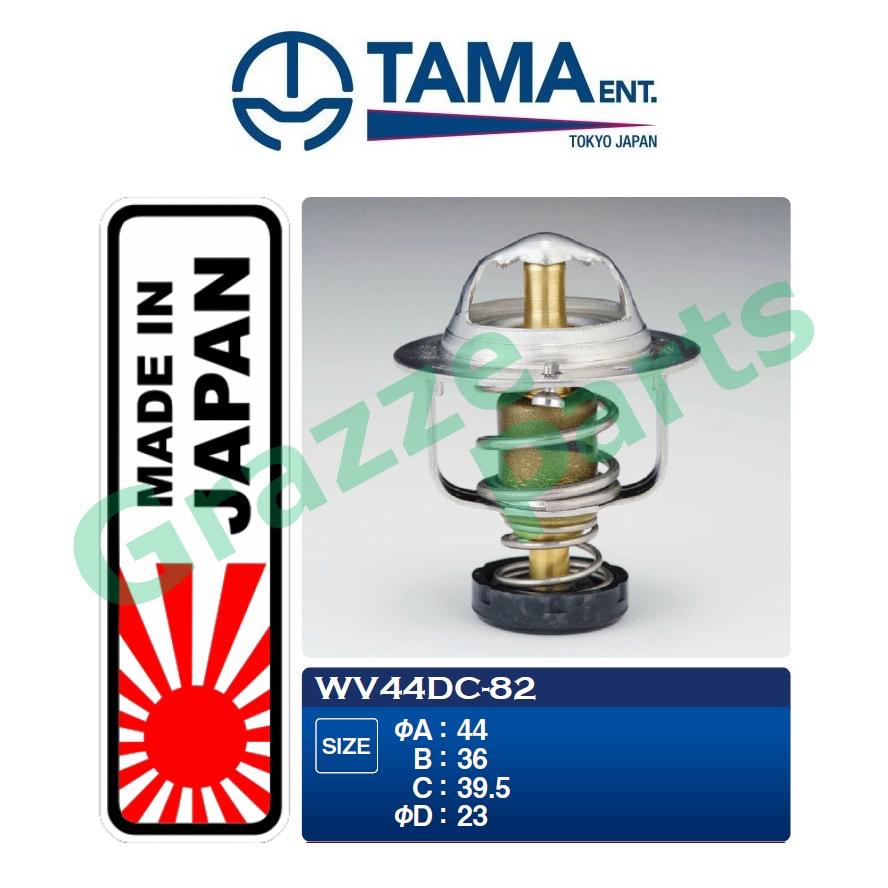
Going to pull the housing after work and check it out.
Got some more parts, started to finish pulling the motor
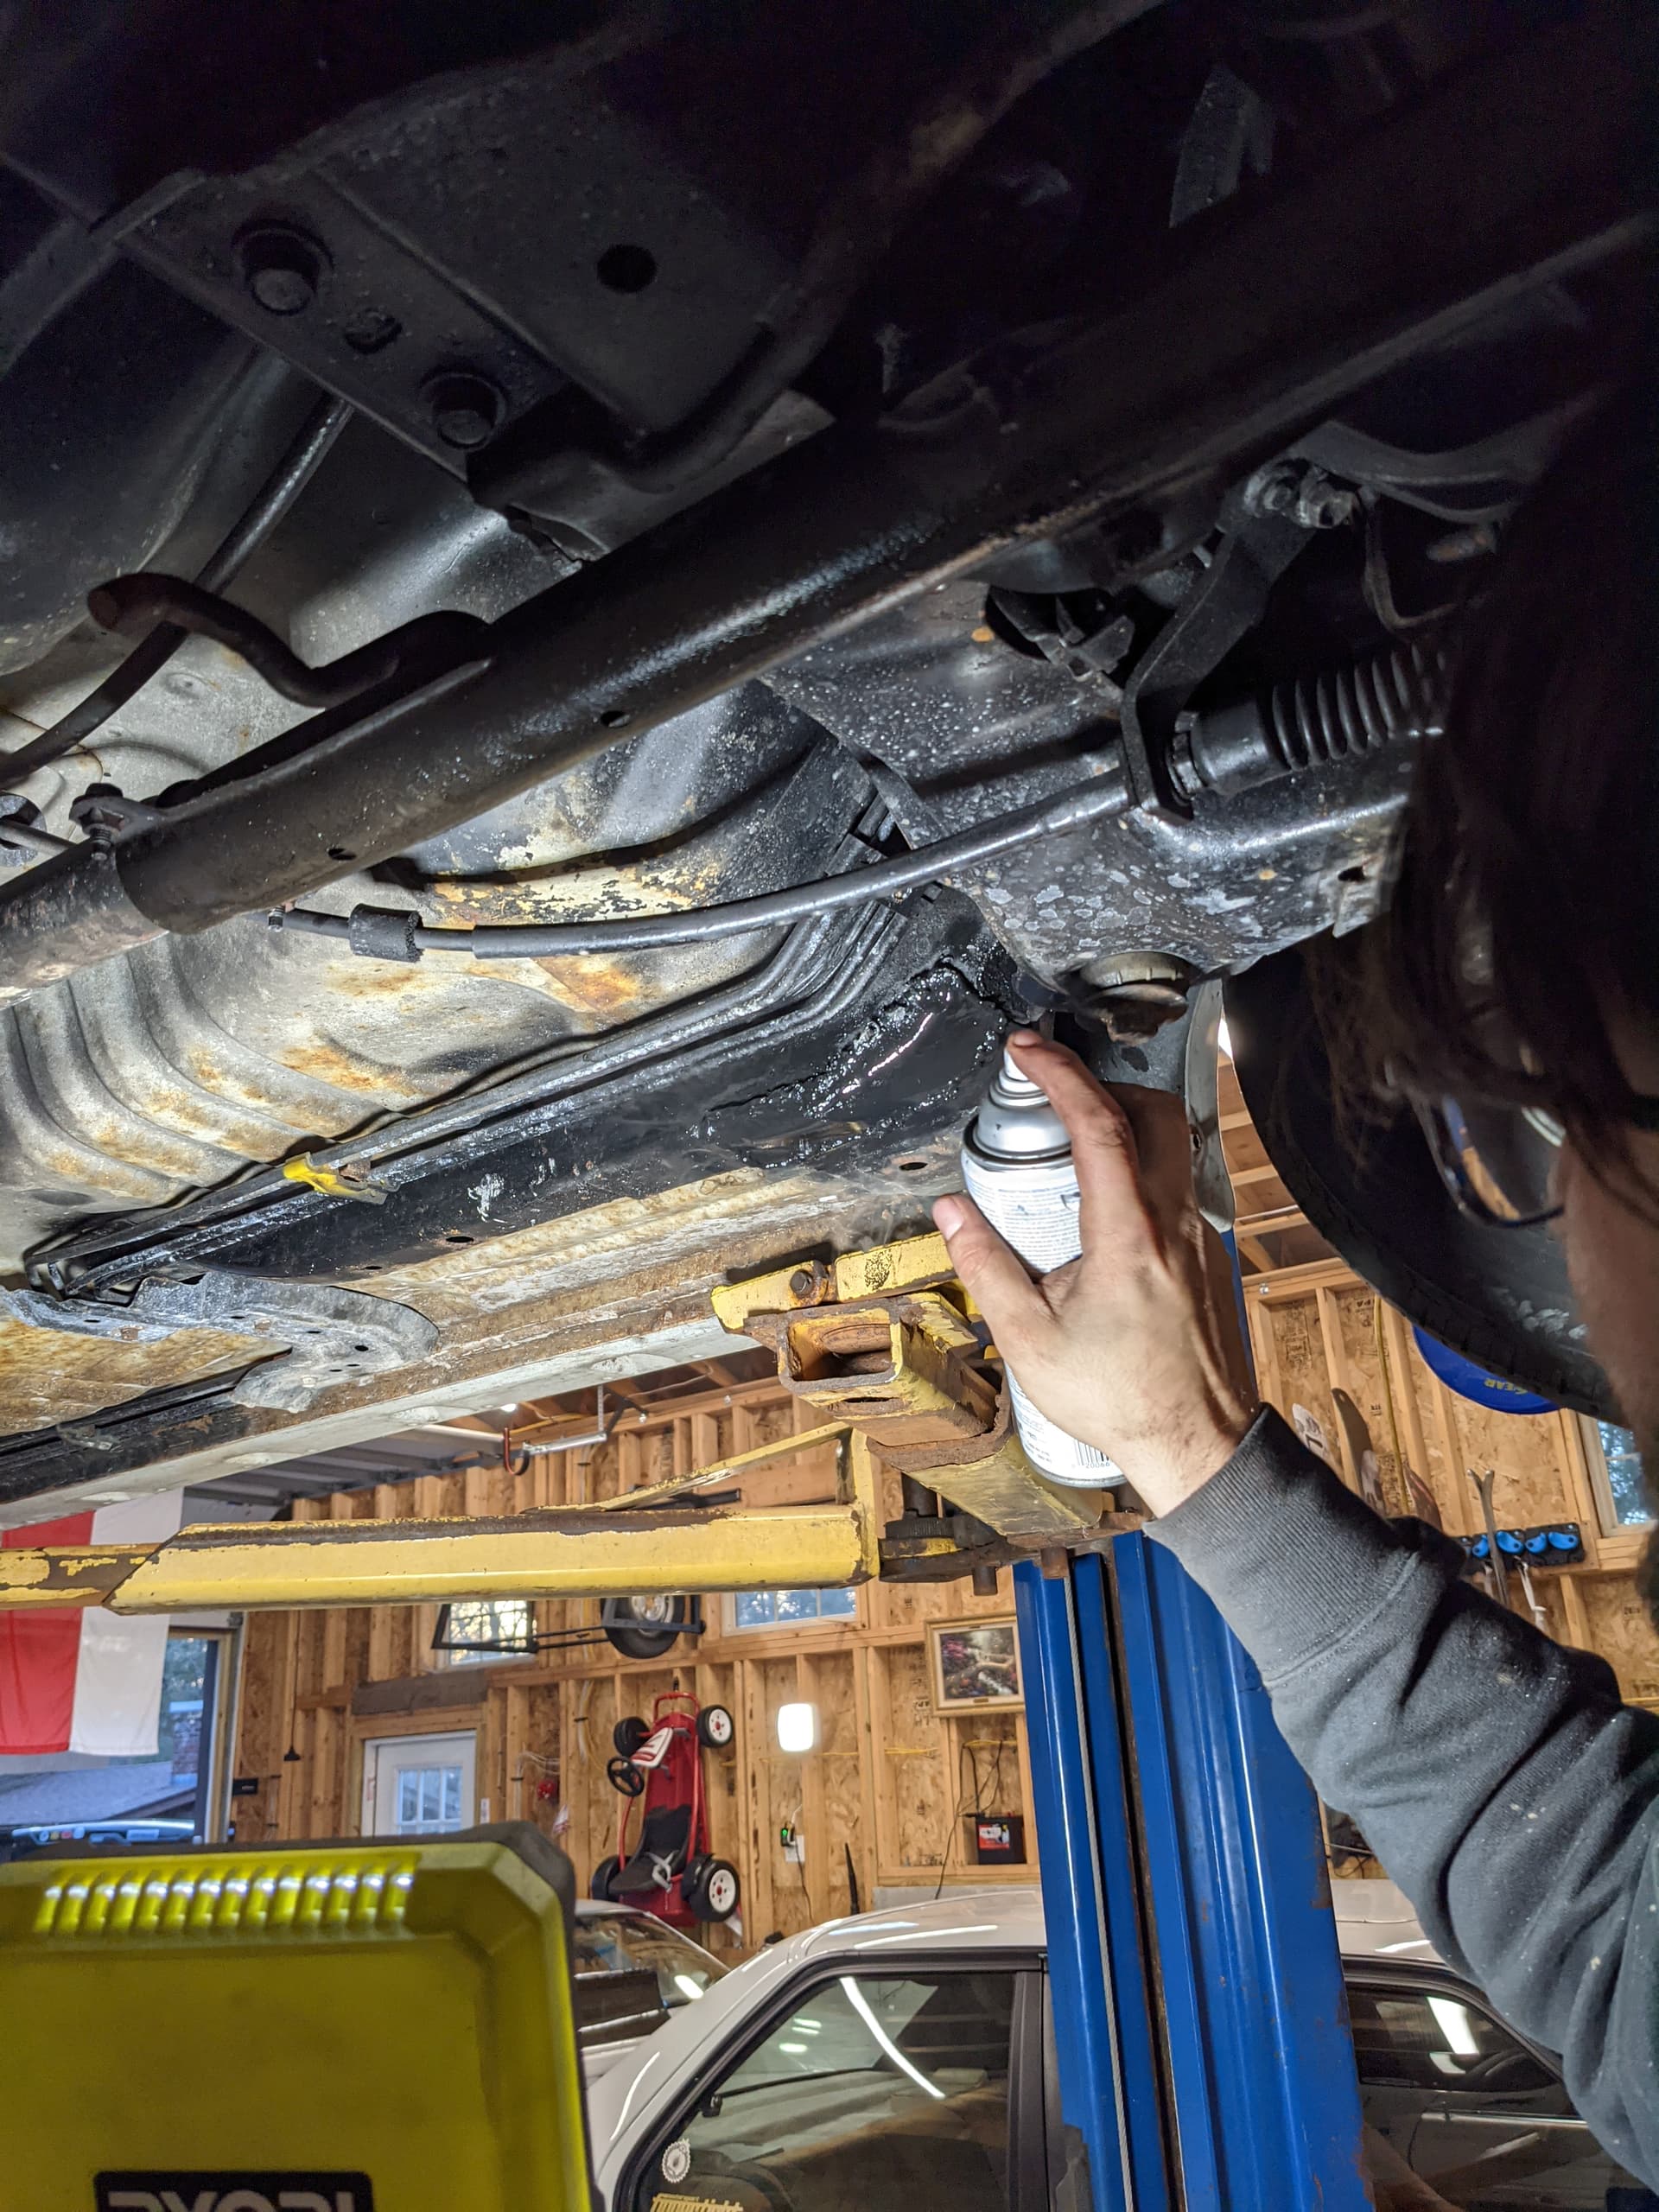
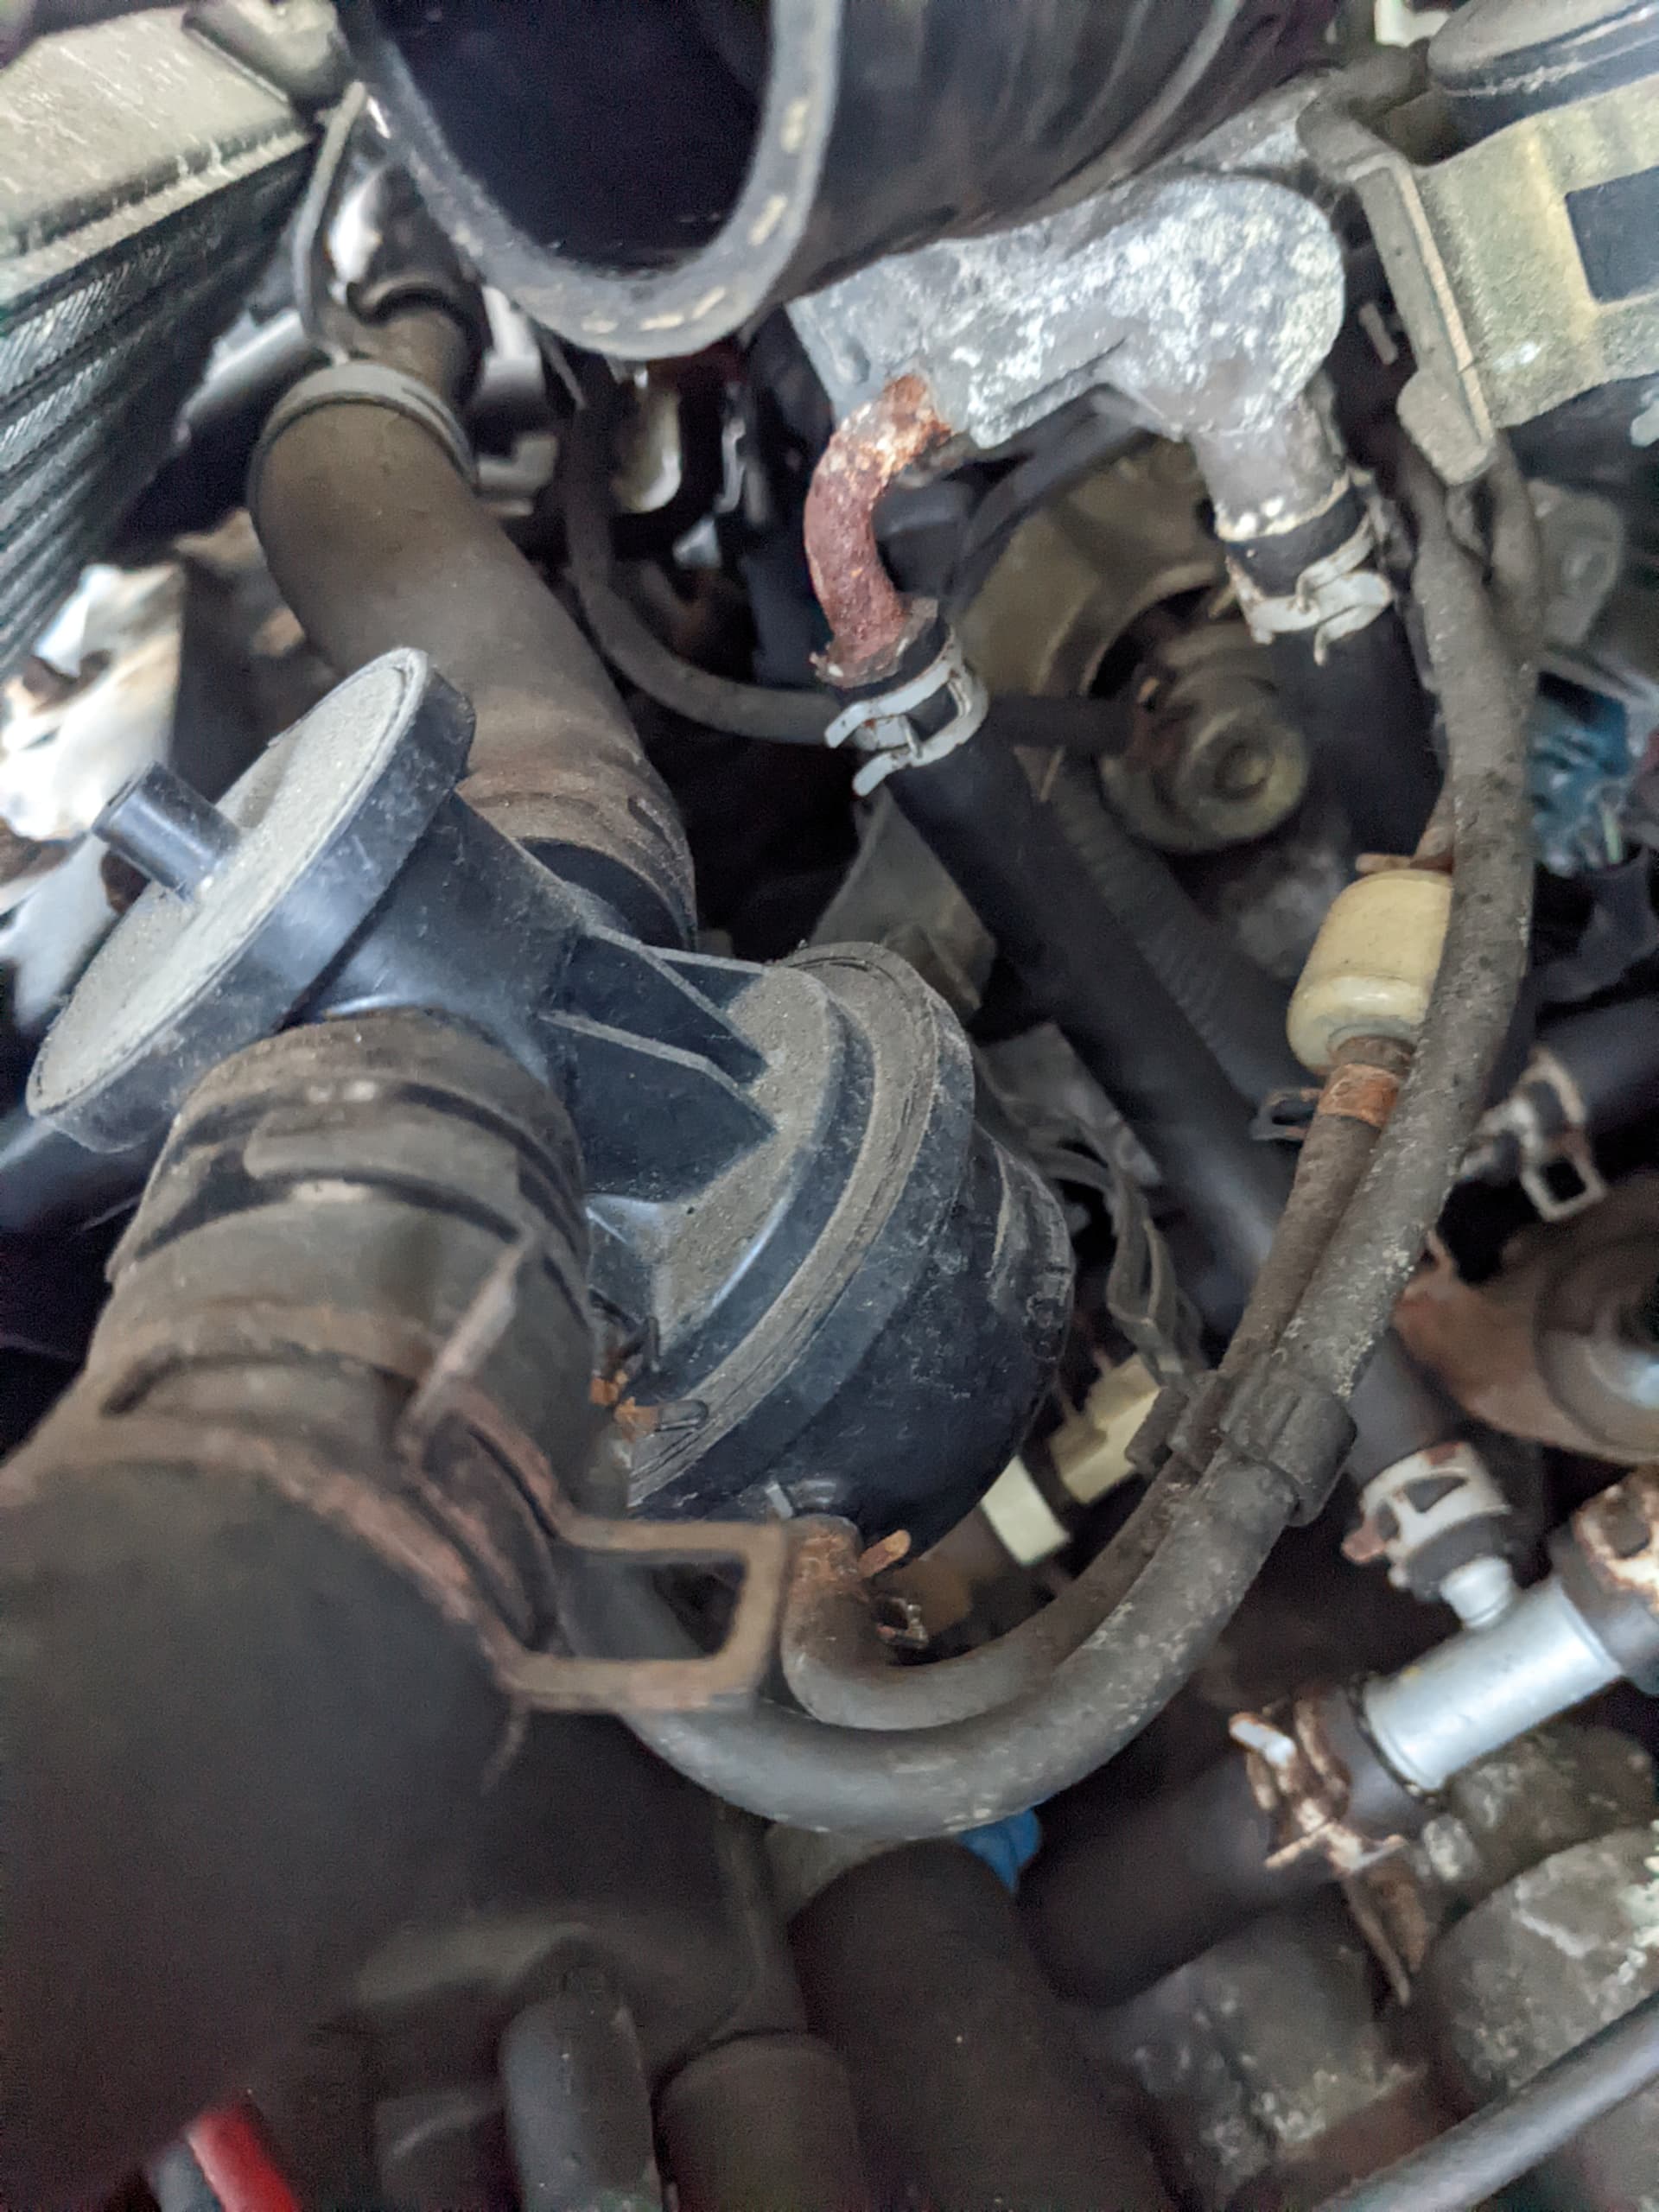
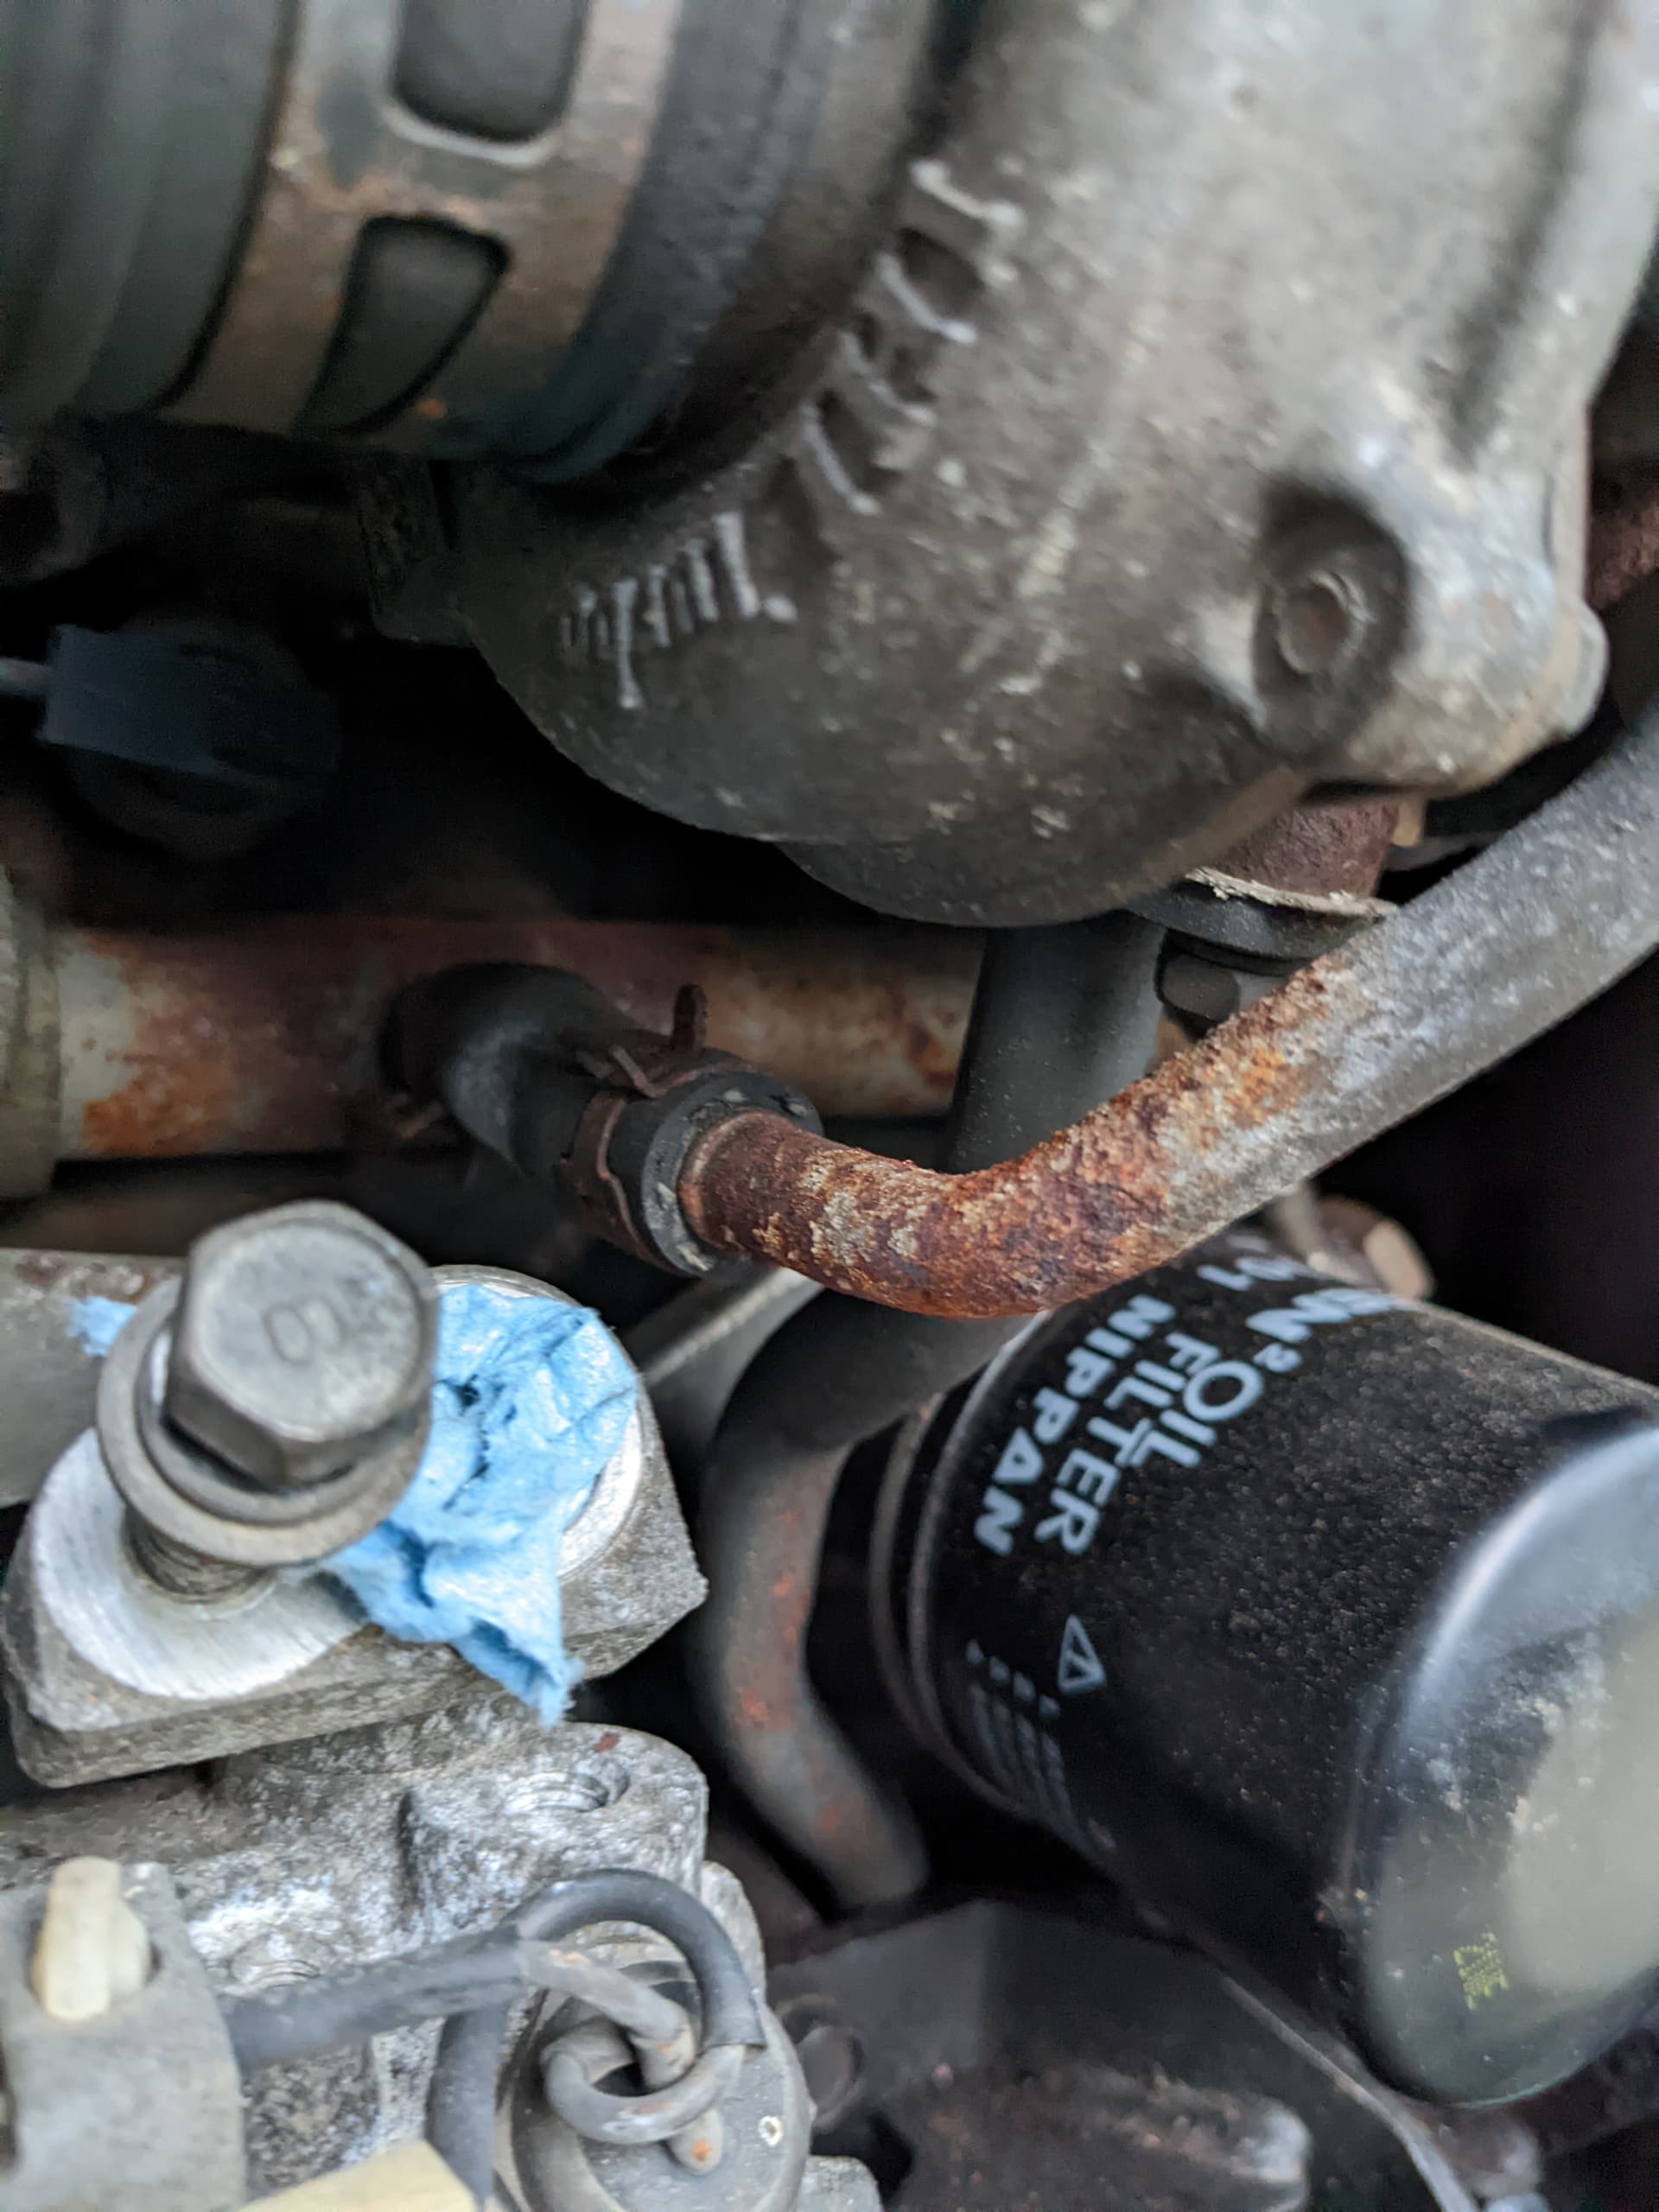
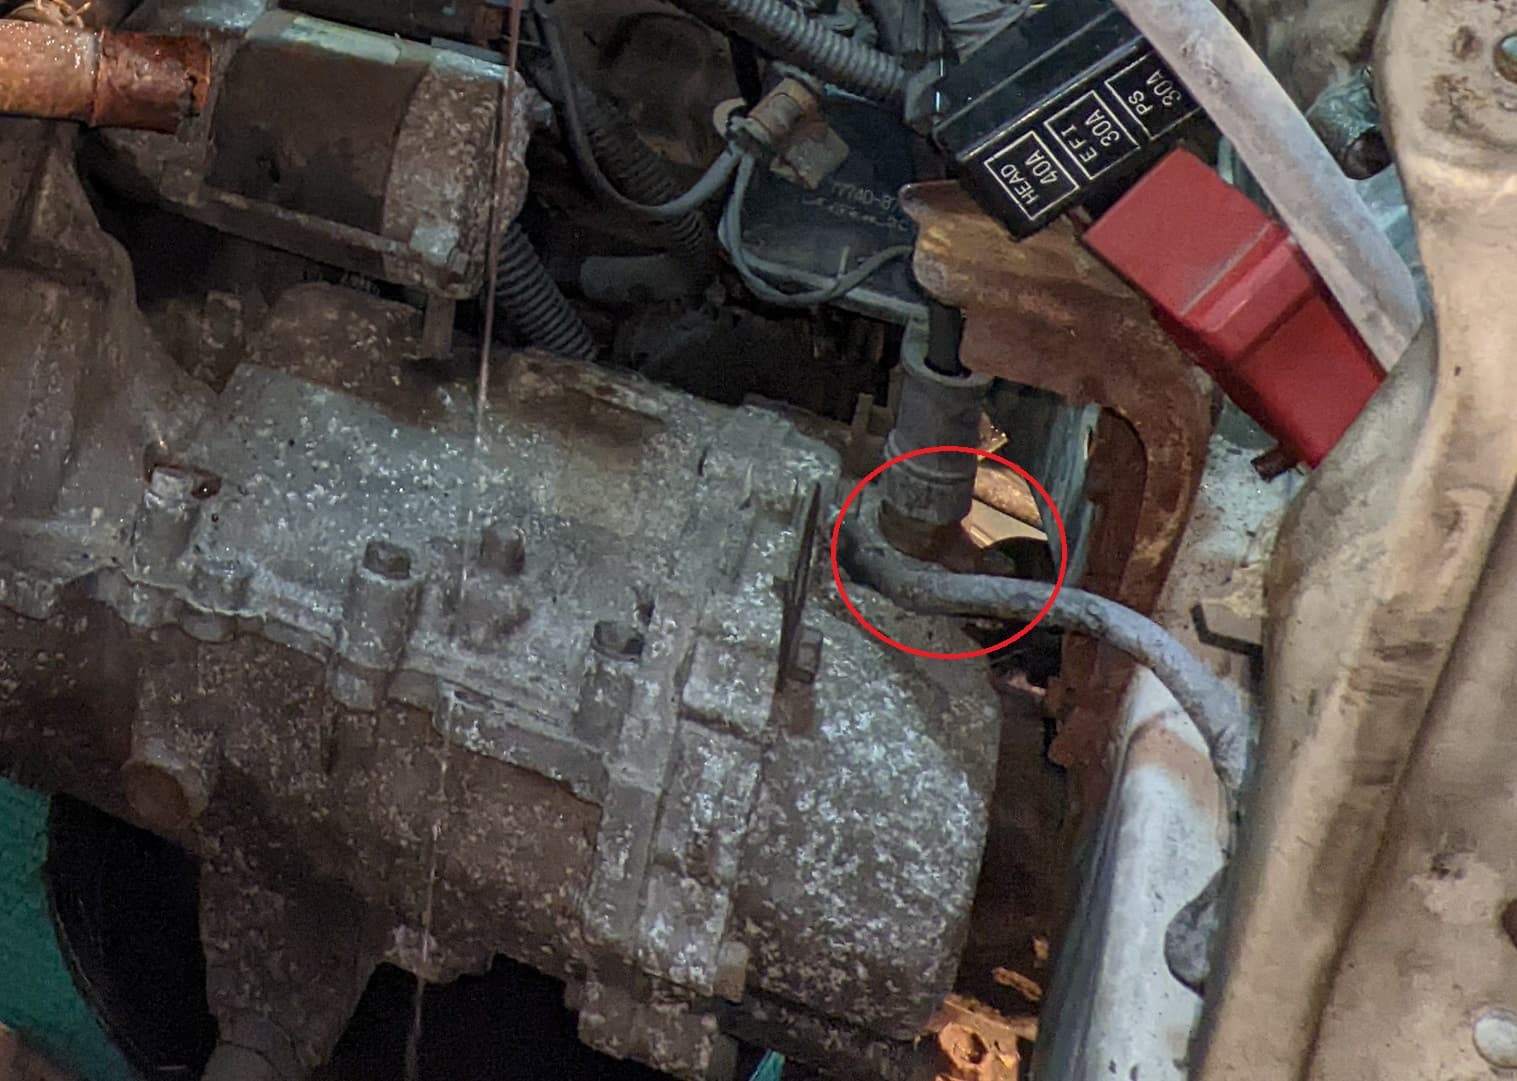
Cleaning up the cooling line to the turbo:
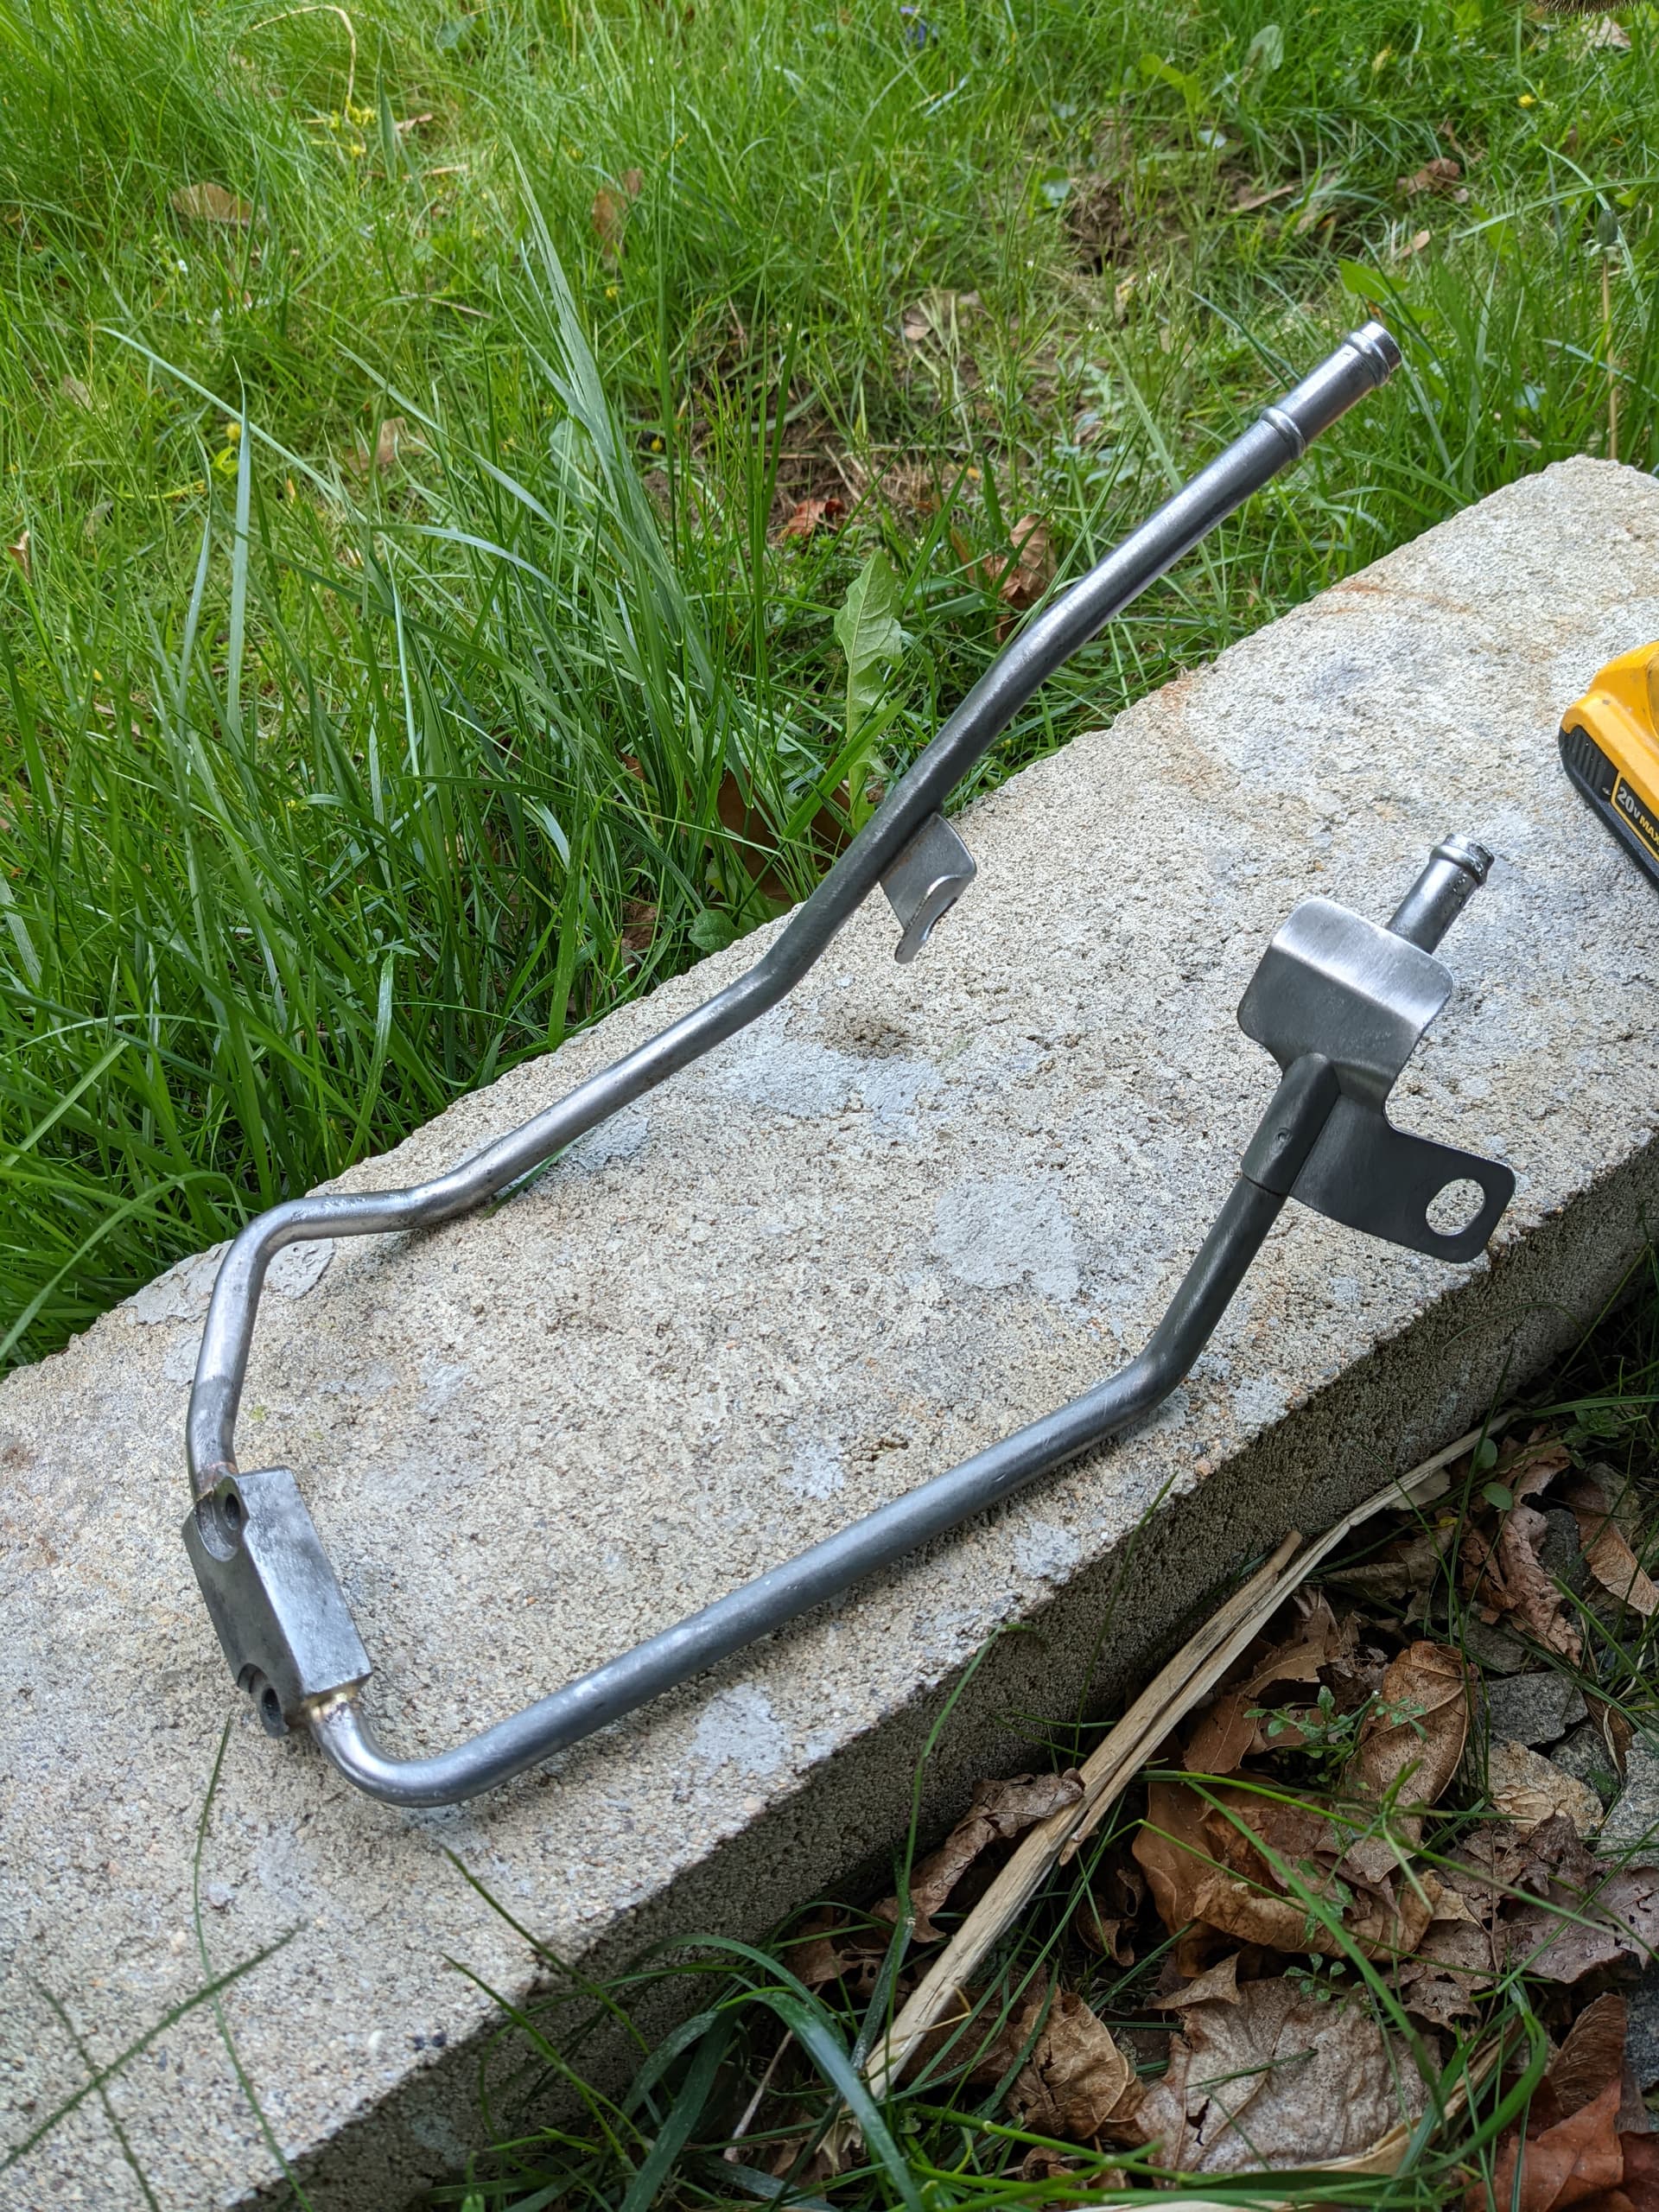
Spraying the hard line:

Existing coolant hard line:
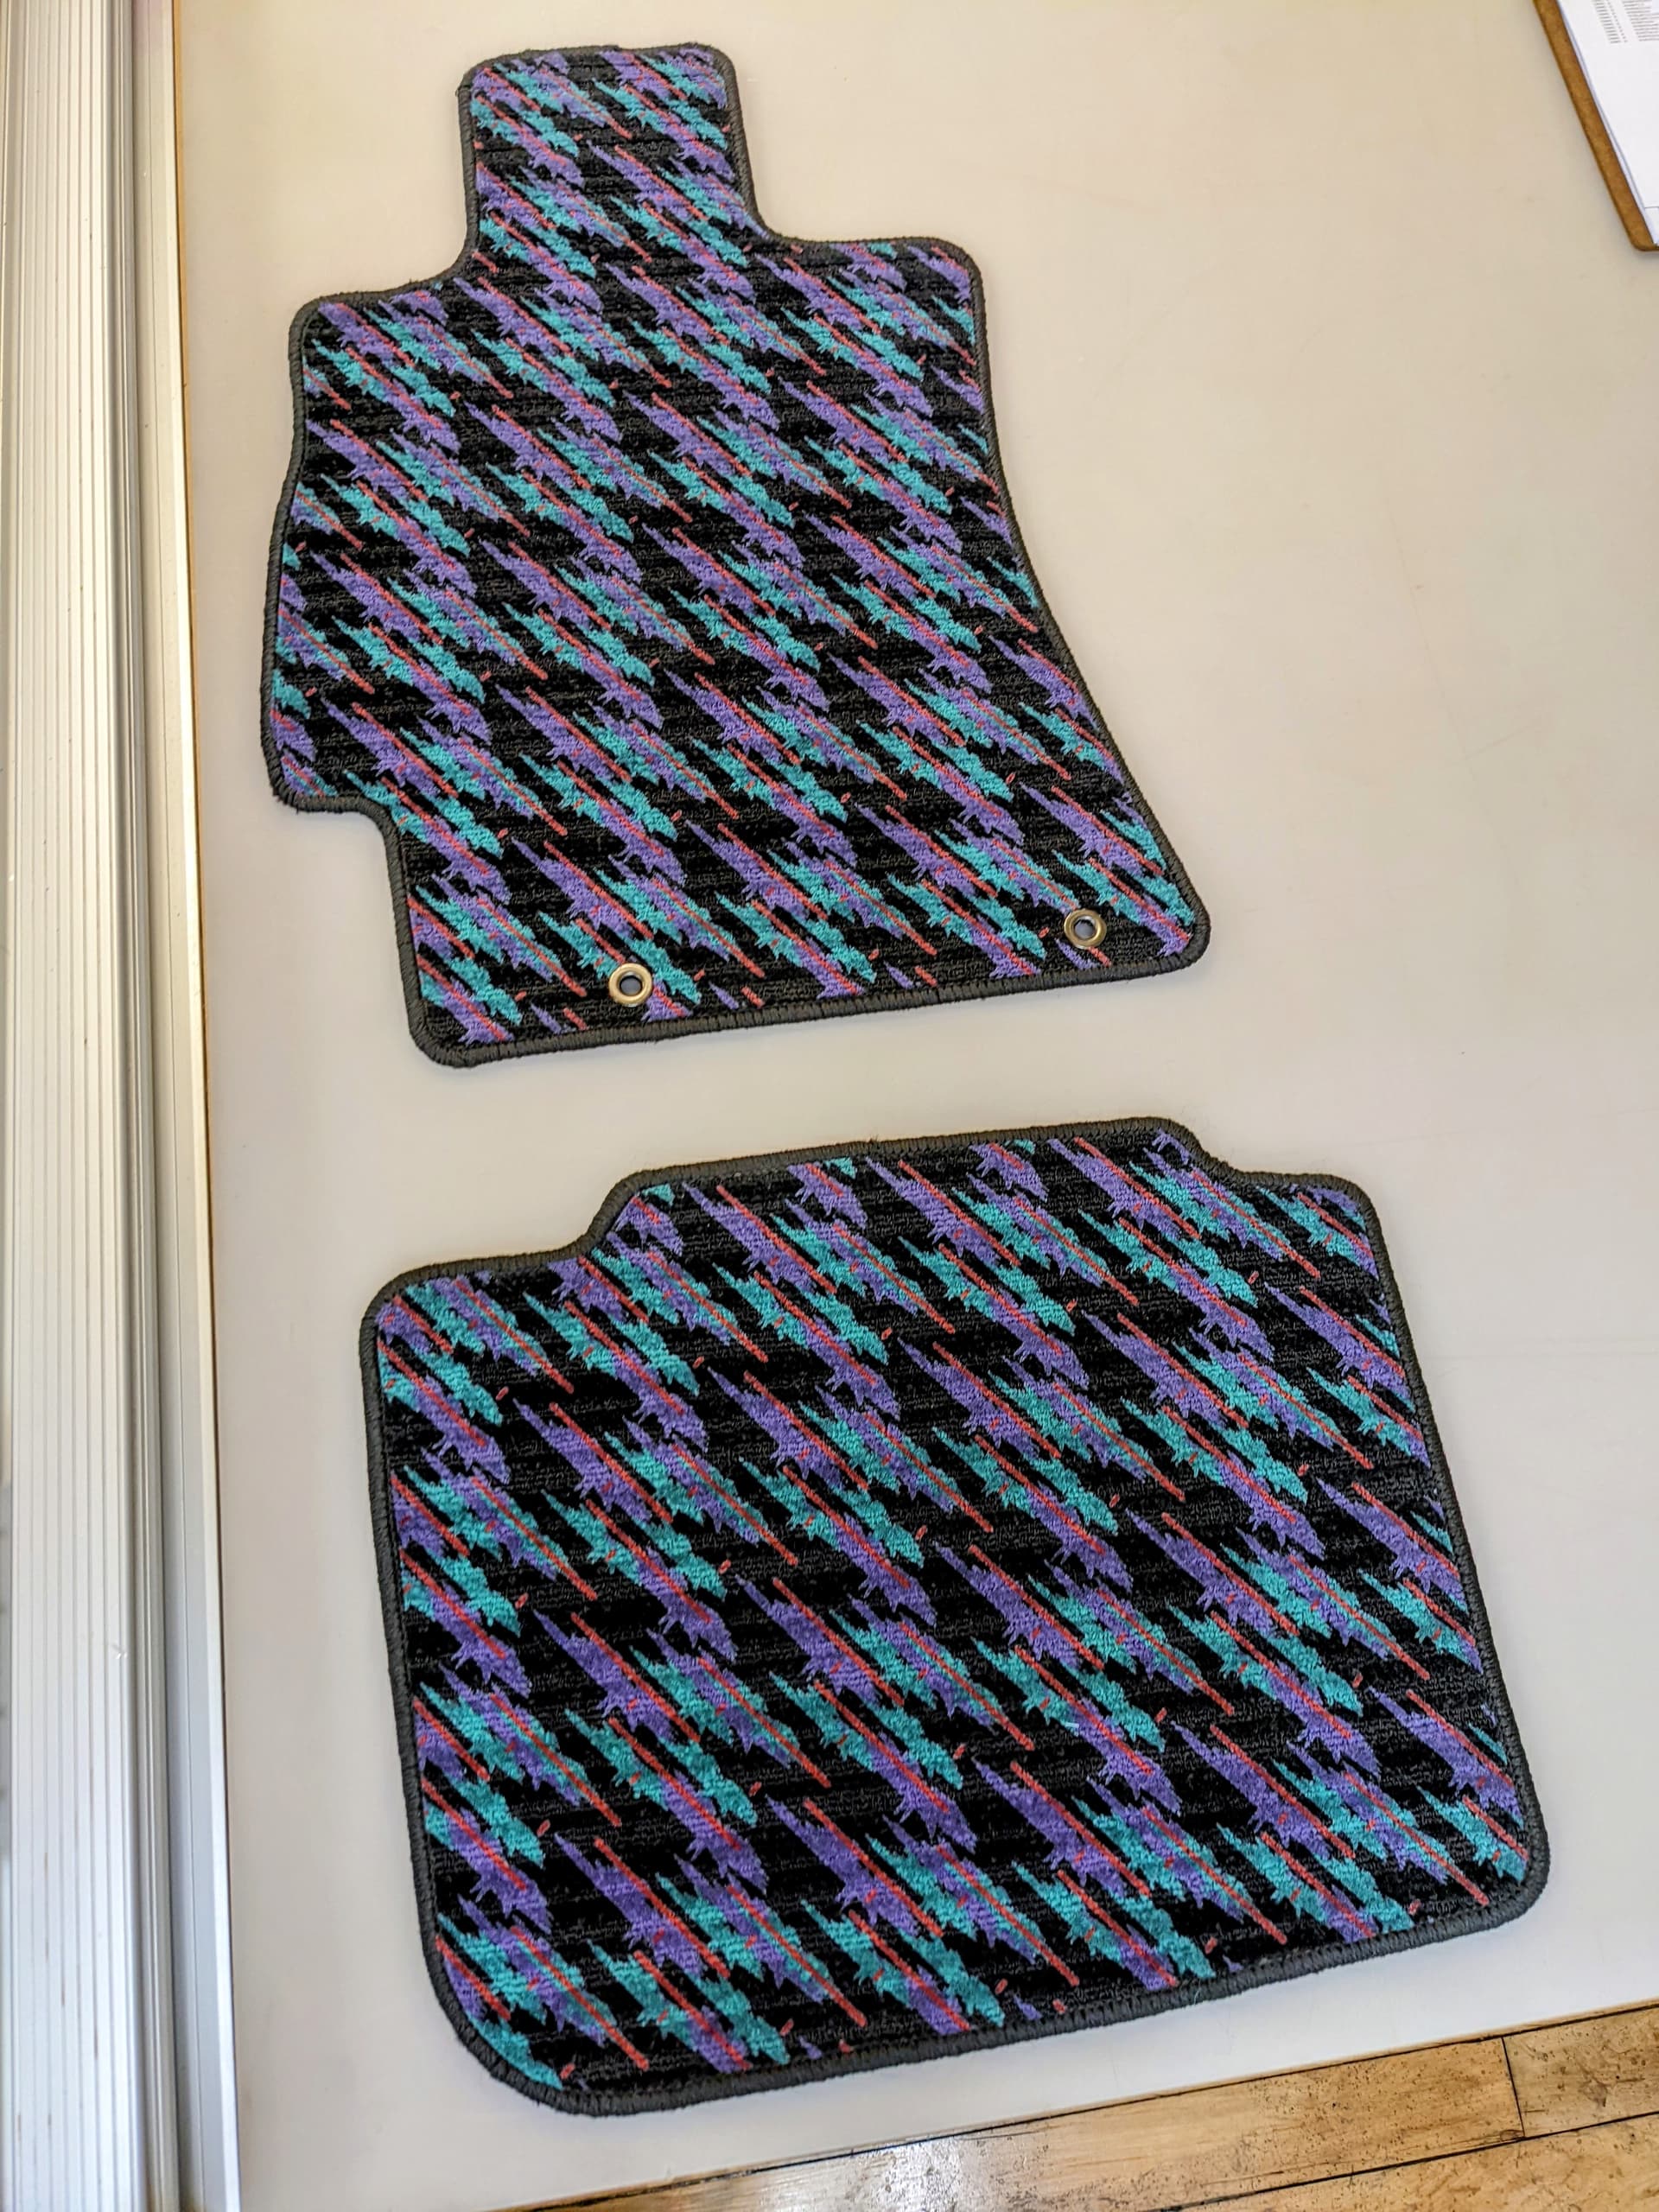
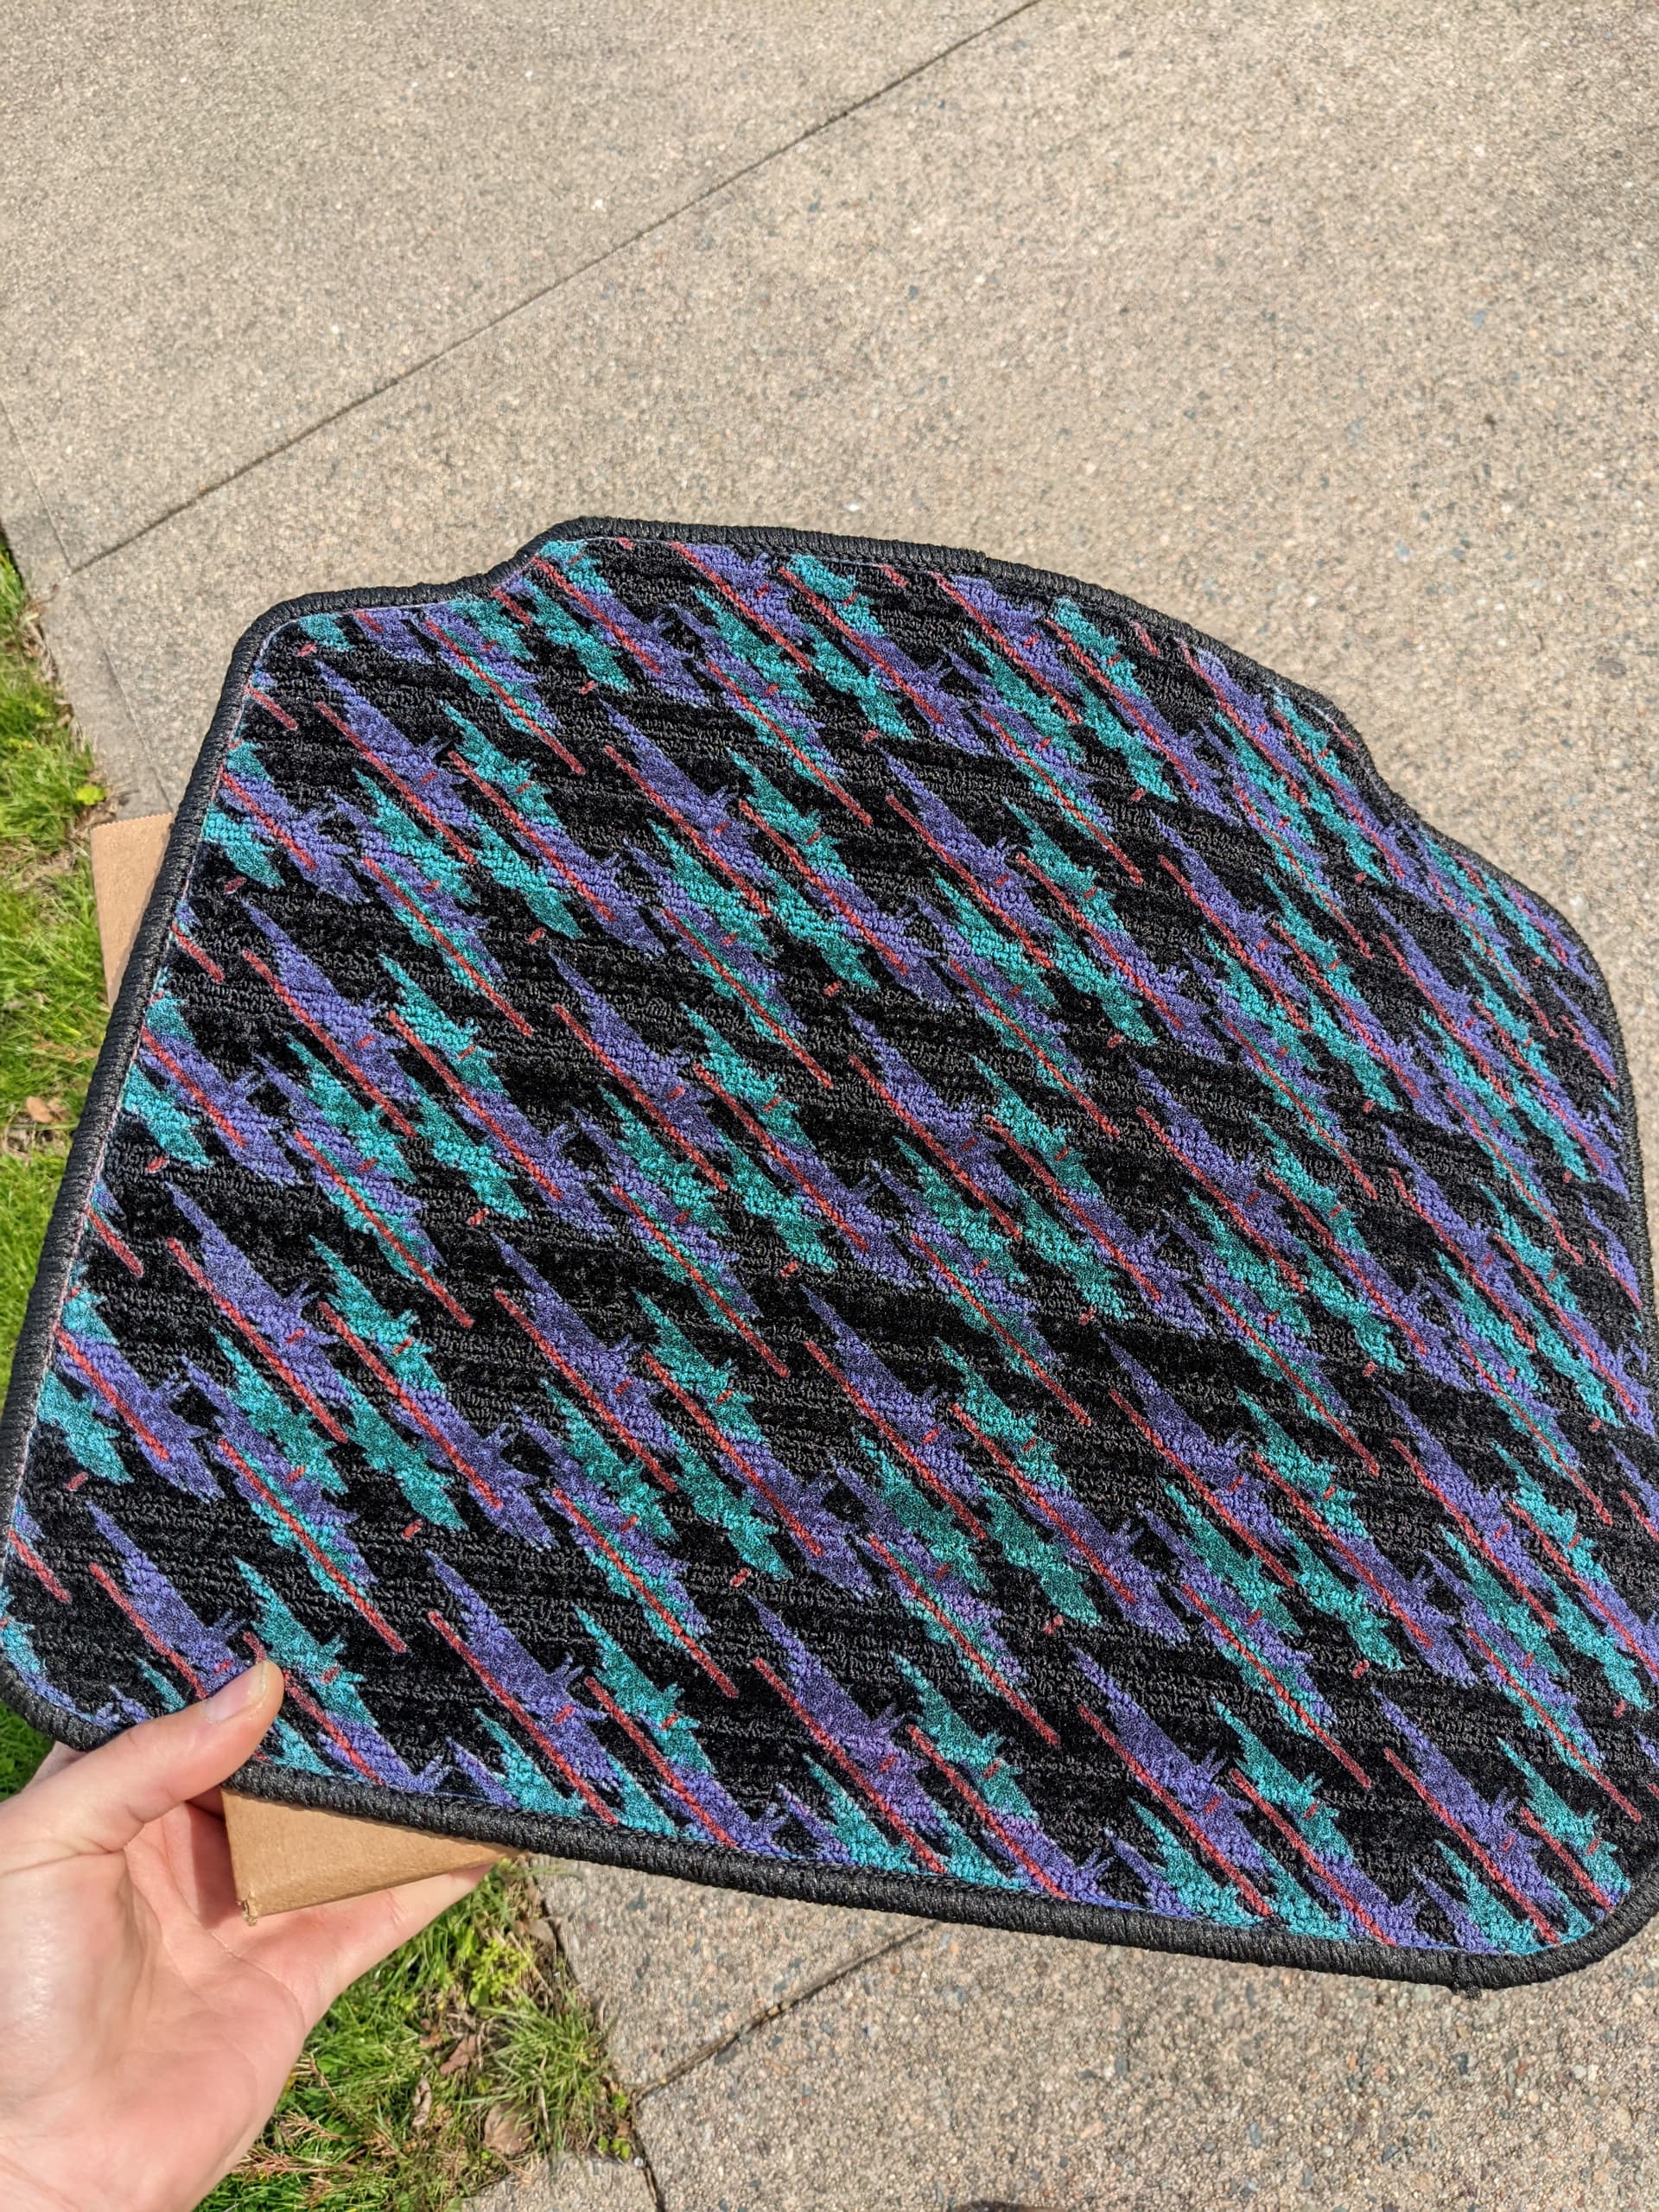
Playing around with making my own floor mats:
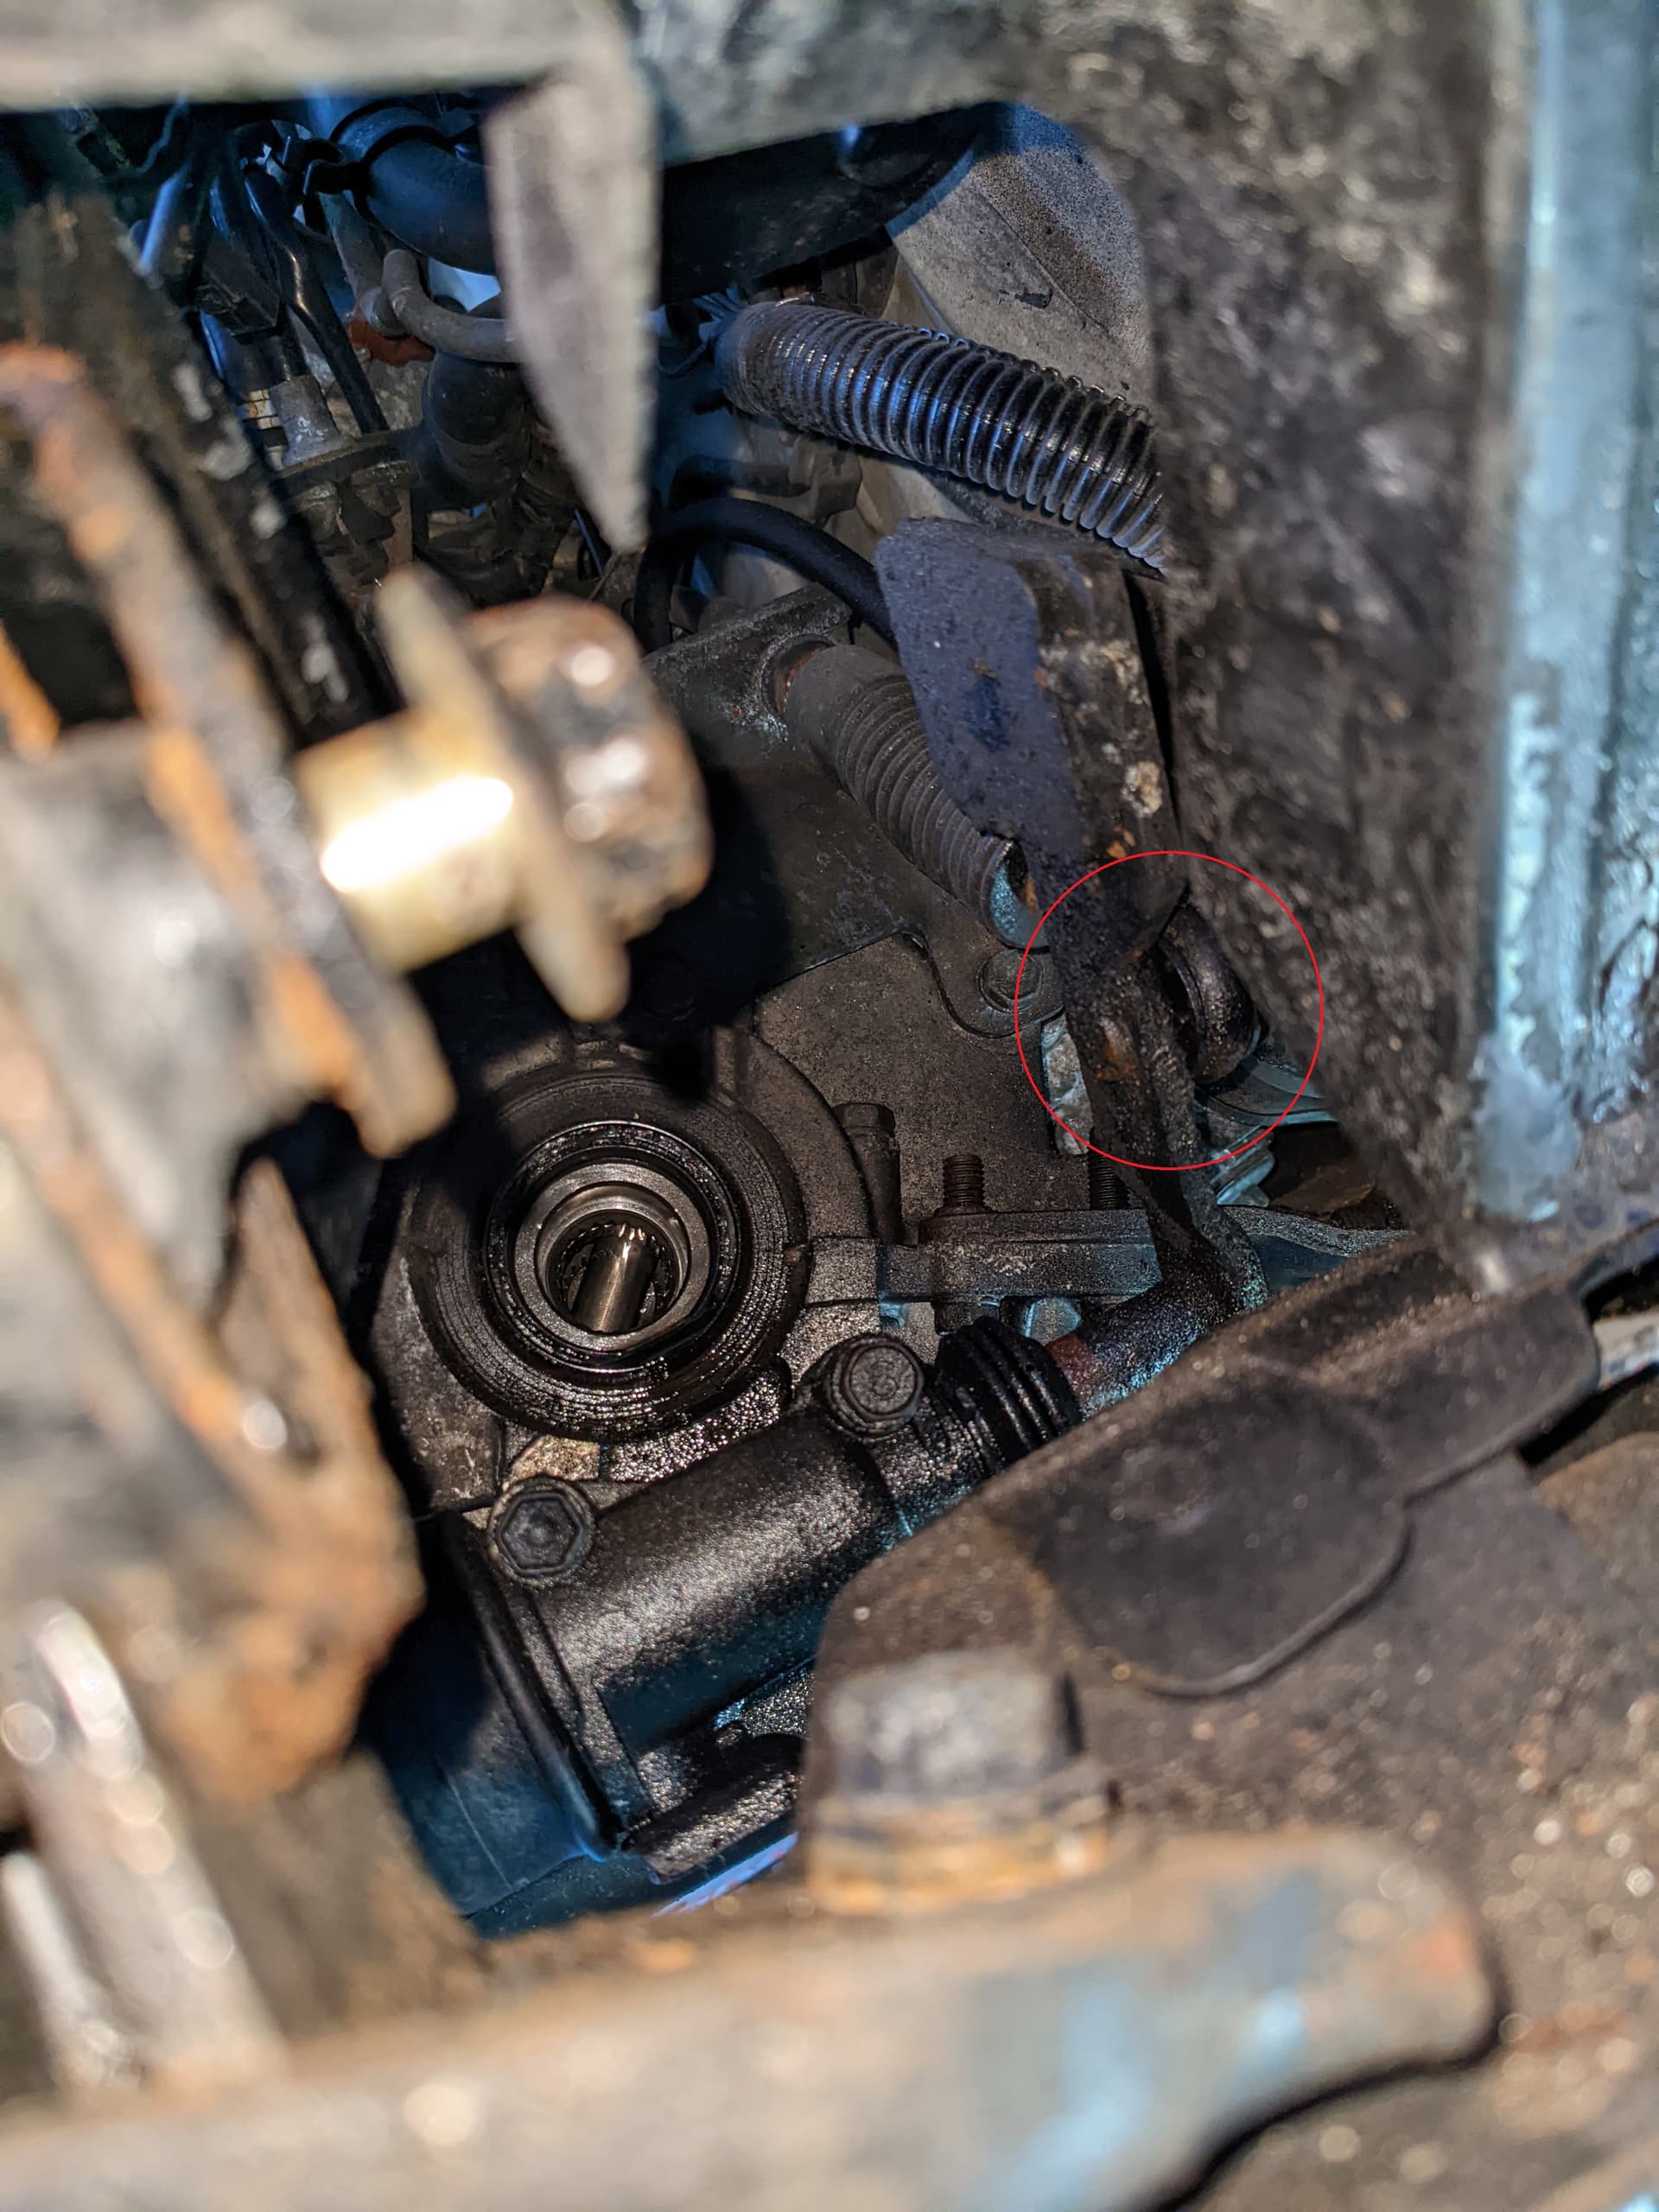
Also, there was a piece on the clutch that when I loosen it, it seems to fly off into…somewhere in the garage. I’m going to have to find it tomorrow with more light, but what is this retaining shroud part called? How screwed am I if I lost it?
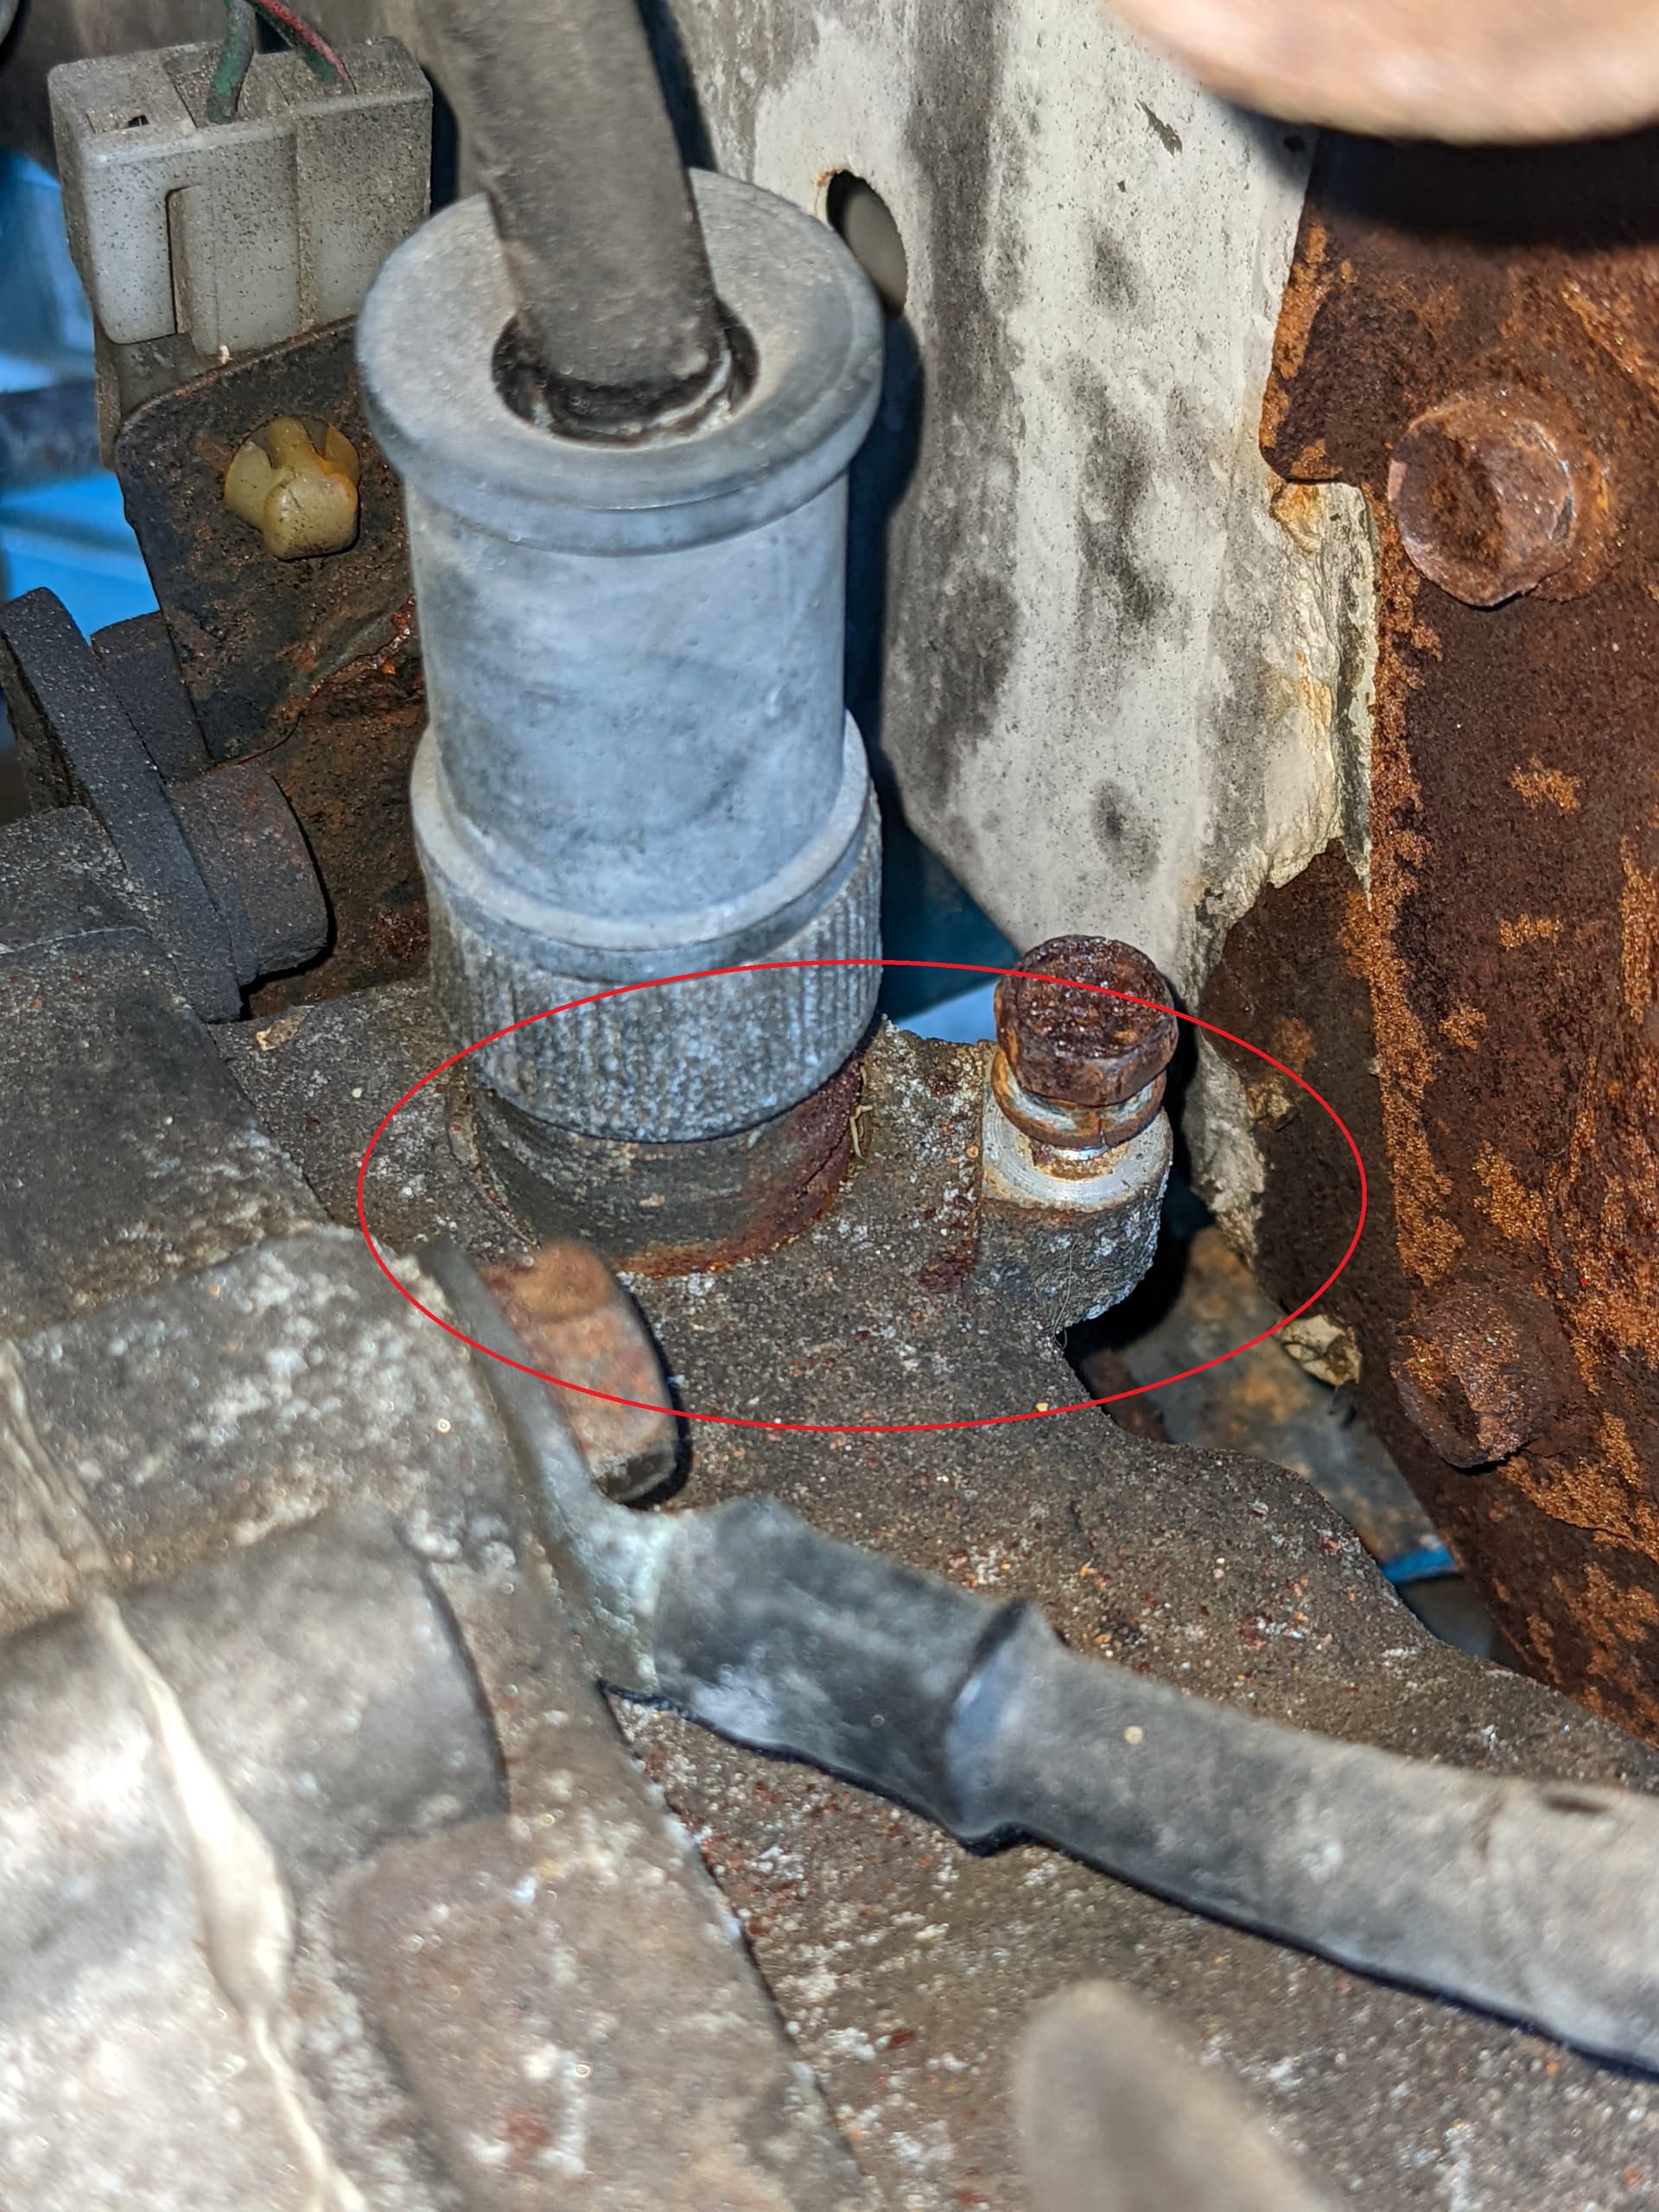
And is this the best way to disconnect here at this point, any reason I shouldn’t or should remove the entire mount?
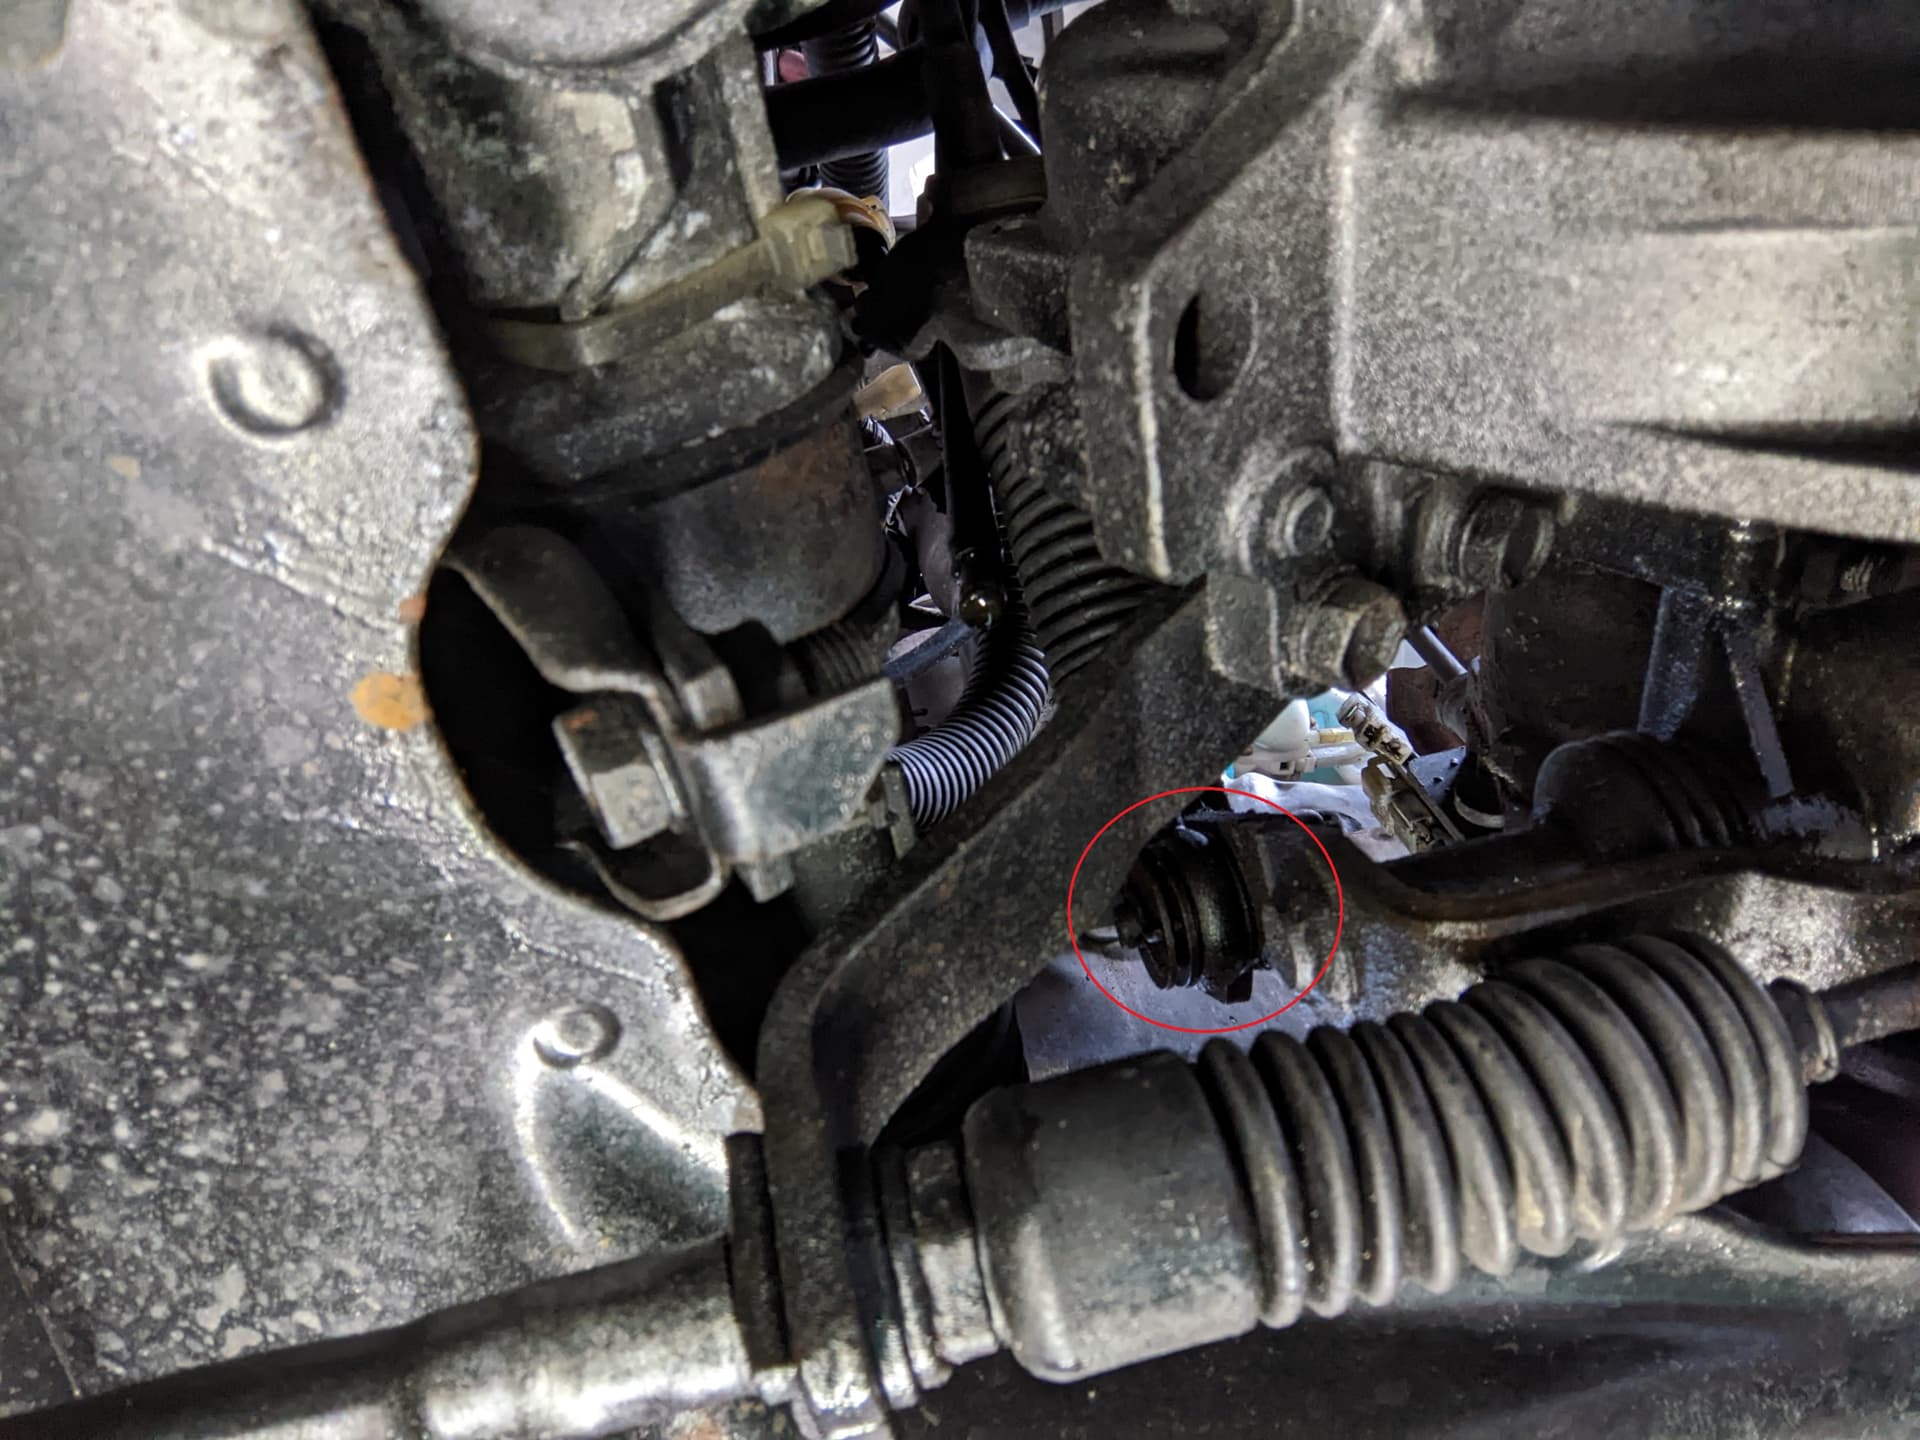
The bolt on the rear firewall motor mount is a pain.
There is also way more chassis rust that I initially saw after pulling the carpet. Bummed about that as it’s going to need work.
1 Like