a pic of the stock tube placement if that helps @evilhighway
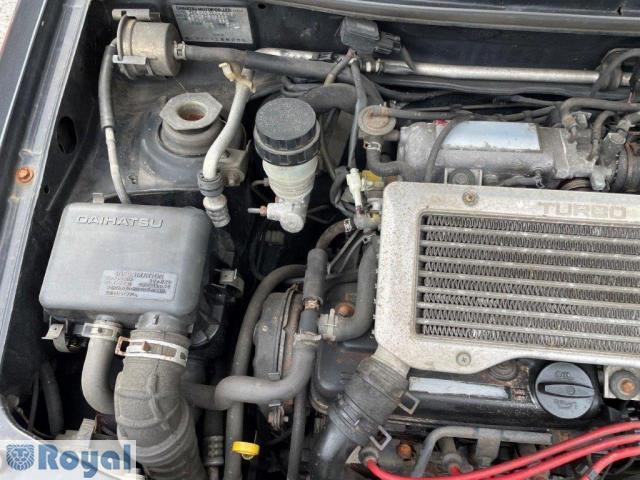
Here are is a better image
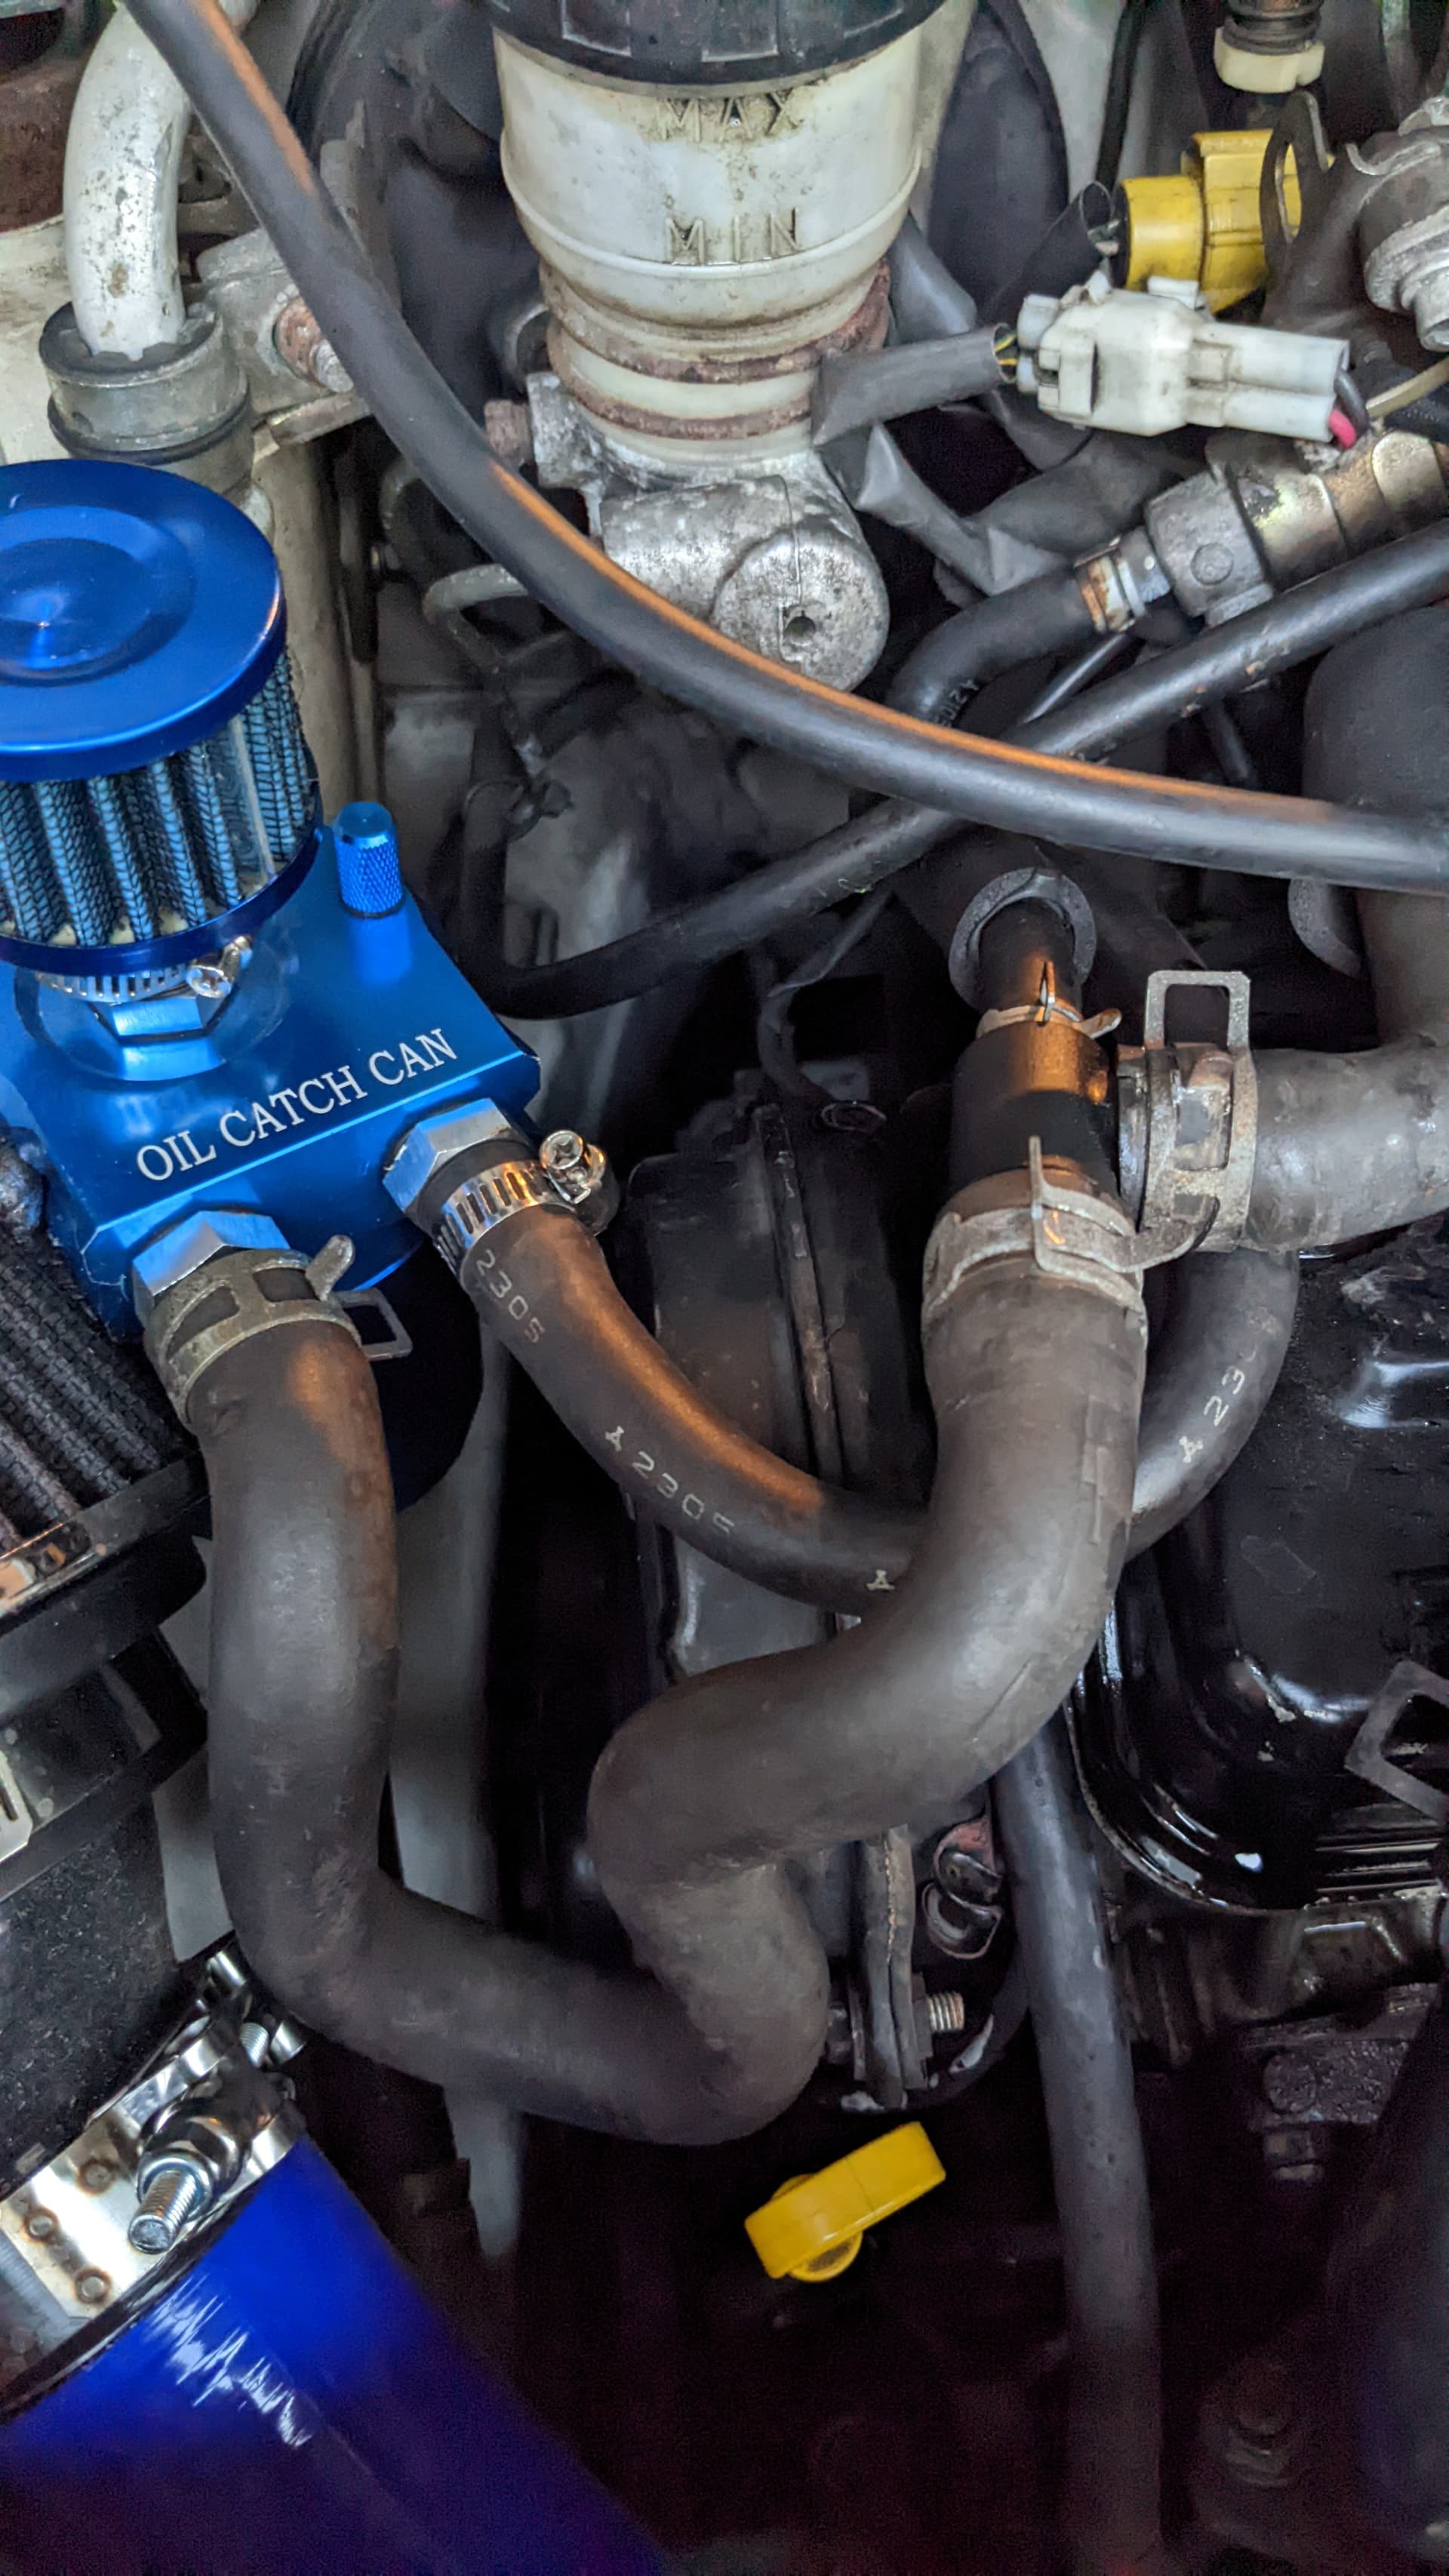
Will be trying to find a better catch can at some point but wanted something cheap and quick locally, hilariously love the labeling.
Also, what is this line, the PCV line? Should that be dumped into the catch can?

Have been driving the car for maybe 1500mi since doing work on it, nothing leaked, everything seemed fine, noticing some valve cover gasket seeping. Recently took it on a 4.5hr trip at highway speeds, it was fine on the way up. Stayed for a few days, drove the 4.5hrs back home, and something is wrong, seems like oil is being blown out of the valve cover. Not sure why, over pressurized? Did I just trash the motor and I’m just seeing insane blowby and it’s causing the pressure to jump?
Am I inadvertently over pressurizing the motor or have a clogged vent somewhere? Does it have something to do with my catch can routing?
Doesn’t look great, see below, I hope I’m not looking at a leak down test in the near future:, it seemed fine before:
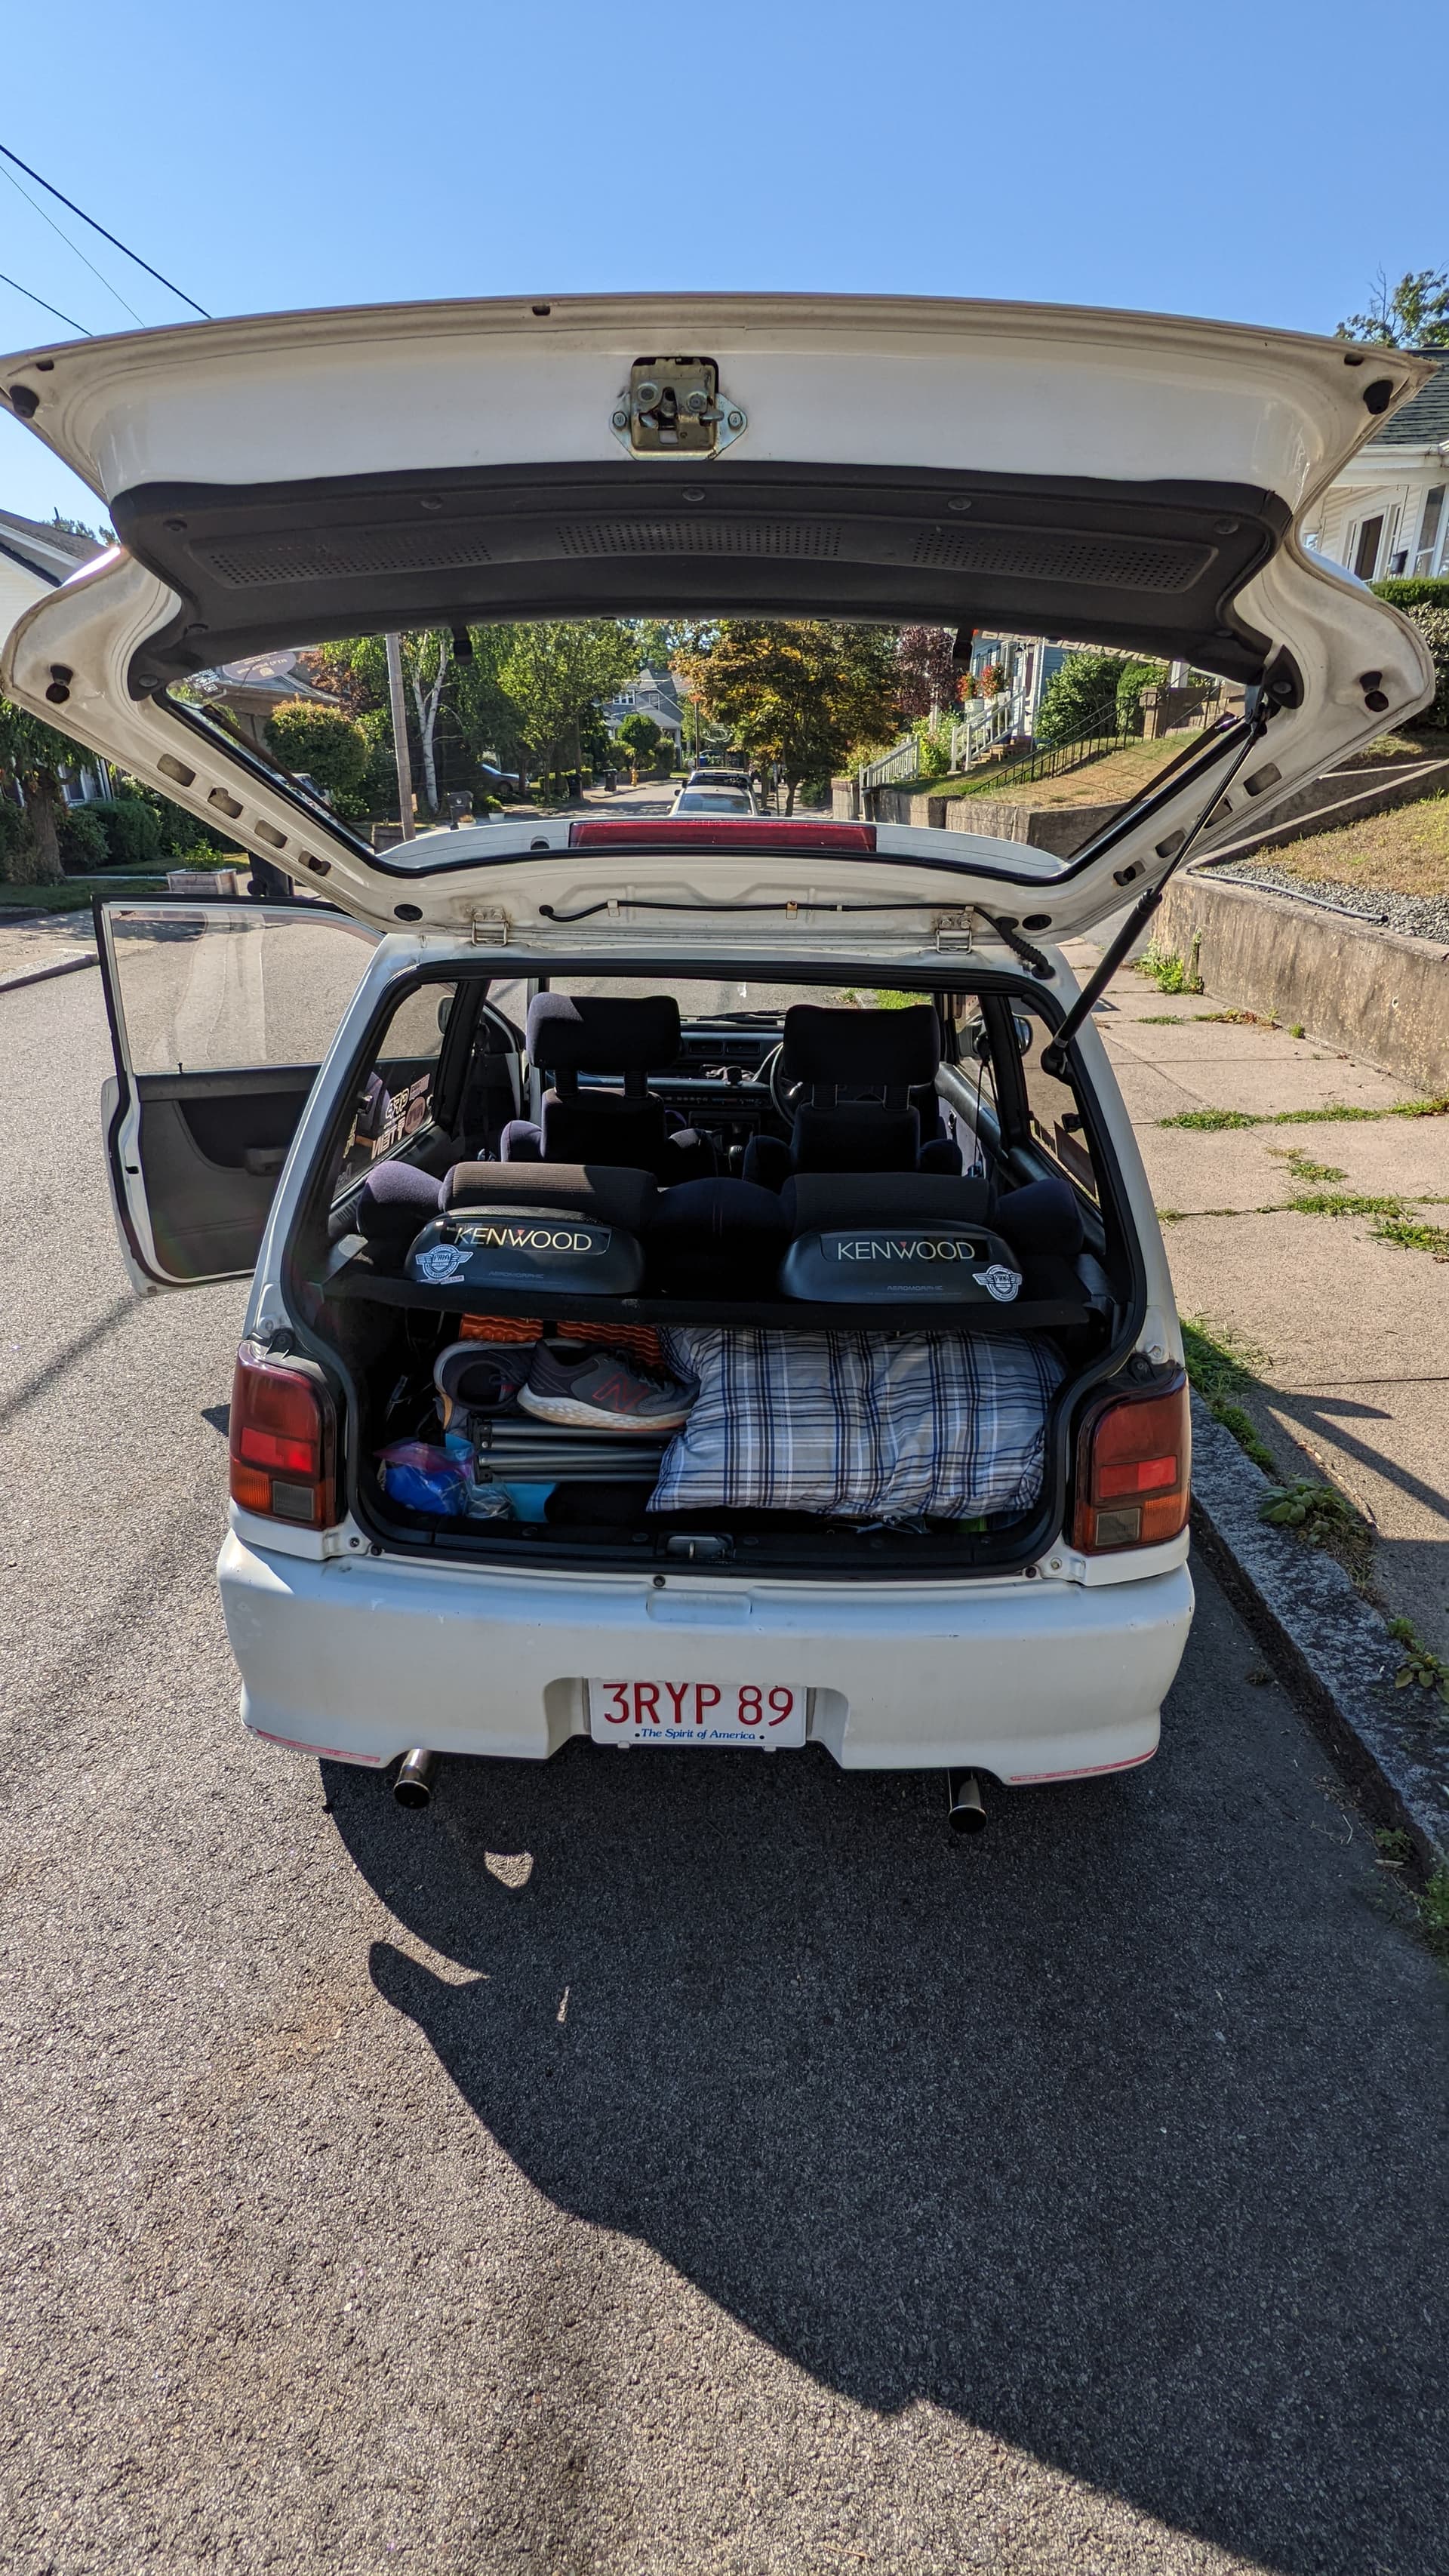
Trip:


4 Likes
thats some great pics of the car meet man. I do have a secret porsche love also lol.
Your pipng to the catch can looks fine I take it the skinny one is from the block at the back. For the one off the intake, just route that to the catch can also.
With the rocker cover gasket if you want to see if it is that then just get some gasket/ silicone stuff on it once you take it off and also the seals where you tighten it down and put it back on. May save you buying another seal if its not needed.
While that is off though if you are worried about blowby or crankcase pressurizing then make the breather in the rocker cover bigger. When I had my franken build I drilled a bigger hole and used the right-sized brass fittings with Locktight ofcoarse so the nut was secure inside and routed the breather to the catch can.
Before that I had bad pressure in the crank case. On a track day I had to empty the catch can after every time out on track as it just filled the catch can to the limit after giving the car a good flogging. ![]()
![]()
3 Likes
ooooohhhhh IT COULD BE JUST YOUR OIL CAP SEAL! They have a tendency of leaking.
Sorry I forgot this possible easy location all the oil could be coming from. An easy way to fix it is get a thin piece of rubber cut to size and put it in between the cap and the current rubber cap seal.
3 Likes
[quote=“turbolover, post:142, topic:3553”]…seems like oil is being blown out of the valve cover. Not sure why…[/quote]I had the same problem with a gasket of which I blindly bought out of the internet. Its circumference was so small that it had to be stretched like a rubber band, before it would even sit. It didn’t start leaking, until I went on holiday/vacation with it. Luckilly, I had with me enough of a tool variety ready, so that I could continually torque down the valve cover.
Upon returning, I simply removed the cover and grommets and then sealed each one with silicone. The only leak left after that was from the cap. I ended up sealing that with silicone and now use a syringe for adding oil.
Those grommets, of which are supposed to seal the mounting holes, will get brittle with time. Therefore, it would make little sense in not replacing them, simultaneous to replacing the cover gasket
Hi, the hose you were referring to is for the blow off valve dump. If you disconnect it you can hear the air being released whenever you close throttle after acceleration. Its best to put it to intake side. Putting it onto the pcv could cause pressure build up in the crankcase. Or you could just vent it to air if you want the blow off sound.
1 Like
It’'s been a while, some updates. Warning, image heavy update.
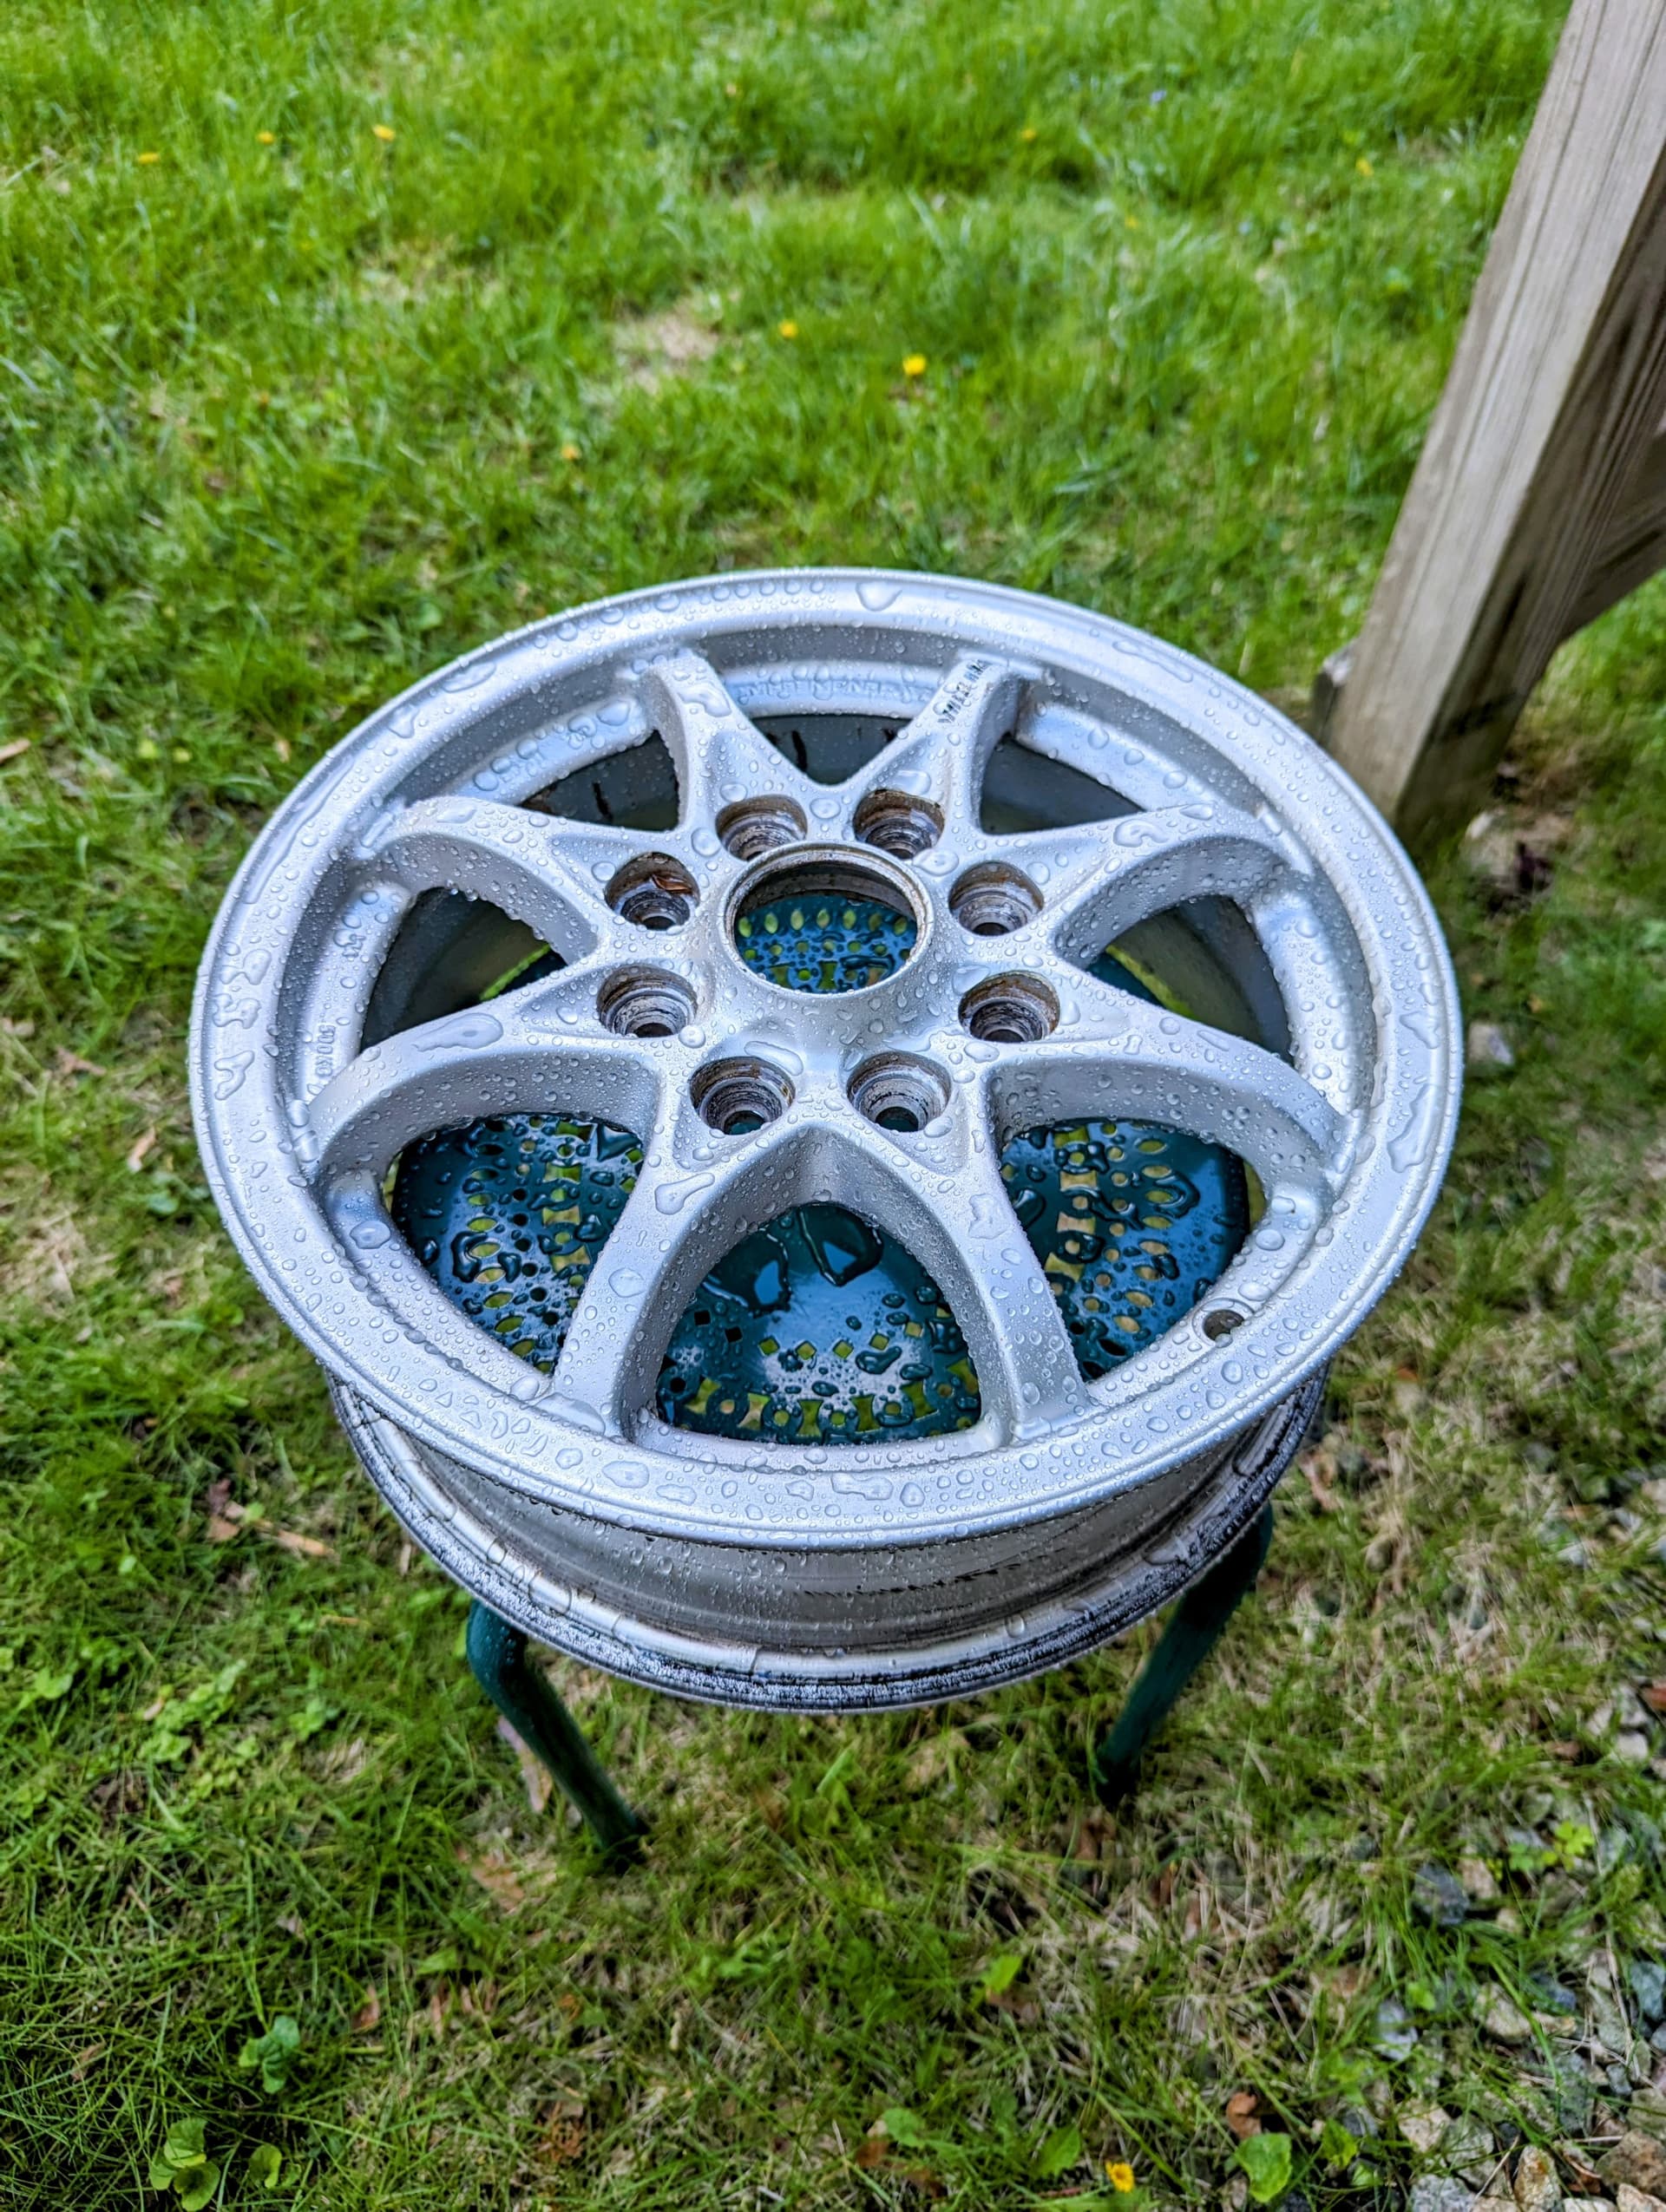
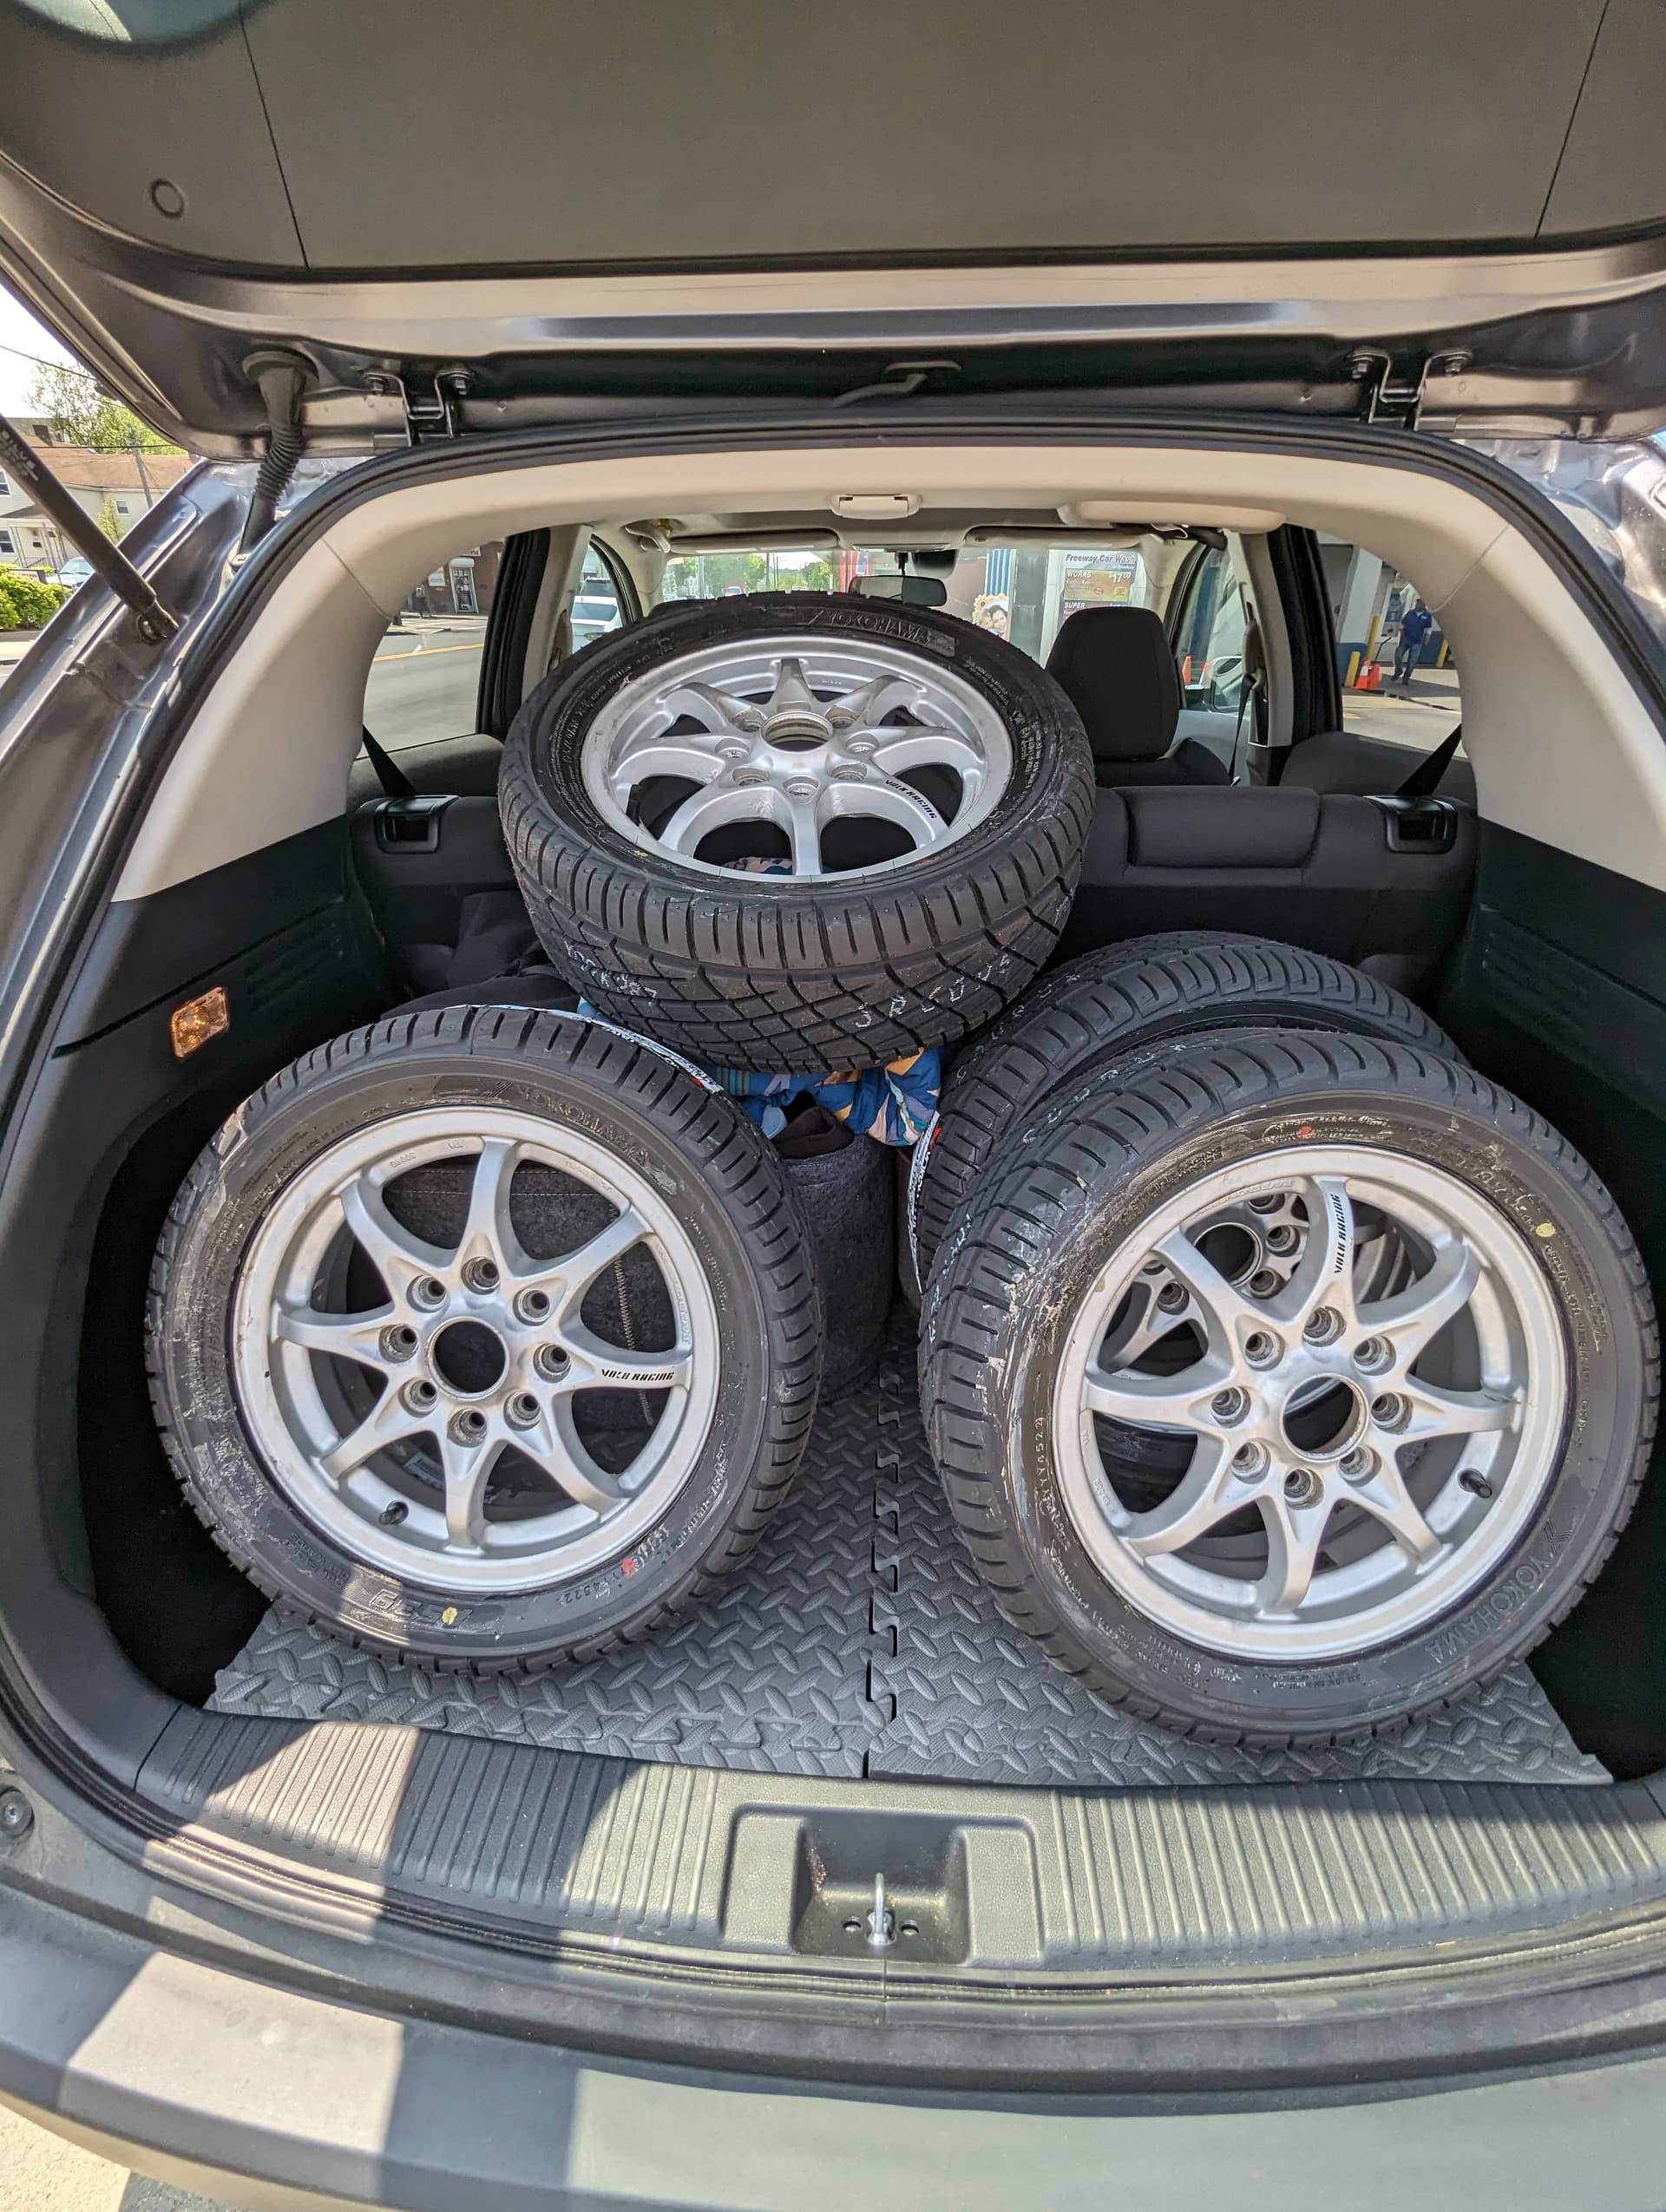
Manged to find a full set of 13" RAYS Engineering Volk Racing GR-Ns on Buyee in decent shape with OEM stickers and everything, wheels were around $276 USD for all 4, shipping was another $300, I think I still got a good deal, fitment is perfect as well.
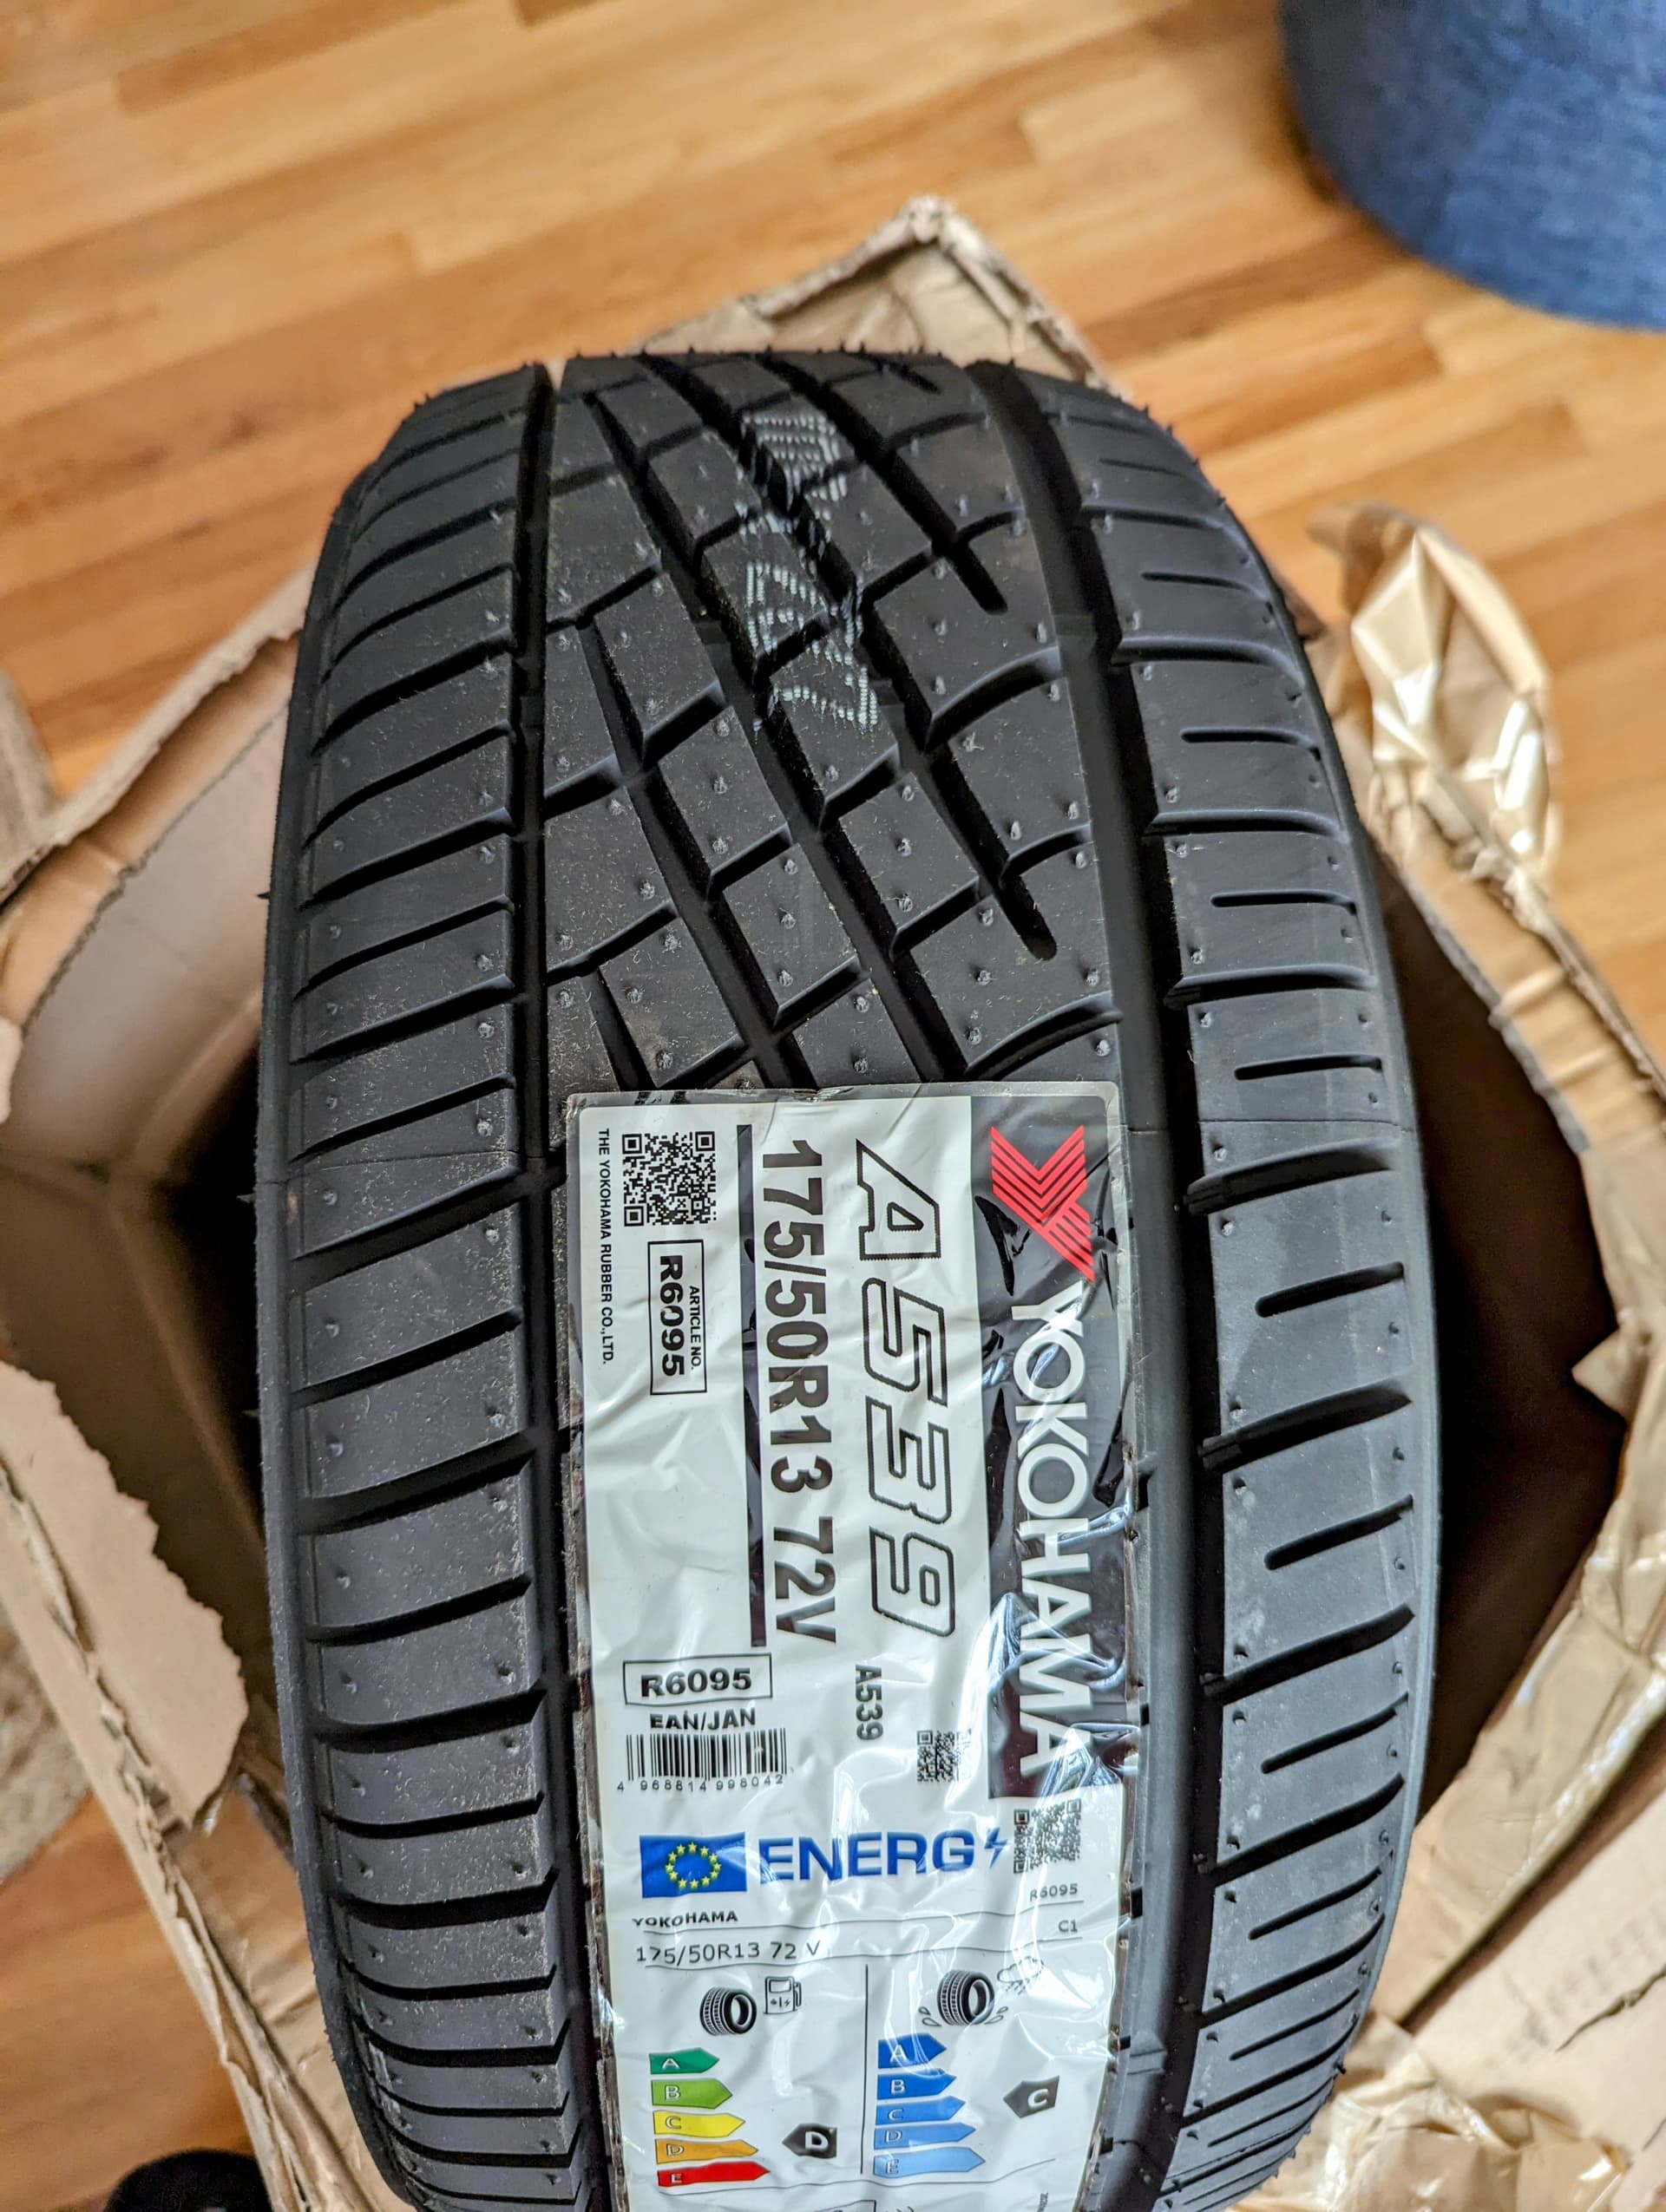
Grabbed a second set of tires of of MiniSportUSA, Yokohama A539s in 175/50 R13, great looking tread and feels way stickier so far.


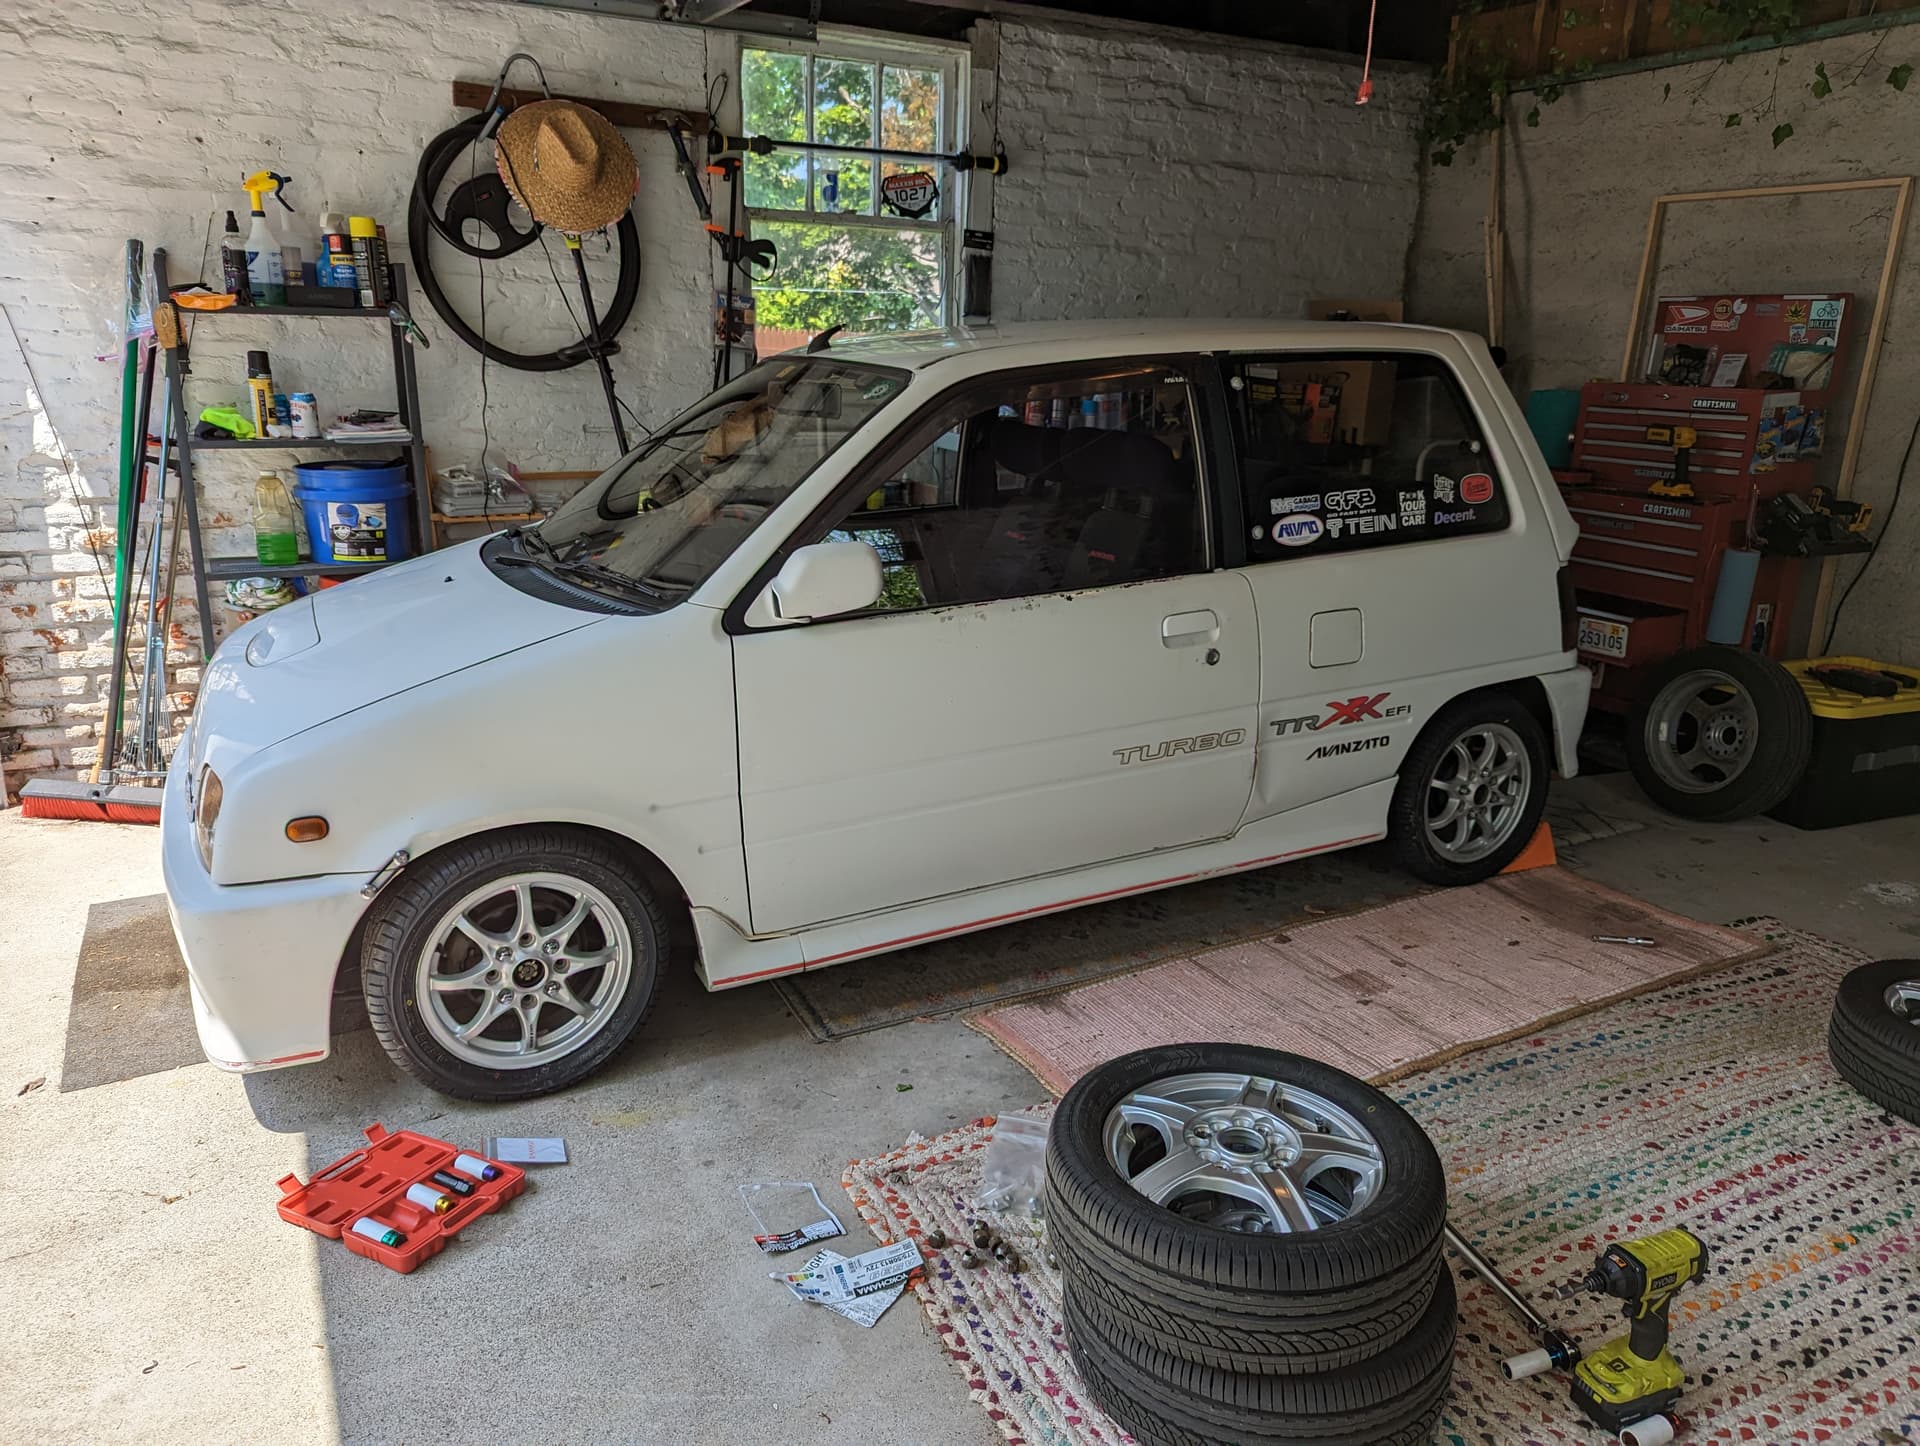
The OEM Daihatsu flat bottom wheel did not leave my knees much space, and the 320mm Personal wheel was still slightly too large. I found a MOMO 300mm wheel that fit perfectly. Disappointed they seem to have gone to a multiple piece leather cover but it’s still nice.
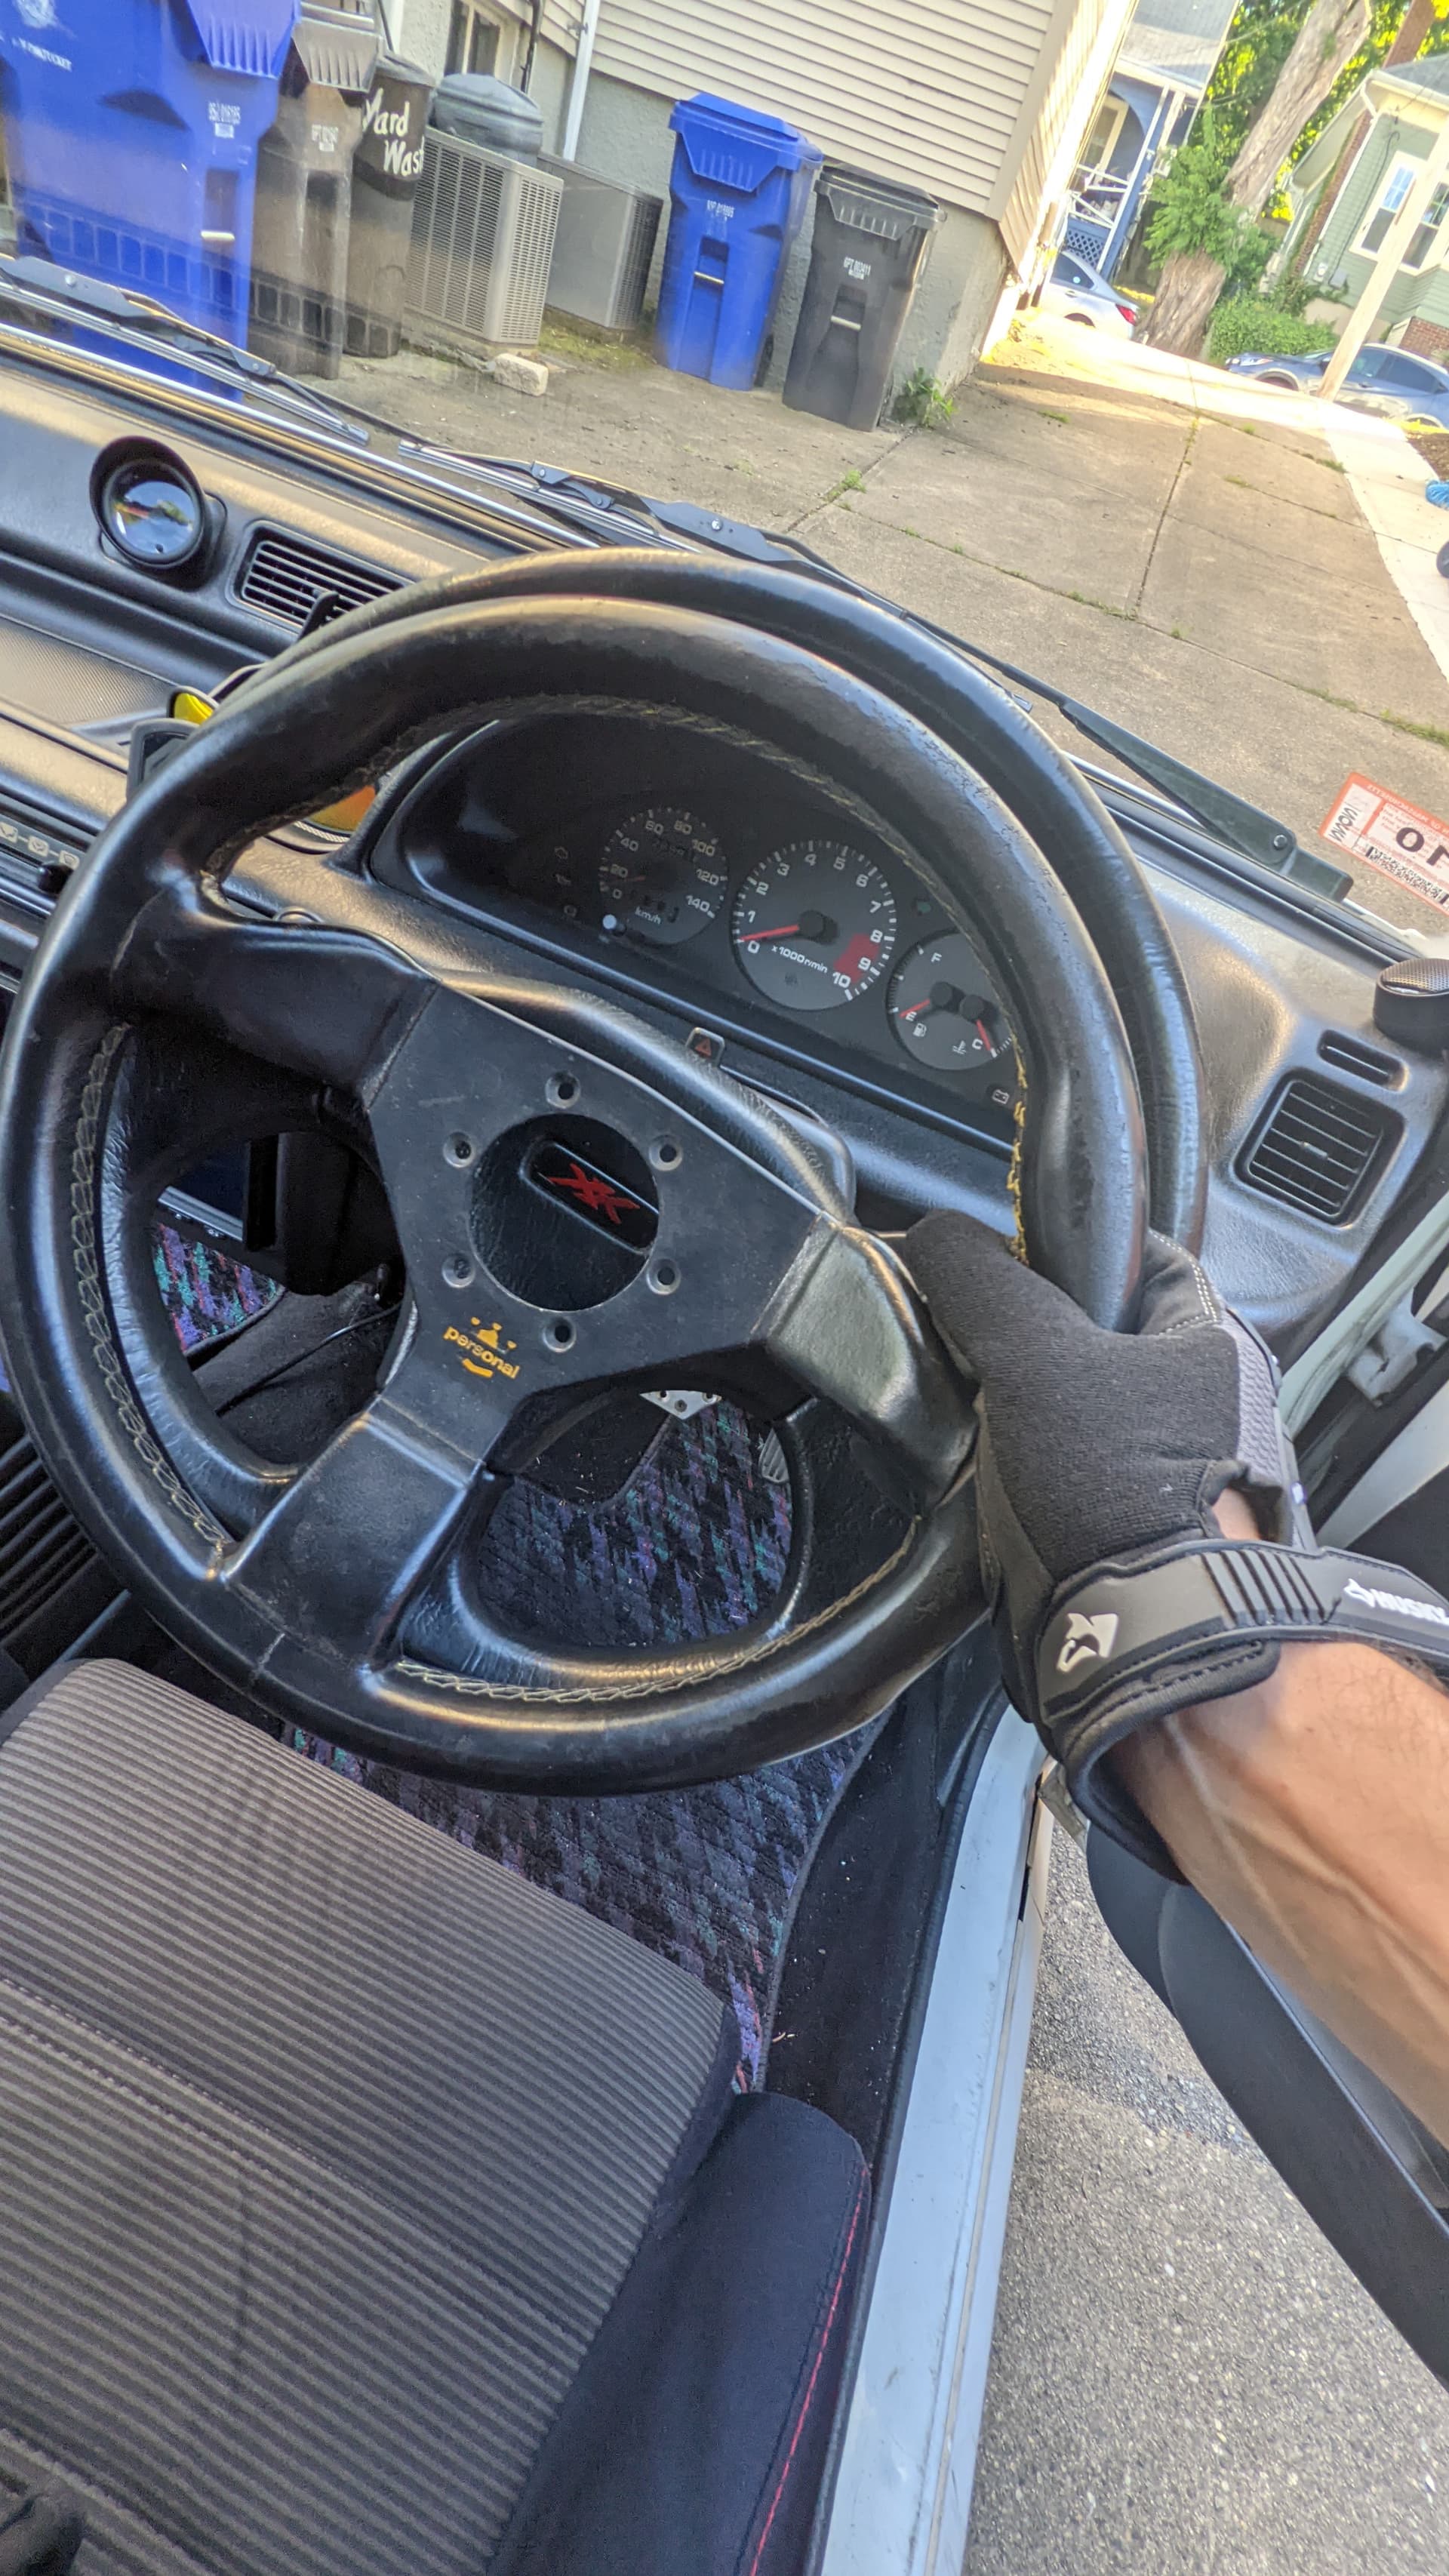
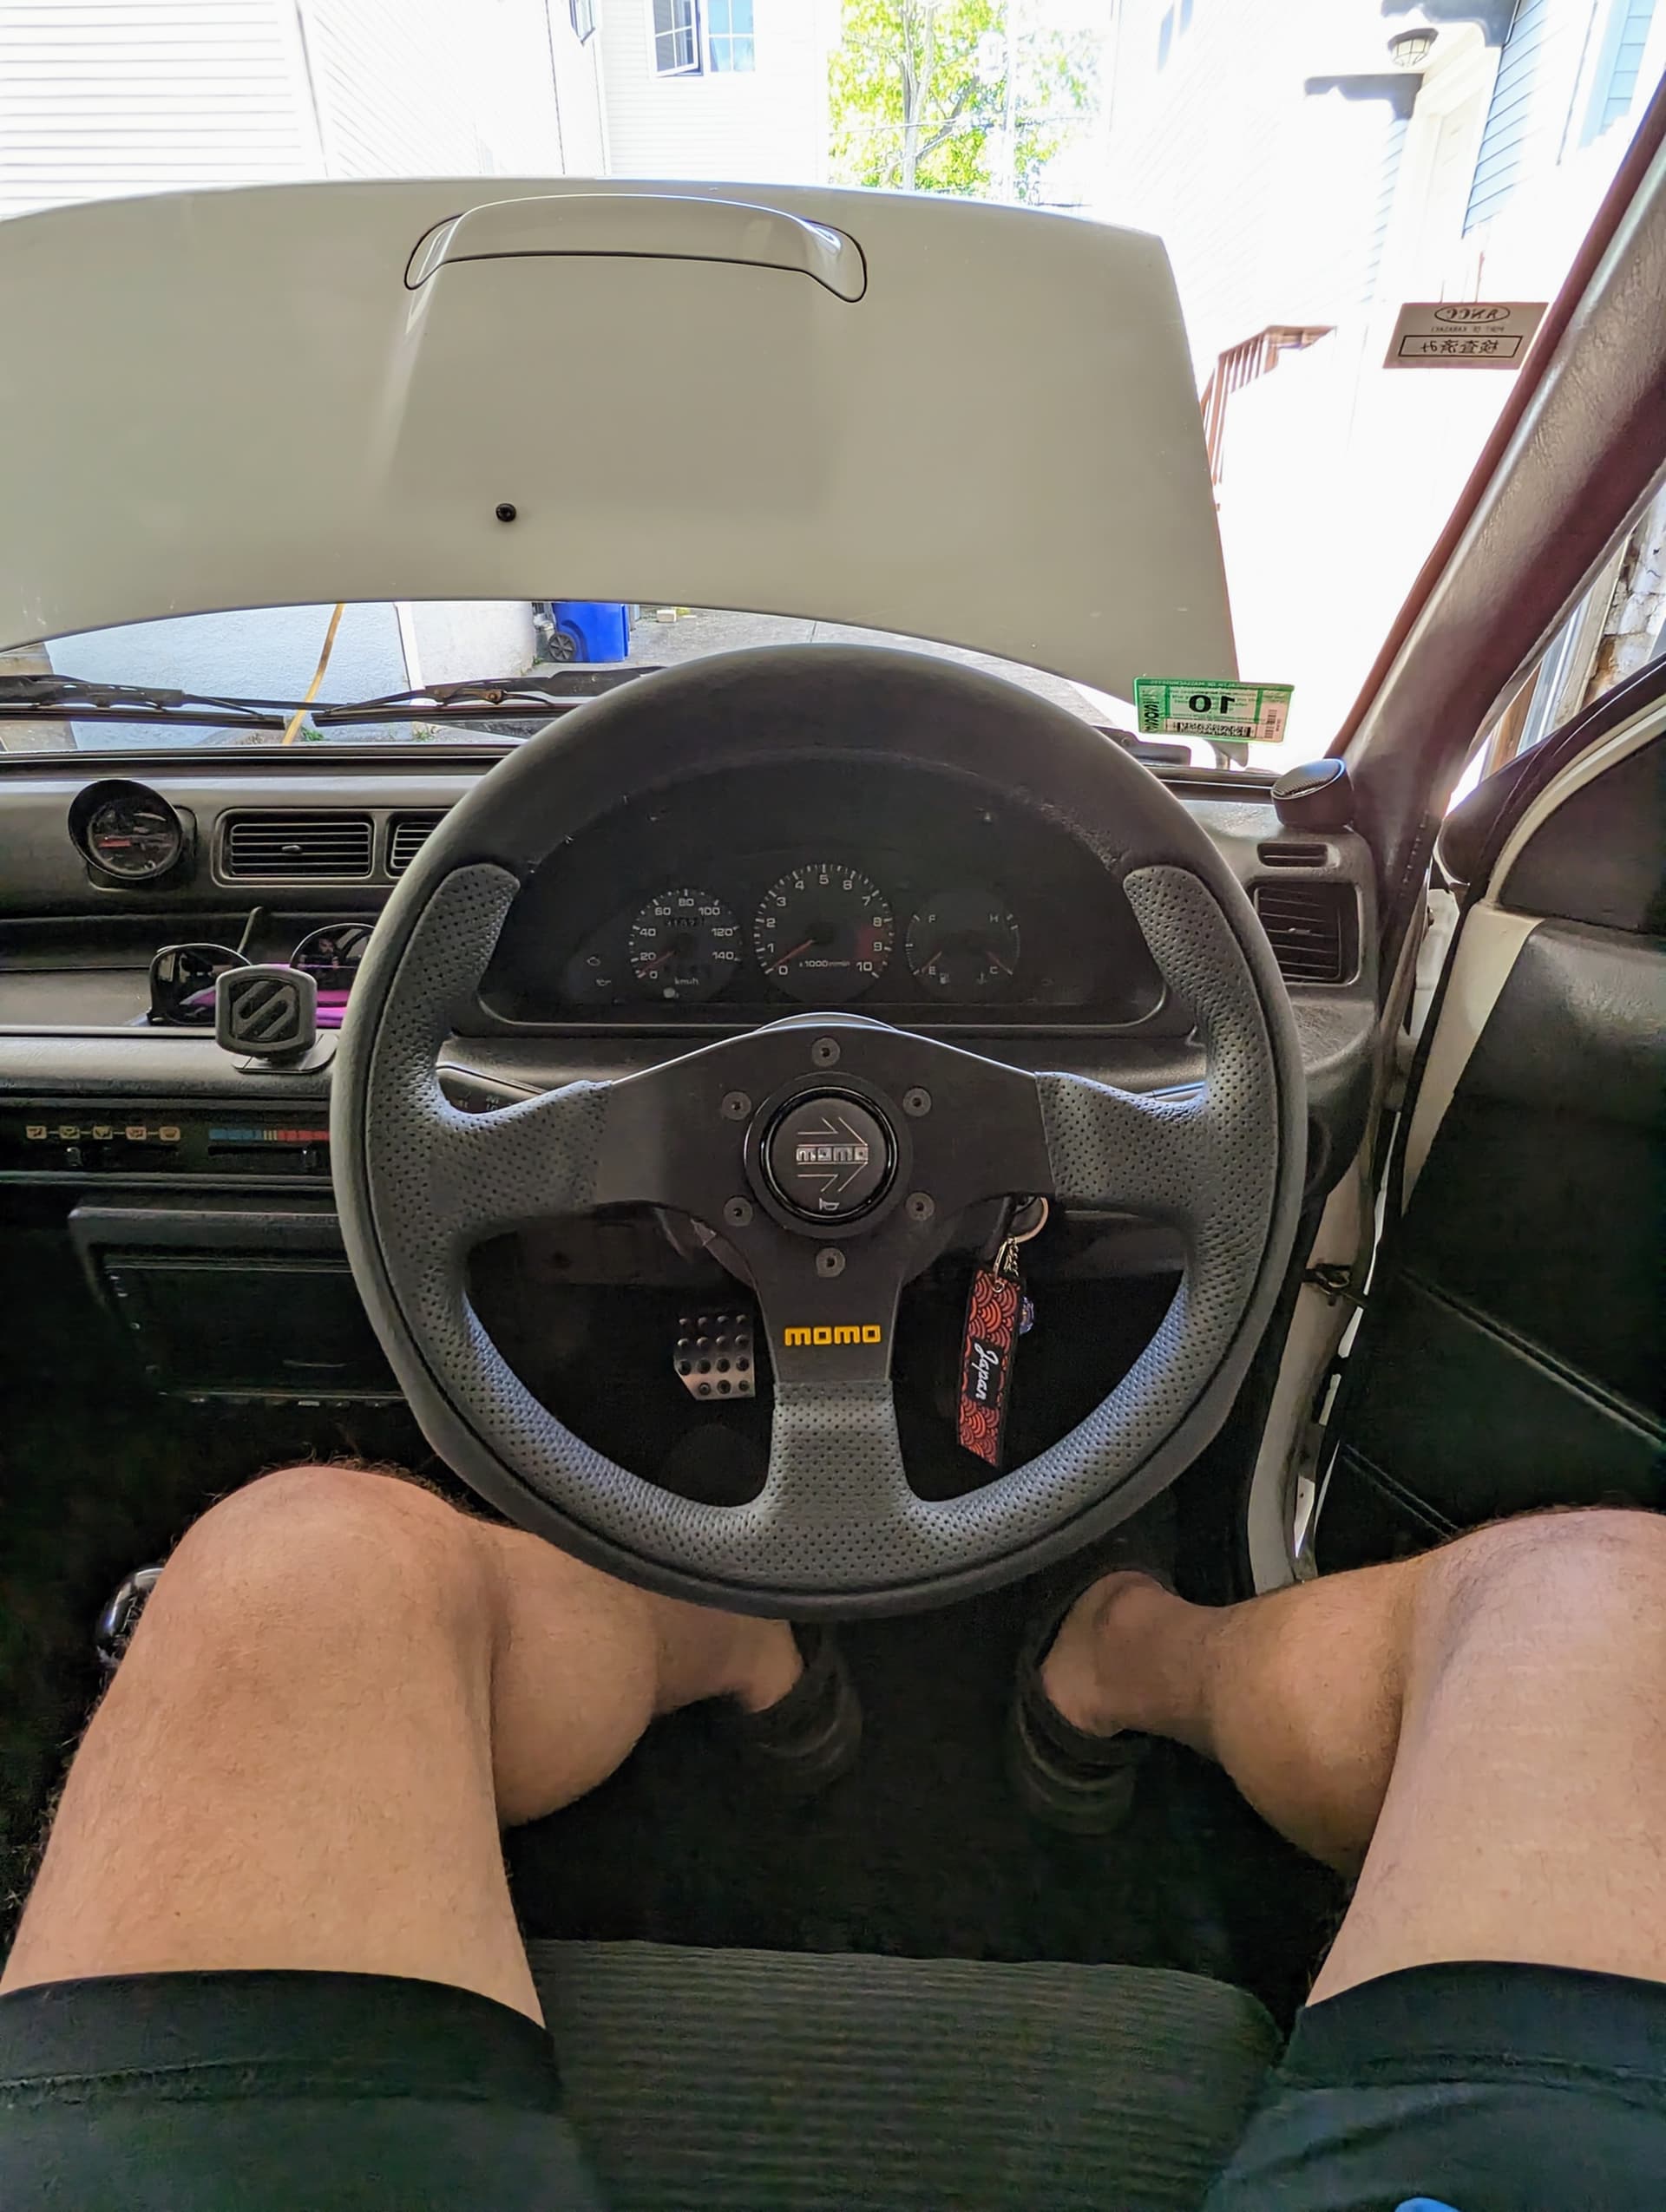


Kind of liked the aesthetic and look the Personal had, but this is nicer.
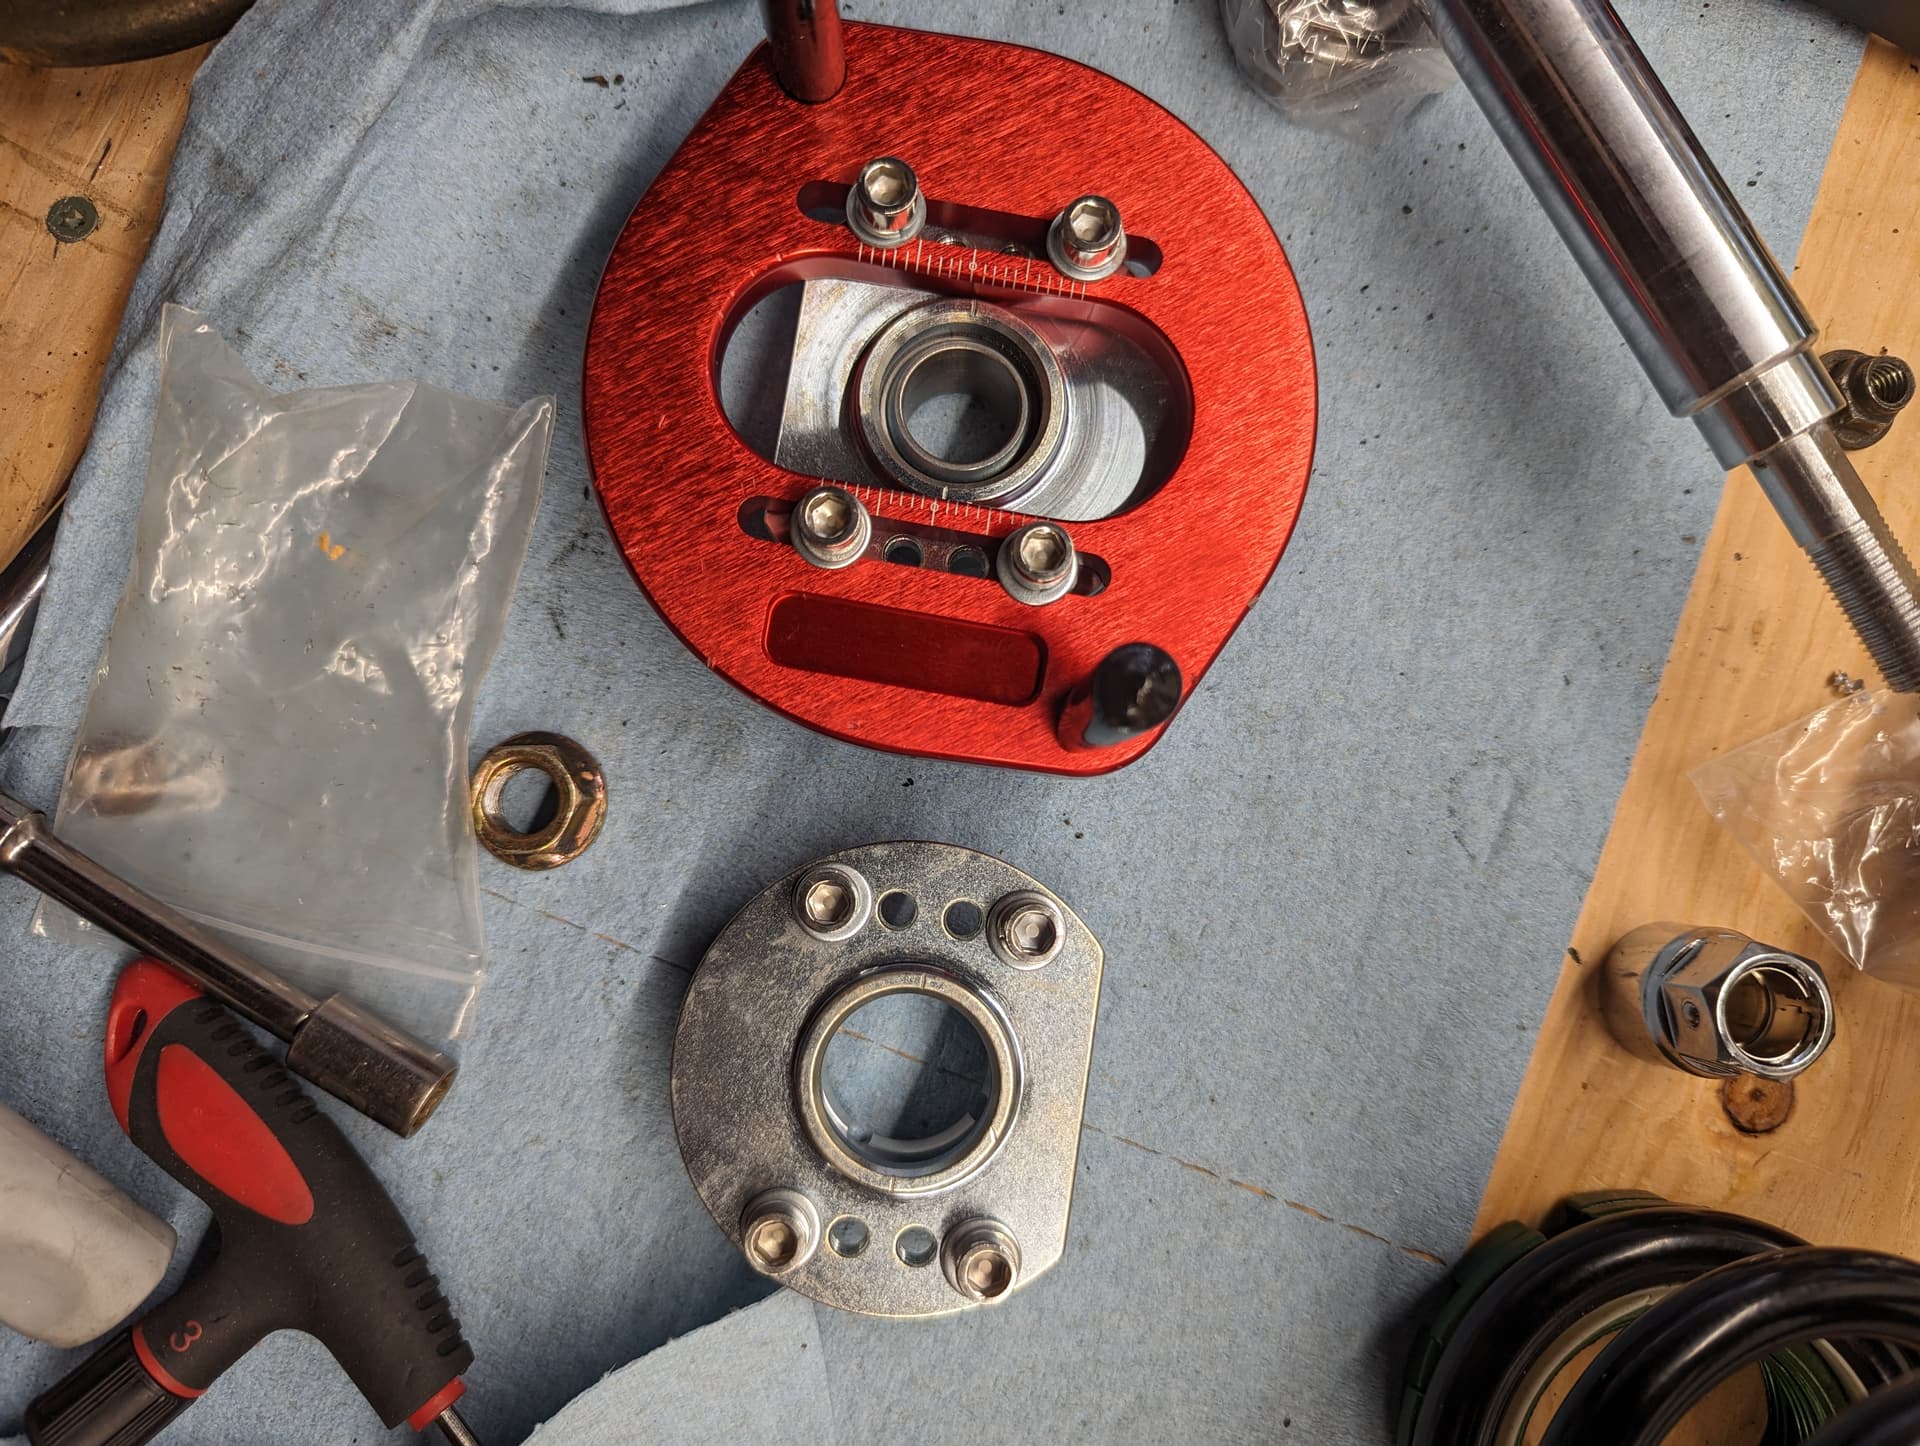
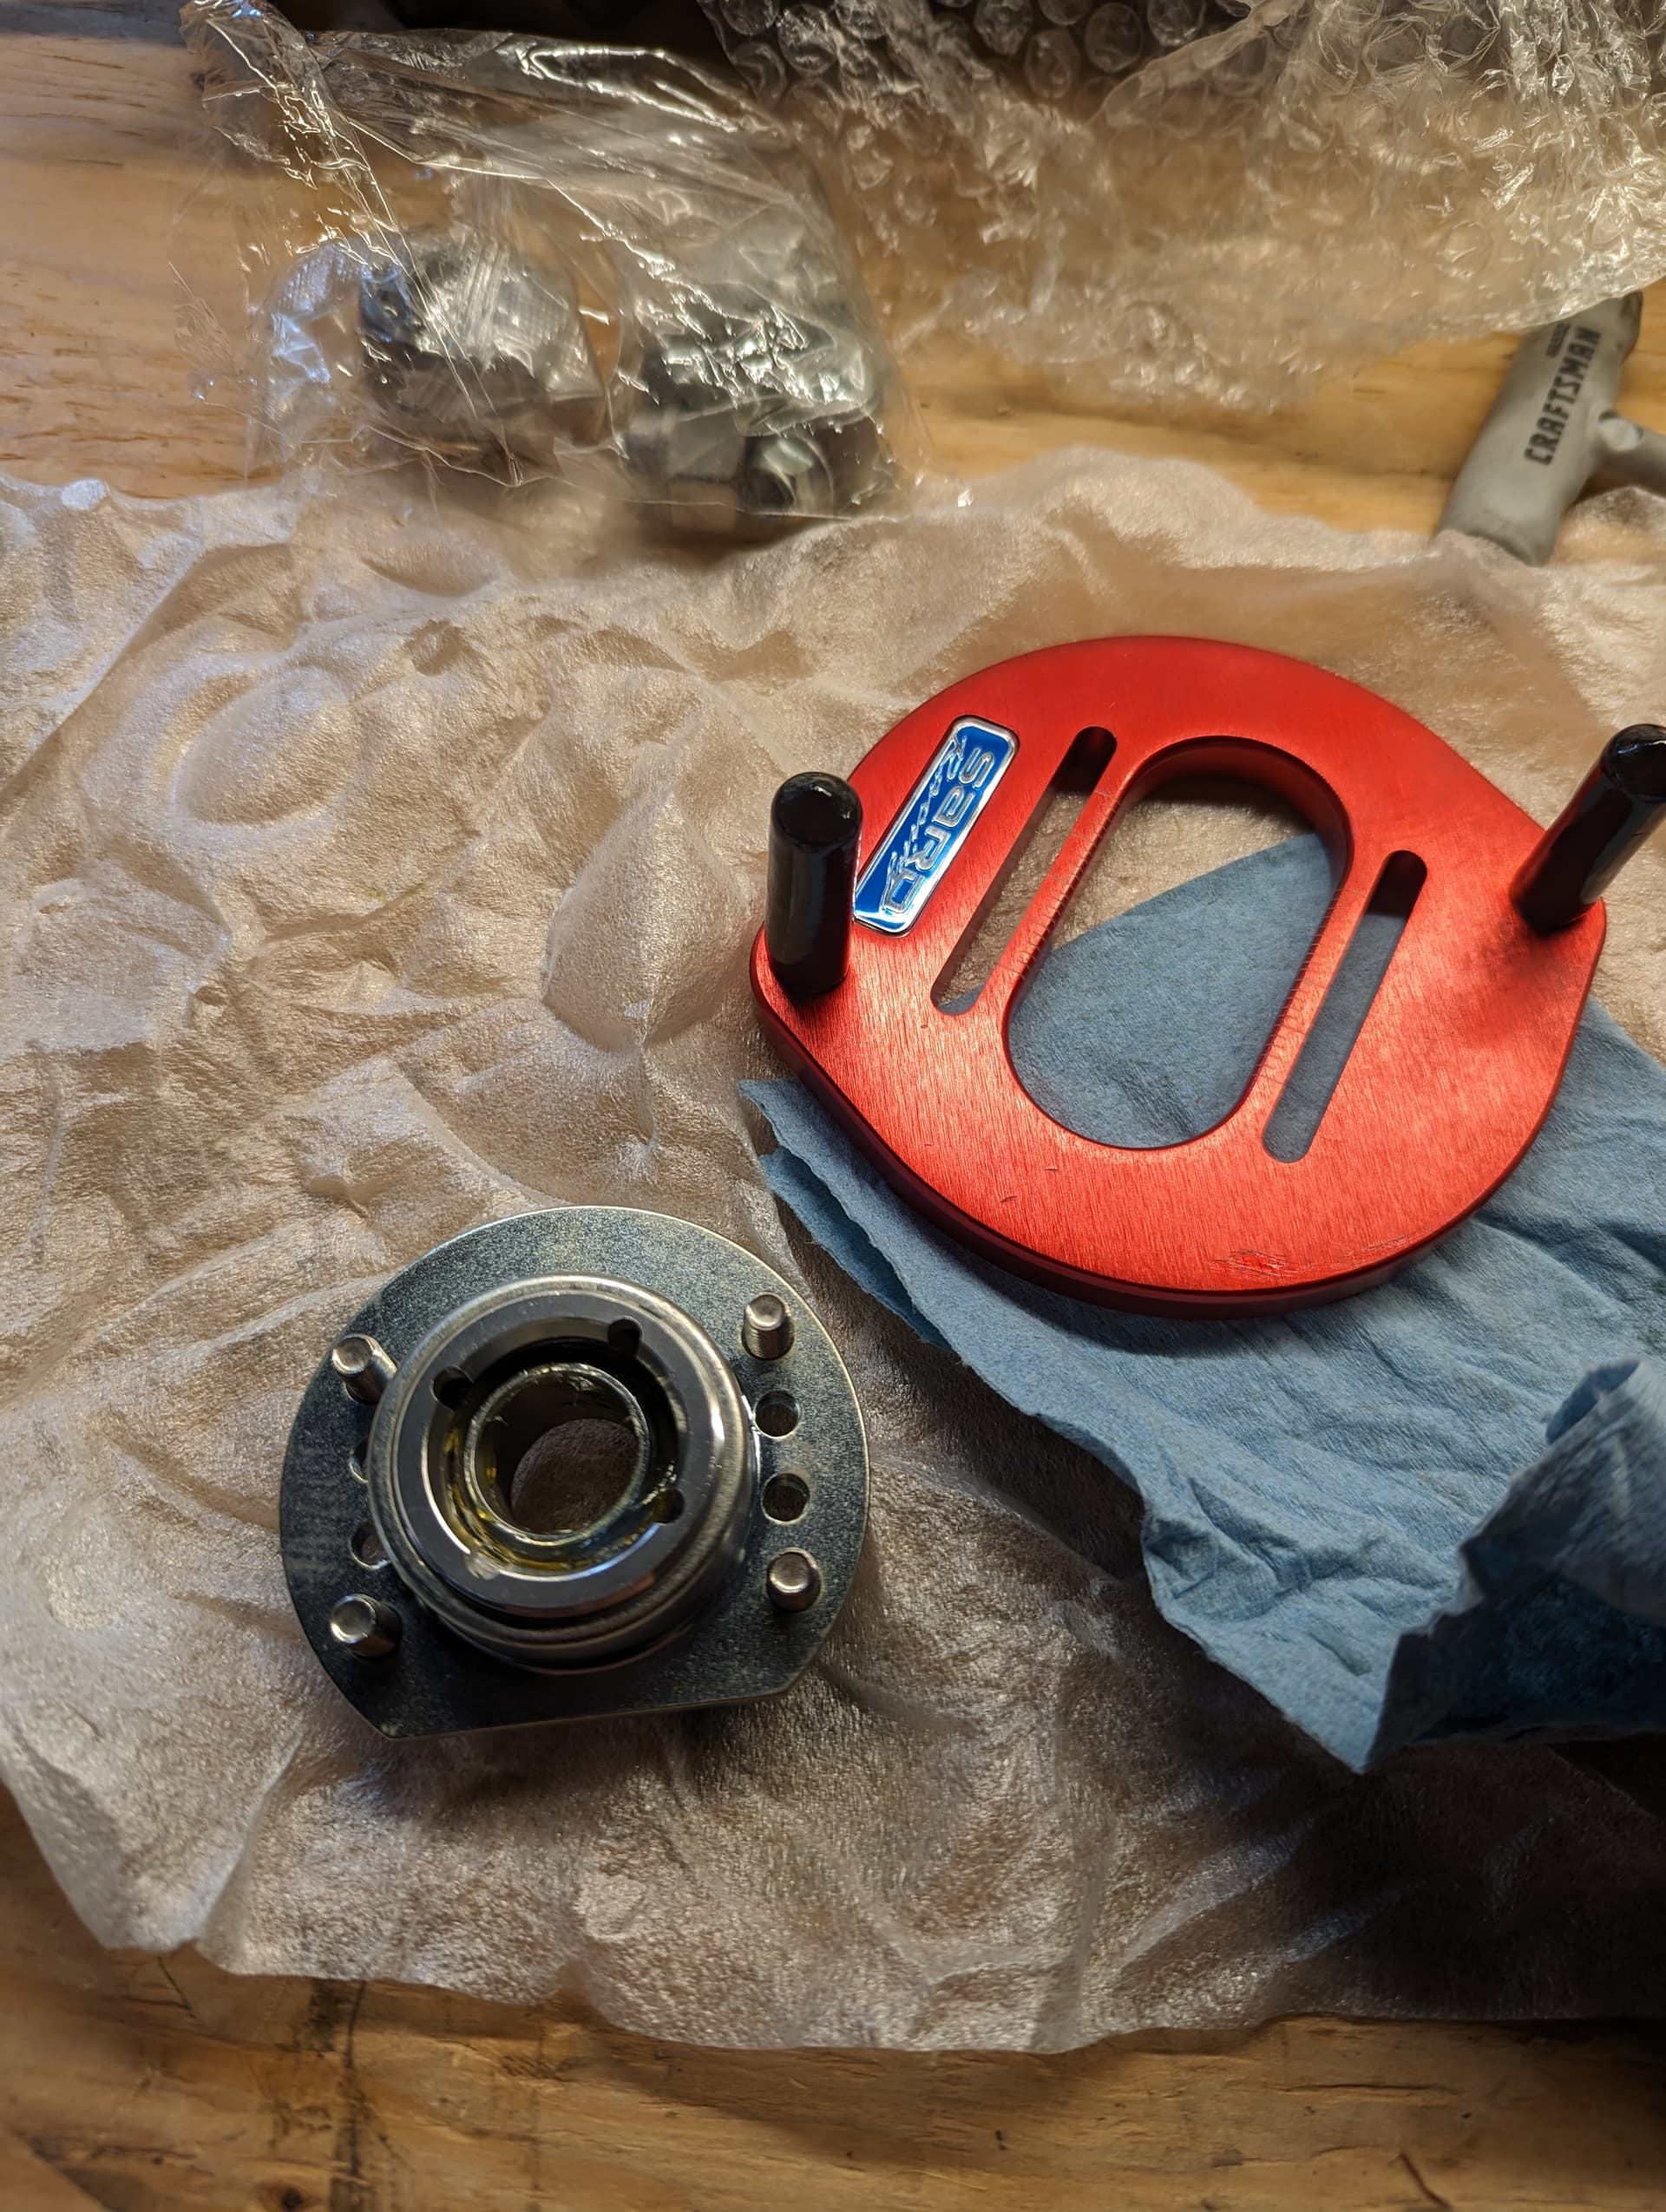
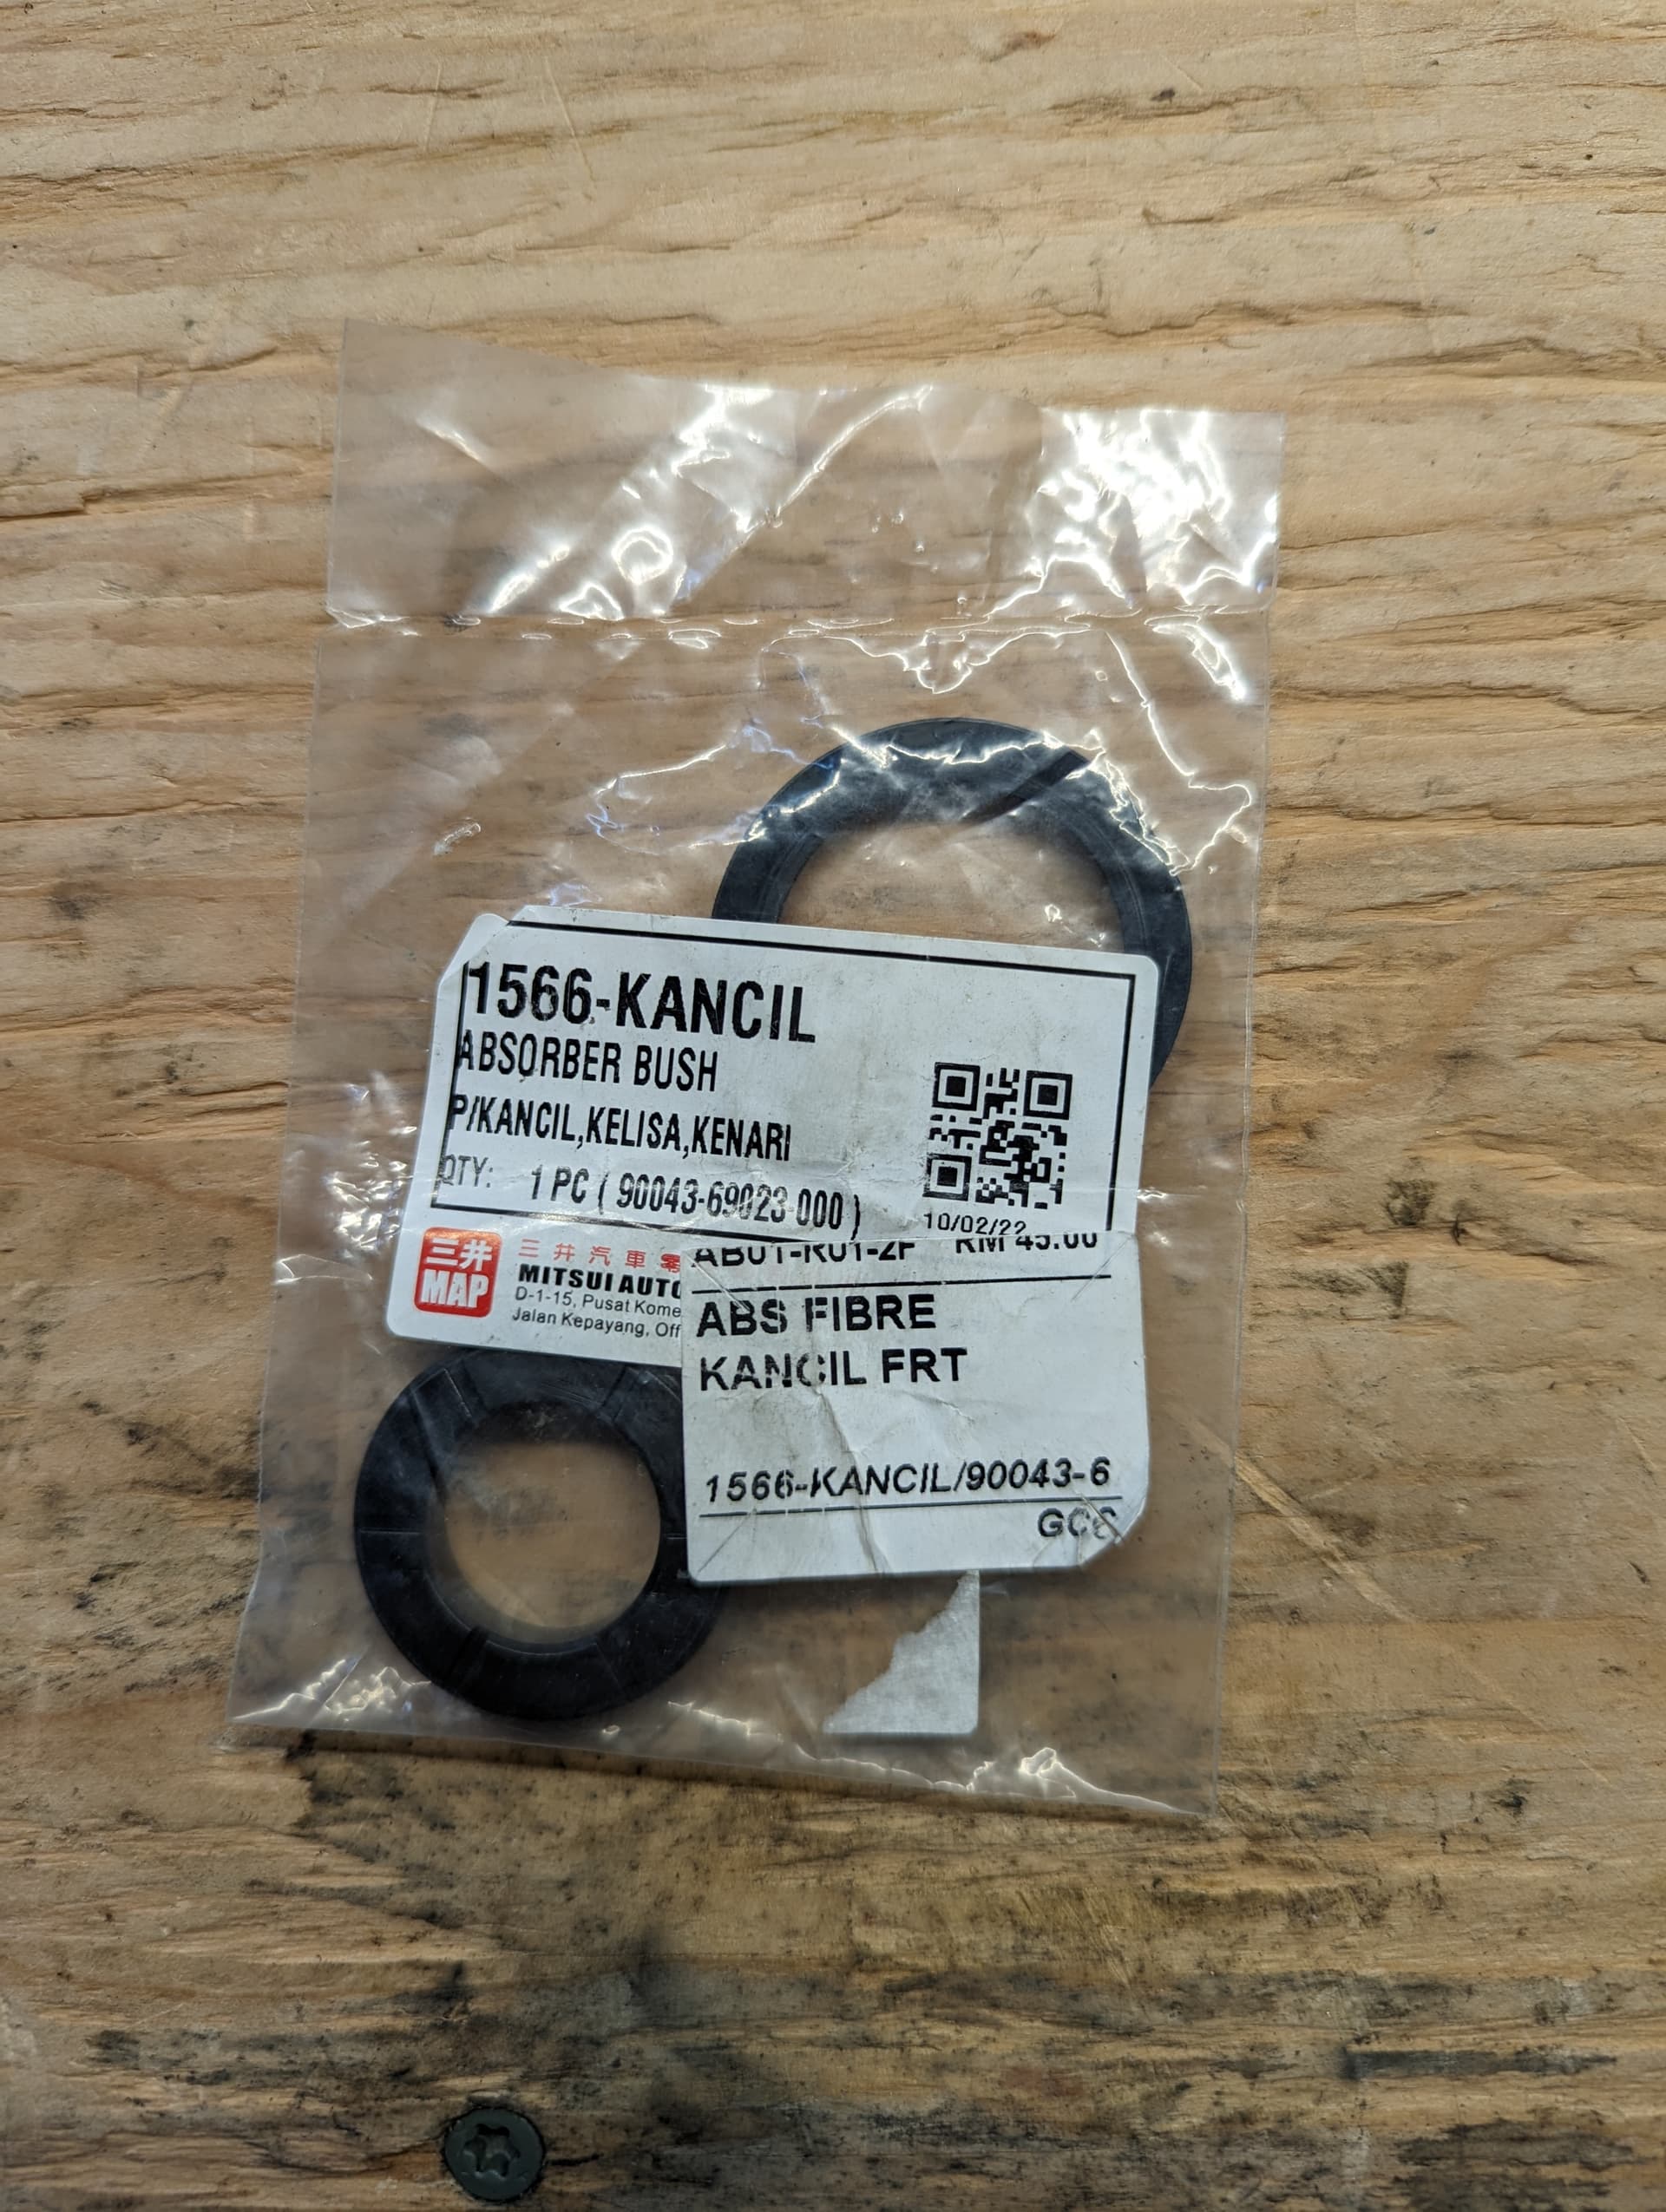
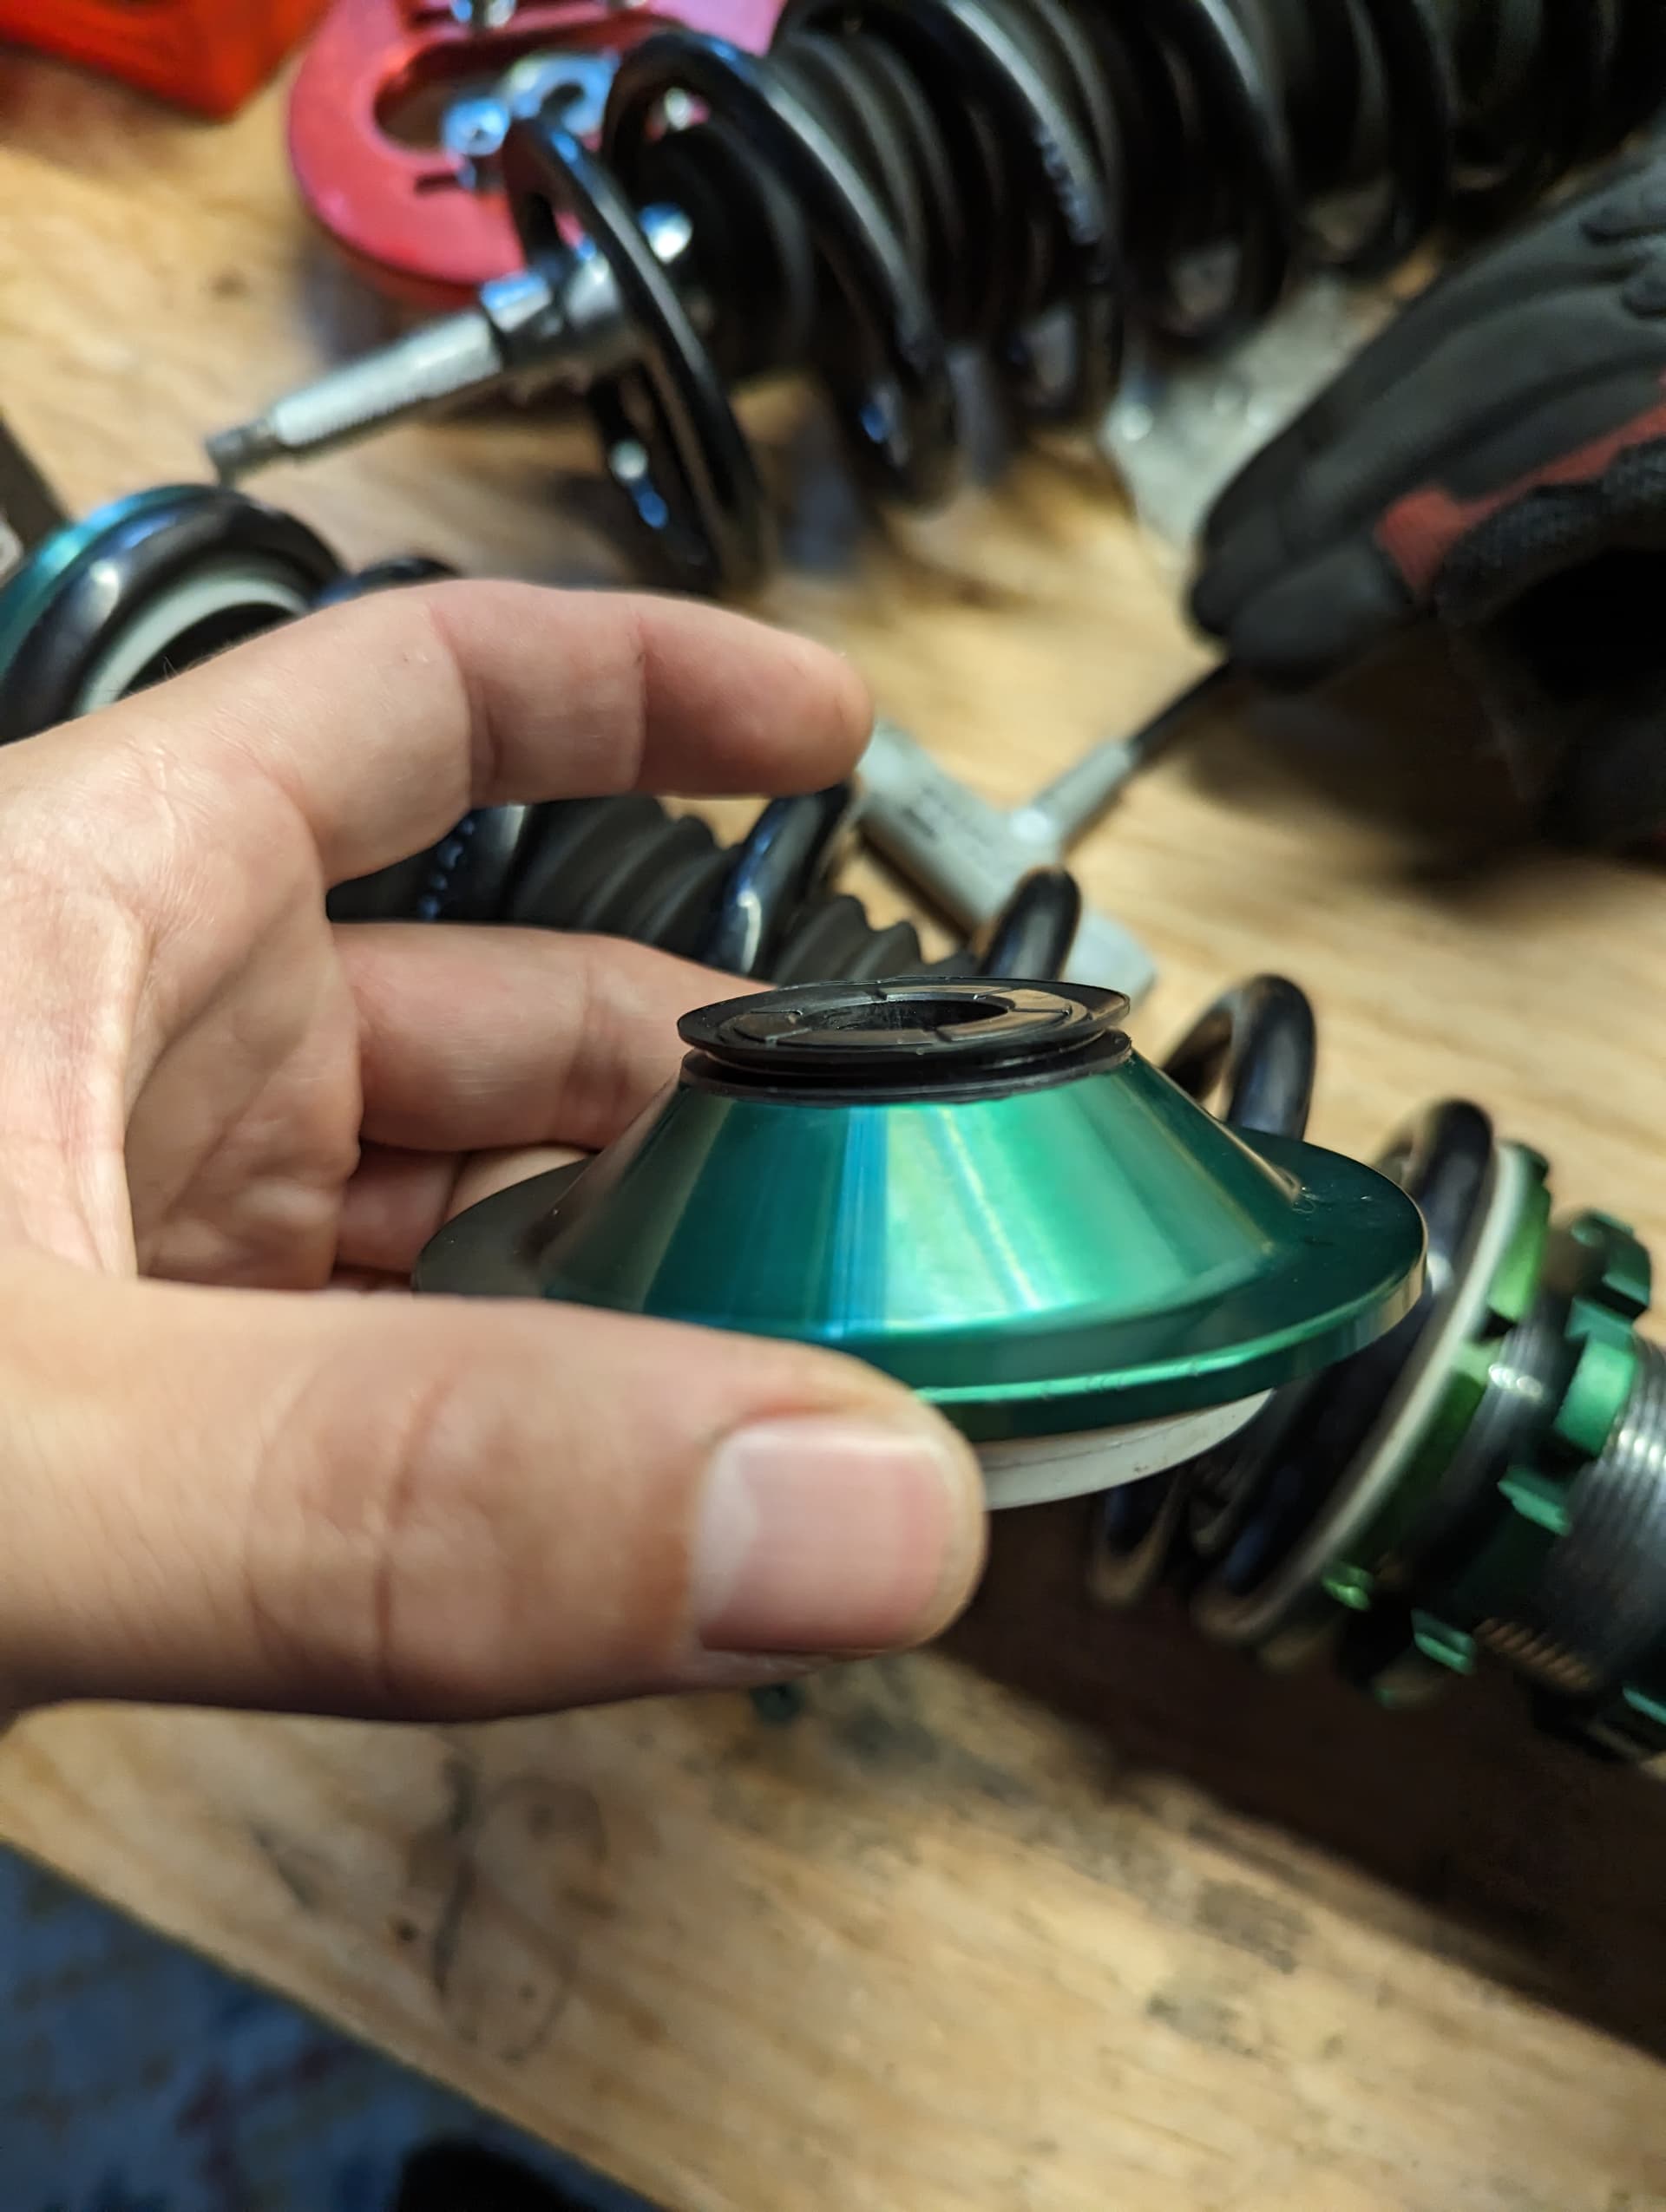
Was having a lot of noise over bumps, found a blown strut mount, so ordered camber plates with spherical bearings to replace the coilover mounts.
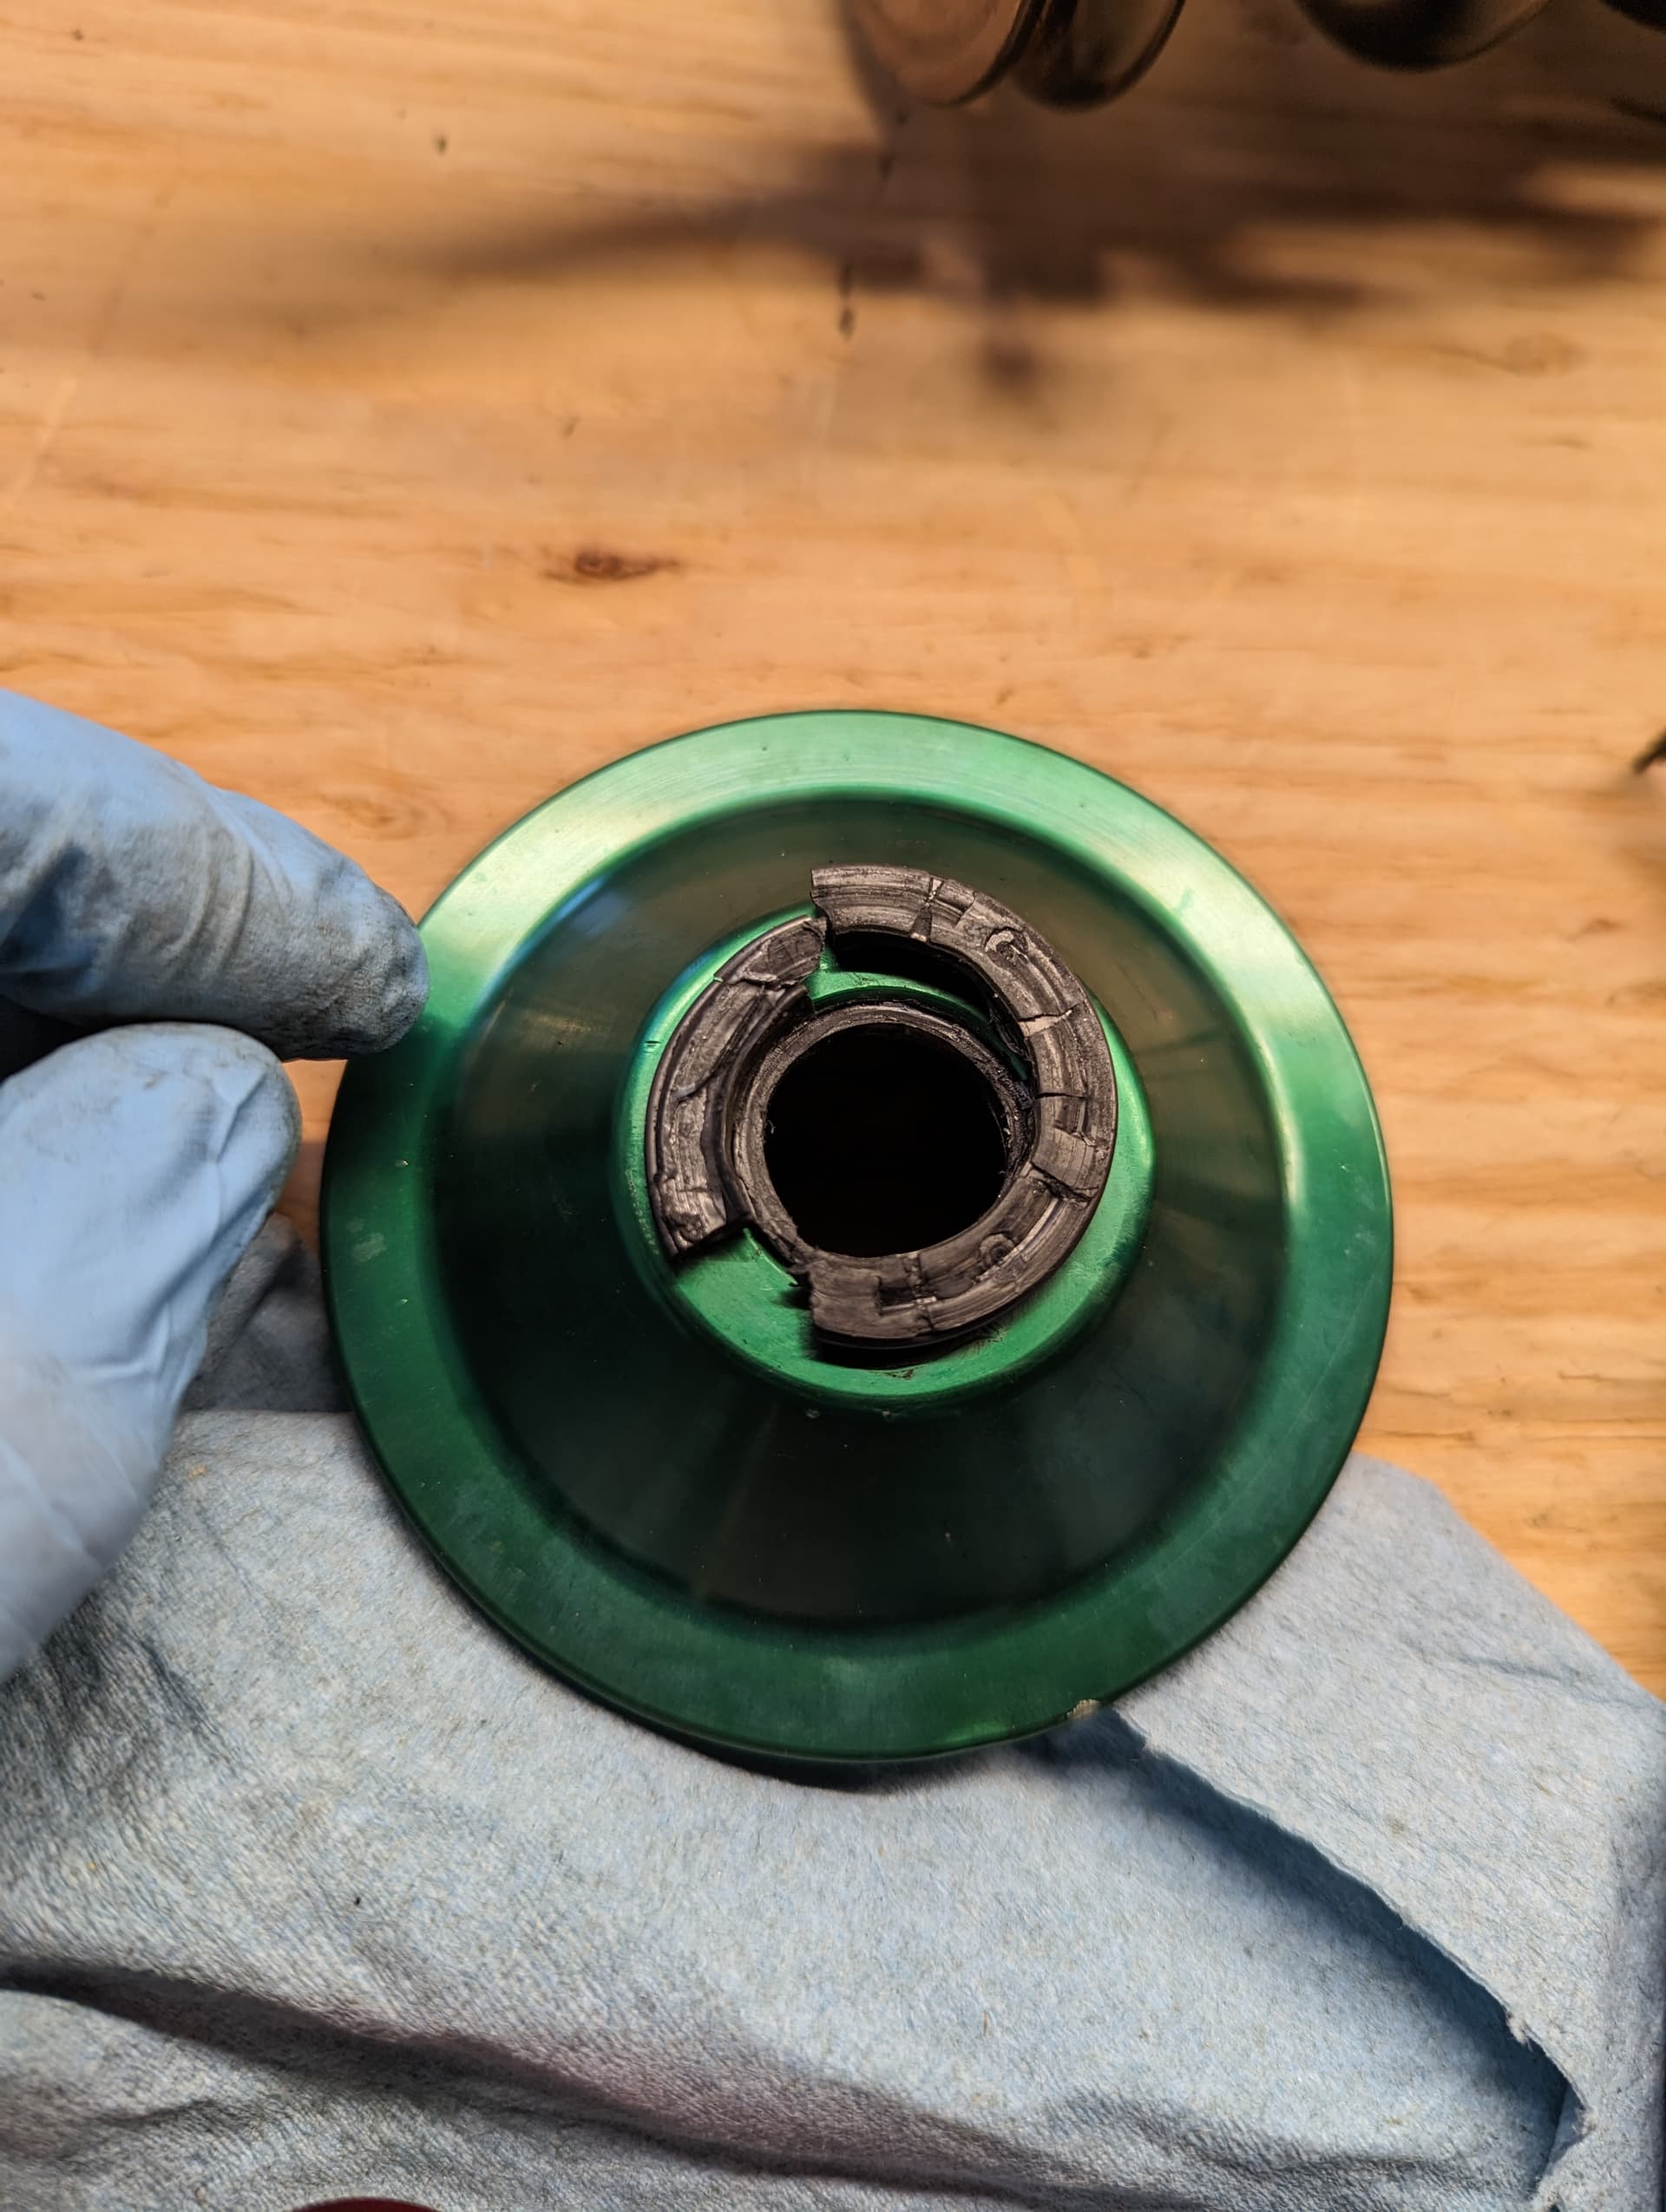
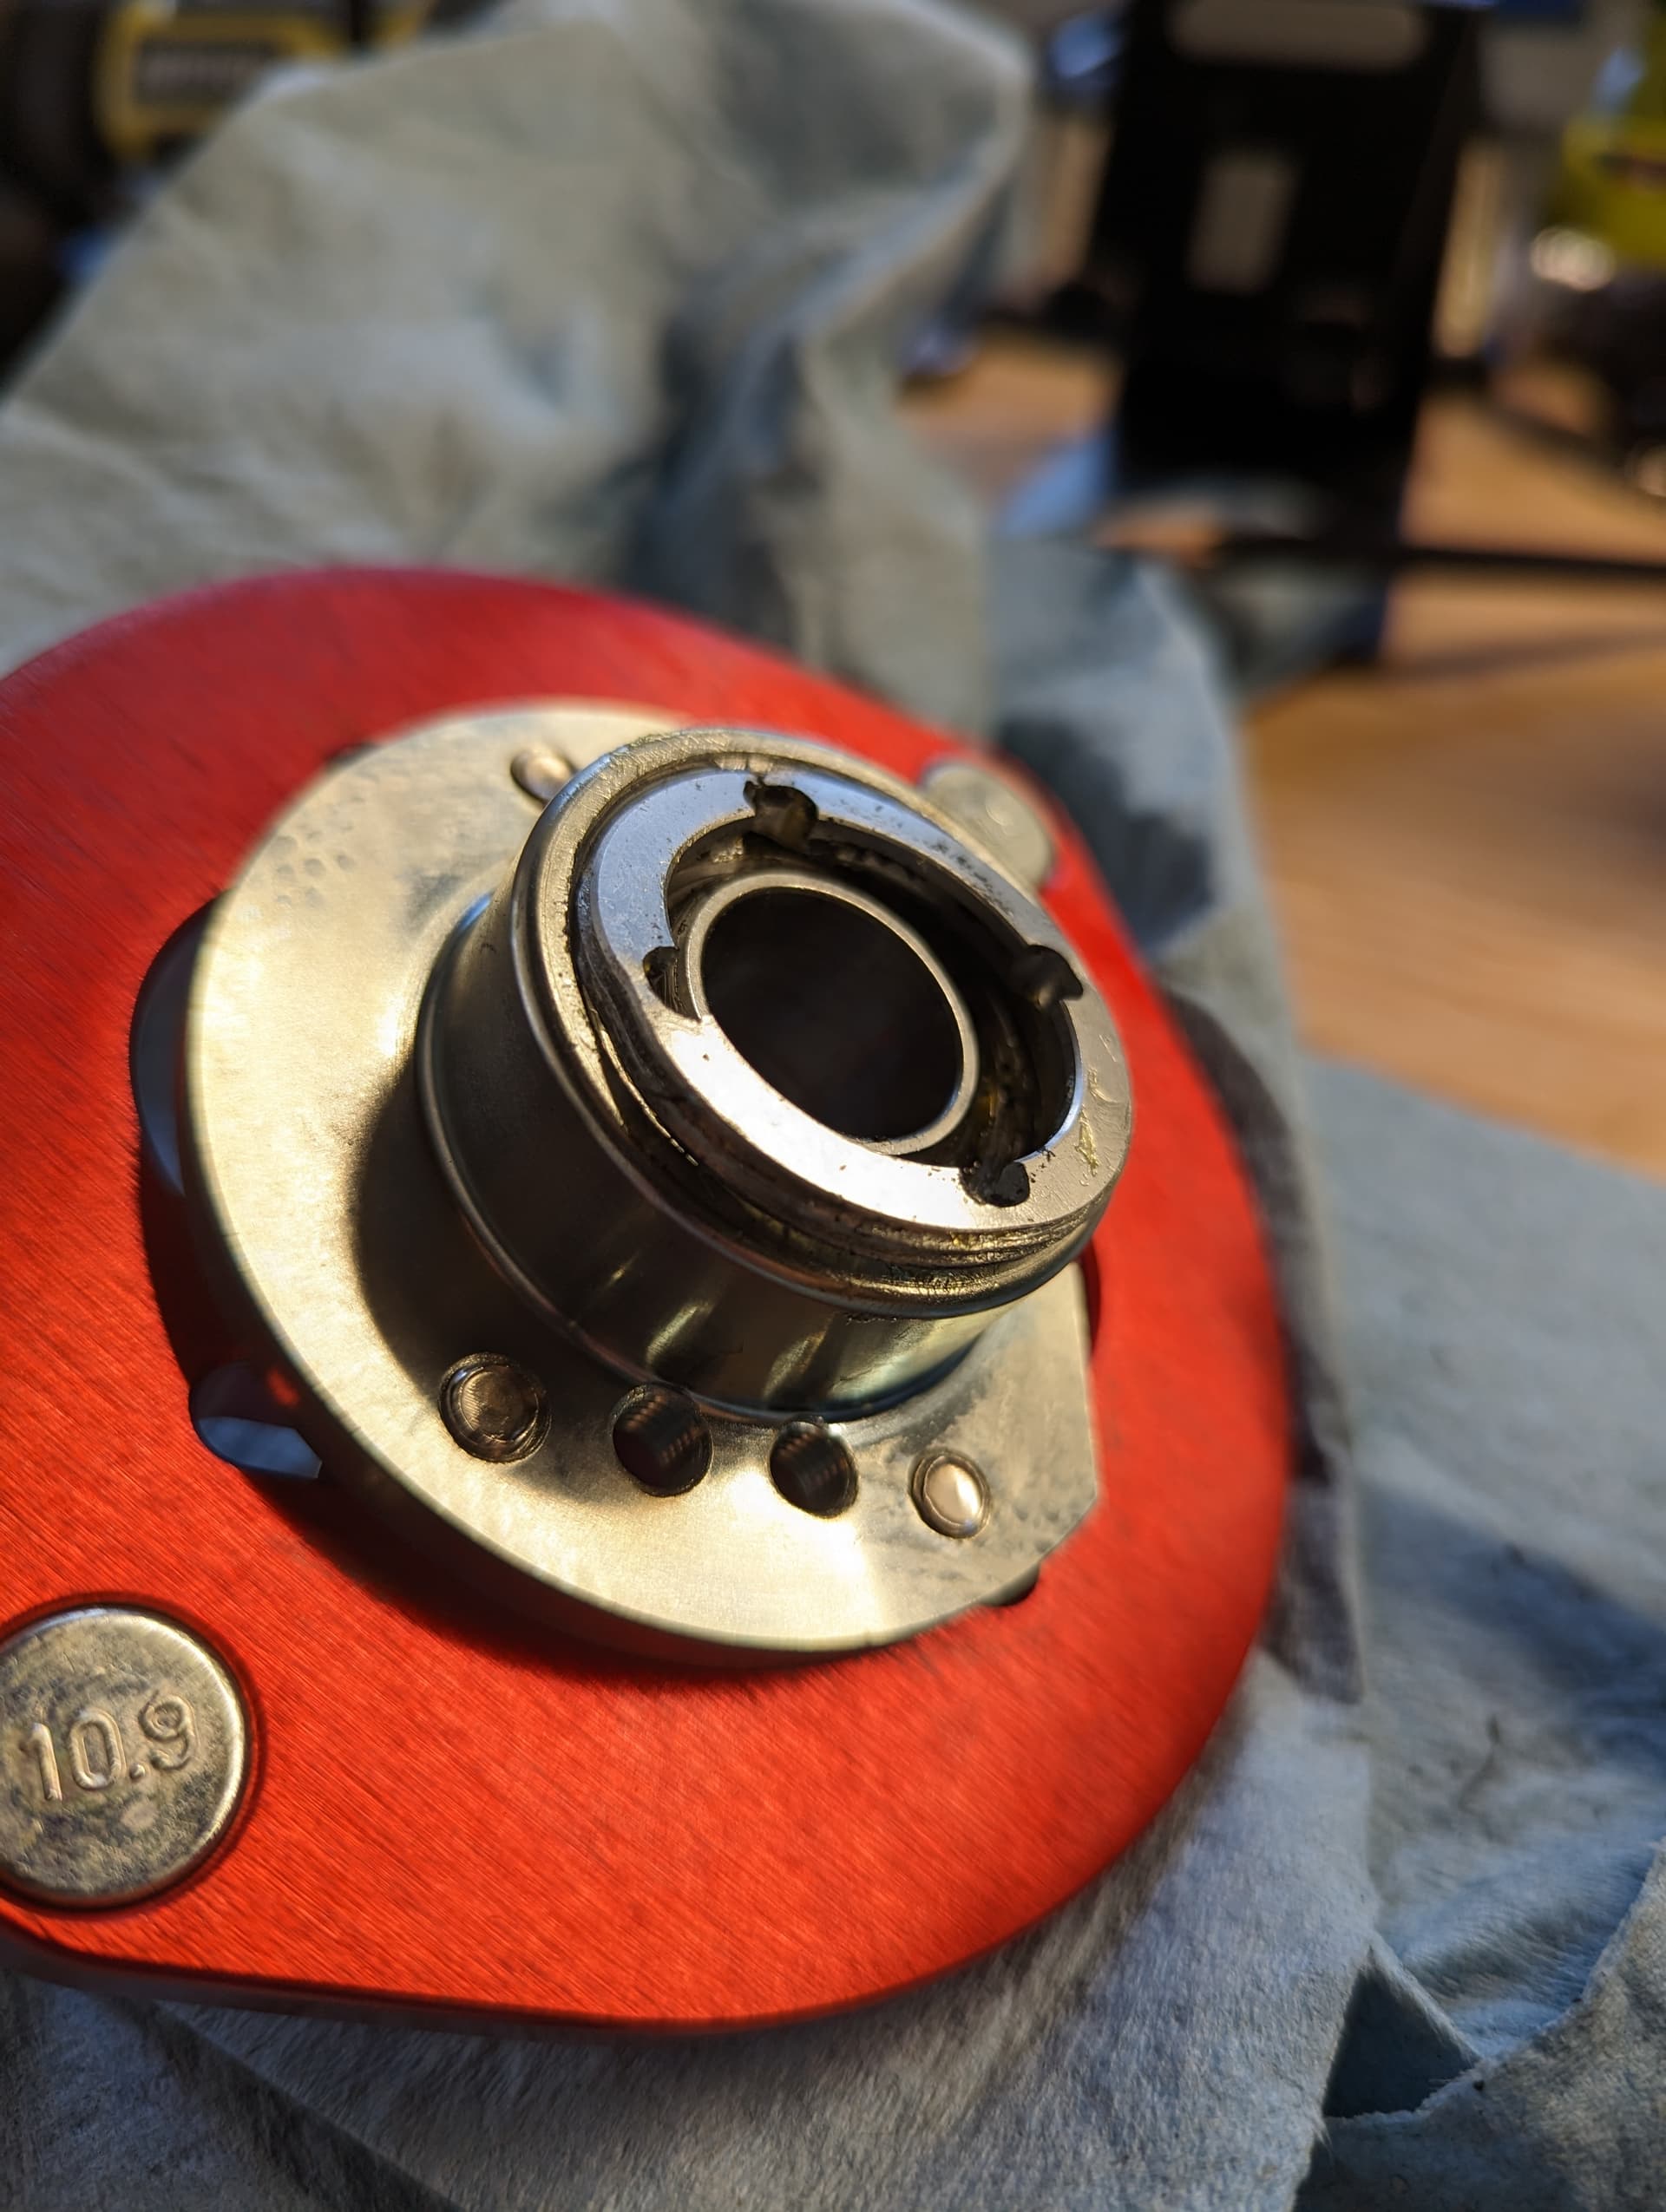
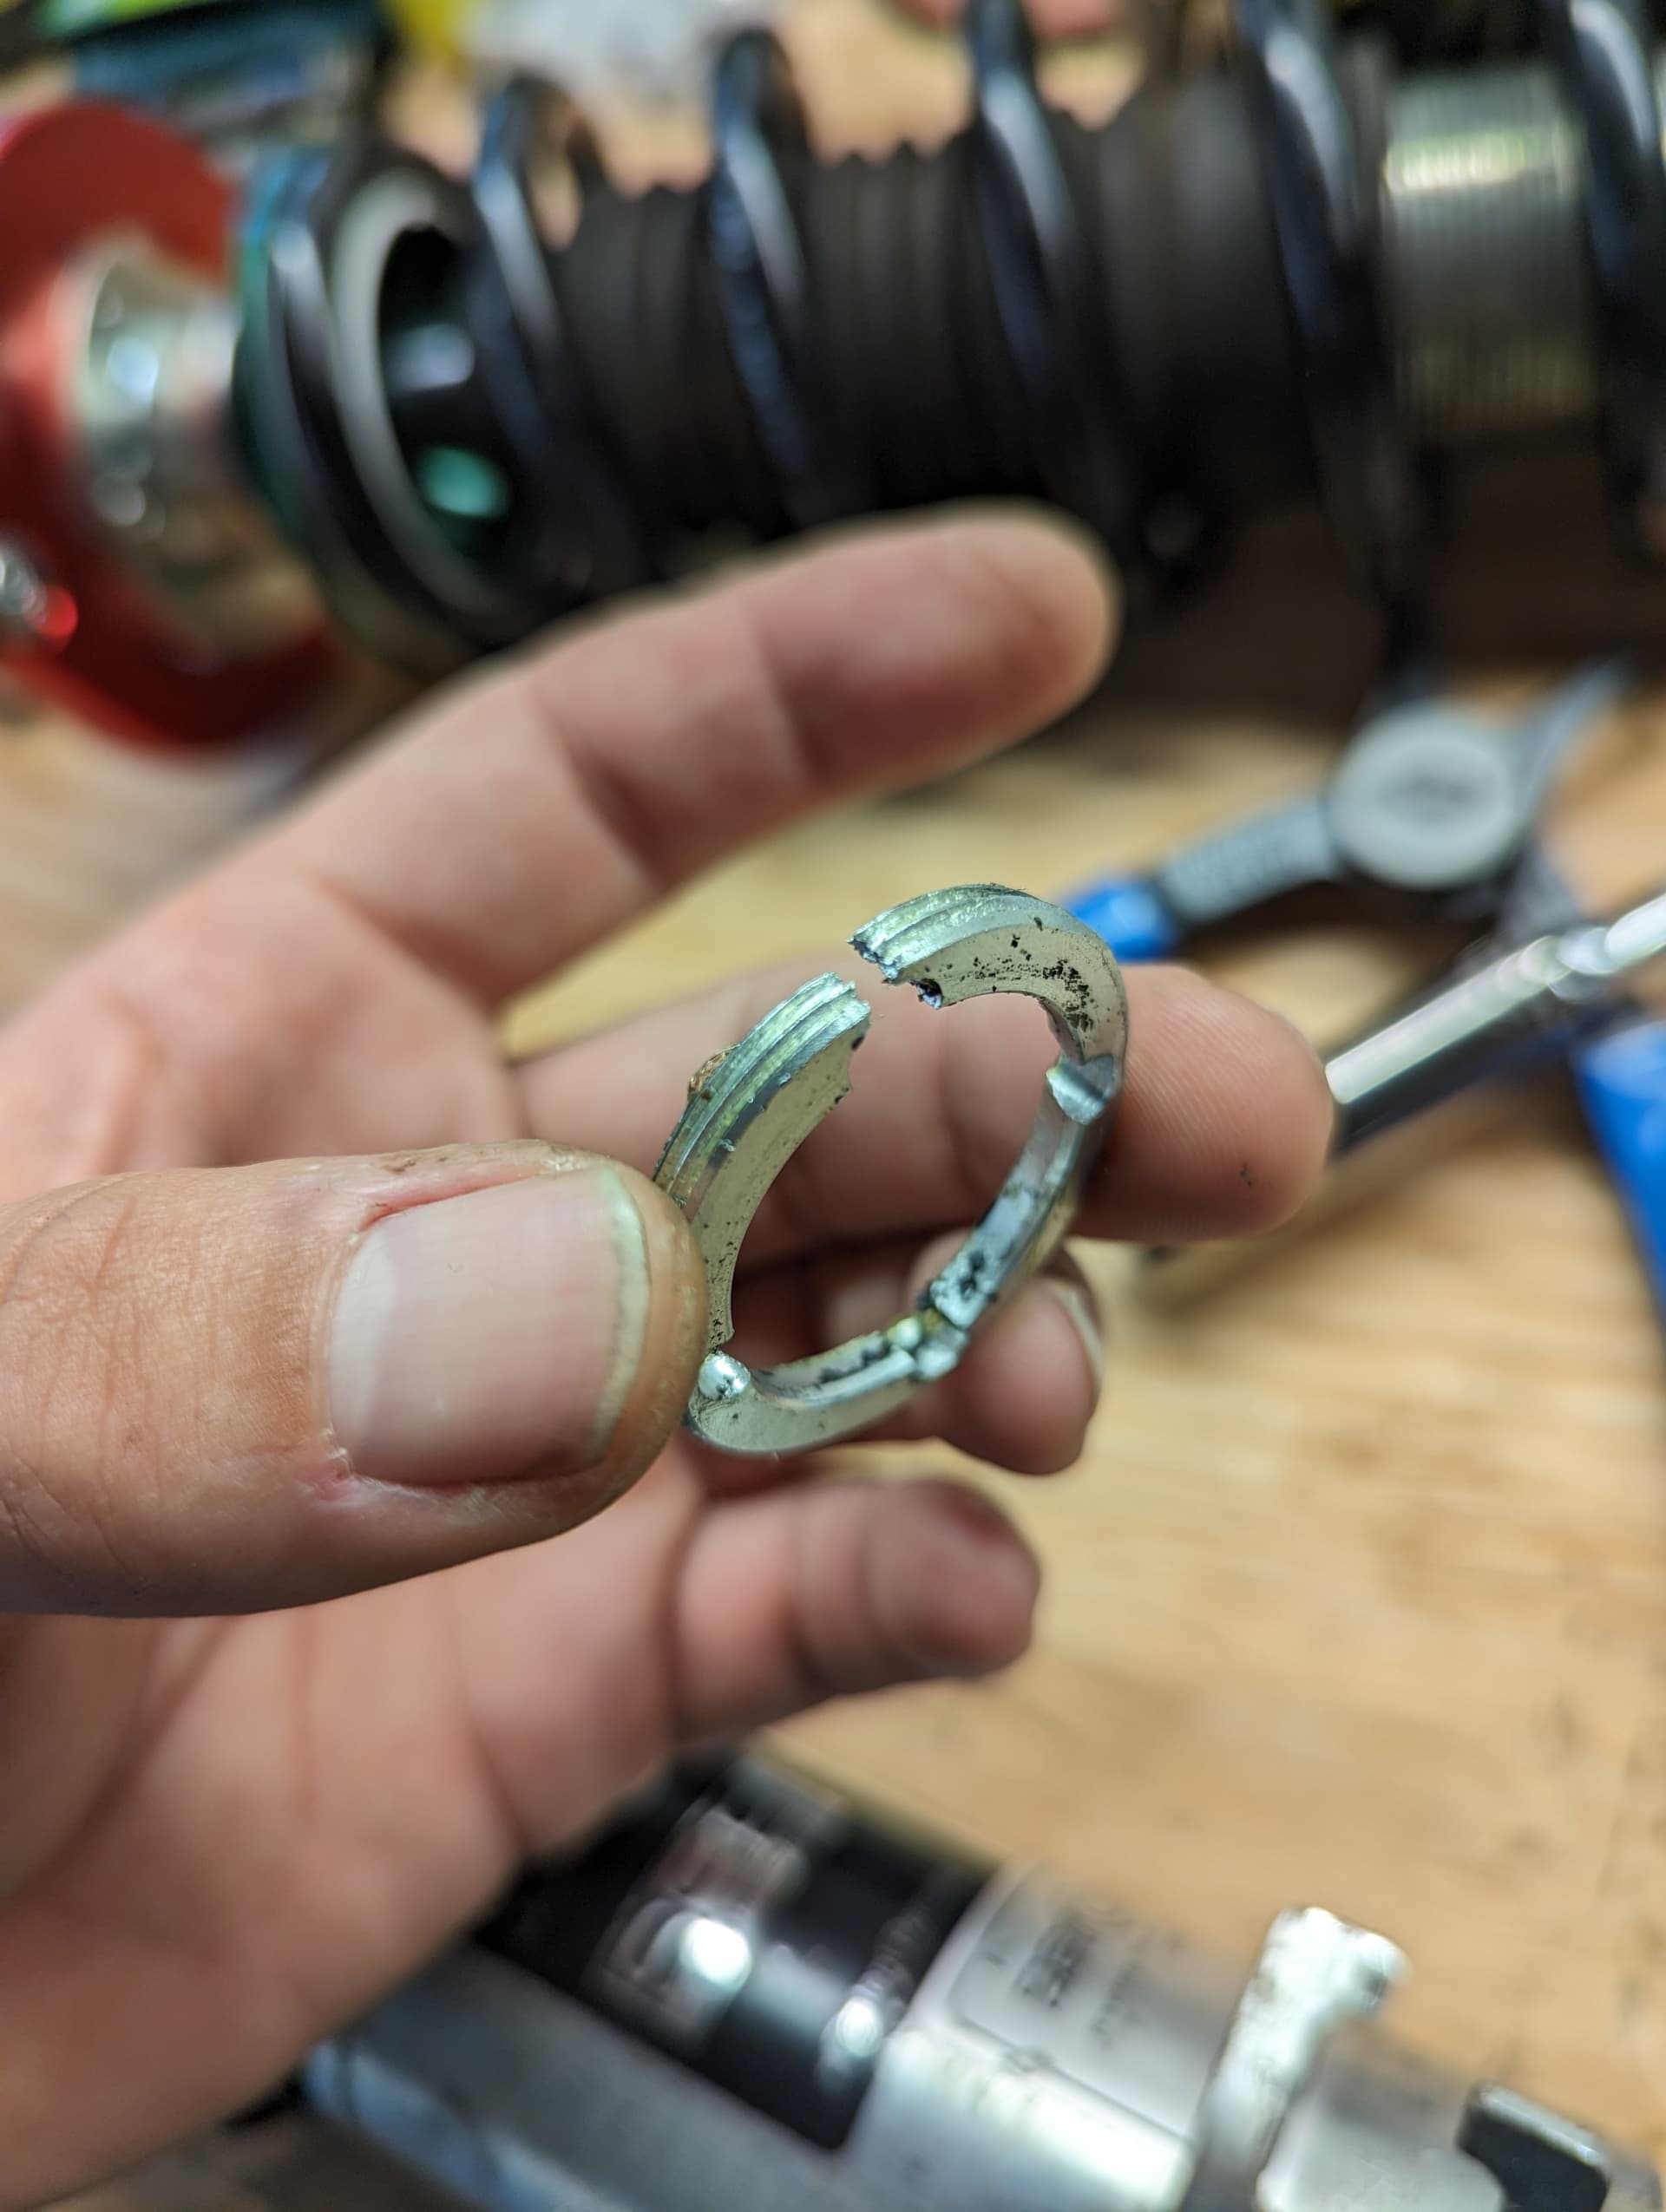
Received them from NMF, installed them, and the first ride the bearing retaining ring came out and was making a ruckus. Attempted to reinstall and test drive another 3 times, no change could not get it to stay, and in the process, wrecked the spring cup bushing and finally killed the retaining ring for good.
While I was in there, also replaced the fuel filter, should have done this when I had the injectors cleaned, but figured why not now then.
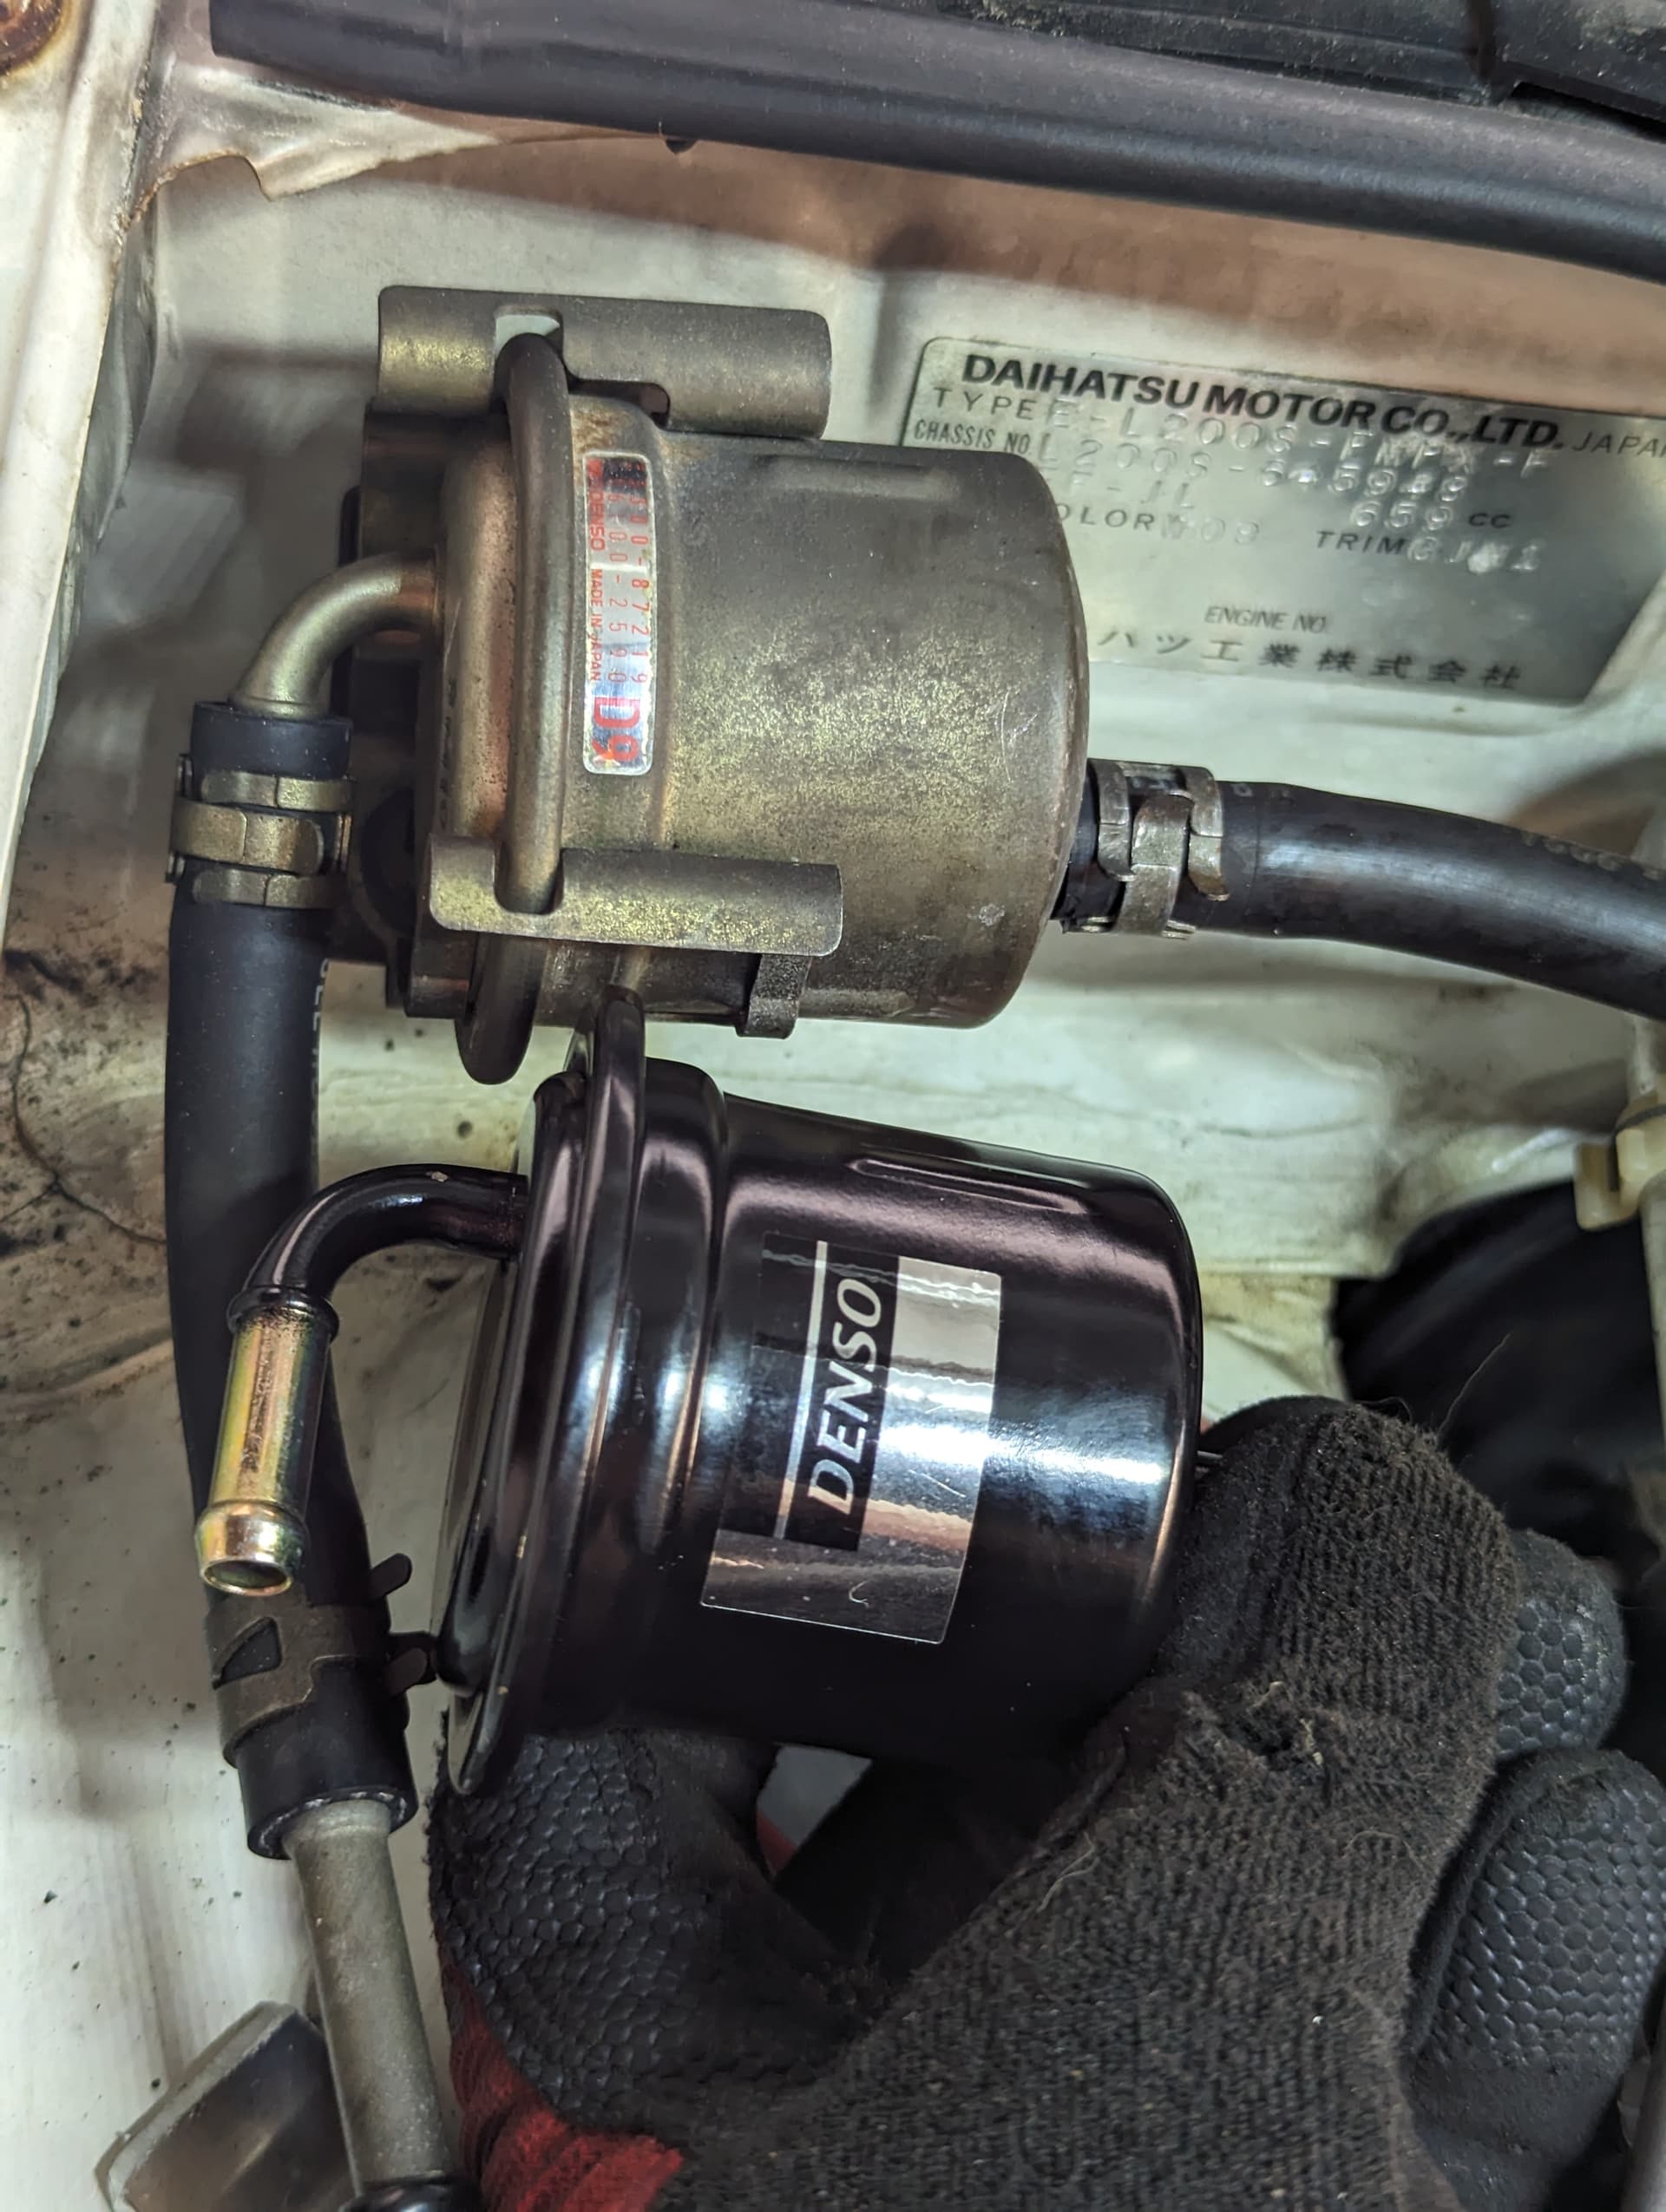

Ordered a second set and just threw in the replacement today, have to go get it aligned now.

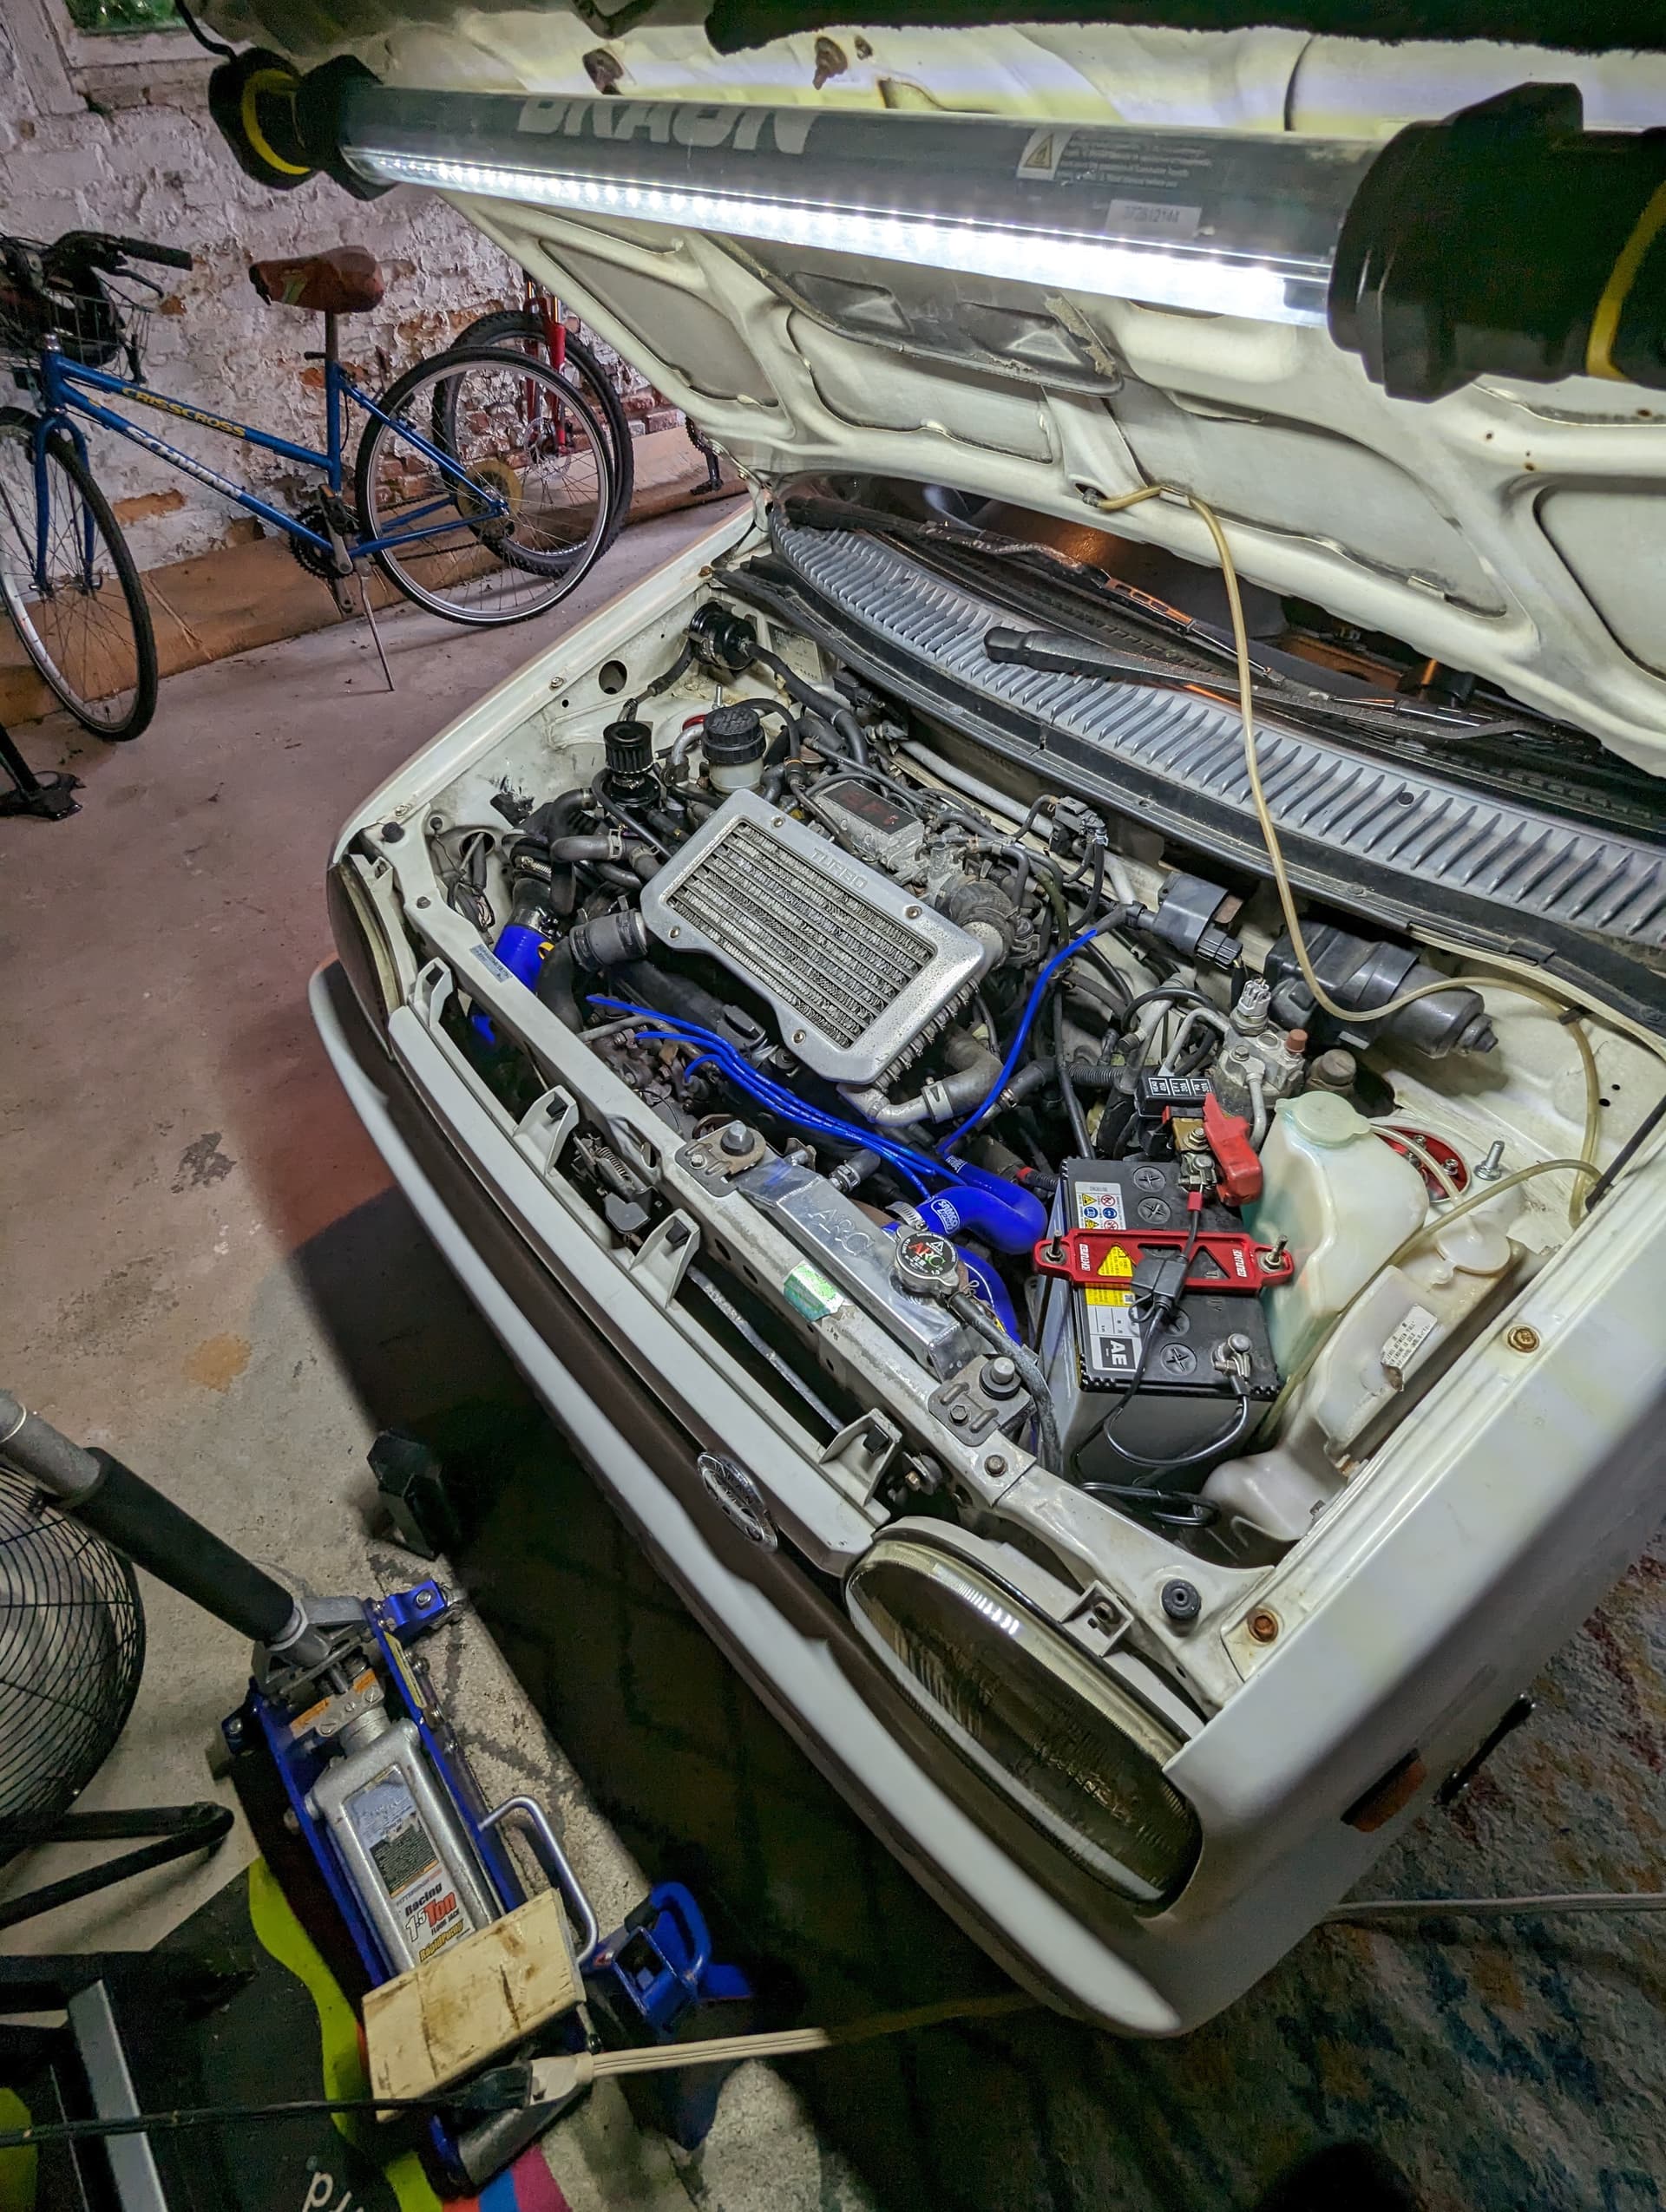
Here is a shot of what I’ve settled on with a mutli-port catch can and bracket. Now that it’s roughed I can have a single piece one made and paint/finish it.

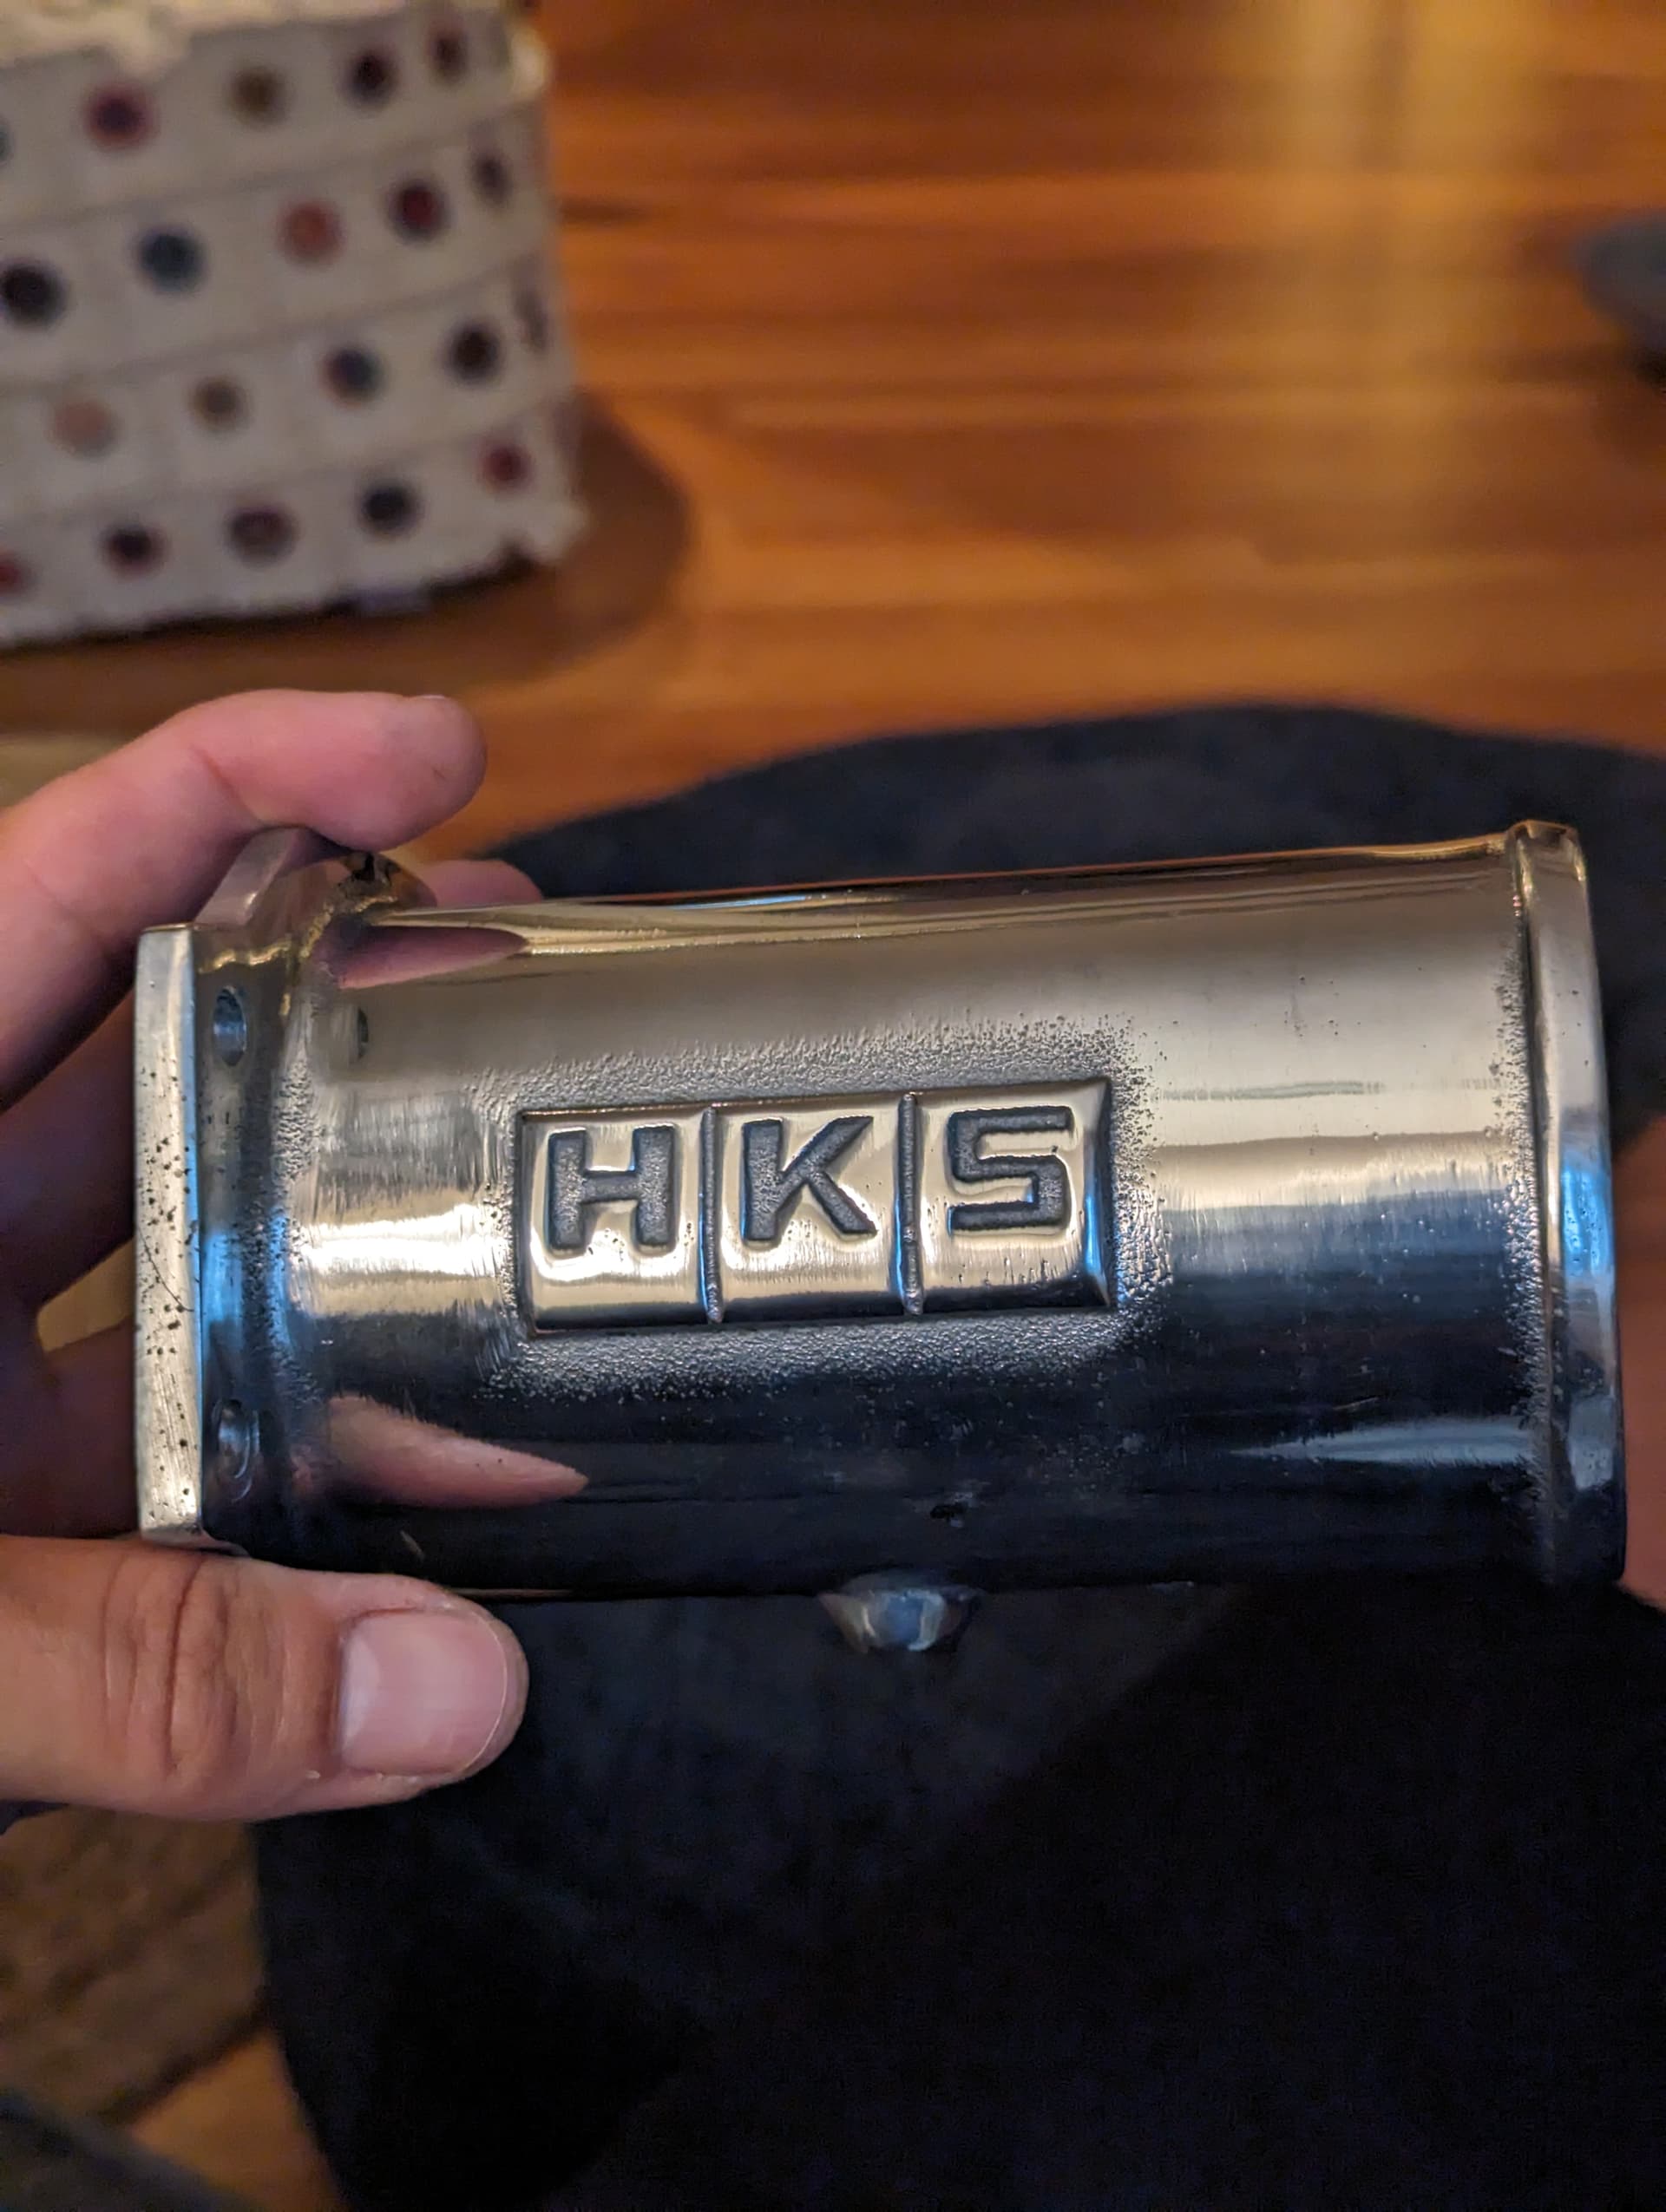
My friend gave me one of the old charge/intake pipes off of his R32 GTR, so I’m going to clean it up and use some silicone neck downs and modify the bracket so I can use the mushroom filter and incorporate this HKS intake pipe.


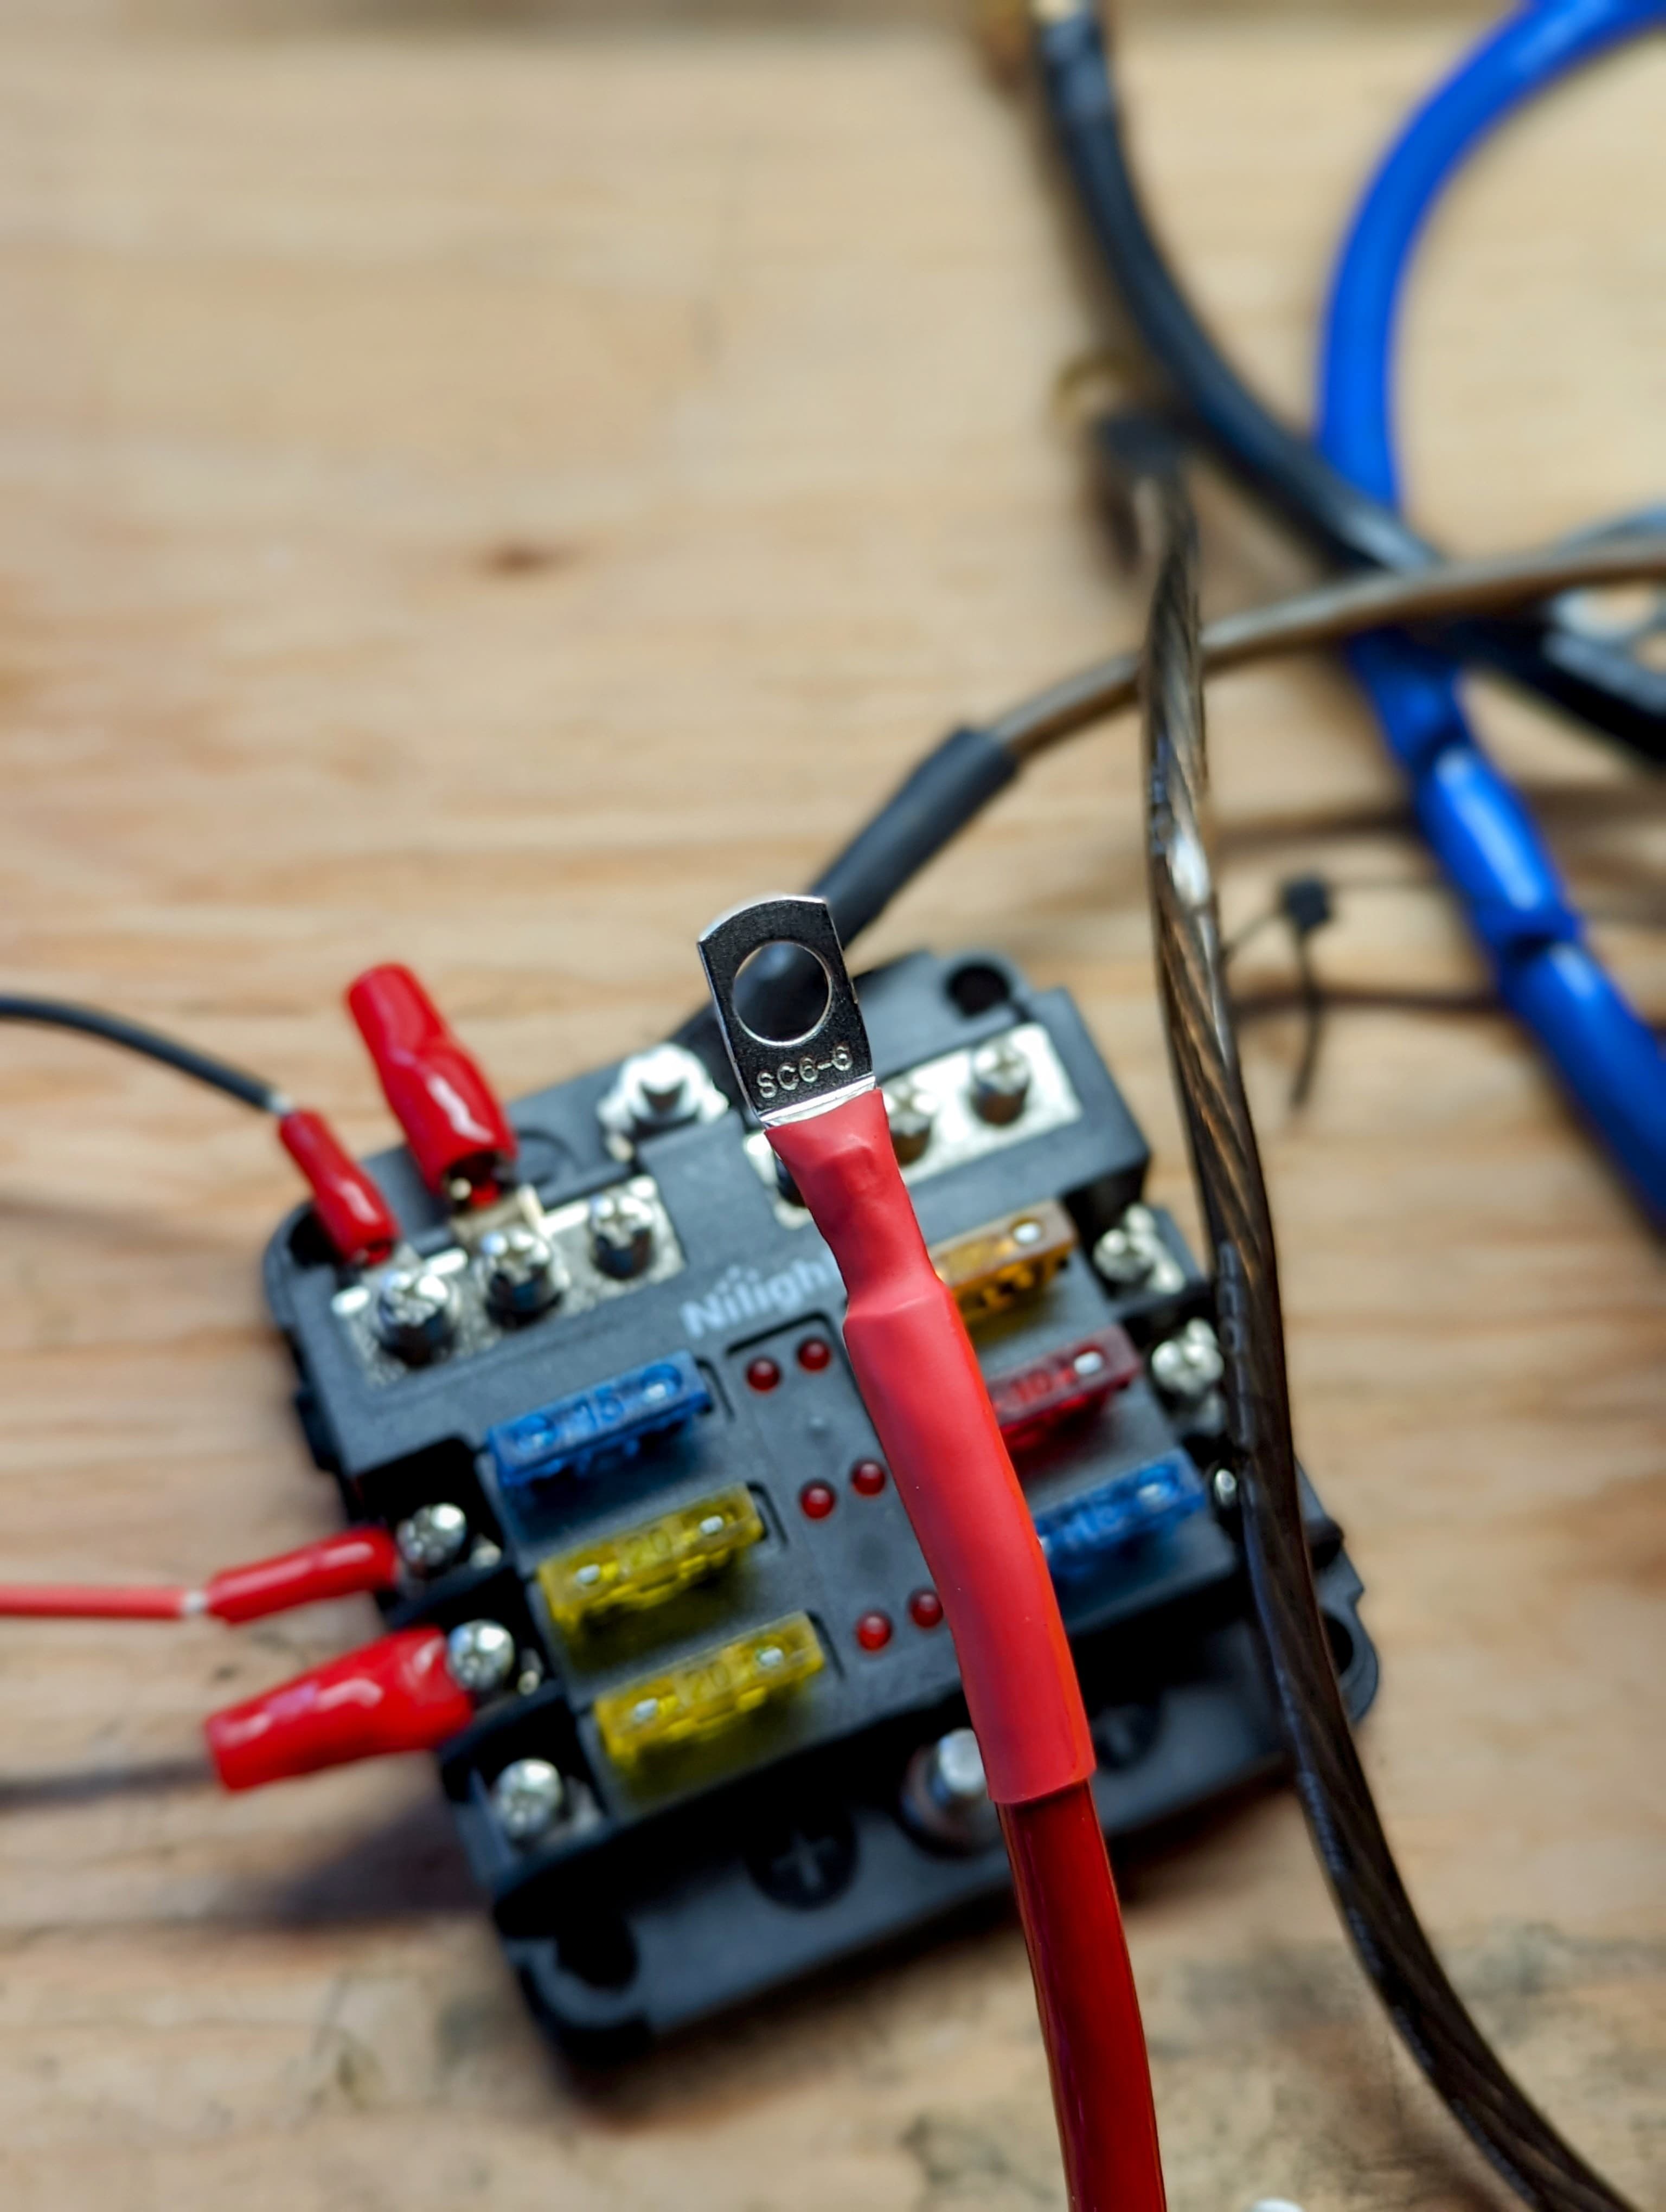
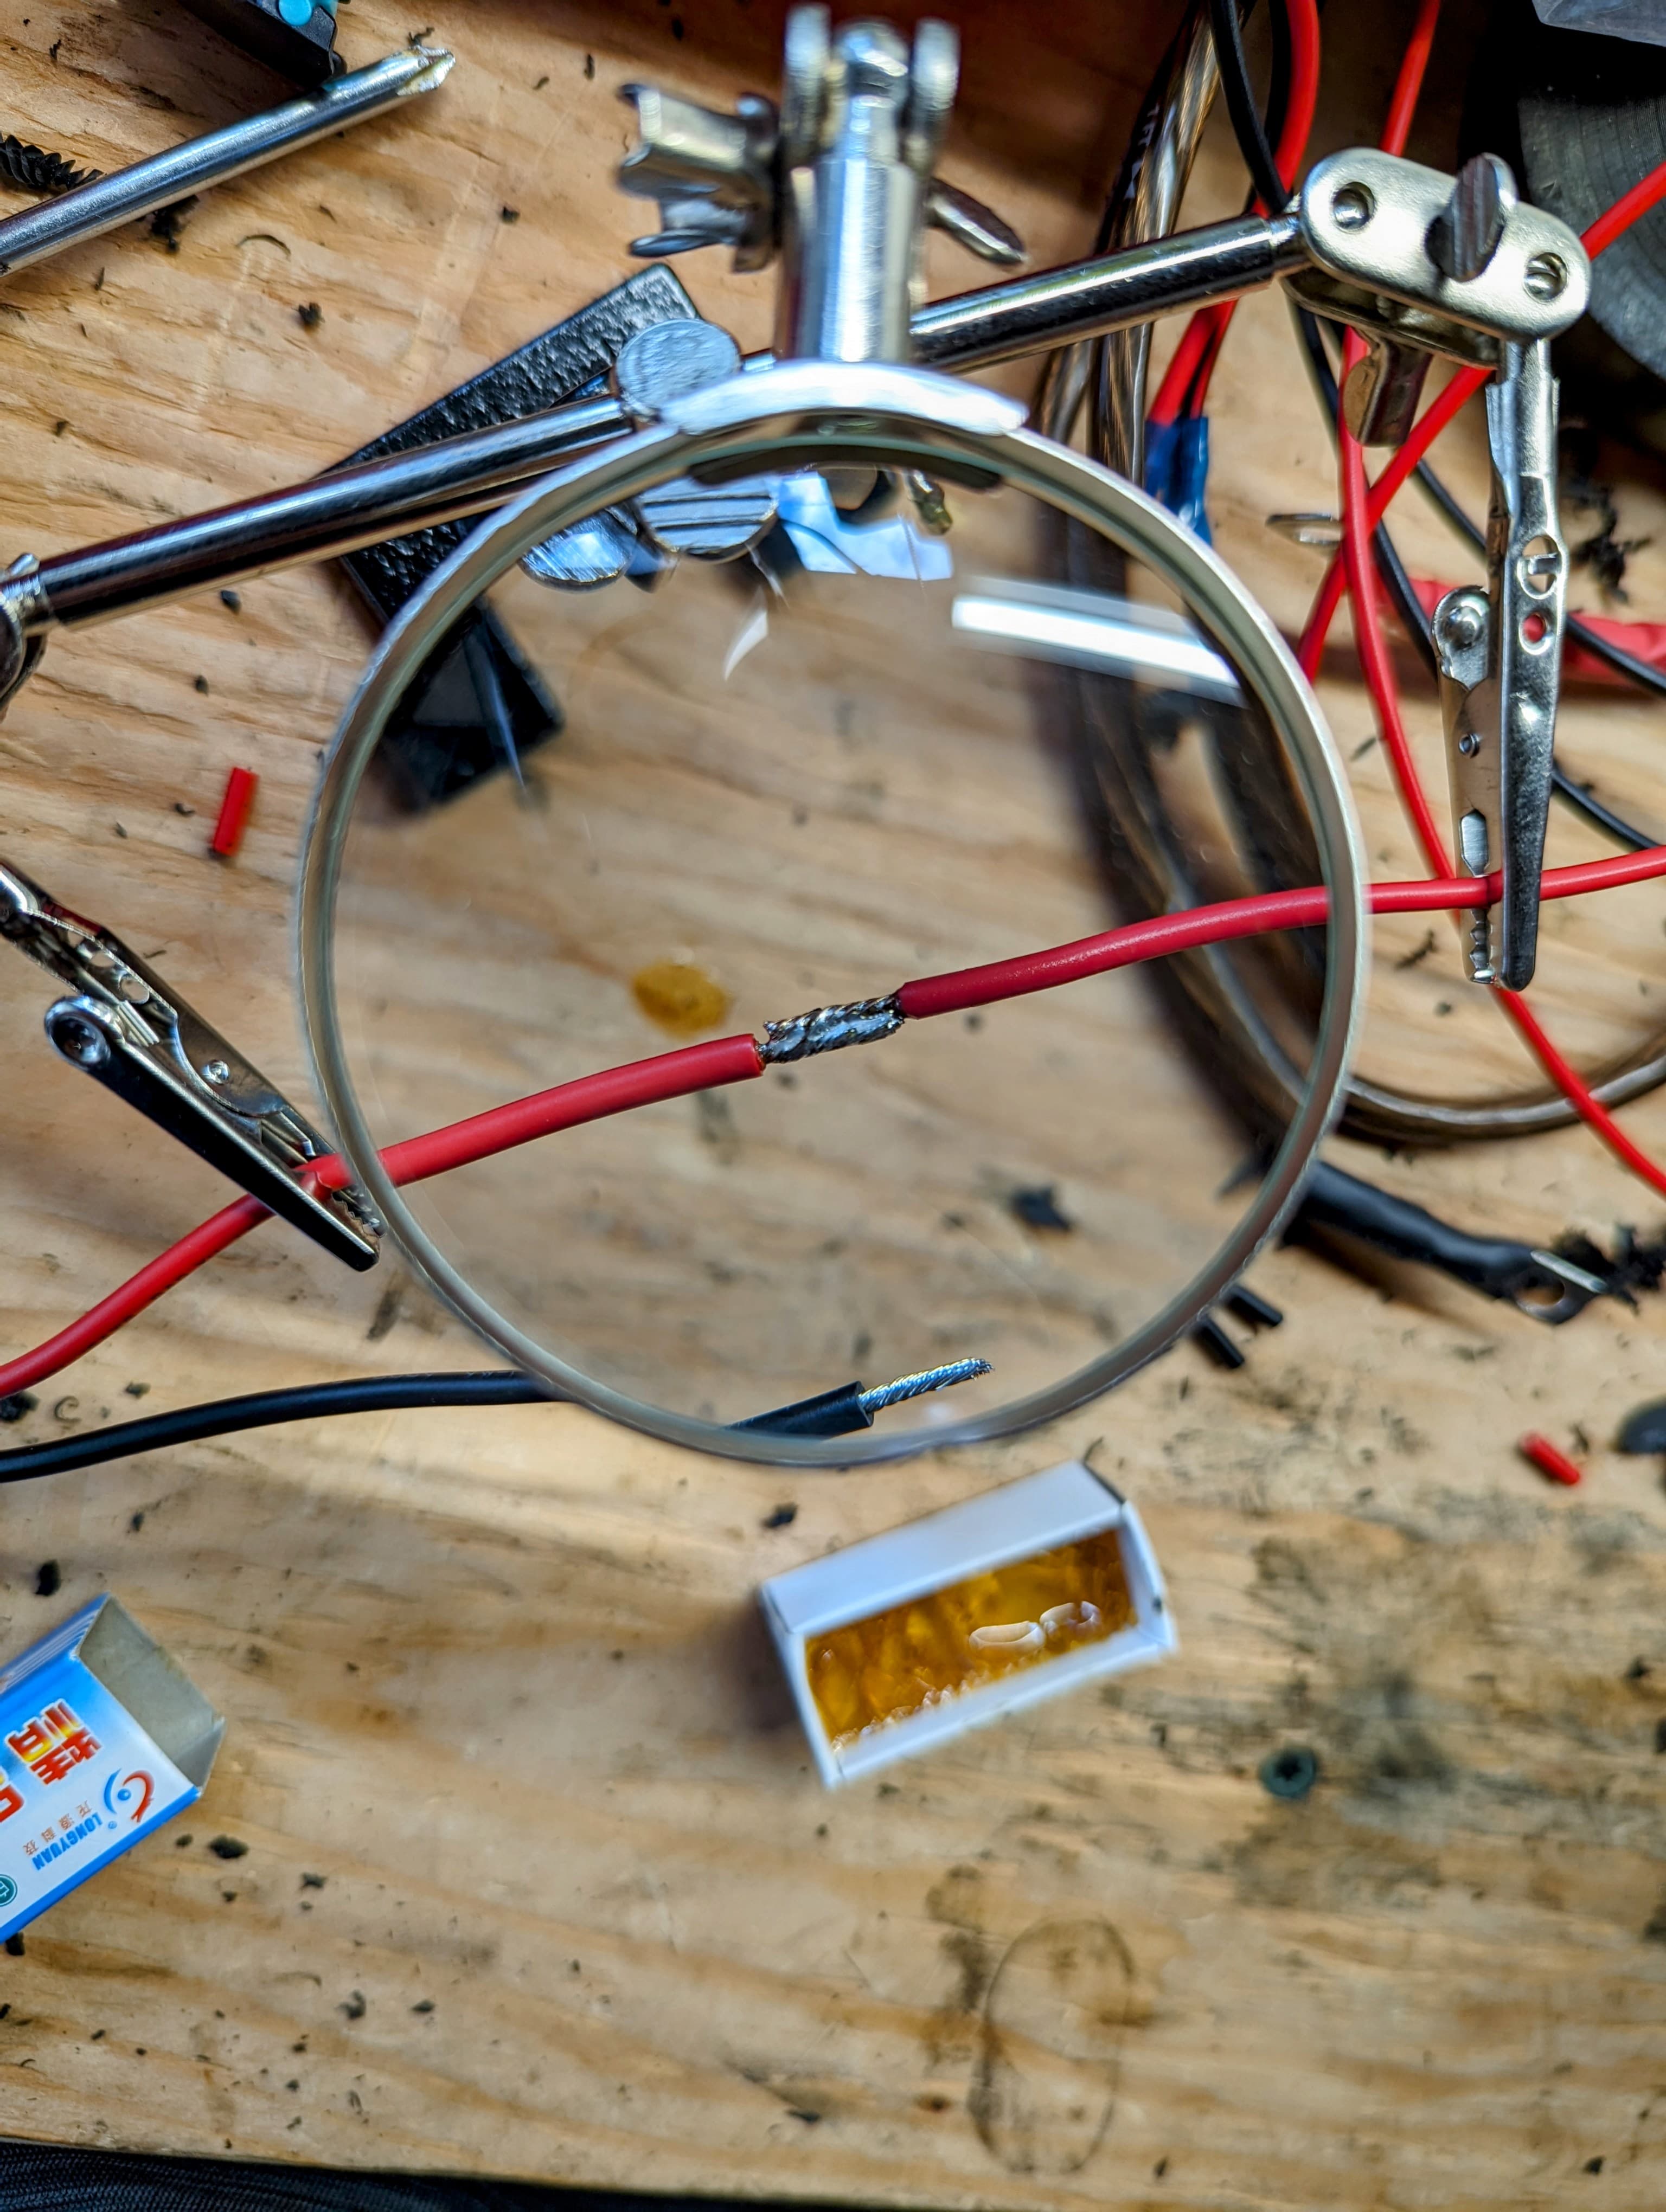
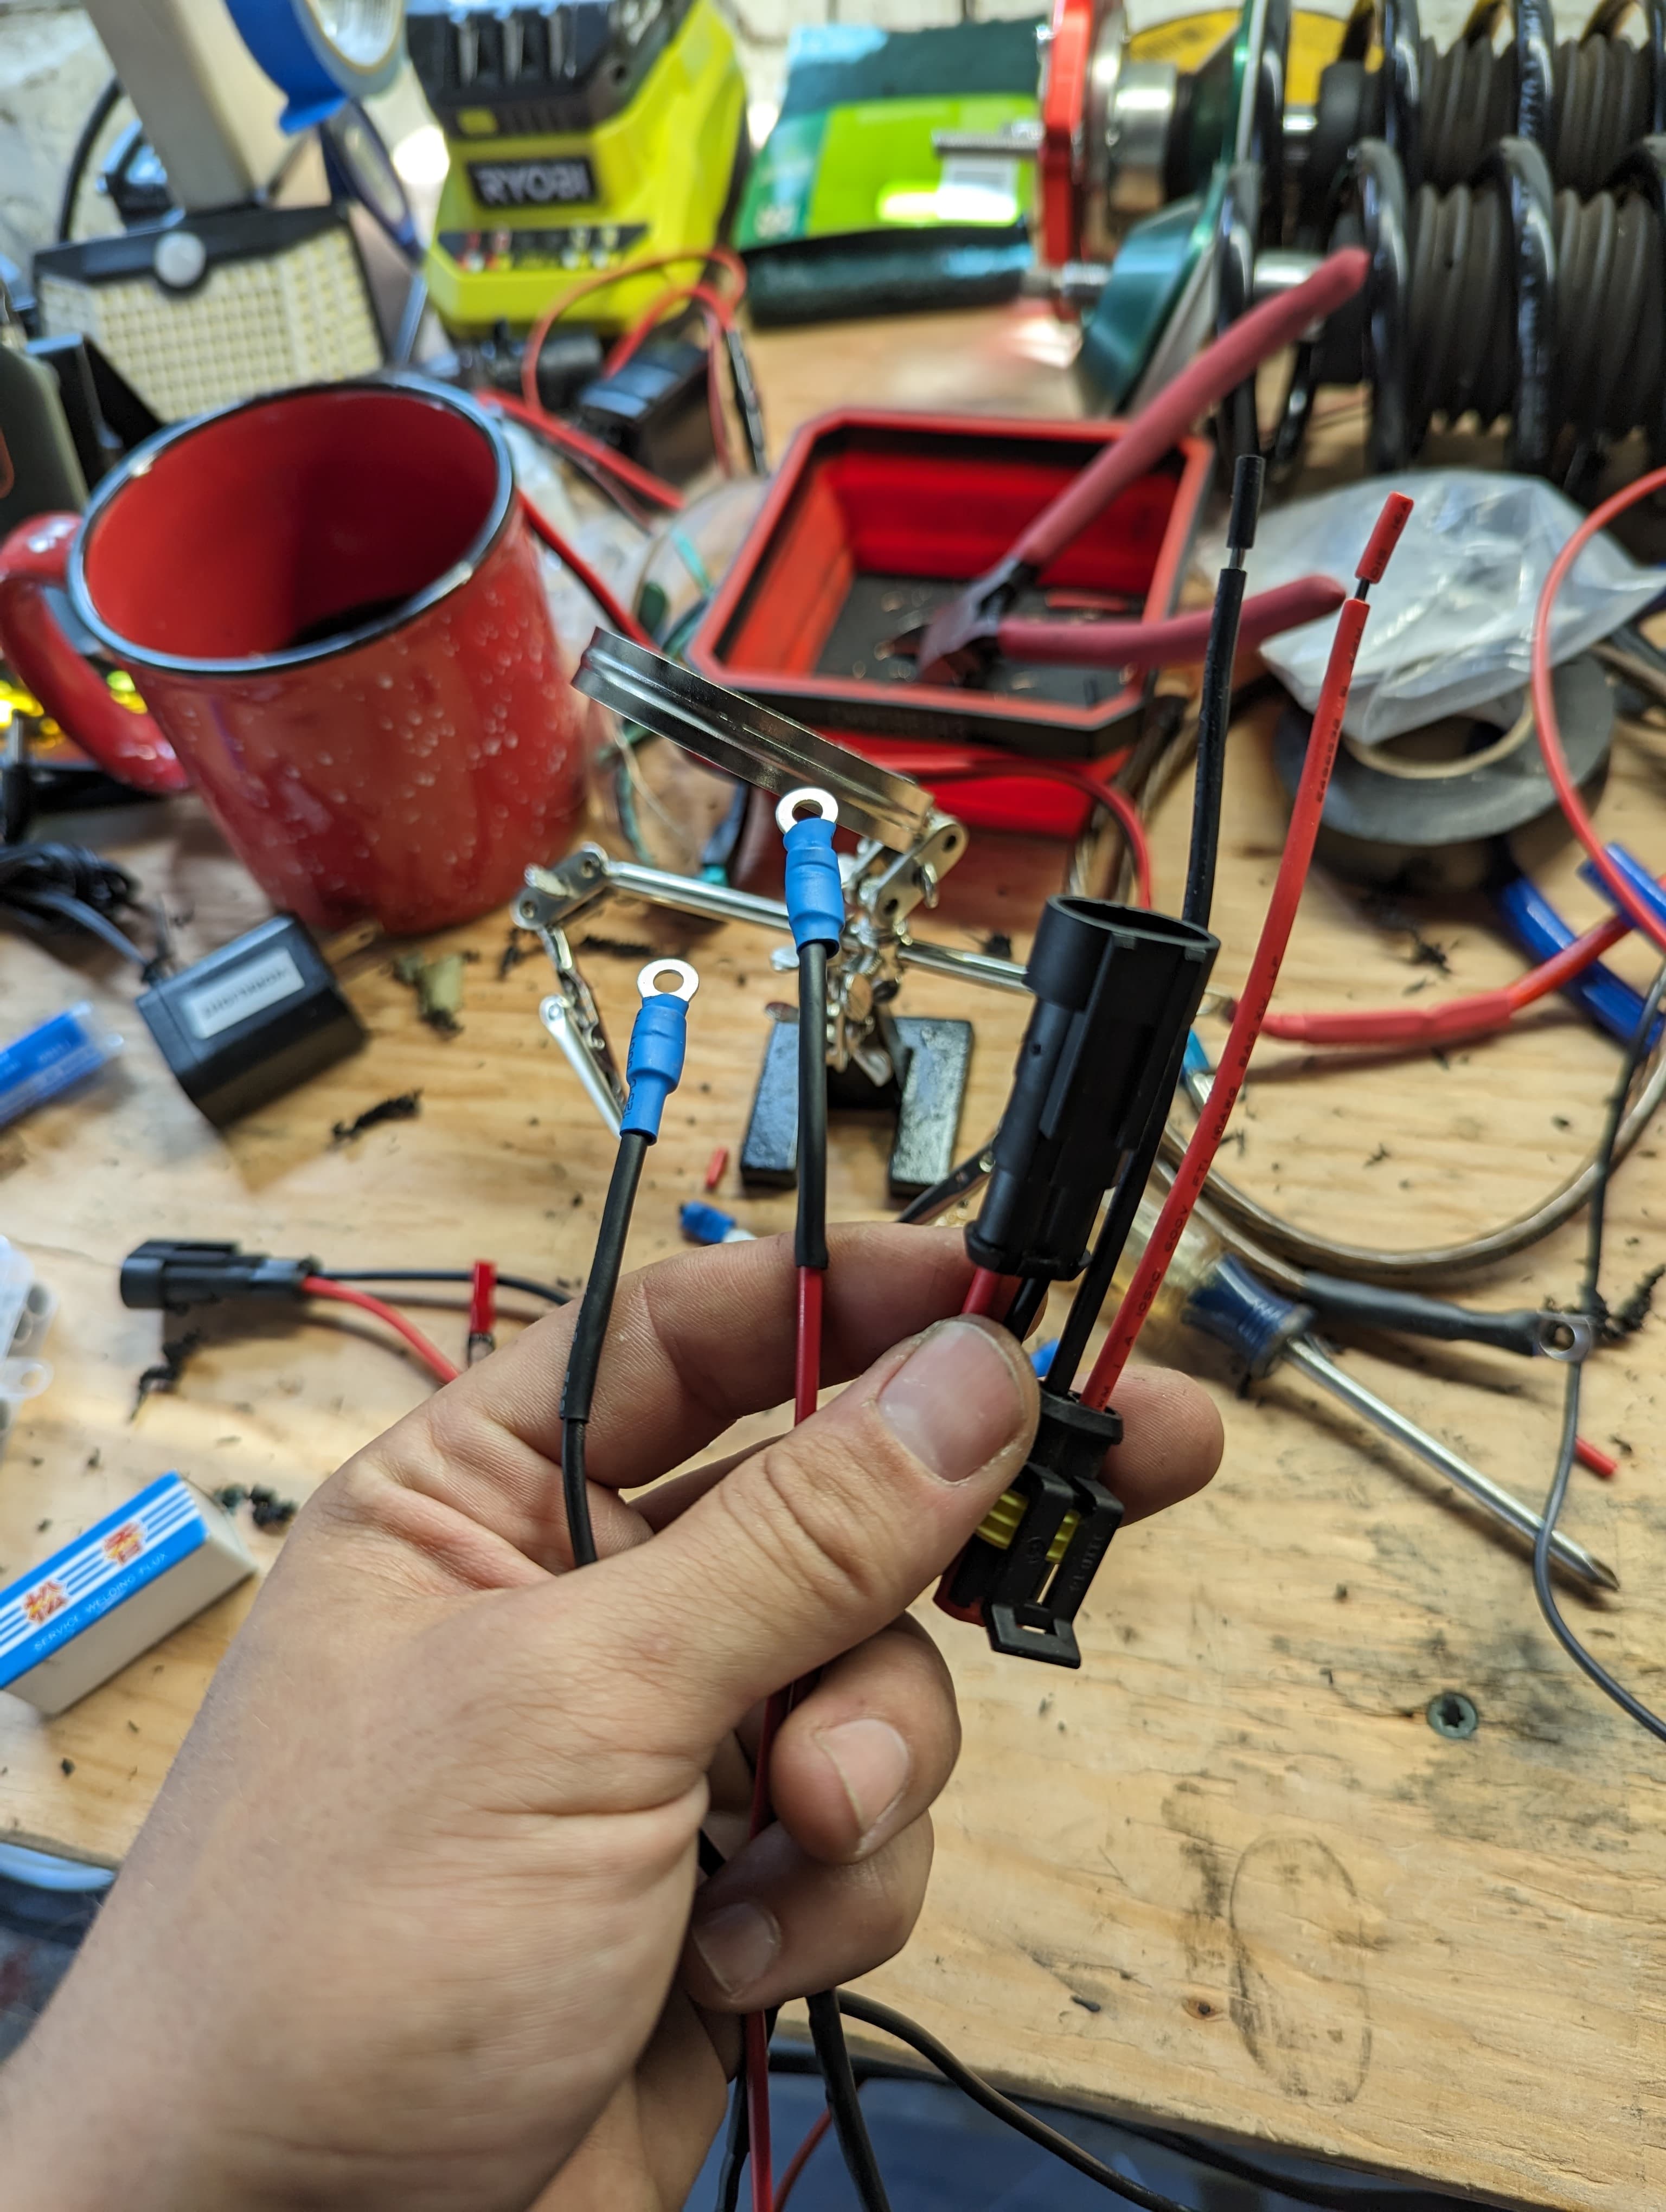
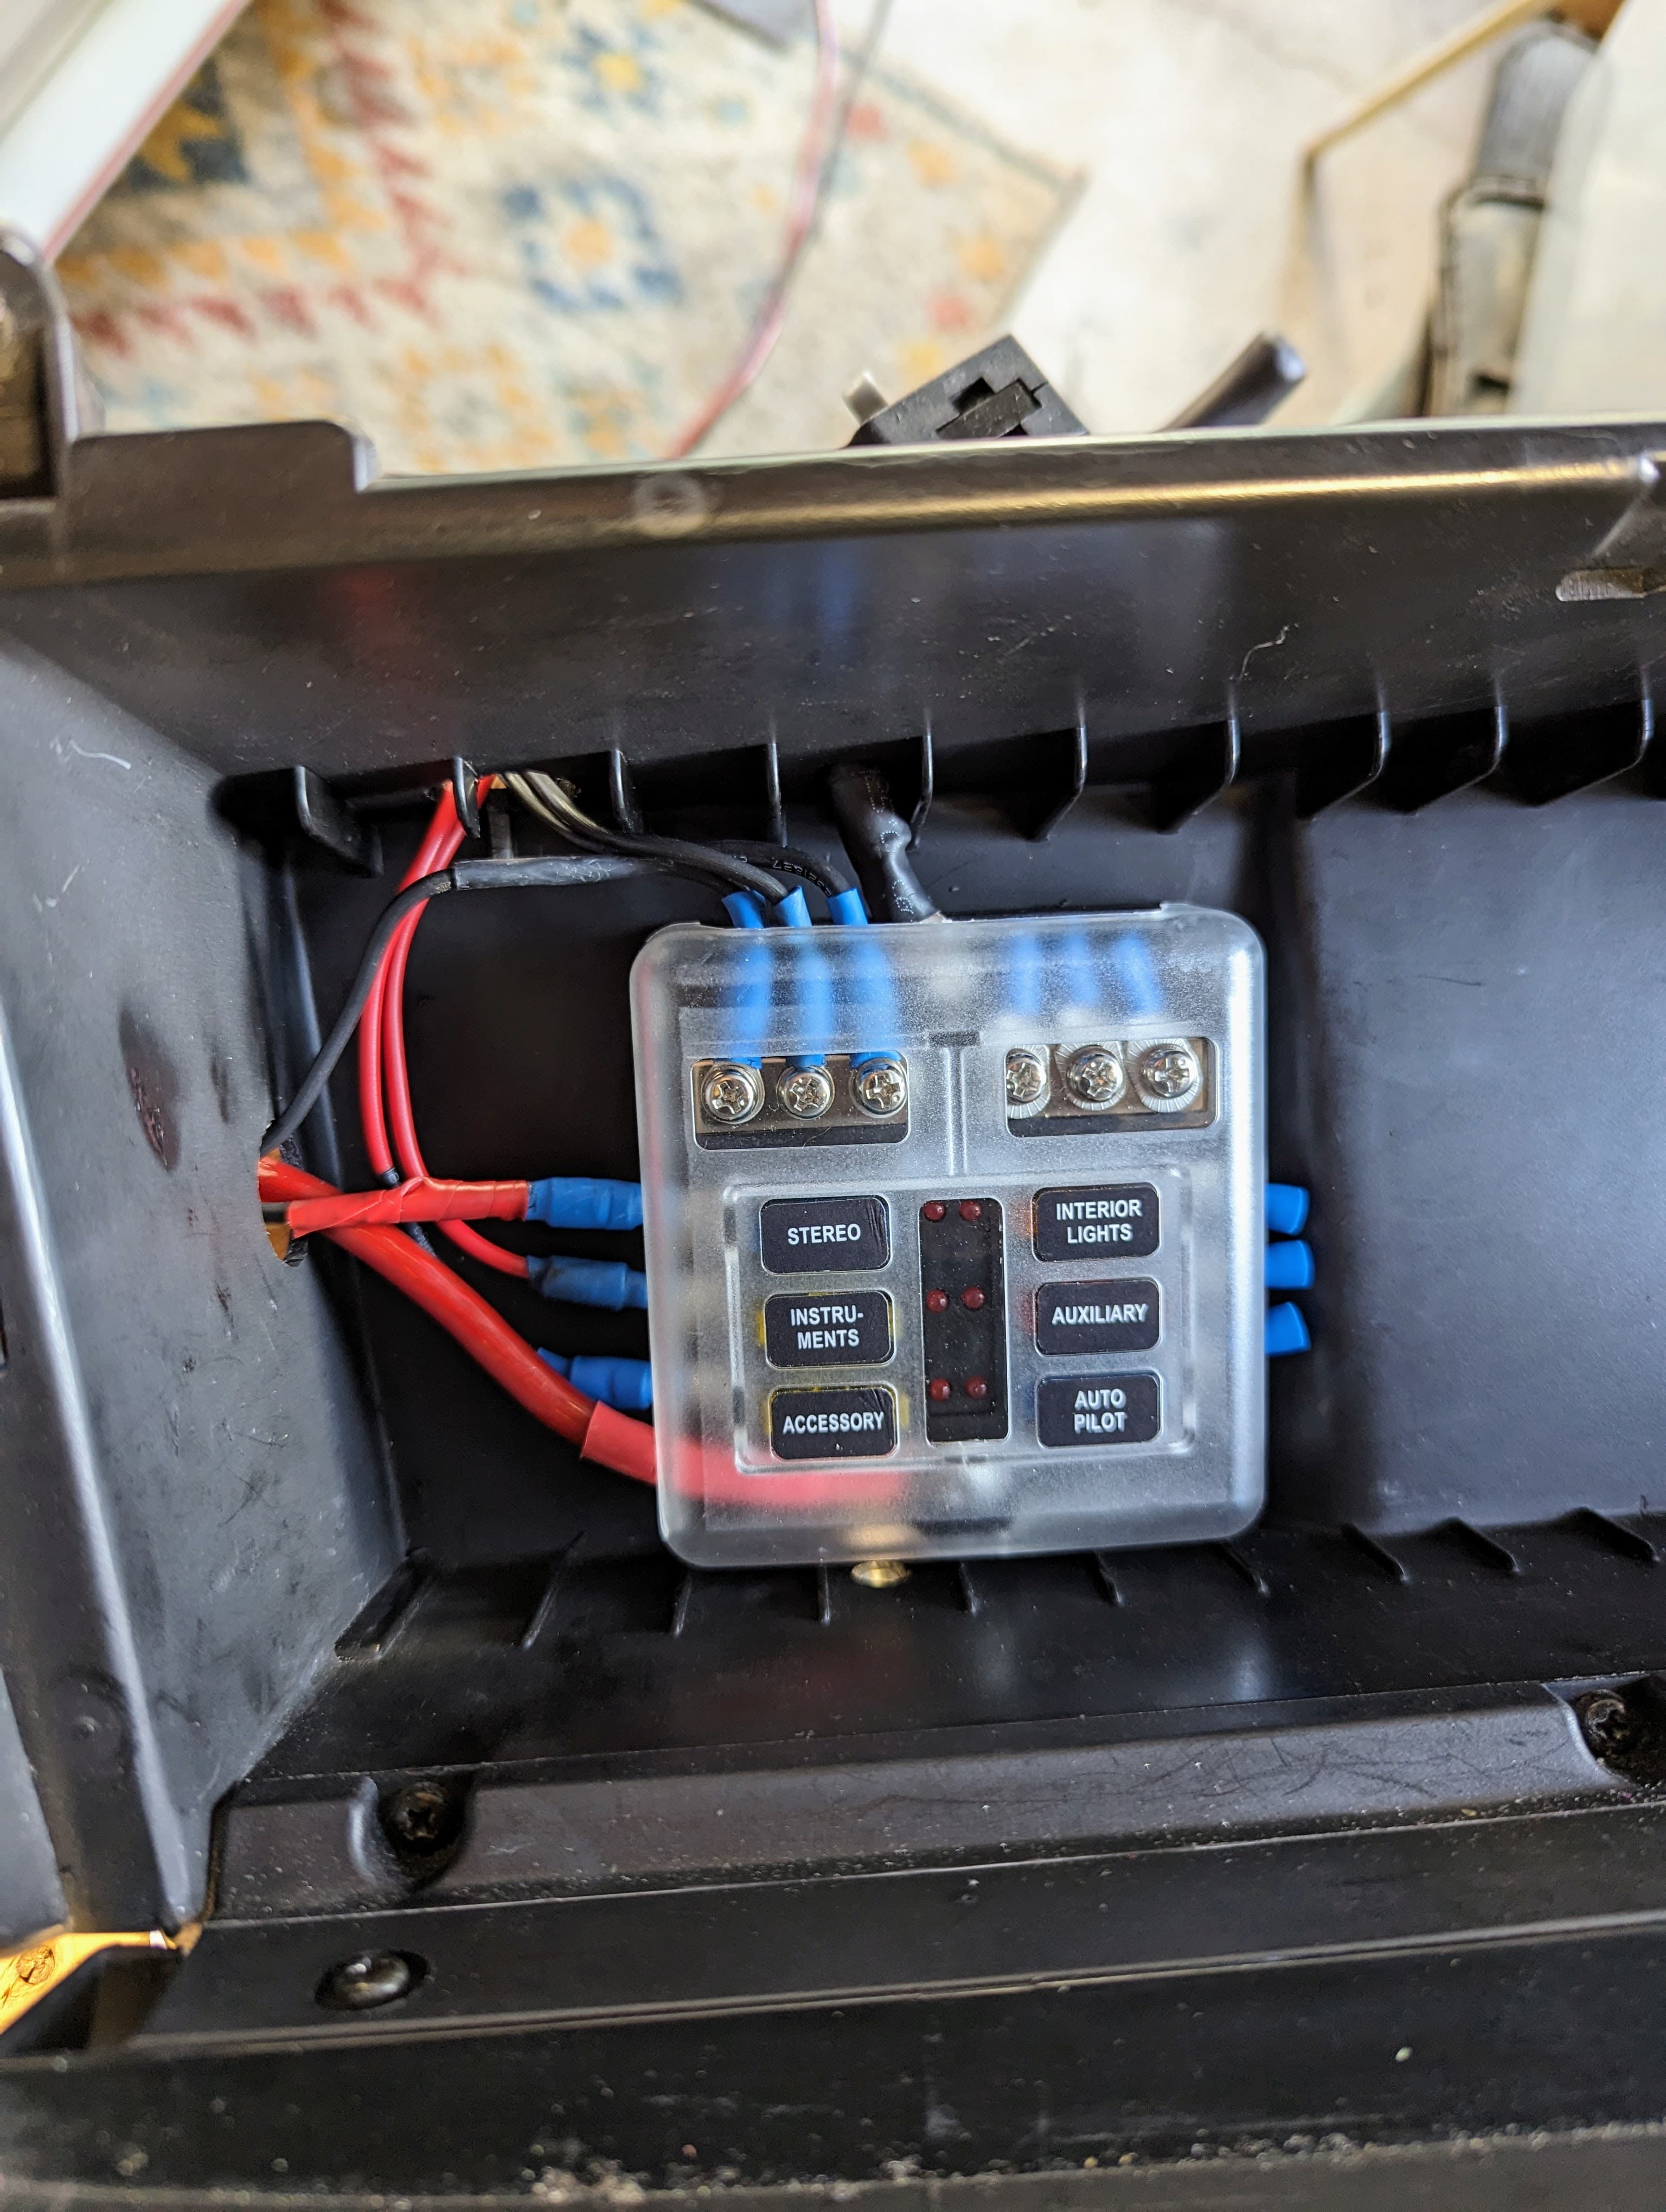
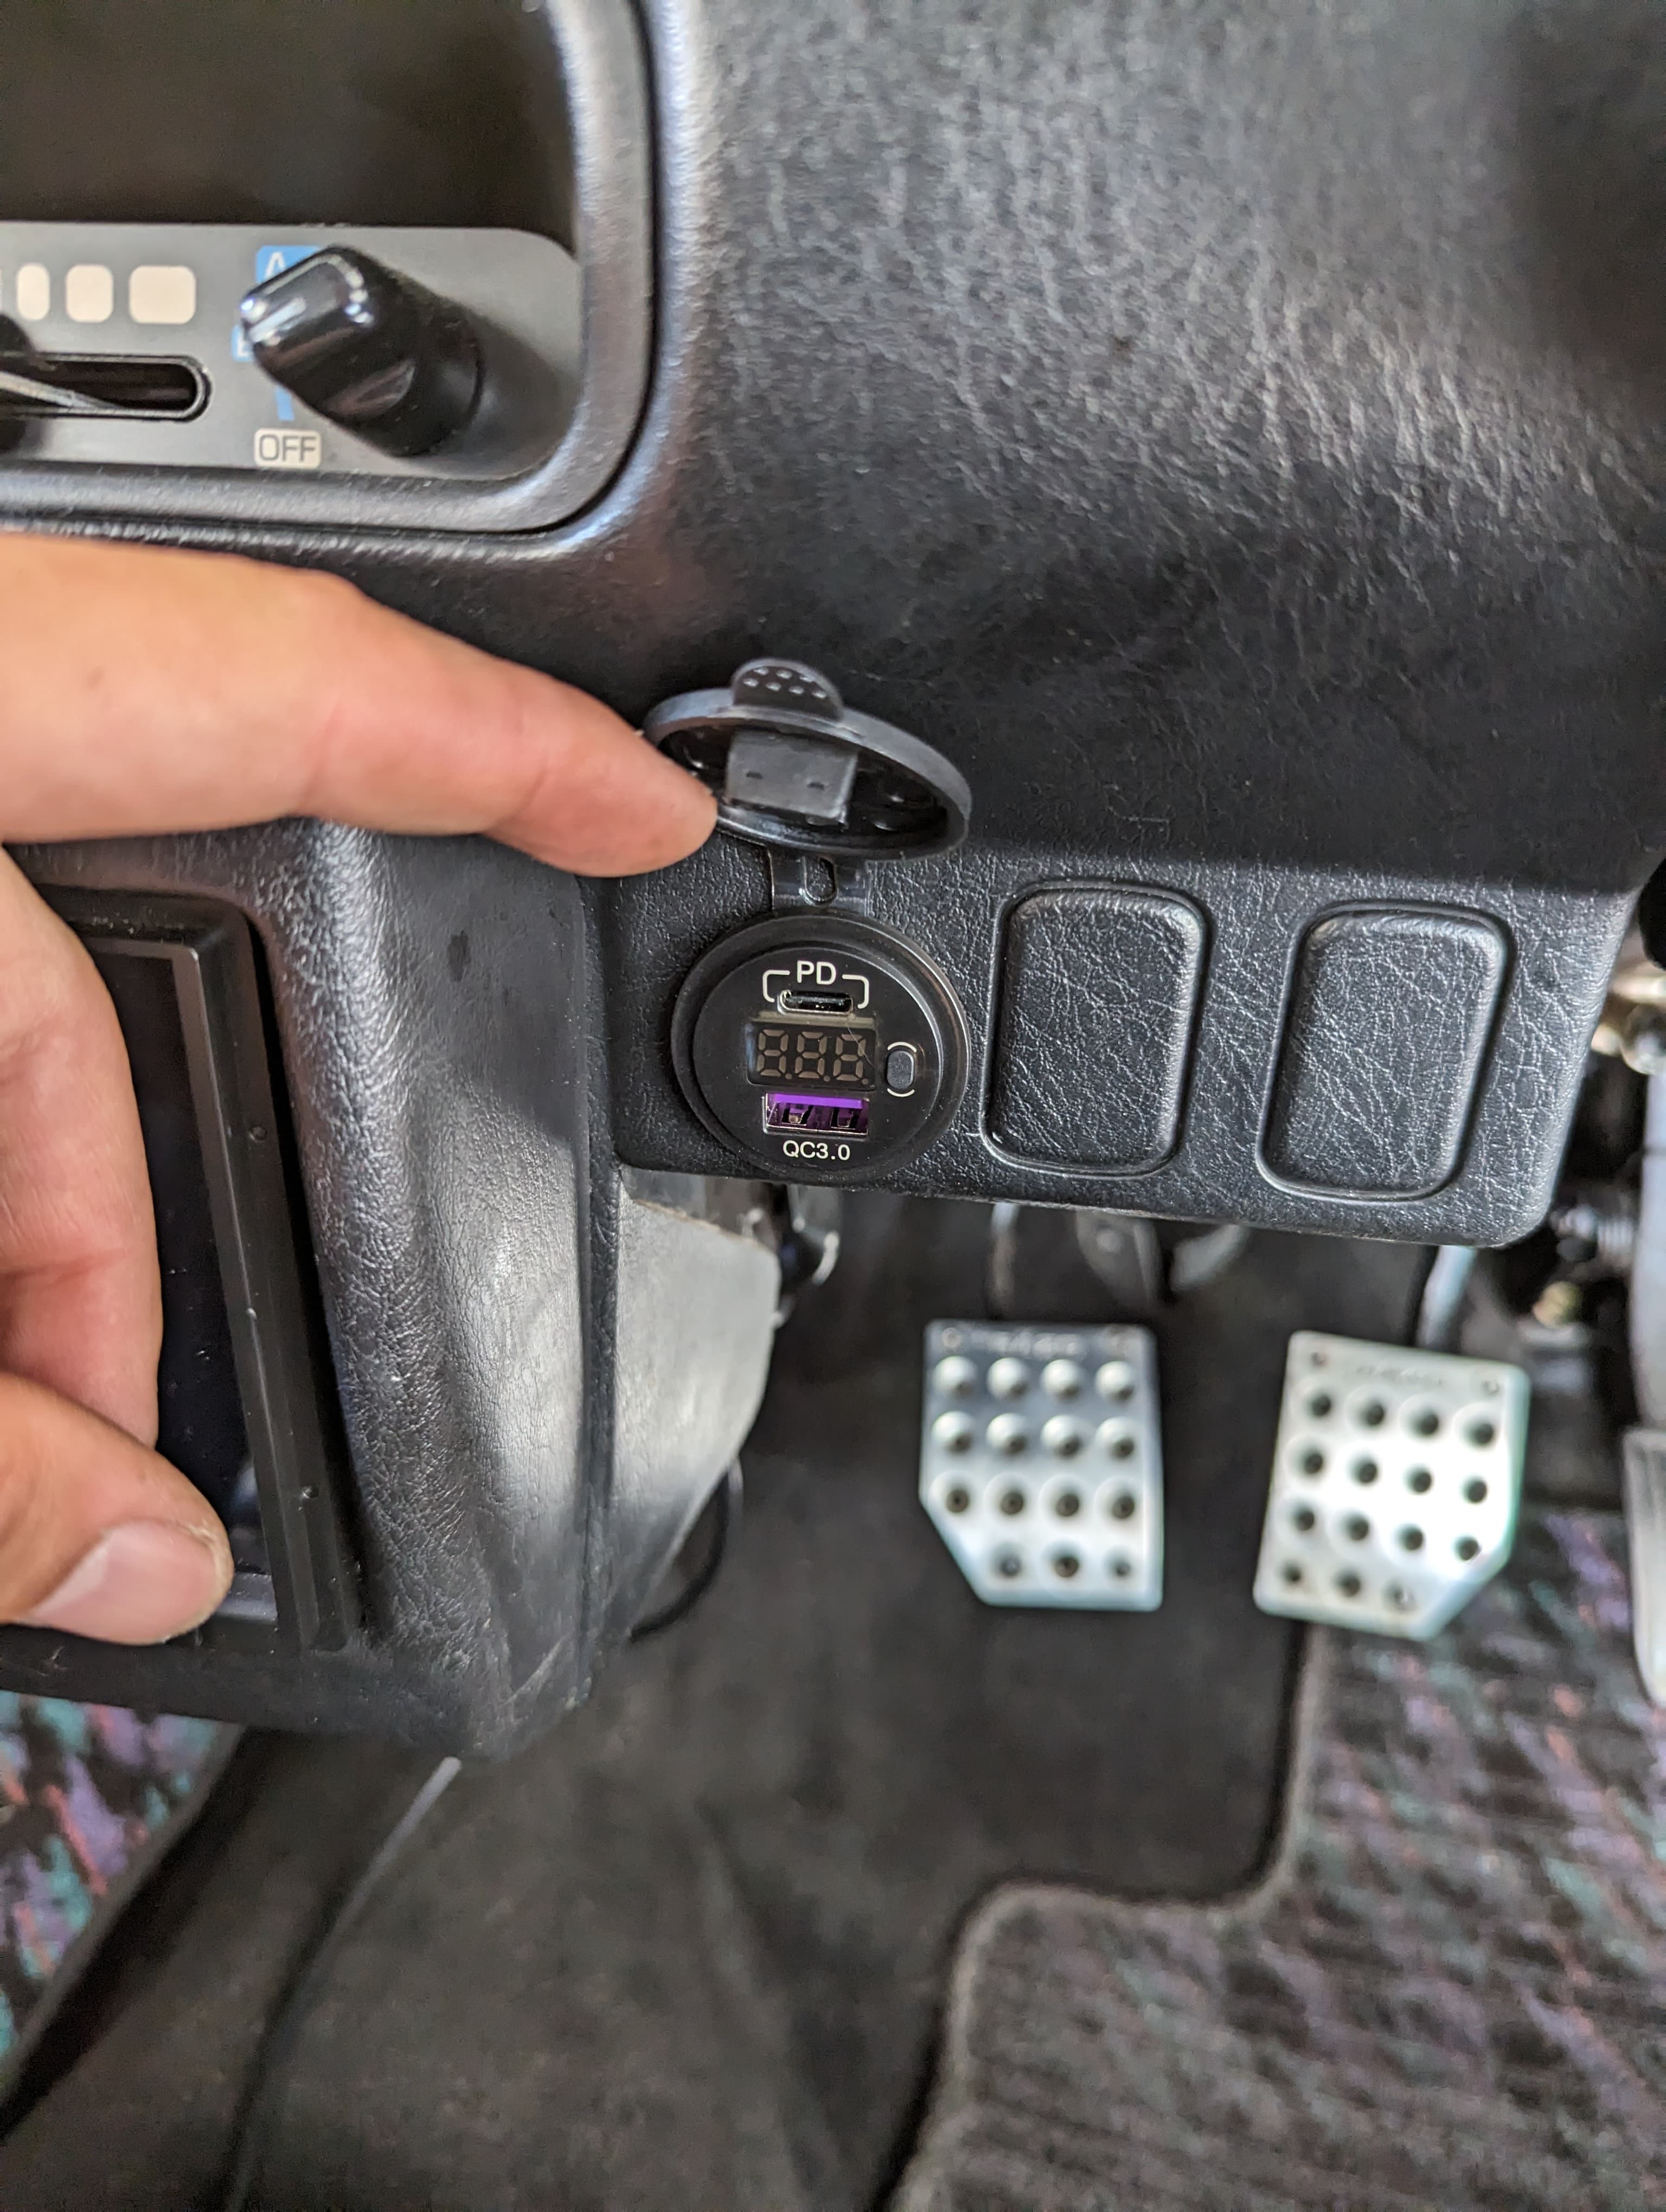
Another thing I am working on is interior wiring. Got sick of the Add-A-Fuses not being as tight as I’d like in the factory fuse box, so I’m adding a second fuse panel to the glove box. Wiring the accessories to it with pre-wired quick disconnects so I can wire everything now and just clip in new accessories later on. Going to run the radio, boost gauge, and USB C PD and voltmeter combo for now, adding more gauges later on down the line.
Need to find a way through the firewall for the 8ga pos/neg wiring, Nik suggested removing the dash so will probably end up pulling it.


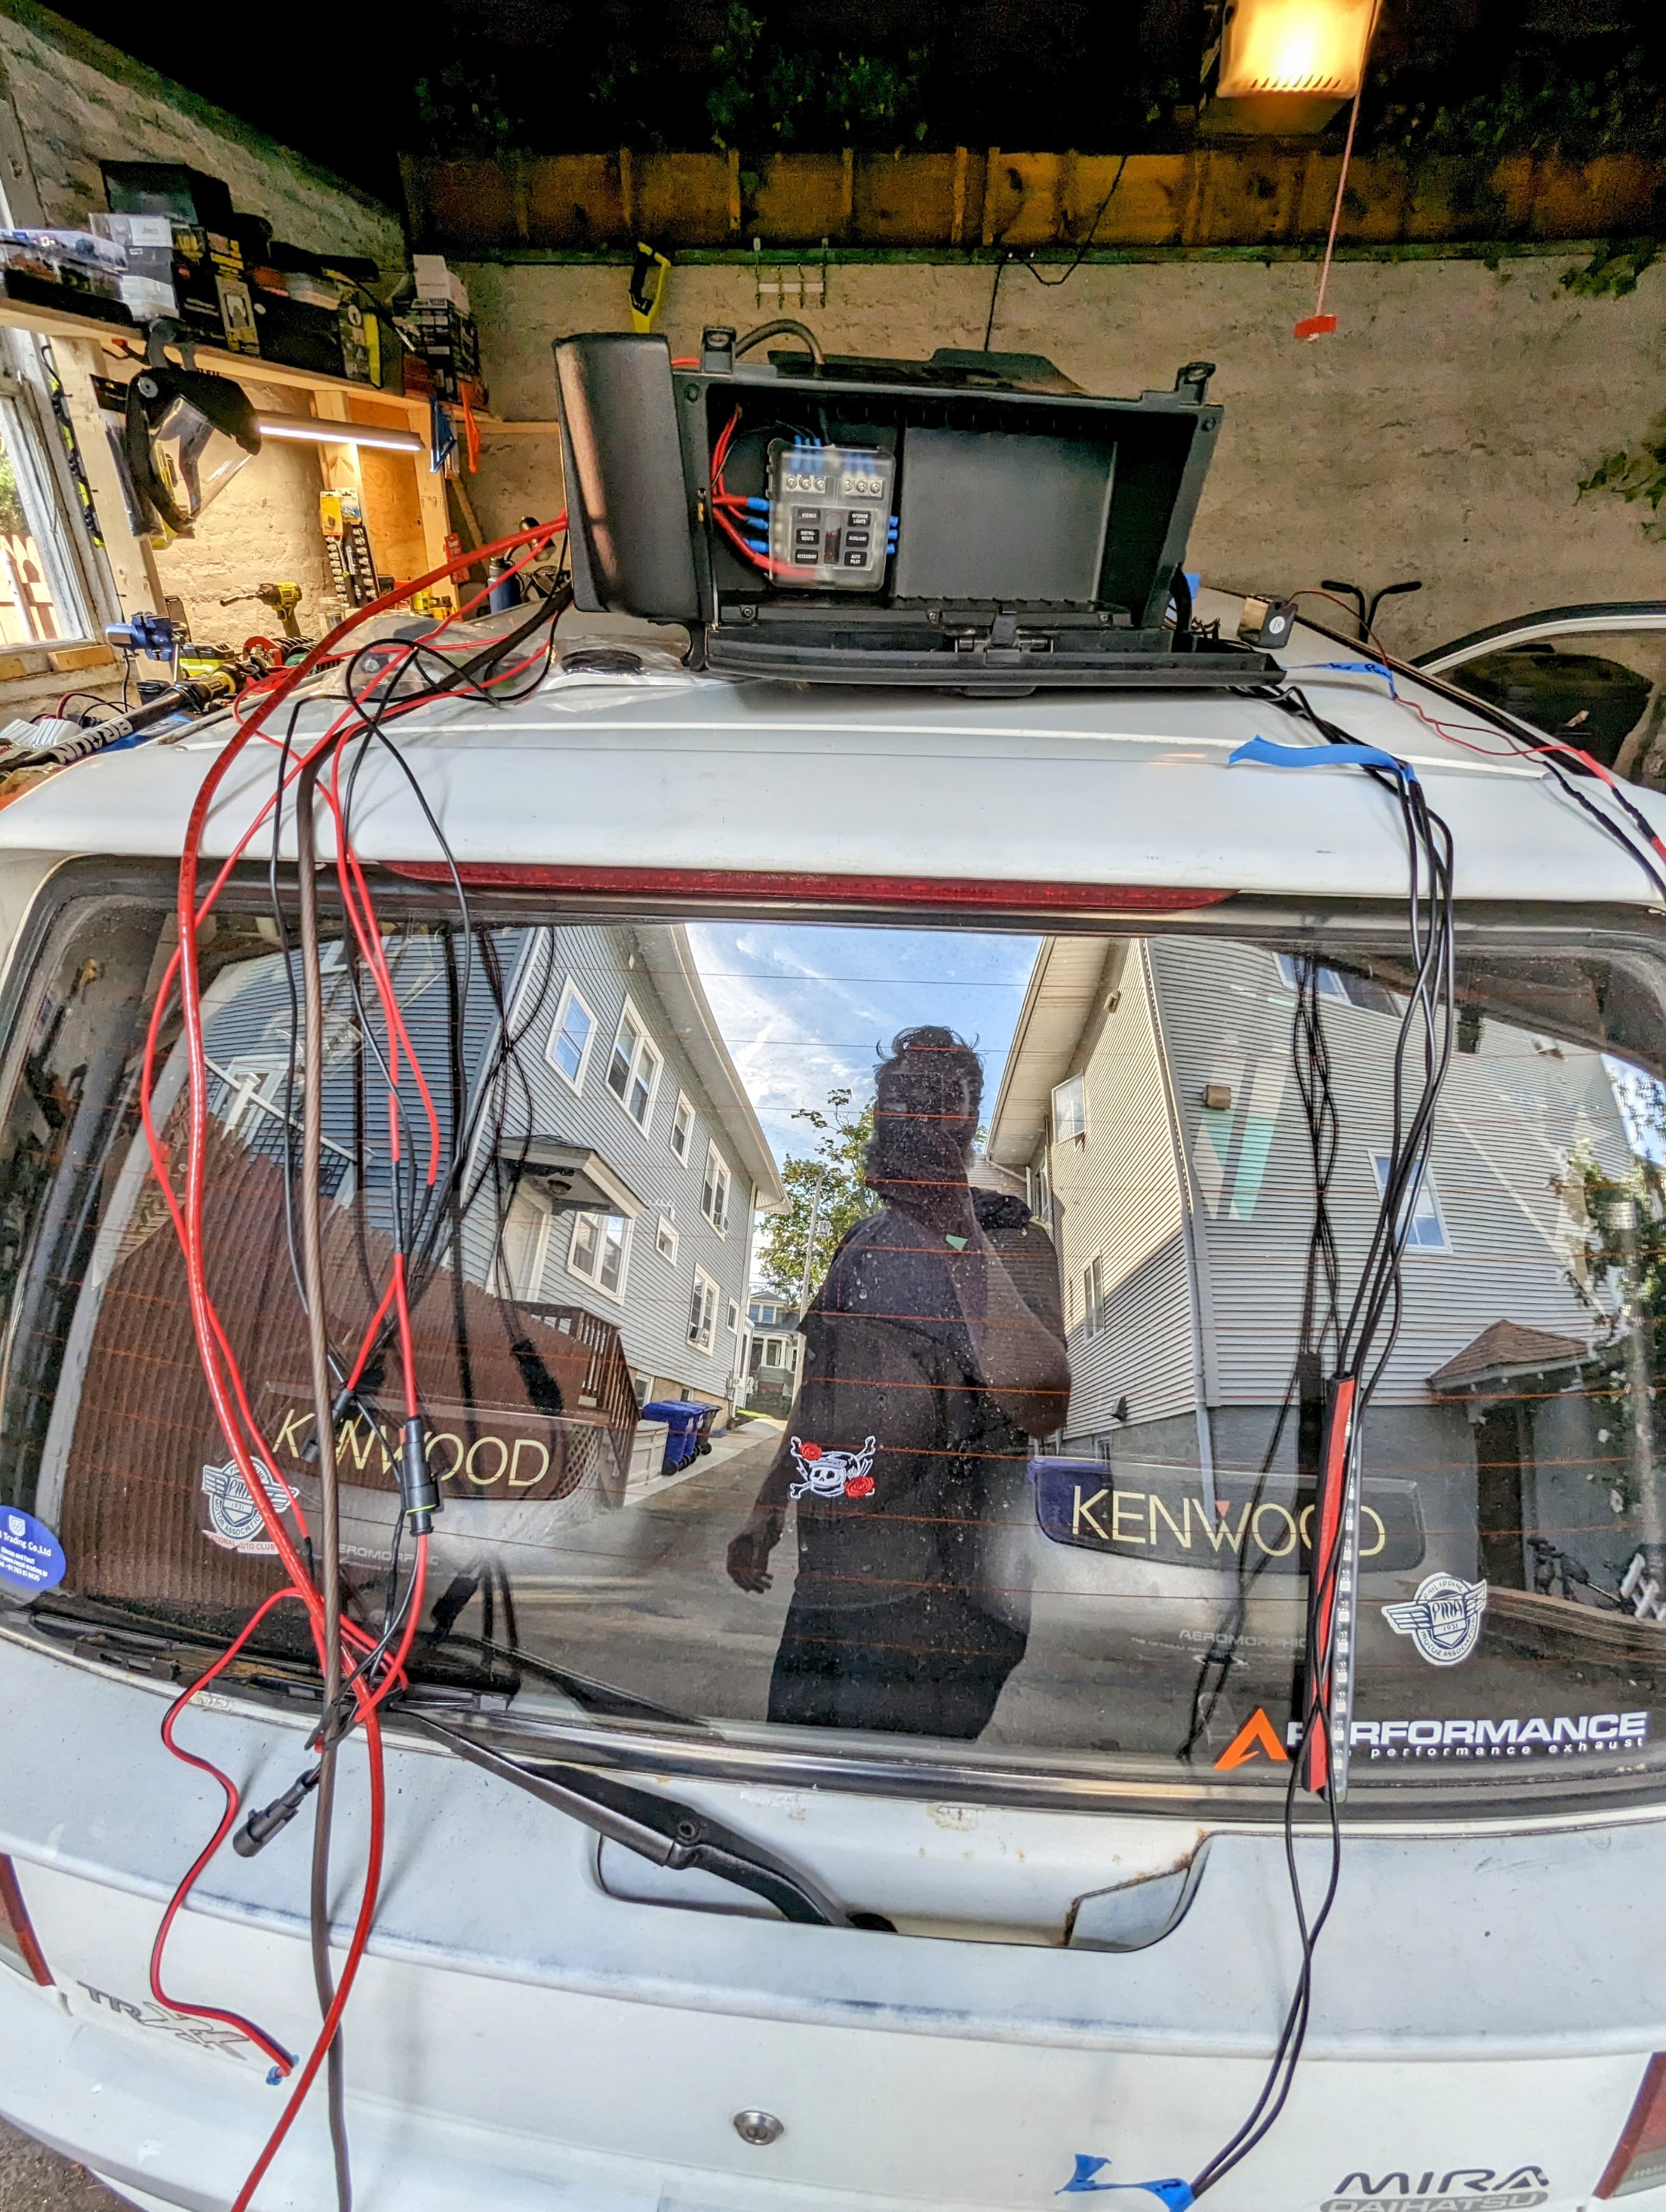
Have grommets and wiring sheaths coming to properly wrap and clean everything up.
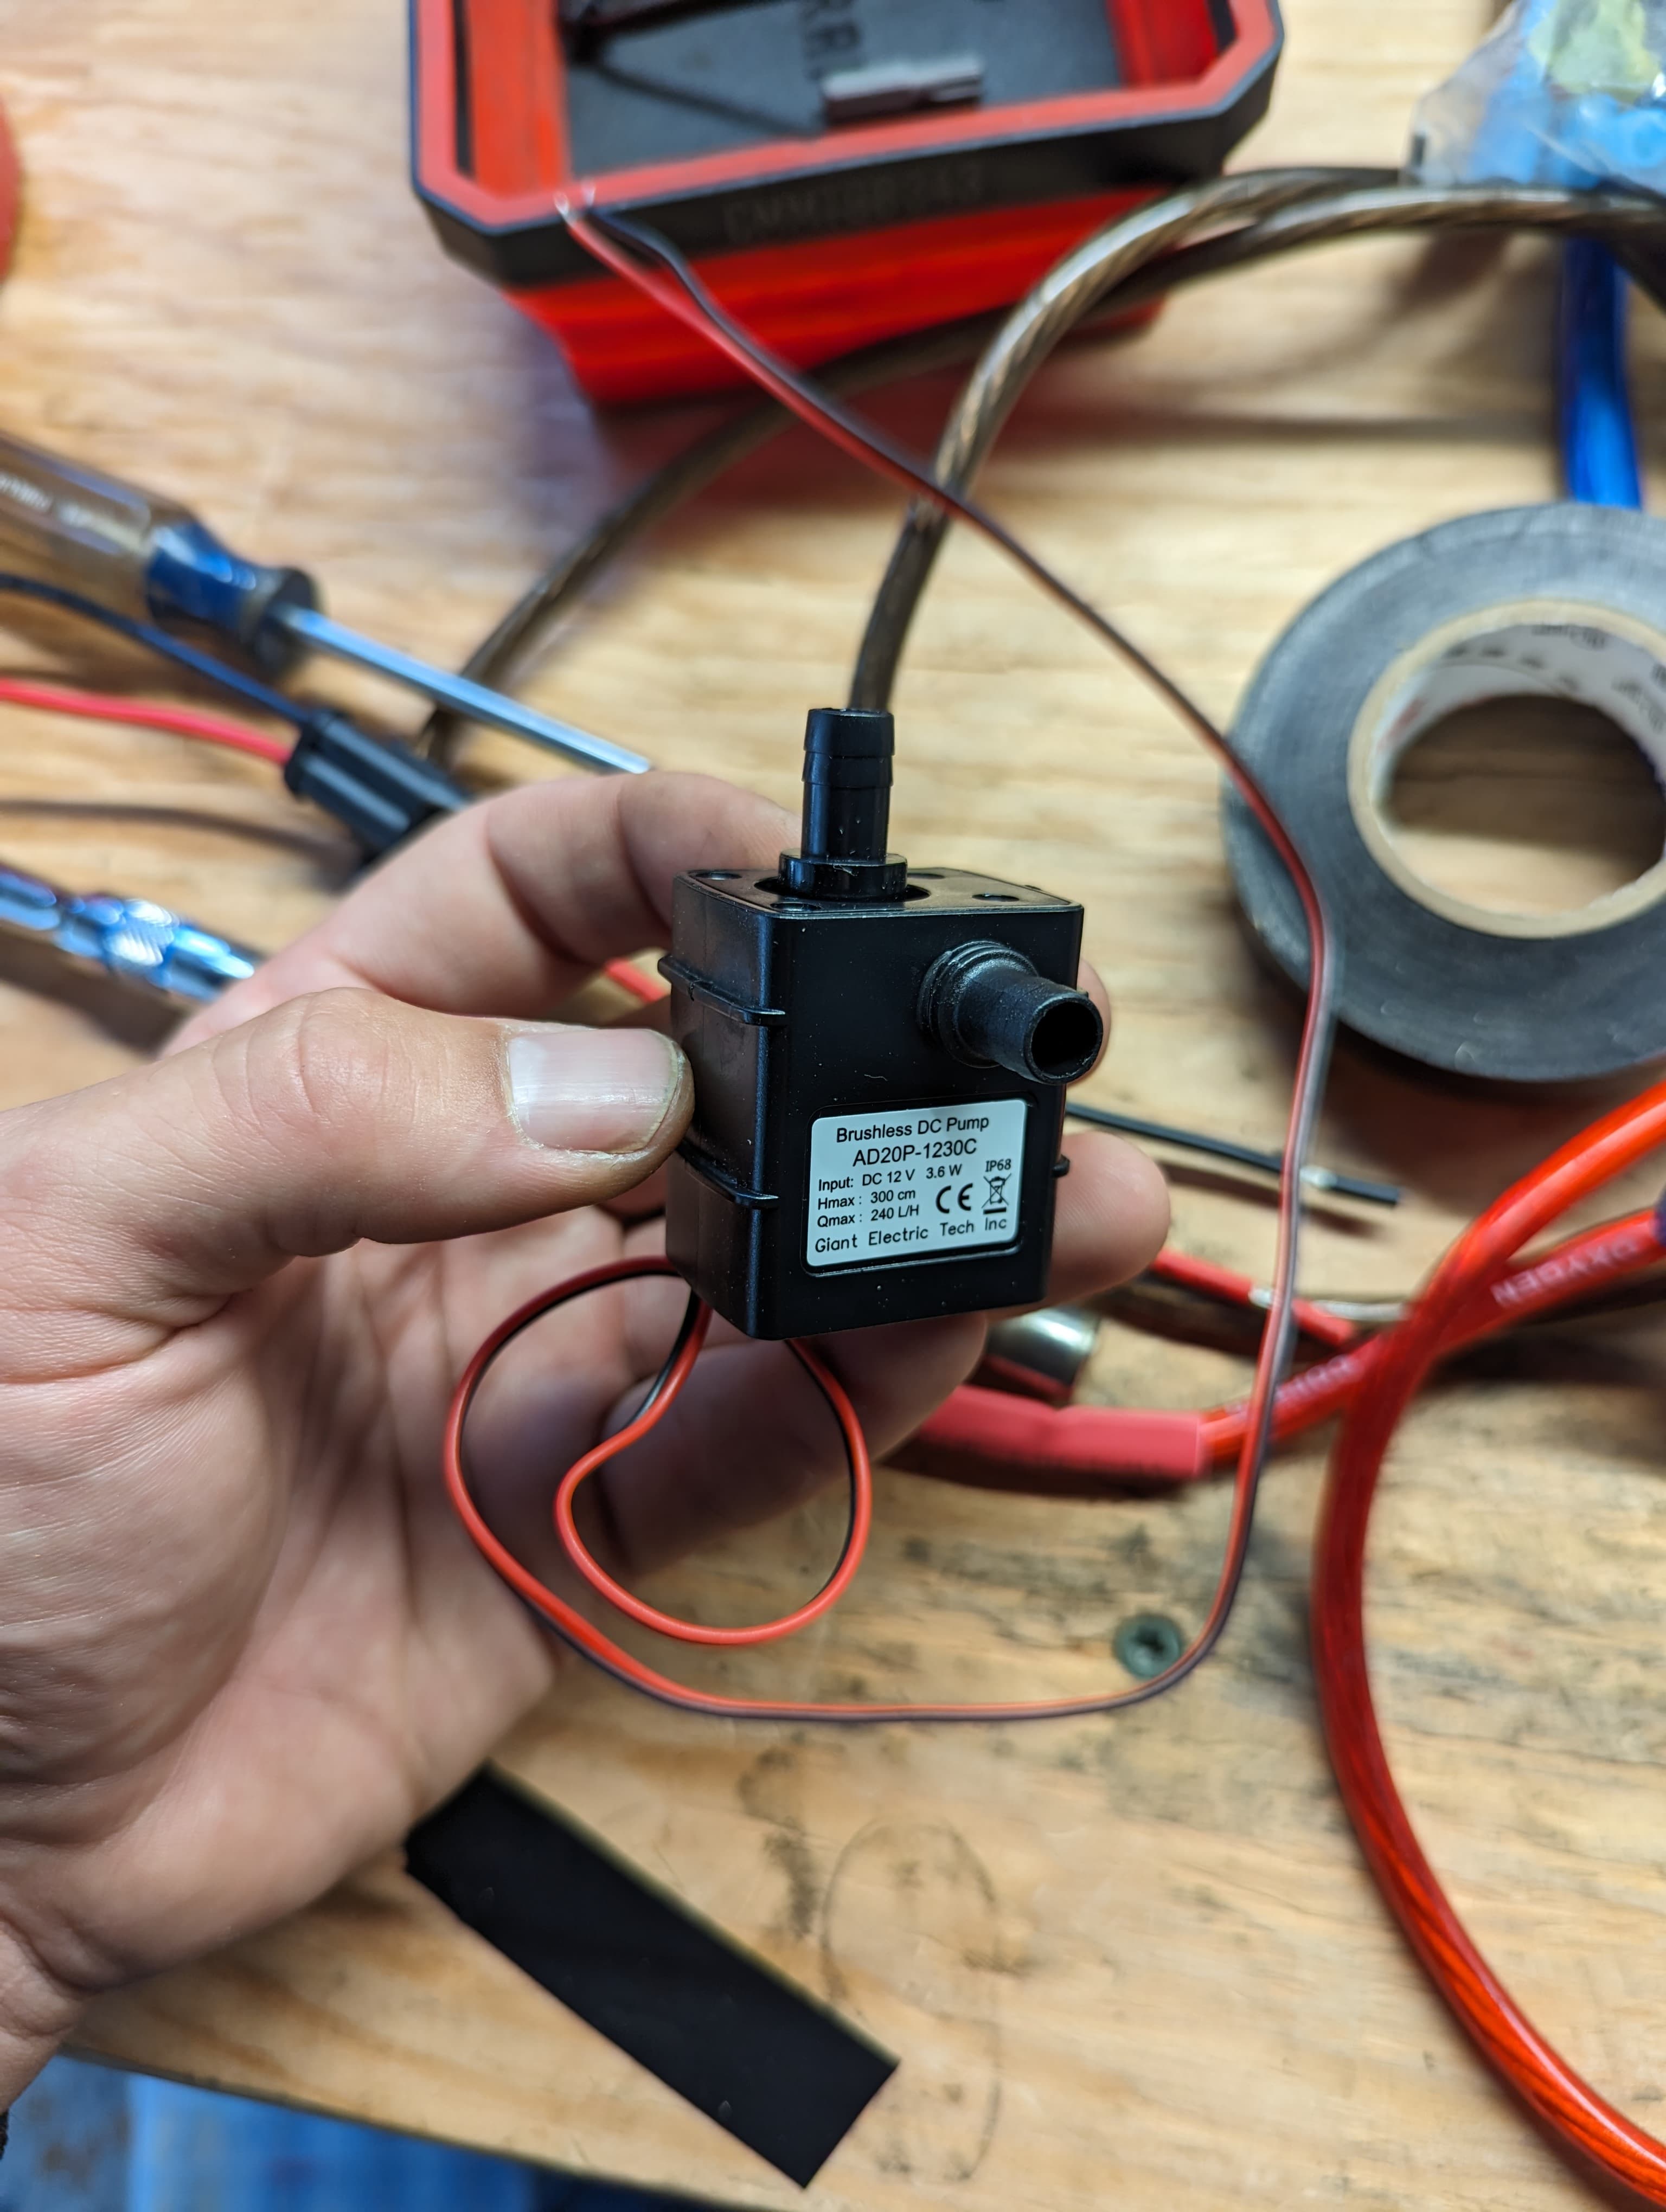
Will also be wiring a kill switch using an OEM foglight switch in the factory switch blank position as well, and a totally unnecessary intercooler sprayer. I have a DC pump and the nozzle from a WRX STI, just need to find a container for the water/alcohol mixture.
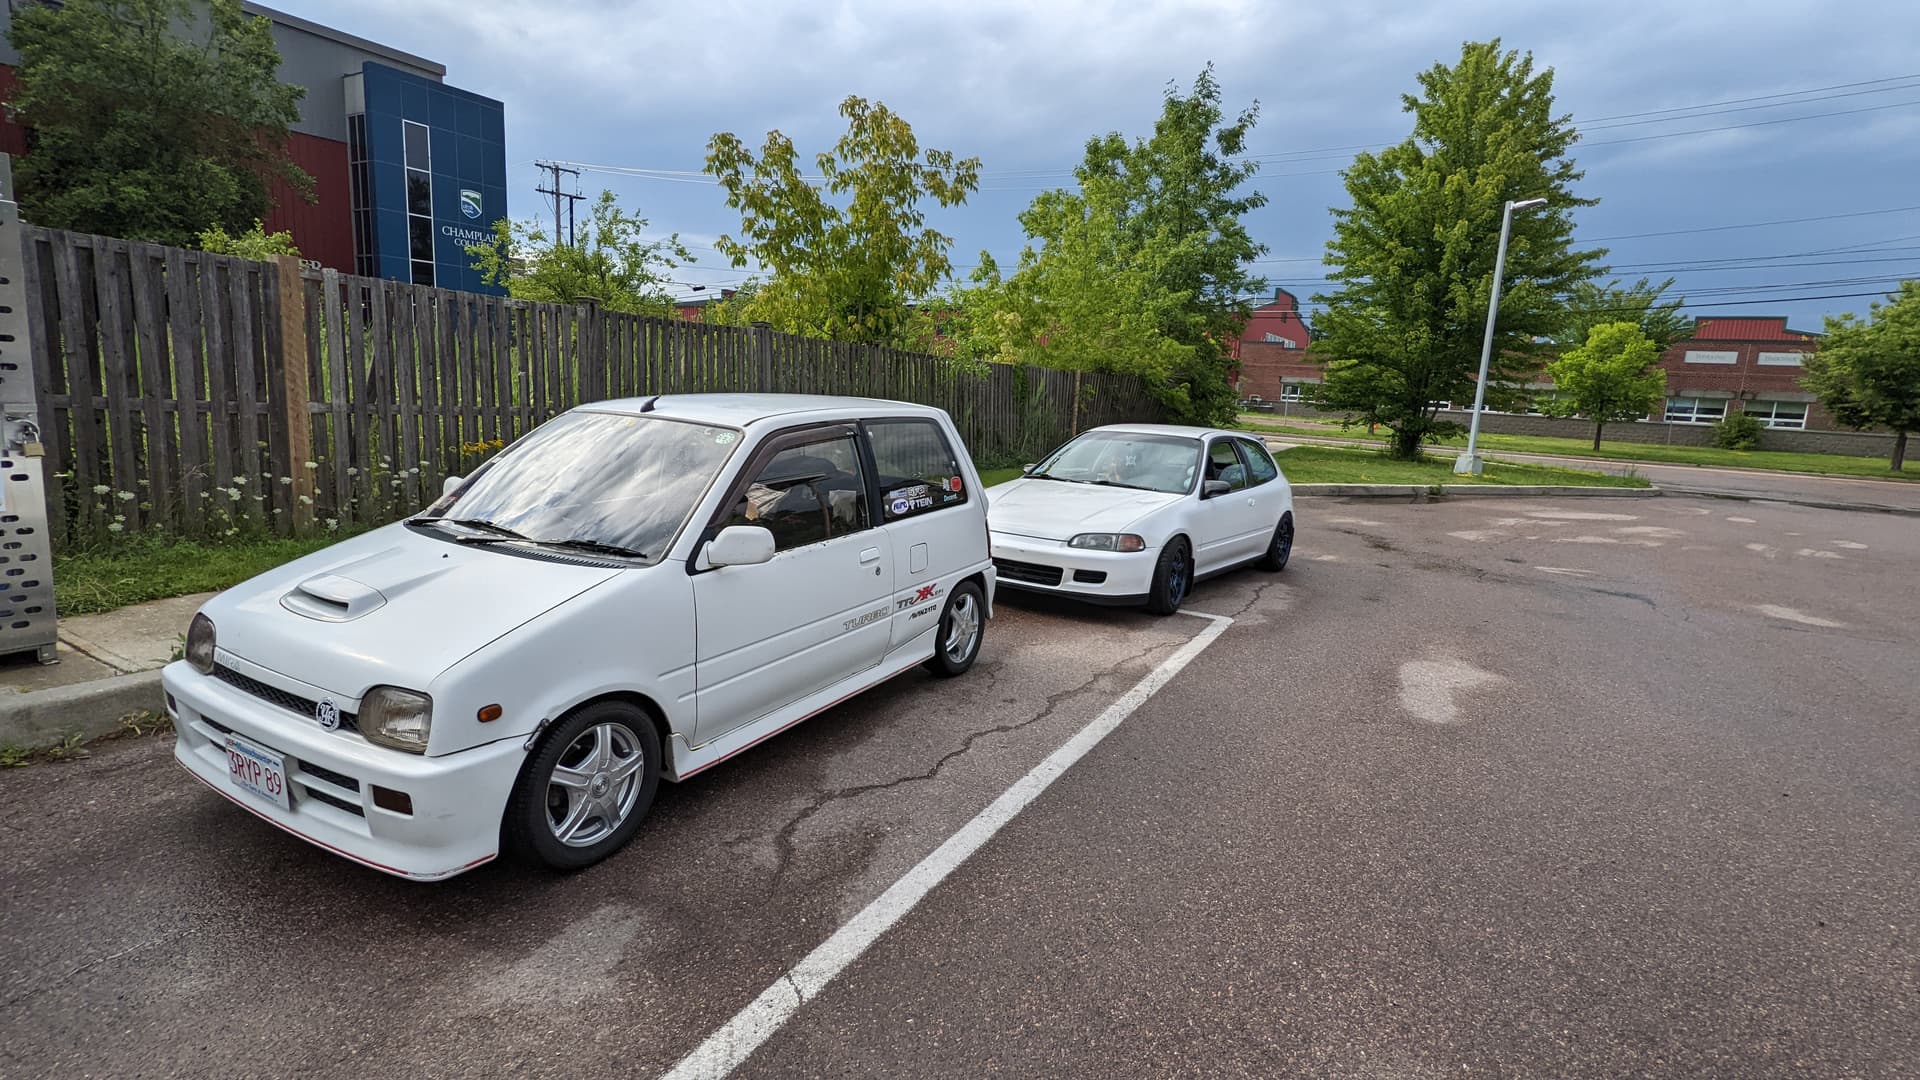
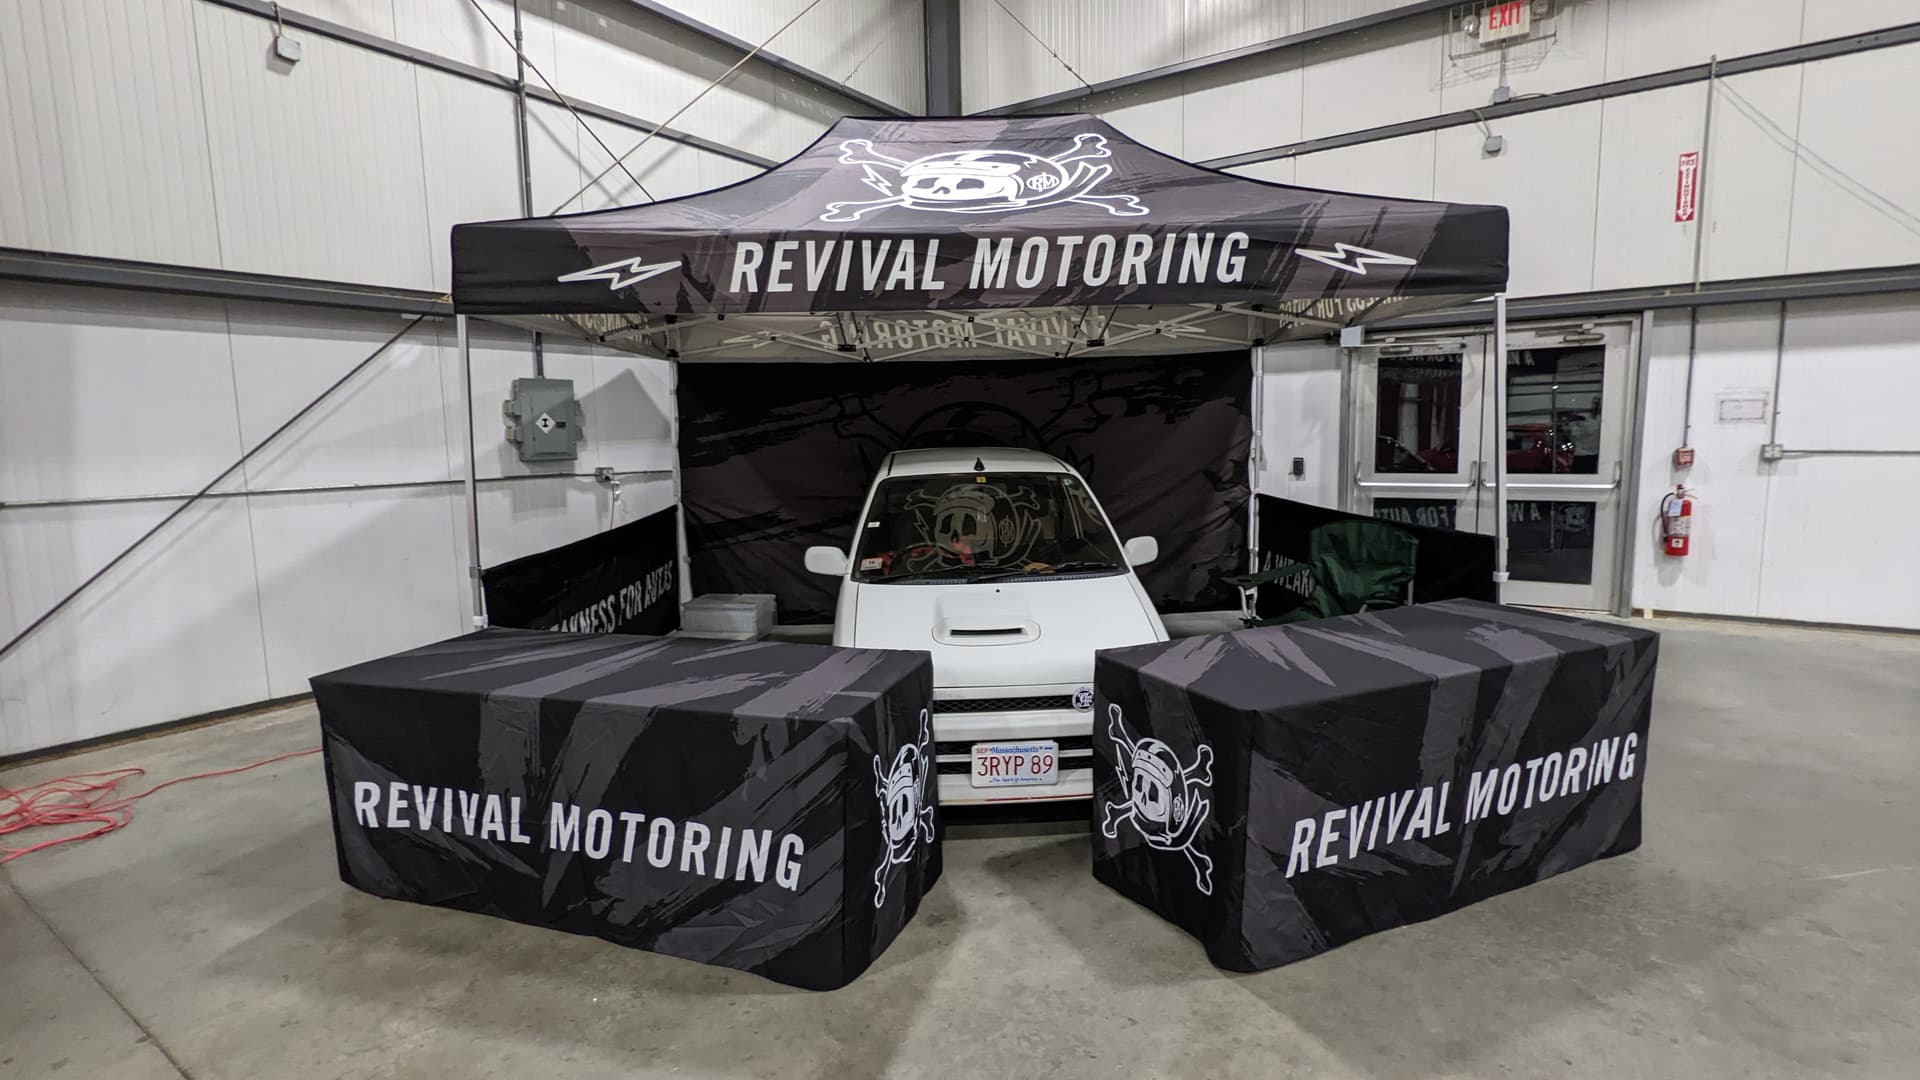
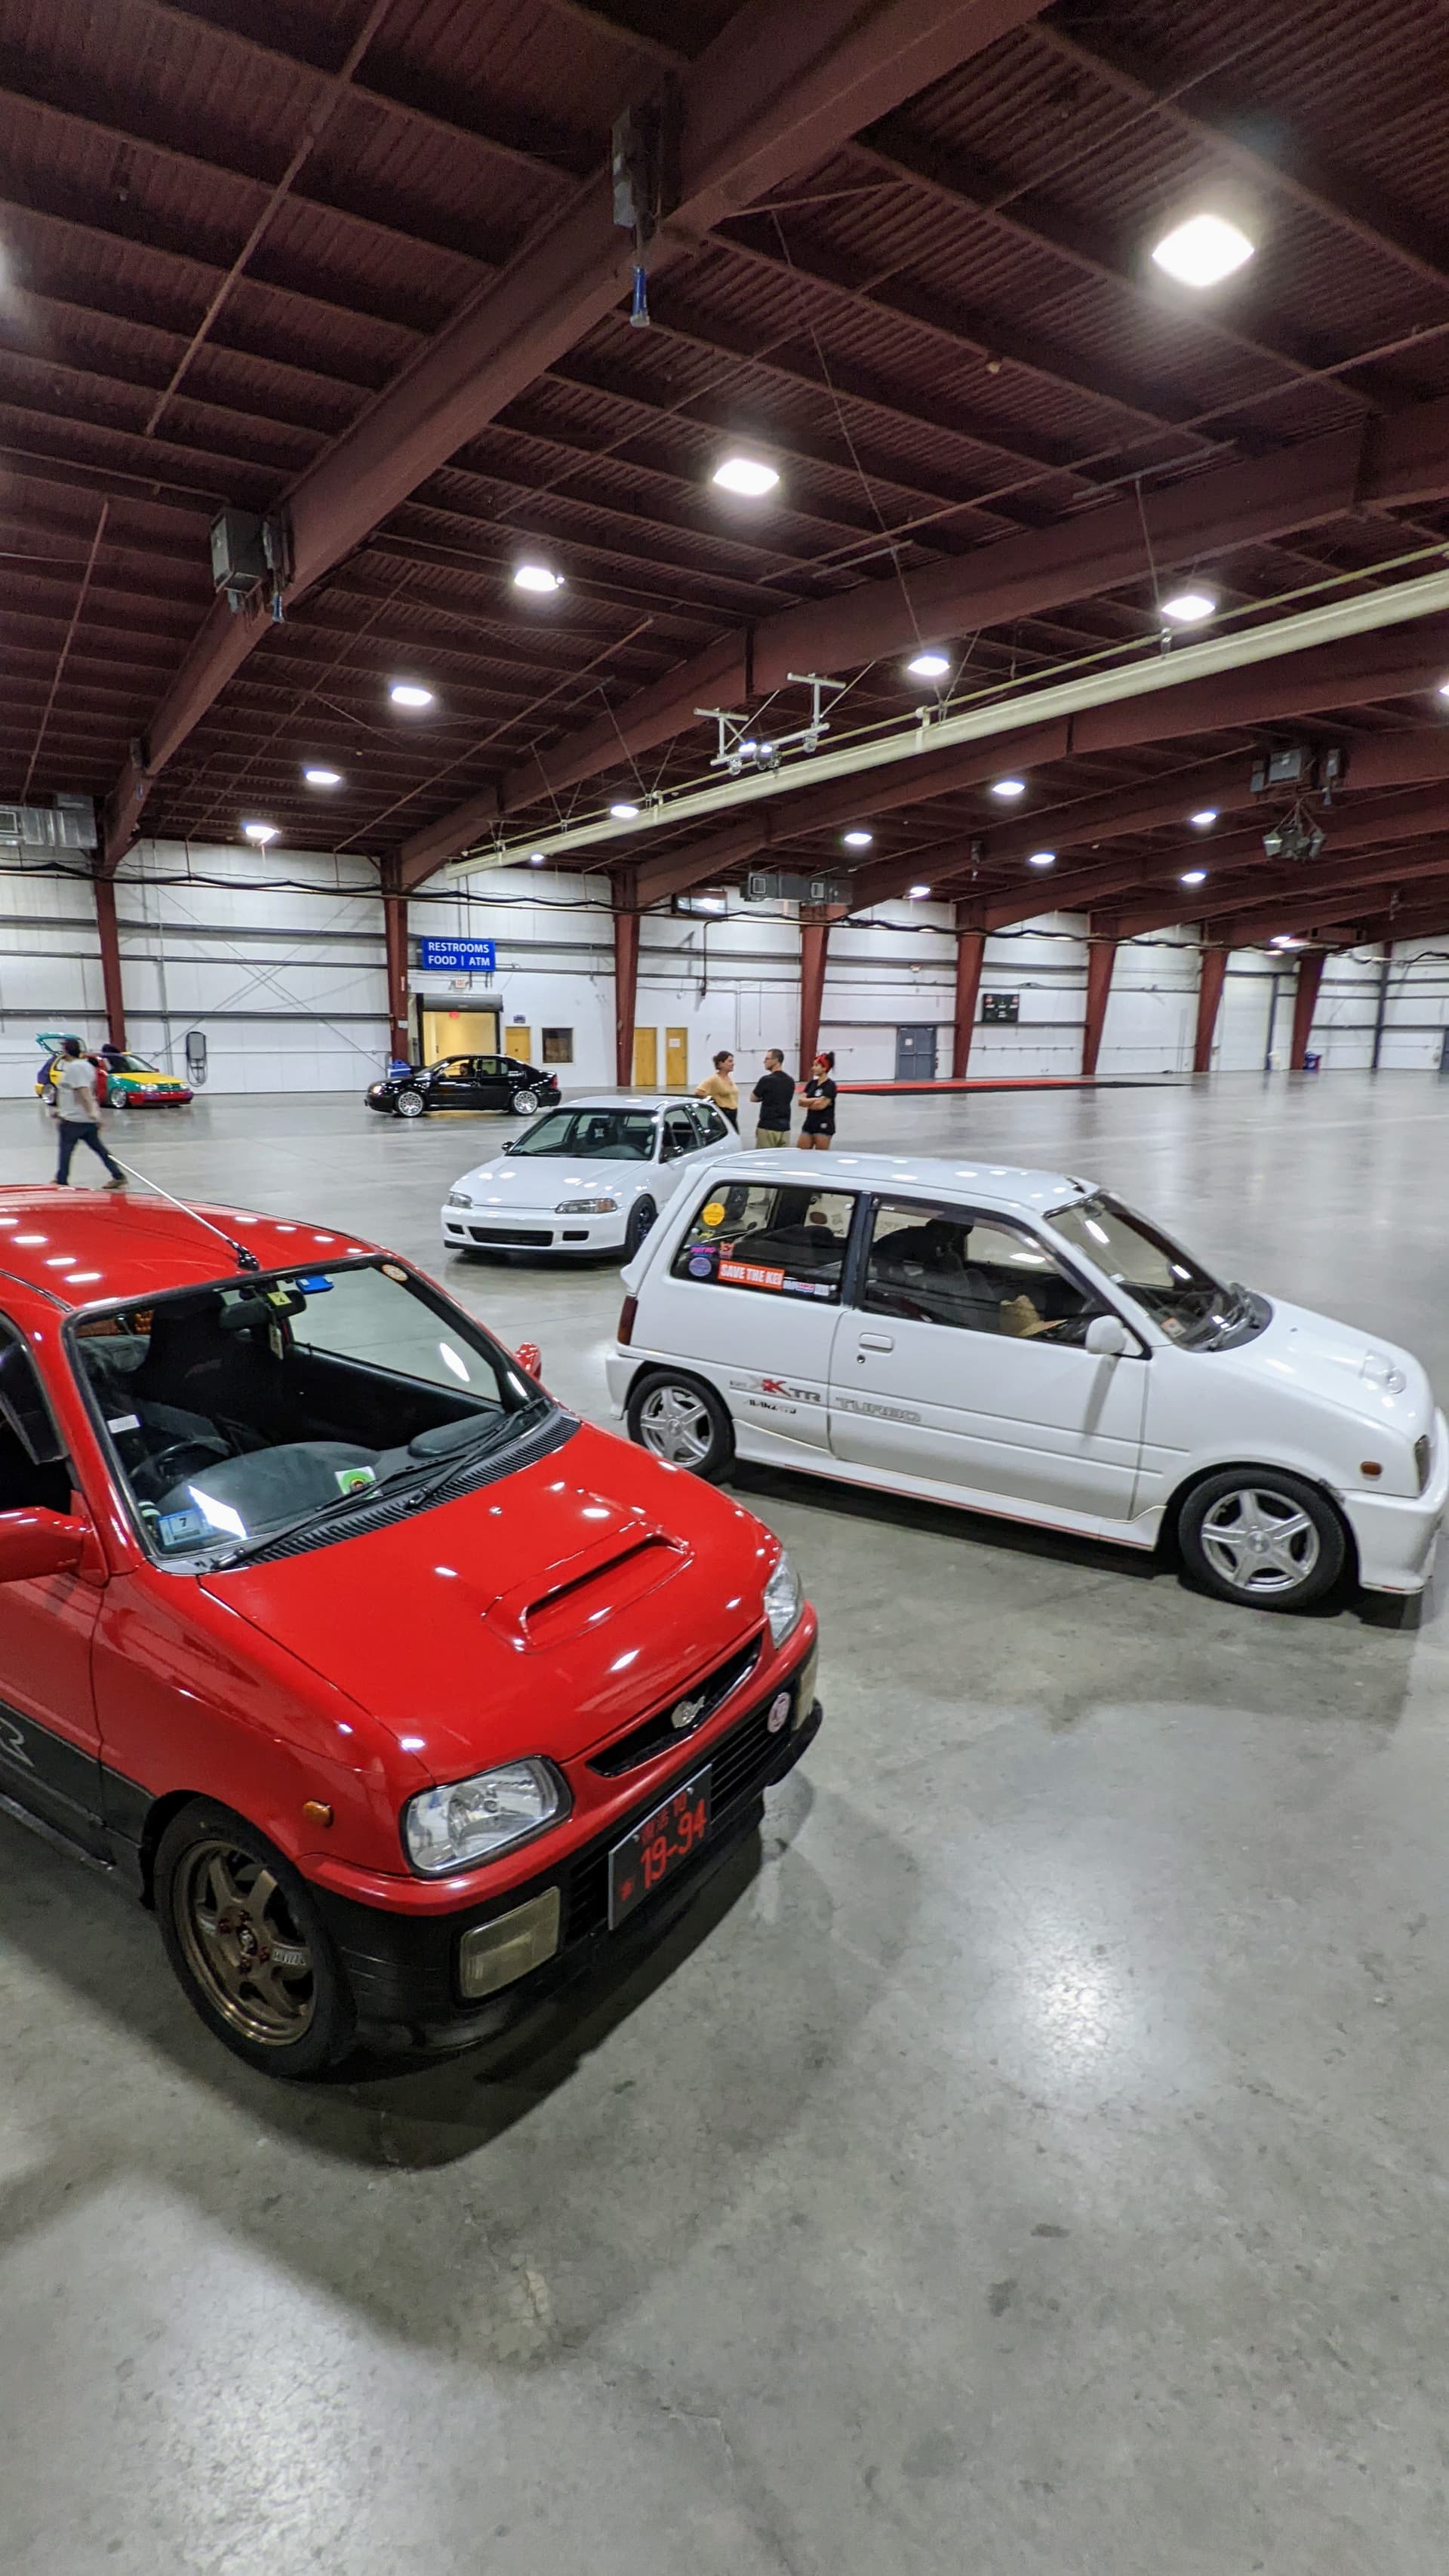
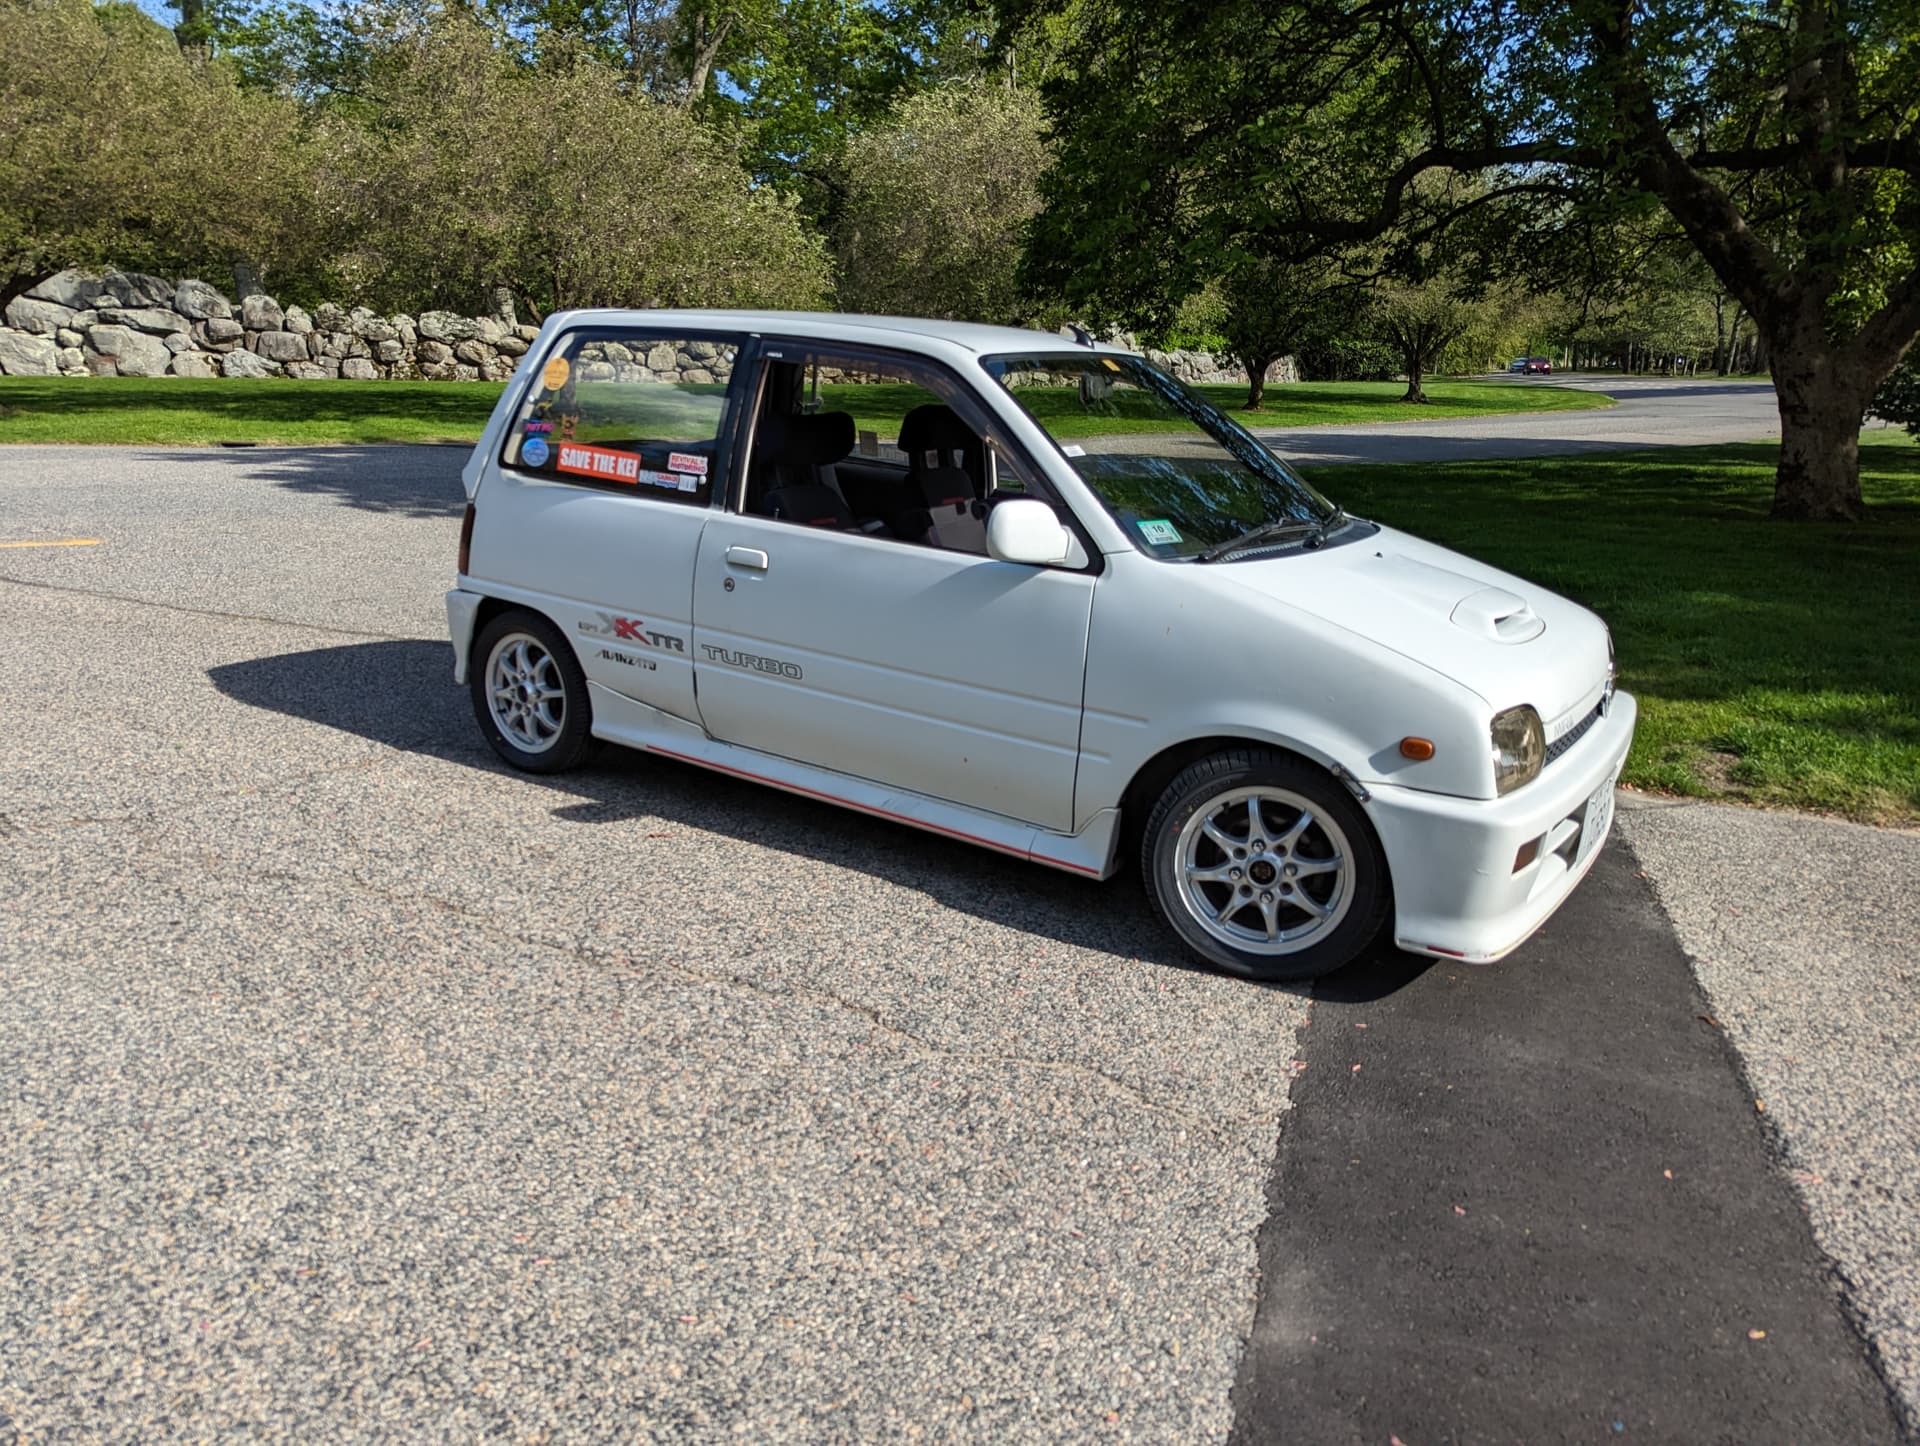
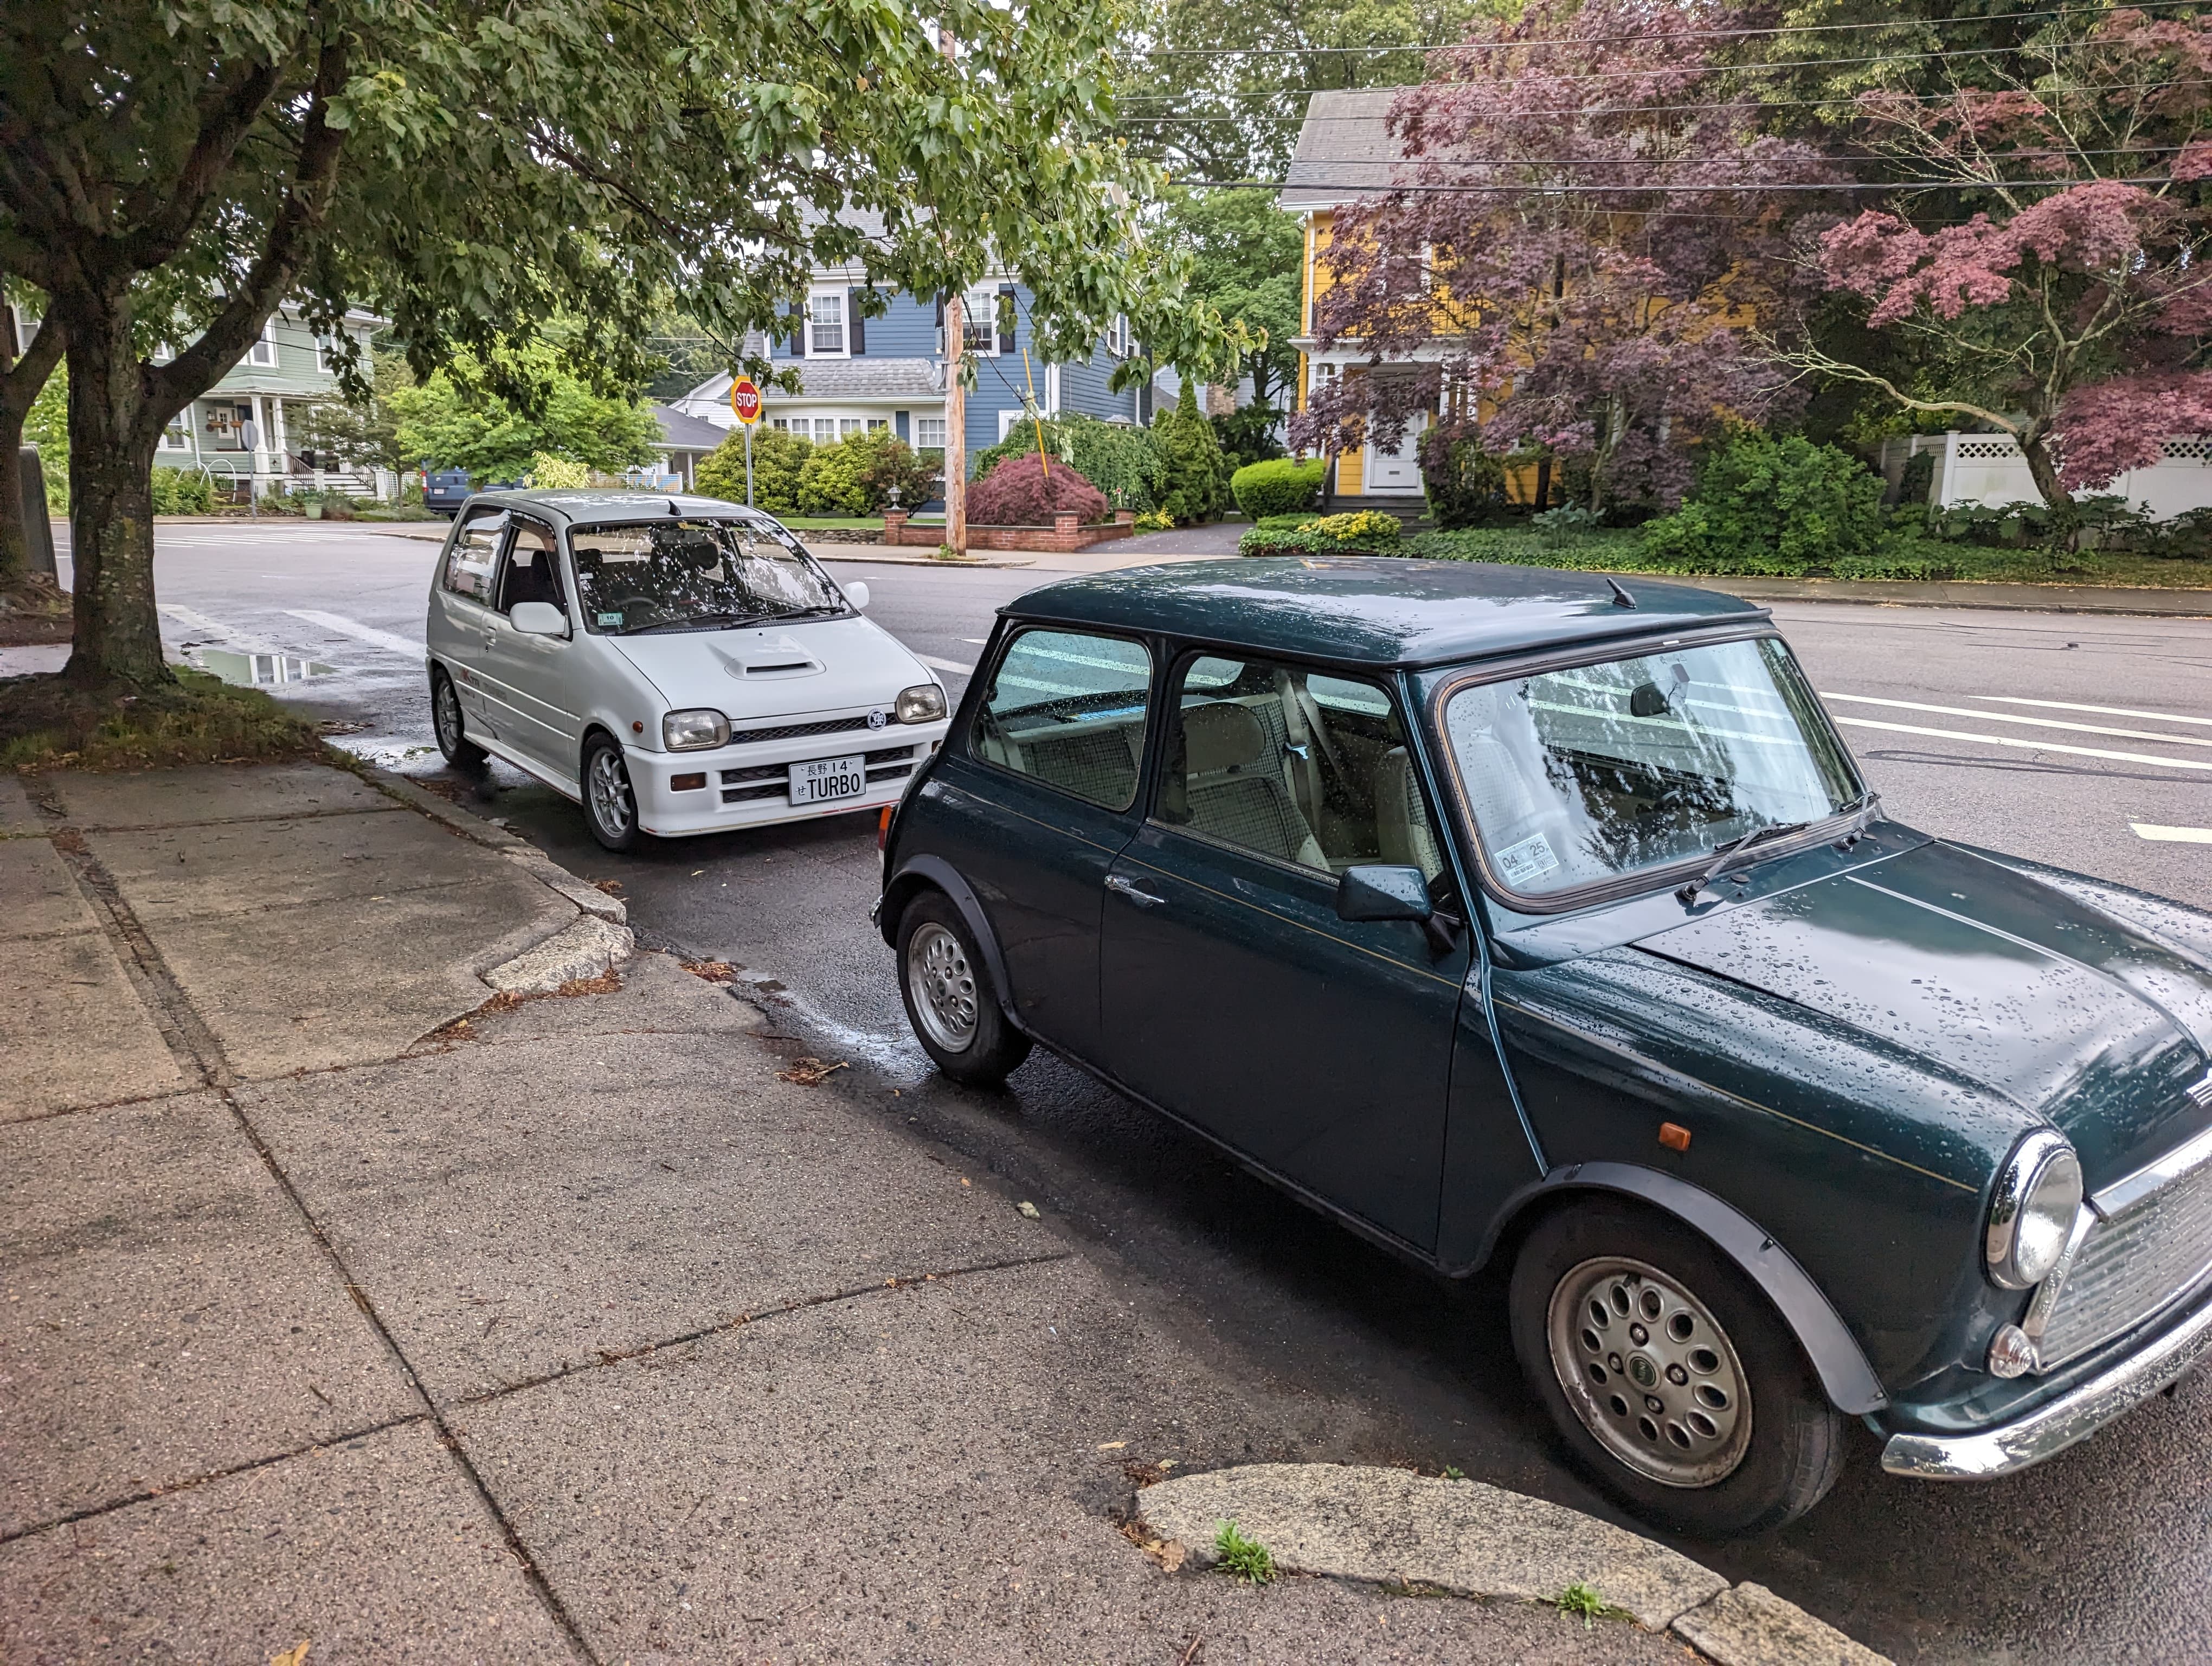
Parked next to some other small cars:

Few other random thoughts/questions:
Still having what feels like a driveline vibration from somewhere, my latest idea is maybe I bent an axle somehow? Wheels are balanced nicely.
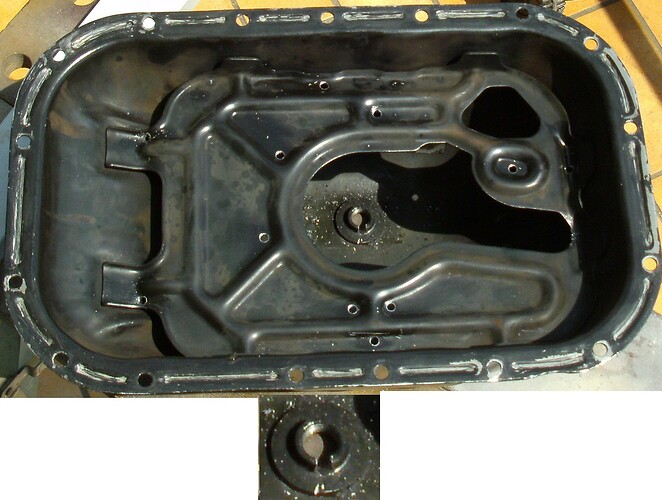
The oil pan seems to be seeping oil, so I’ll unfortunately have to pull the motor again and reseal the pan. That being said…it never leaks a drop on the ground, and it uses almost no oil between changes. I’ve also been pleasantly surprised with the LACK of oil in the catch can, seems to indicate that the motor is fairly healthy with little blow by past the rings.
Also, there is another noise I’m hearing but I have almost no idea where it’s coming from. Noise disappears when the clutch is pressed in/engaged. It almost sounds like the fingers on the pressure plate are evvvvvvver so slightly ticking on the throw out bearing when it’s running/heats up, very hard to describe, I’ll have to record a video of the sound and post it for better ears.
I’d probably get a new TOB for when I pull the motor to reseal the oil pan as I did not grease the new one enough when I installed it and it squeaks when the car has been driven for 60+mins.
It’s been frustrating lately, just want to drive and enjoy the car and have been annoyed with the small niggling things, and the vibration while reduced is still driving me nuts, I have to get a good mechanic to drive it and feel it maybe get a second opinion. It’s been tempting lately to try and just get rid of it and just buy a USDM Miata, but at this point I’ve put so much into this little nugget I’m not sure I can just let it go.
Have only driven on the new strut tops for maybe ~20 miles this evening, needs to be aligned badly and then I’ll finish up the interior wiring and hopefully just drive it around for the rest of the summer.
5 Likes
Did you replace the clutch release bearing?
[quote=“turbolover, post:147, topic:3553”]…I’ll unfortunately have to pull the motor again and reseal the pan…[/quote]I resealed mine, without needing to pull the mill. It’s a little tricky and you’ll need a 10 mm swivel socket. But, it can be done. It’s one of those tasks that get easier to do from memory, the more often you do it. Incidently, the factory glued these pans on with silicone. Using an aftermarket gasket is asking for trouble.
Those original toy strut top plastic “bearings” are a joke. I had to replace them on my first 601, after rust got up in there
Yes, see here
I’m wondering if I didn’t grease it enough or if I didn’t correctly adjust the clutch cable somehow?
Interesting, so you’ve managed to removed and reseal the pan with the motor in place? Do you have tiny hands? I have avcess to swivel head ratchets, did you have to disconnect the motor mounts at all?
Mine’s an automatic, meaning that I had to remove the cover plate between the pan and converter. There were also brackets at the engine’s lower end which support the block to the bellhousing. I removed those, as well as the front mount. If I remember right, I unscrewed both bolts holding the header pipe from the converter, in order to allow raising the engine some. It took some jiggling, to get the pan to clear. It seemed impossible, at first, until I found just the right angle which allowed it to drop.
The swivel socket used was a 10 mm with a 1/4 inch attachment
I forgot mentioning removing the front bumper. Mine is only held by about 7 screws and can be removed within minutes. It would make a world of difference, given that access to the front mount and exhaust bolts would be nearly impossible, if you didn’t get things out of the way to begin with.
What you might want to do, in order to assure near-complete oil drainage, would be to perform the following modifications found here:
Butchered replacement MOVEs diary - Projects builds and rides - Live To Dai
Did you give the input shaft a wiggle to check for bearing play? A tiny but of thrust or axial movement could be causing the noise inside the gearbox
1 Like