Nic's Boosted Mira

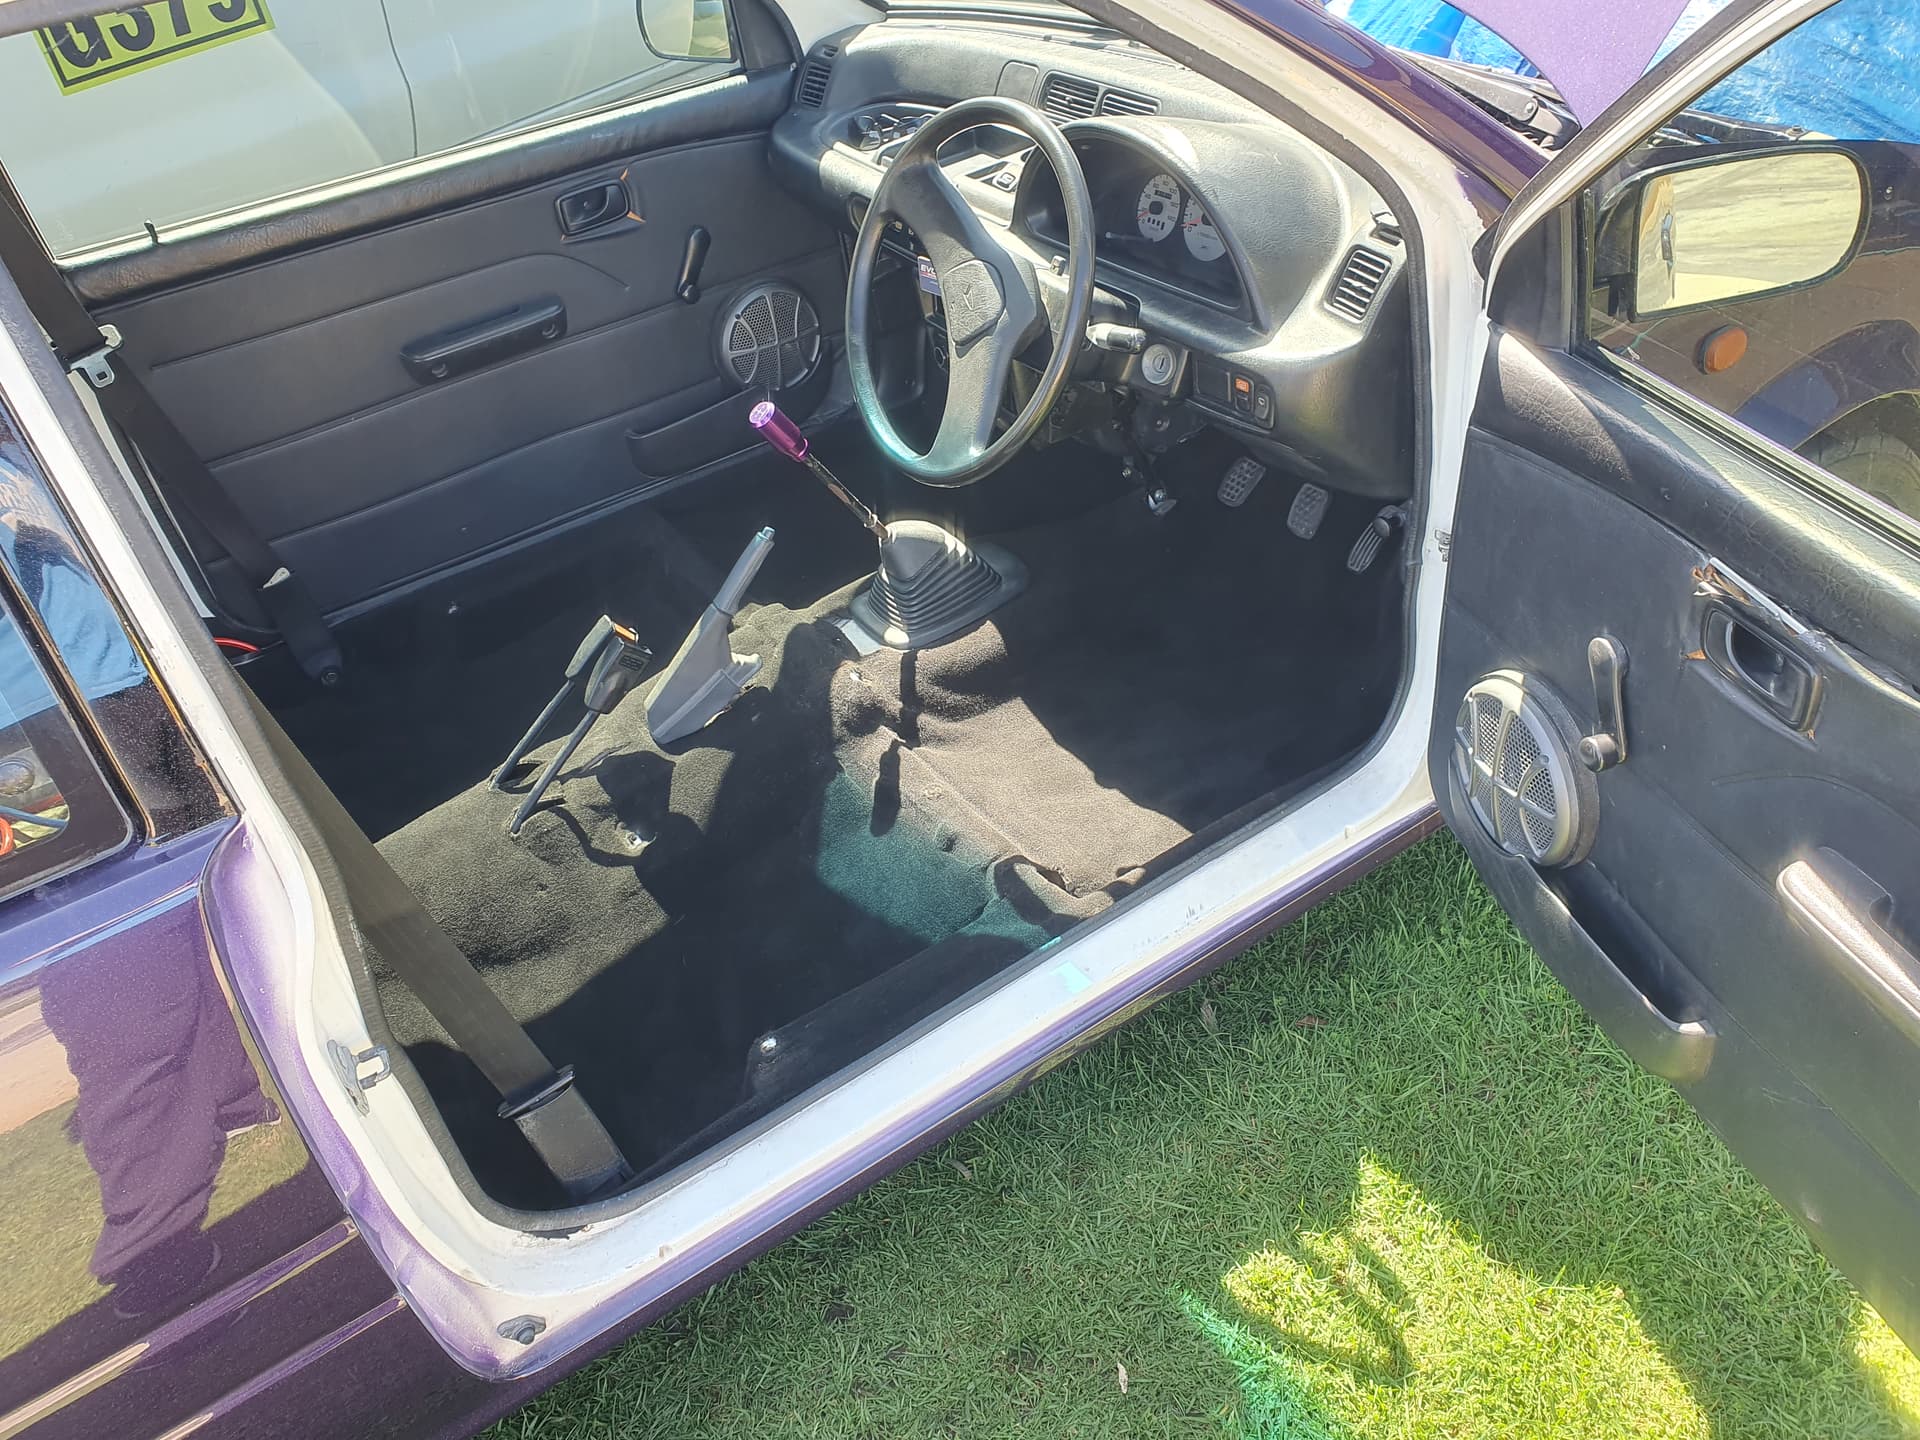
The speakers sounded like shit and it was annoying me. So it was time to sus out the stereo. There was amp wiring in the vehicle when I brought it, so I’ve been on and off playing around with my 10’s. I haven’t had them in for ages.

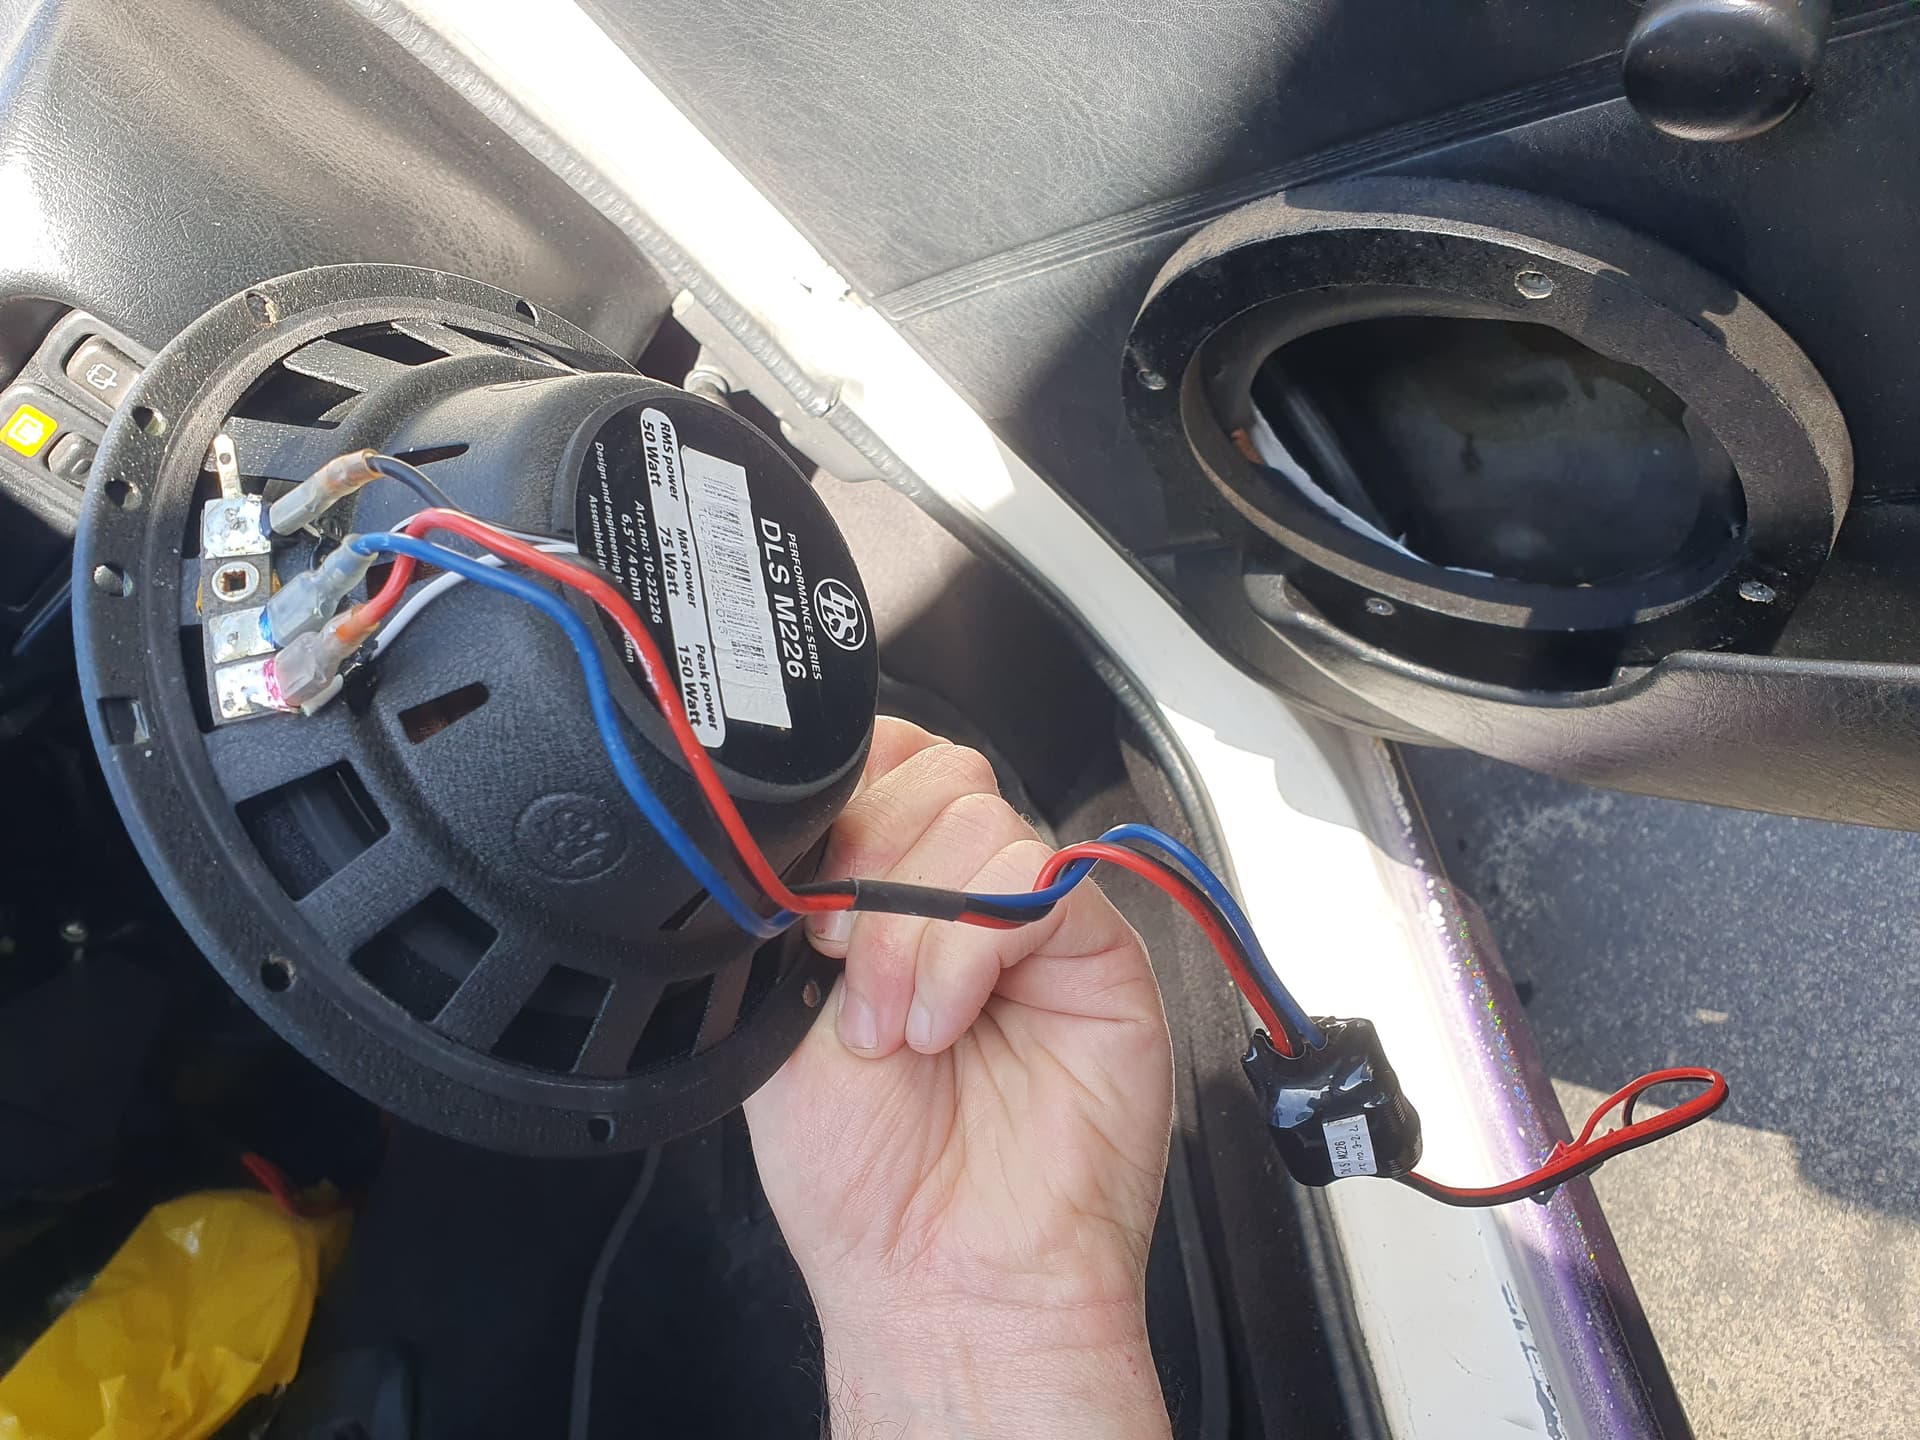
So I got out all my old gear. I started with the speakers, my 6.5" wasn’t going to fit so I started cutting the door with a jigsaw, yeah that wasn’t going to work.

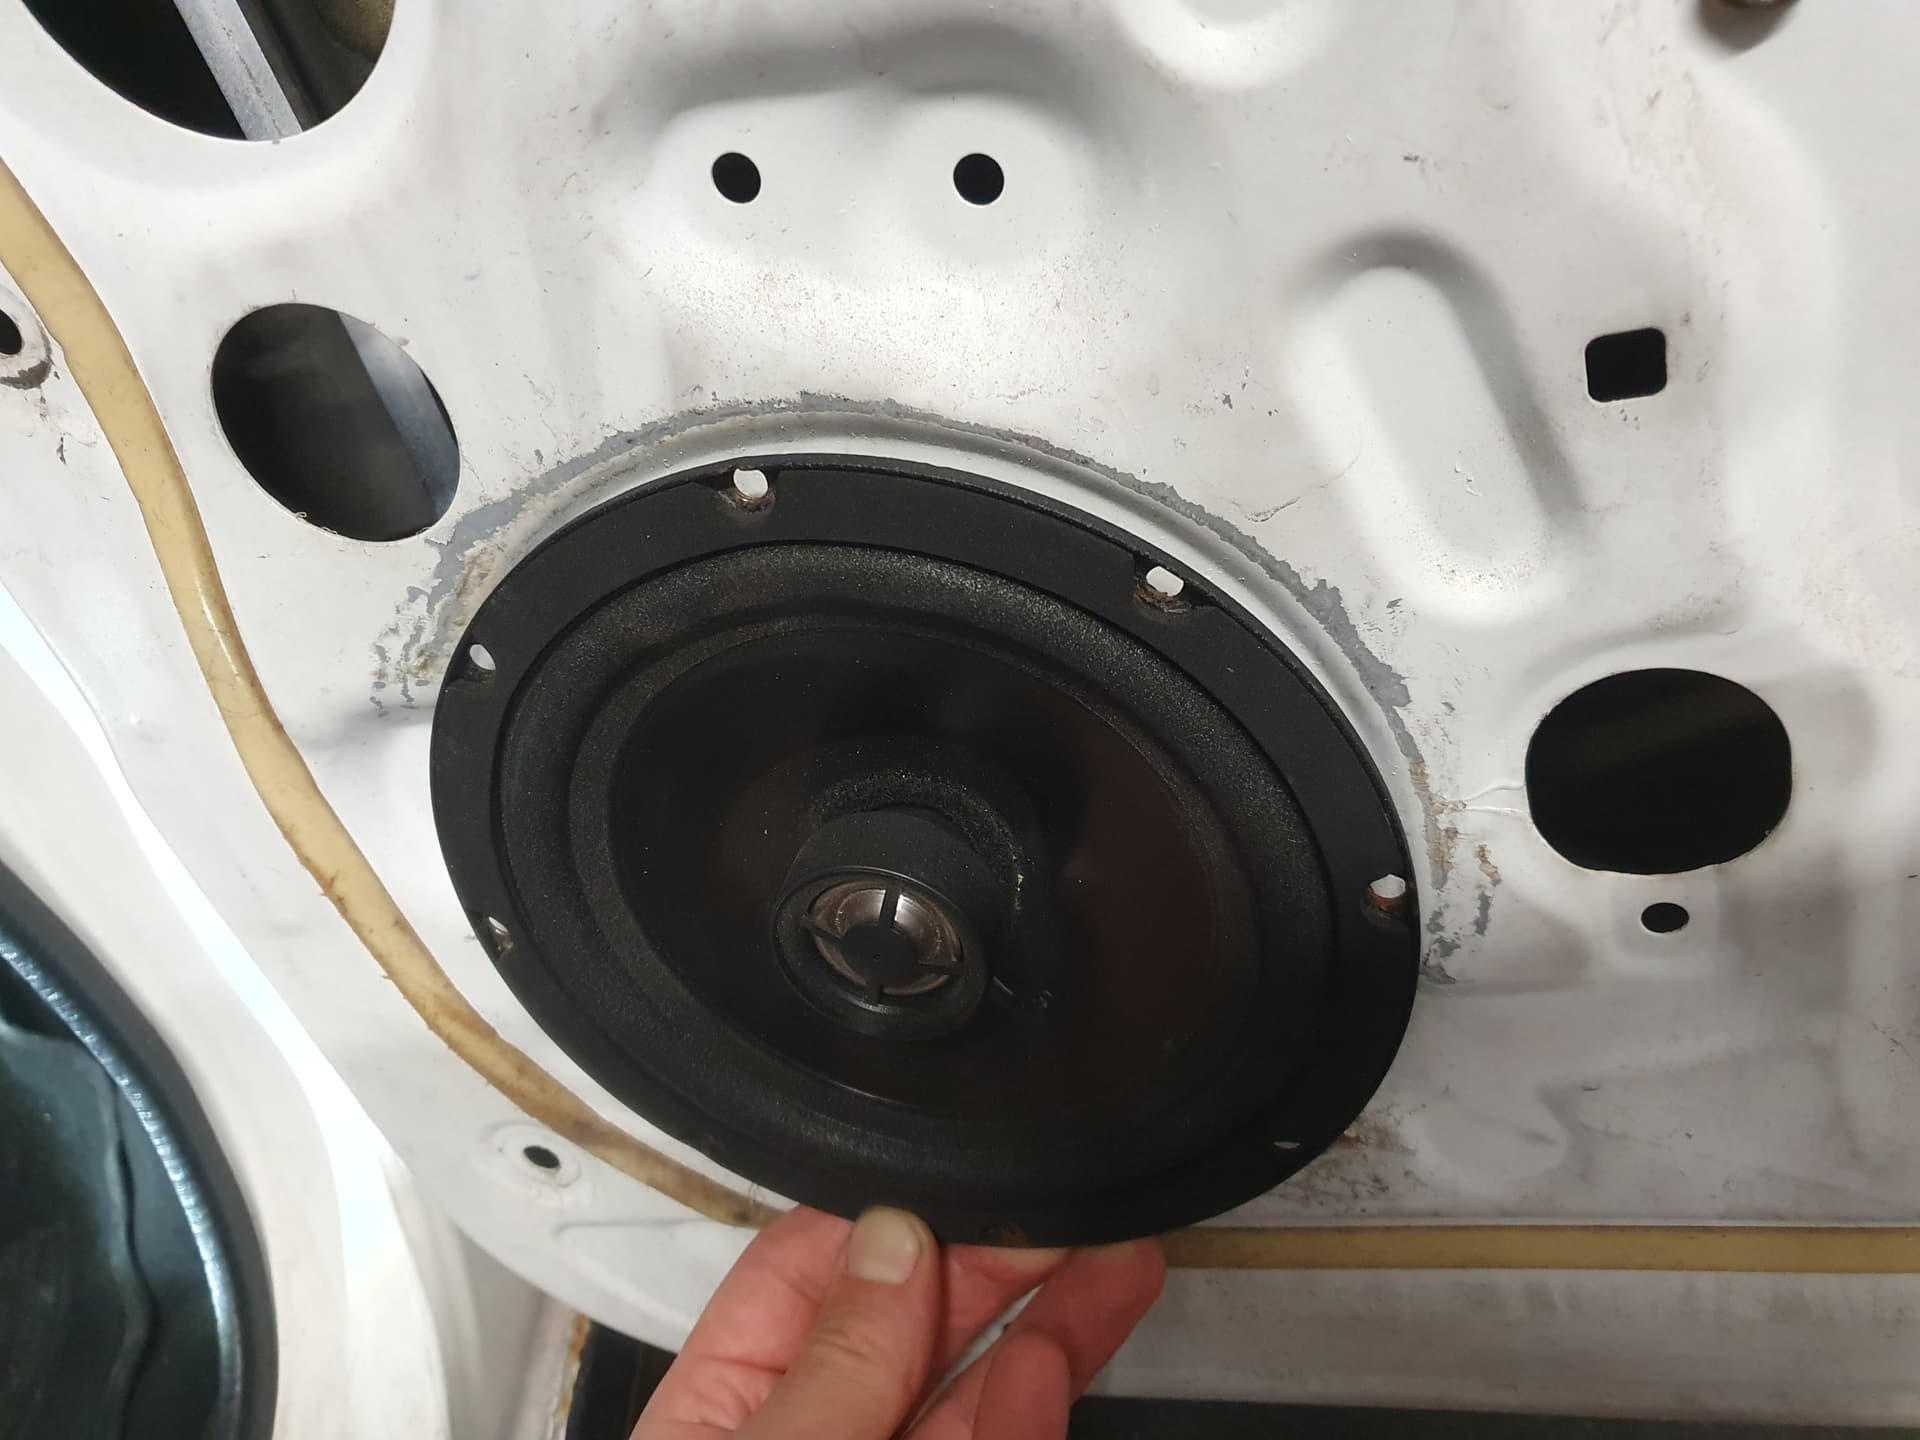
Then I found some speaker spacers from Repco for $8.80 on sale, nice.

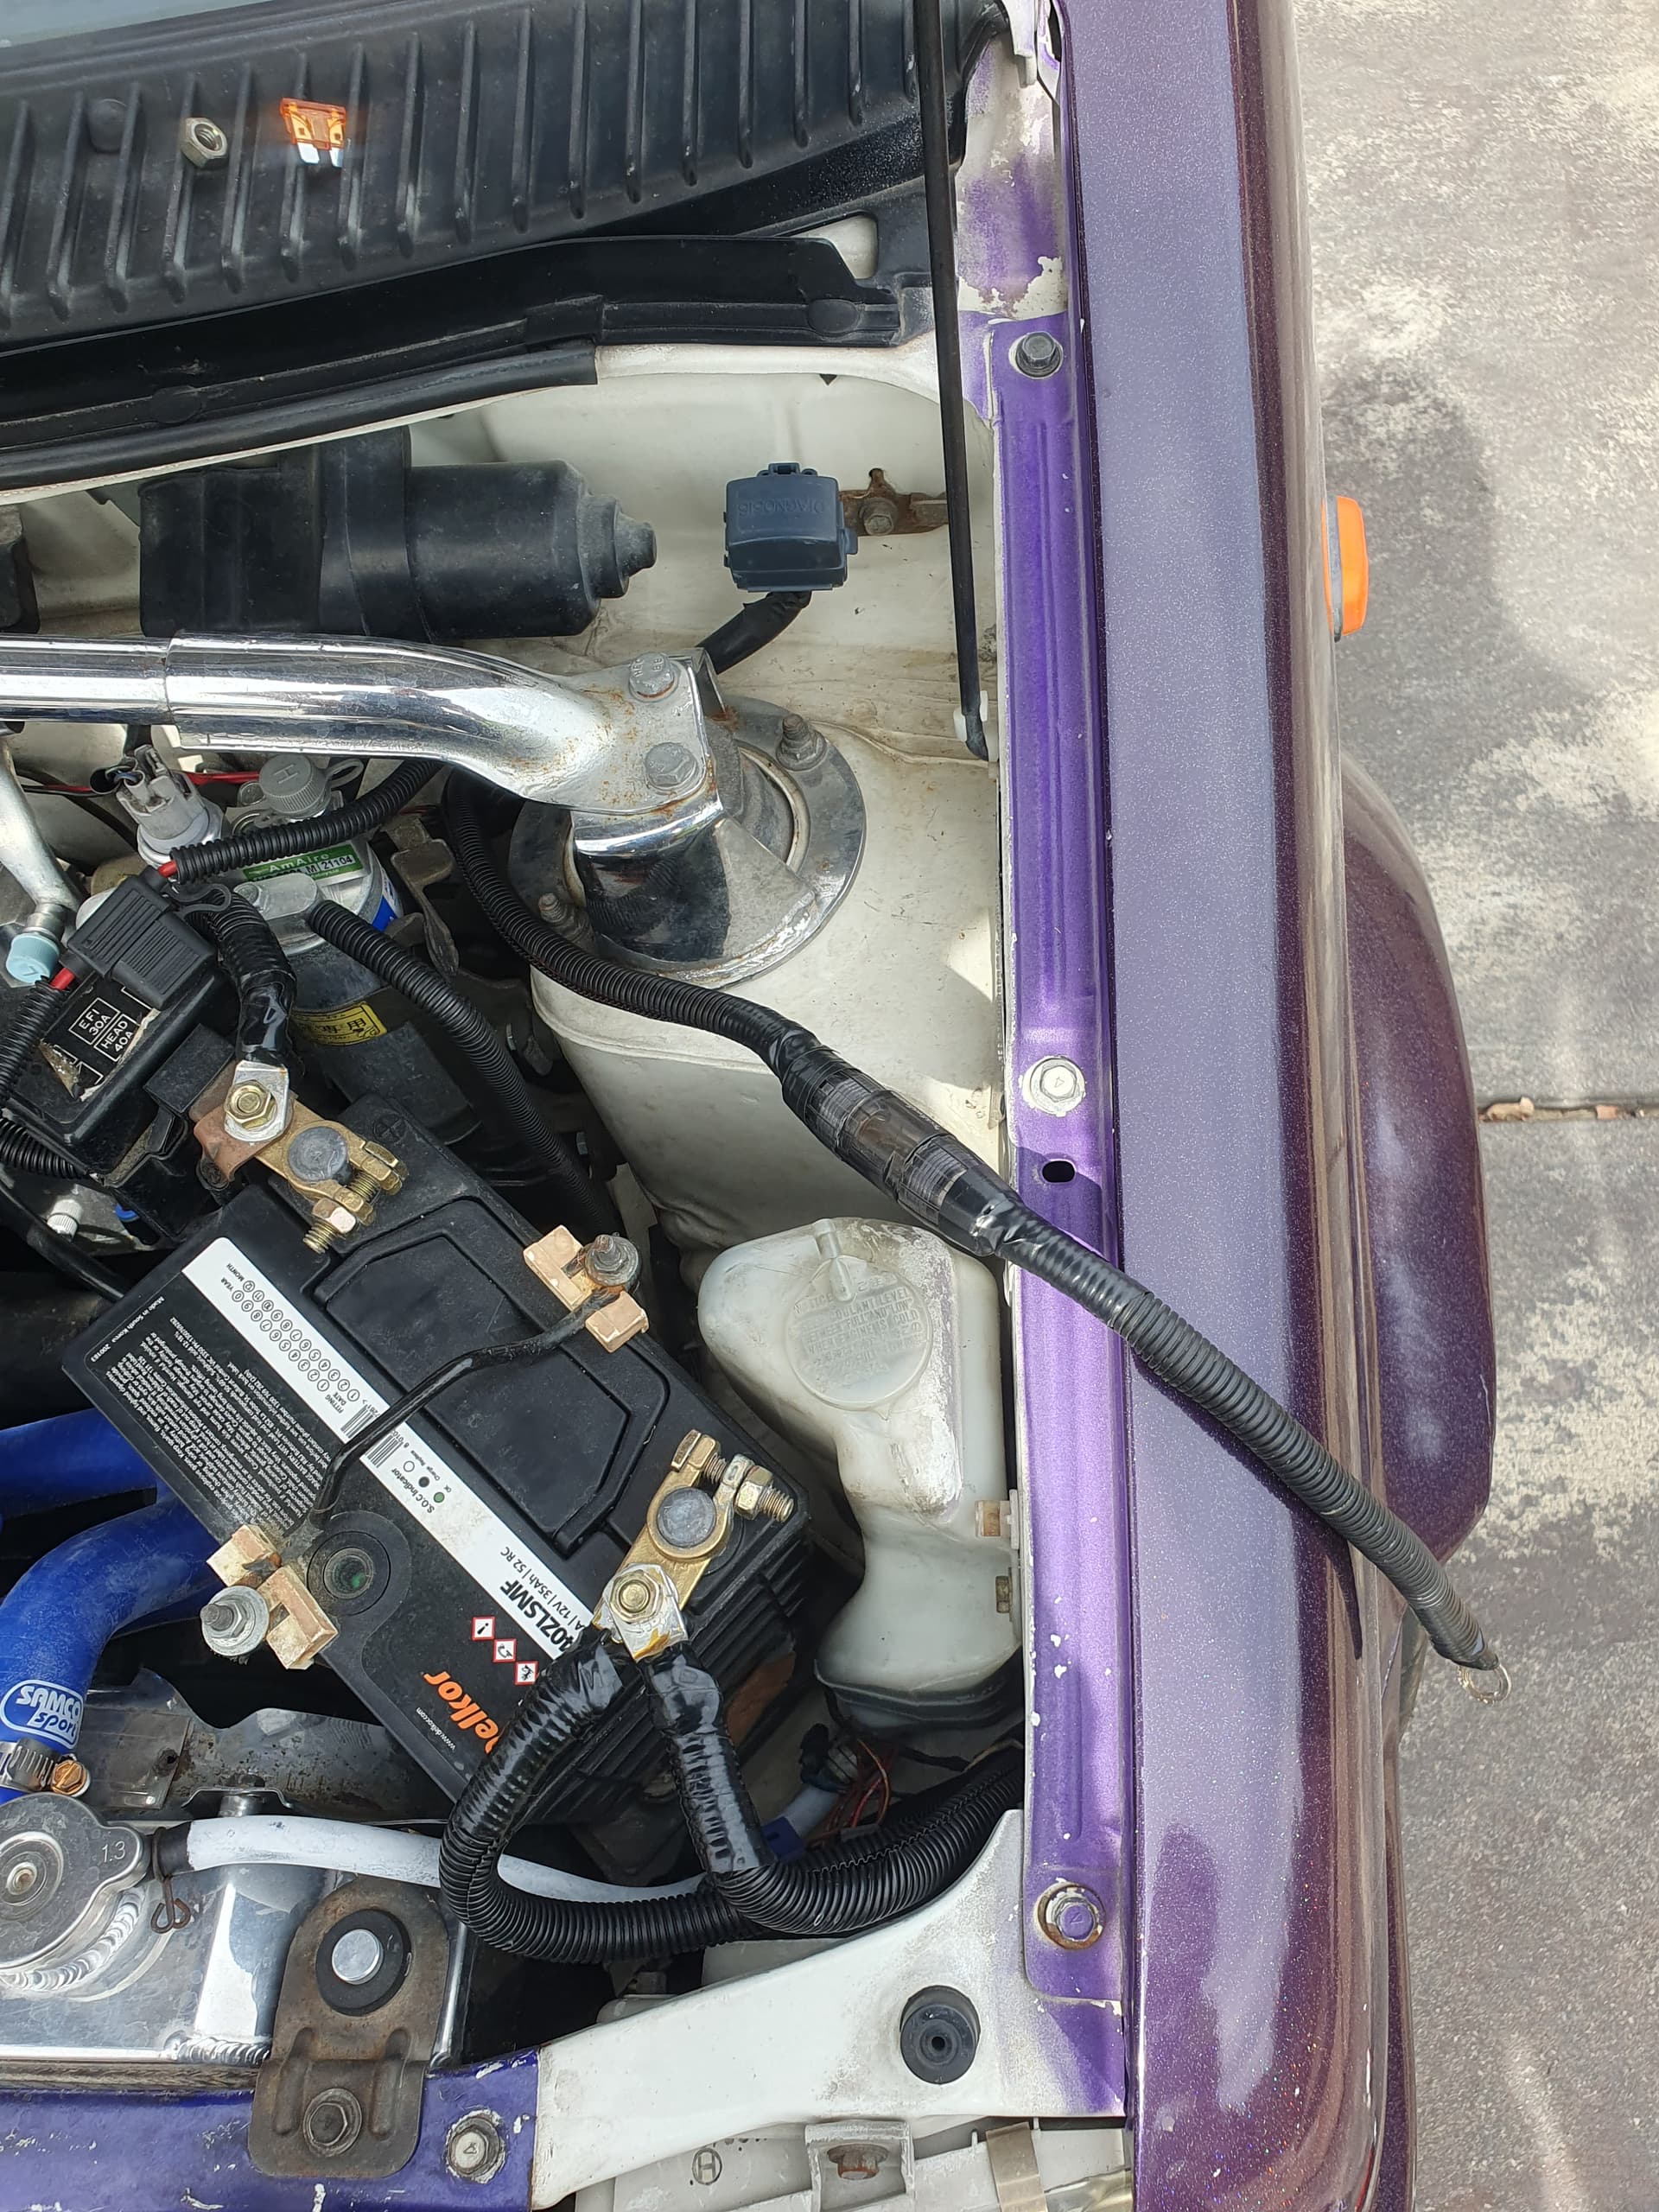
Played around with the amp wiring, omg more dodgey shit, not even crimped.

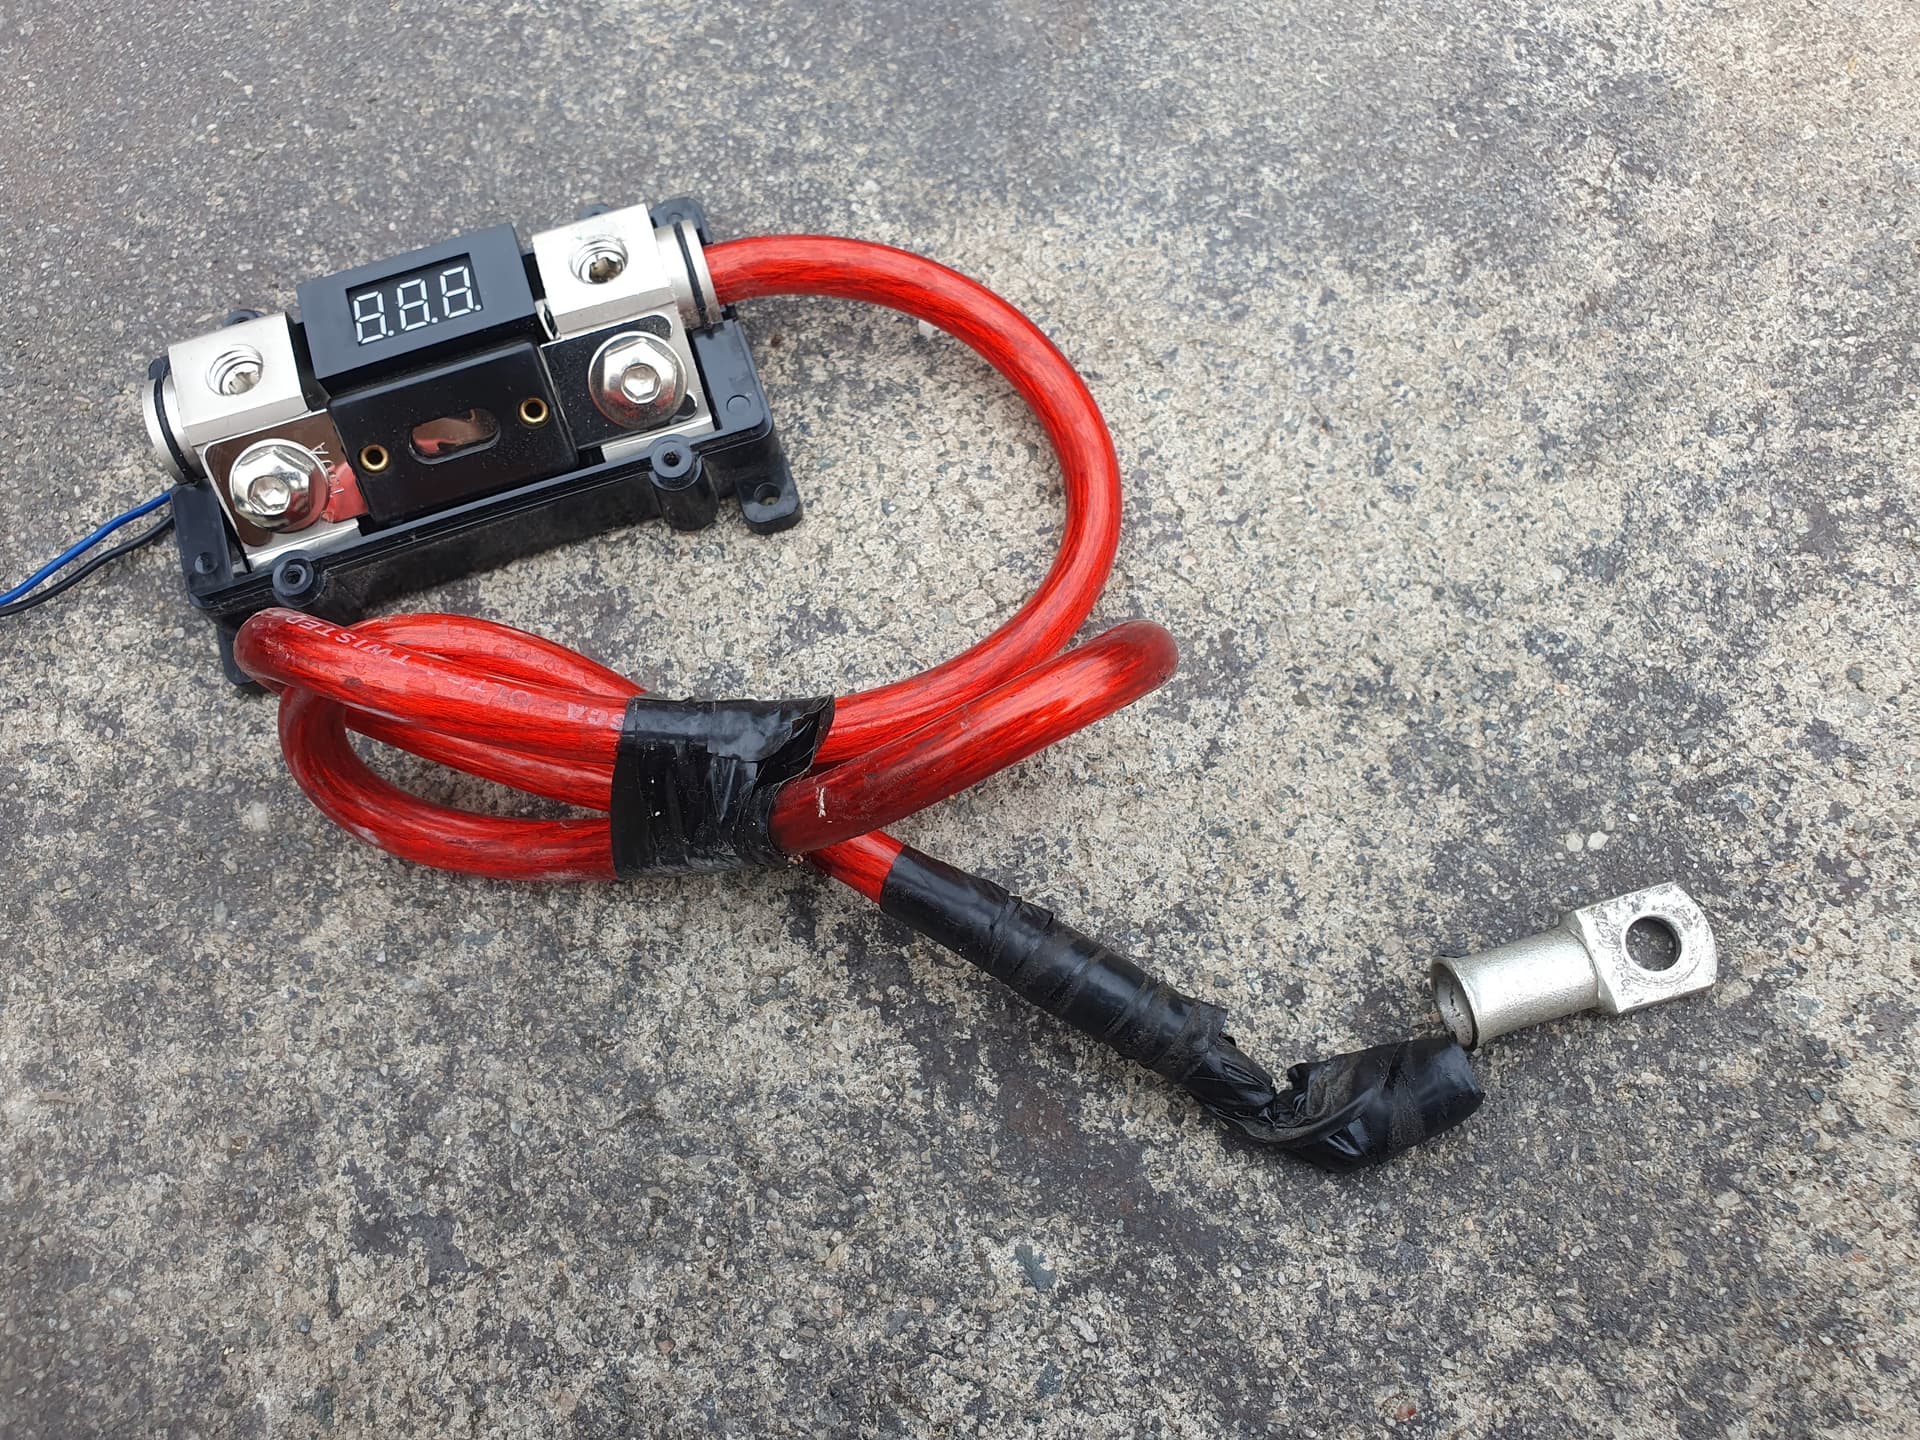
Went though my scraps. Much better.

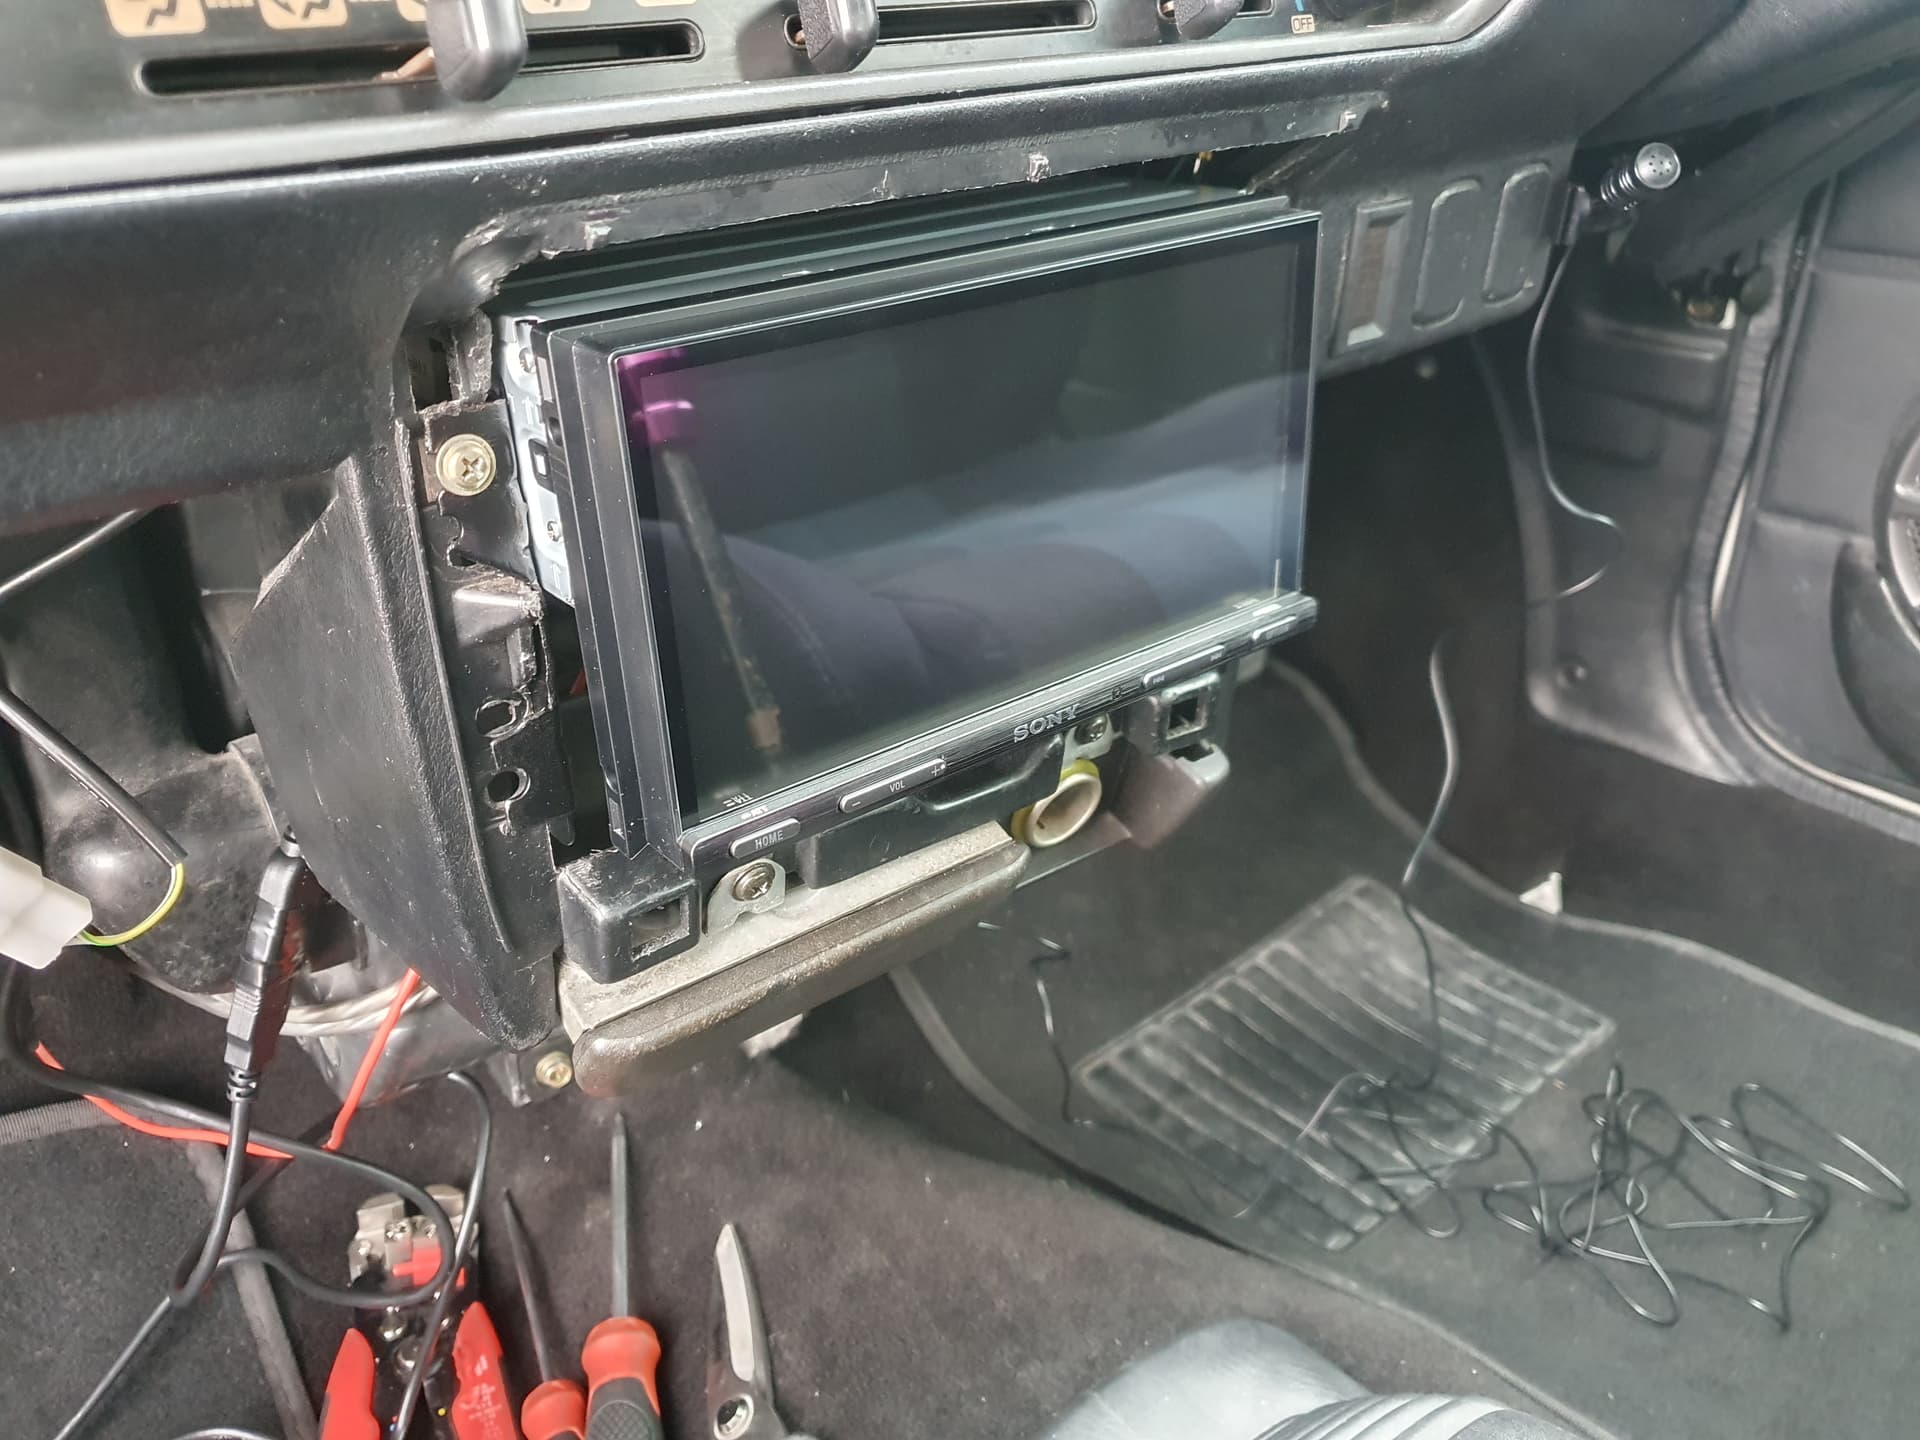
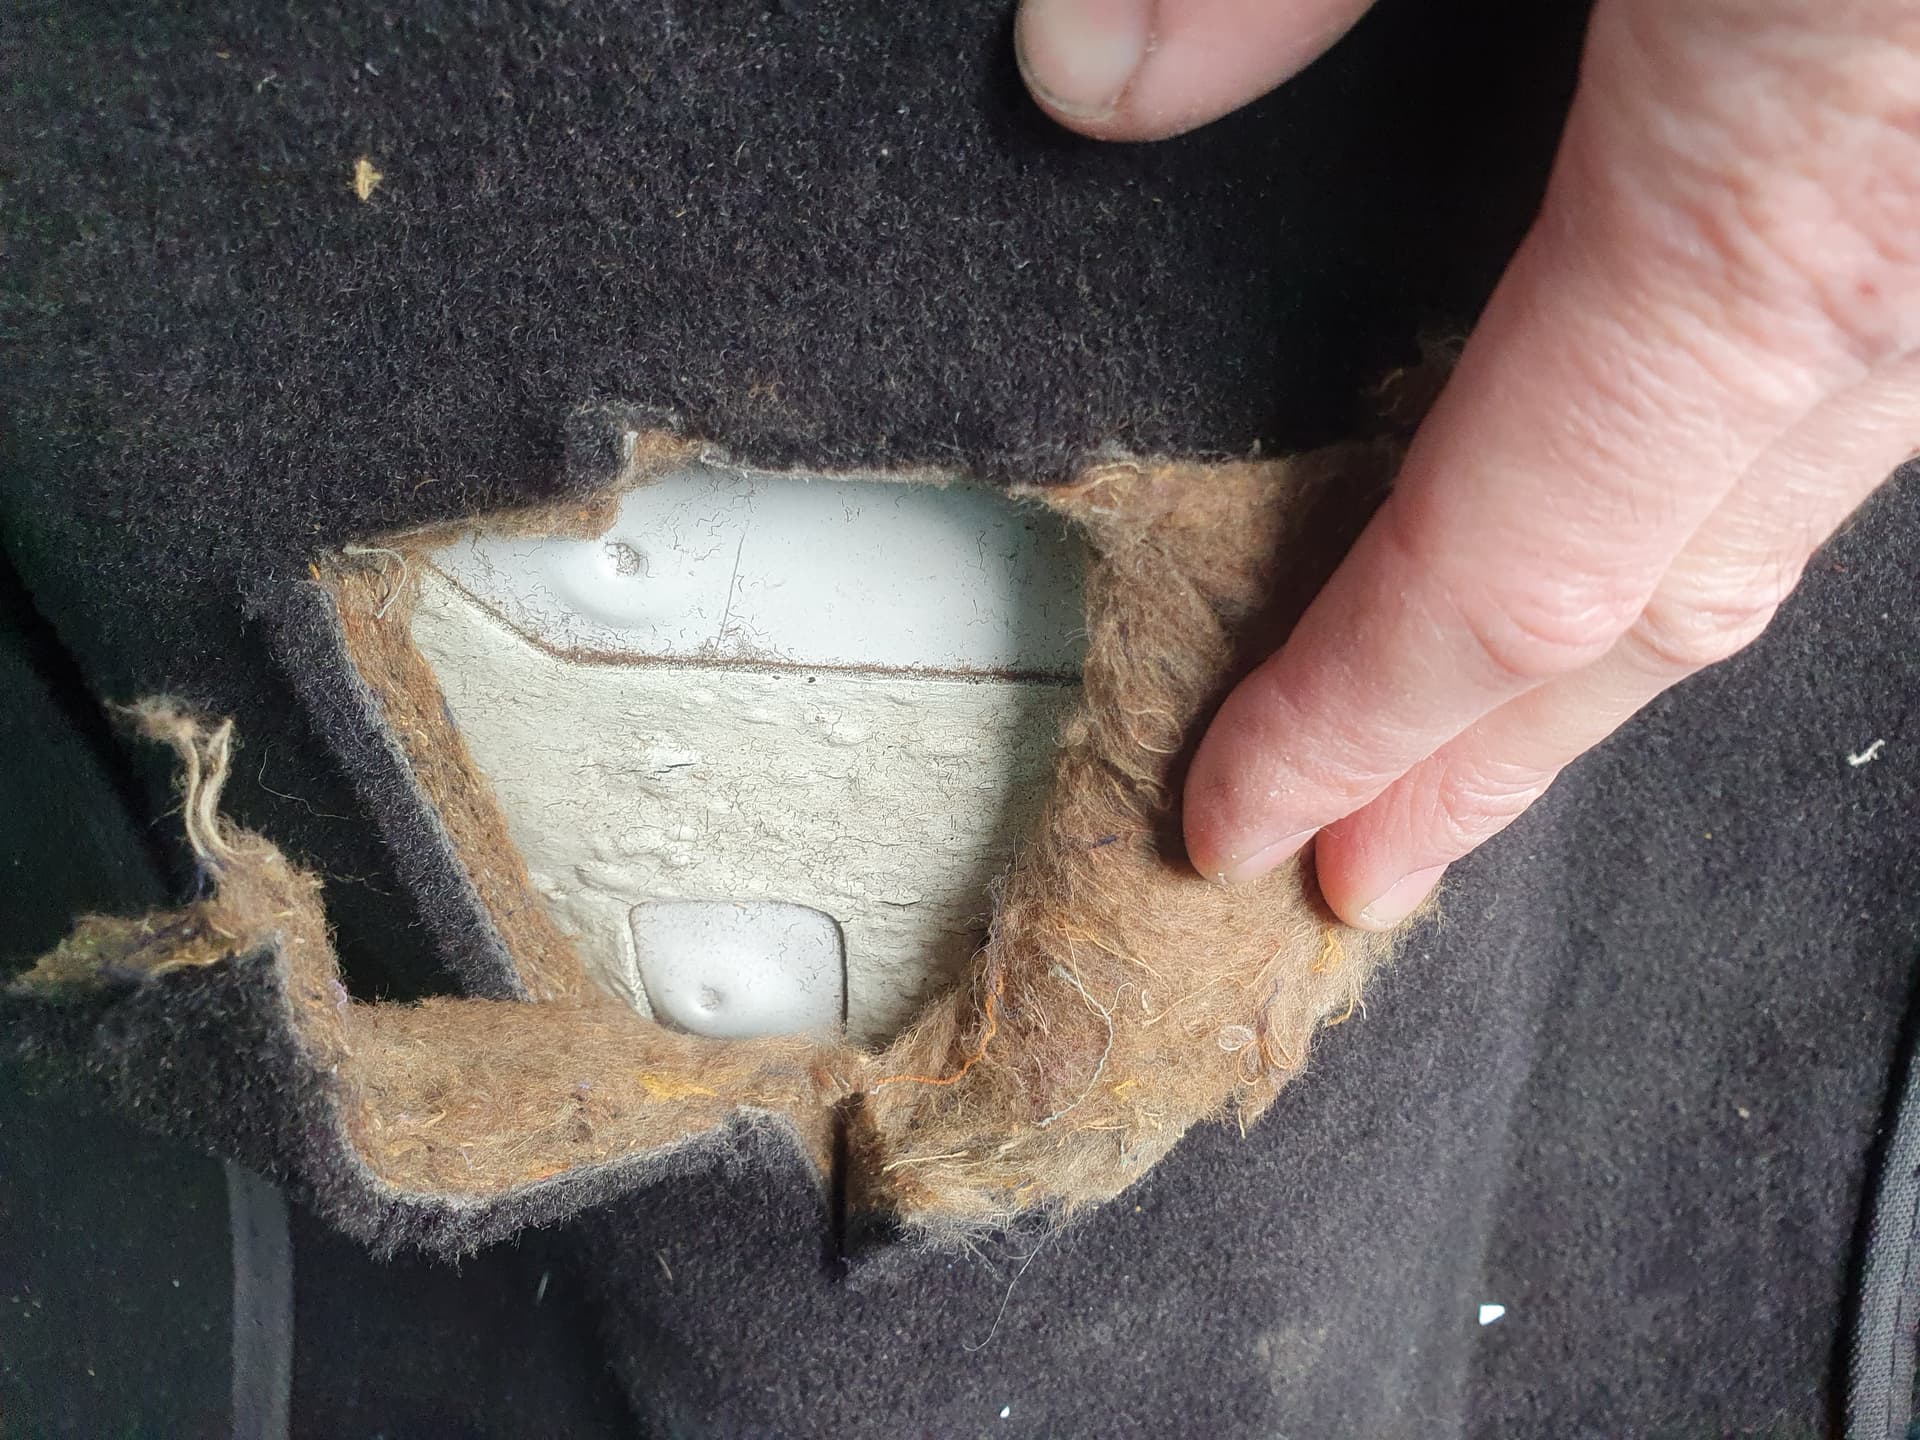
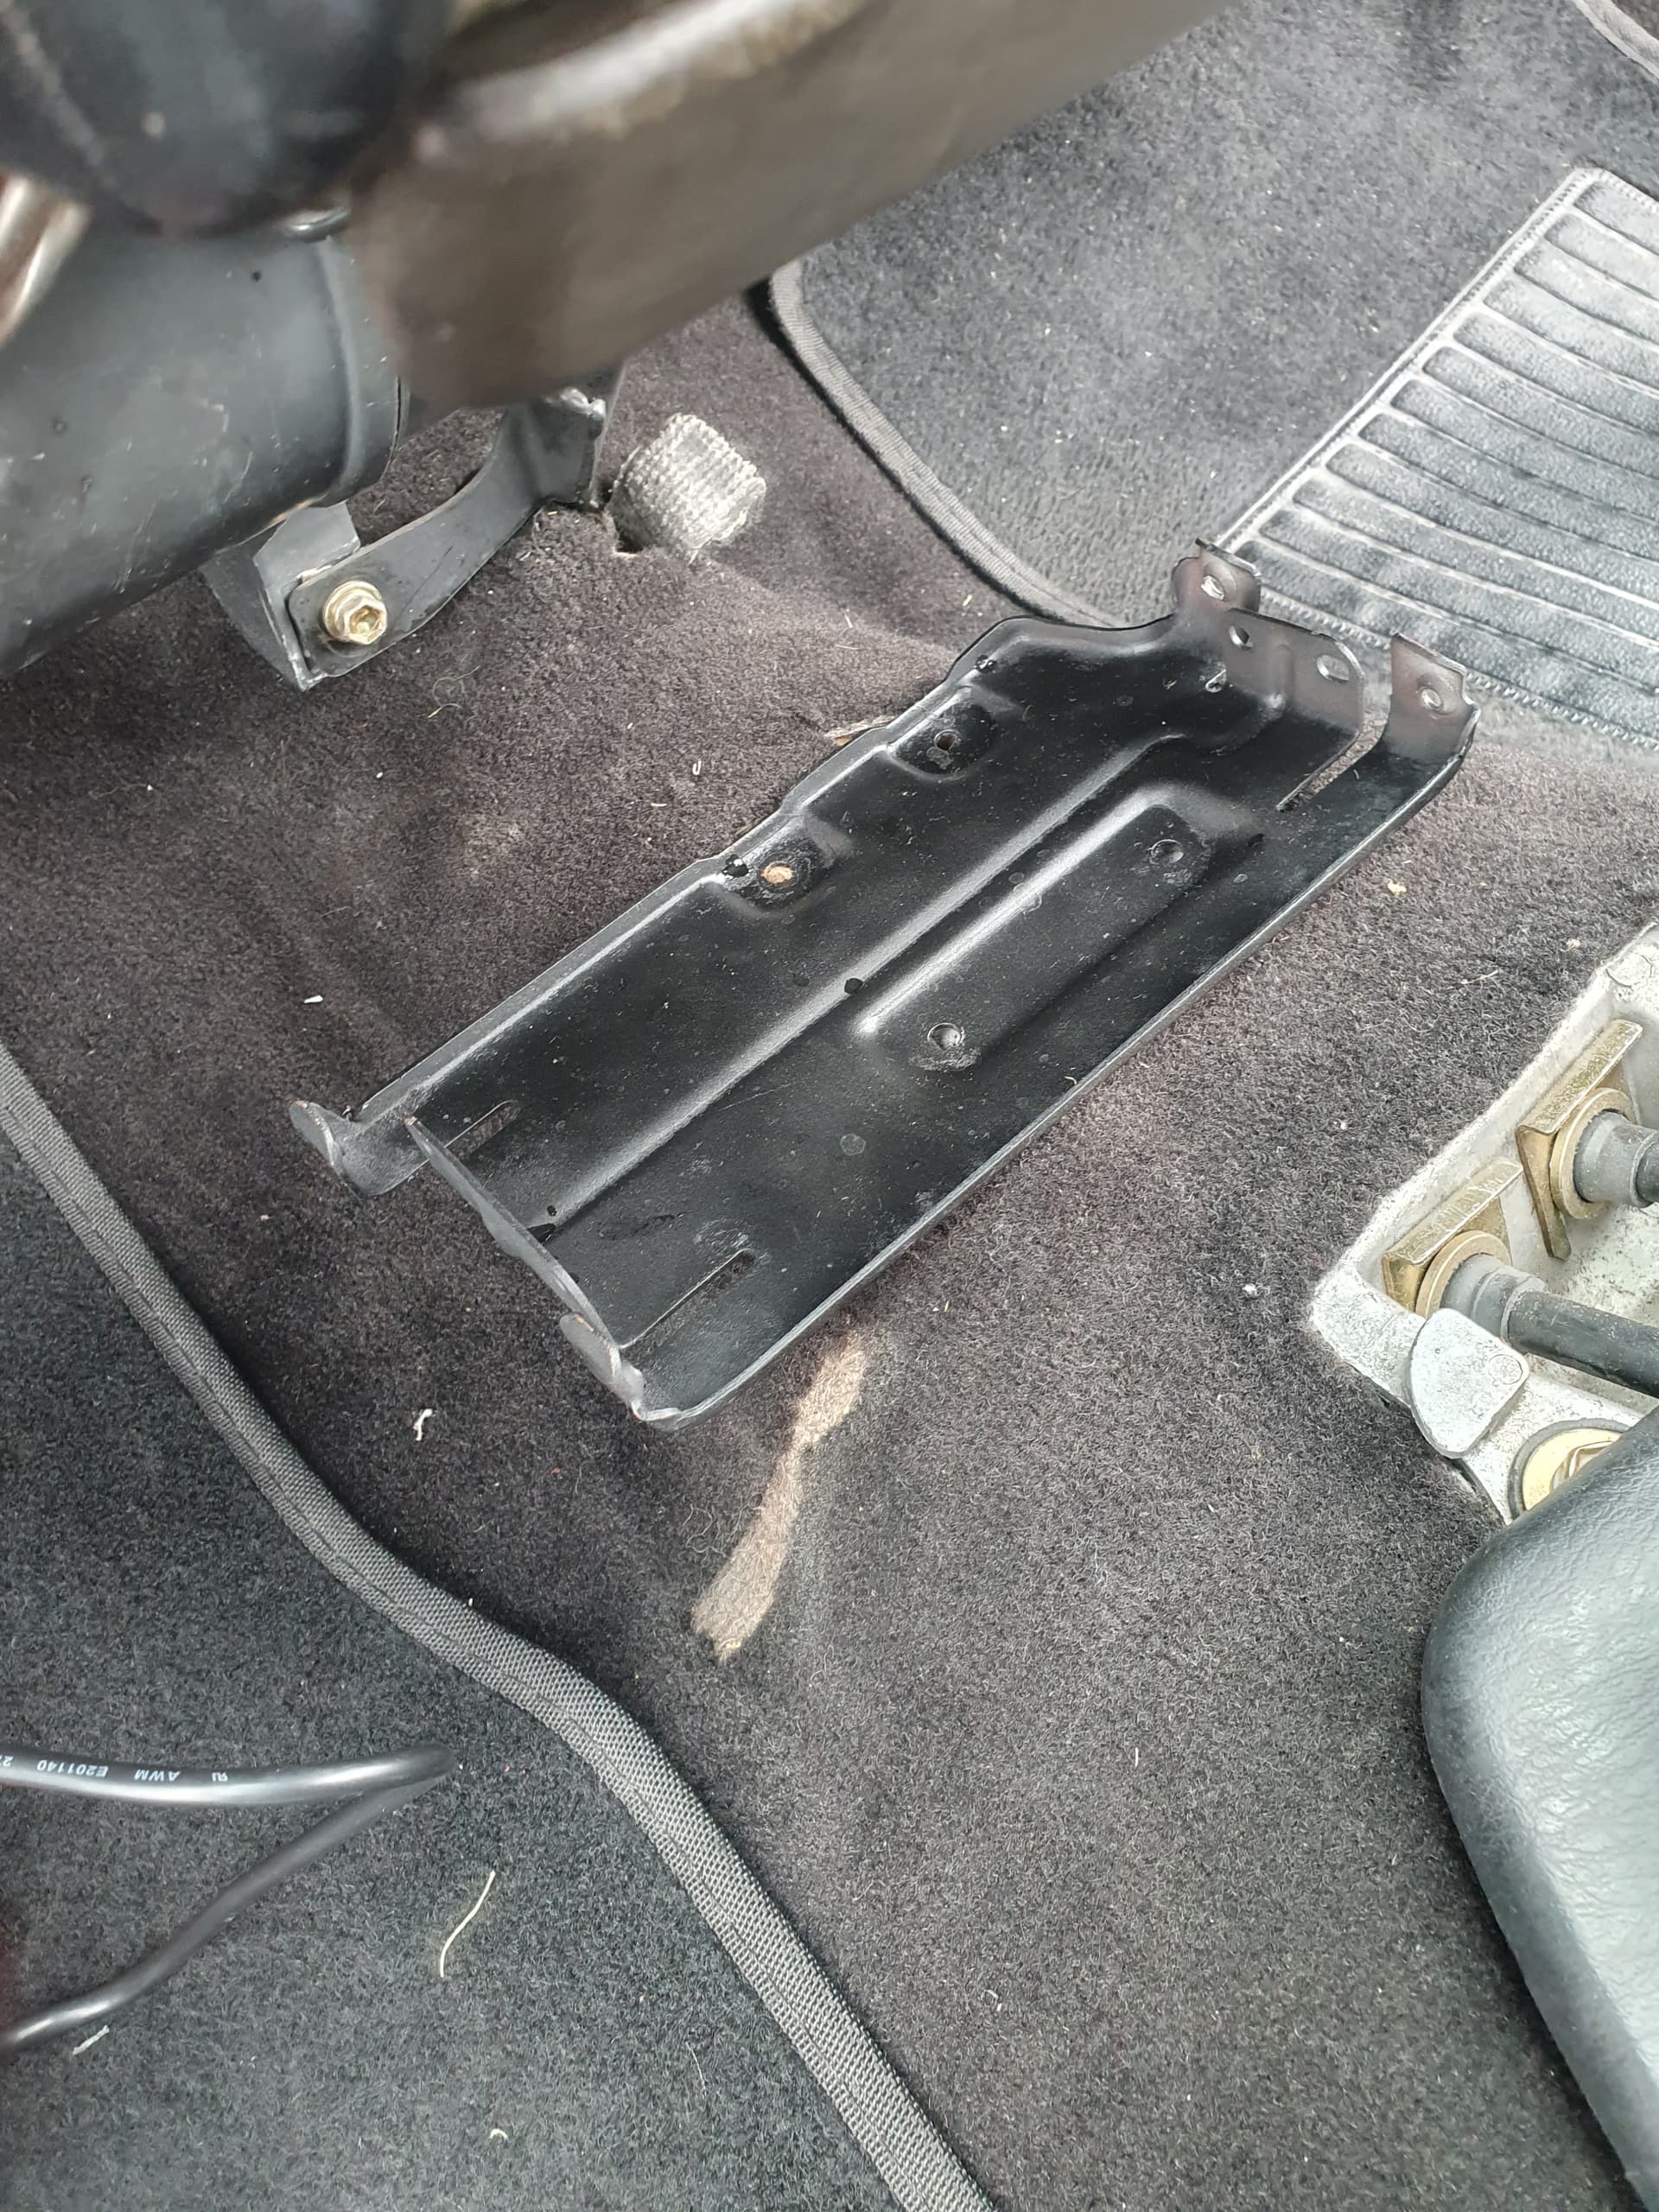
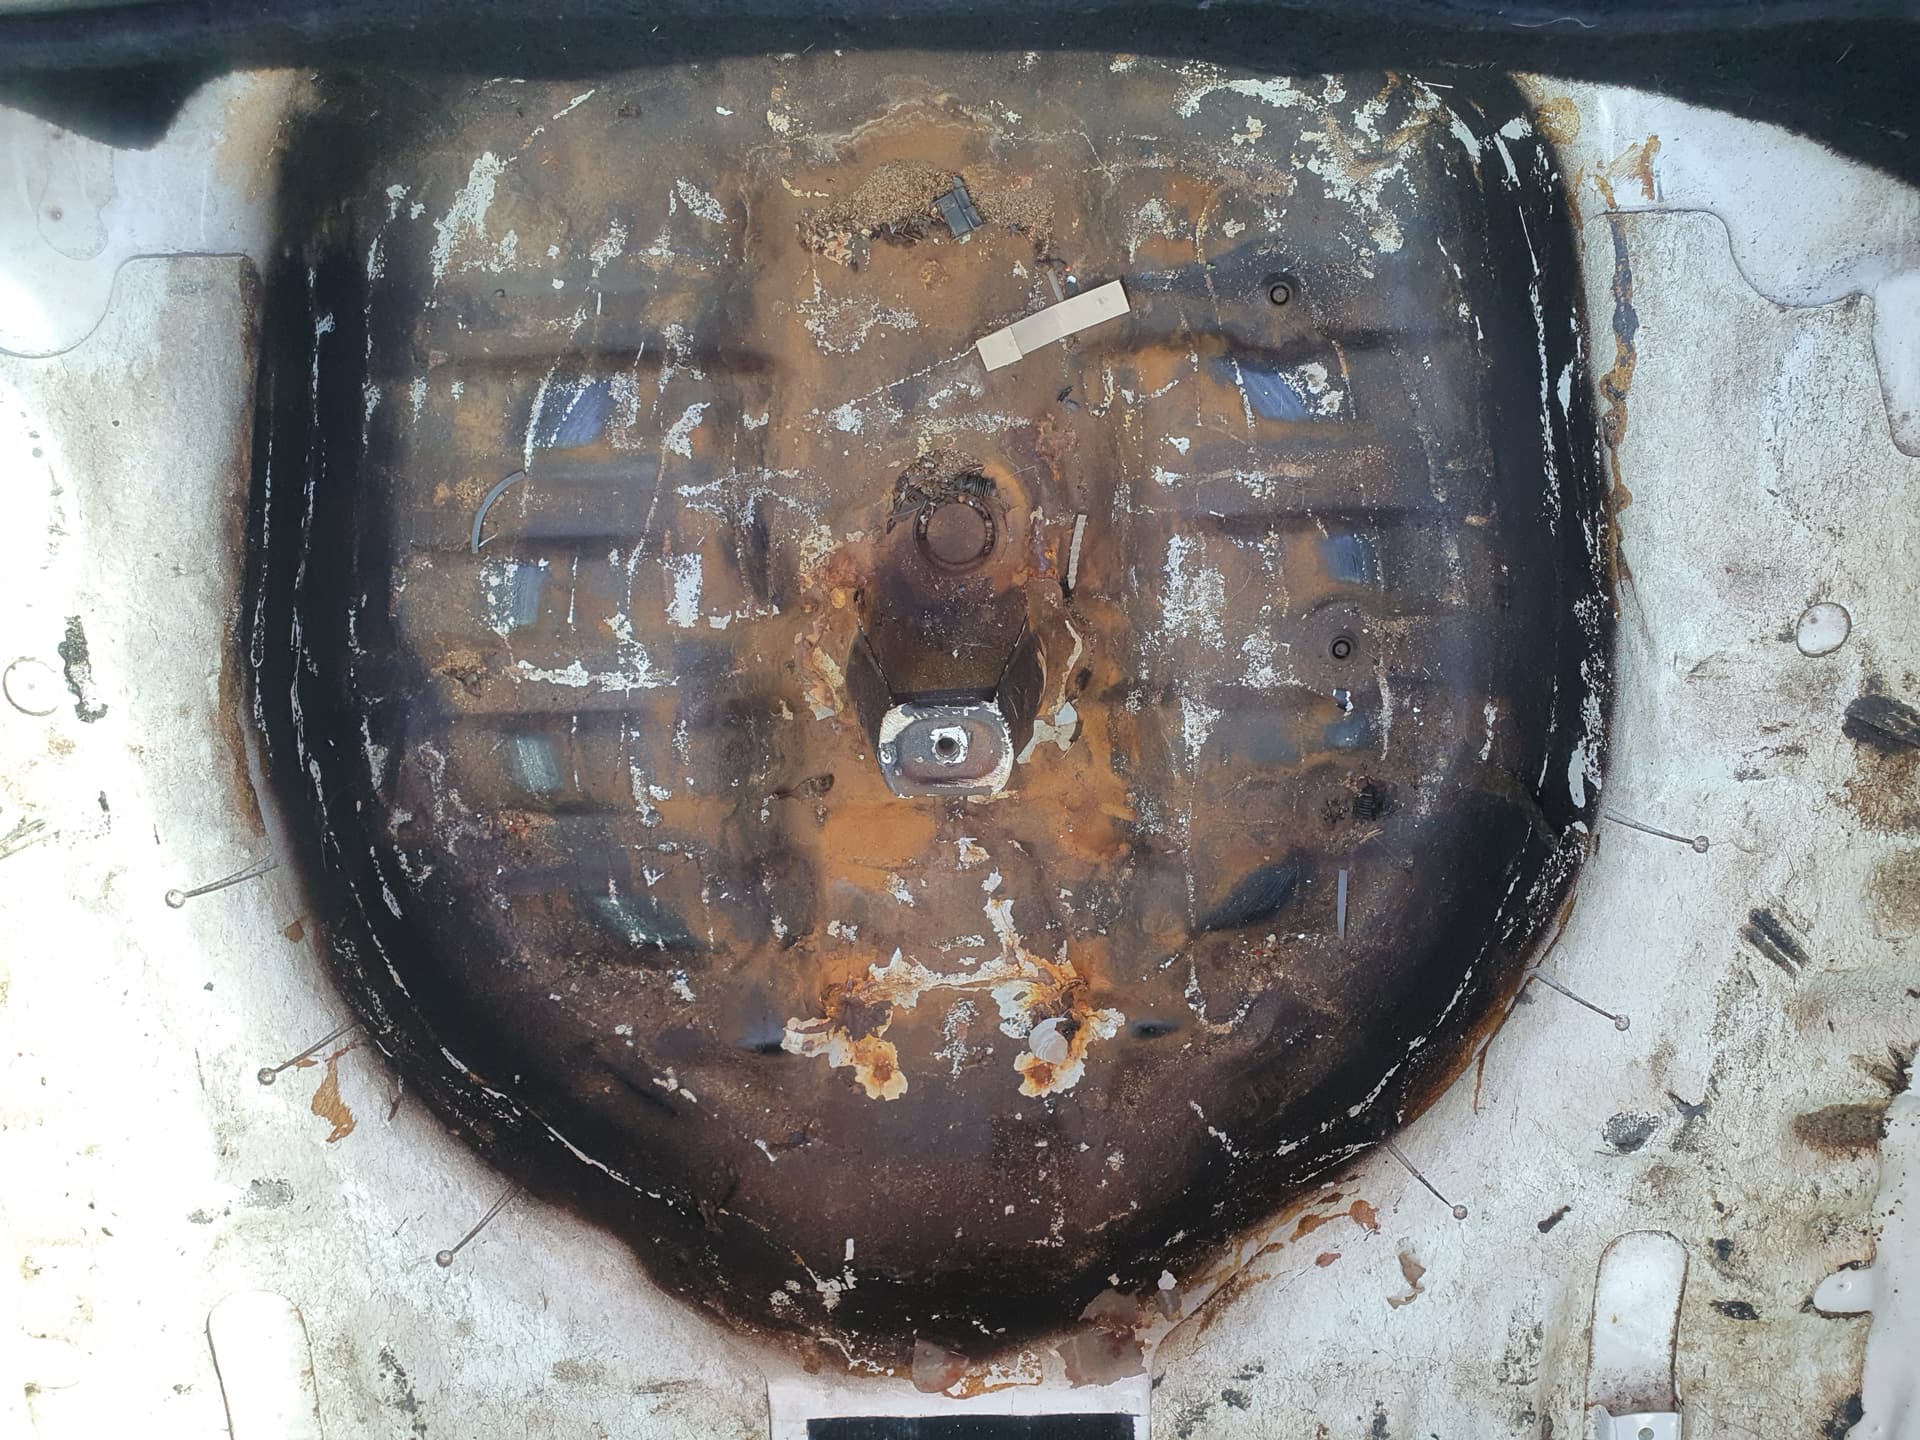
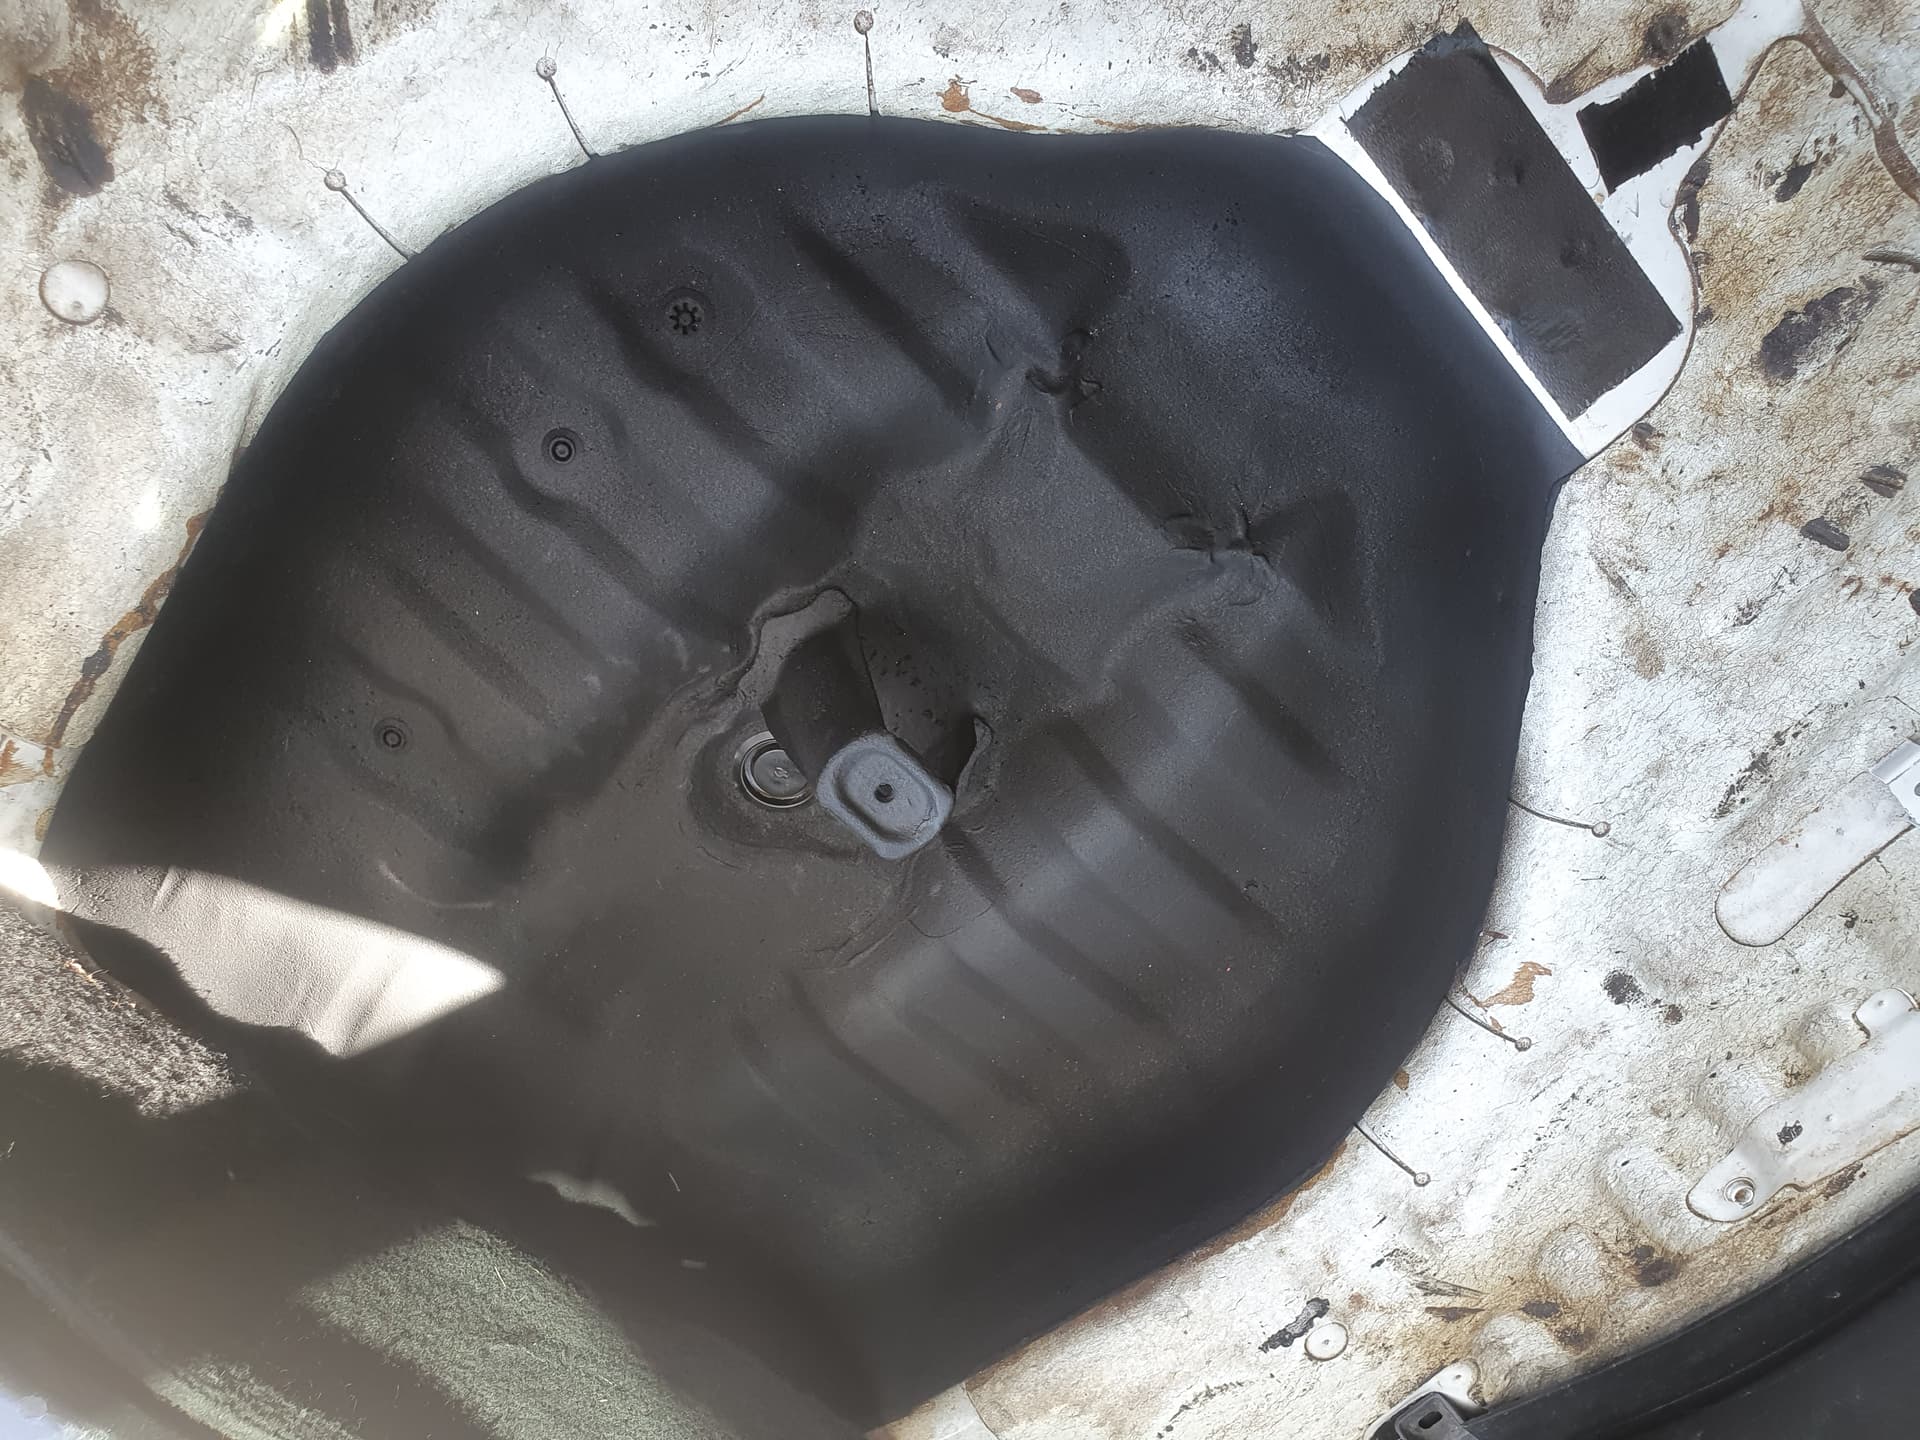
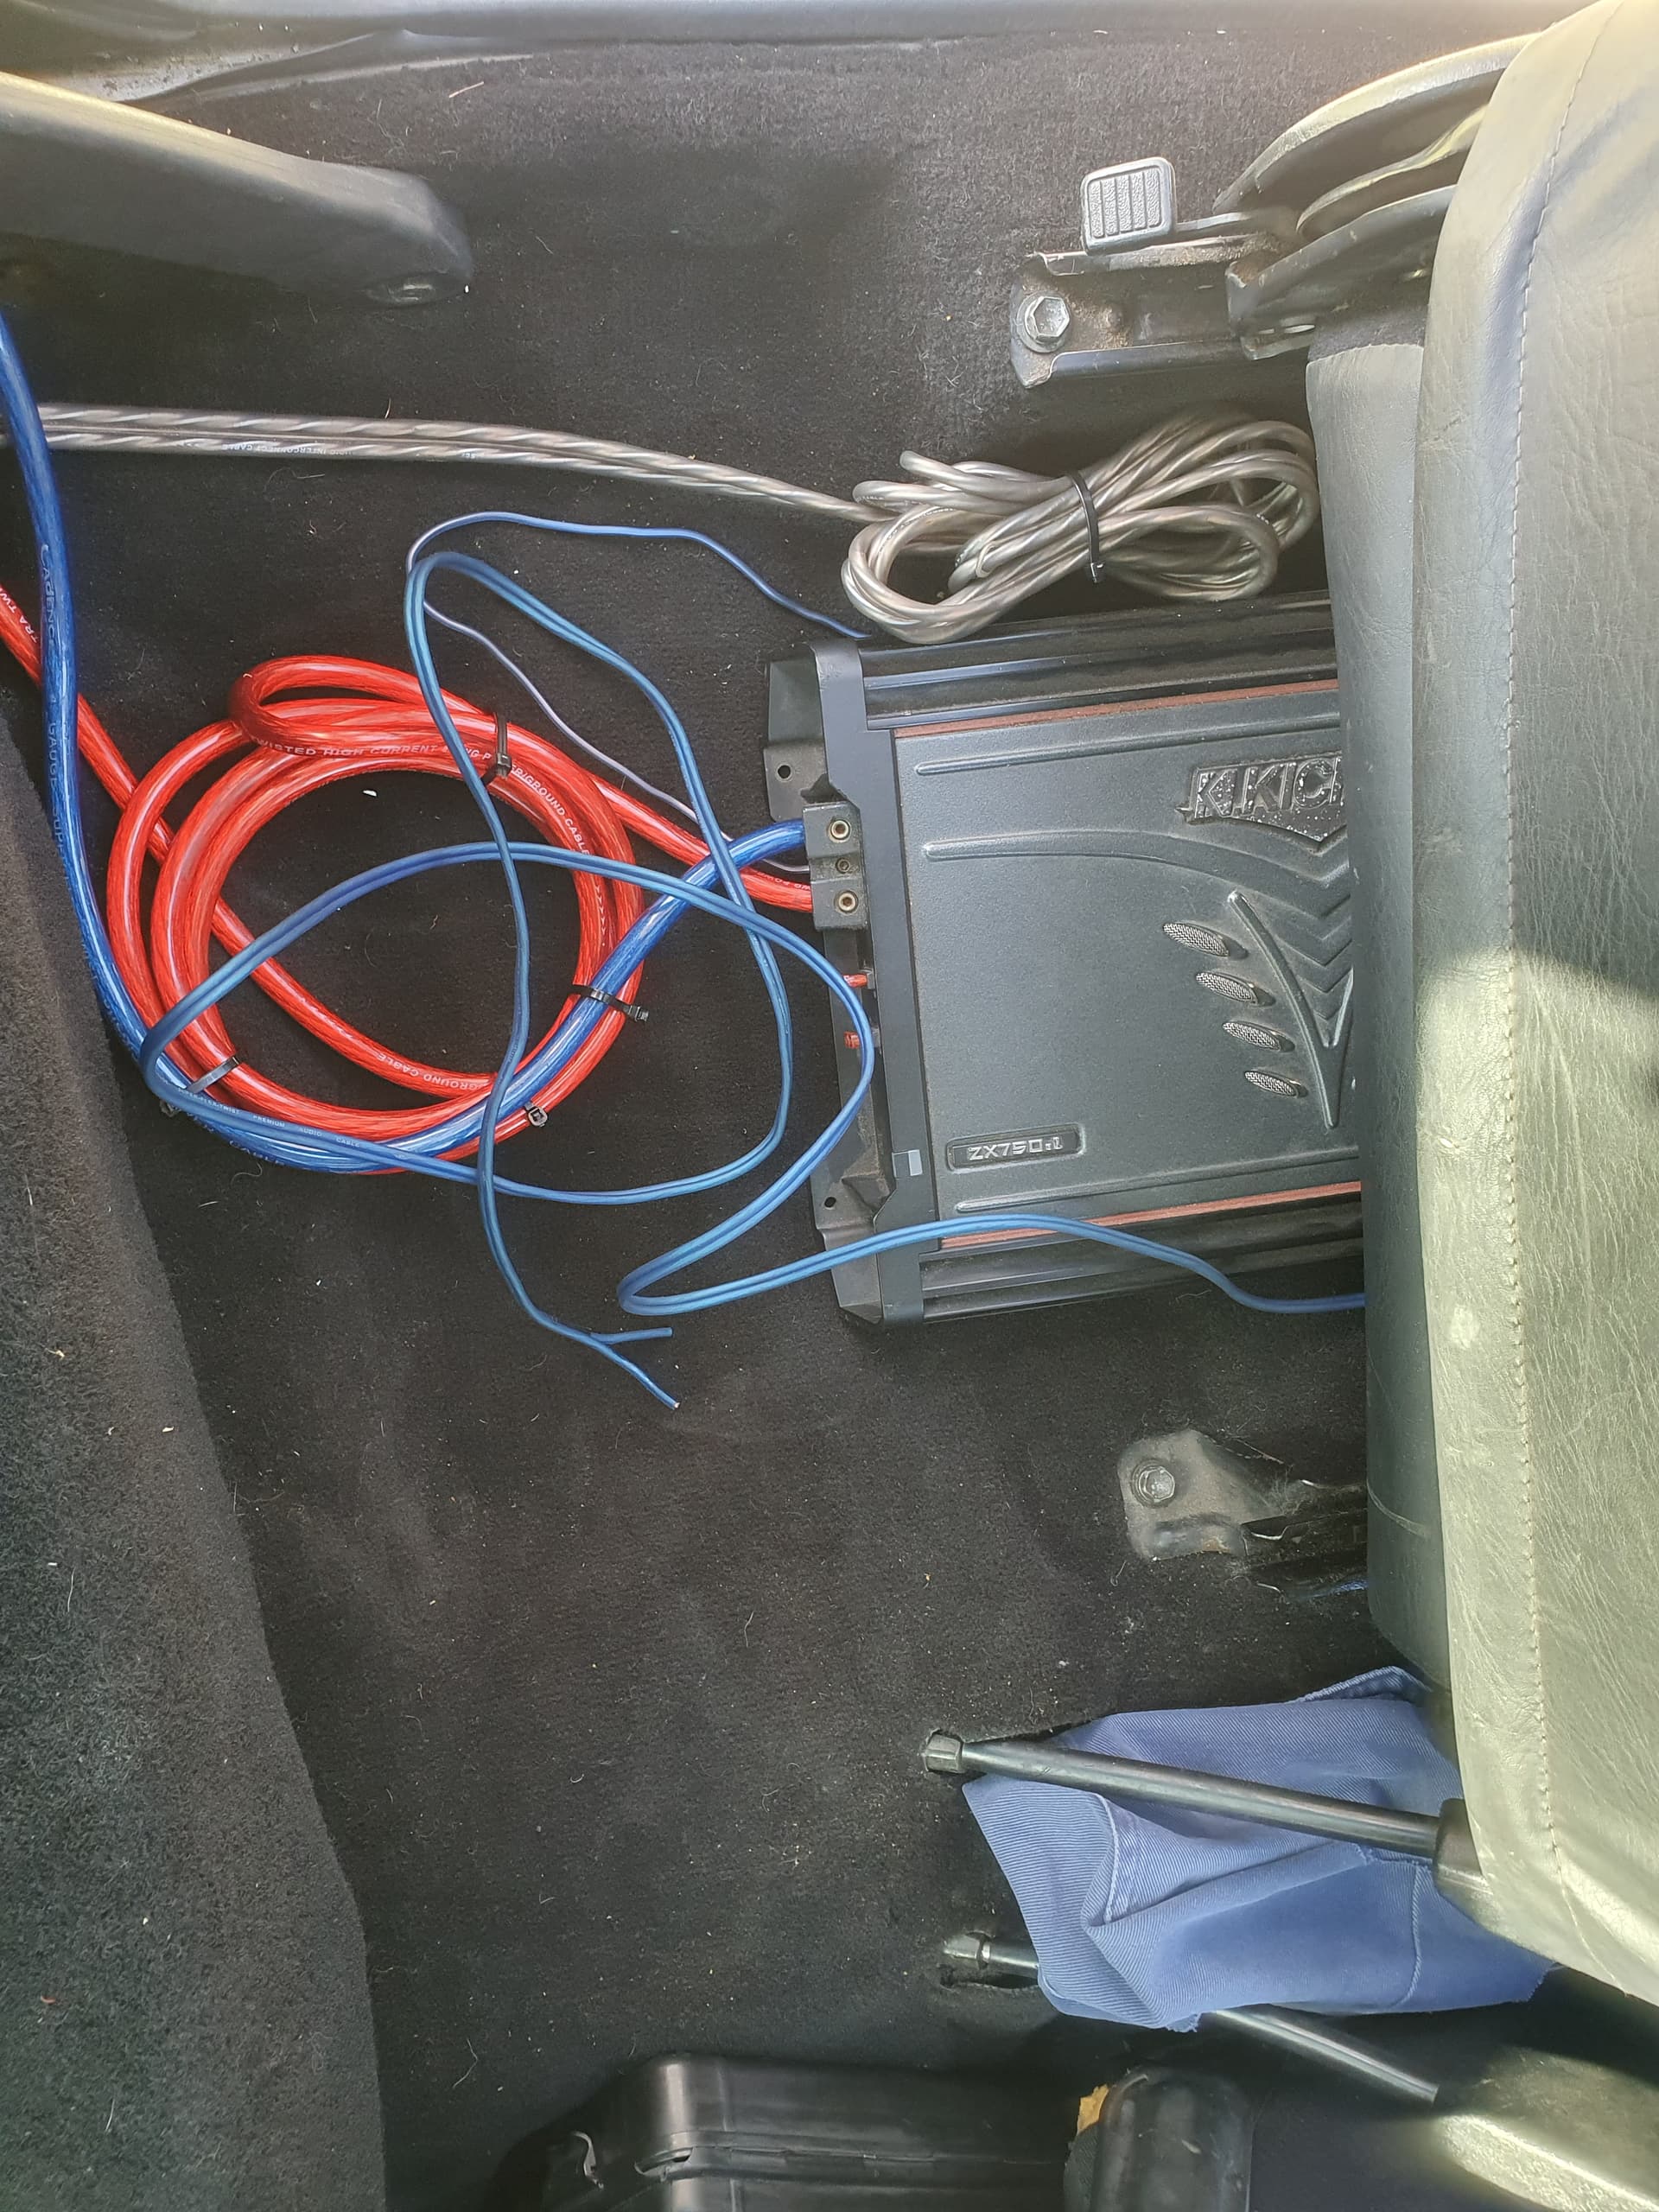
I didn’t have time to redo all the wiring, so then I wanted the amp mounted under the seat, hidden away. I am still debating whether to drill through the floor to properly mount it.

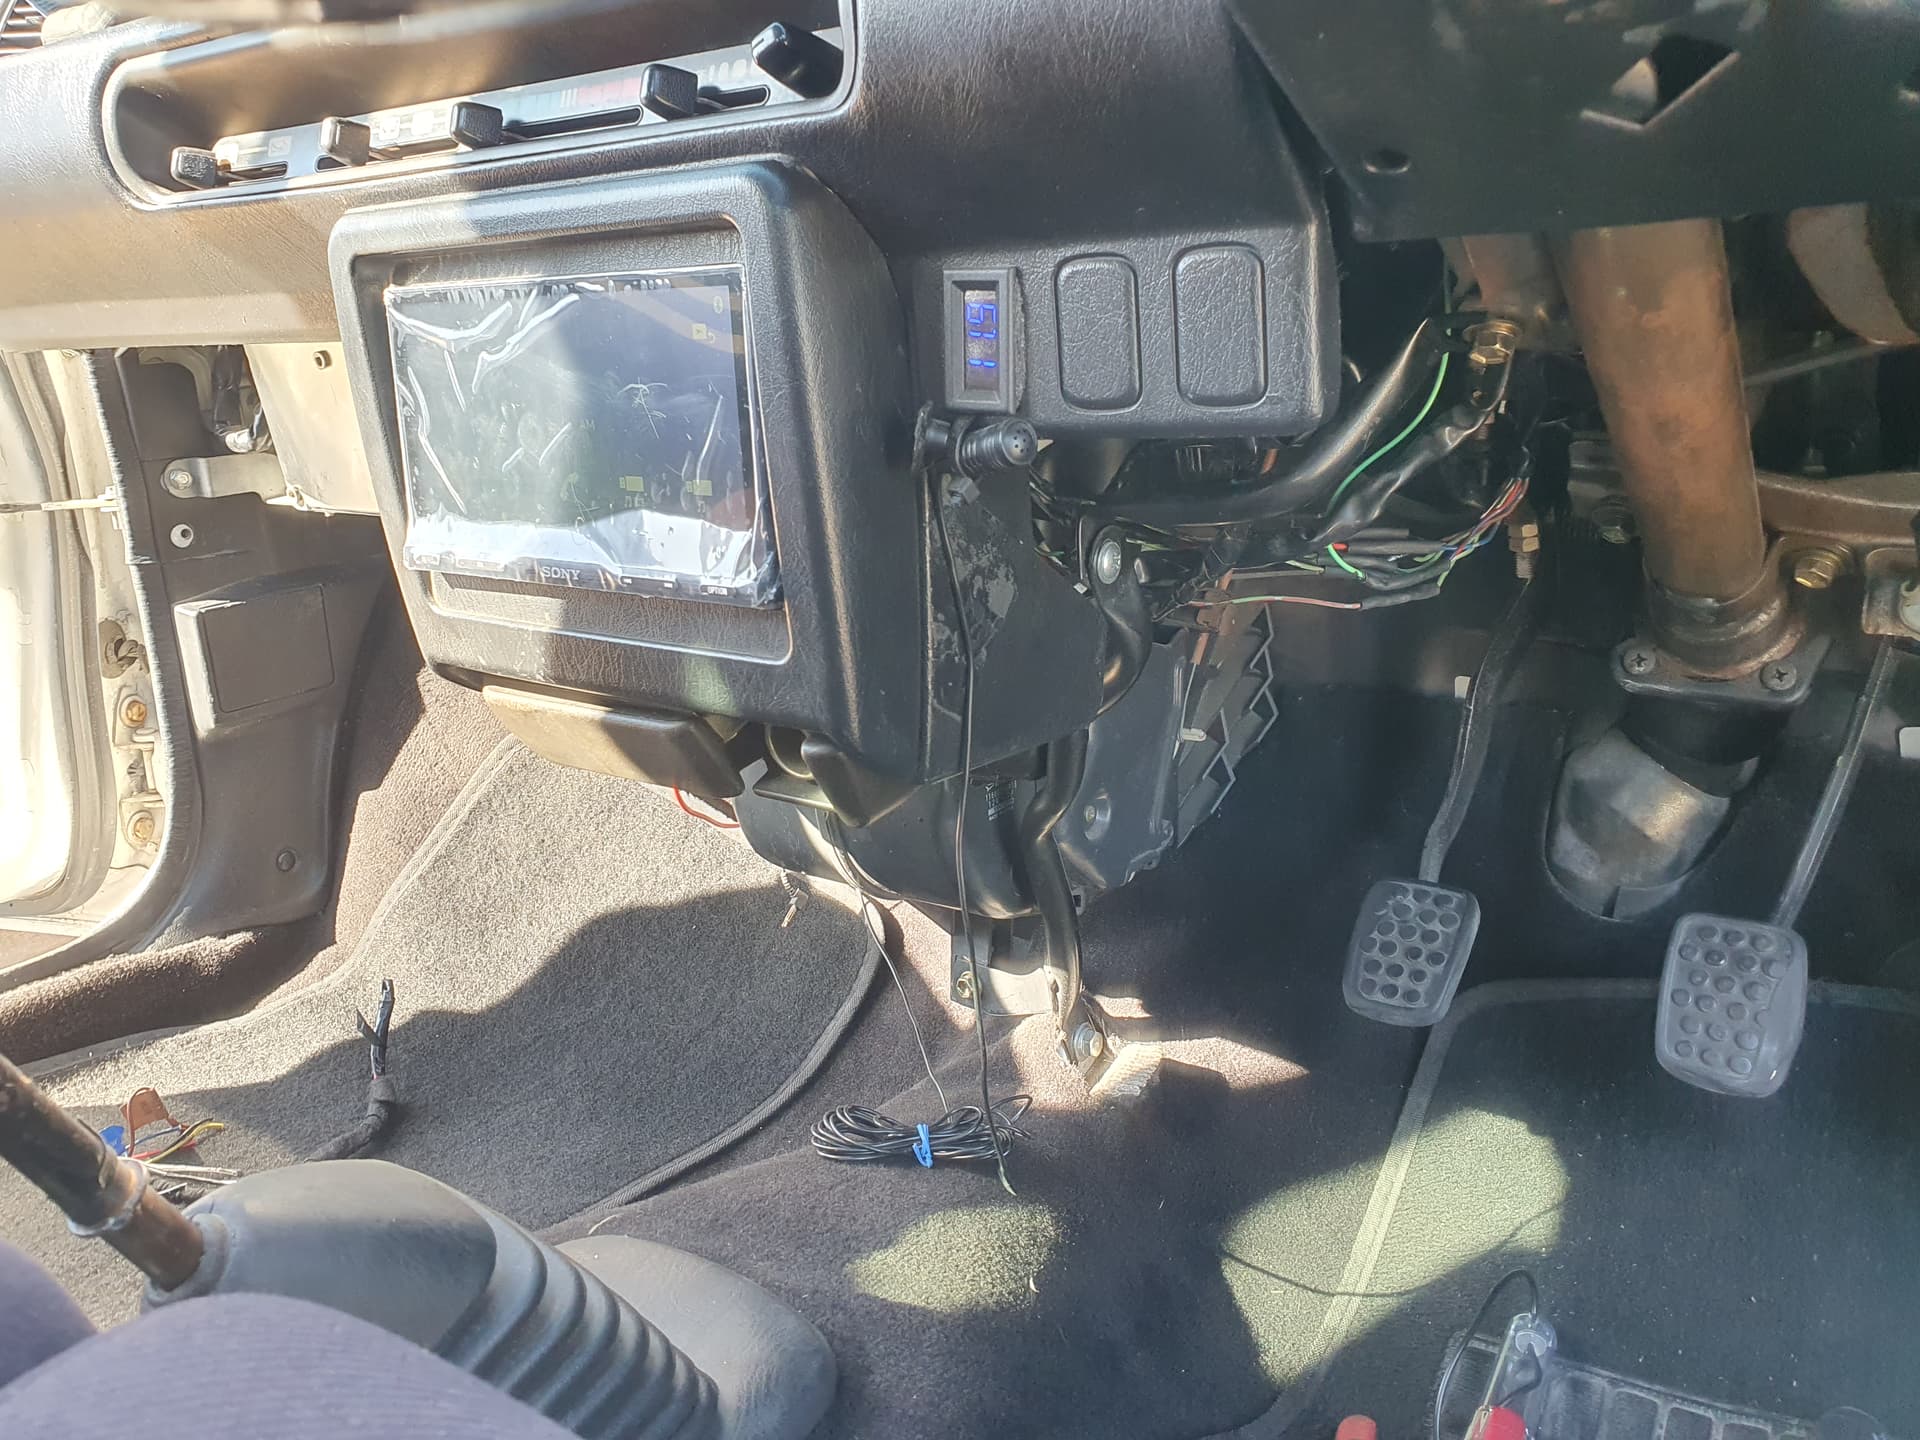
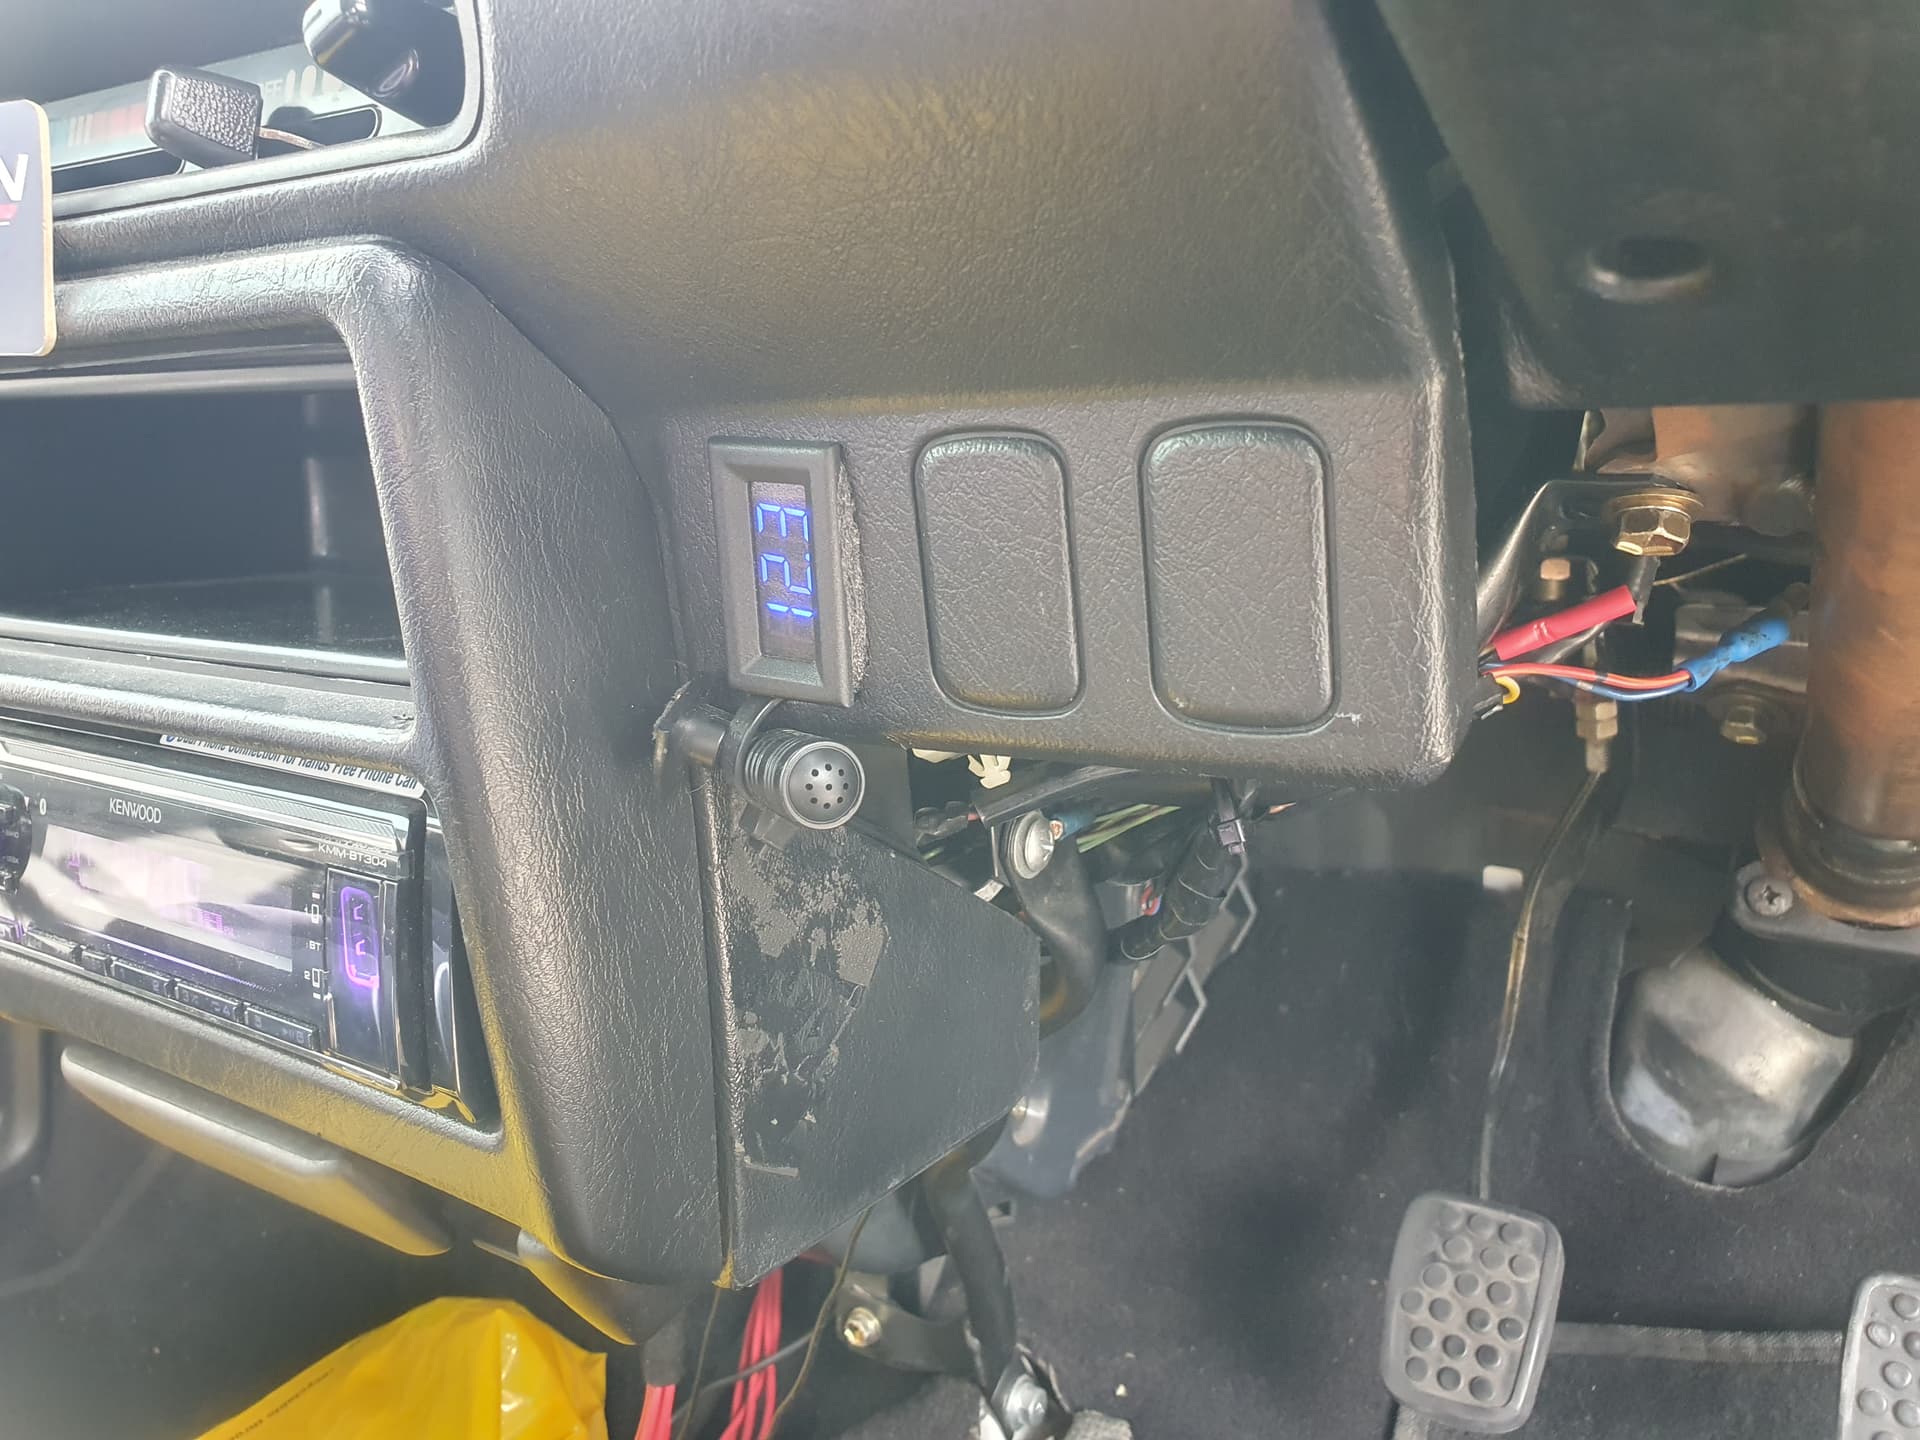
I had a voltmeter in before so I finally mounted it properly so it doesn’t keep popping out. With some foam tape.

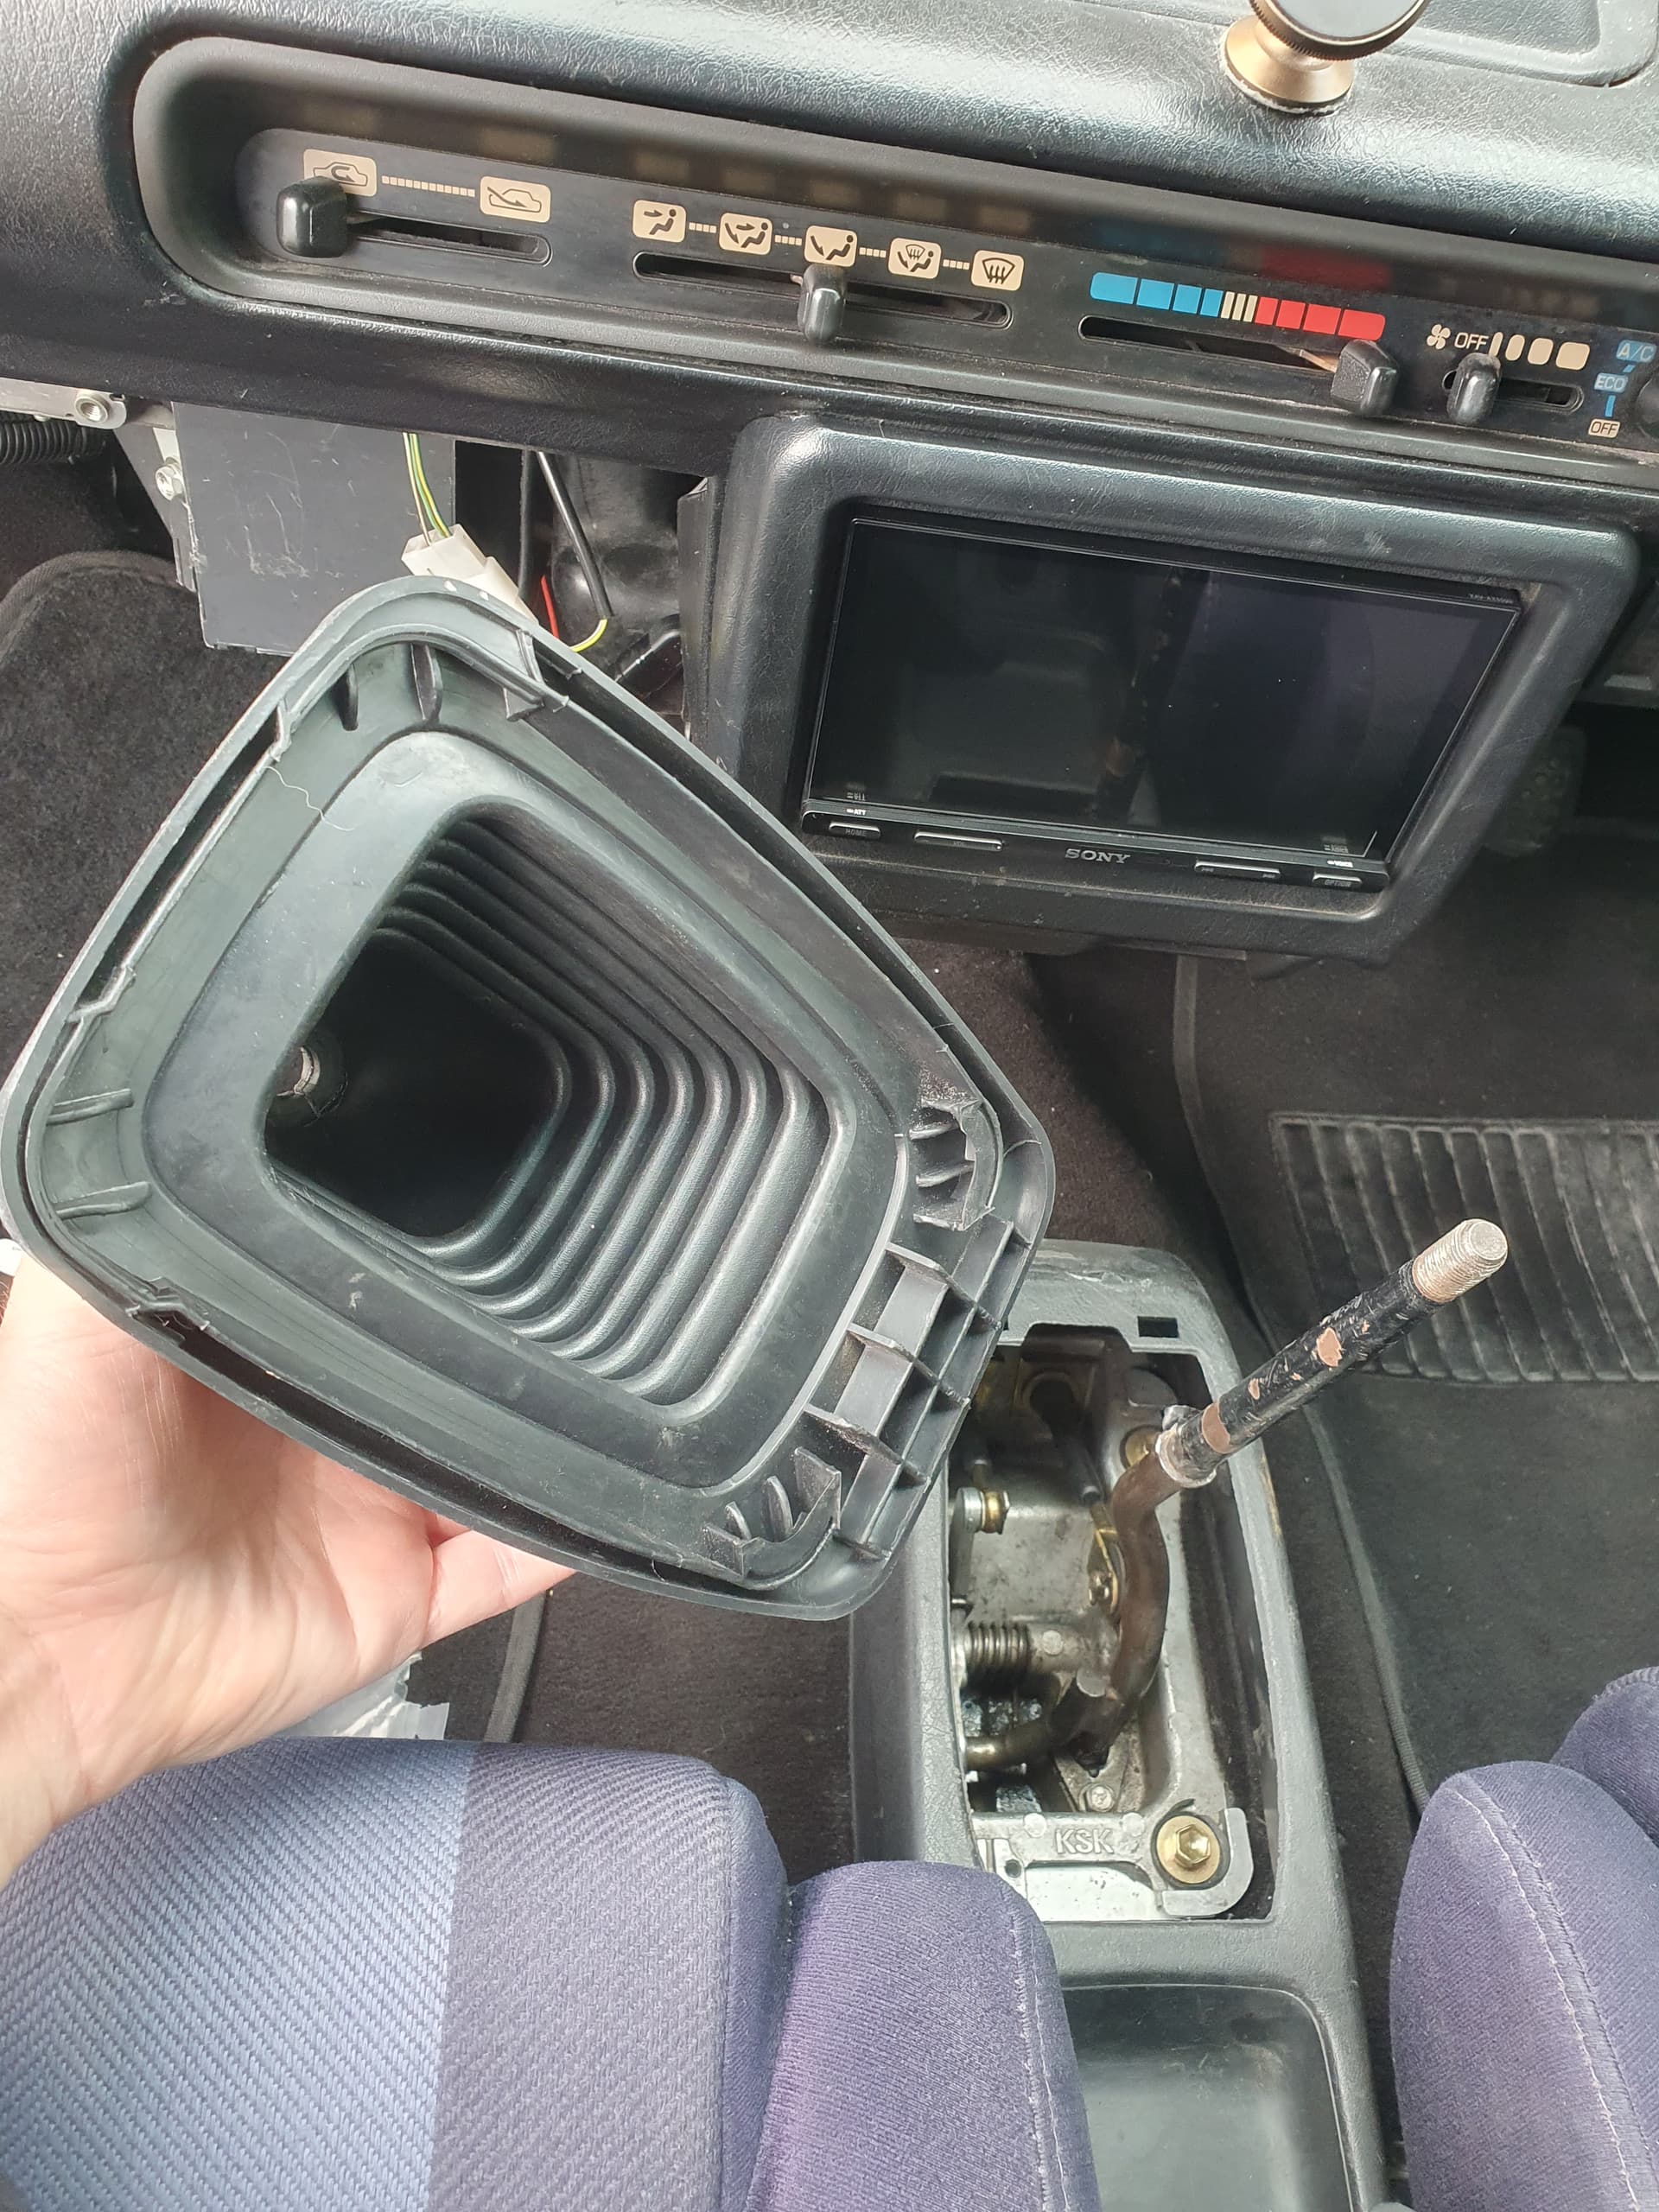
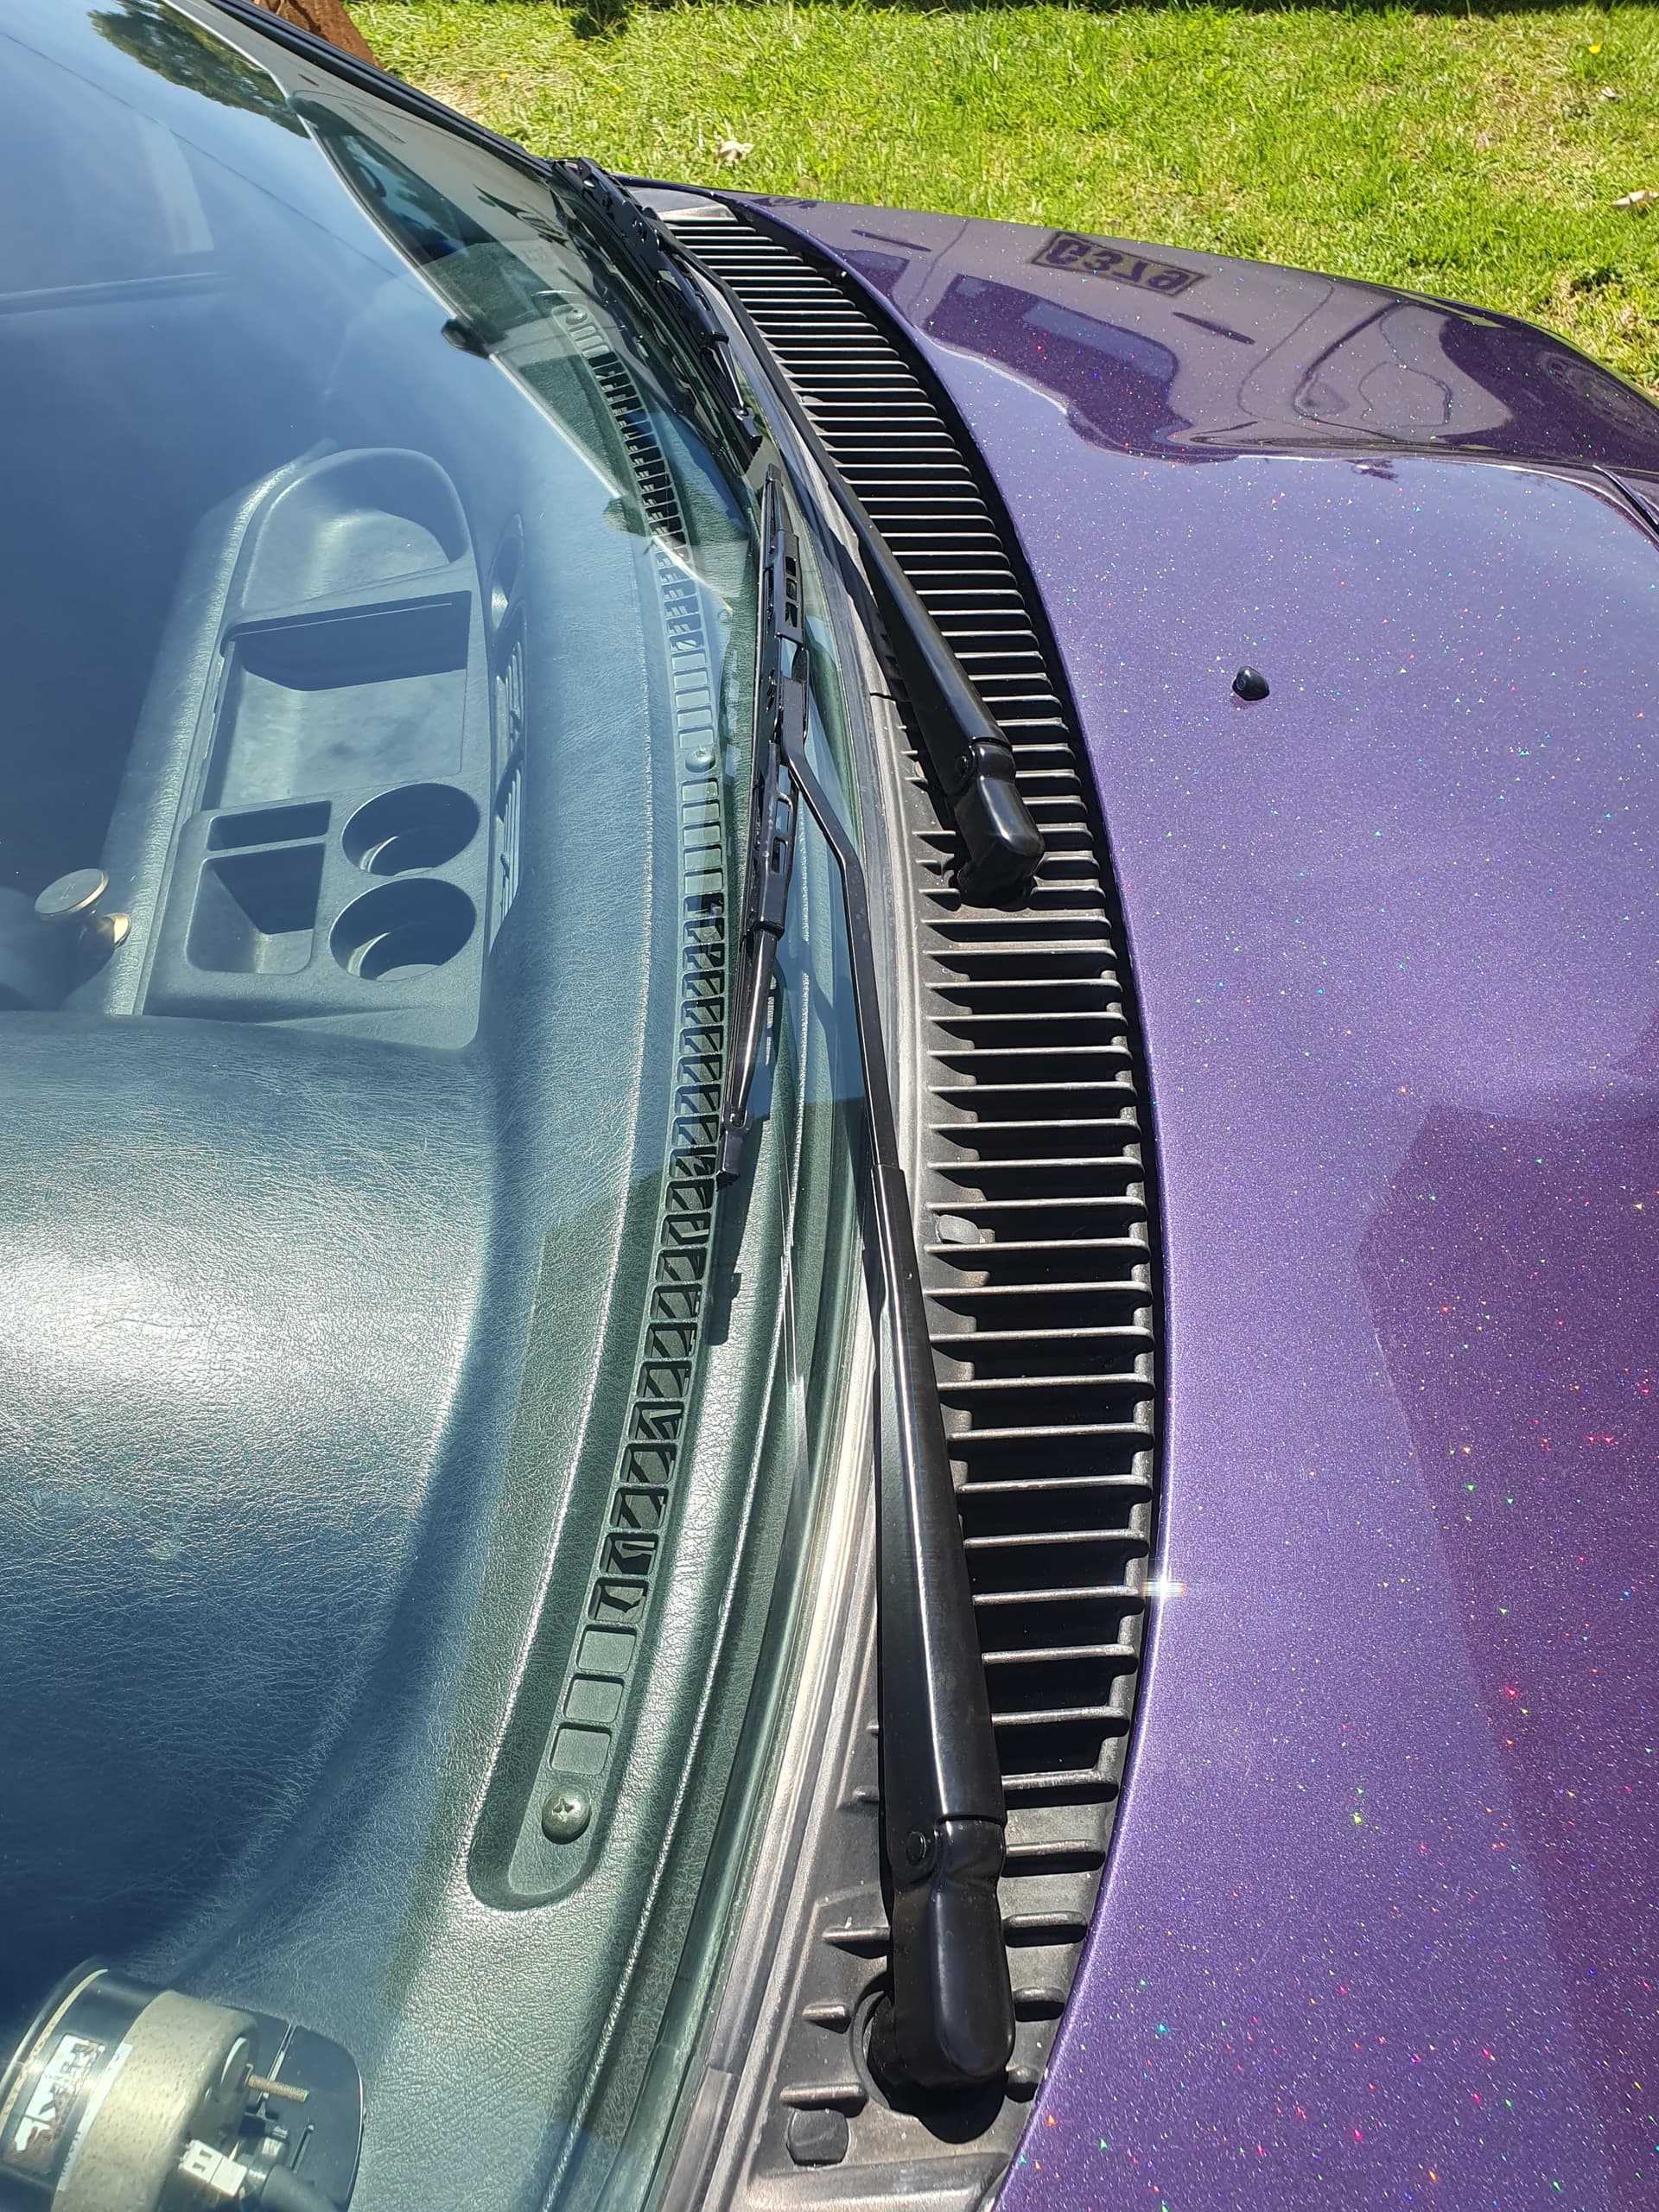
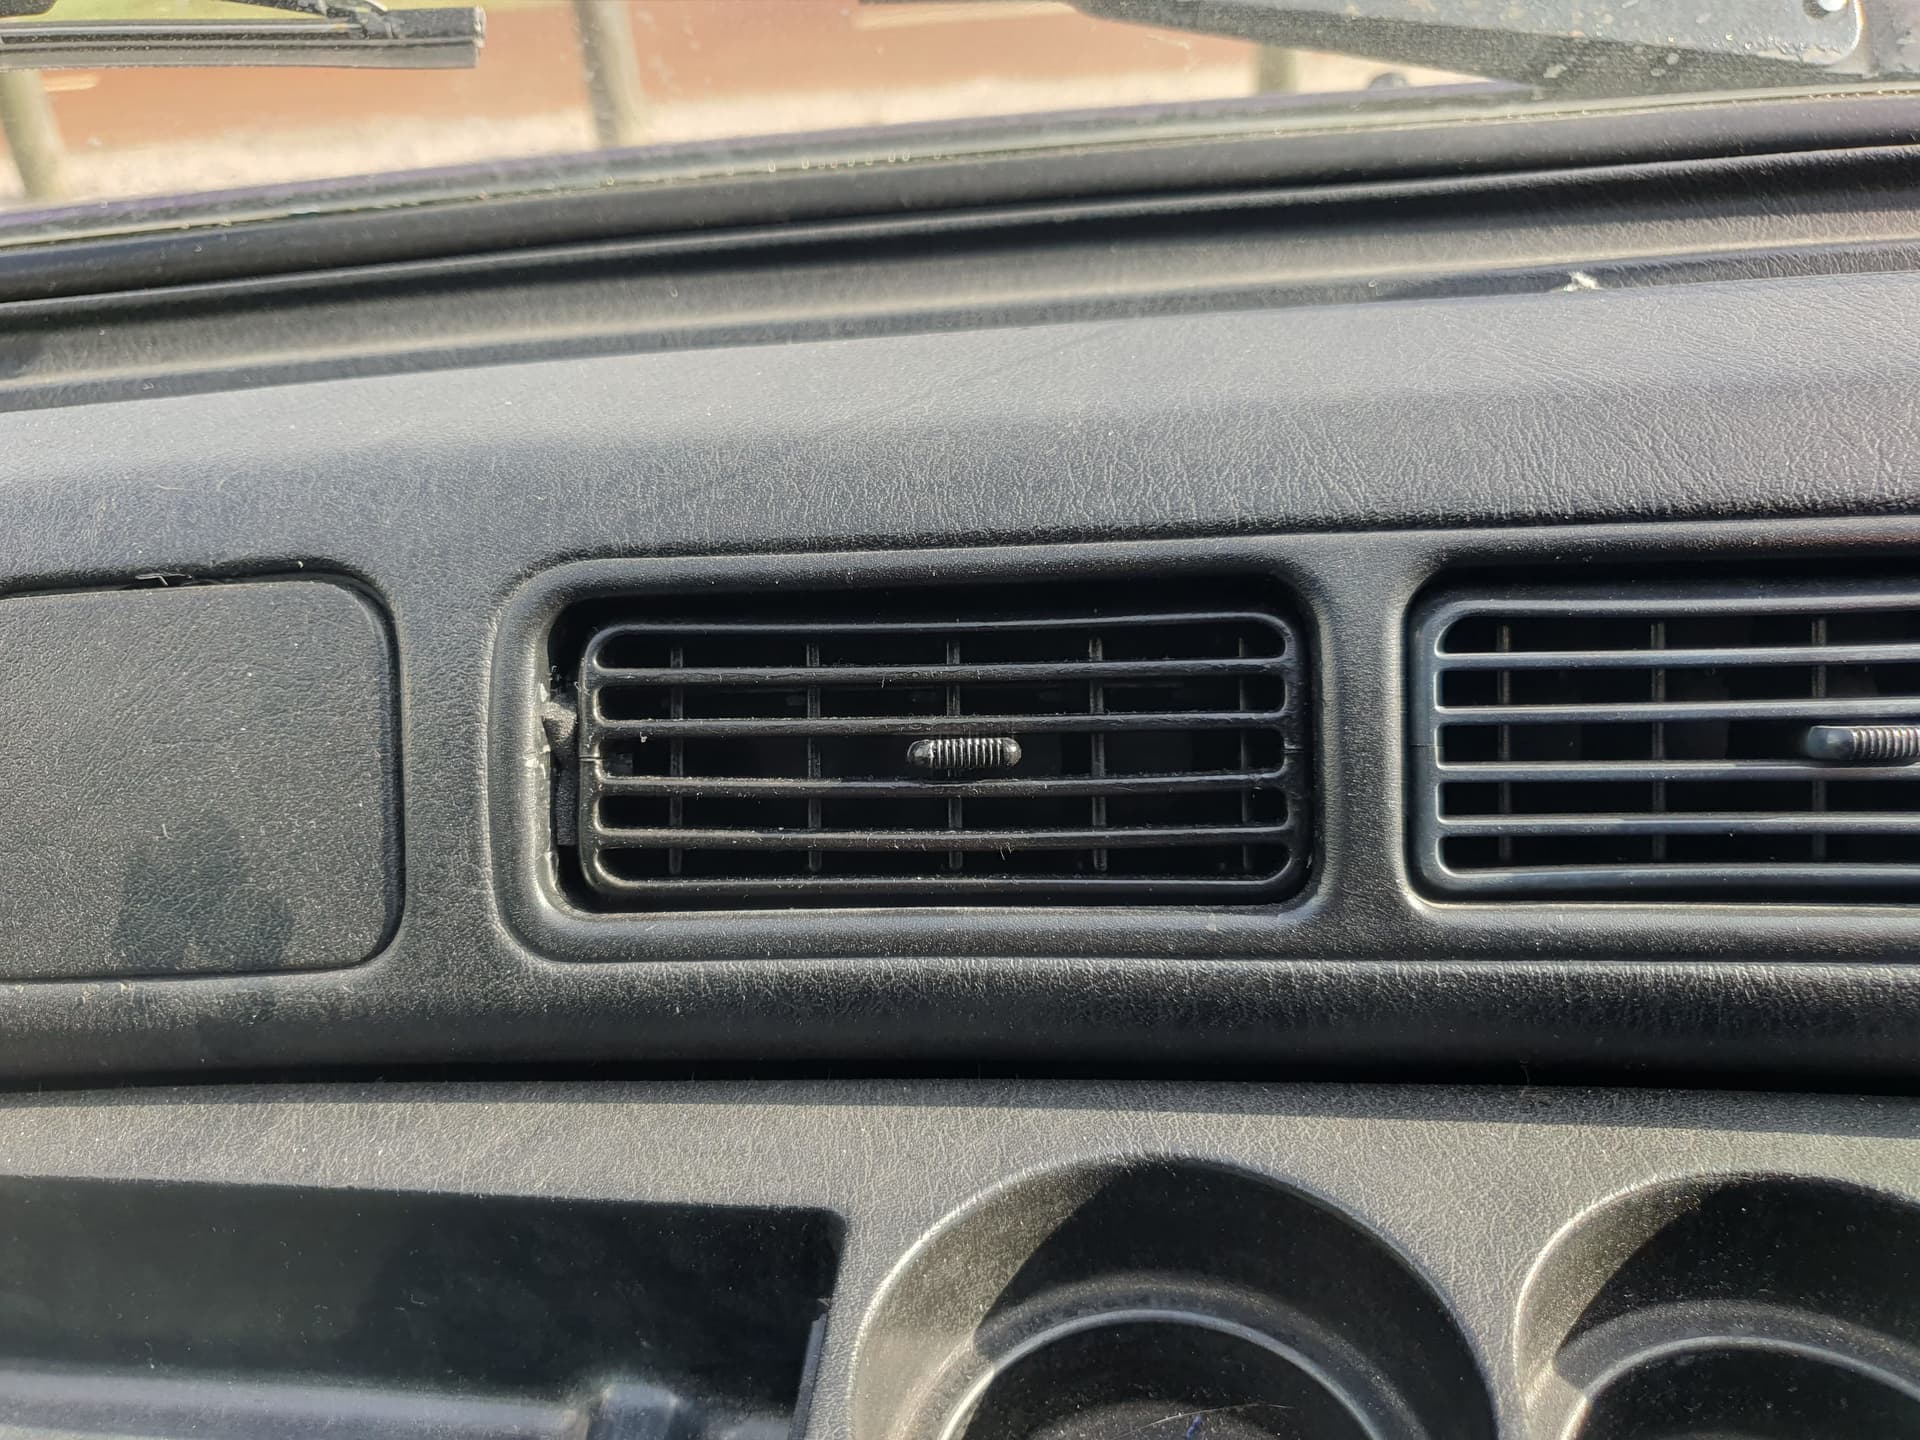
The foam tape also came in handy for the middle air vent which keeps popping out and wont stay. Second one i’ve been through because the little tab keeps breaking off when I fit it.

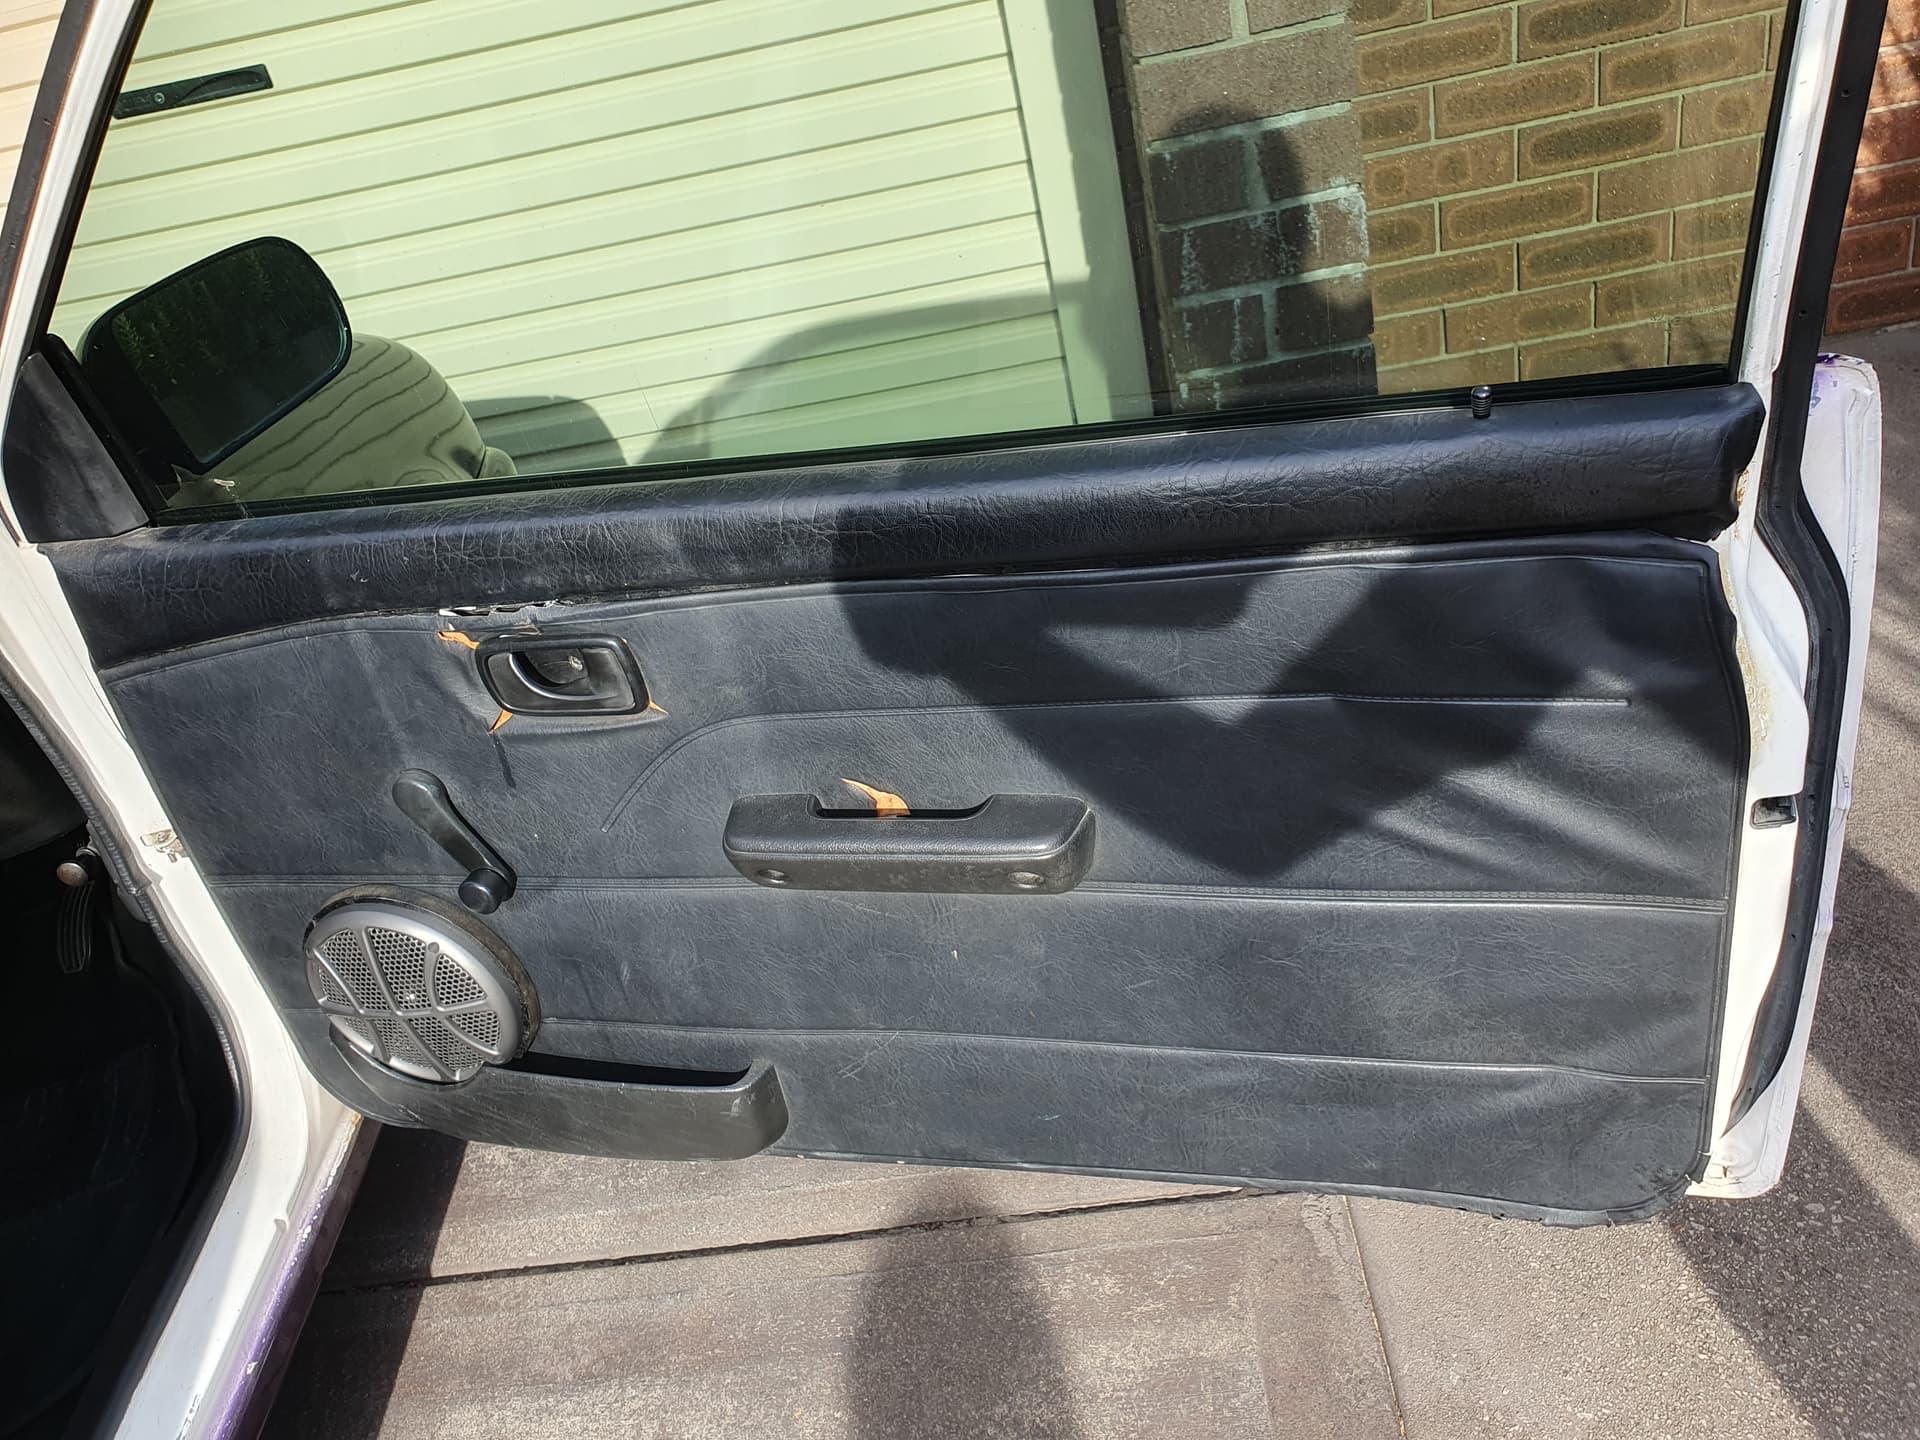
The door trims keeps getting worst every time I take them off. I really need to get new ones made, and hopefully make the speaker mount a little nicer. One thing I can never do is make something look nice.

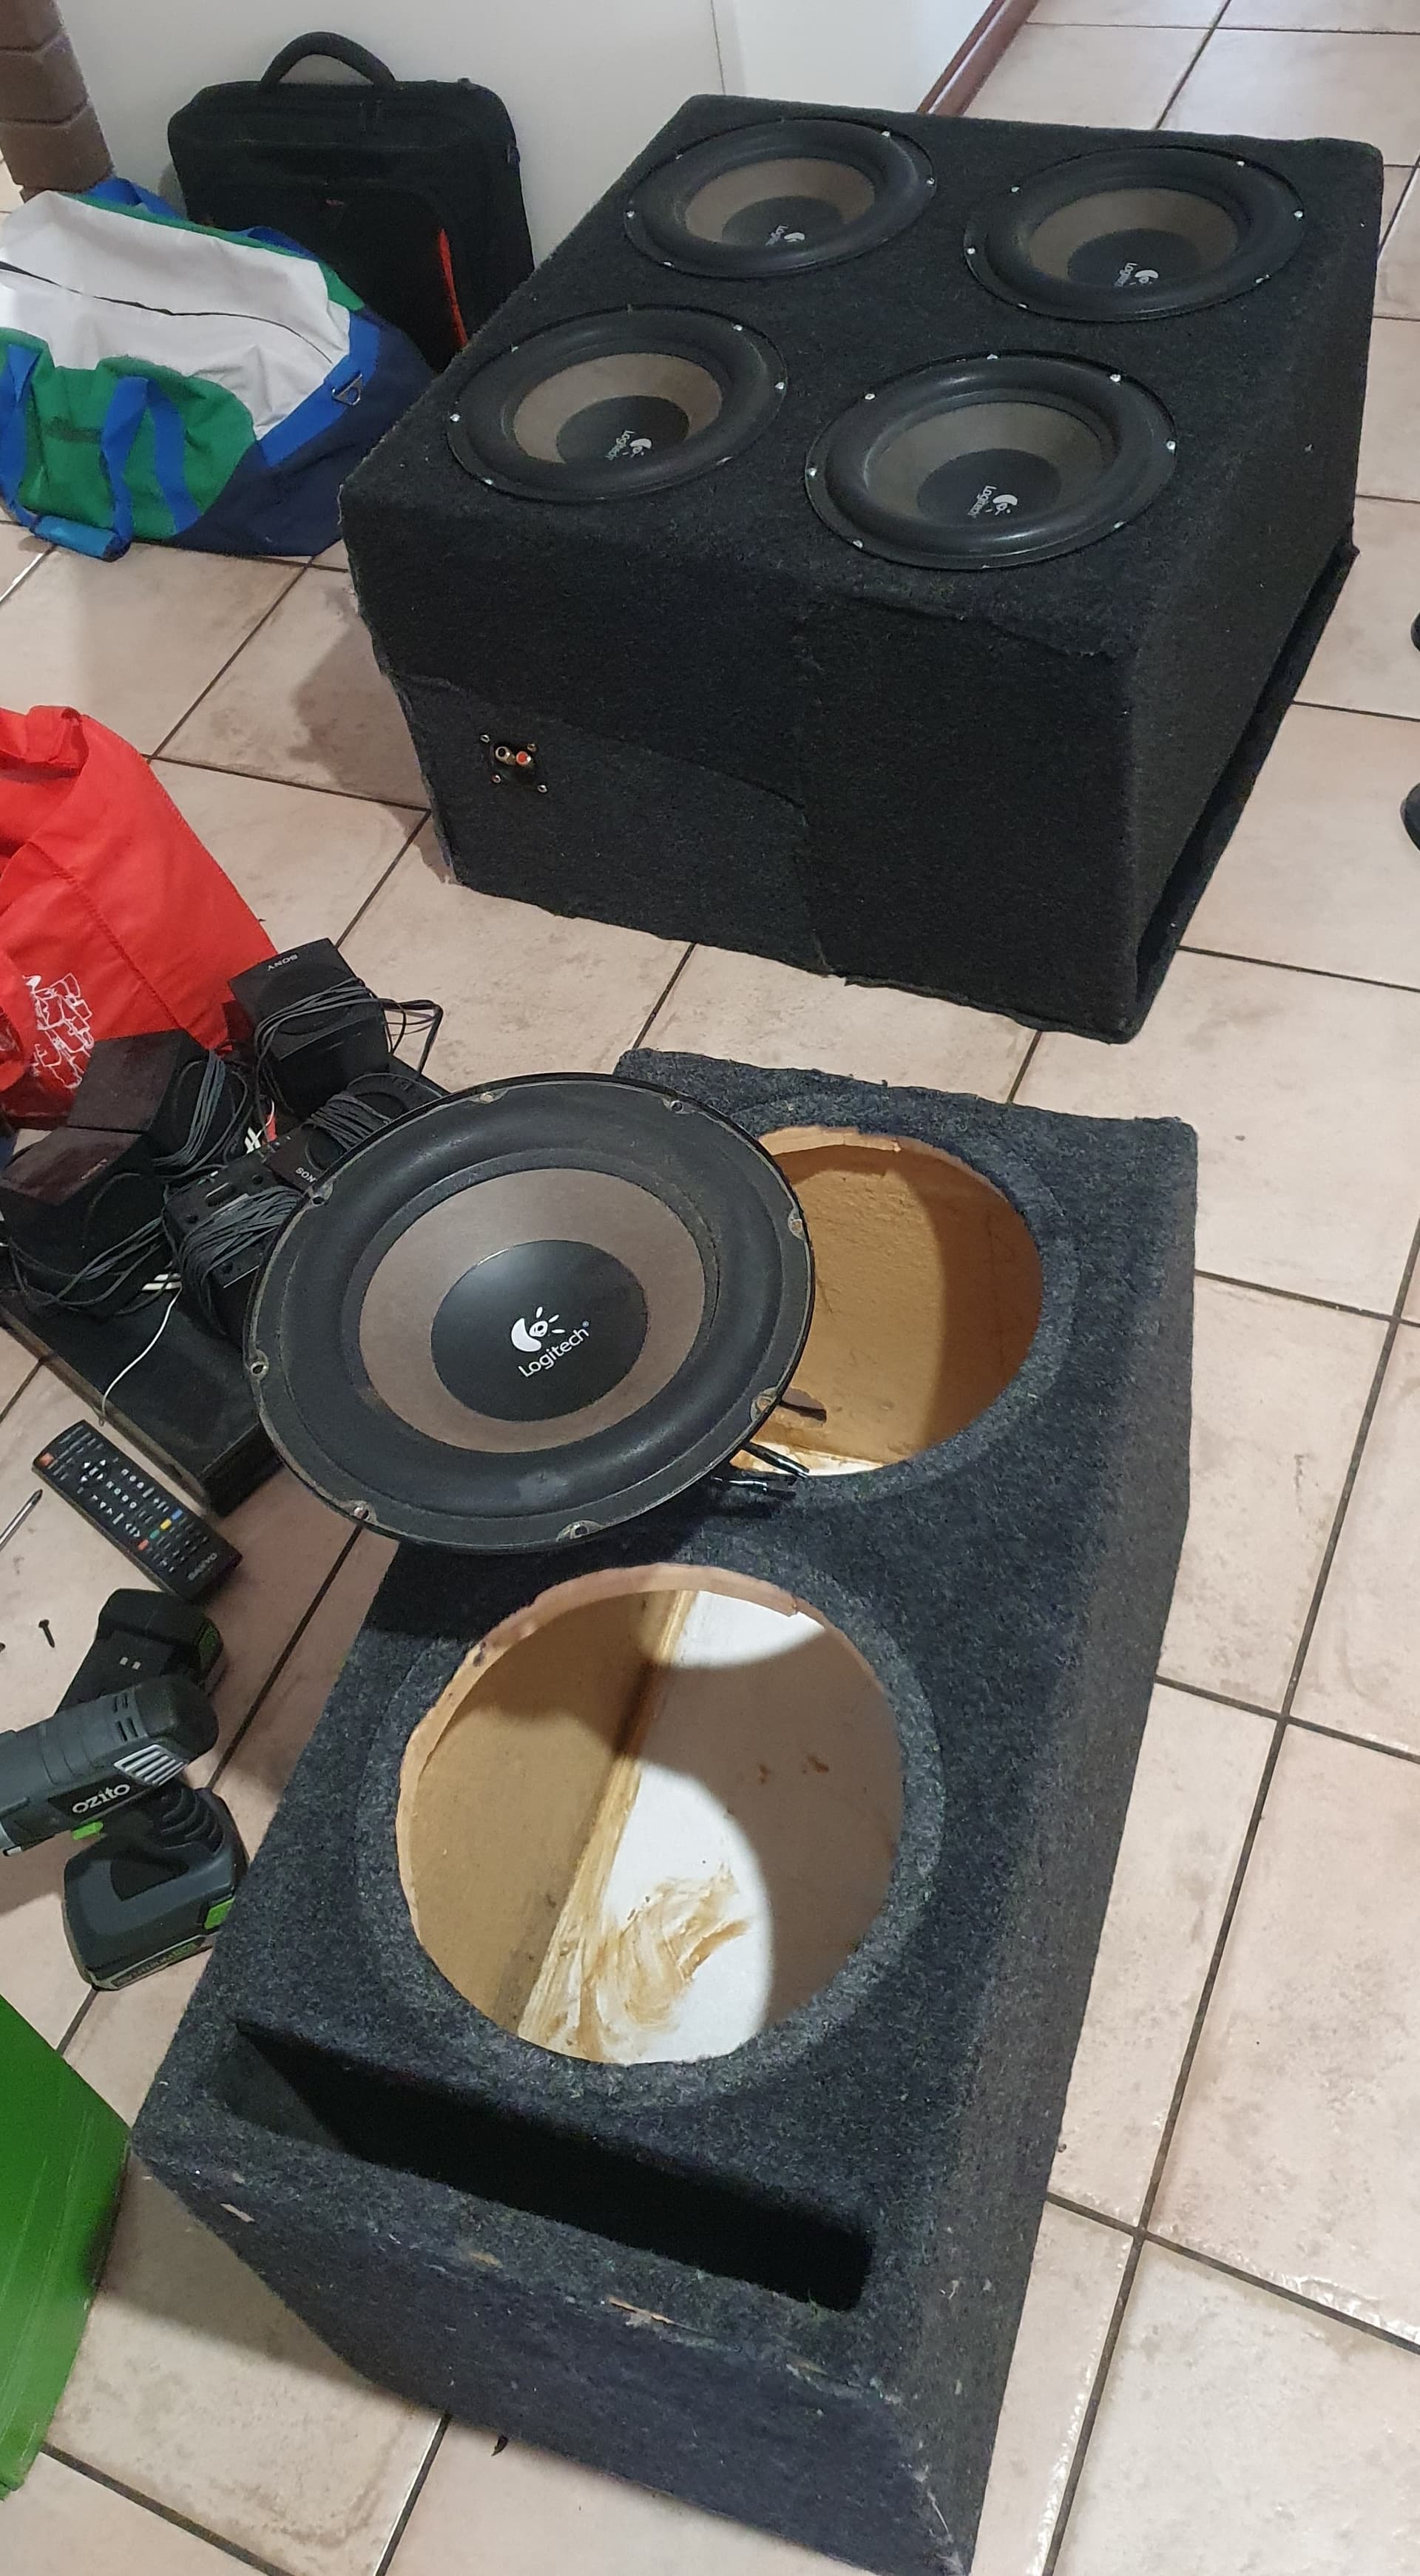
Then I had to chose between my 4x 10" box or my twin. I built the sub box for the mirra. It was a nice fit but… My ears weren’t liking it. The voltage wasn’t happy, more weight=more fuel and slower not to mention it was starting to break trims. So the twin box was a no brainer. I built both boxes from scraps aswell hehe. The twin one I’ve had for years. And the subs, Good old Logitech from the z-5500 computer system. I love them!

I didn’t want anything loud like the Pajero I had back in 2016

3 Likes

I had my little Dai up on the hoist after work to have a good look underneath.

I should probably start thinking about buying rear shocks soon. Any ideas?

Front’s still look okay, or should I get a full set and do and freshing it up a bit, coilovers maybe?

Underneath wasn’t too bad.

CV Boots from Malaysia lasted one year… So will need to replace them soon aswell.

Boots from the shaft I sourced locally still good.

3 Likes

Who loves an update?

100A big boy Alternator fitted and while the CV shaft was out, I did those boots that were cracking hard.

Finally getting the roof sorted and a few other bits.

6 Likes

whats the details on the alternator? From what car?

1 Like

Nik from NMF Garage in Malaysia hooked me up. I did another big order :).

5 Likes

Some more photos

oh and I have a before, so the roof repair was a need!

8 Likes

Time to do the Interior up!

First, wet vac time!

I have collected all these parts since owning the Mirra. First was the radio. What was going to be a simple install, took all day tidying up more wiring mess and exposed wires. I guess thats why my headlight fuse kept blowing… Found the factory earth and headlight signal for the radio in the mess.

The brackets needed modifying for the 2din install.

I went with the analogue clock. It was a 3 wire where as the digital is a 4 wire. Turns out it stays running when the vehicle is off. So I tested the current draw of it: 0.01a when it clicks and 0.002a doing nothing.

The old seat belts were different lol.

Then I found the holes to drill out for the centre bit. Lines up perfectly yay!

The rubber boot was different for the other centre bit so I will have to sort it out later.

Almost complete. Well I still need to get my door trims restored…

7 Likes

Gave it a wash, did some chrome polish on the wheels to try it out, still needs more but. Polished the headlights. Tinted the windscrean top section. I would love to give it a polish some time and go harder on the wheels. It did have some water marks from the wash on it. I couldn’t decide which photos to upload so I ended up uploading all the good ones hehe.


6 Likes

Looks awesome! Love following this build

1 Like

The JDM Car Show today went well. The Mirra had quite a bit of attention. It’s nice having something that is different.

I’m very happy with how far the car has come. I just wish I could keep it garaged and didn’t drive it everyday so I could keep it clean.

10 Likes

Nice! That thing looks so so nice.

1 Like

Went back to the Panel & Paint. Forgot rust proof the spare wheel well and get the wiper arms painted too.

4 Likes

So I was enjoying the Dai for a couple months, loving life, living the dream. Then my clutch started to slip sometimes at above 2500rpm. Oh no, I guess it didn’t like the 1600ish rpm in cold mornings.

So then I thought, well if I am going to go through all the effort on pulling the motor. I might aswell rebuild it with new seals and piston rings etc. The smoking it would do sometimes would annoy me.

So now I am planning on getting the engine bay cleaned up as there is a bit of surface rust, then I might as well pull the doors, fenders and rear door off and strip them to finally get them painted as well. The condition the doors were in when I looked behind the trims was gross.

I am doing all the work at my parents place so space is limited. It will be a very slow build as I only have a few hours over the weekend to work on the car.

So this is what I have been up to the last couple weeks.

First thing to do was draw up a nice picture of all the vac lines, take lots of photos of everything so I can refer to pictures when its time to go back together.

eww behind those fenders is gross.

Little bit of surface rust to clean up

Ready to come out, I wish I had more room to get into the car to unplug from the ecu than from the engine, would of been less to take off.

Almost out!

Gross

This is where I am at, I had to put the sway bar back in, then the old CV ends I will put in to keep the hub connected to the knuckle, the wheels did not like to turn. Maybe I will get the painter to remove the K Frame and stuff to paint it properly… I don’t have to facility’s here to make it moveable. And I don’t want to do a dodgy paint job myself.

Oh Yeah, found it leaking some brake fluid, maybe a L500 upgrade in the rear and master Cylinder?

Now I need to try and get her out so I can remove the dash and pull everything from the inside.

I just want it done properly, I want to keep this car forever. Underneath the vehicle looks really good. I’m scared of looking under the floor carpet haha.

I really need to look into this idle up air con issue. Maybe I can go through the harness while its out and find some wiring diagrams to make sure the ecu is getting air con signal?

So many questions, so little knowledge I have on this vehicle. I read its a pain in the arss to run aftermarket ecu. I will continue to look into it though.

6 Likes

Finally found some time to get the Mira out to work on… It is now ready for panel and paint.

I did want to pull the doors off and fully strip them.

Called up my painter and we both agreed it would be better to keep the doors on it that way they can line them up etc.

Anyway I was thinking of booking it for some time next year. I was thinking of pulling the seats and floor carpet out. I could do that after. However I was running out of room for everything. Doesn’t seem like there was any rust under it anyway. Maybe one day I could put some insulation down for road noise.

I did draw out all those brake/fuel lines in the engine bay so I know where everything goes back

Then onto the engine tear down.

Everything went pretty smoothly, only needed to get the grinder out once for a turbo bolt, the nut just kept spinning.

Then this crank gear was tight asf.

This plate behind the gear, it just spins freely even though it has a notch in it?

All of got left is head off and bottom end…

I’m just getting a bit worried about specifications and tolerances. All I can find is the L500 EF-EL service manual. So not quite sure what is the same as this one.

3 Likes

Nice project, seen the effort your going put into the car.

[quote=“TheSperminator, post:76, topic:2995”]…This plate behind the gear, it just spins freely even though it has a notch in it?..[/quote]The notch is only there for making that plate slip over that Woodruff key possible. Once the hub is in place, that plate should hold still

2 Likes