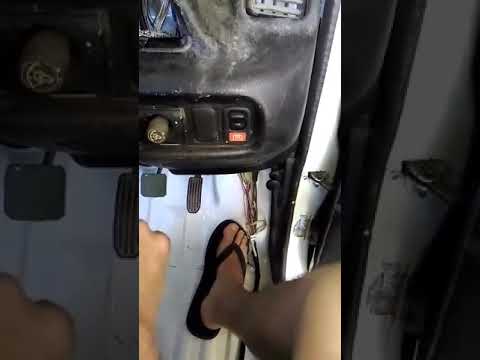
I remember how well it went with the stock ecu also 
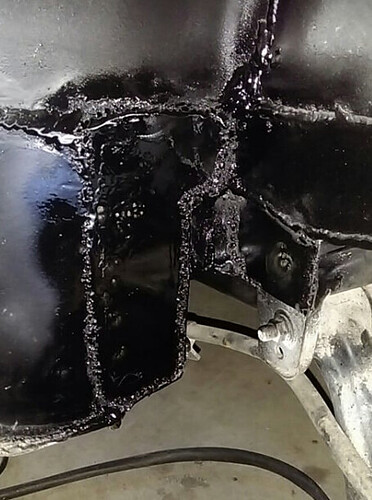
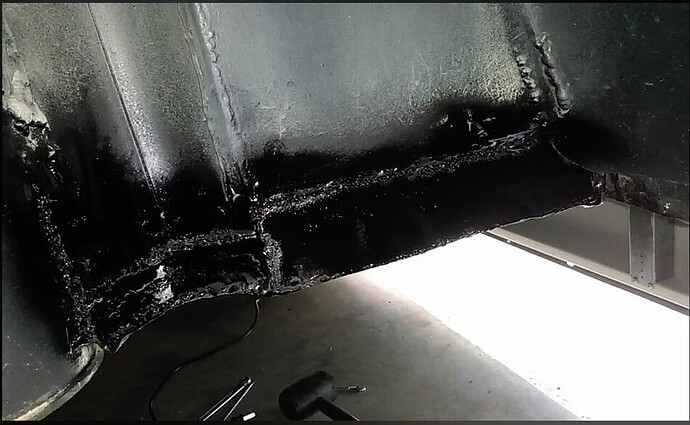
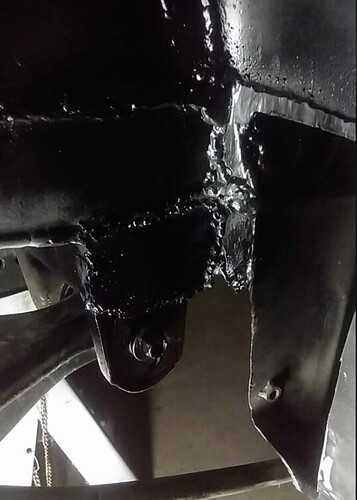
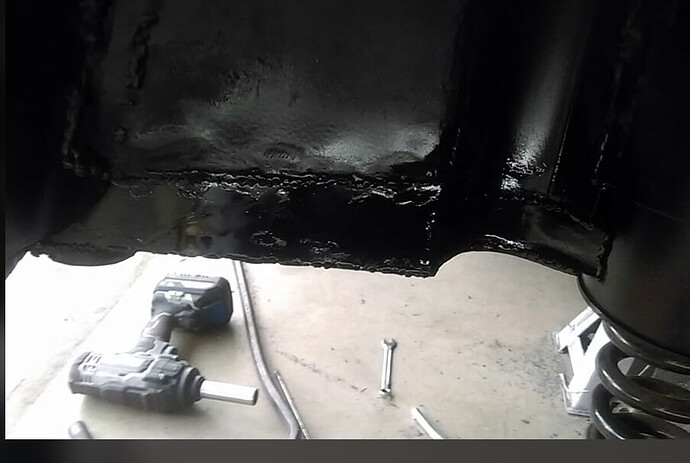
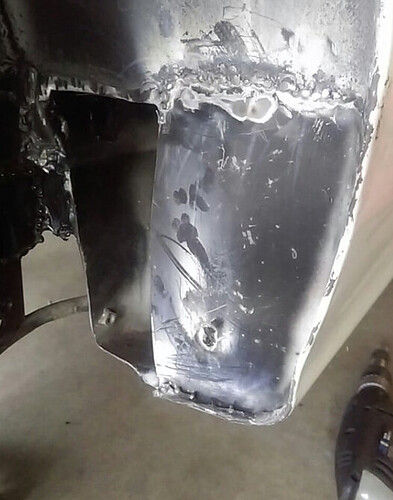
A little bit more done with my crappy gassless mig welding. I have never been good at welding and making things look pretty but I can get bits of metal stuck together and fill in holes.
*please note I have never had any training with welding and haven’t touched my gassless mig for about 2 years I much prefer an arc/stick welder but obviously the sheet is to thin to use the old arc welder.
With all that said the passenger side is now patched up and time to go over to the driver’s side.
I’ll vouch for his gassless being shitty, I can weld but that thing makes it hard lol. Nice work mr evil
its actually a touch better now lol just b4 the end of this. I had to get a new roll of wire and I found my list tips as well. New tip and new roll of wire have made it a bit better but my skills are still shit hahaha. oh by the way that last tip was bent hahaha!
HAHAHAHA. that explains a fair bit lol.
That’s a big no to gassless. Gasless is for fixing fences.
I do what I can afford.
I would rather buy some gas for you. Gassless is really sketchy, you will have lot’s of slag inclusion. It is not strong at all and the risk of failure is high. Okay on slam and stance that will never be driven, but gassless is not for something structural where you may be relying on it for you safety. Sorry Jimmy for the harshness. I teach welding as part of my job and we cut welds open to inspect, we did some flux core gasless some years ago and even good looking welds were not so good as far as integrity goes.
I finished the last bit and today I thought I would tackle getting the leaky drive shaft seal out. It was stuck good but it eventually came out.
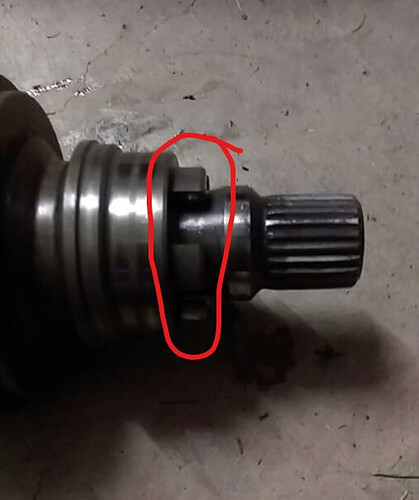
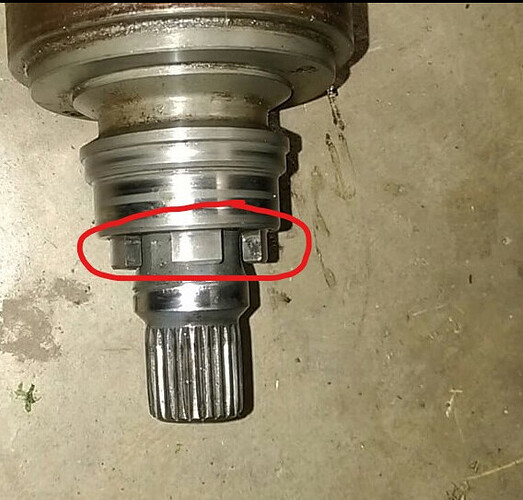
While I was there I thought I would take a pic to share with you all. If you have never seen the end of a driveshaft/jack shaft that is used in the LSD box then this is what it looks like.
These bits that I have circled slot into grooves that match in the gearbox. The standard gearboxes don’t have these.
Always remember to get the matching crownwheel. These LSD jackshafts are useless without the diff that matches. Plus, the clutch type lsd jackshaft has different spline spacing to the viscous one in the images above. These diffs transform a dai. It was mod I wanted at the start and began searching high and low. As soon as it came up (knowing how scarce they were) I snapped it up without hagglling. One of the three most dramatic mods done on the car (and adding more power was not one of the three).
so a little bit of an update for now. I have got hold of an autronic thanks to Mr G  I have had a quick look at it and manual’s etc also. I have put that aside for now as other things getting it back to driving is what I was focused on. I got a new seal for the axle which I have installed now. It is not a cv shaft-specific one but should work fine. I have yet to put oil in the gearbox to see.
I then went to put the 15" Rolla’s back on the front with the 195/50’s on them and then saw what Mr G had said about fitment. Because I had some stock steelies on the car I thought my clearance was fine but guess again. They foul the shock.
I thought about this for quite a while and pondered what to do. I tried fitting a sirion shock and while it would work it would it throw everything out of whack and I would end up with positive camber. I thought about using longer LCA’a and then that throws cv’s out also. I thought about coilover’s but then I would struggle to find coilover’s with soft front springs without having to buy extra springs and I wanted to use what Mr G had done a lot of work with.
In the end because the car isn’t going on the road I opted for 30mm bolt-on wheel spacers. ( I have some extra wheel studs for you MrG) I changed the one side I needed to back to a short wheel stud, then used the wheels spacer’s and they clear fine. Not quite enough for the 205’s to go one the front. But with the 195’s I can clear the shock and now do not rub anywhere except a small part of the bumper.
Now for a little sad bit. I have taken out the hydro rear handbrake setup. I think it needed a re-design and so for now I have taken it out and got a connector and re-connected the brake lines. (I have a brake line flare tool kit I got from a garage sale for $5 years ago and my word that thing comes in handy). I have left the bias control connected for adjustability if need though.
I had a little bit of extra cash come in also so I was able to finally buy a battery for it that will fit. I went with what I used to run in the move. For $80 delivered and 280cca they are cheap will fit in the battery space also. 12V 280CCA 13AH RTX15L-BS SSB AGM Motorcycle Moto Guzzi Kymco Battery YTX15L-BS | eBay
I did have a little bit more money than I anticipated and also got the Yes pass from the Mr’s to get it and with setting up the autronic in future this will be friggin cool. Not sure if going to give me more power or not but because I am keeping this N/A and I really wanted to do this and found these maybe around the right size? I guess we will find out when they get here. I am pretty excited for the postie this week.
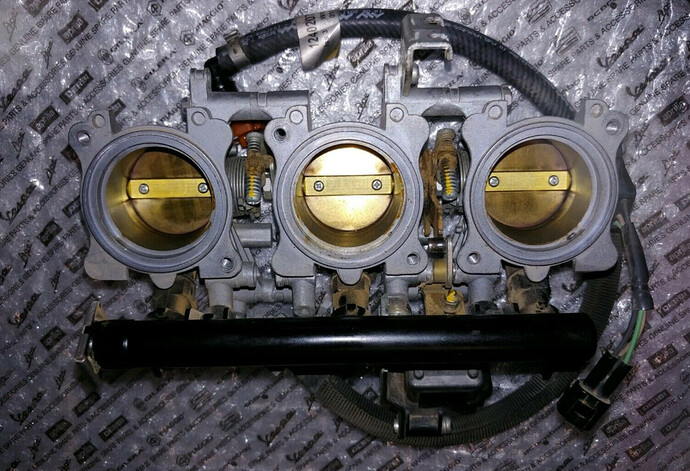
They are from a tiger triumph 2014 model (800cc) and they run a piston size of 74mm but a shorter stroke than a ejde. I had been looking at some others for ages and had a set for a 660cc in my watch list but found these on the day I went to order so they are a bit bigger and hopefully it will be a lot of fun. I think I will make a manifold to mount these with. I think I will still use the ejde injectors and injector rail but I have the option to use these if necessary.
Oh the other thing I did was plumbed up all the fuel lines and my for on it also. Unfortunately i broke my for gauge so I will have to pinch my other one from the other car to set up the right pressure then take it off.
With the spacer’s on the front wheels I now have a lot of wheel poke. I have ebay flares I could put on but I really dont want to do that so I will work out a different option that will do it more justice and also the back guards I will do better too.
So keen to see the ITB set up on an EJ!
been playing around with this here and there. I got a battery that I had to make the adapter fit and get some new leads to the 100amp trigger switch.
Got that done tried firing it up and would not start. Tried a few different things and nothing. It seemed the fuel pump wasn’t priming but the engine would turn over but it wouldn’t start on brake cleaner in the tb either.
During all this I also discovered that the fuel tank developed a leak. It wasn’t big so I got some quick steel the next day and when the fuel had stopped dripping I sanded back to metal and patched the hole. It works great. I have heard from other people that have had a fuel tank hole and have used it and it has held for years now so it seems like good stuff.
Anyway I started to try to see what was going on with the wiring as there is a couple of wires I wasn’t sure about and also seeing if the big red key power cut switch was still working etc.
Could really tell too much. I pulled the ecu with intent to trace some wires etc for the fuel pump. I check I had actually plugged in the new fuel pump and I had. So I left it for the day.
The next day I went out and put the ecu back in and hooked up the battery as it was on the charger.
It tried to fire up? I thought oh it must be the brake cleaner residue.
Then the fuel pump started priming! WHAT???
I was trying and trying to start but not every time i would turn the key it would turn on or activate the fuel pump.
I discovered more fuel leaks in the fuel line where they needed tightening and then it wanted to start.
I got it running and warmed up on idle a little before giving a few revs as I was pretty excited and that it was running and I wanted to hear it and share so I made a little vid.
It is so healthy. After the vid I dialled in the fpr by ear to make a nice smooth idle and rev so hopefully I have it somewhere pretty good.
Next step for me is get the itb’s in a good position to get working which I have been working on too. I am also at the hair pulling part of putting in the Autronic. I have been doing some research with what I have here and have already confused myself.
Don’t fear I will go back over it and work it all out and get it running eventually ![]()
but for now
oh the extra rattle in the back you can hear is I put an extra sheild up between the fuel tank and the exhaust! But my god I love the bike note sound this exhaust has.
Fantastic!
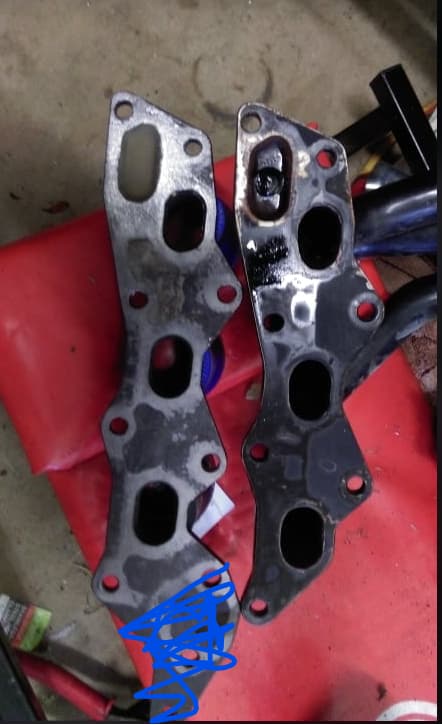
Started on the throttle bodies as you can see from the pics one was not like the other.
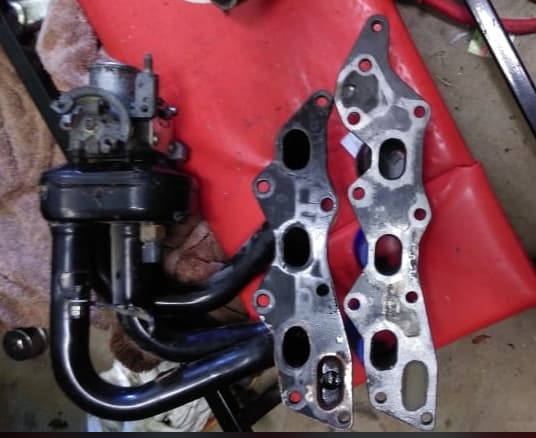
So in blue is what I cut off so This one would fit the current ejde I have.
No idea which ejde came from which car but obviously 2 different series.
Anyway, after some fiddling and cutting and grinding, I managed to get the itb’s dummy fitted and a throttle linkage working. Next, I might get some strong glue and start to make some sort of air box as there is not much playroom down there for activities and I will need to get cooler air to them and a filter of some description. That should be a bit of fun. I also need to make a vacuum chamber for the brake booster and map sensor etc. You I could buy one from ali express for about $20 but I think I will make some monstrosity thing with what I already have.
Anyway here is the short vid
got the ITB’s to run throttle response is good idle not so much. I didn’t have the far hooked up to read what it is doing but this is just the test before upgrading the ecu.
the vid is a little laggy but you get the idea.
Fantastic. Three cyl with ultra light flywheel goes against you with the idle issue.
The top injectors on the ITBs would be good a high revs and the factory position at low rpm. What was the bore size of the throttle bodies?
