Ongoing project thread of Sirion Rally 2 M101

I’m glad my little topic about the bushings was put to good use! It’s definitely a massive improvement for a small amount of money, and it’s often one of the first things I recommend people to do to their Dai’s.

Also. you are probably right about tightening the bolt too much. A stiff front/back feeling is usually caused by the bolt on the bottom of the gear lever (last picture), a stiff left/right feeling is caused by the bolt between the linkage and the gearbox side.

Good job!

2 Likes

Hi Granger, if you remove the gear knob and then take the rear support off, the whole assembly comes away (a lot easier to grind the pin on the bench). You can also replace the rear rubber support at the same time and apply some grease on the gear lever fulcrum when re assembling.
When we built the original Rally 2 and 4 gear lever assembly, we removed the original fulcrum ball and replaced it with a new nylatron ball raised higher on the lever for a shorter throw.

1 Like

Just with the intention of getting in the middle, I made a horrifying job. I cut the lever and add a piece of iron on it (Of those to build houses). It turns out that it worked very well to shorten the shift. In addition to the change of bushings that removed the clearance from the lever.

3 Likes

Thanks for the input as ever folks - I had a bit of time this evening and was able to get the car up on the lift and slacken off the linkage bolts a bit and also pull up the gearstick gaiter and spray some aerosol silicone grease into the fulcrum ball & socket to hopefully ease that up too.

moving the car back and forth on the drive and it seems to select gears cleanly, much better than before I started and with less stiffness than before. Overall a fiddly job, but very satisfying.

We’ve also managed to sort a new (non Daihatsu) runaround for my wife so I can keep the Sirion in the garage now until the council have stopped salting the roads. I’m borrowing a pressure washer soon to jet out the underside before applying a liberal coating of Dynax AB wax when it warms up a little bit here to further protect the underside.

3 Likes

Small but important update, my brother was able to cut, modify and re-weld the stock rear exhaust section and post it back to me and it arrived yesterday

The stock exhaust was fouling on the brackets for the rear ARB over bumps, and since the council round here haven’t spent one single penny on road repairs since 1908 this is a bit of a problem!

I had tried to use a specialised tool to modify the existing exhaust to improve clearance (walloped it a lot with a hammer) which had helped, but it still fouled over bad bumps so a more radical solution was needed.

As you can see from the shiny bits, he’s cut about 6" off the tailpipe by the hanger, cut the raised section where the exhaust goes over the rear beam and welded in the section cut from the tailpipe. The exhaust is the same physical length, but the raised section is much longer before it drops back down, and the tailpipe is now shorter. He’s done a good job, keeping the orientation of the hanger correct so it fitted back on easily last night.

Here it is in situ, with the car sat down on all 4 wheels - as you can see there is now loads of clearance between the stainless ARB bracket and the exhaust pipe which should stop the clonking over bumps and the savage damage inflicted on the exhaust!

I didn’t have a chance to take it out for a run last night but hope to do so tonight or tomorrow and see how it goes over some bad roads round here.

Then its booked in for an MOT at the end of the month, and I have asked the garage to fit the polybushes to the rear beam while they have the car in, so fingers crossed it passes!

Assuming it makes it through the test I’ll get the AC regassed and underbody wax applied, then get it booked in for a 2" stainless custom exhaust made up over the summer.

5 Likes

Yeah, so about that…

So thats a NO then…

I knew about the CV joint boot, the suspension arm just needed the nut tightening up and some threadlock applying so I had the garage deal with those while it was there, total with the test fee was £160. I went and collected it and drove it home for the merely ‘MAJOR’ defects to be sorted in due course.

I’ve contacted the chap who did the welding on the chassis rail on the others side last year and aim to get him back in a few weeks time to attack the nearside. I spoke to the guys at the garage and they said it was the very rear end of the chassis rail, where the damper mounts to it, and a bit a little further forward where the spring mount is. I aim to get the car up on the lift and have a good look, and photograph the yellow chalk of doom, but it won’t be today.

For now, the Sirion is in the garage, I aim to drop the fuel tank off and clear up the access as much as possible to make the welding job as easy as I can, while its off I can clean up and paint the fuel tank with underbody wax as a good preventative measure, and see what the underside above the tank is like.

This does mean that exhaust games are on hold for the time being! I also told them not to bother with replacing the rear axle bushes yet, but they can do that when it goes in for a retest - I have the parts. It might be possible for me to replace them with the fuel tank out, as that will give me access to the bolts with my impact gun which should whip them out of the captive nuts easily.

2 Likes

So here is the full horror

Awkward, but not awful I think is the general consensus?

Does anyone have any info on how to remove the fuel filler neck? It looks to me like it connects to the tank lower down with a jubilee clip arrangement:

(mid-right of pic)

How do I undo it from the filler cap end? I assume I undo the jubilee clip, undo the flange on the filler cap end and then wiggle the filler neck out somehow? Then drop the tank from underneath?

1 Like

If you follow the filler to the tank then you will see a rubber hose that connects the tank to the filler neck. Undo that and when everything else is disconnected with the tank then drop that first. That will probably make it a lot easier to get the filler neck out. Well, that’s how I would tackle that bit.

1 Like

Hi, the fuel filler neck is held in place by two machine screws at the filler hatch and one bolt near the rubber connector to the tank.
Removing the two bolts fixing the front of the tank should be OK, but the two rear bolts will likely shear. Try wire brushing and WD40 on the thread and captive nut, before trying to loosen the rear bolts.
In the UK, the part is under a recall that is still active, if yours has never been replaced, as the rust and leak!
Photos of new part ready to install on World Cup Rally car.

1 Like

Interesting, thank you - how would I go about redeeming the recall? Take it to Toyota? I see they are listed on Amayama for £52 or so, but if I can get one FOC then I’d be very interested!

Had a little time and wanted to get ahead - the filler neck is now out and access is significantly improved for the rearmost bit of chassis rail at least The filler neck is held onto the car at several points, there are 2 torx head bolts going into captive nuts inside the filler flap - these bolt through the inner wing into captive nuts in the flange at the top of the filler neck.

As predicted by @Rallynrace on applying torque one of the captive nuts on the flanged bit of the filler neck snapped clean off, meaning it just rotated in the hole. The other began to undo a few turns, then stripped the torx head so the bit just spun in a mangled crater of a screw head.

This meant I would need to drill them out. If the metal the screws are made from is that flimsy then they won’t put up much of a struggle, and they didn’t

I was able to drill the heads off with my little drill and a 6.5mm then 8.5mm cobalt drill bit

This freed up the top end of the filler neck from the inner wing. I used a magnet to clean all the swarf up, though I don’t think I’ll be reusing this old filler neck.

Next up was the underneath bit. The neck is held on with 1x 12mm bolt into the bodywork, roughly halfway up the inner wheelarch, this came out without too much fuss and I copper greased it and bolted it back in loosely, then there are 2x rubber joiners between the bottom of the filler neck and the inlet of the fuel tank. These are attached with an adjustable screw type wire hose clamp which was utterly ruined. The threaded section was one giant blob of rust and I had no choice but to use some side cutters to snip through the wire. The breather hose is a different style of clip, and made of stainless steel so this was able to be wiggled down the rubber connecting hose out of the way. I’ll replace the main filler neck clip (the wire one) with a jubilee clip in due course. With these off, I could pull the filler neck out of the rubber hoses after much wiggling and prising with a screwdriver they were free

You can see the spring clip on the breather hose on the left. I stuffed the main filler hose up with an oily rag to stop all the petrol fumes coming out and from moisture getting in, and used my engineering prowess* to wrap a foam ear plug in electrical tape and stuff it into the end of the breather hose to bung that up too.

Then with some wiggling, the neck came out

Its seen better days TBH. Its not holed (yet) but is pretty grotty and rusty, and the section that bolts to the filler flap end is megab0rked now so this will be getting replaced I think. I’ll keep it in case I can get it done under the recall, but I’m doubtful - I imagine I’d need to present the car for the dealers to do the job, rather than them just give me the part but we’ll see.

With this done, access to the rearmost bit of chassis rail is much better

With the damper undone from the top mounting and the spring pulled out, access to the grotty bit (to the right of the spring) should be pretty easy. I need to have a think about the brake pipe bit though. I’ll leave it there for now, as I need to arrange to get my tam welder here to get the job underway and I’d like the rear beam to be fully supported in the meantime. I will have to ask if he thinks the fuel tank is sufficiently far away from the area needing welding, or if he wants me to drop that off the car too. Its not a massive chore to do, but if I can get away with not needing to then it’d make life easier for me.

1 Like

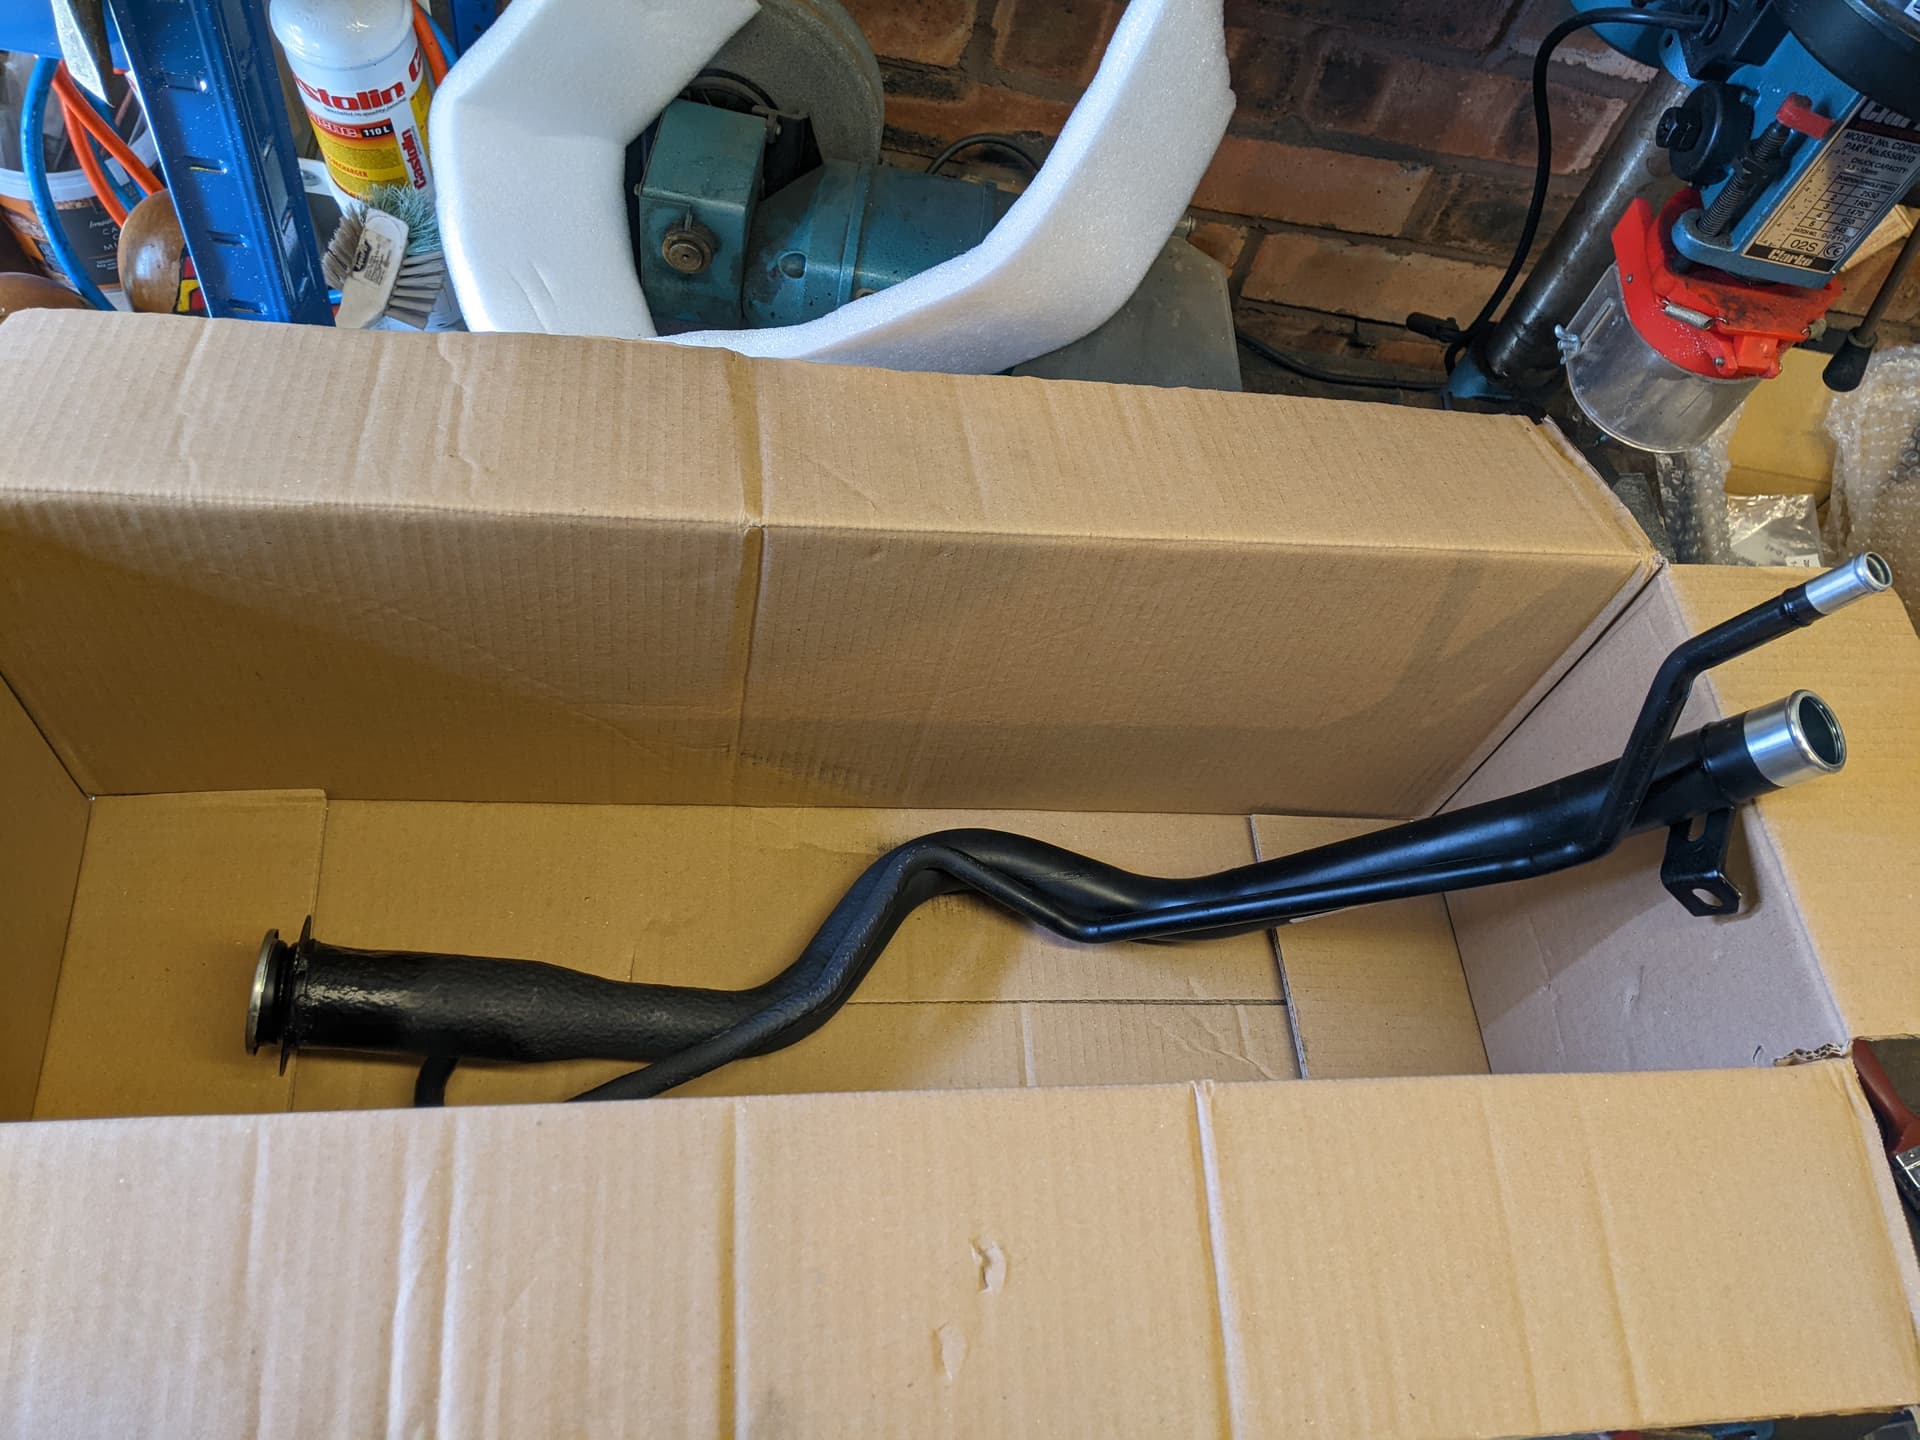
Onto phase 2 of the operation. Removal of the tank. This had mixed outcomes…

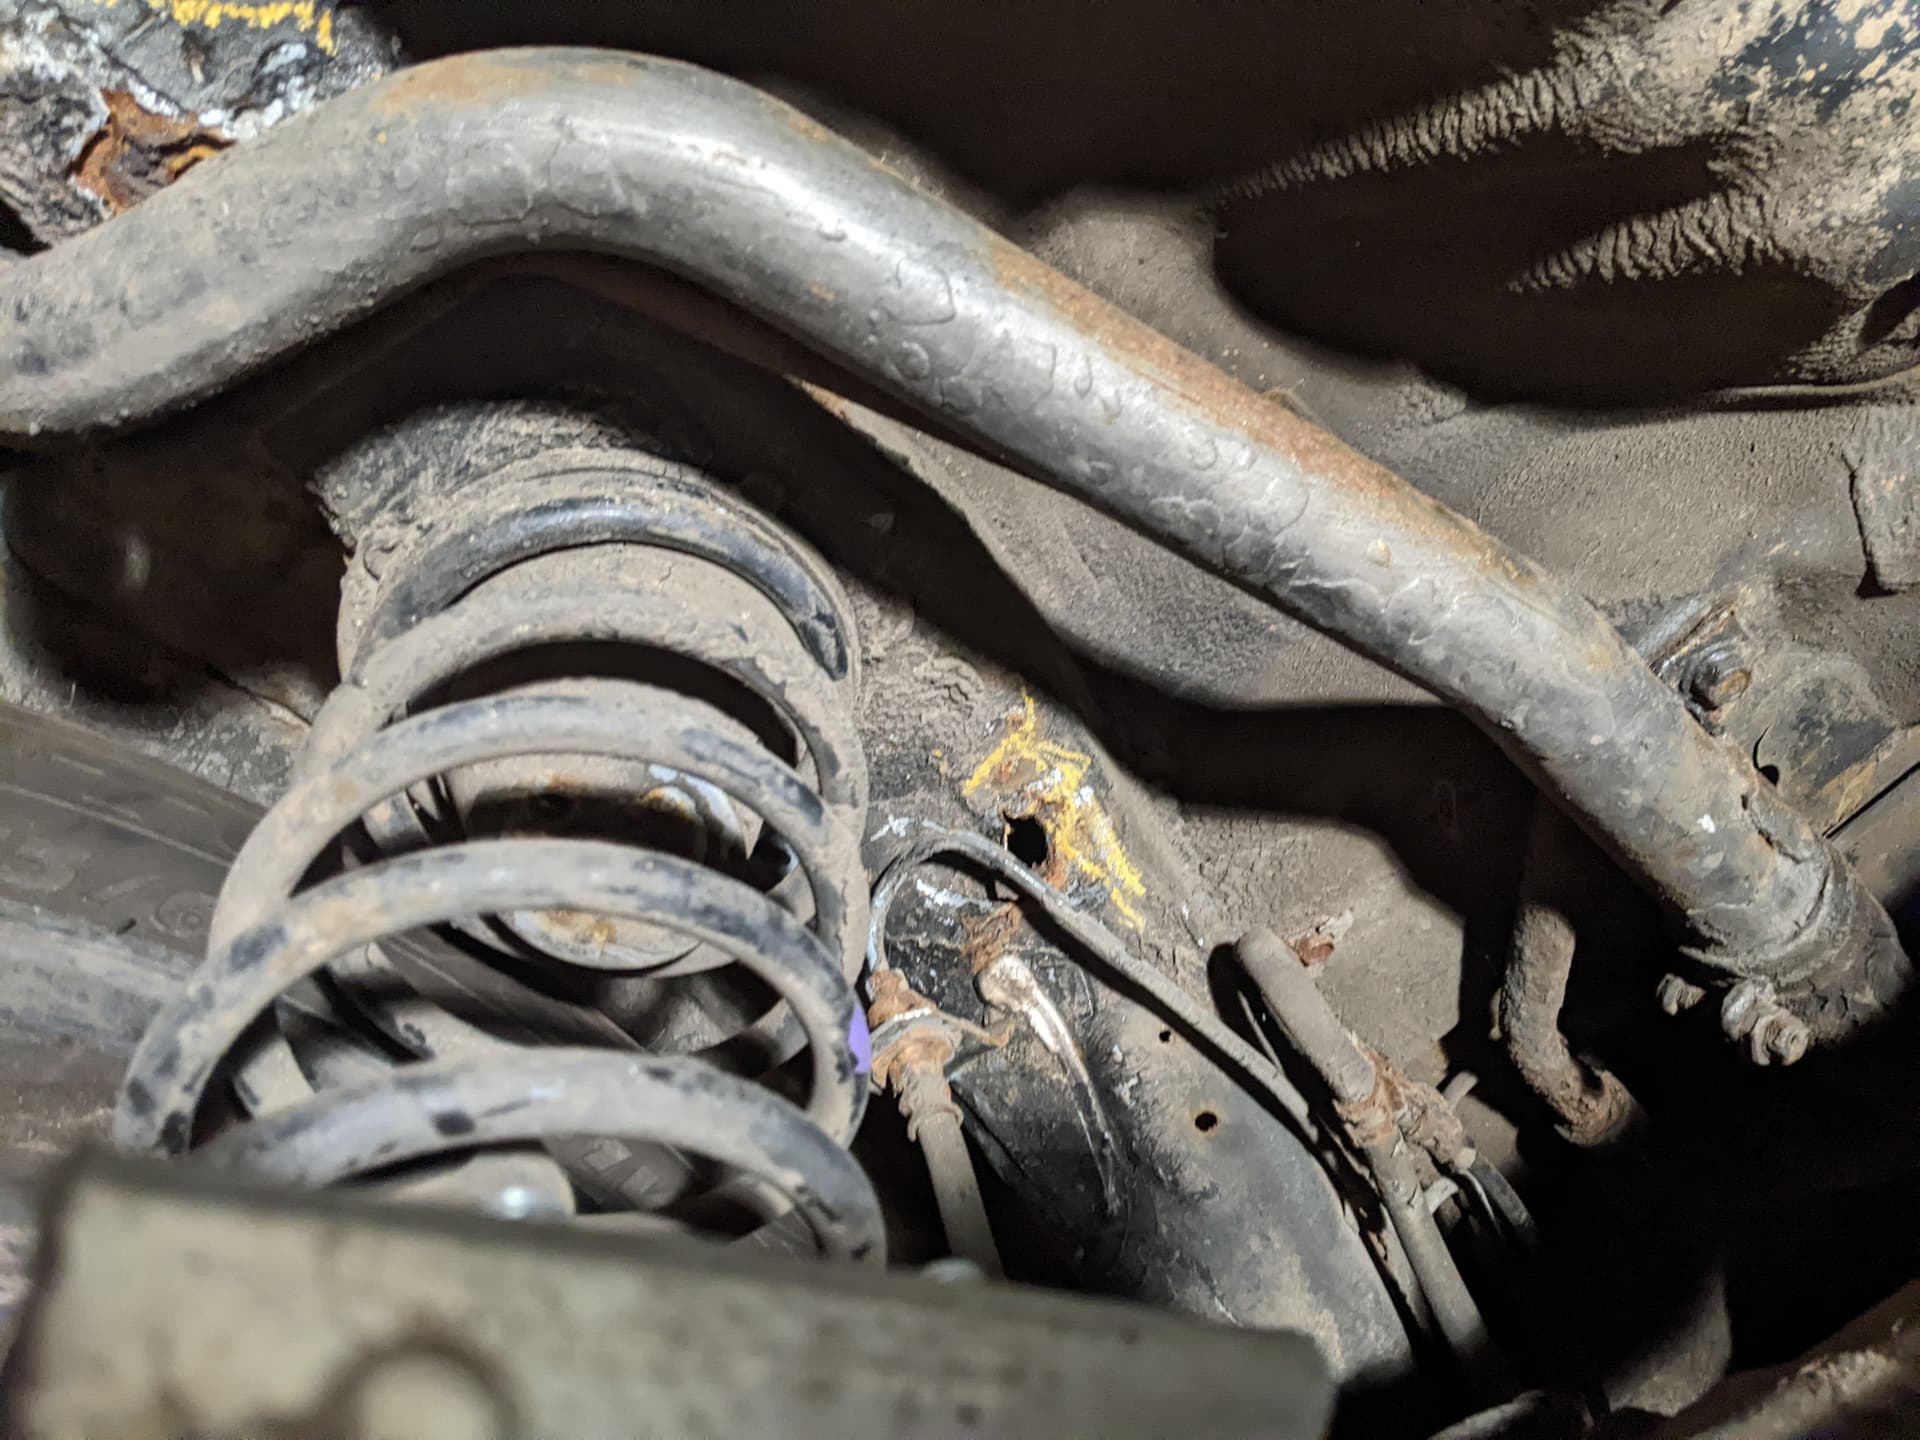
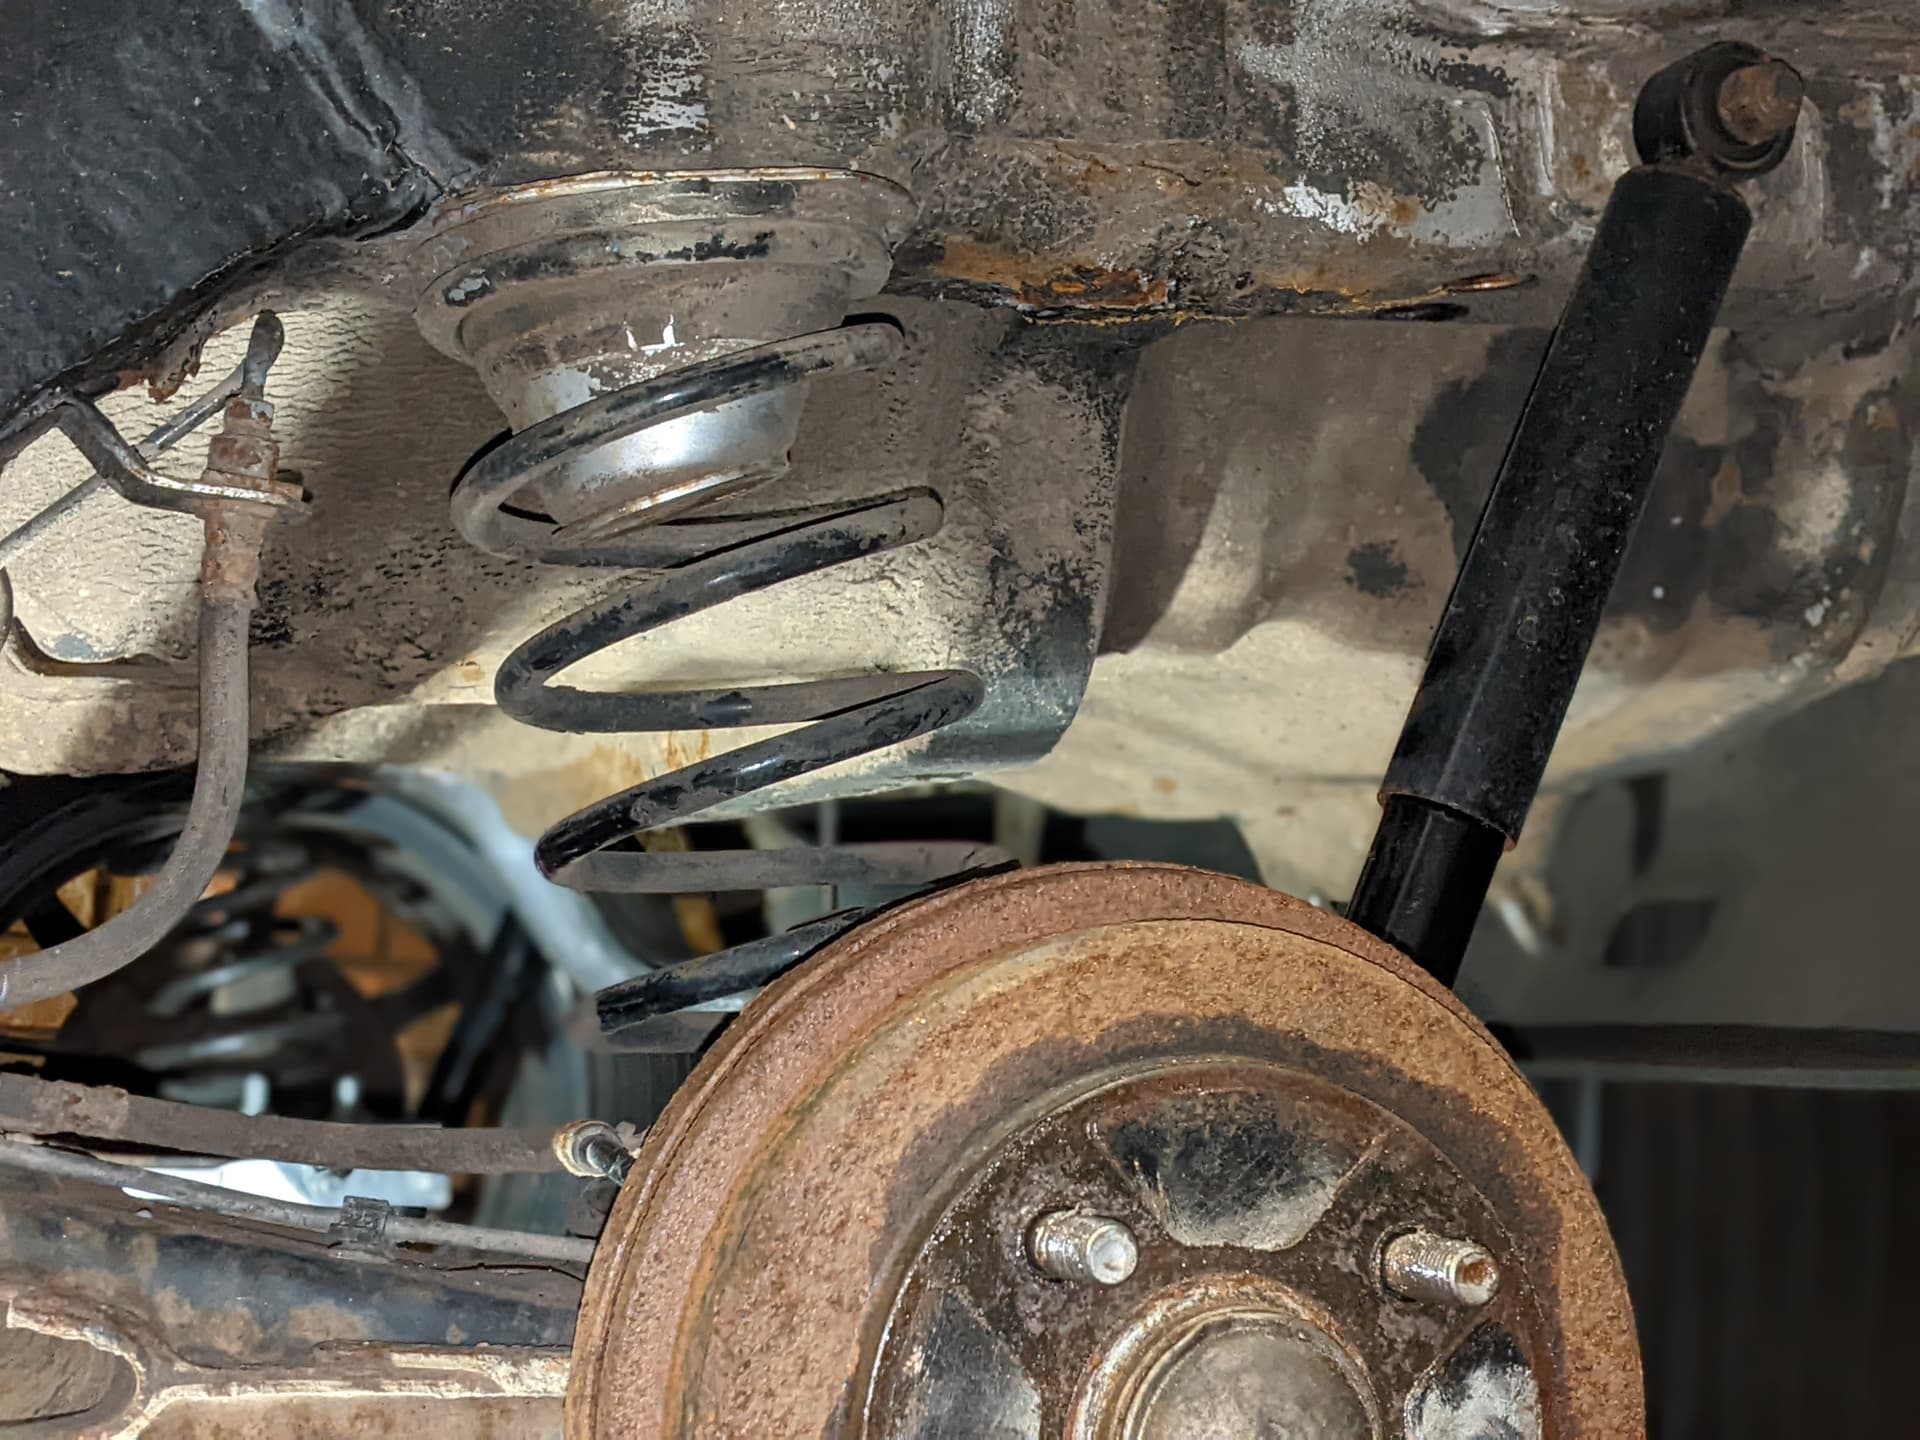
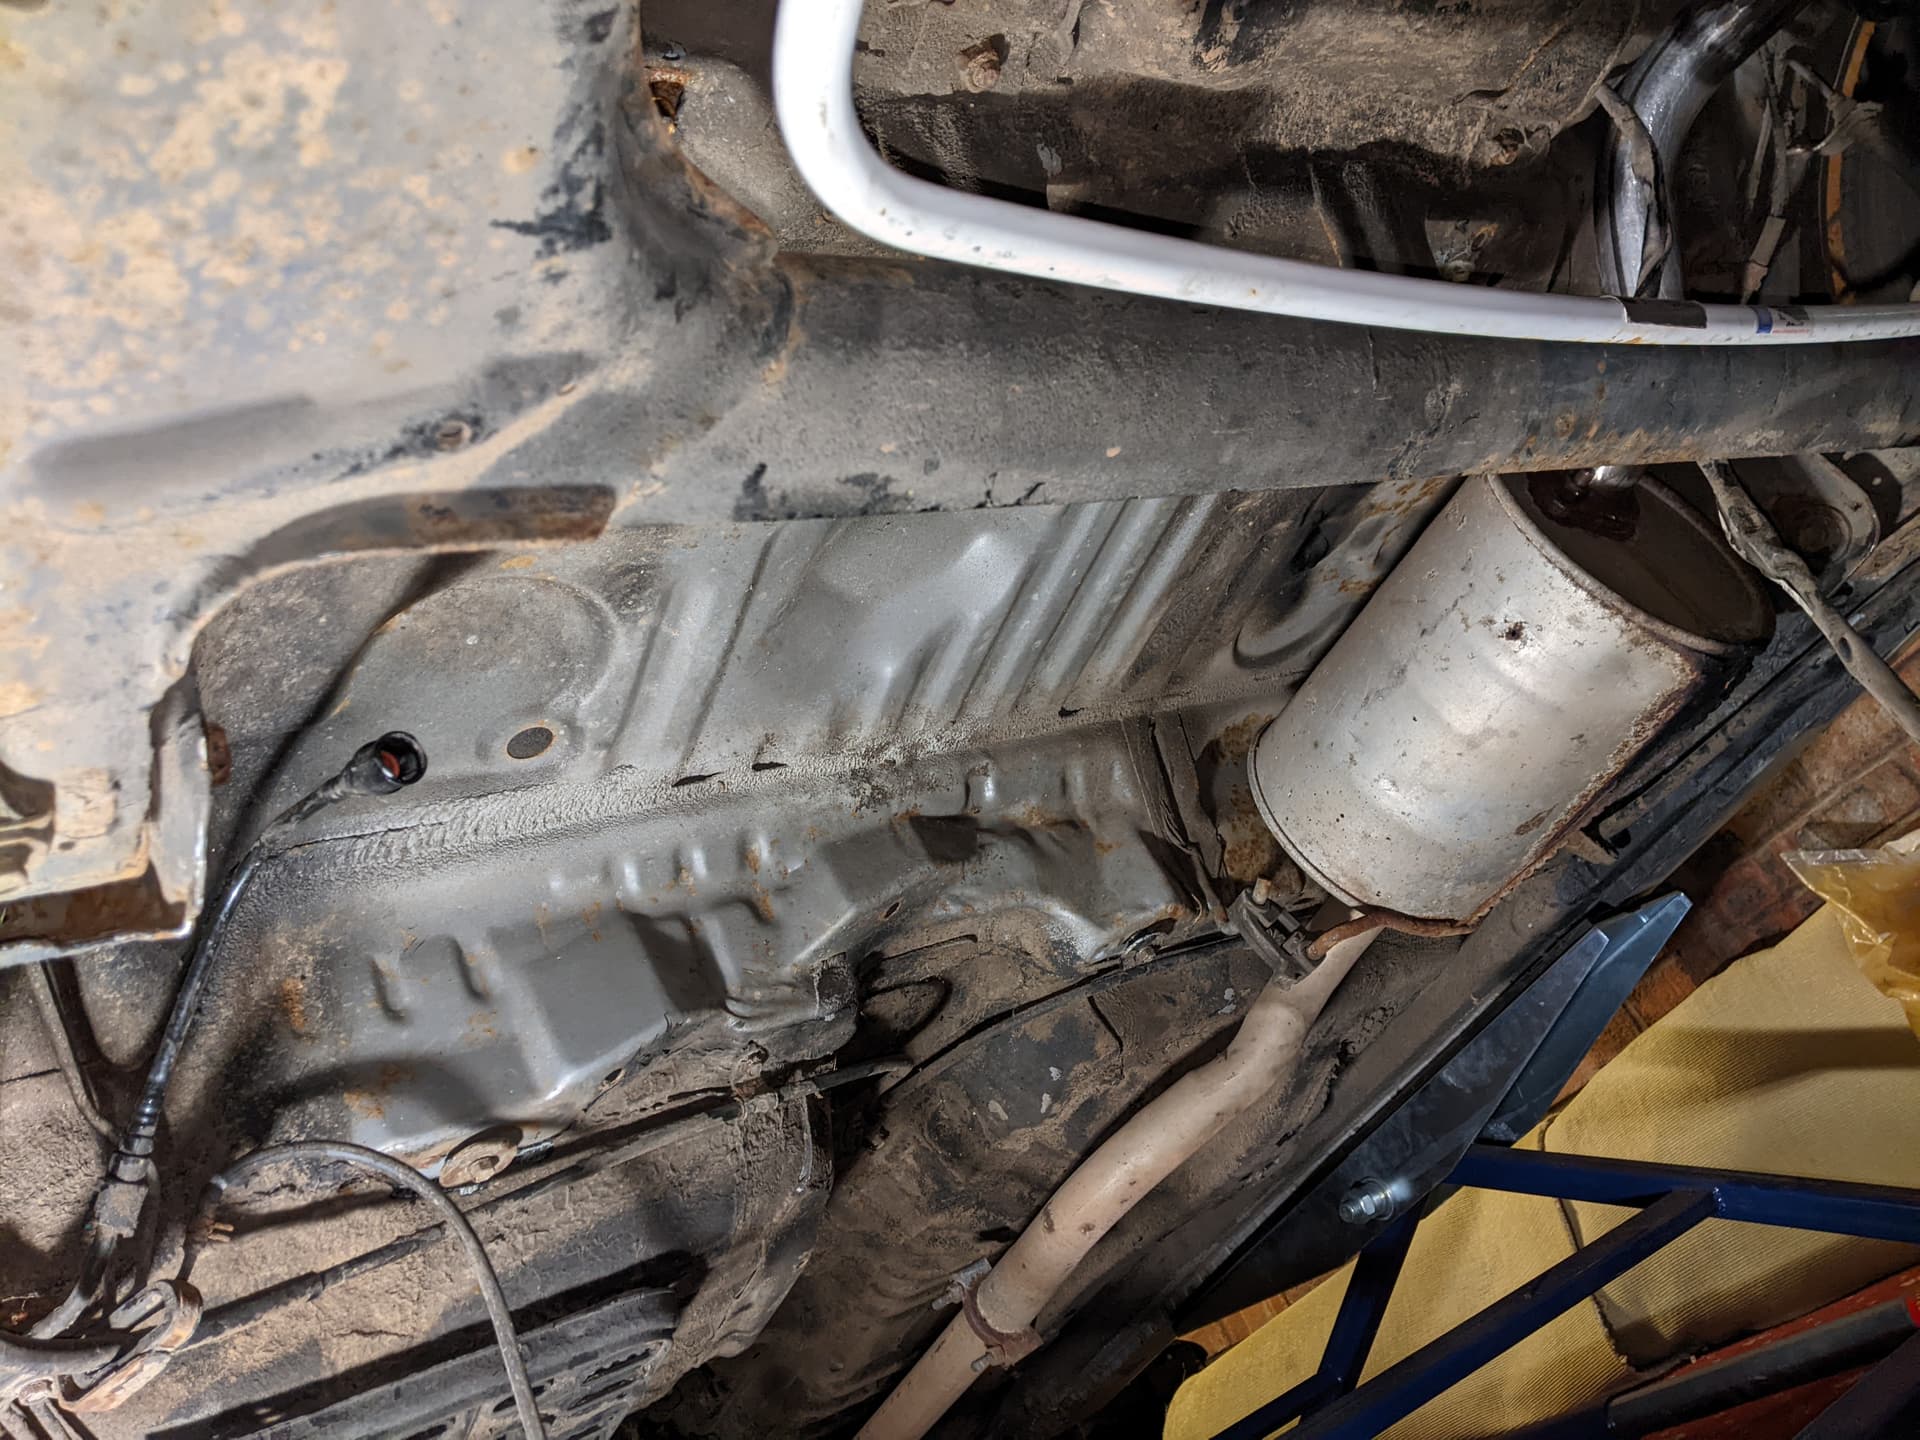
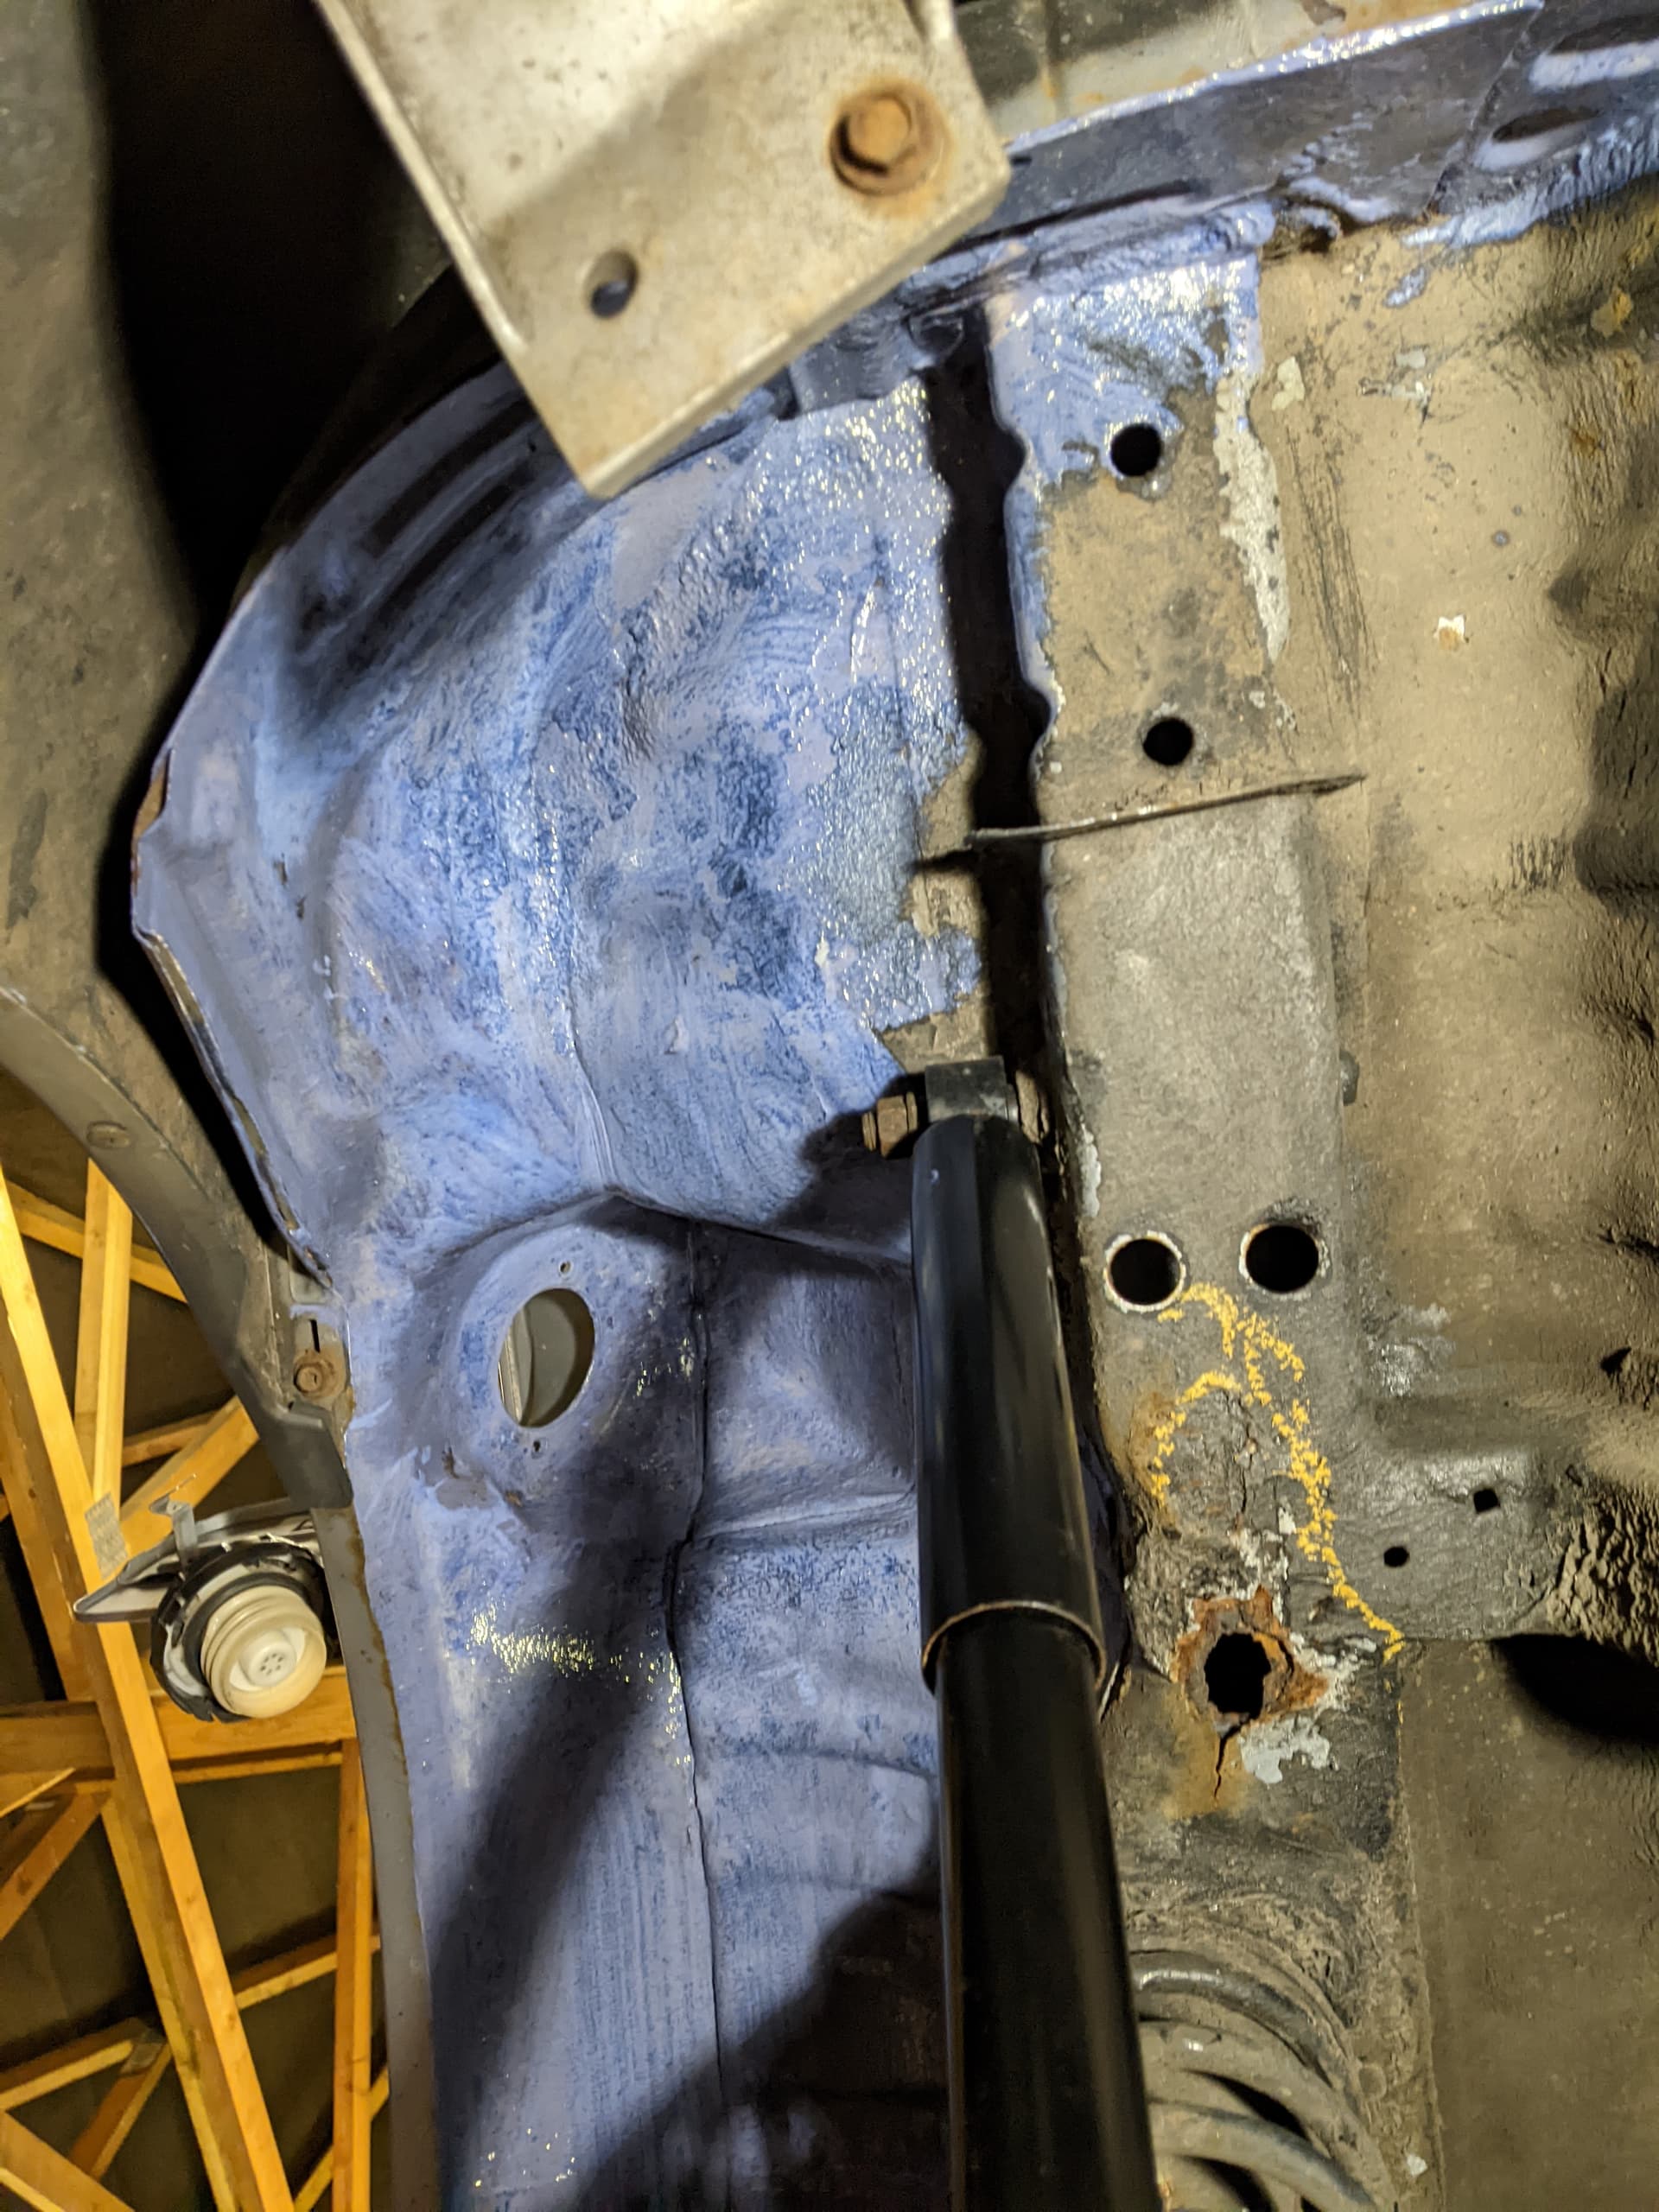
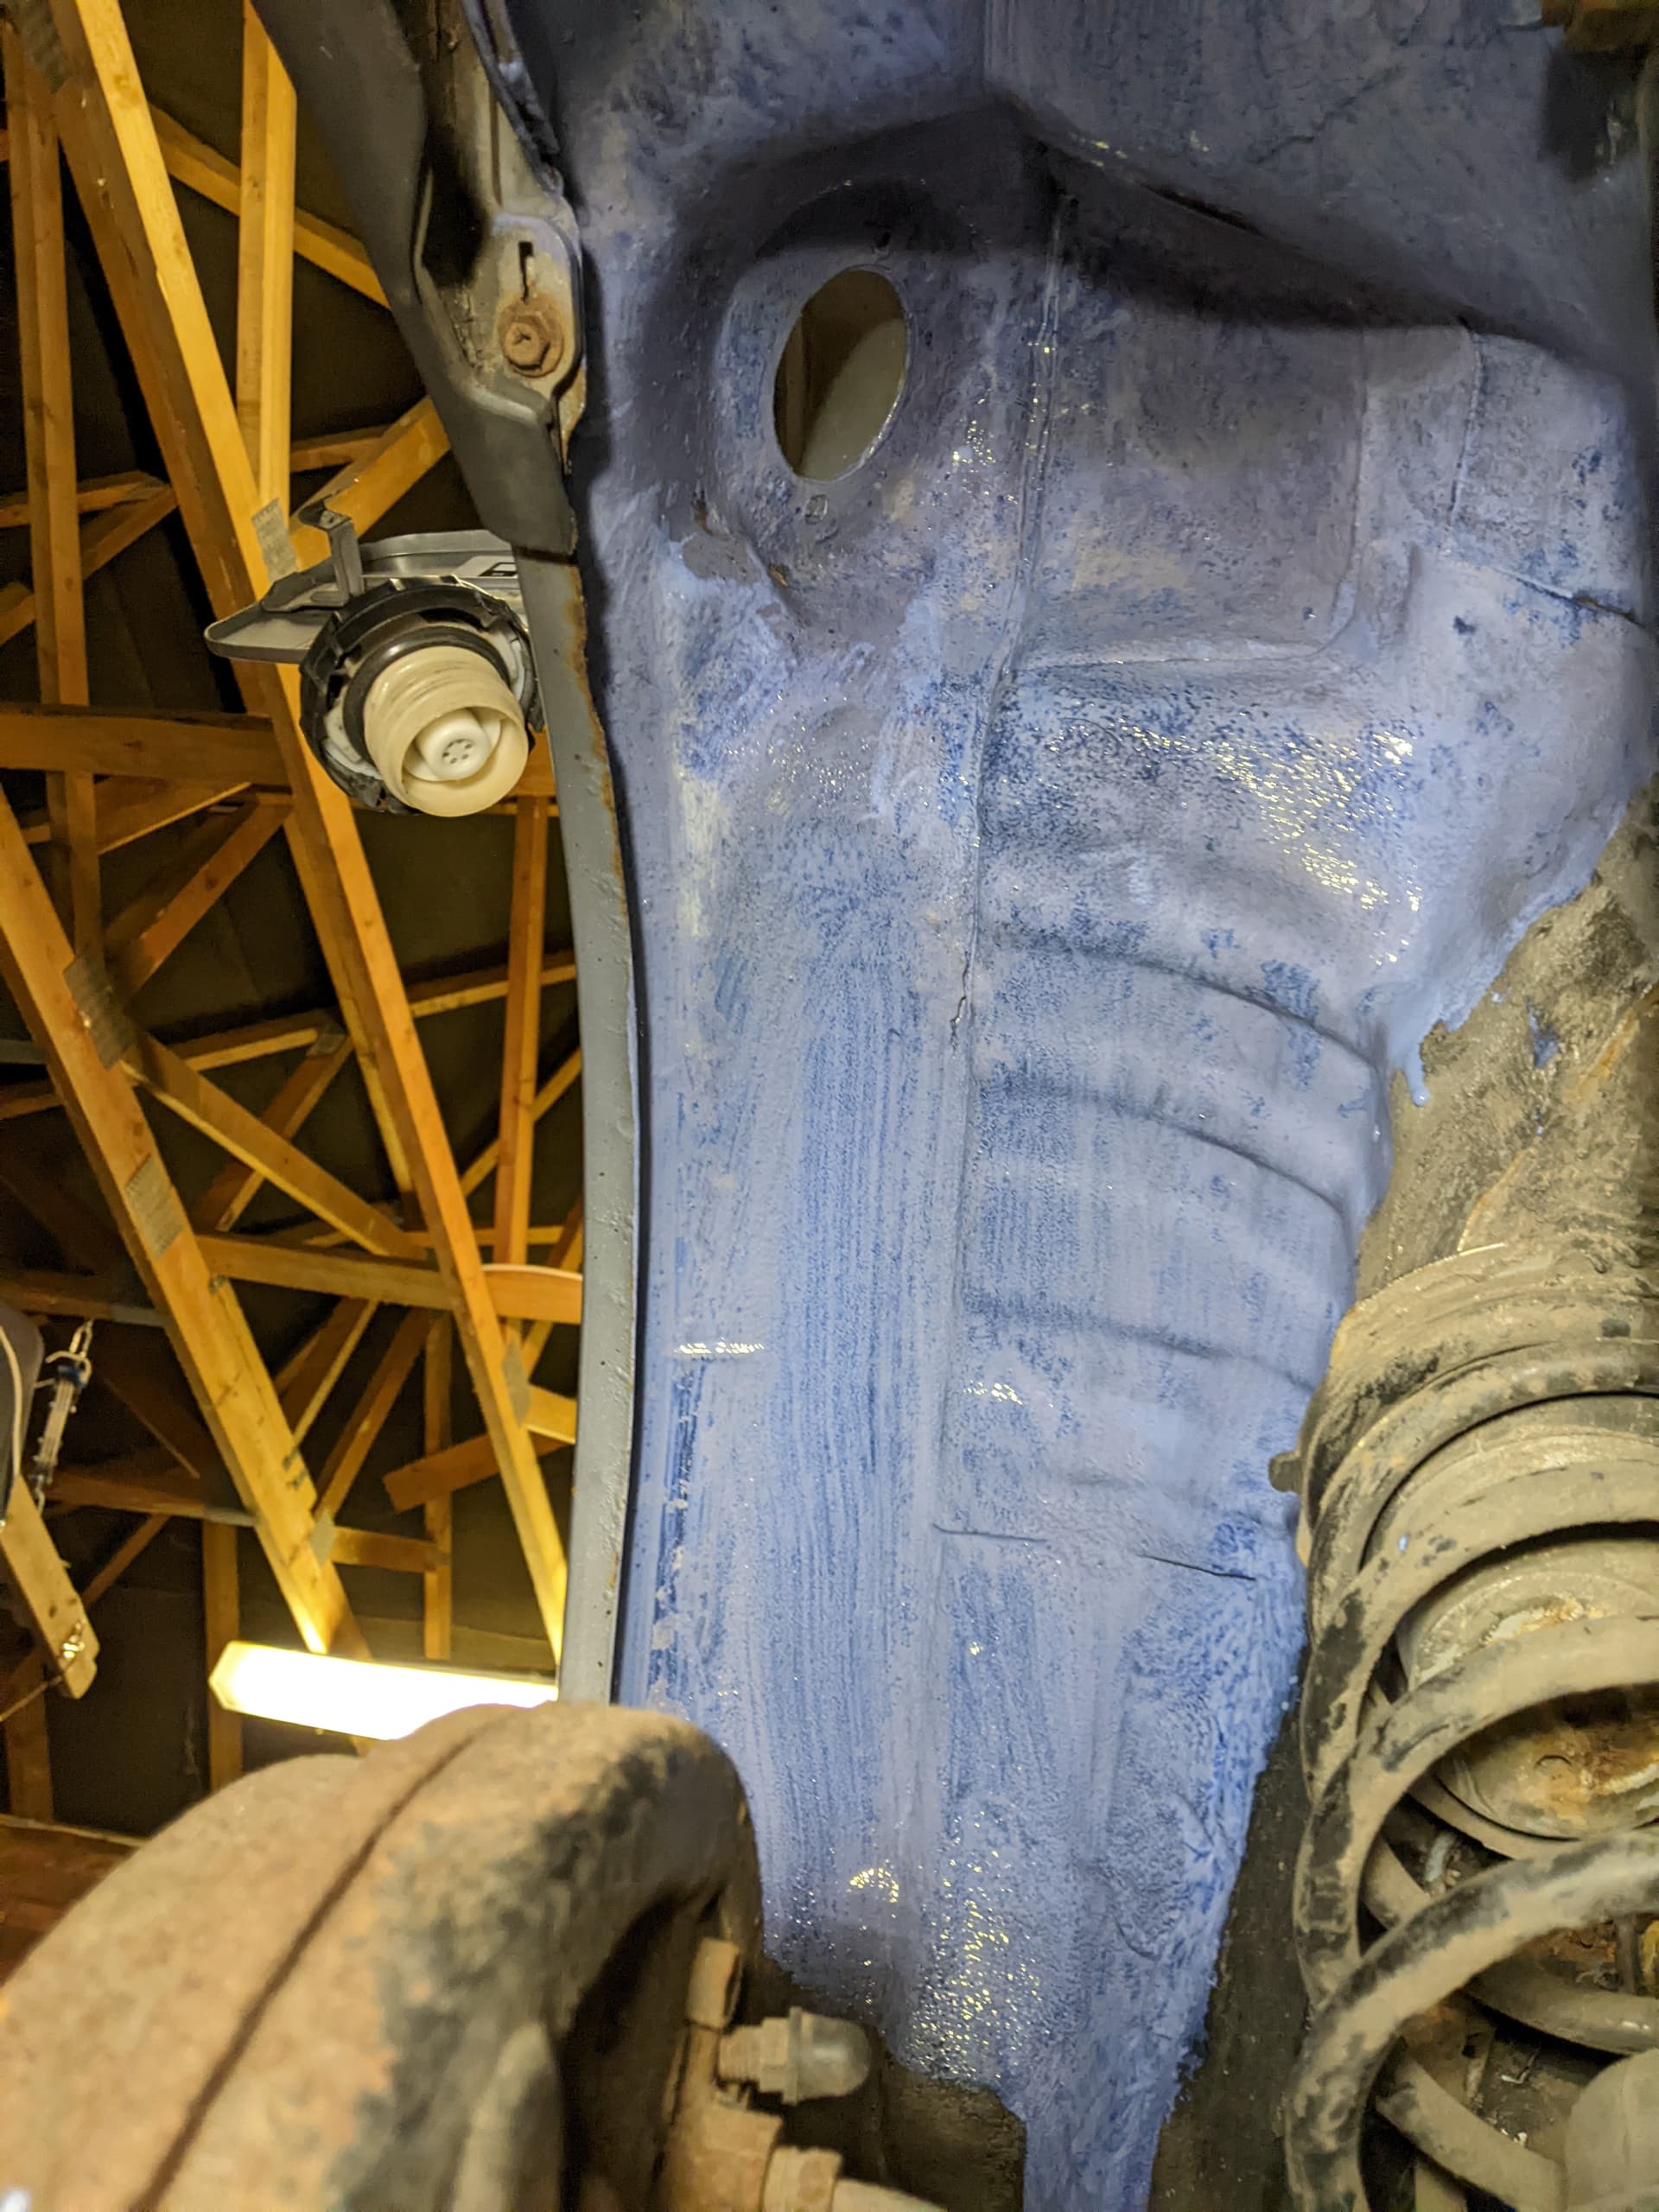
All started off well, I was able to loosen all 4 bolts holding the tank to the car fine - however access to the exciting bits was poor. There is no access beneath the rear seats to the fuel tank, meaning that you have to drop the tank to get access the fuel guage sender, fuel feed and return and other exciting things. Prior to commencement of the works, this was my view

Its fairly strightforward, 4x 12mm hex-head bolts hold the tank to the car. At the leading edge, it bolts through the floorpan, and on the trailing edge it bolts through captive nuts in two brackets. I used a selection of sockets and braker bars to get the 4 bolts to loosen which went well, none of the seized and snapped. I carefully undid two bolts on opposite sides of the tank, then carefully set to work on the other two. This is where it all went a bit* wrong.

With the last bolt undone, the tank dropped down onto my chest, as expected. What i didn’t expect was how flipping heavy it was. I was reasonably sure there was about a gallon of fuel in the tank, having run it to below zero on the guage before the MOT, then slopped 1 miserly gallon in to see it through the test I was expecting a gross weight of about 10KG max . Oh how wrong I was…

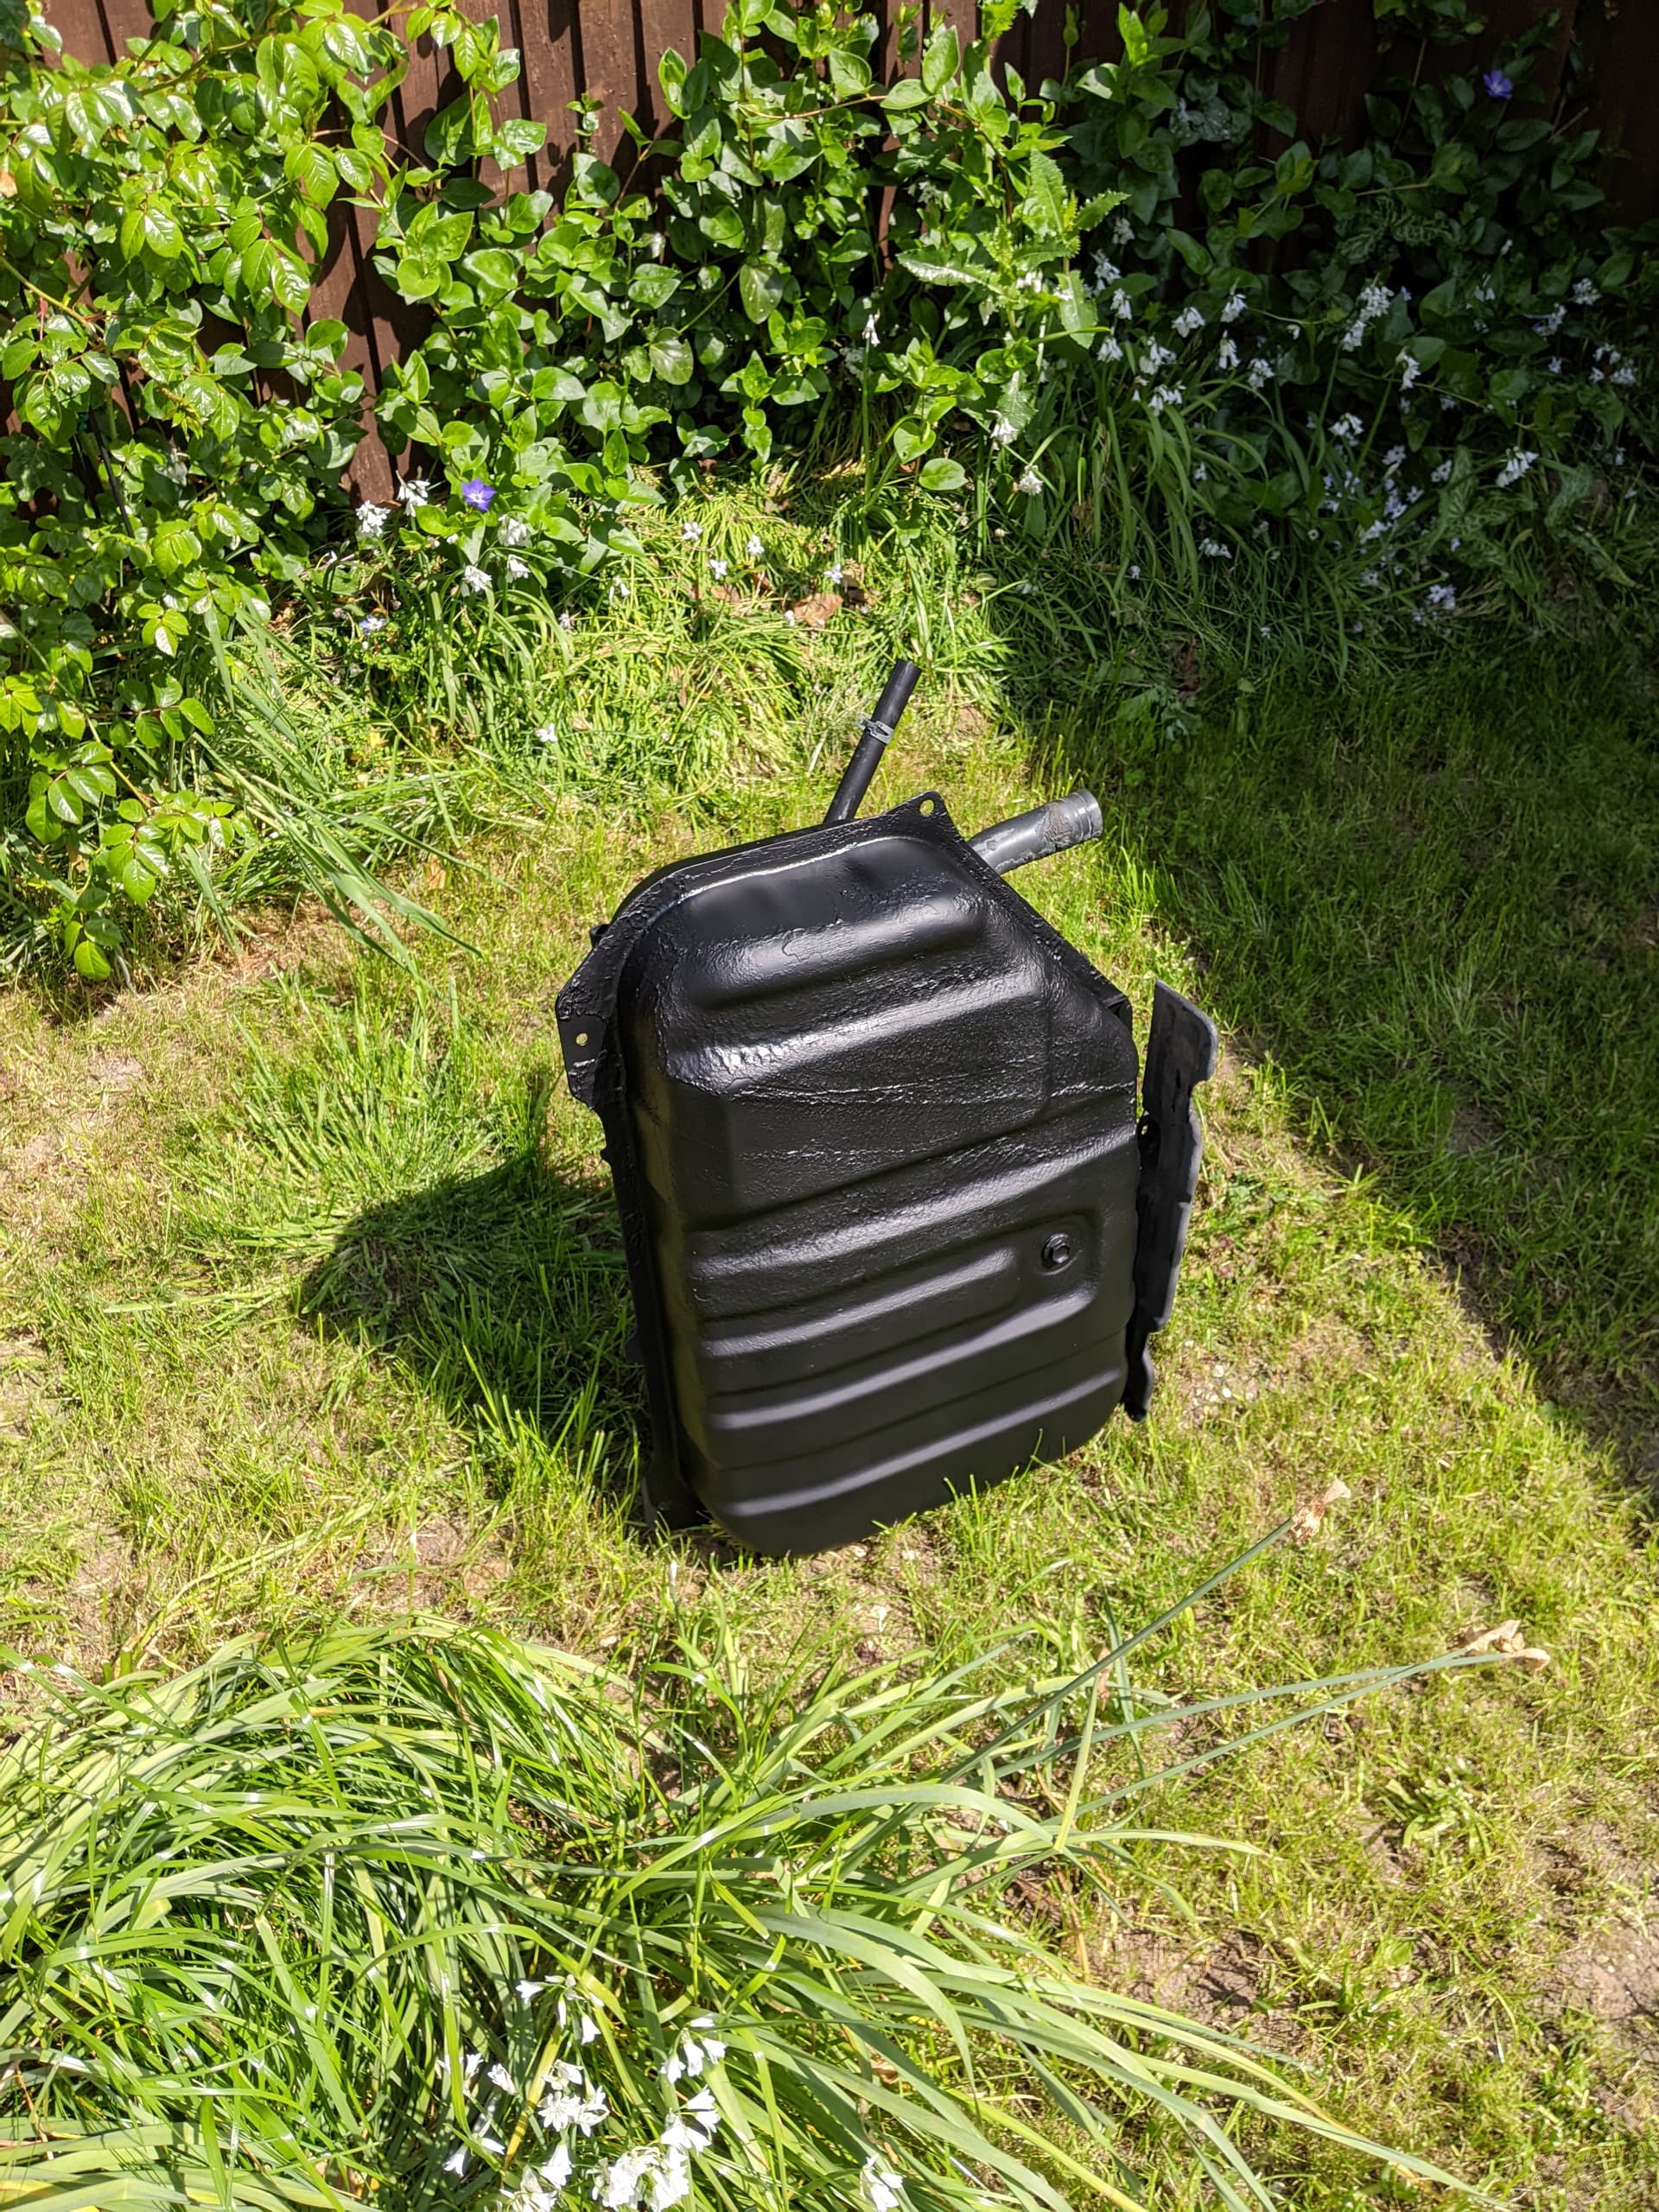
The astute among you will have spotted the drain plug in the bottom of the tank, as did I. I thought about it for a good 4 seconds before deciding that there wasn’t much fuel in there, and it’d probably be a pig to get to reseal if I did undo it so why bother?

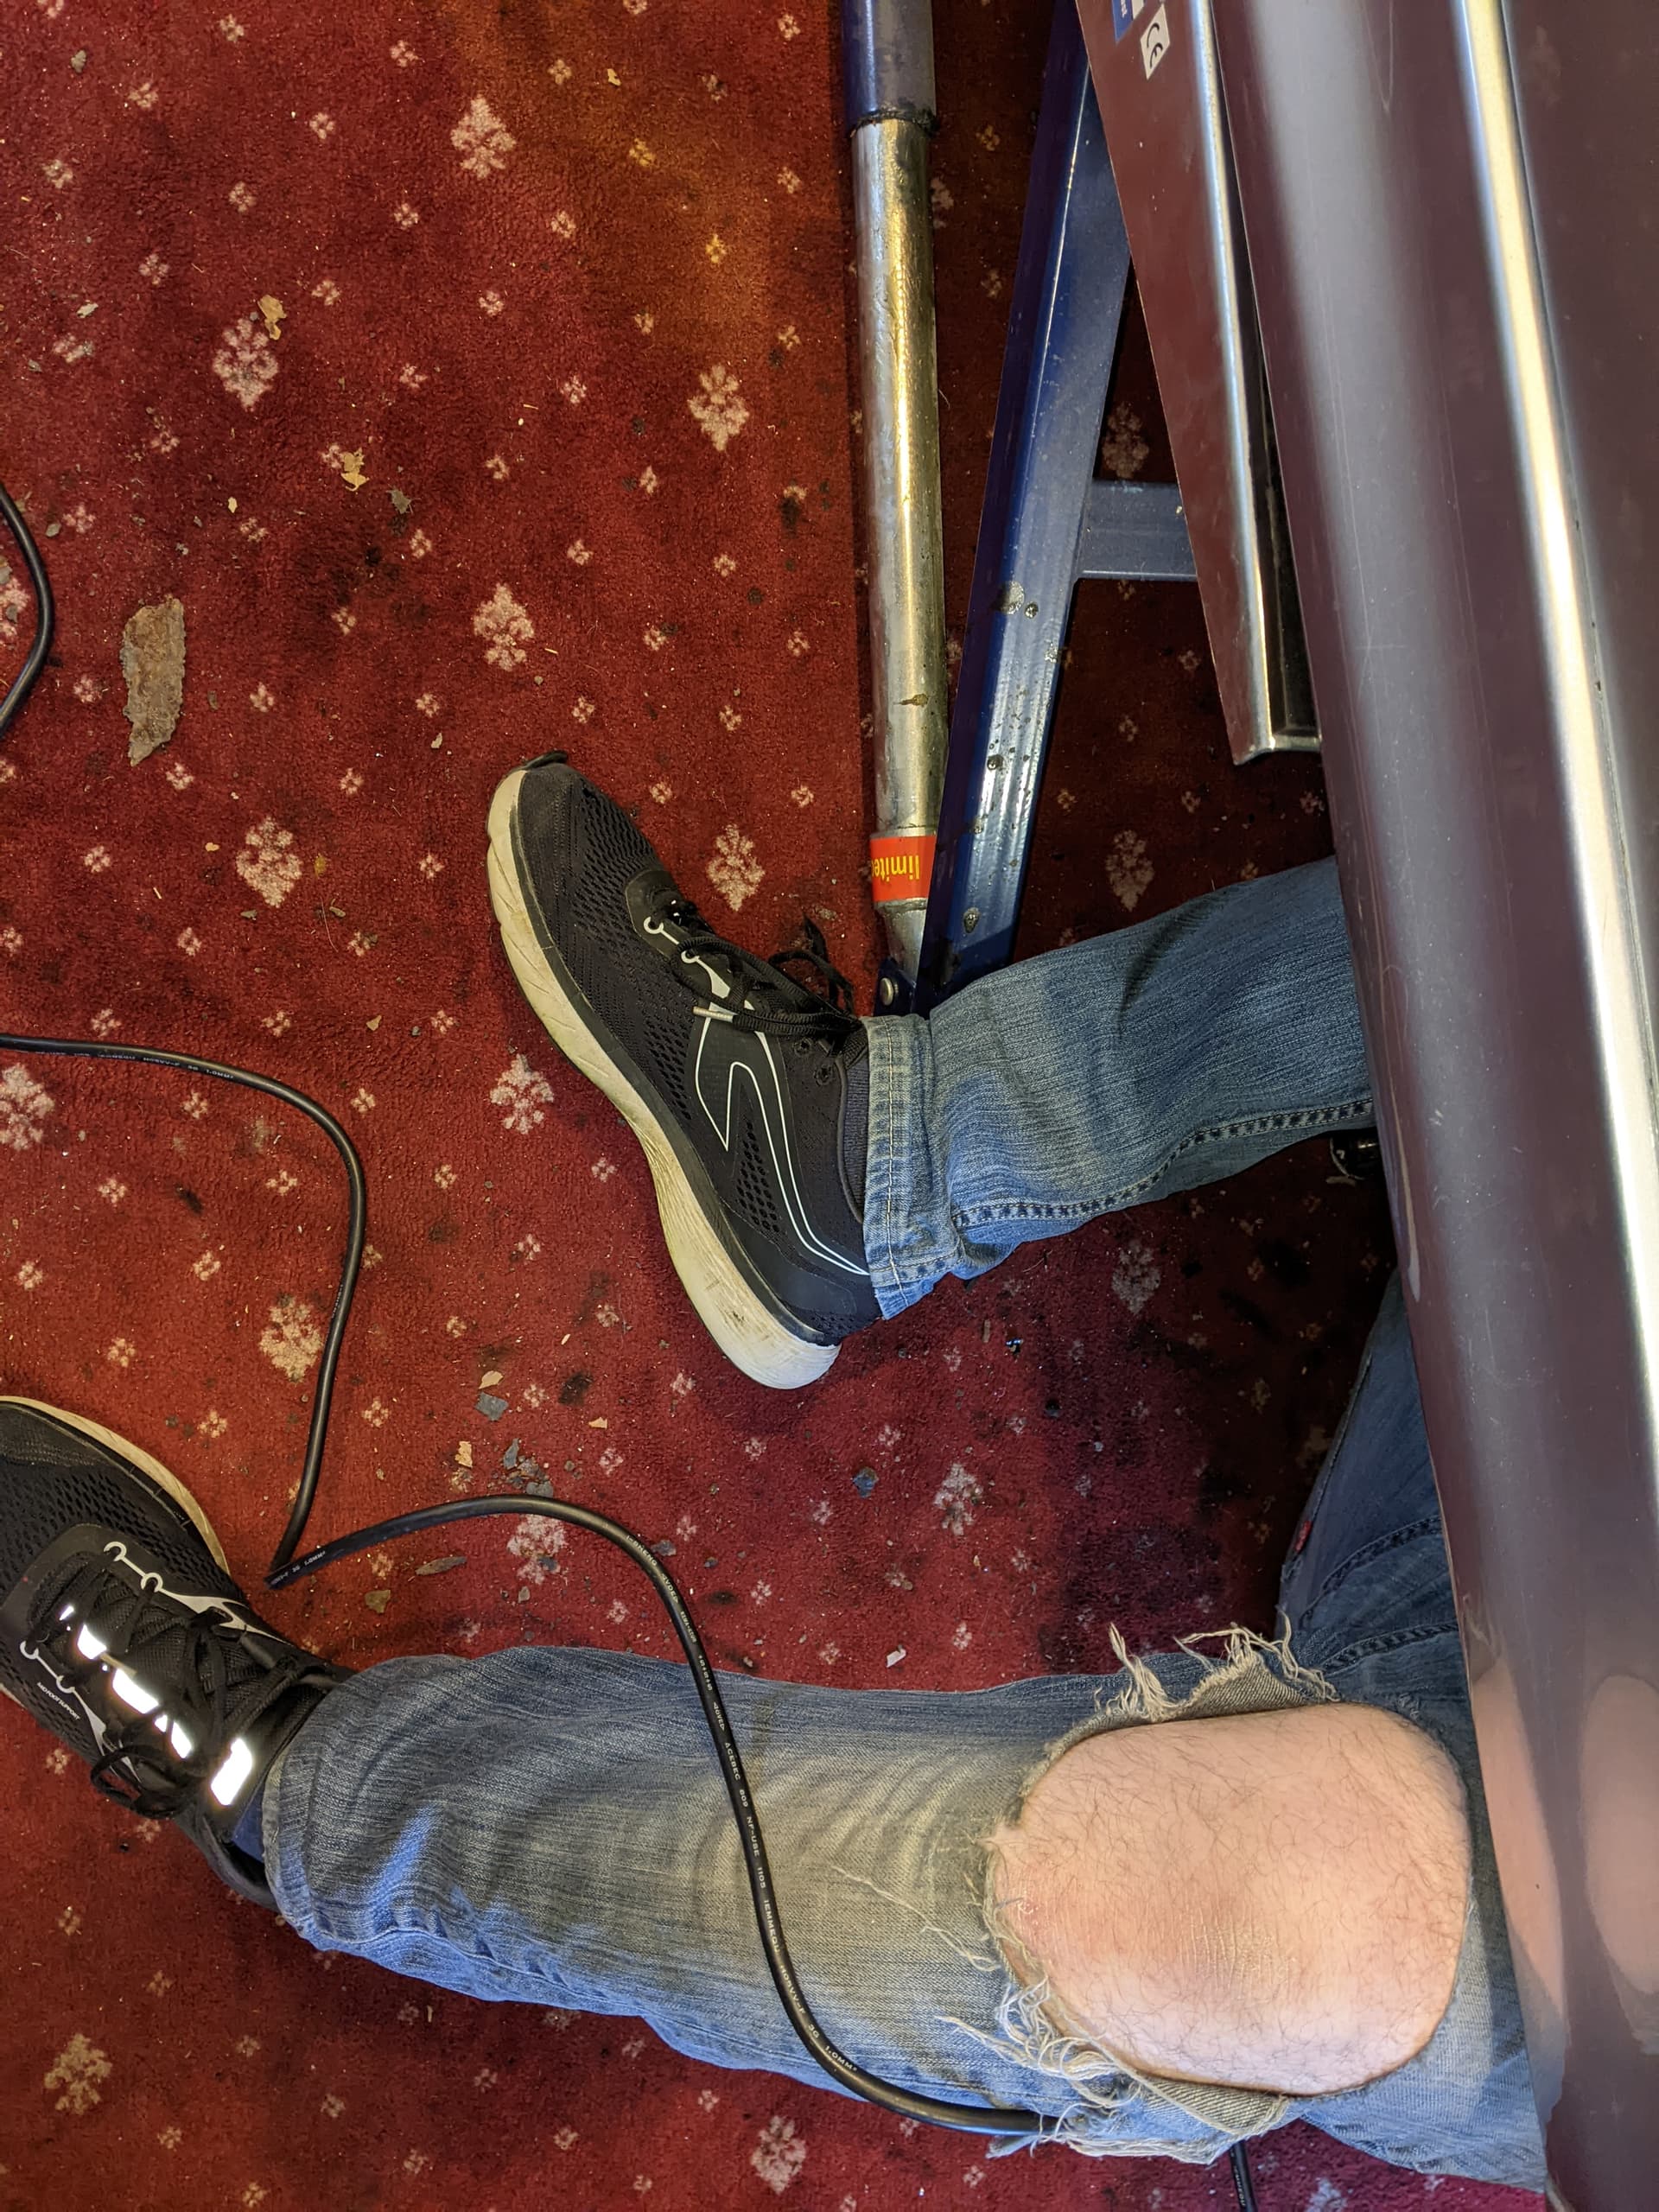
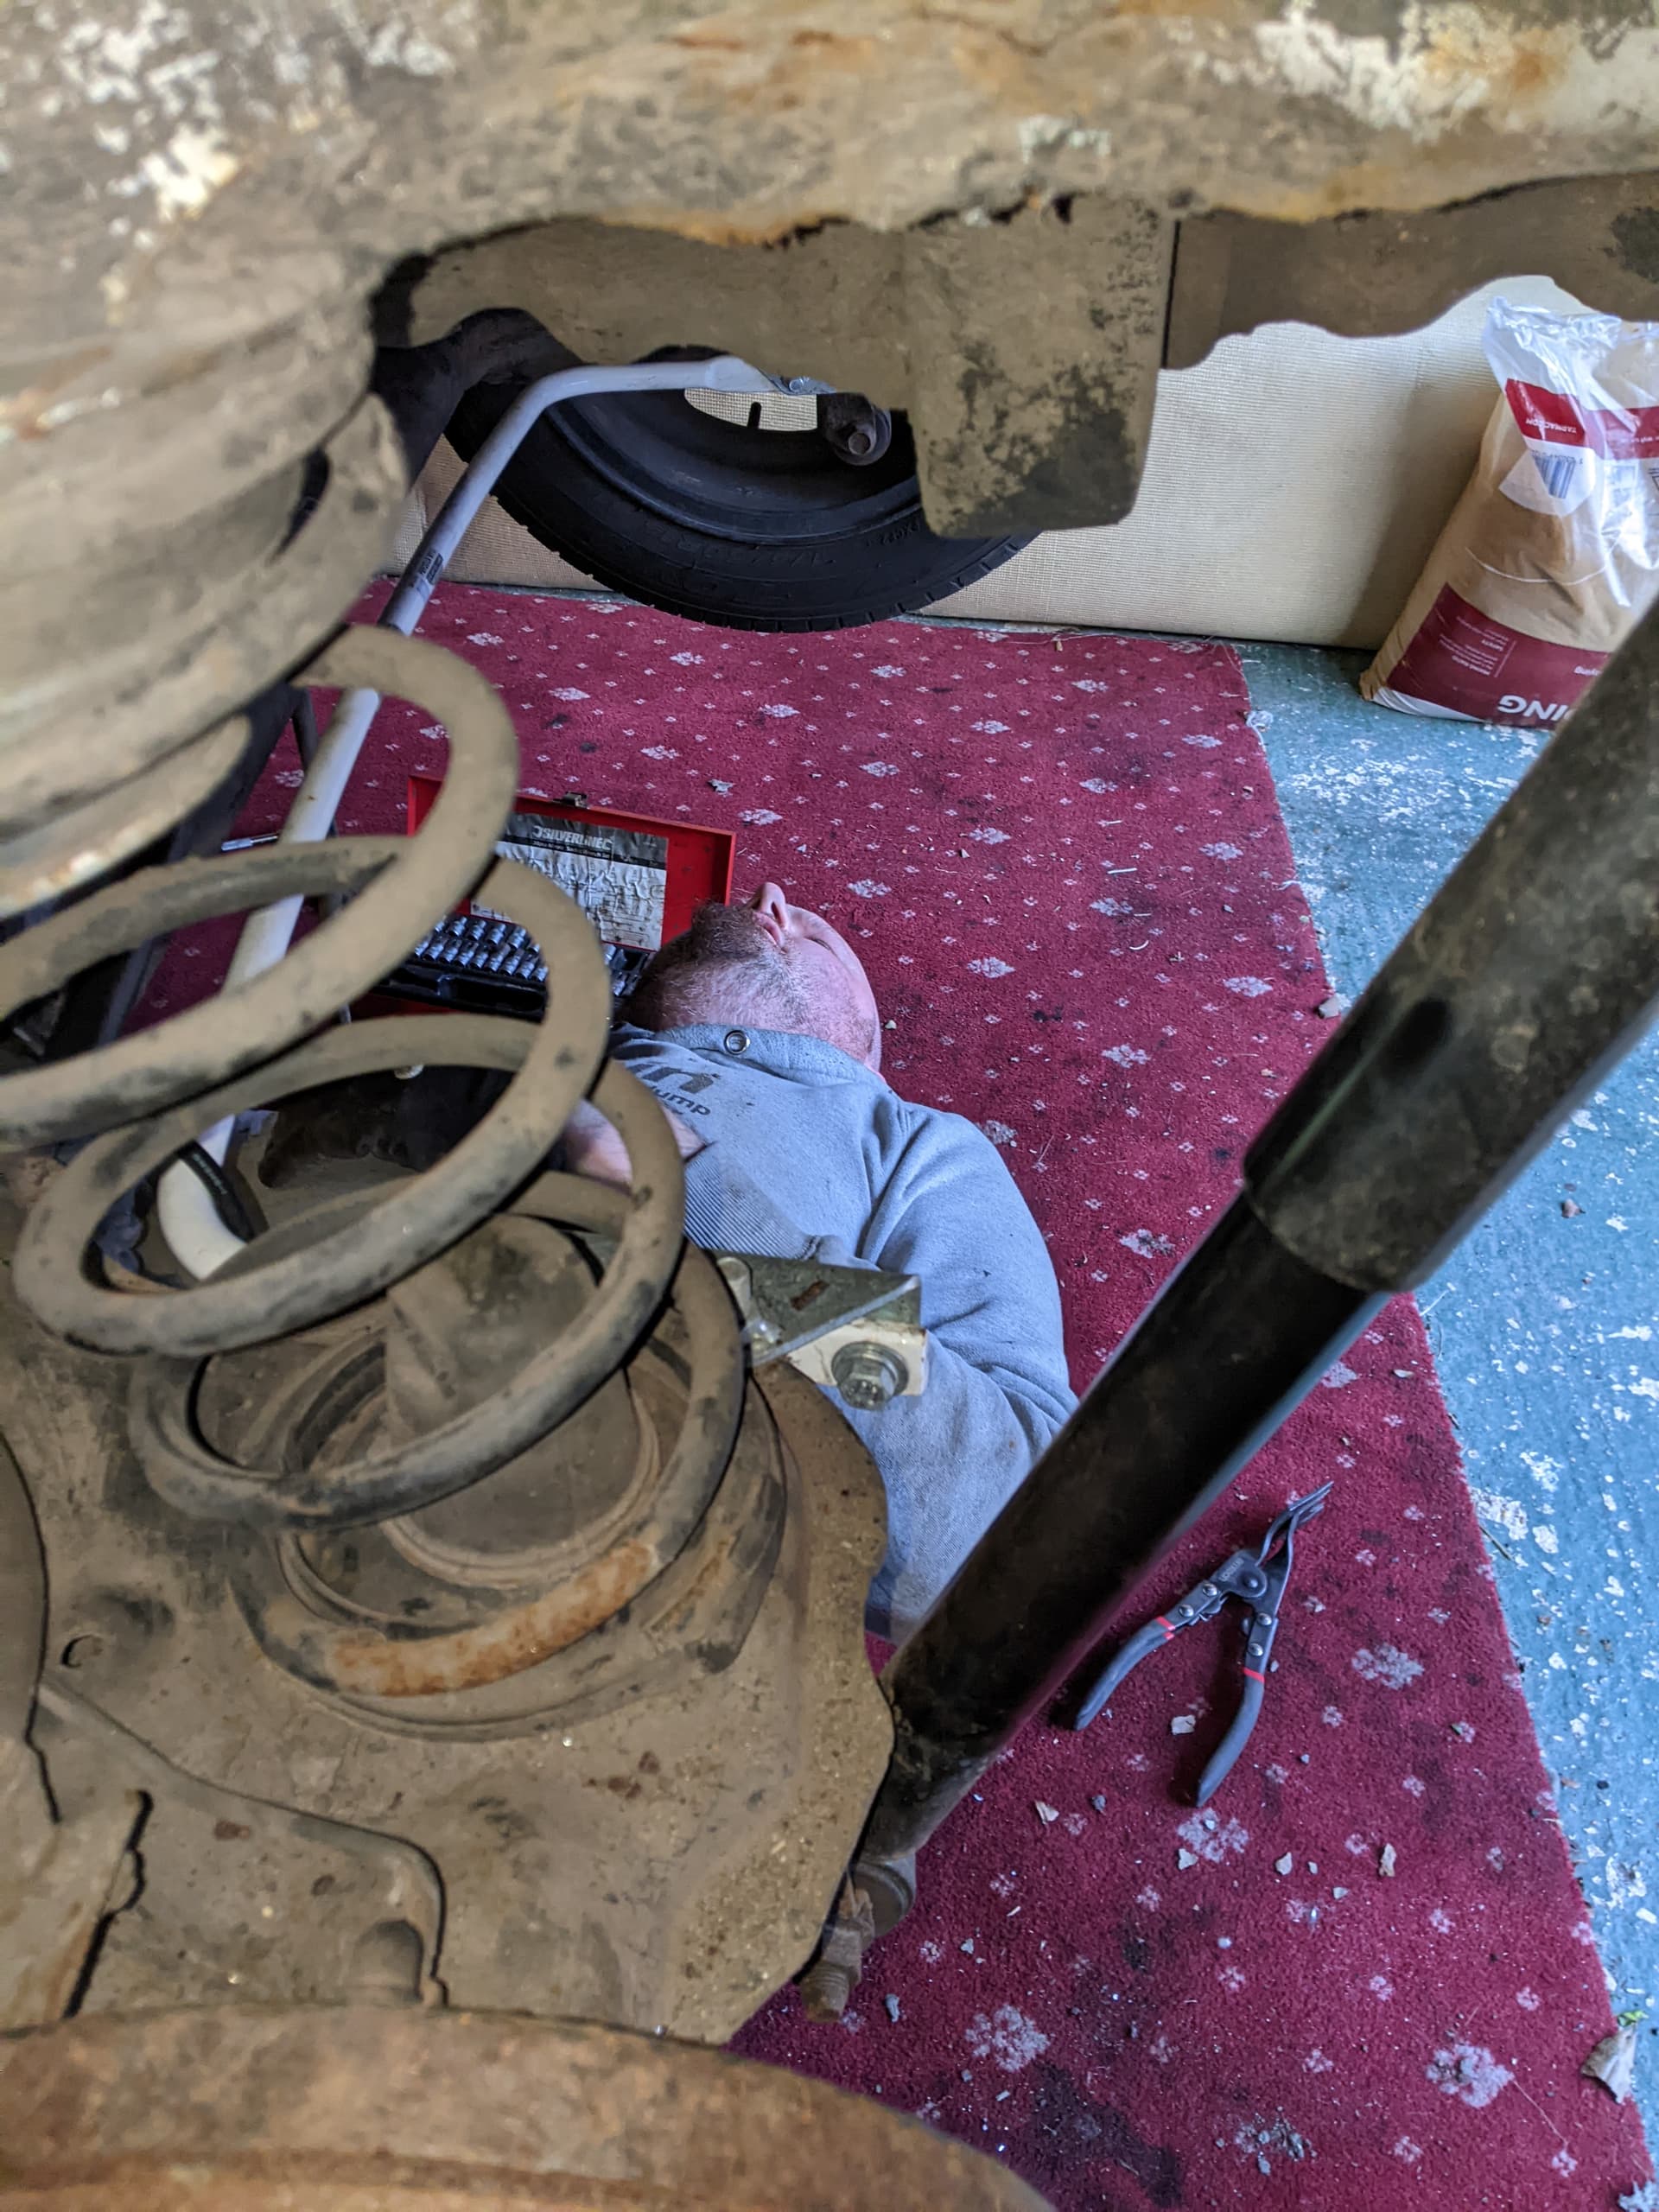
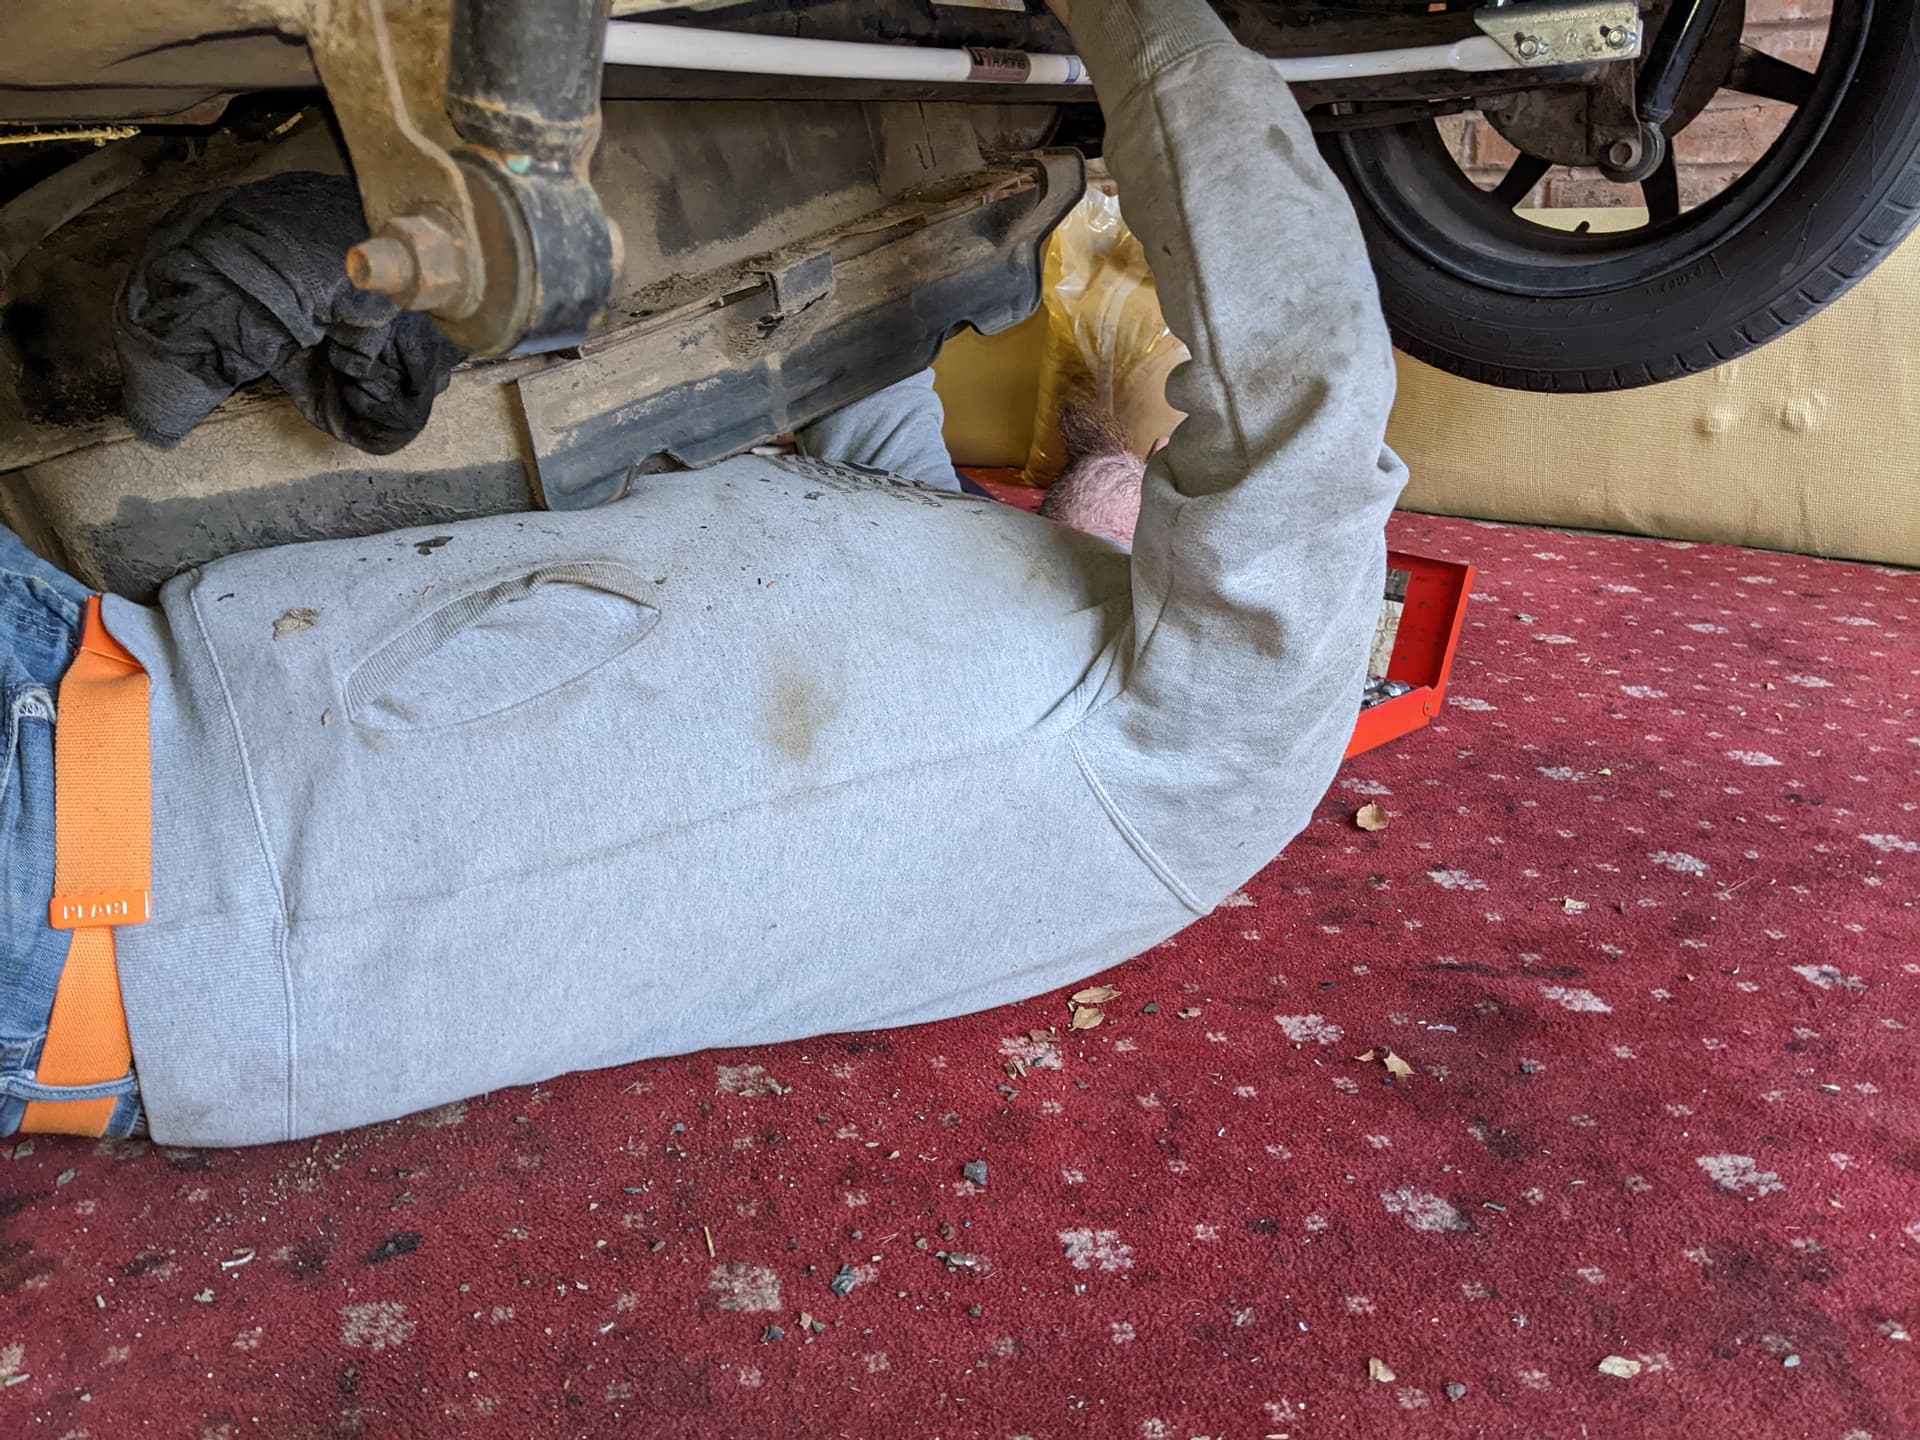
Fast forward to the fast developing situation of a fat man, wedged under a moderately heavy (and certainly heavier than expected) fuel tank, flat on my back in the garage. I couldn’t lift the tank back up and get the bolts to locate, and couldn’t drop it out because the fuel guage sender multiplug, fuel return and fuel supply lines were still connected to the car (because they are 100% inaccessible with the tank fitted).

I wrestled with it for as long as I could, before the t-rex arms set in and I used my phone to make a slightly panicked call Wife_Granger with a simple statement of ‘Im stuck under the car, can you please help?’

She rushed out to the garage and obviously the first thing she did was get photos

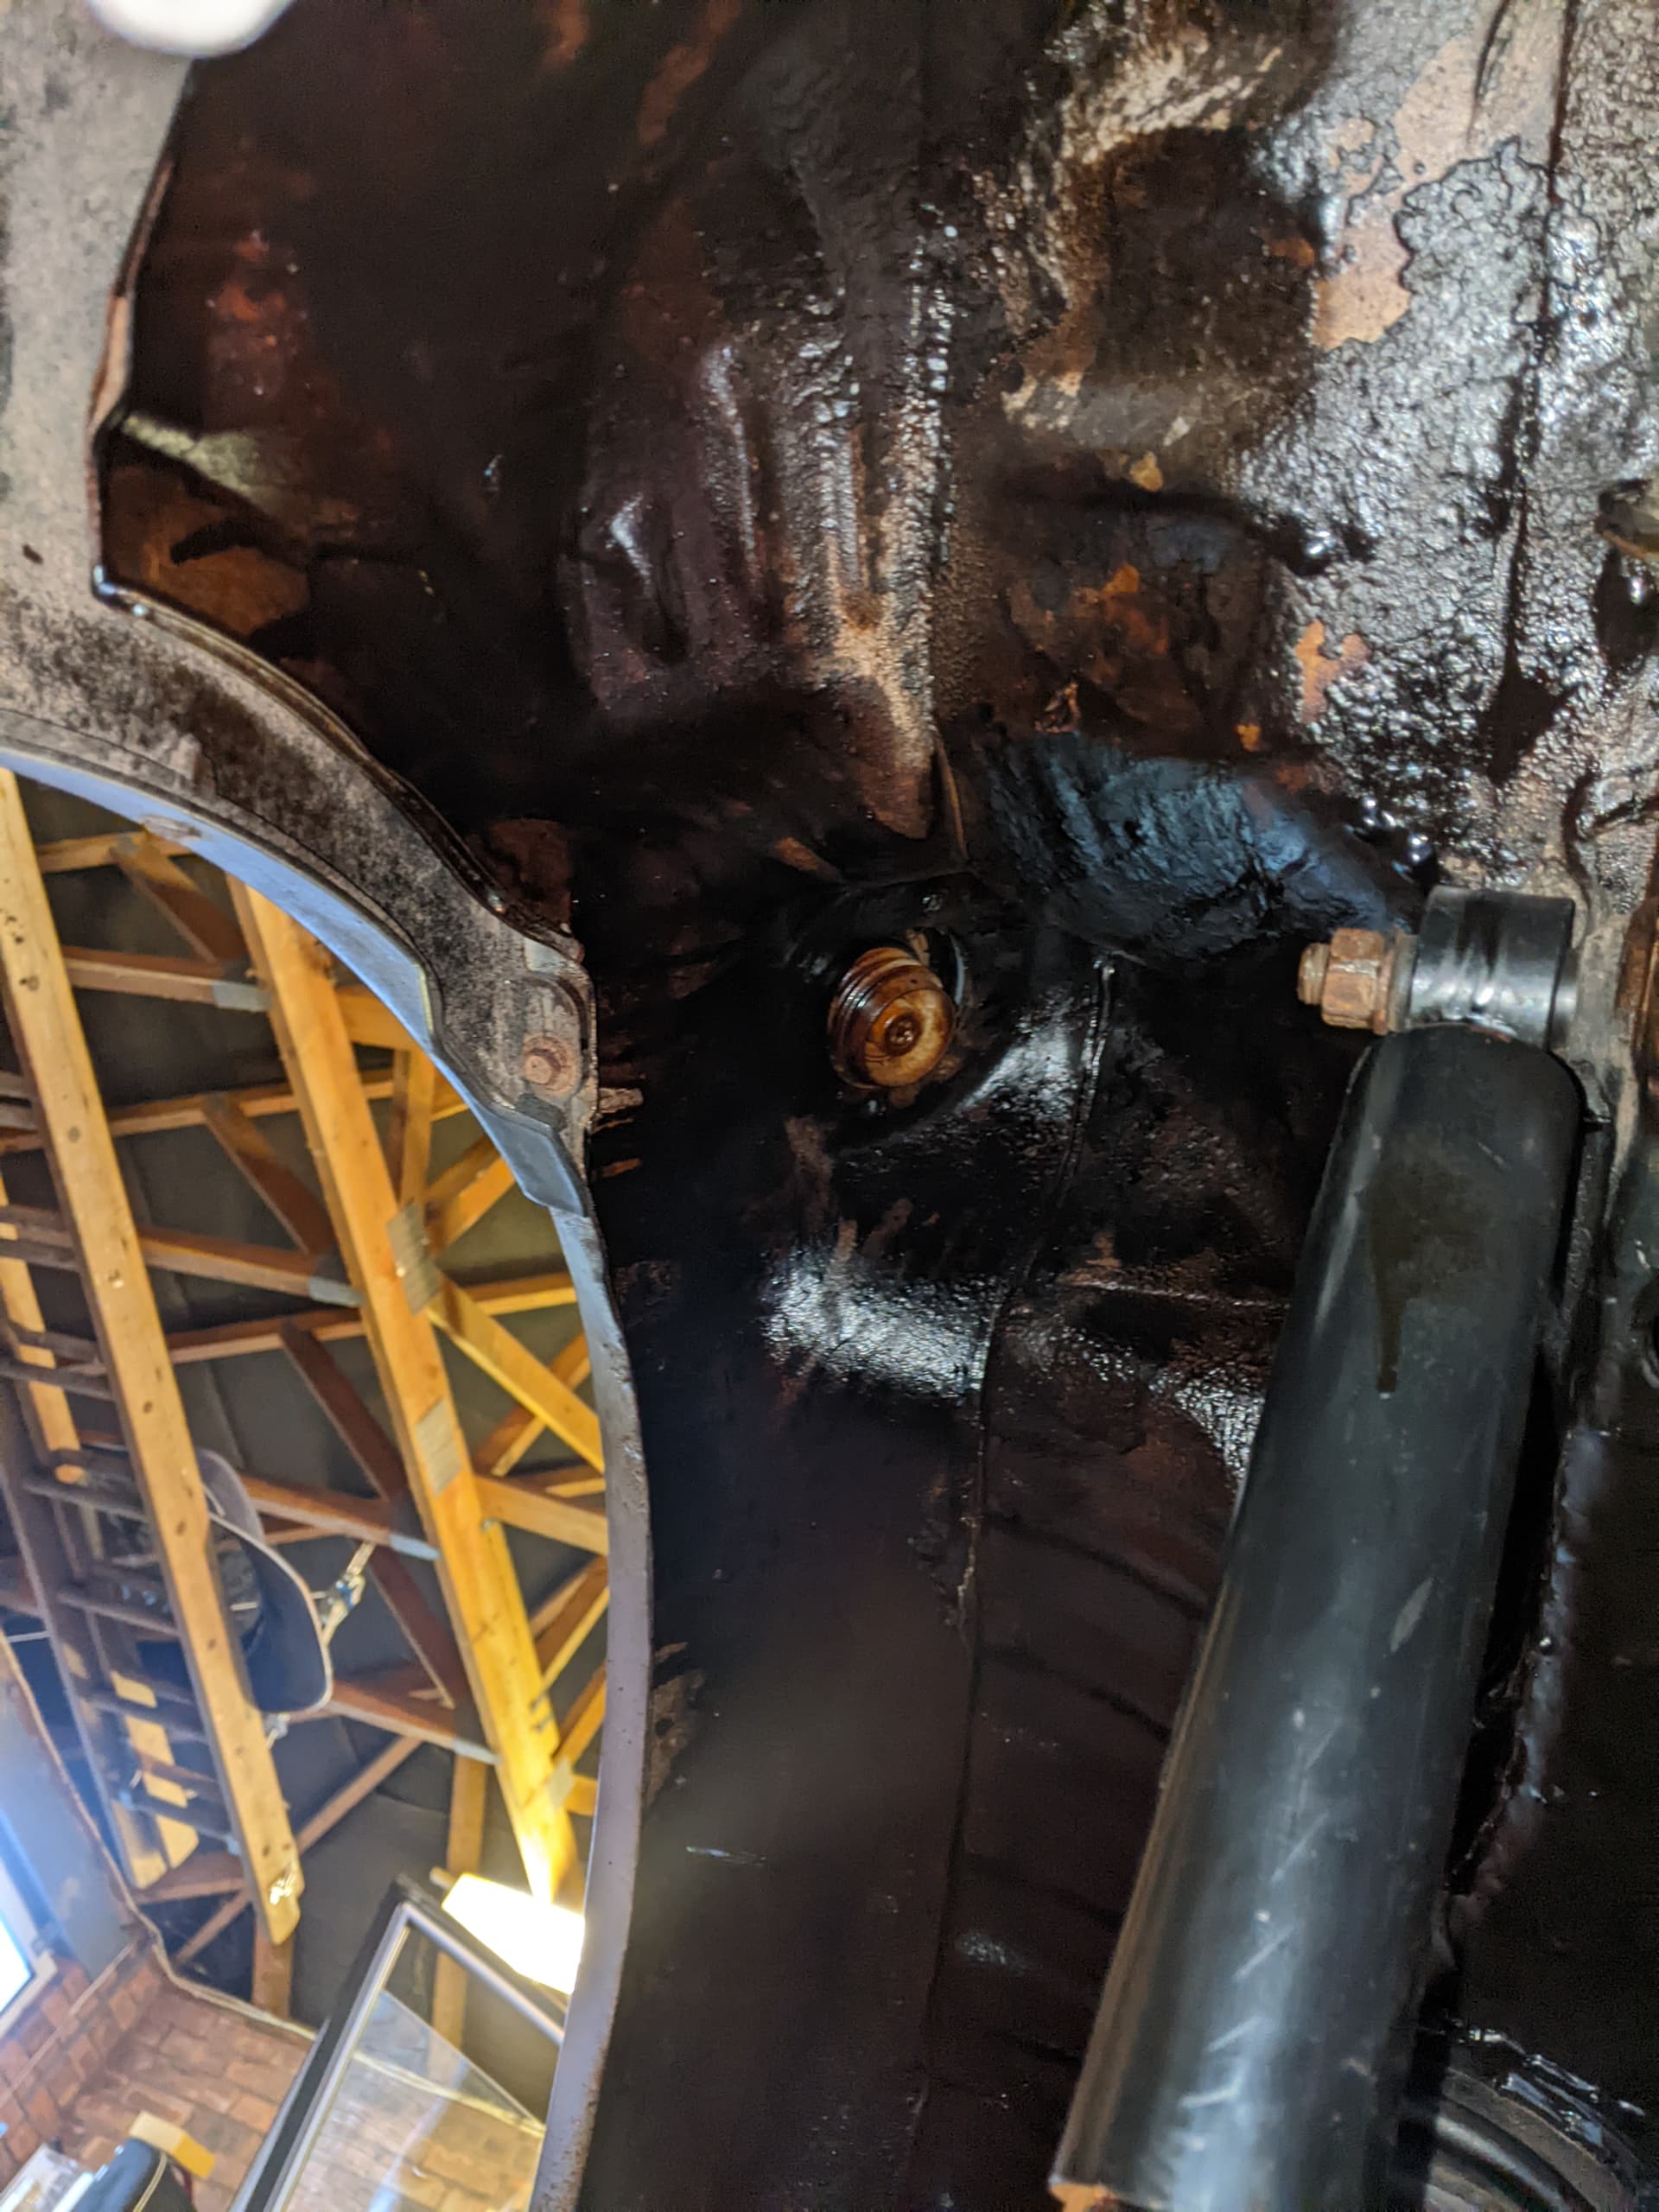
The specific issue I had was that I needed to release the fuel guage multiplug (the shortest connector) from the clip it was attached to in the floorpan, because it was taking about 40% of the weight of the tank at this point. See the chin-end of the tank thats held up in the above pic? Thats because of the fuel guage multiplug. I needed someone to pass me a trim removal tool to allow me to prise the pop-rivet out of the floorpan to get some crucial access and to take tension off the wire, on account of being squeezed between the tank and the floor, and if I had moved then the flimsy cabling would have been taking the full weight of the not-so-empty tank - something I suspect it would not have tolerated!

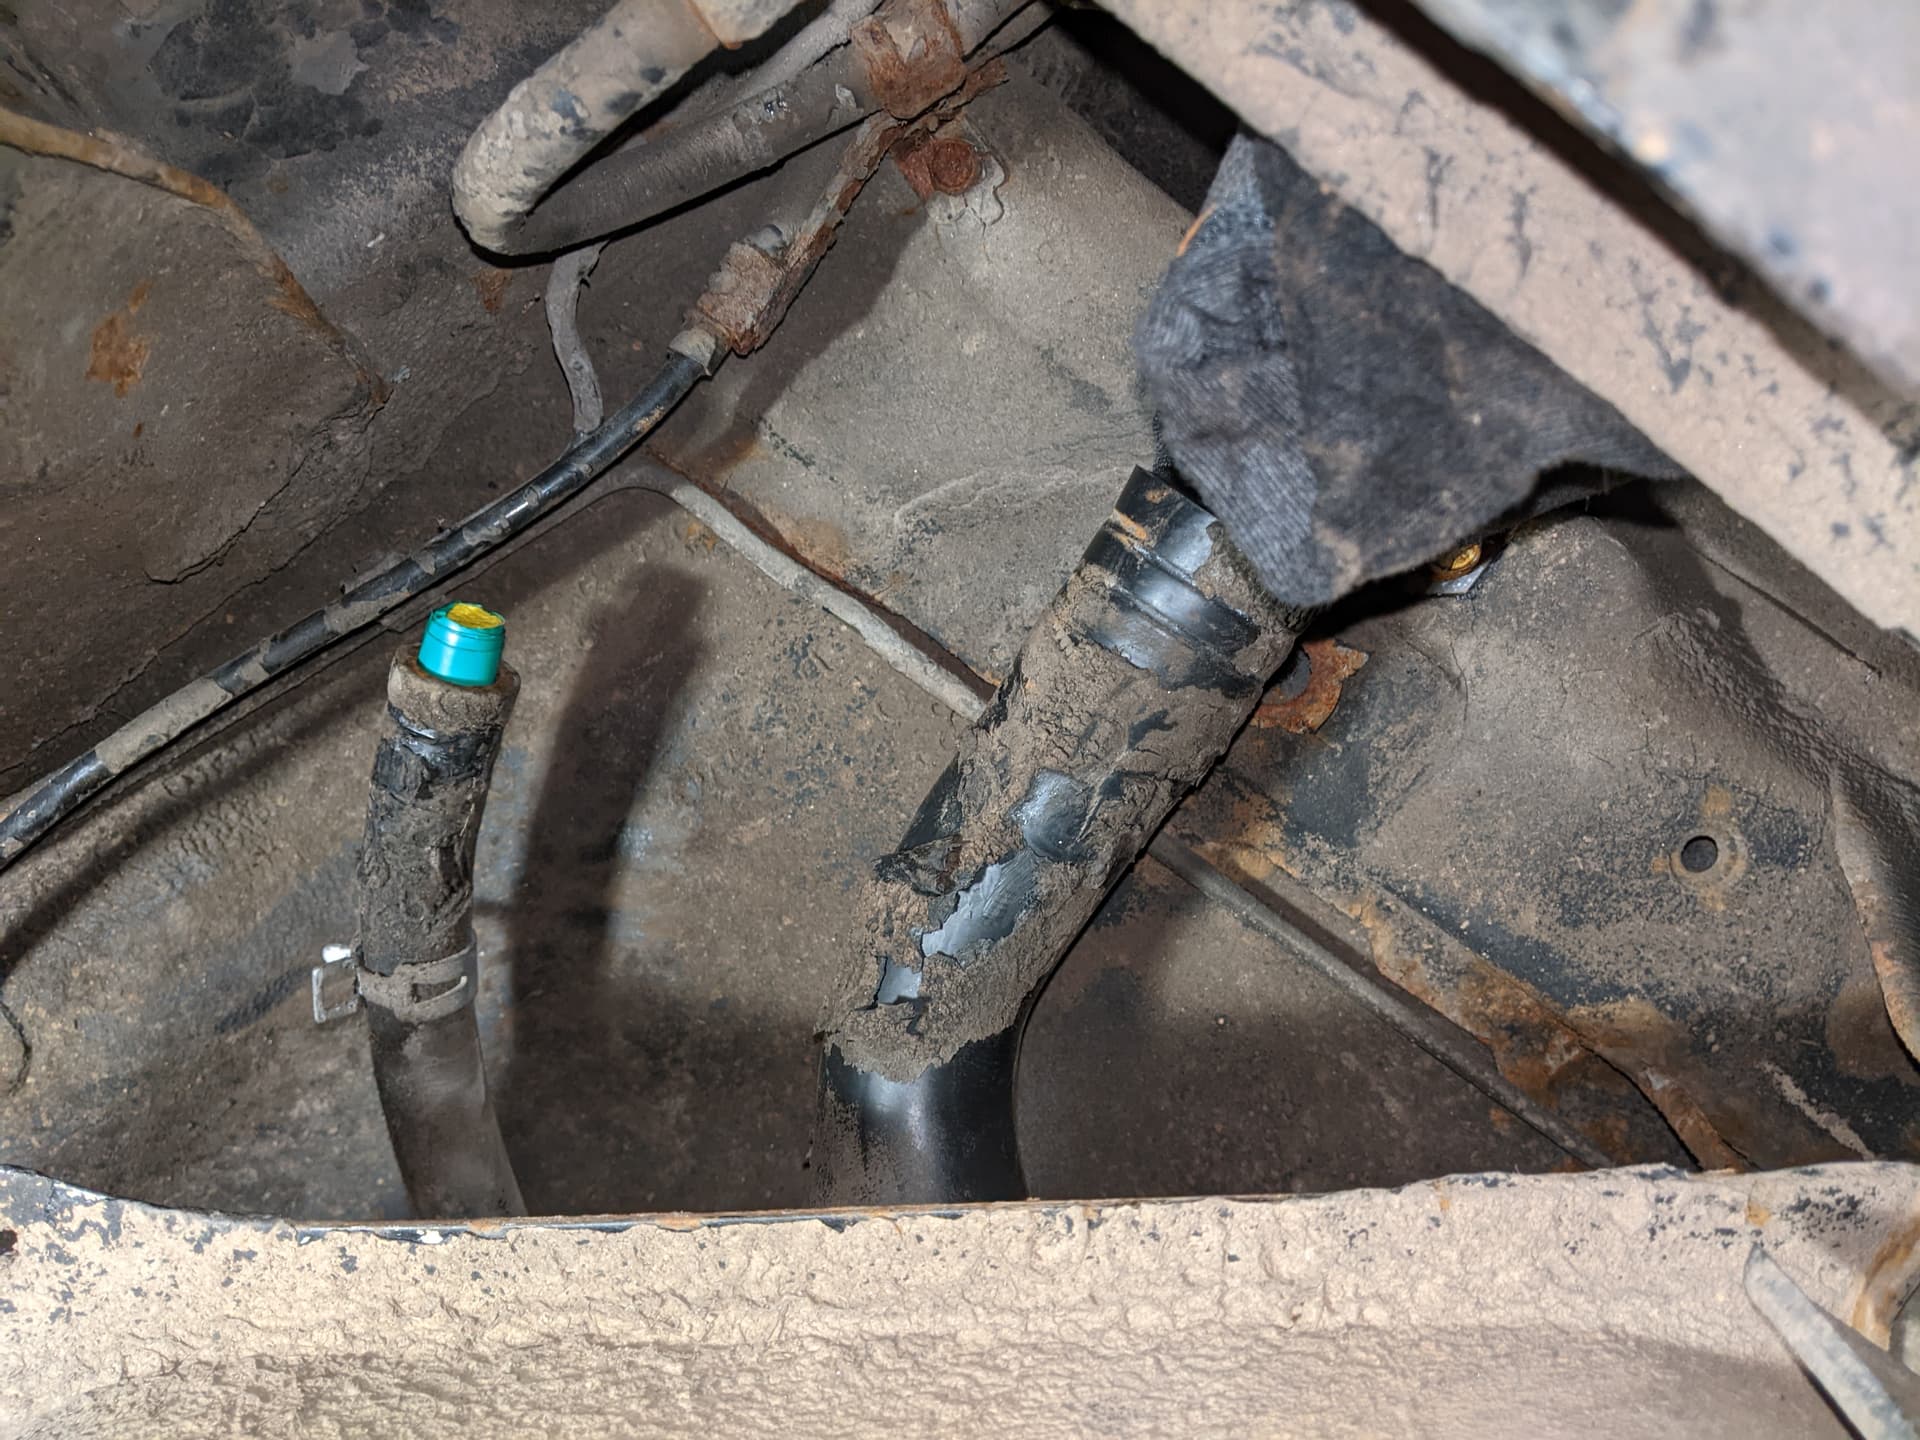
My wife duly provided me with the pop-rivet remover and I took the full weight of the tank onto my ribcage. Next up was to remove the fuel lines. The return line was a small bore pipe with a tiny VW-style hose clip of satan which I had sufficient strength between my index finger and thumb to slide off the top of the tank. The input fuel line however was a different story. I tried all sorts, with my feeble arms getting weaker by the minute until I my wife passed me a plumbers adjustable wrench which finally allowed me to pinch the two tabs and popped the fuel line off the connector on top of the in-tank pump.

What a palaver!

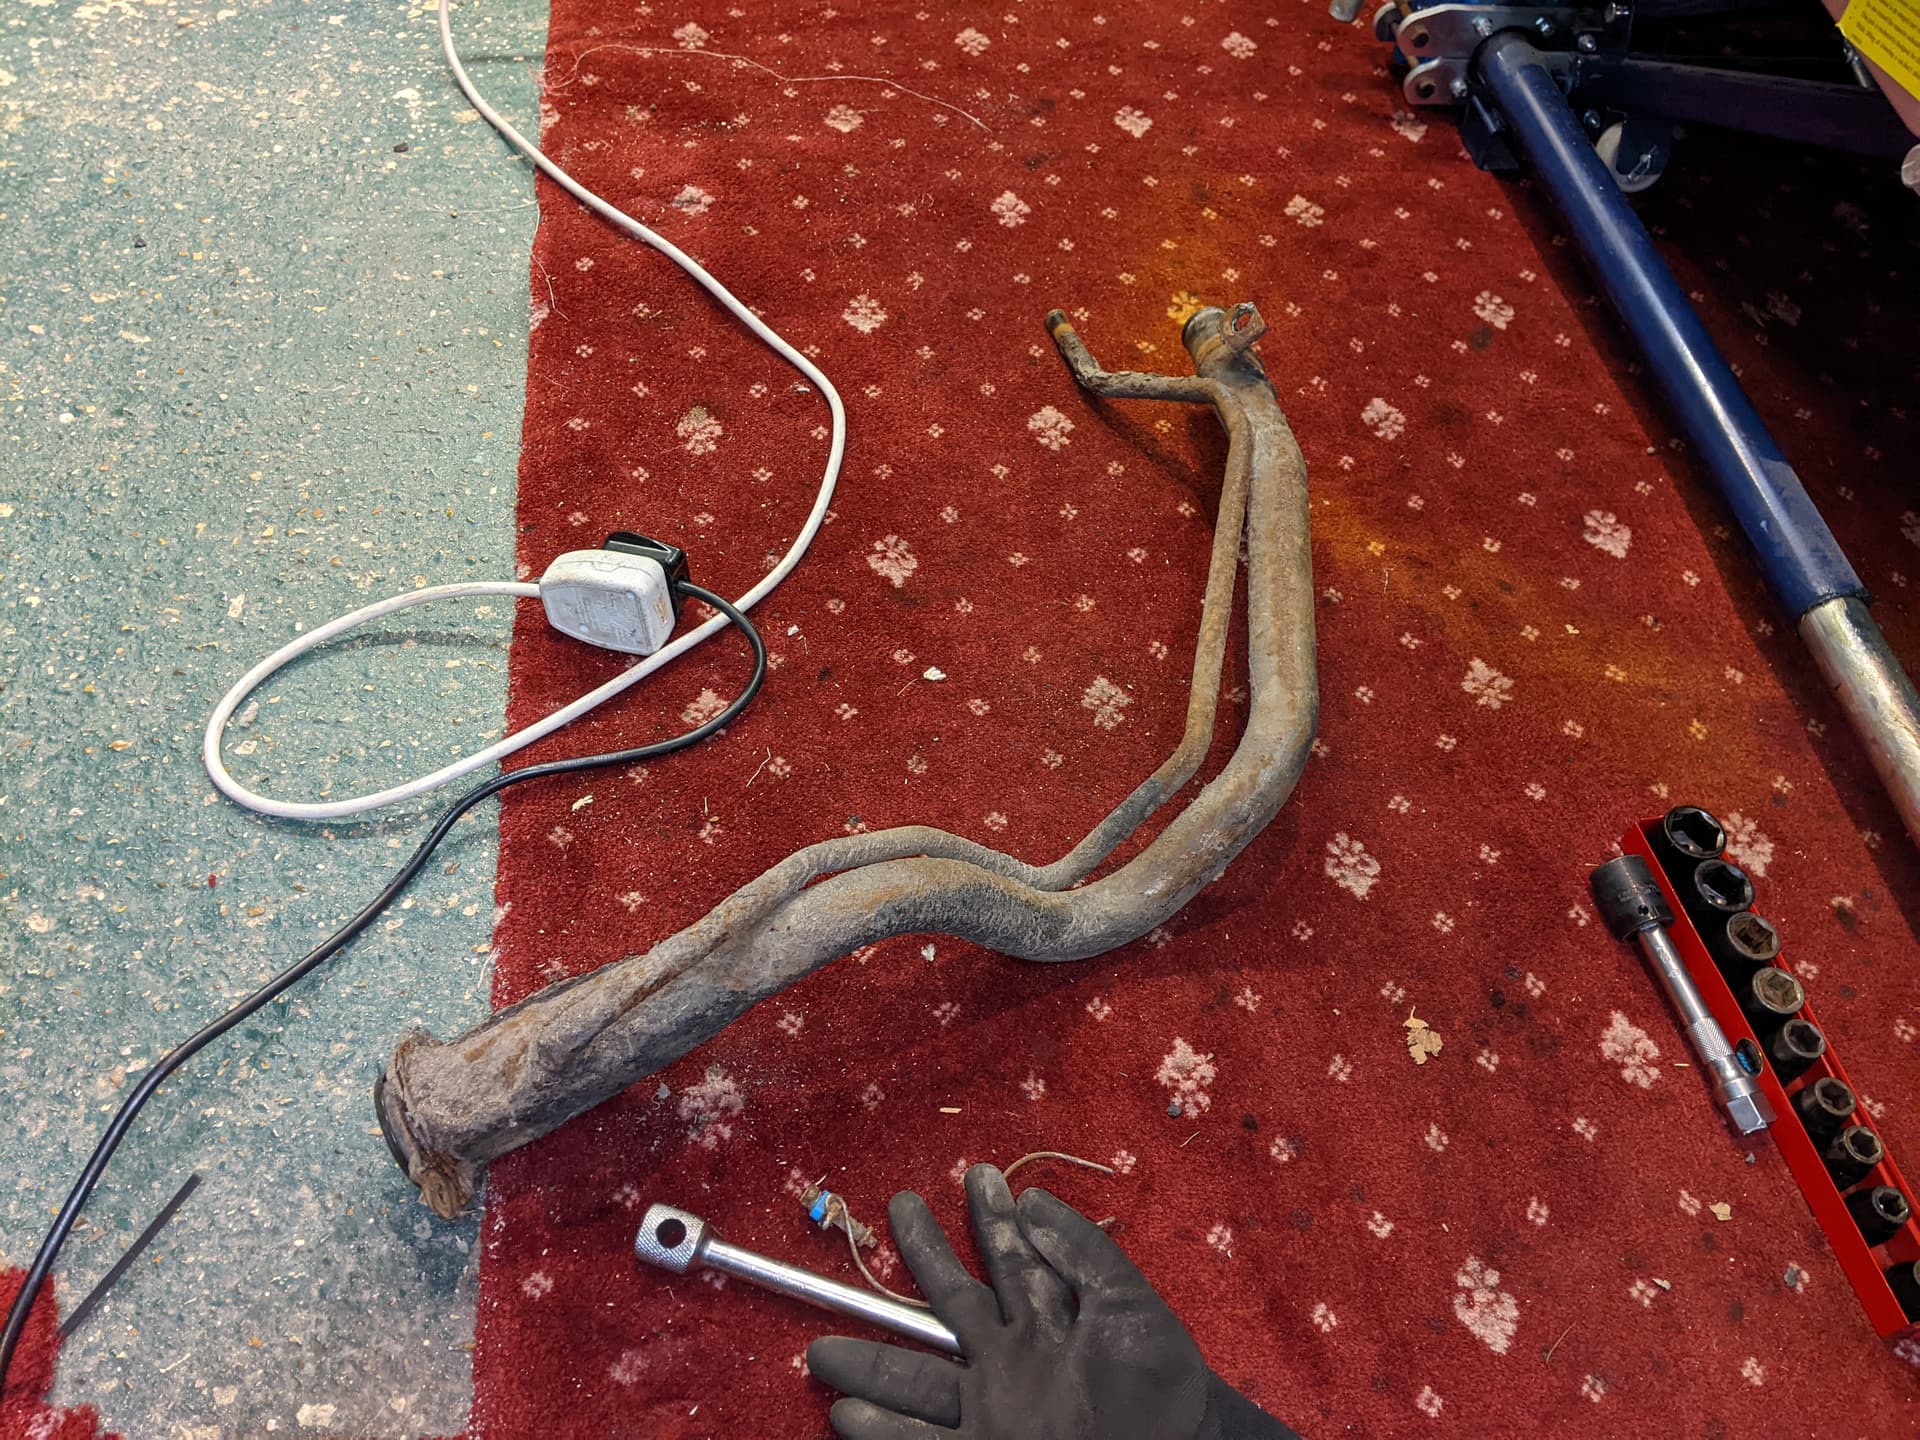
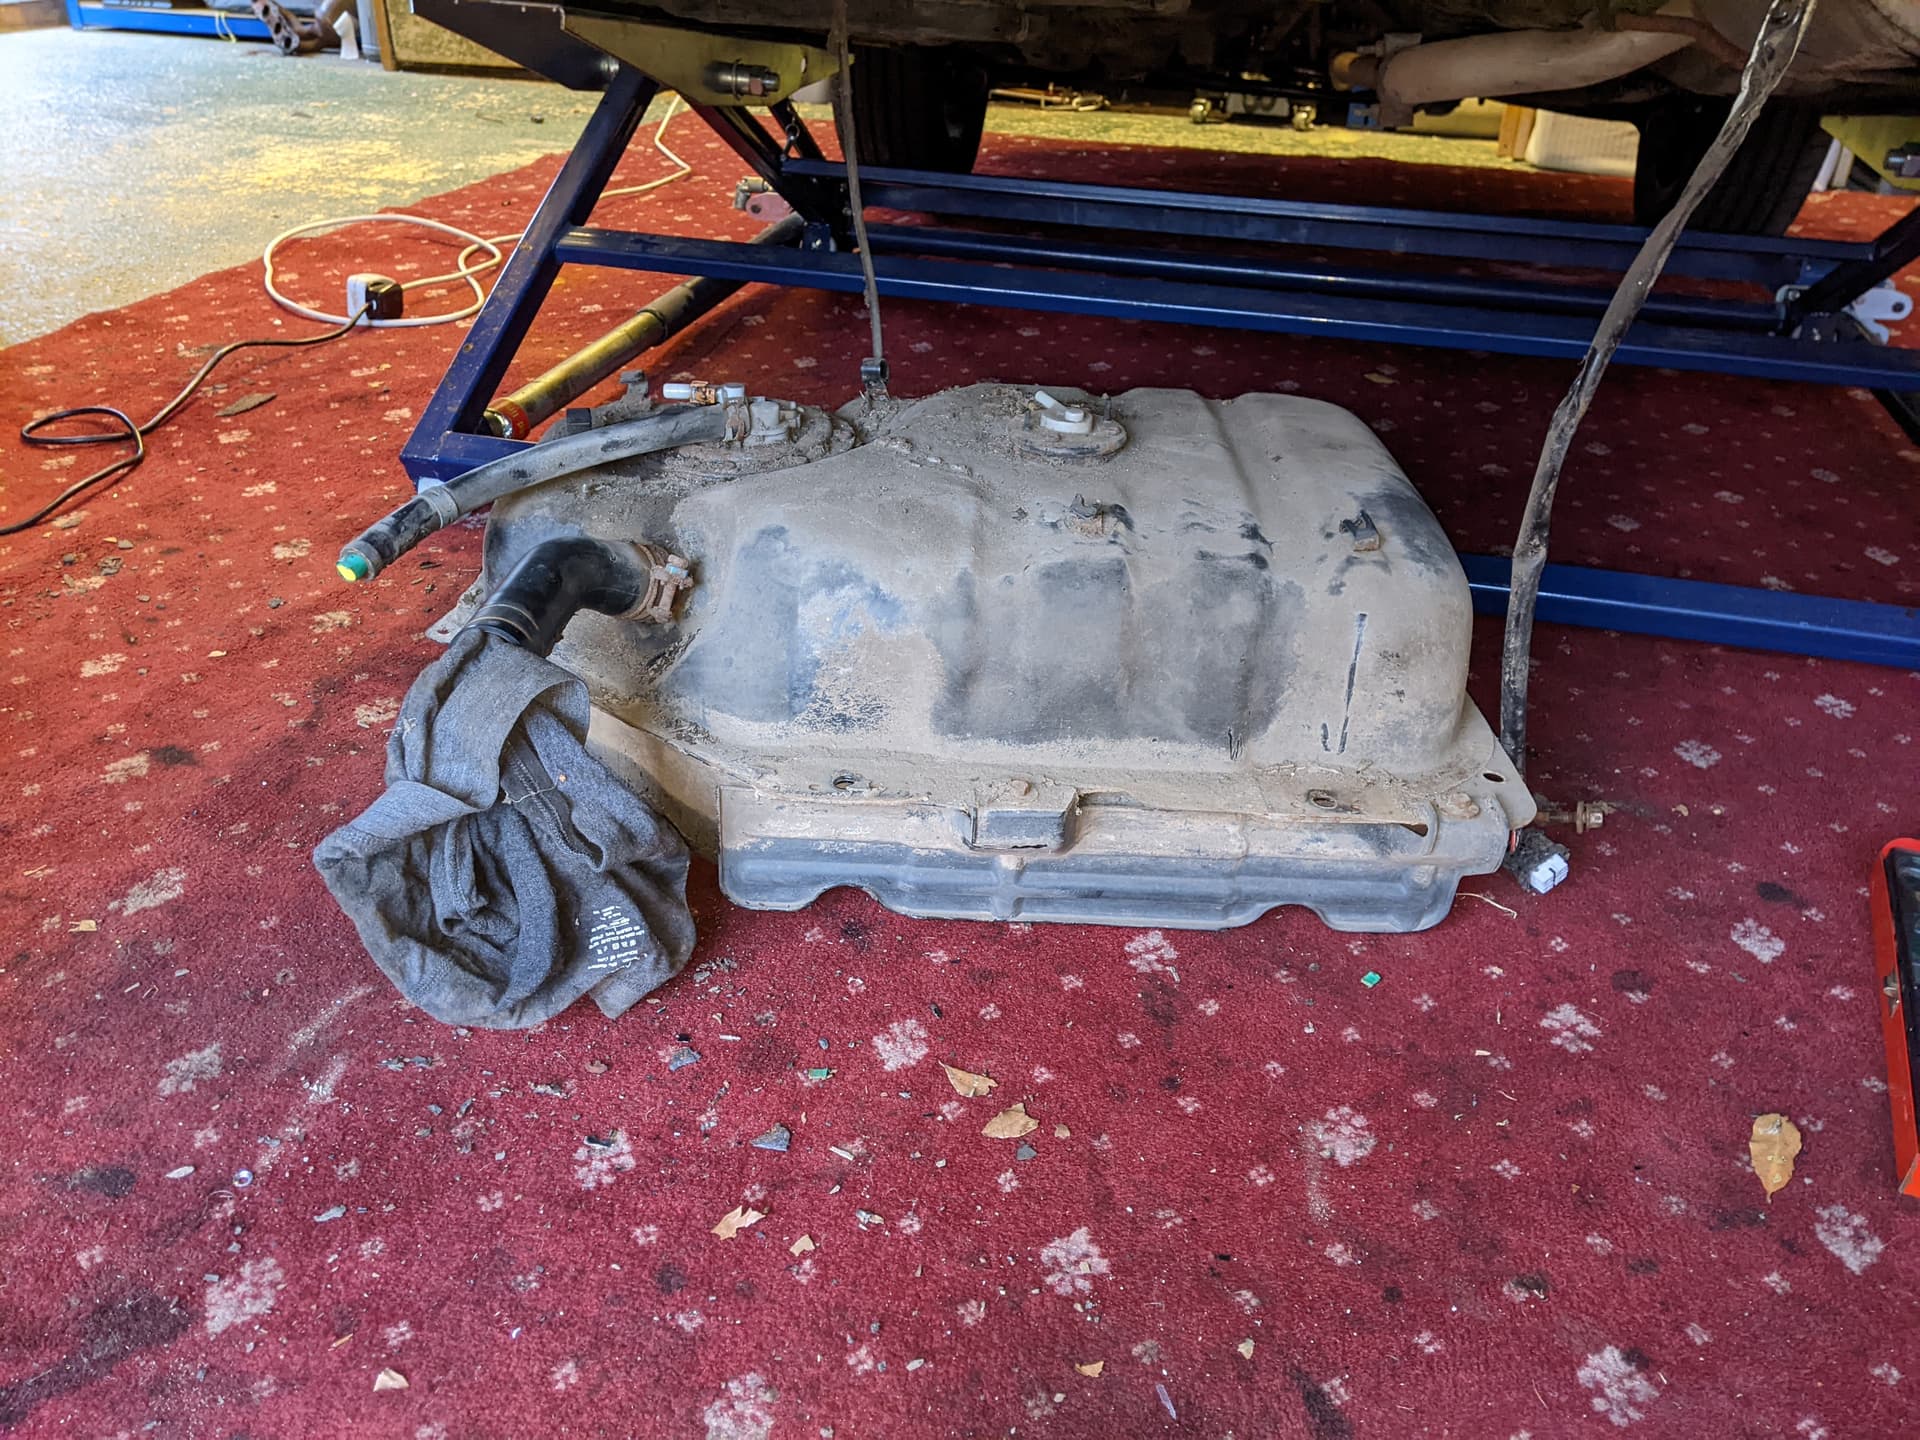
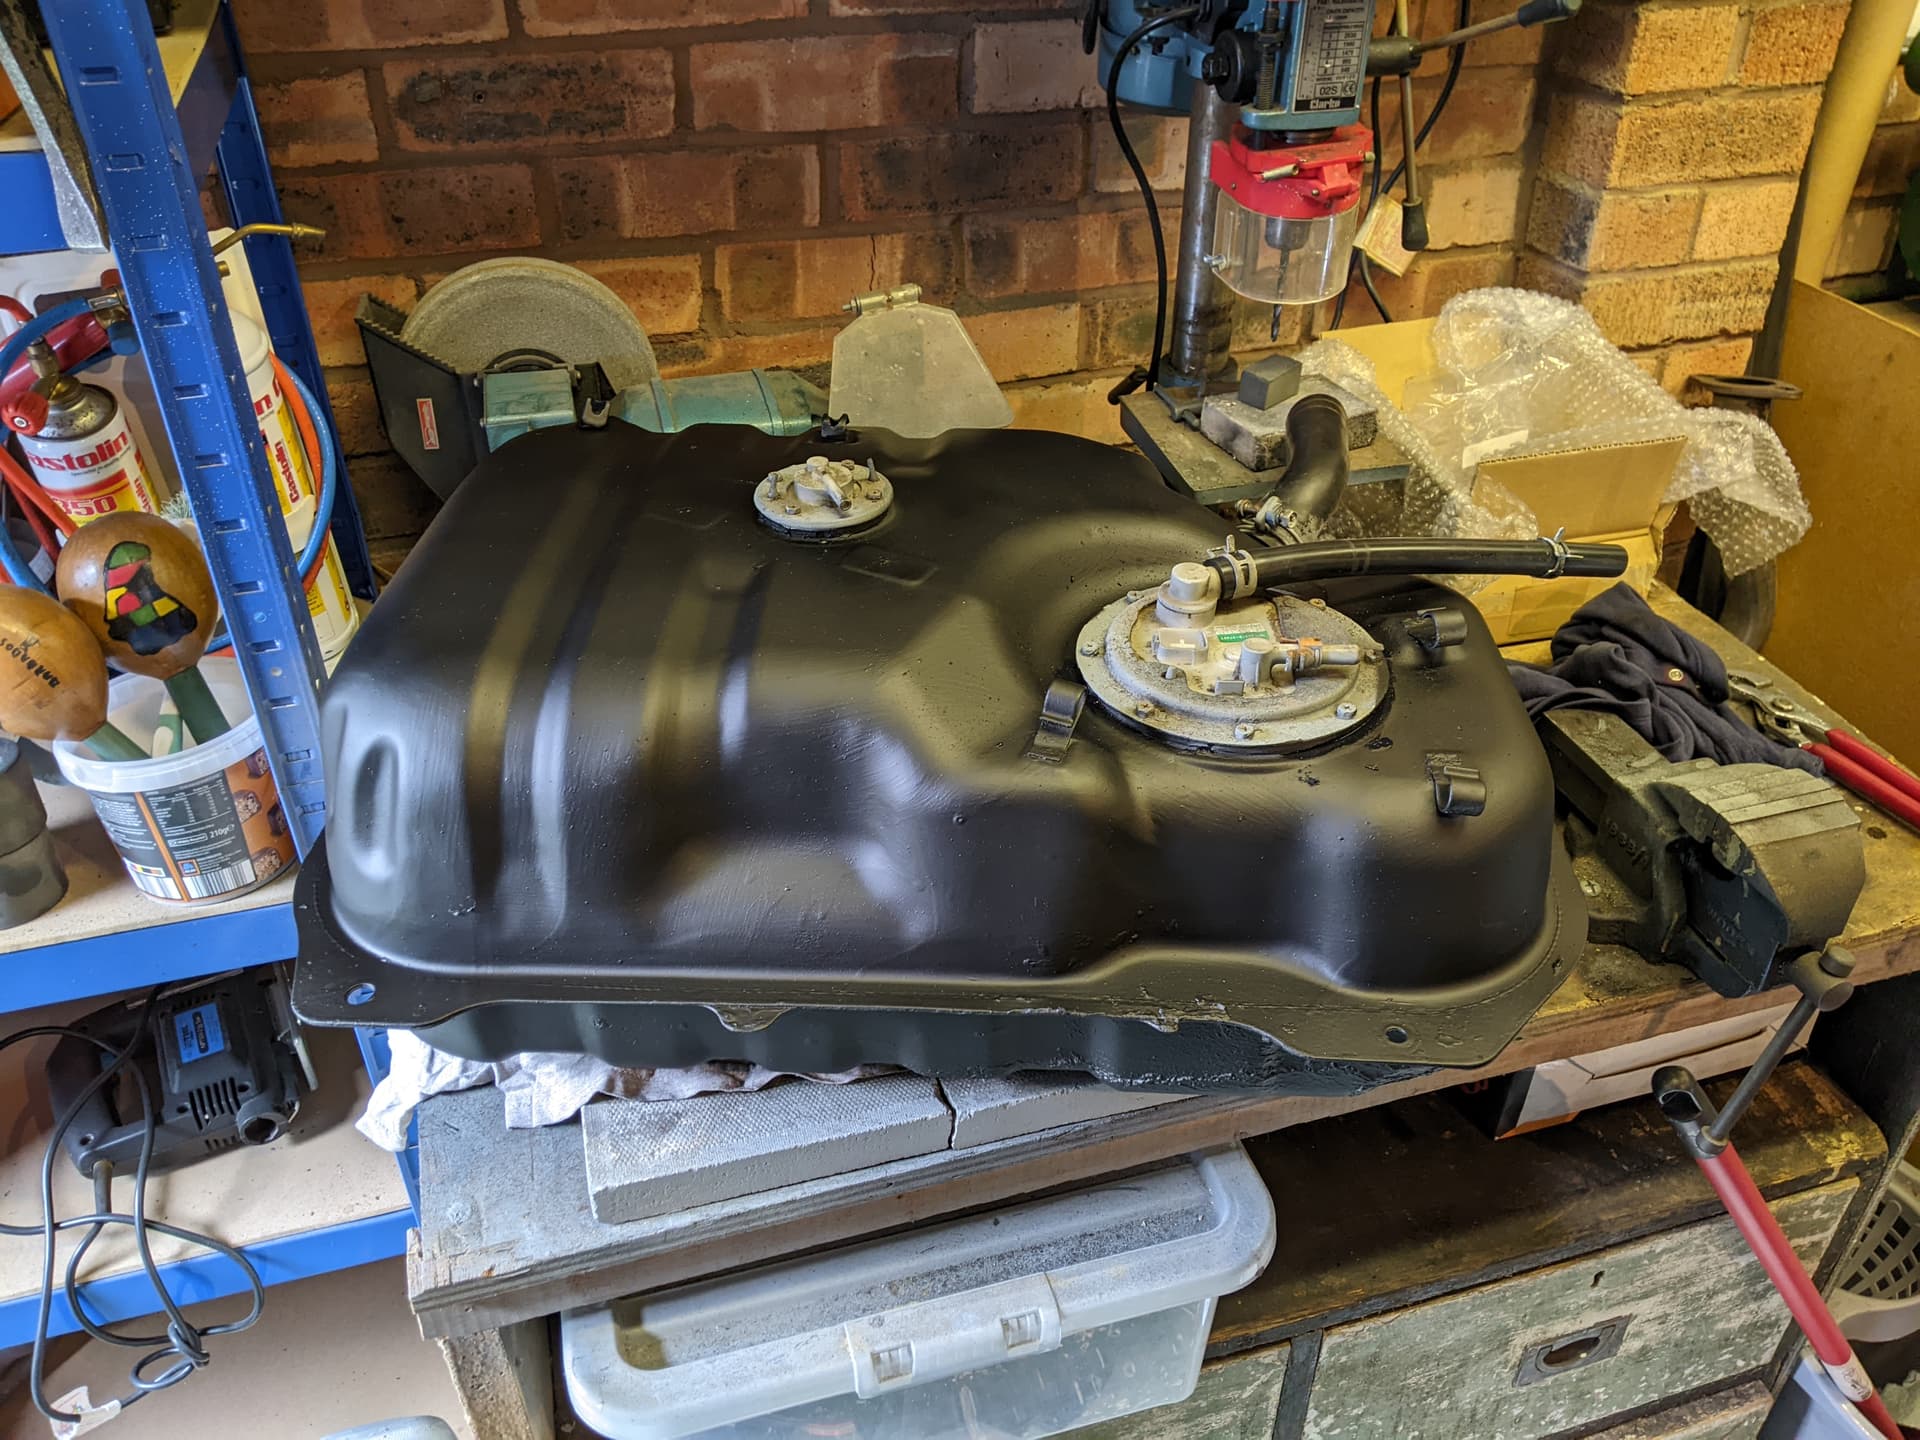
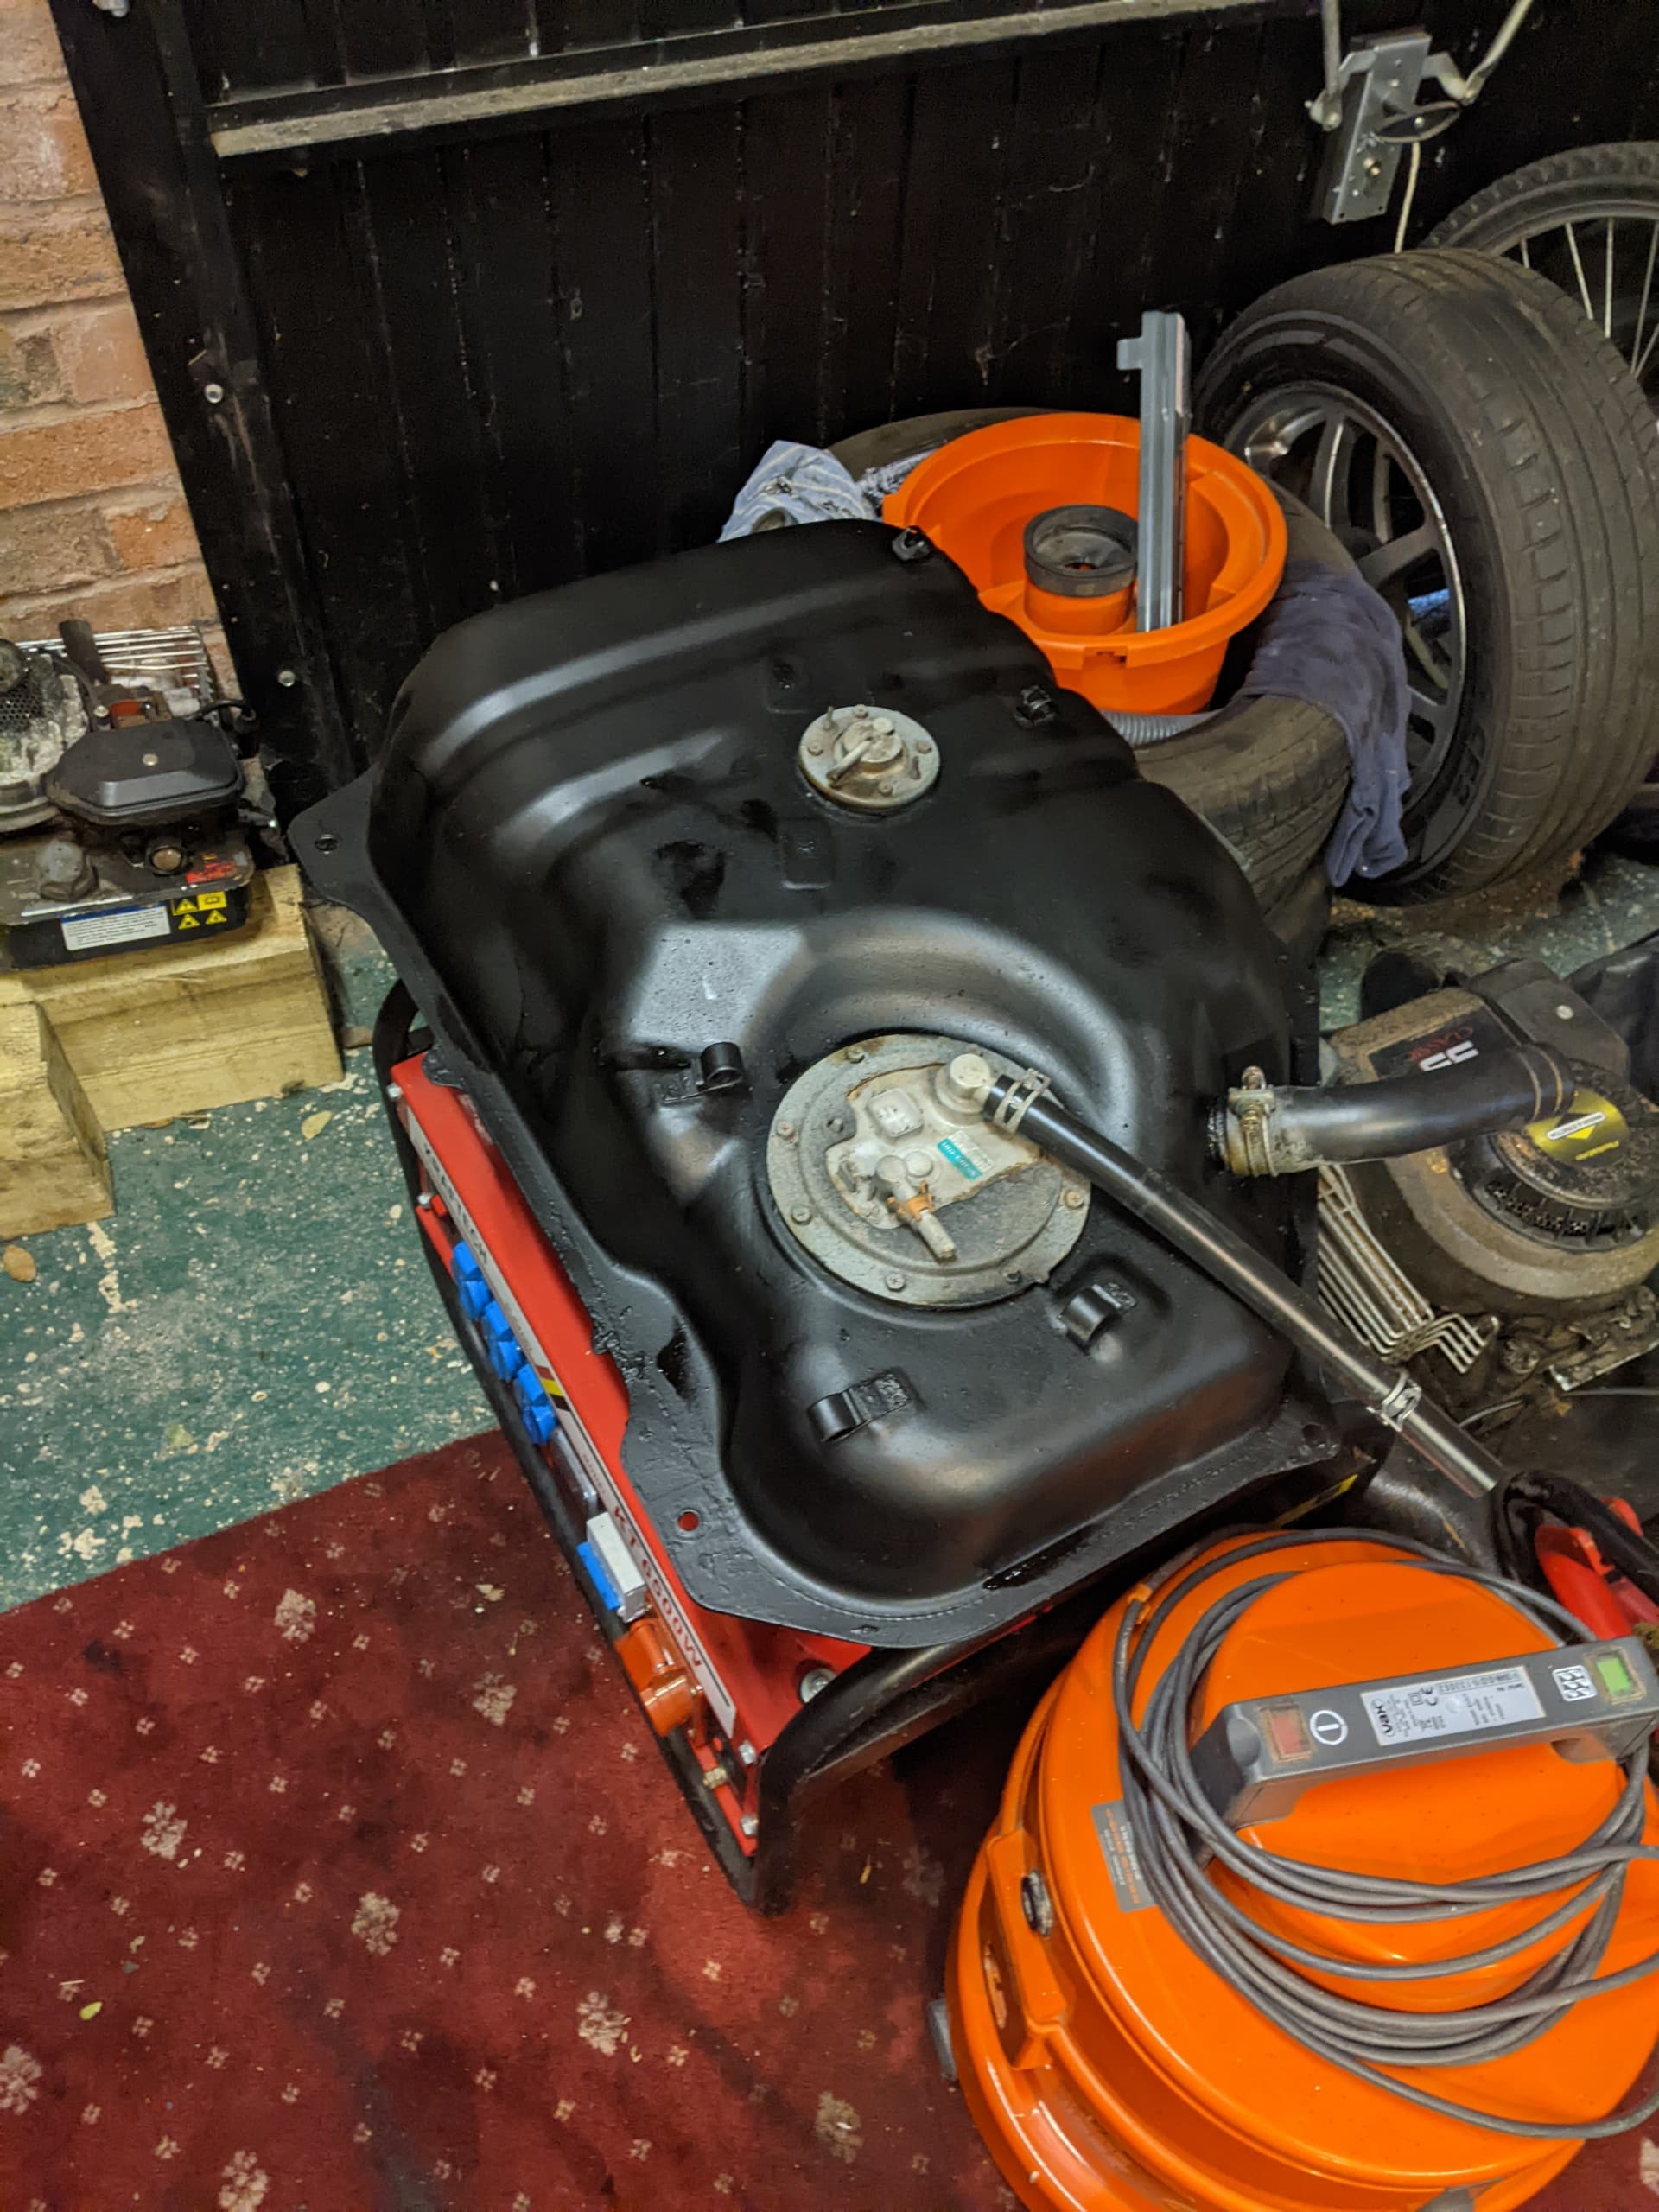
Anyway, with able assistance, the wretched tank was now free of the car and I slid it off my ample belly onto the floor, massively relieved I hadn’t managed to slop a load of very expensive premium unleaded into my eyes in the course of the job.

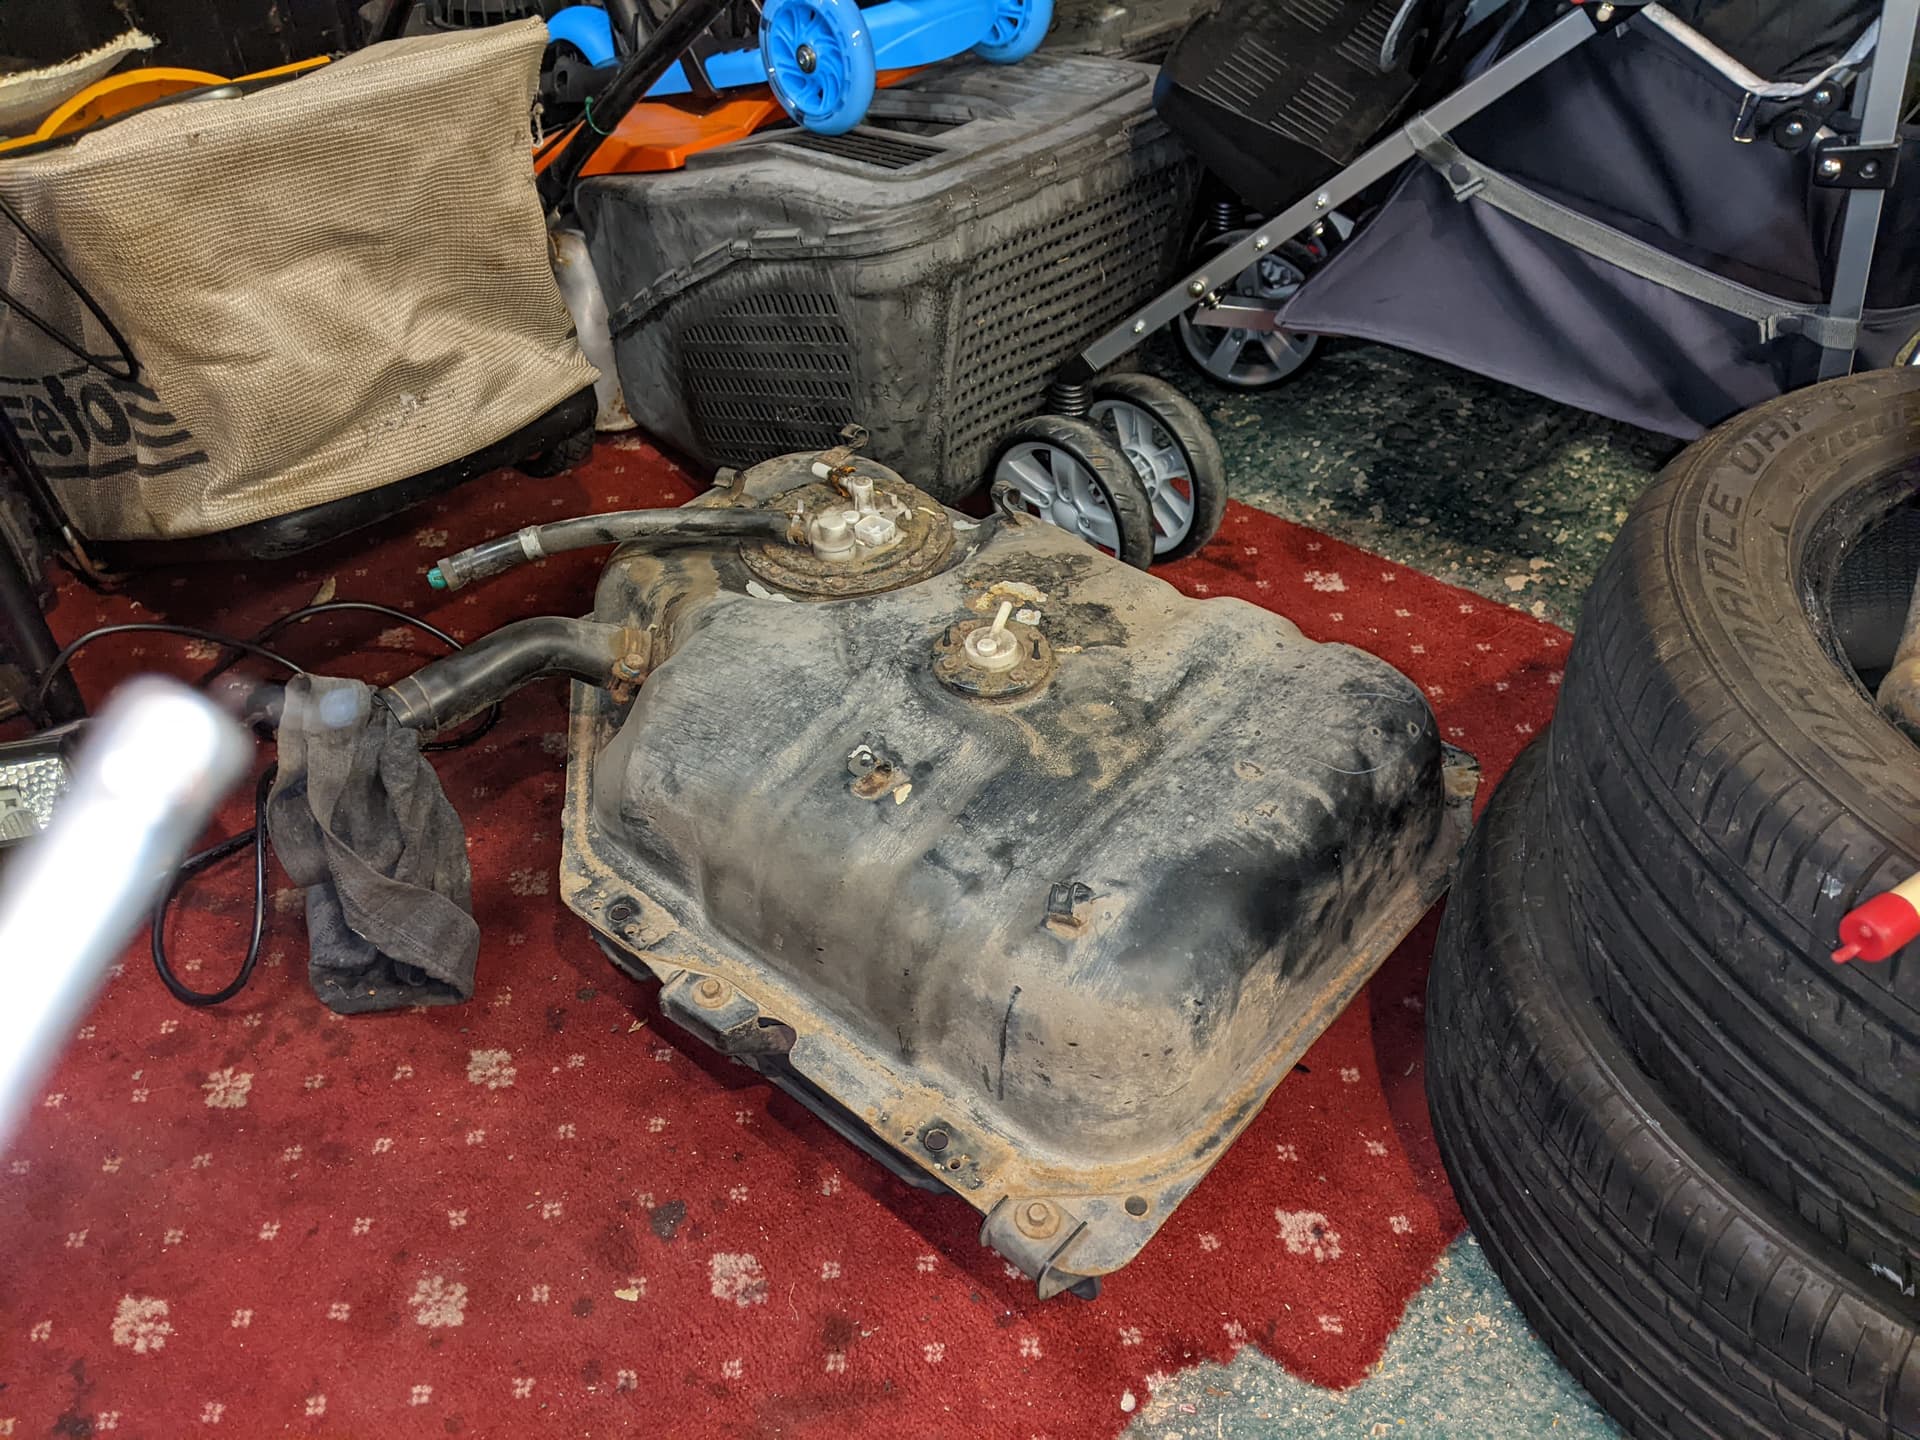
The tank itself was actually in good nick, I cleaned it off with a paintbrush and a brush-and-dustpan brush but other than a couple of spiders, it was just dry dust really. I used my 12v oil pump to decant what turned out to be nearly 4 gallons of premium unleaded into a jerry can, and poured it into one of the other cars (note to self, fuel guage lies) with only a small amount left in the tank, which I bunged up every orifice of with rags and things. I reckon the tank, which I was expecting to be 10KG max was probabaly closer to 30kg!

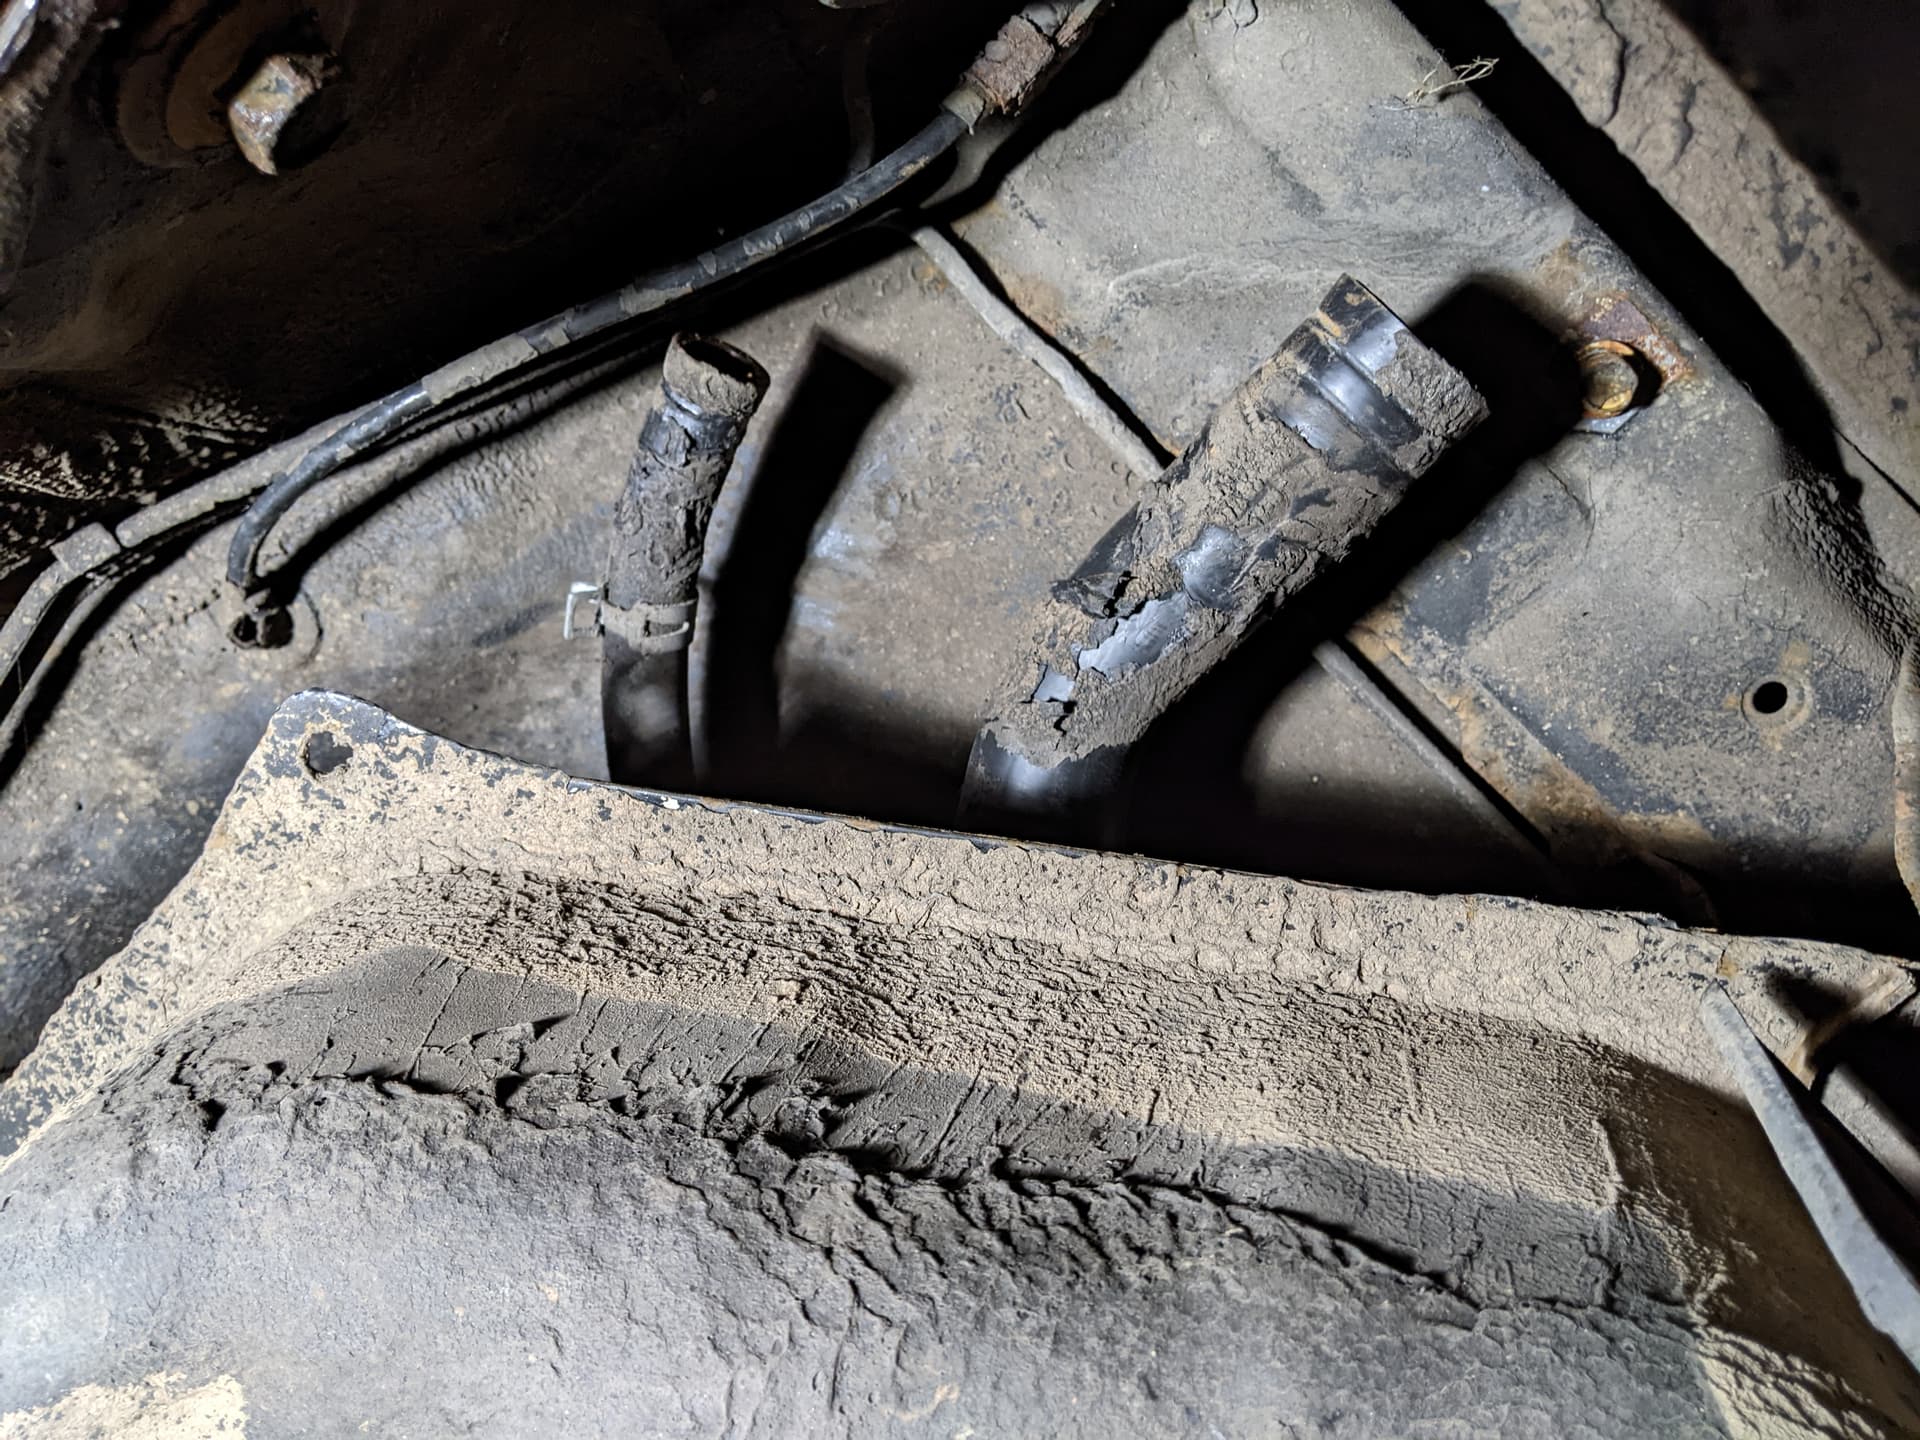
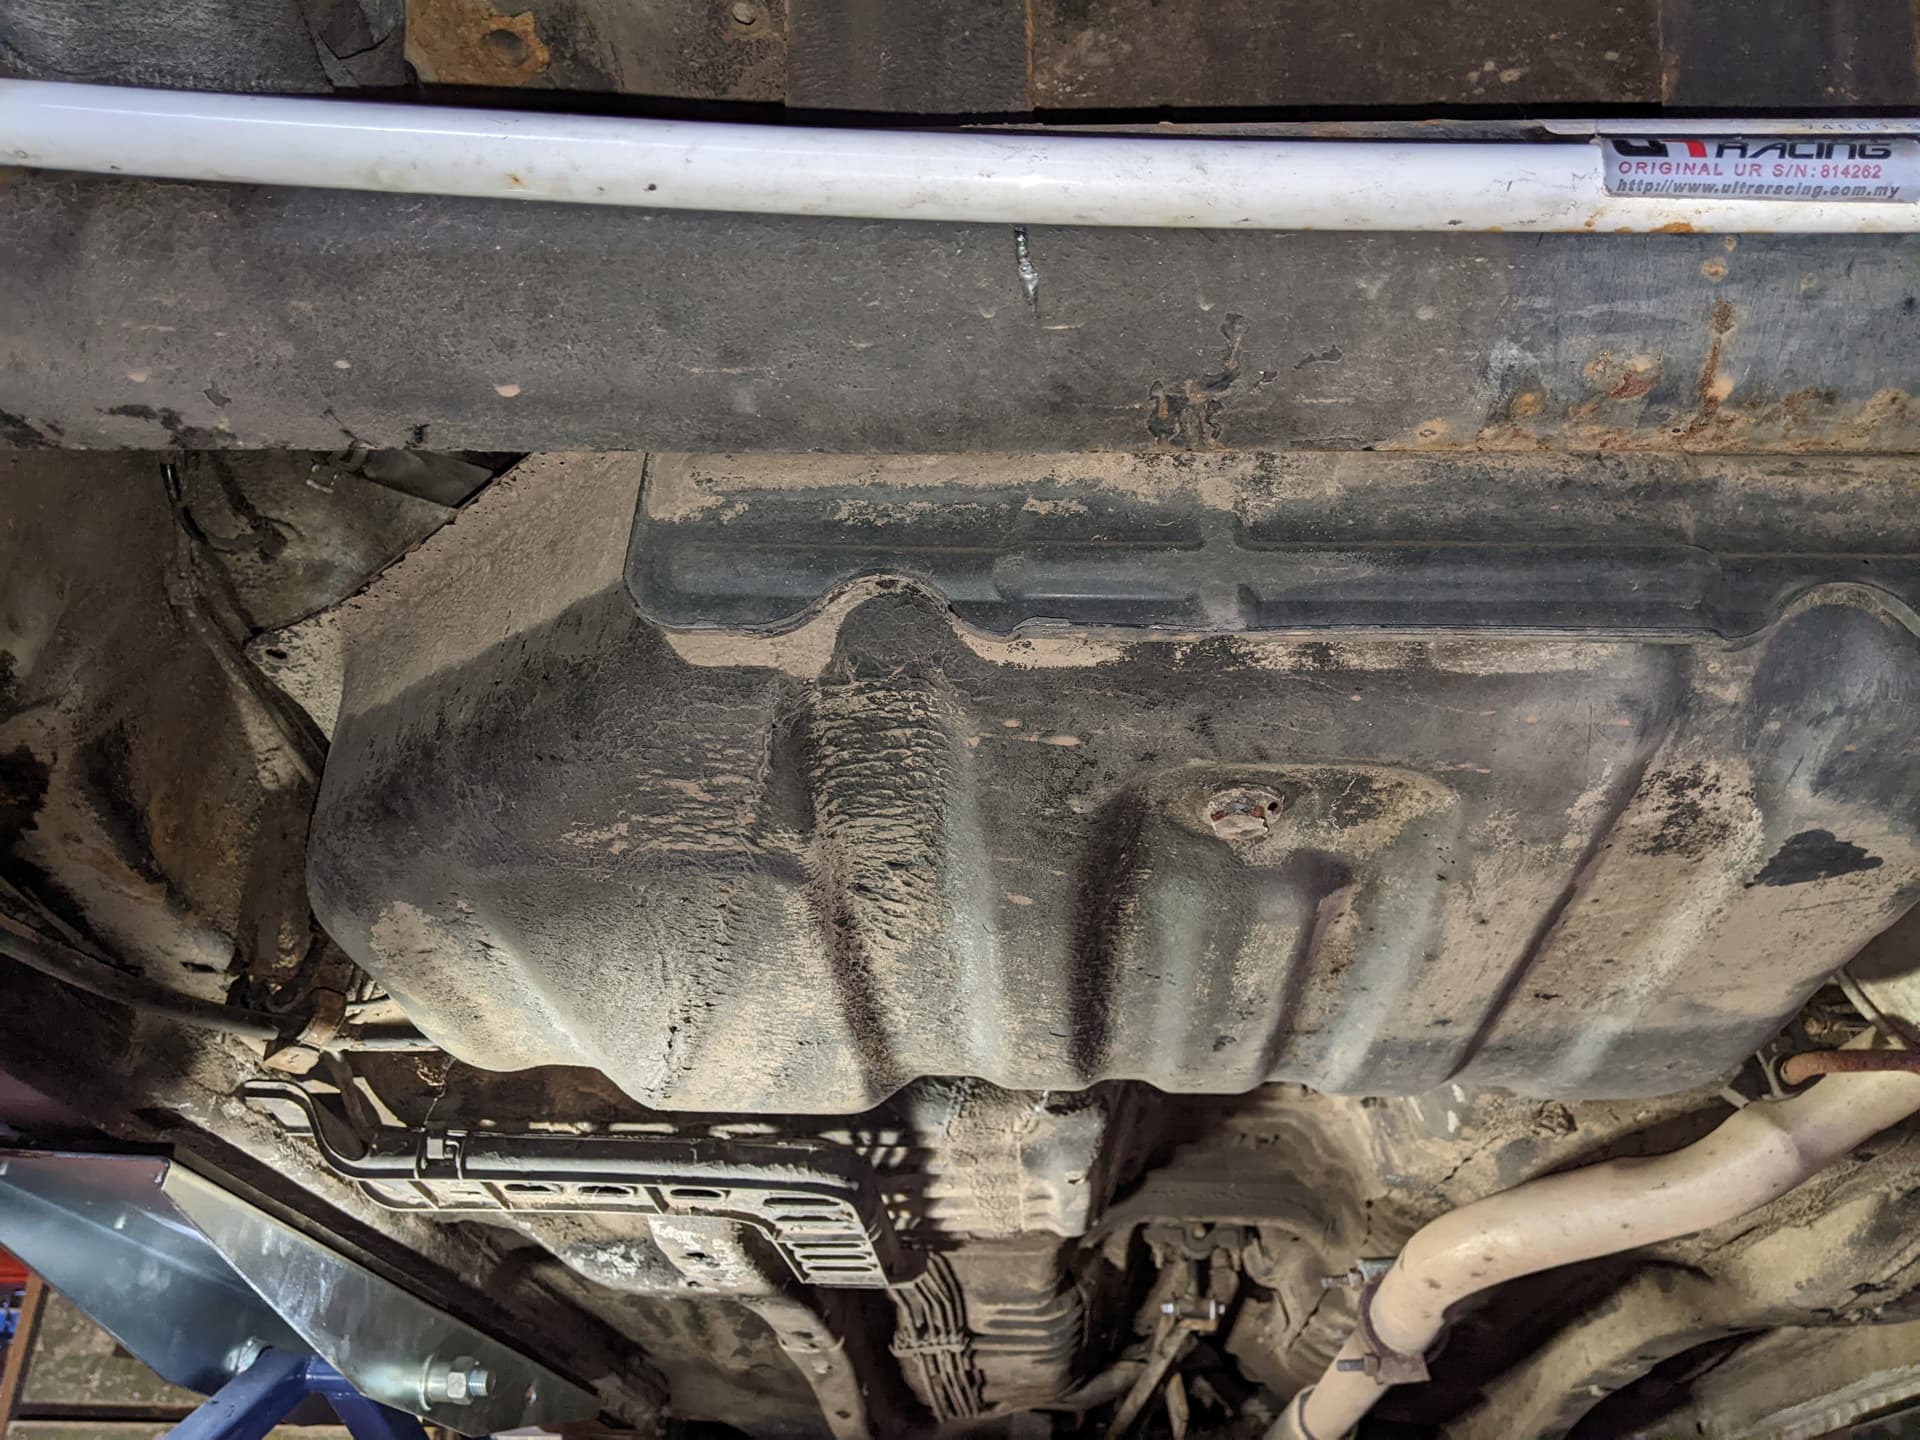
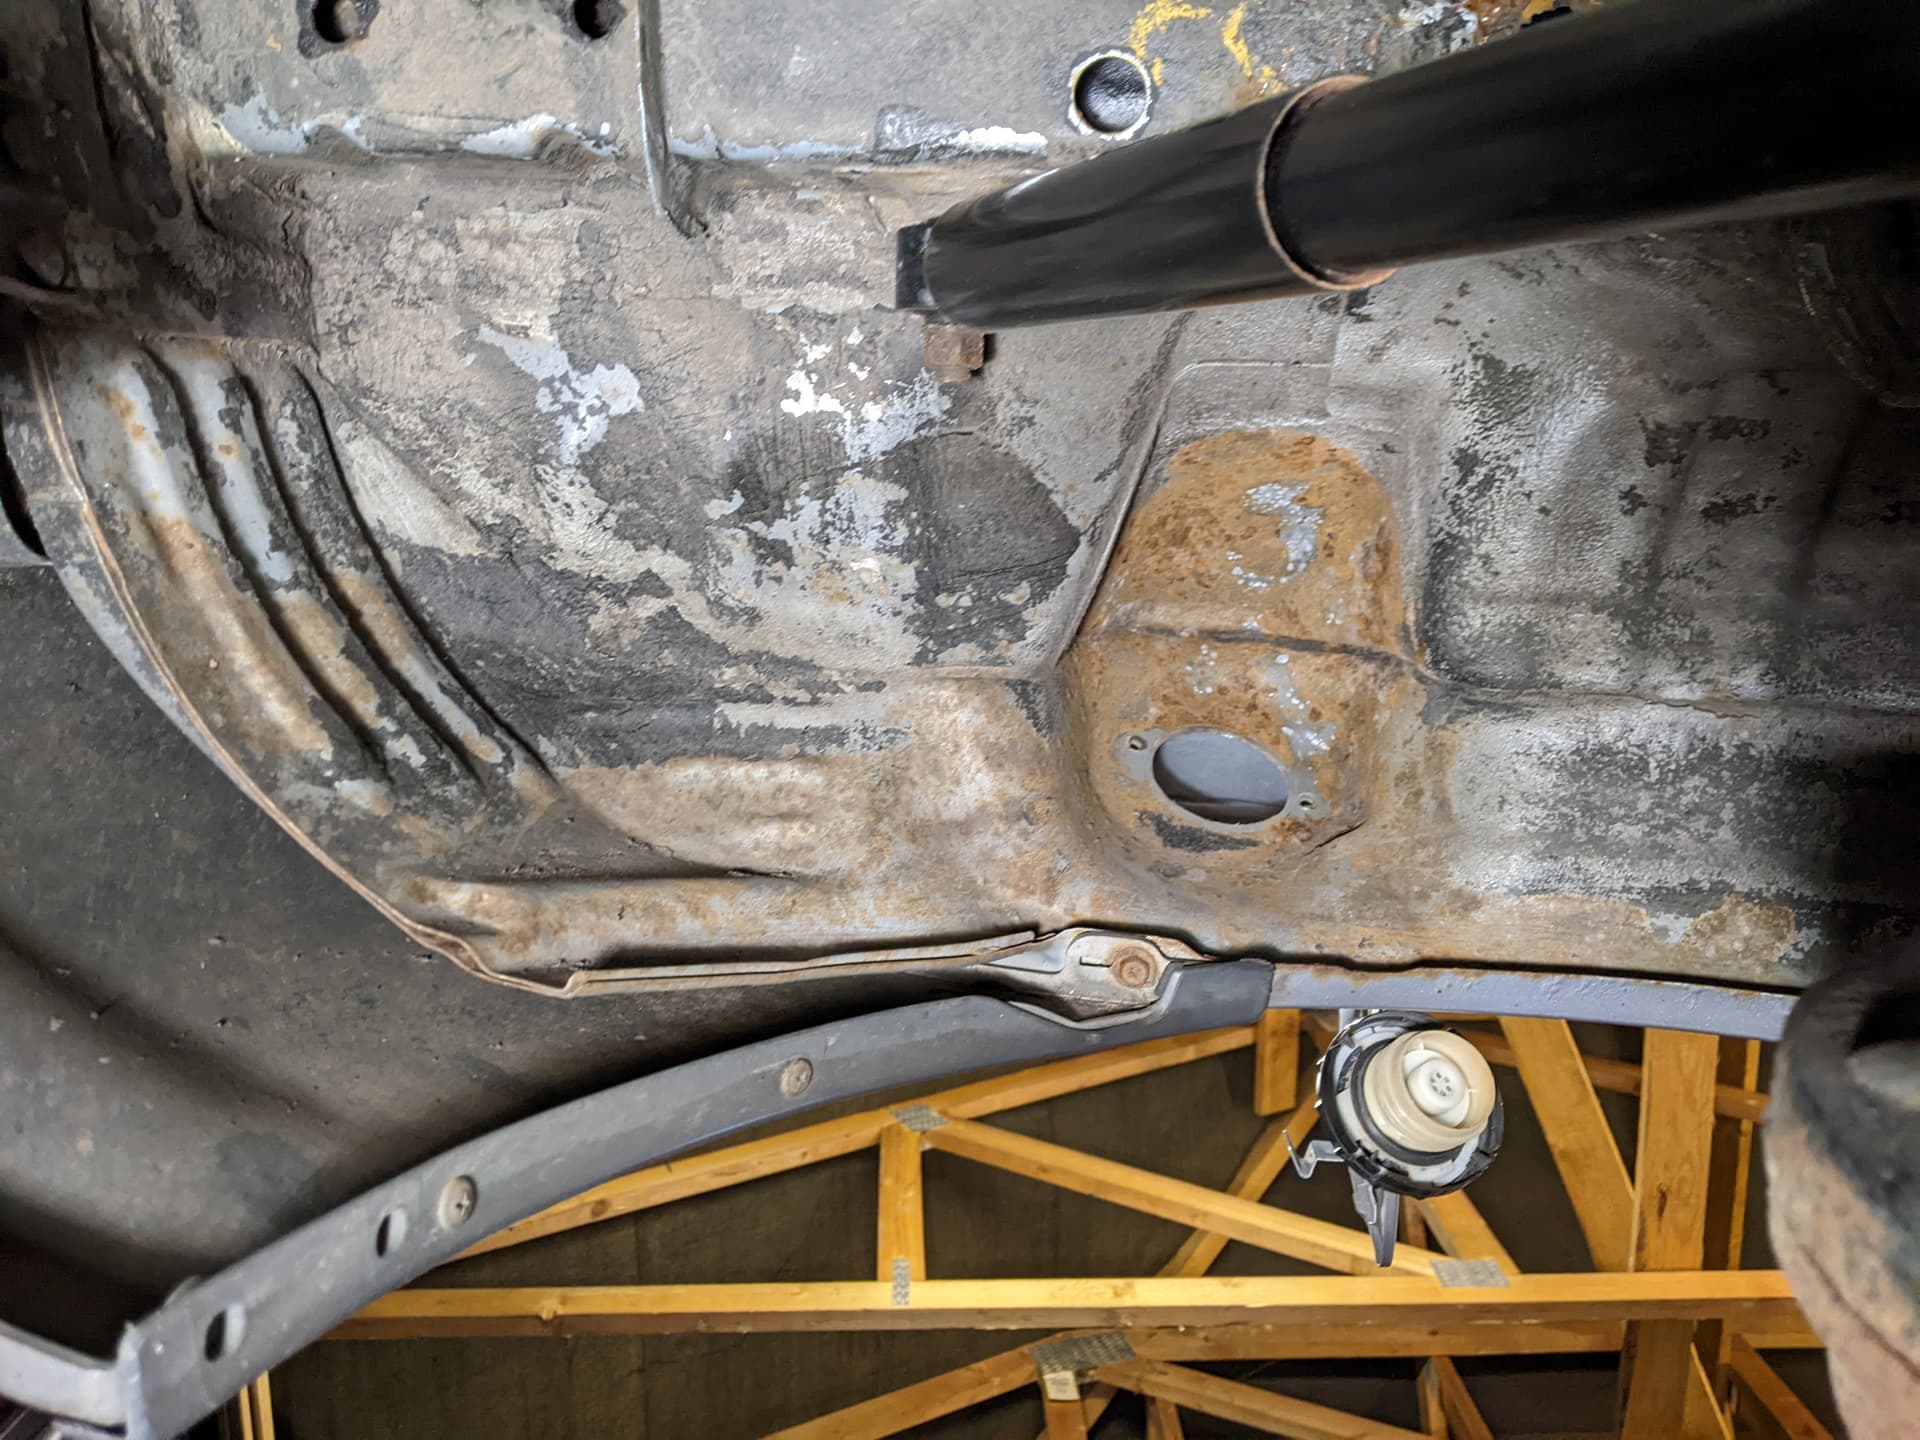
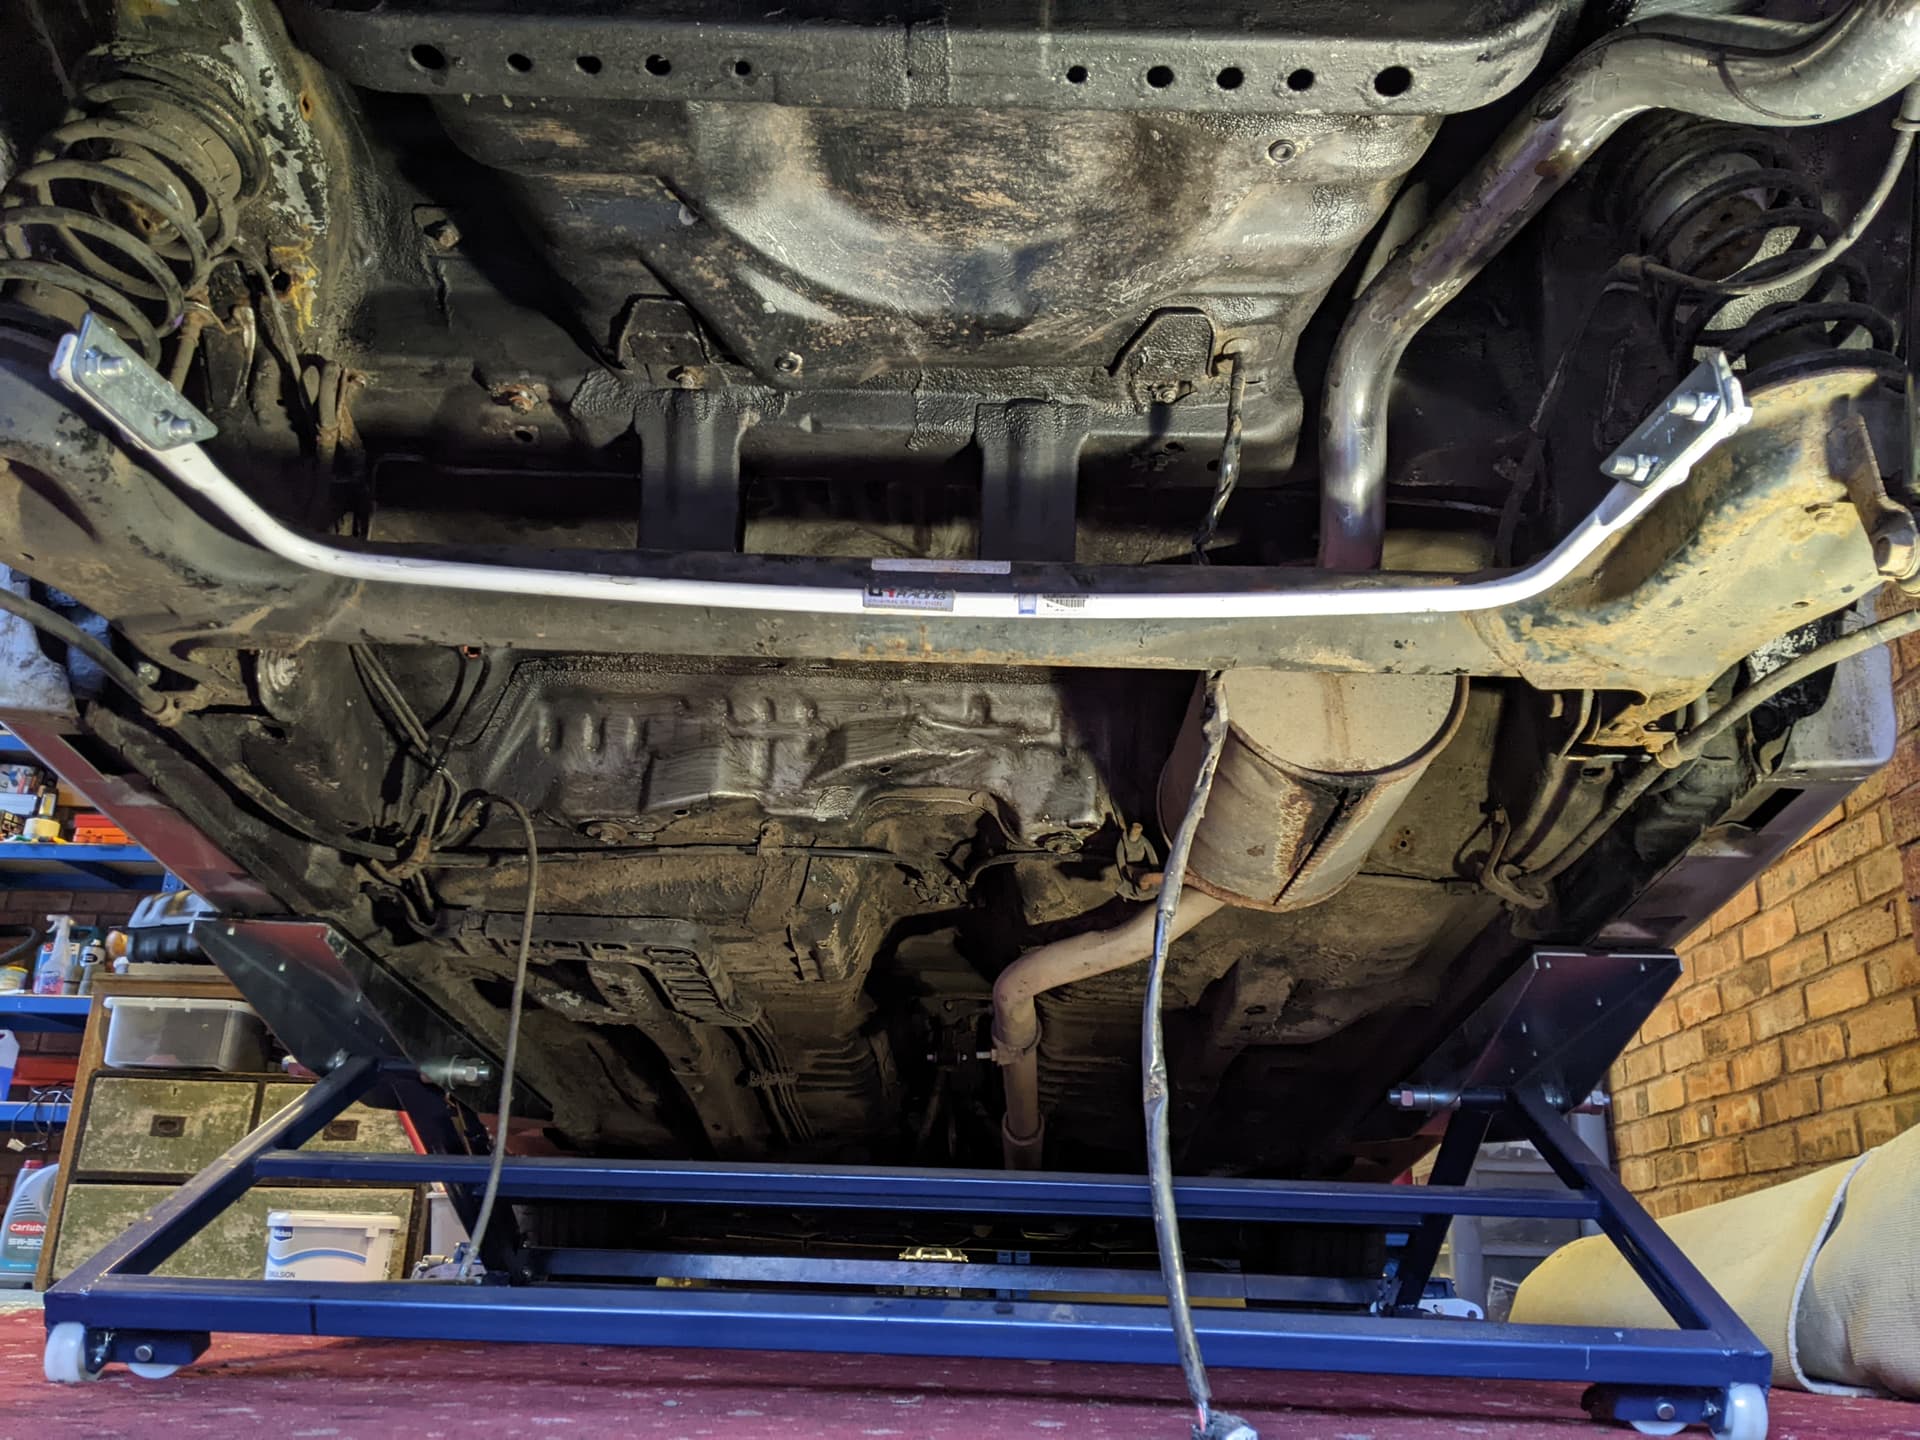
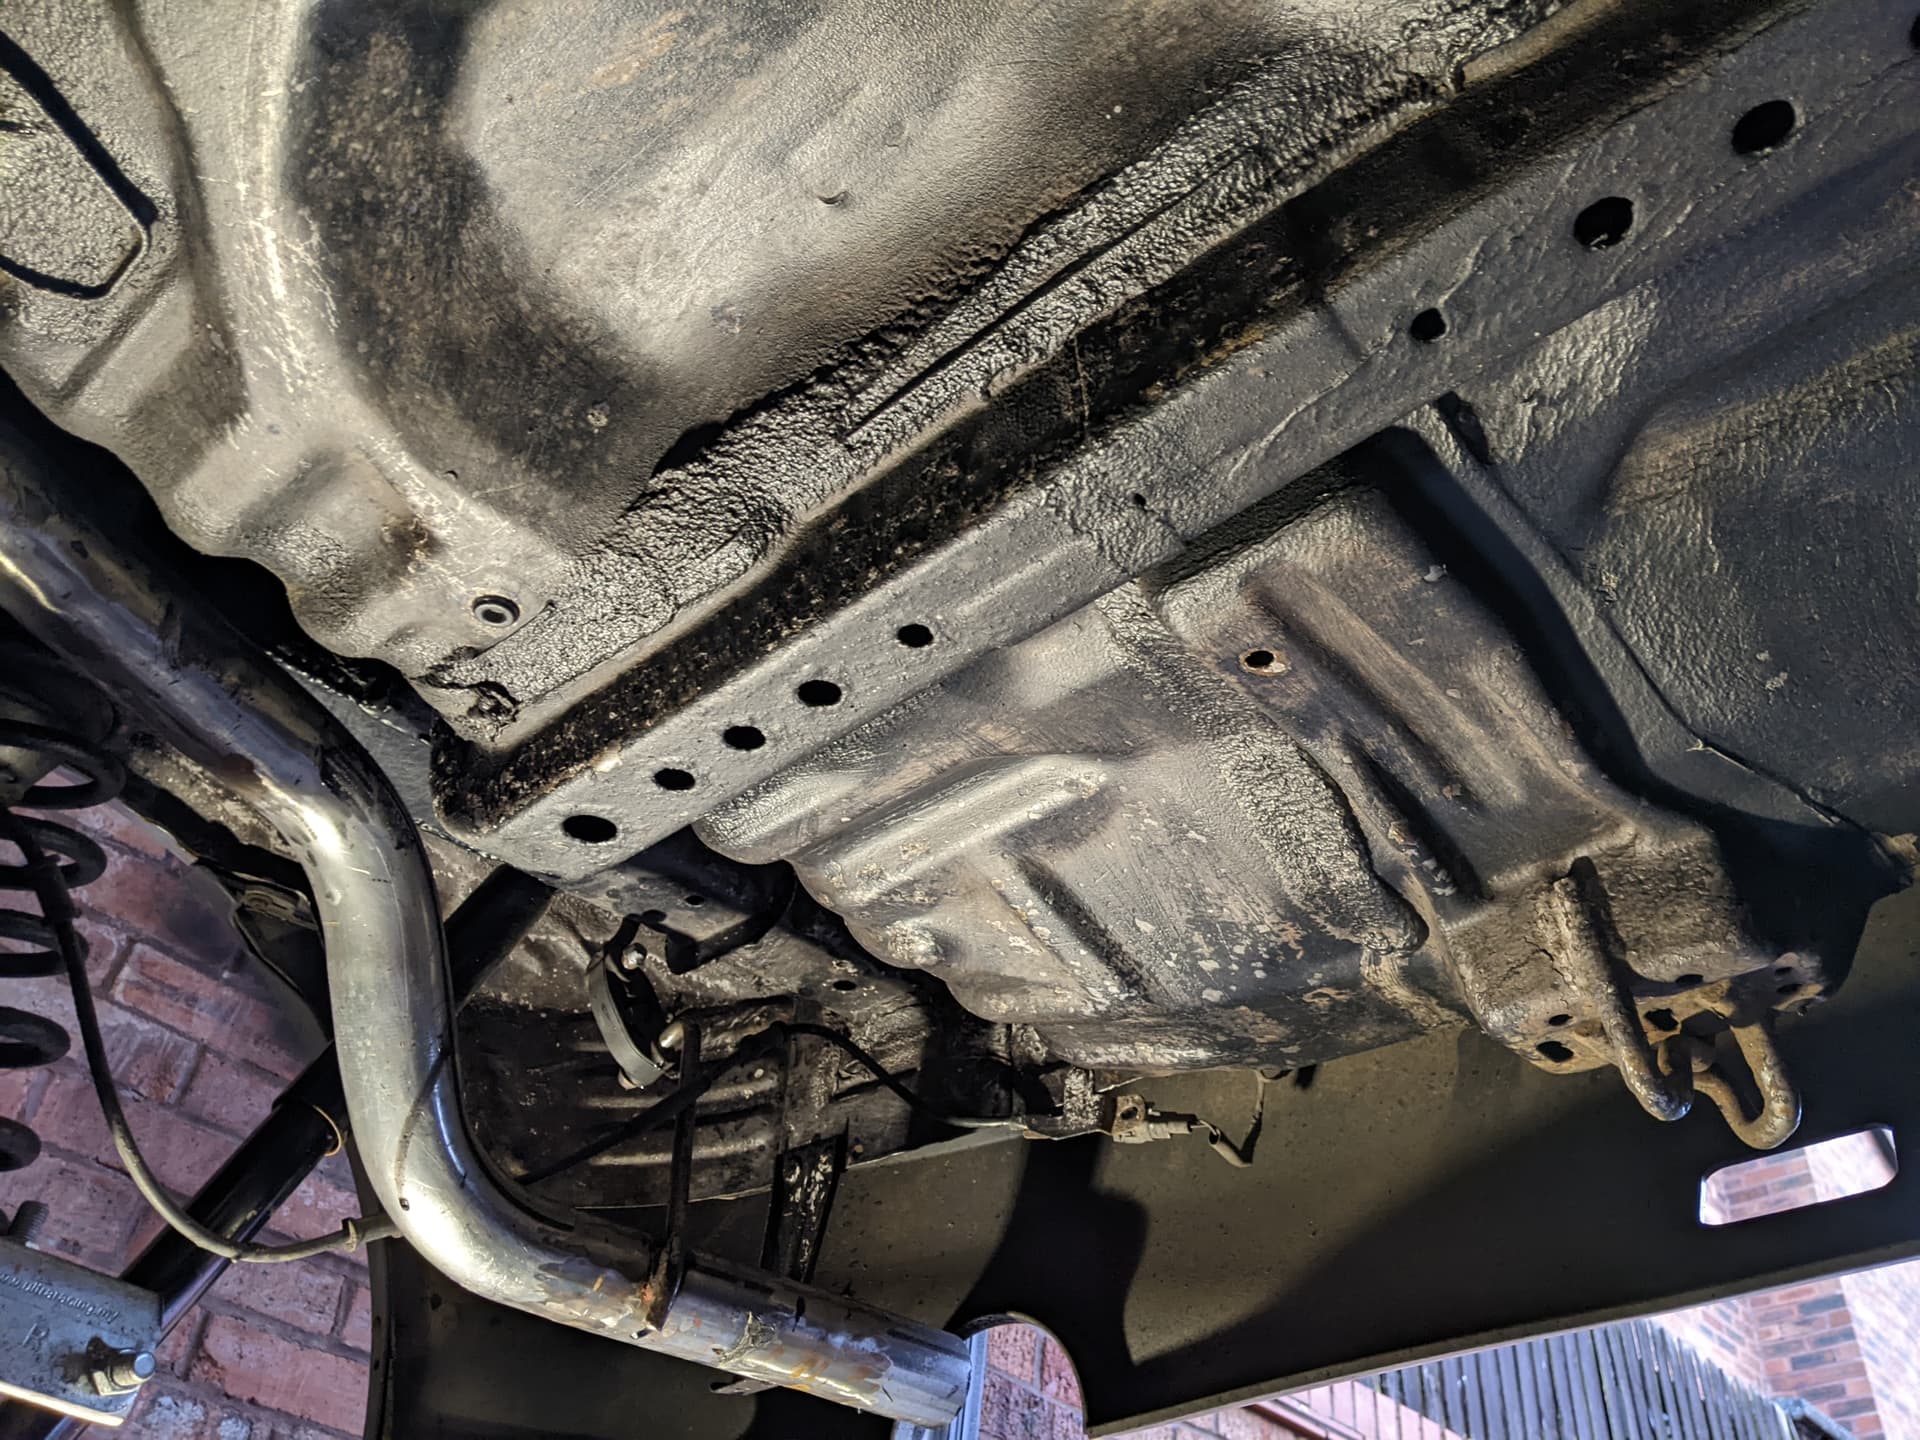
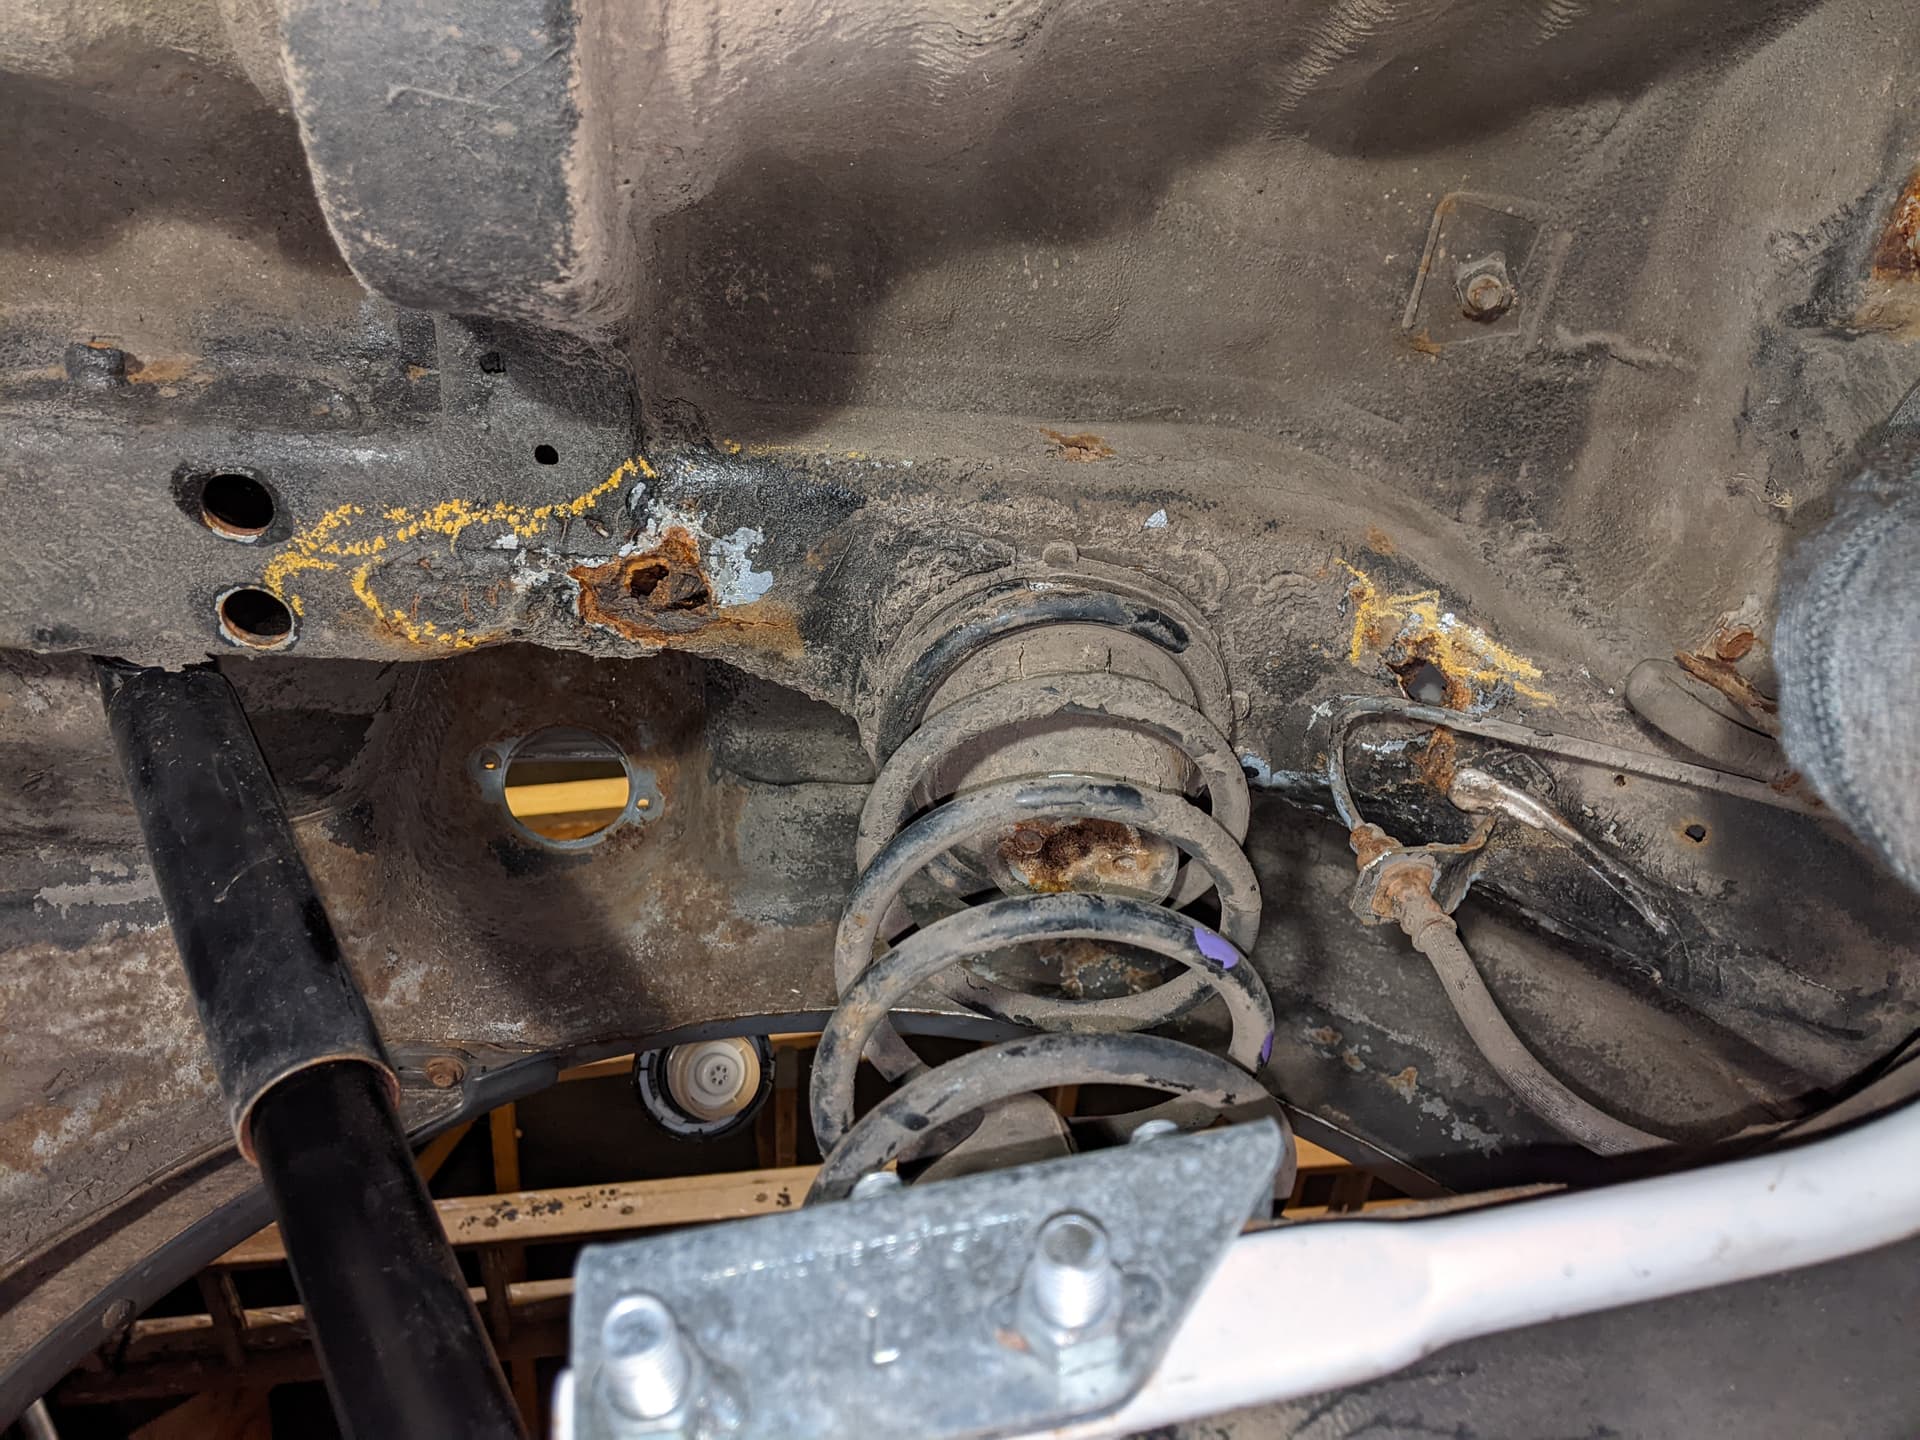
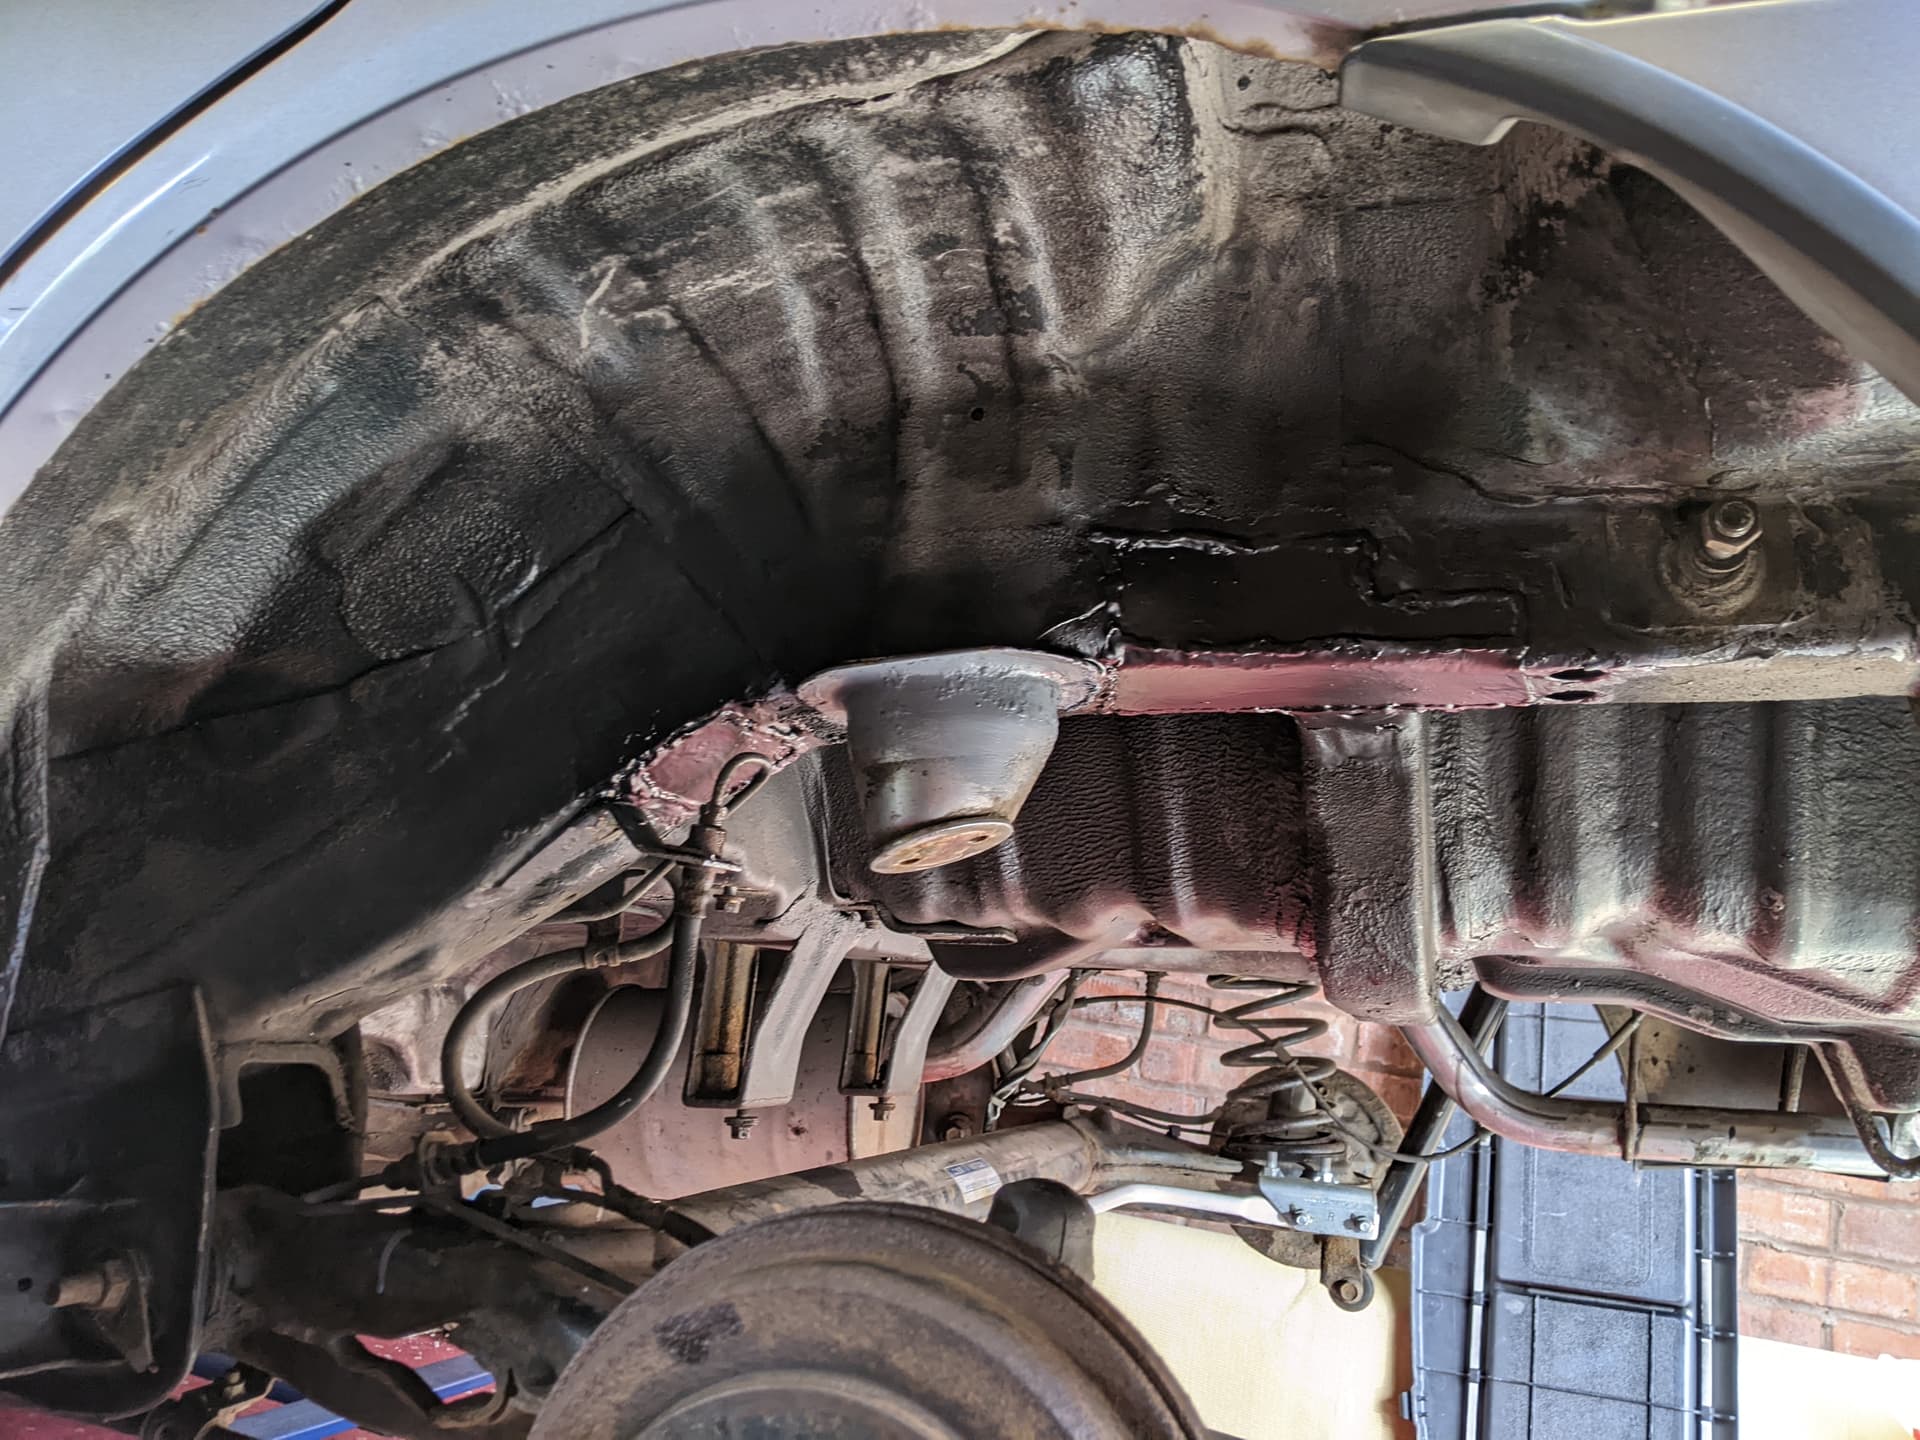
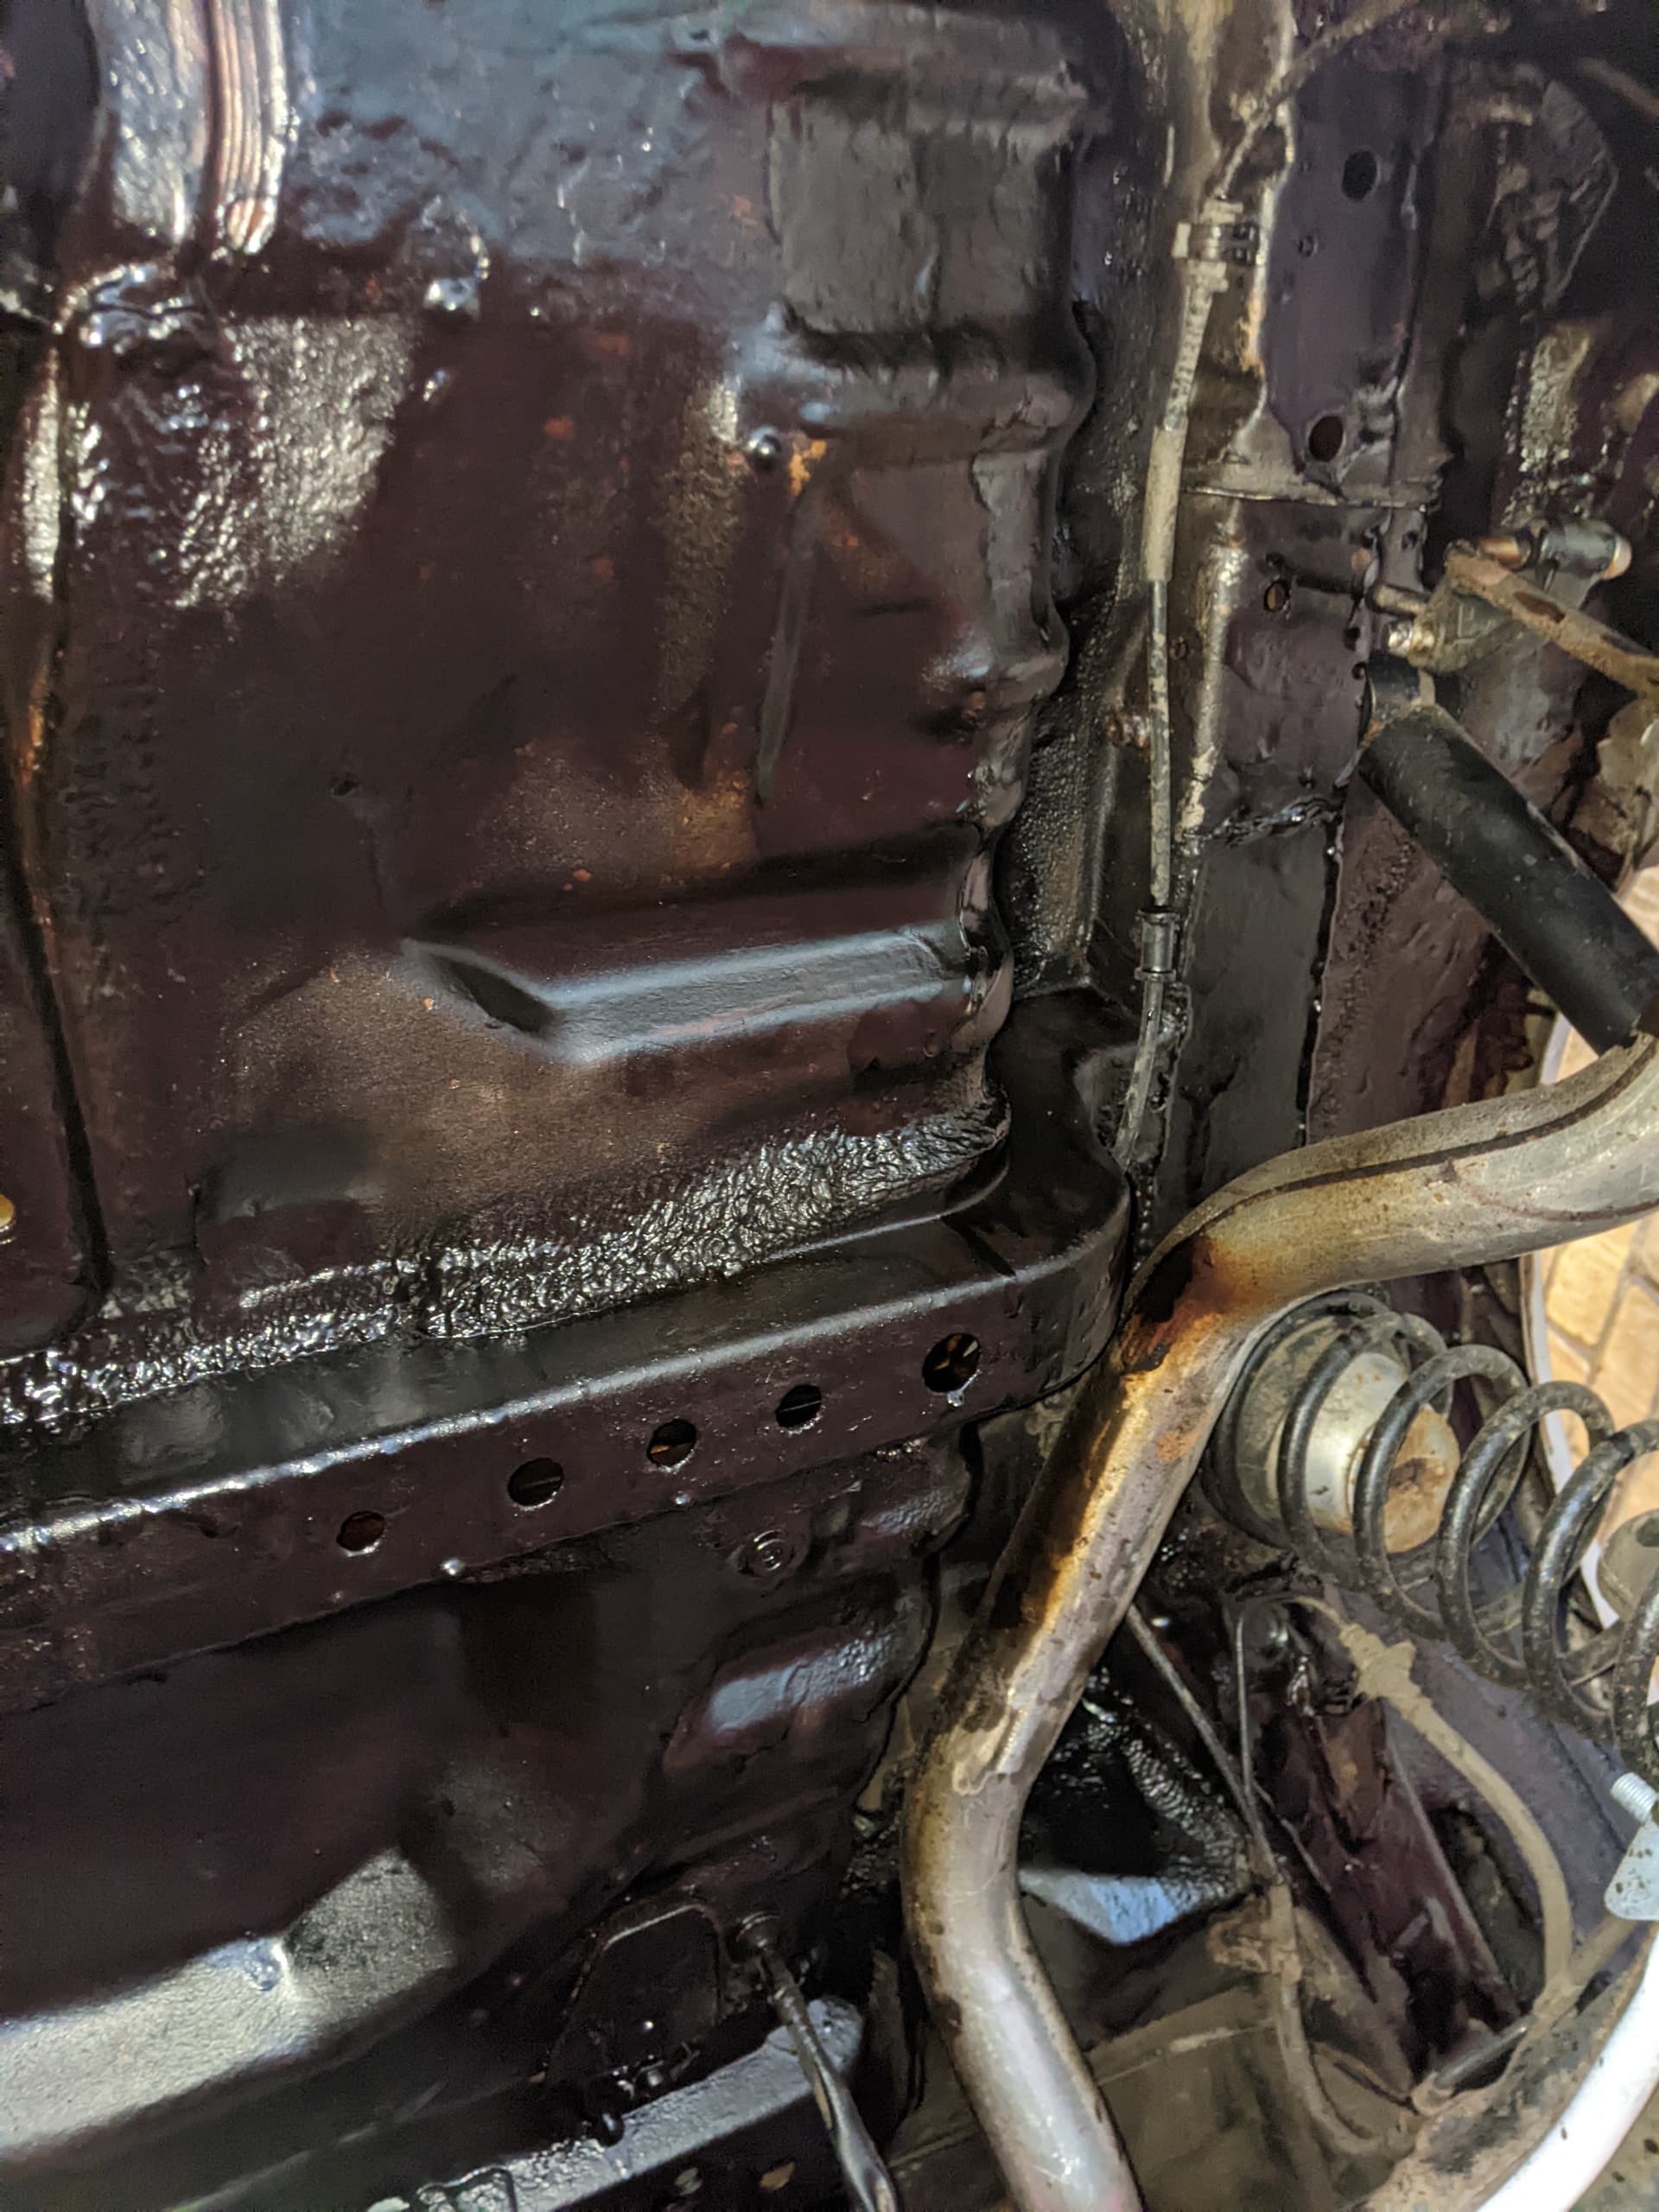
Leaving a big hole where it used to be!

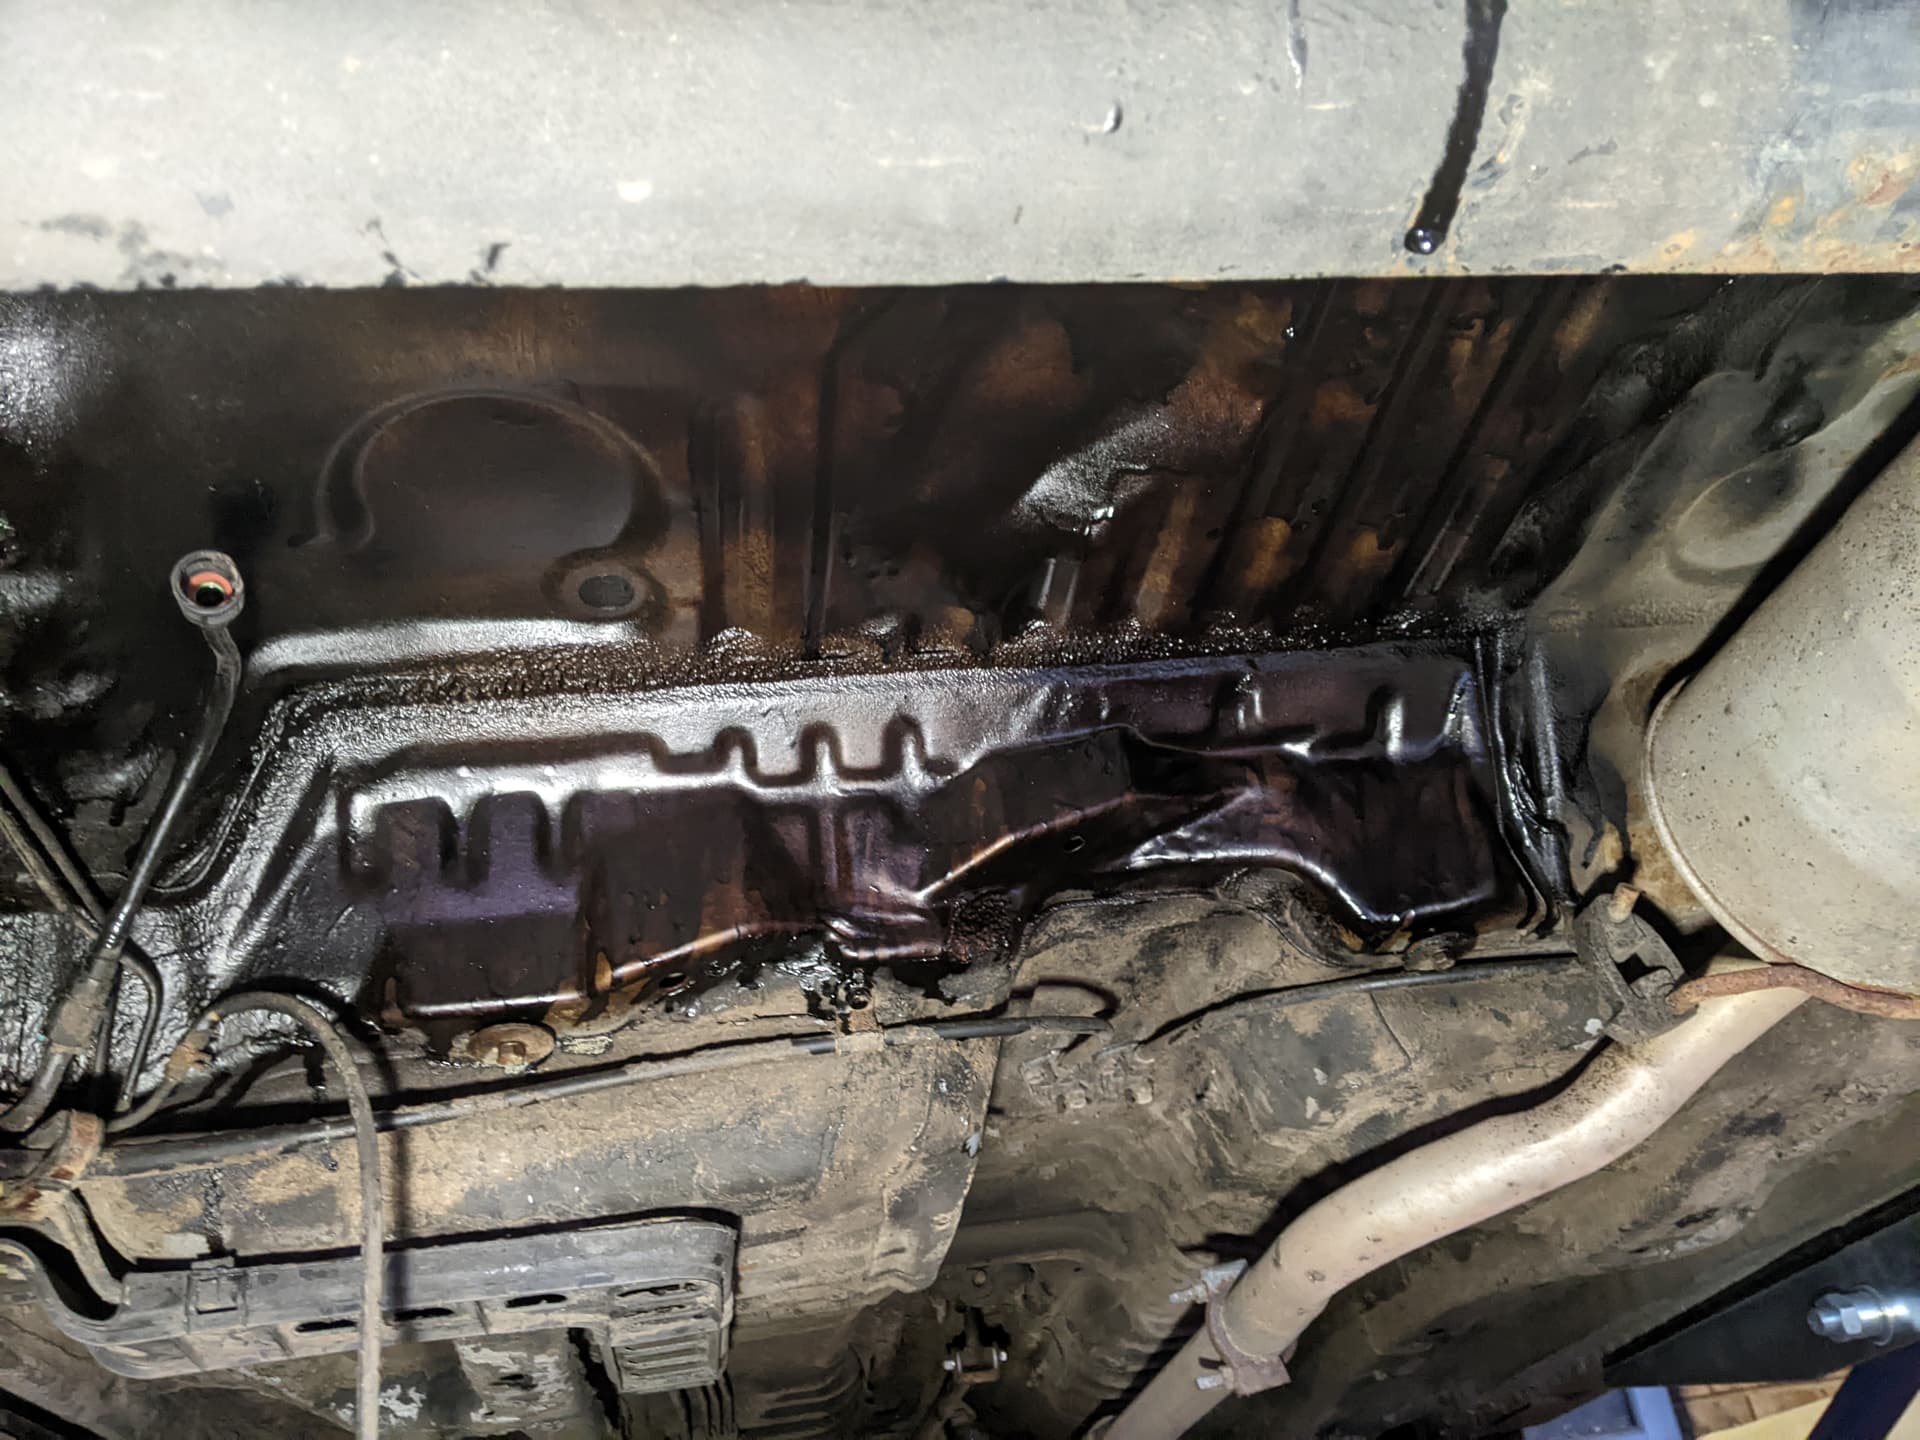
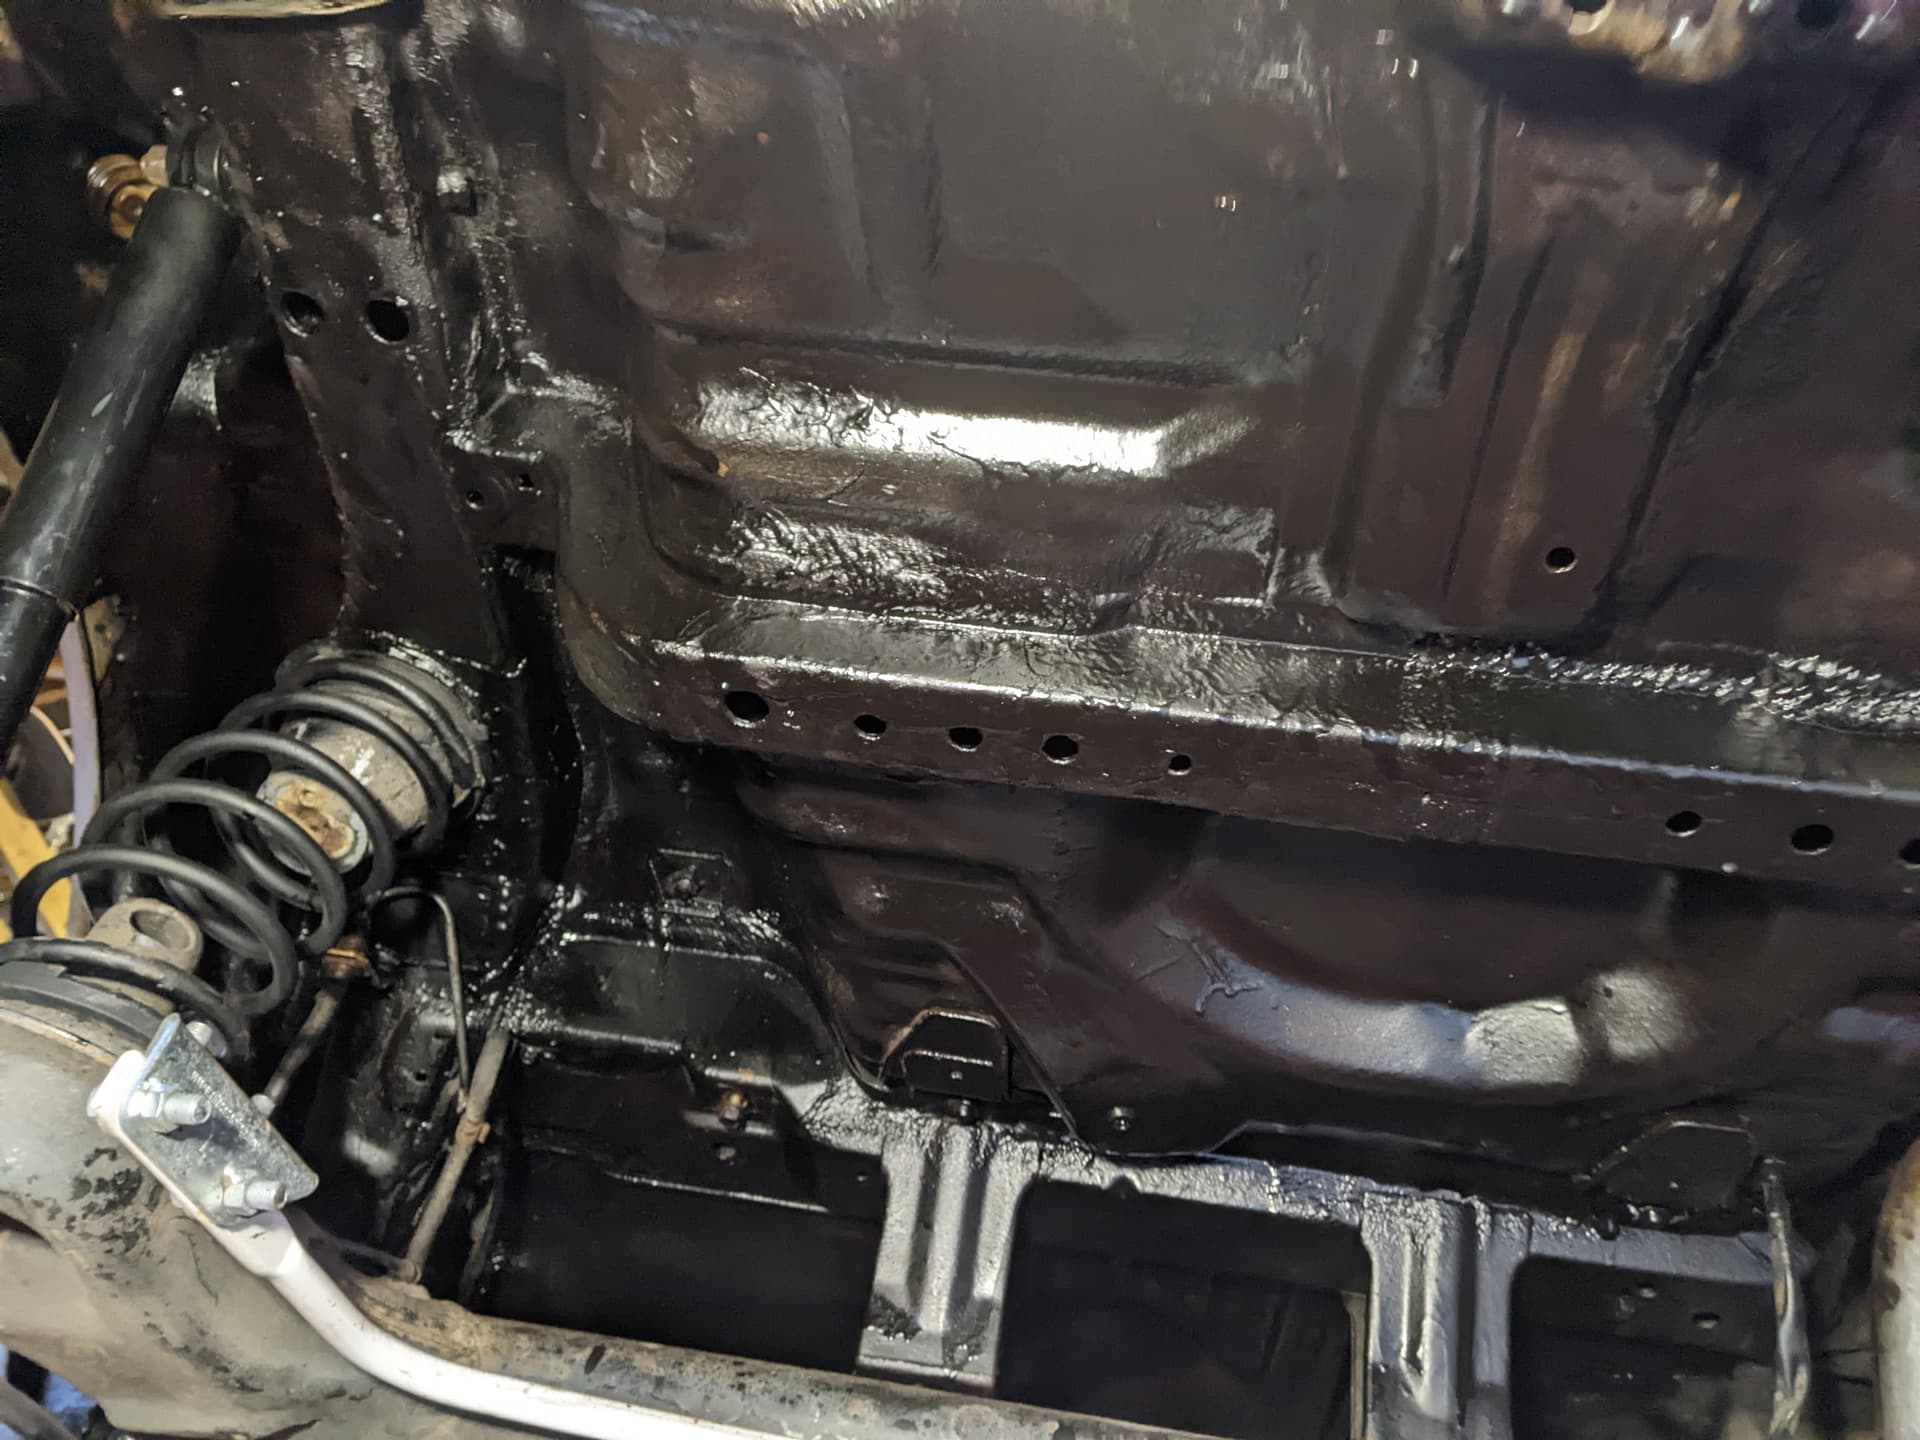
The boot floor is in good condition which is a relief, I cleaned this up with a broom to remove the worst of the dust and spiders webs, but I would like to get some underbody wax in here soon-ish since it will be 100% inaccessible once I put the tank back on.

Thanks once again to my wife for rescuing me, or I’d still be under there now!

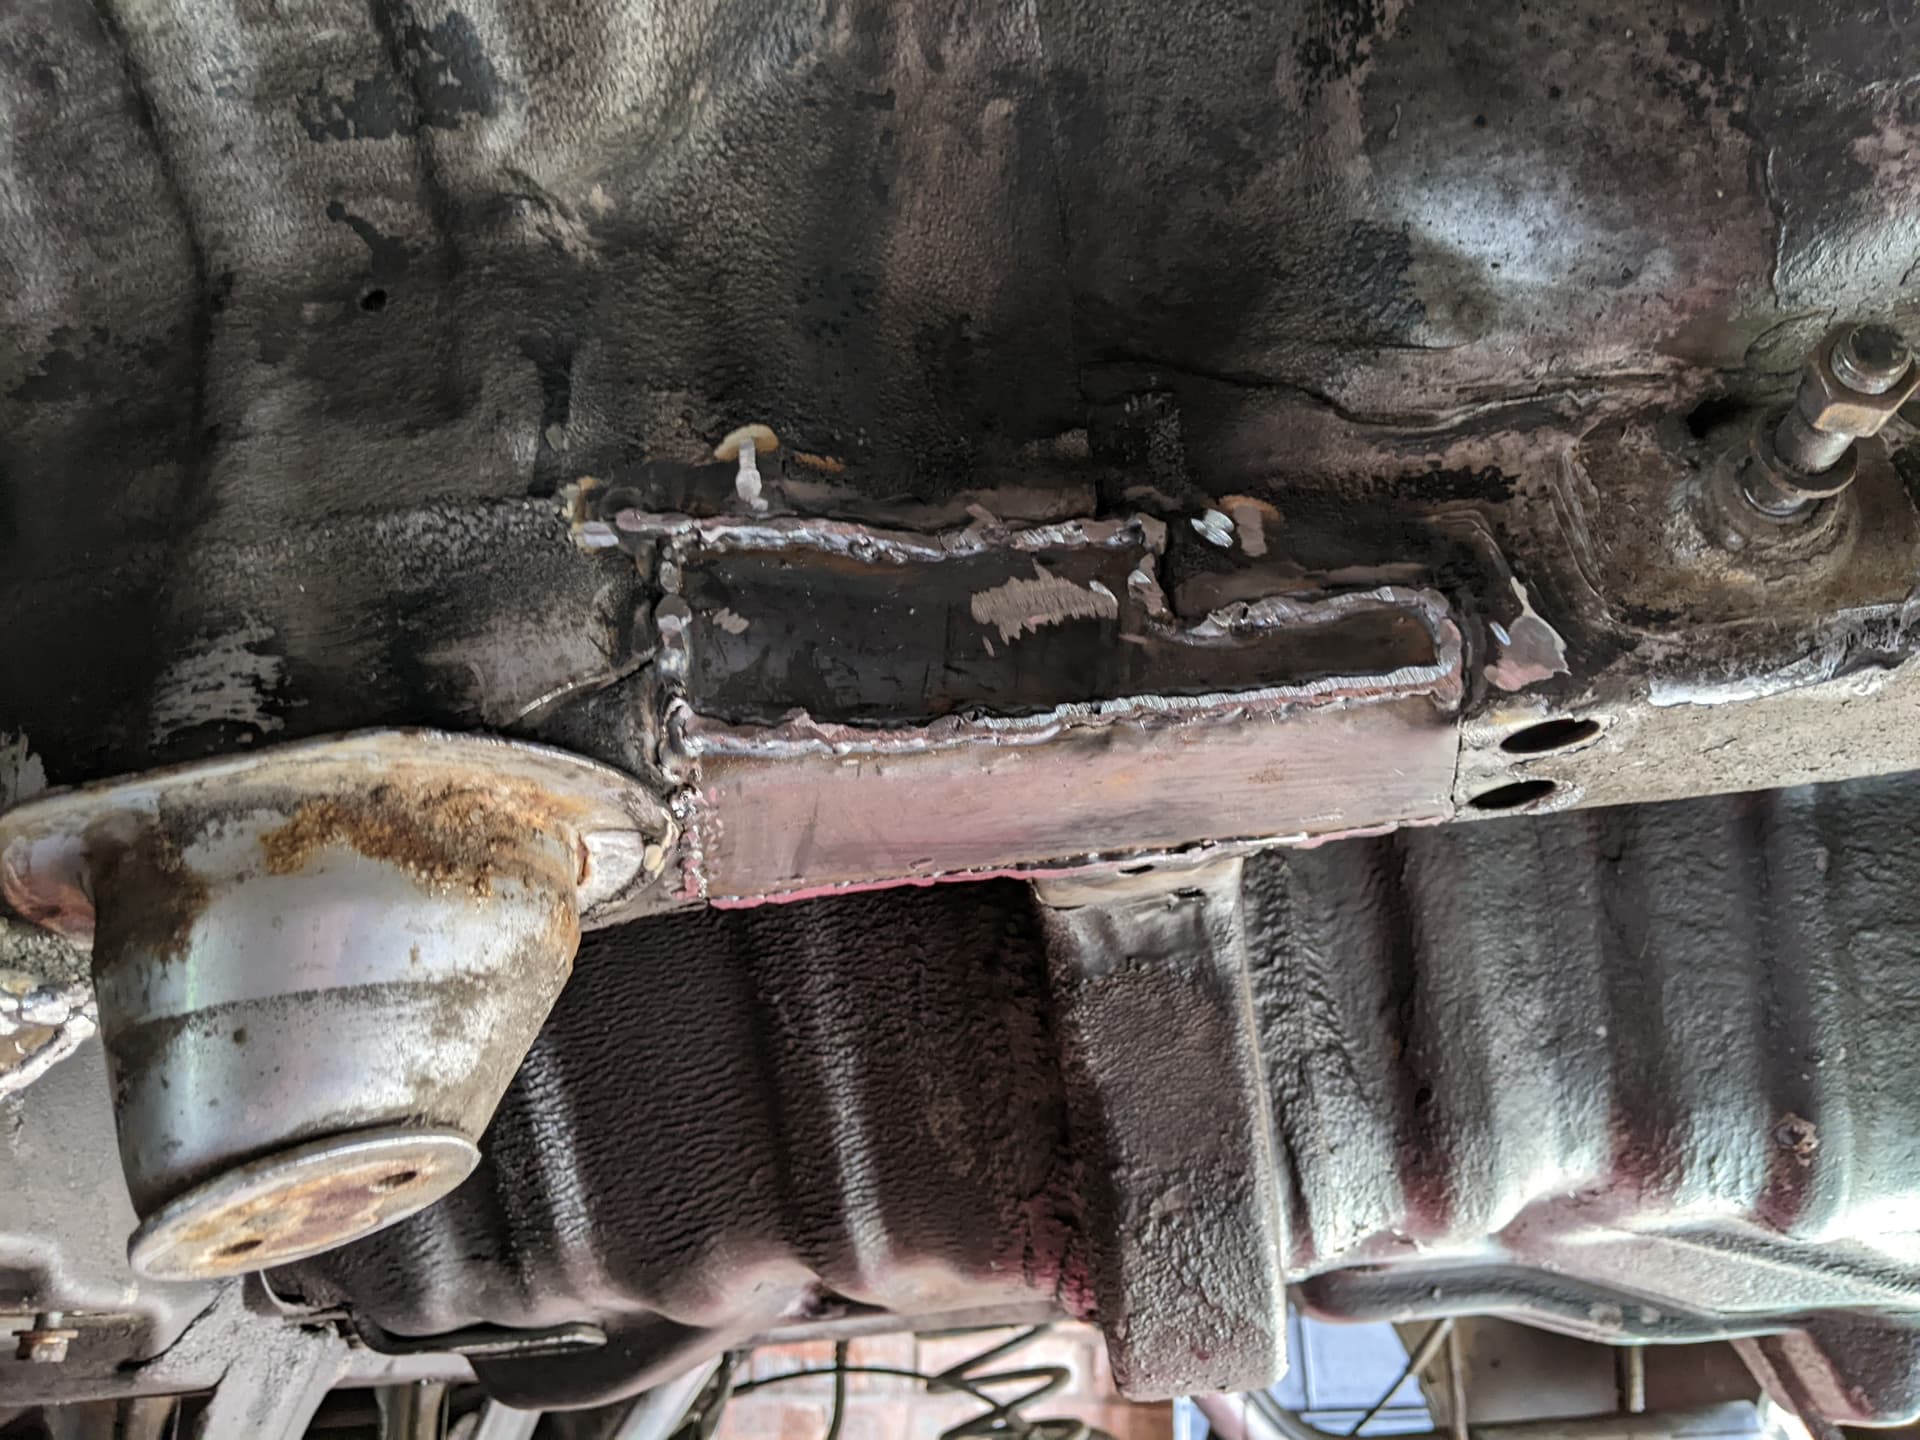
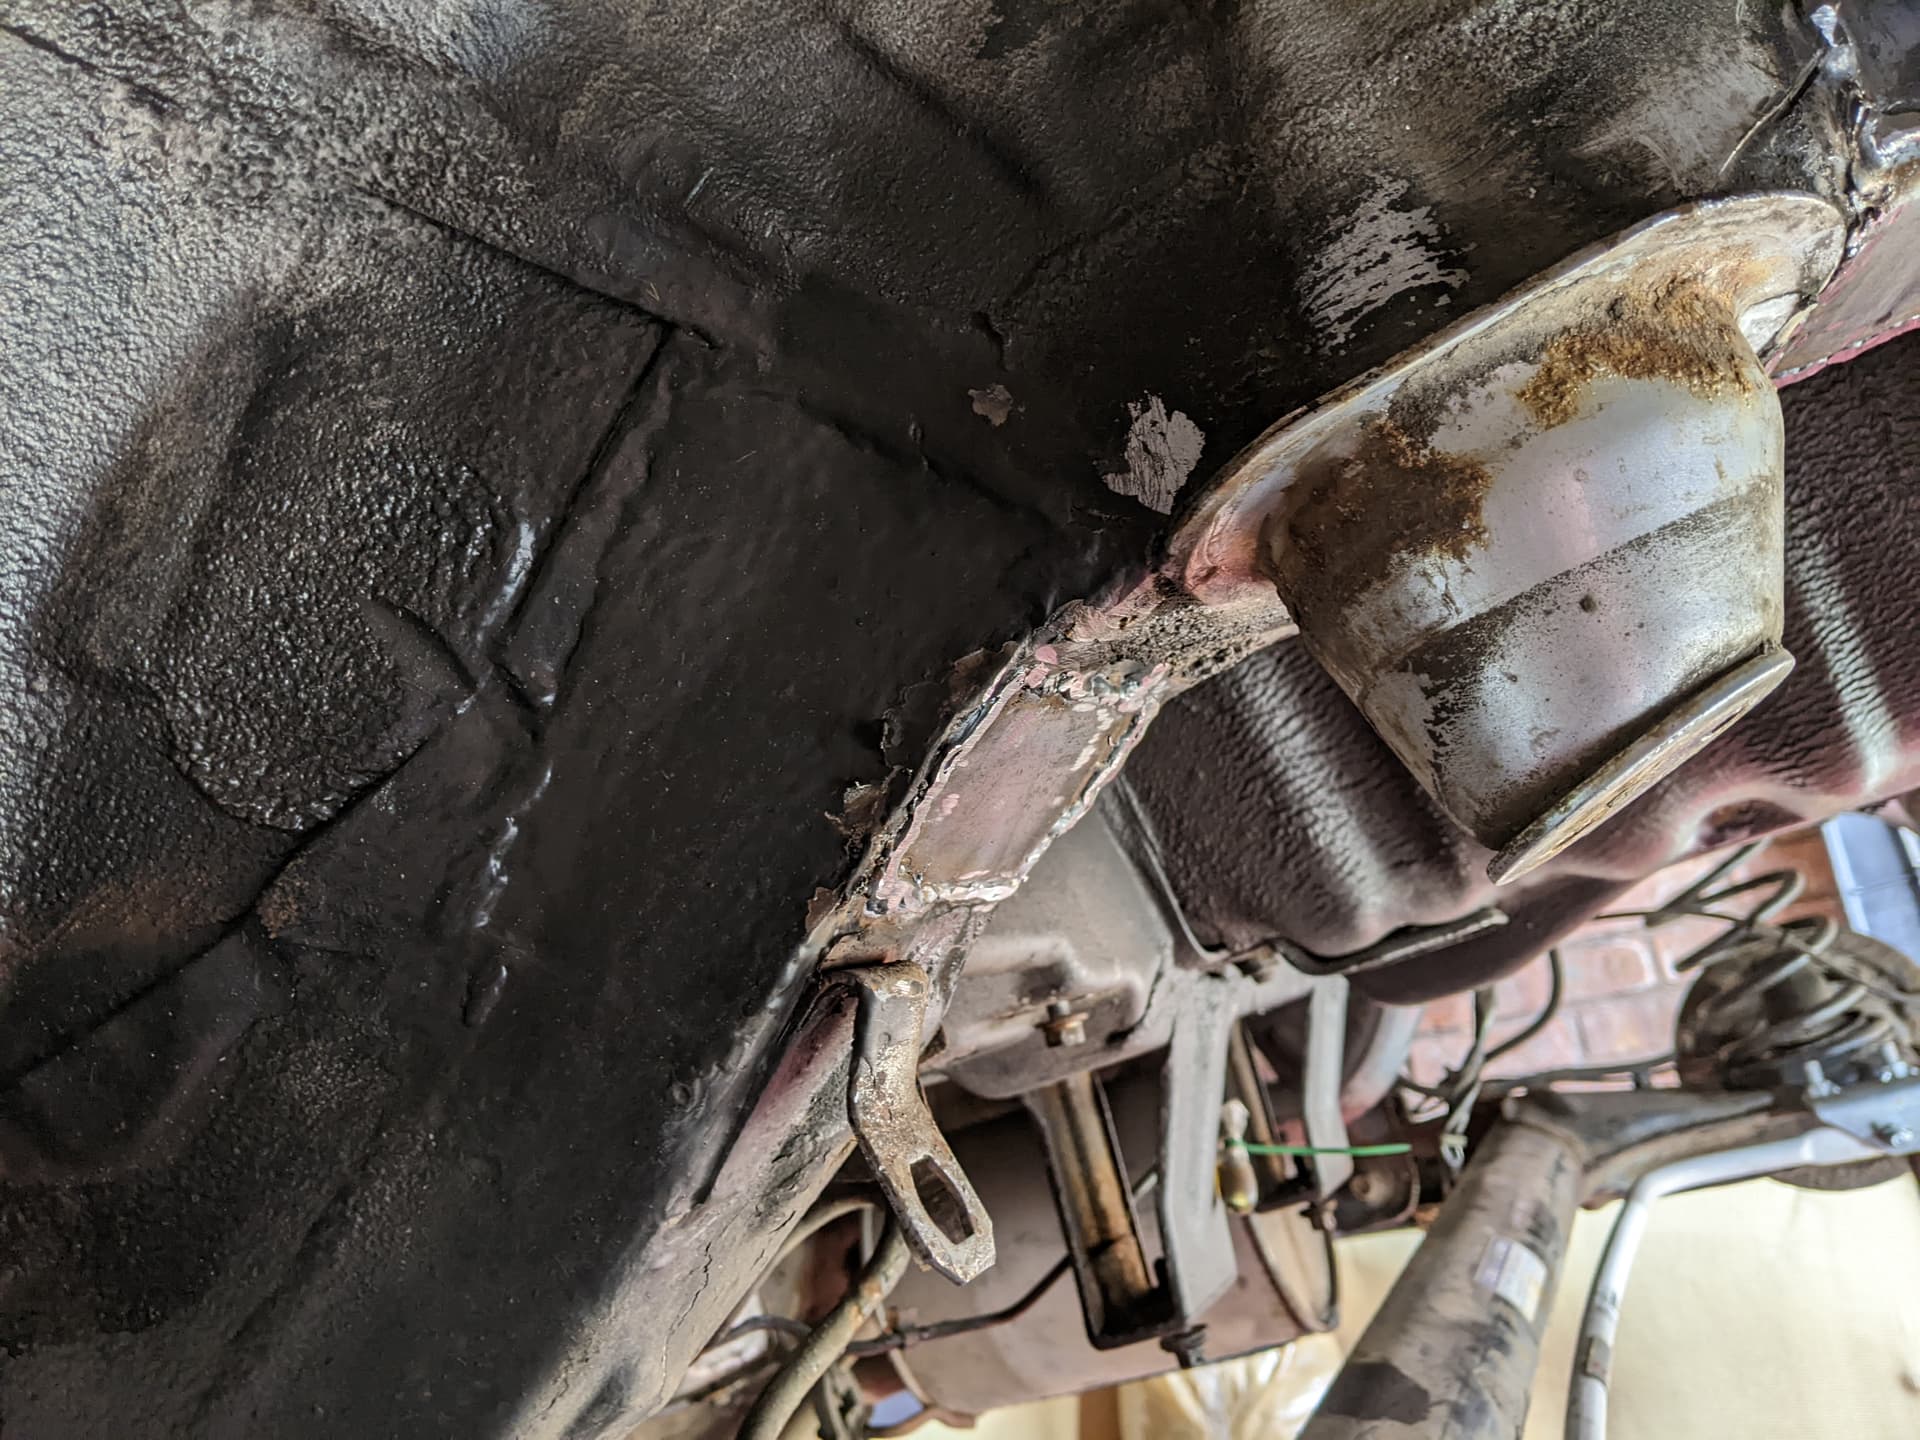
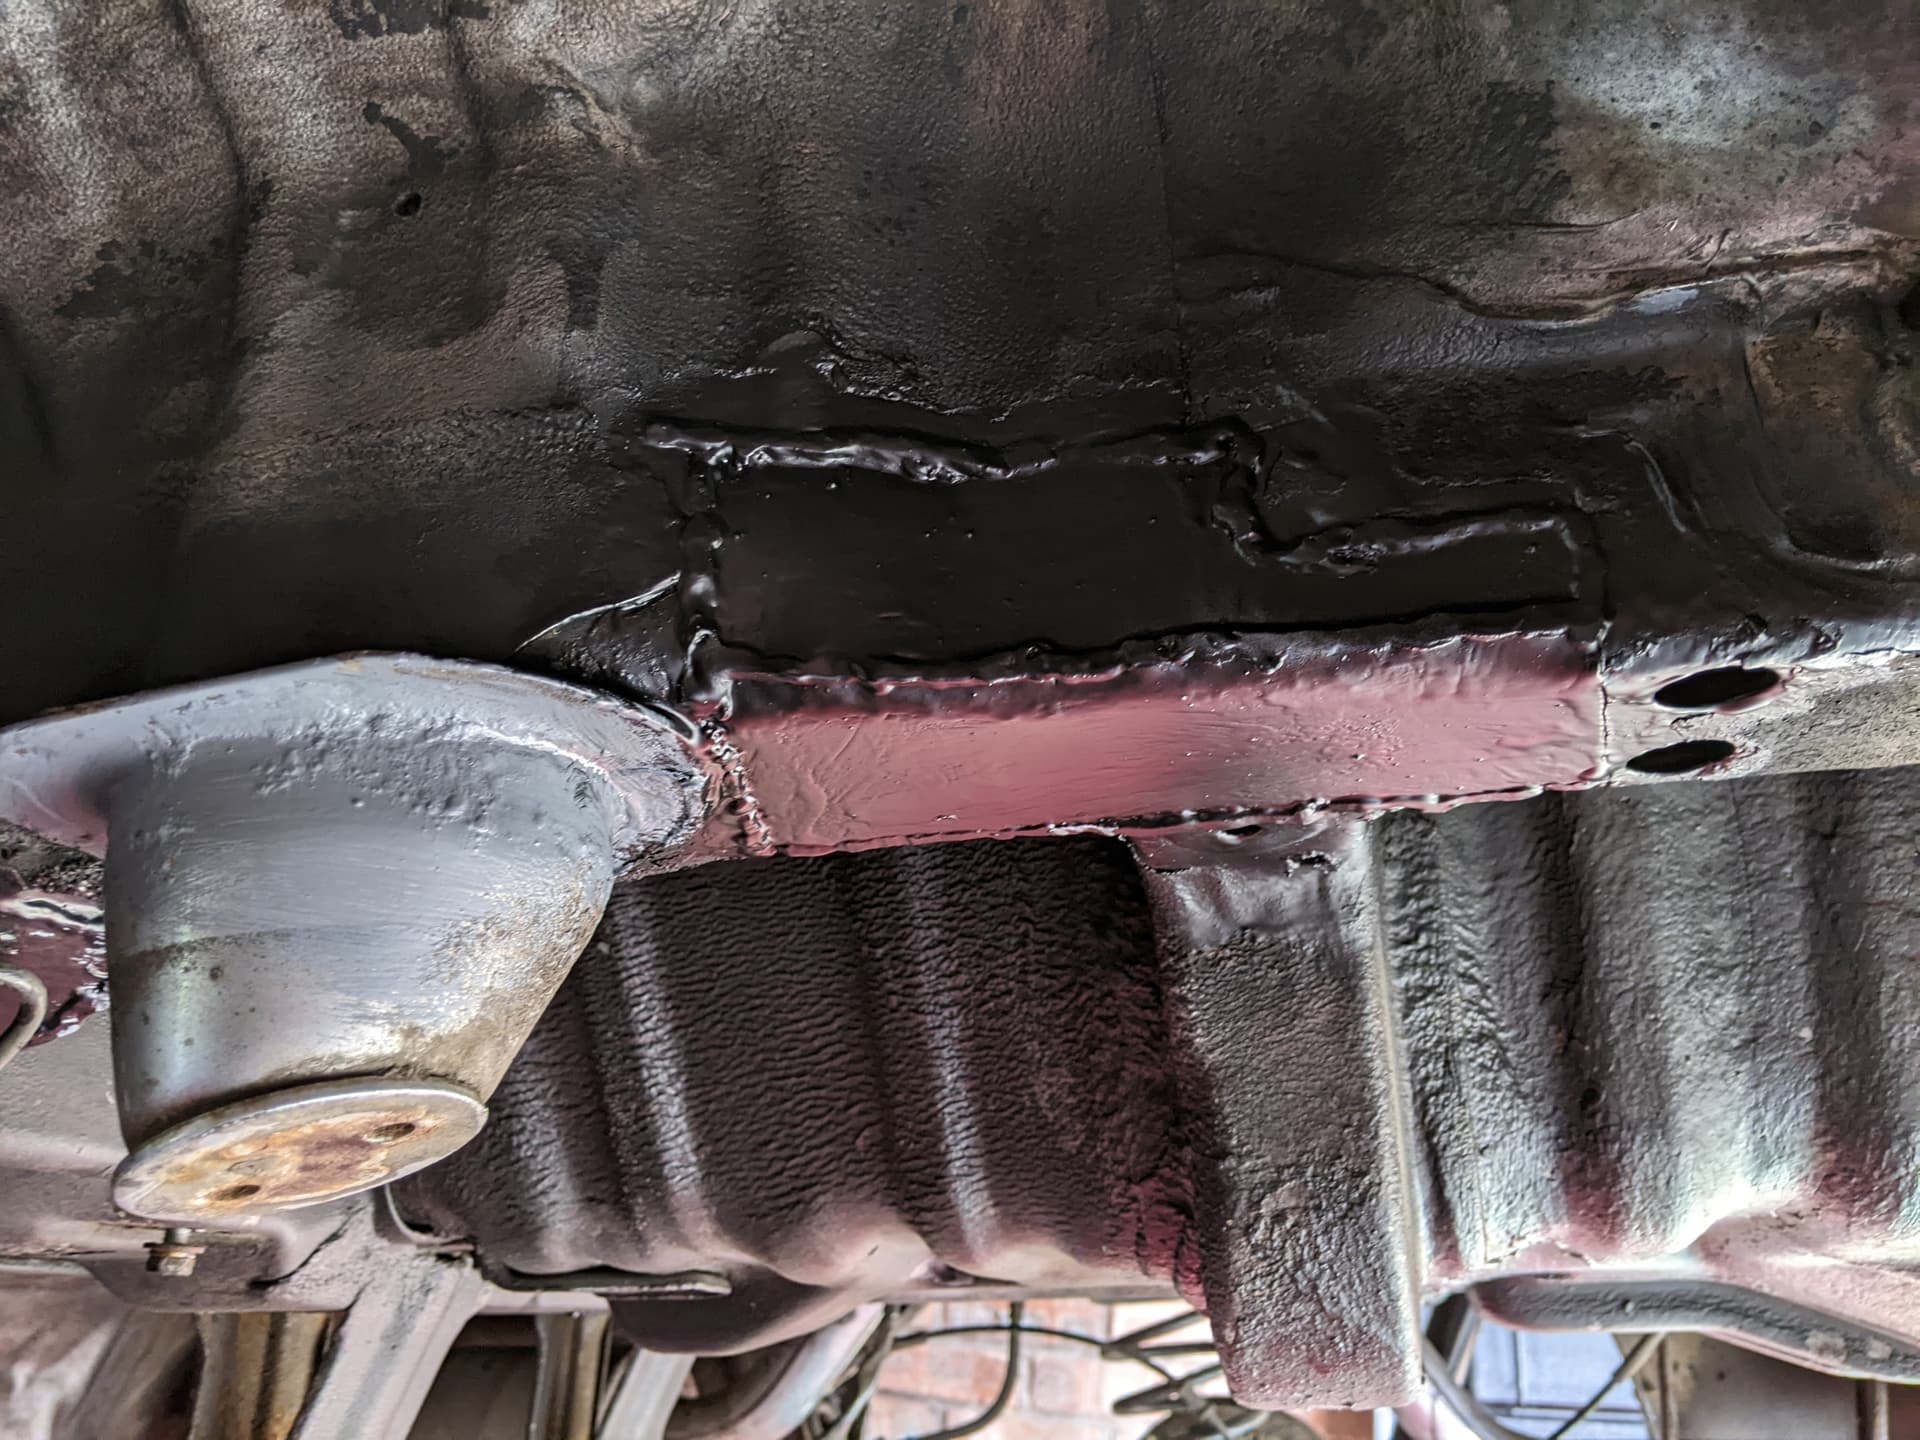
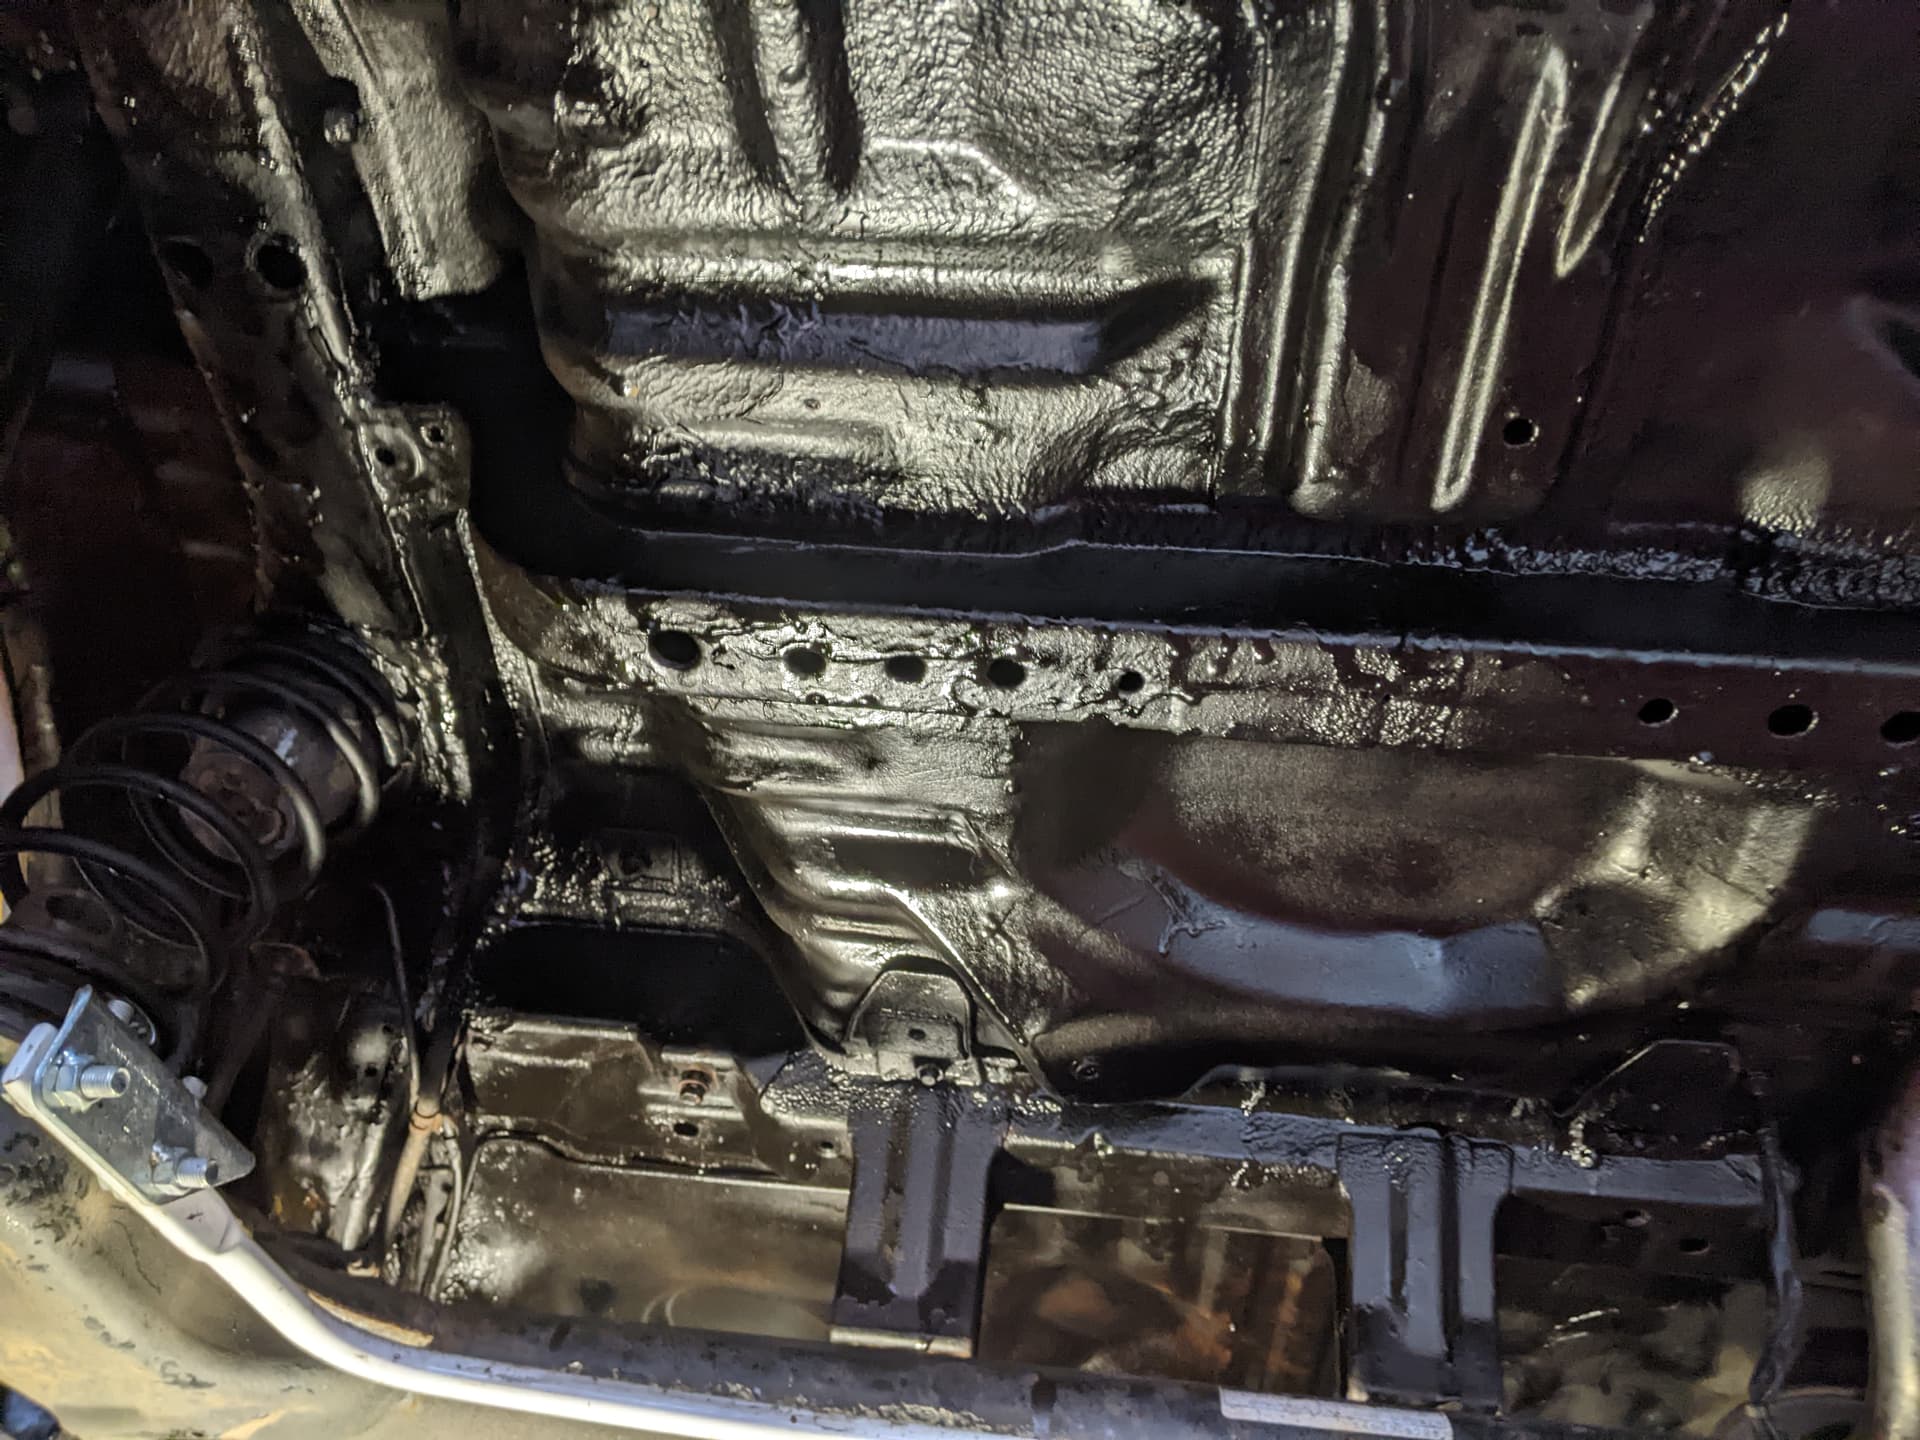
So, its now ready for the welding to commence…

1 Like

I laughed way harder than I should at the “the first thing she did was get photos”-part :joy:

The tank is always a pain in the ass. Maybe it wasn’t an option for you, or maybe you’ve thought of it already (or maybe you just didn’t think it was necessary because of the weight), but I always put a jack underneath the tank, supporting the weight so it doesn’t drop. This way you can lower it to a certain height to pop off those damn hoses #wherethemhose-at

3 Likes

A modicum of progress on this, the filler neck has been dispatched and will be with me next week sometime, I was given the option of Hermes delivery for £5 or Parcelforce for £8. I opted for Parcelforce, lets see how good a decision that turns out to be shall we? The cost isn’t a big issue, but these are hard to track down - I think I have been given one of the last 3 revised filler necks in the UK so if they muck it up I’m going to be a very cross boy.

In prep for this arriving, I’ve carried on painting the fuel tank. It had 2 coats of Vactan, 2 coats of zinc primer and now had 2 coats of toolstation matte black enamel and looks pretty sexy

And should last a good few more years. Its sitting in the garage awaiting the filler neck arriving and some welding help before it can be refitted.

I spent rather a long time under the car, taking advantage of having removed the tank and filler neck and things to wire brush the underneath rearwards of the front seats. This was generally in good condition, but had various patches of surface rust and this seemed as good an opportunity as any to treat that. It got cleaned down and then scrubbed hard with a wire brush all over, then given a lot of vactan, painted on by brush, upside down. This was a messy escapade.

This is an example of the inside of the rear 3/4 panel where the fuel filler pipe goes, this was probabaly the worst of it in all honesty

Thats lying on the floor, looking up at the hole the filler neck will attach to. This was all scrubbed down and thoroughly painted

I also did the same in the other rear arch, rear valence, boot floor, chassis rail on the driver side (I deliberately left the passenger side chassis rail as this needs welding still), arch lips and floorpan above the fuel tank - essentially everything rearwards of the front two seats. My plan for this is to wait for the welding to be completed, then vactan and zinc primer the newly welded bits, then black enamel the whole lot before giving it the gold star treatment with some Dynax UB wax all over the whole area. I can then wax the outside of the fuel tank too, then refit that, the filler neck, and all the gubbinz and then it can go in for another test, and for the rear beam bushes to be replaced. Its a bit of a big job all in all, but worth doing while its all apart because a lot of it is entirely inaccessible once the tank is back in. I have almost all the parts I need now, just waiting on the filler neck. Then I will buy some Dynax UB wax in prep for the underneath, but I’m holding off on this until the welding is done.

This is the view of the underside currently

Not a riveting update, but some progress at least. Verdict? APPROVED

5 Likes

Whats this? Another parcel for me? lets open it up and have a look shall we?

OooOOOooh! A new fuel filler neck, one of just 3 left in the UK I understand. Massive thanks to @Rallynrace for the tip-off about the outstanding recall on this part, I was able to call up the parts dept of a Subaru garage in Swindon - who are still Daihatsu authorised agents - and get this supplied FOC under warranty, it only cost me £8 to get it posted. This saved me £55 that it’d cost on Amayama, plus god knows how much shipping.

So we’ve now got all the bits together I think. I fitted the brand new gasket to the filler neck so I don’t lose it, and have it in a pile with the freshly painted fuel tank. I still need my tame welder to come and sort the chassis rail, but then it should be able to get put back together pretty fast once the welding is done, vactan’d, primed and painted, and I’ve slopped underbody wax everywhere (mostly in my beard and eyes going by previous experience) then I can get it off to the MOT with the only issue being a blowing exhaust which I know about.

6 Likes

More news from today, my welding friend finally had time in his schedule and was able to come over and work on the chassis rails which were the last MOT failure issue that needed resolving. A quick recap on the situation

The yellow chalk marks the problem areas, both sides of the spring mount. I had removed the filler neck and tank by this point which gives a clearer idea of the issues. I unbolted the top mounting nut of the damper and flipped the damper itself down out of the way, then pushed the rear beam downwards to release the spring and get better access to the problem areas.

My friend got stuck in with the angle grinder, starting with the rearmost (left side of pic) area. This needed cutting back to amost the spring mount on the right, and to about 1" to the right of the factory holes on the left but didn’t tak long. While this was going on, sicne I had nothing to really do that would help I set to with the spring. I removed both rubber mounts and cleaned them up with water and a brush, cleaned and sanded down the spring itself and used black spray enamel paint to recoat it. I also took the opportunity to protect the mounting rubbers by sliding some silicone hose over the ends of the spring top and bottom

This should slow down the wear in the spring mounting cups.

While I was fiddling about, my friend had made serious progress on the cutting, fabrication and welding on the chassis rail

He’d let in two sections of 1.6mm steel, a horizontal and a vertical to reconstruct the rail rear of the spring mount.

He then set to work on the fore section. This was a bit more difficult, as it was right above the bracket for the rear brake pipe, and caused some issues. To start with we moved the ABS wiring out the way, then the only option was to disconnect the brake pipe union, remove the clip for the flexi section and bend the copper line well out the way. I put a bit of old carrier bag over the reservoir cap in the engine bay and we cable tied the finger of a nitrile glove over the end of the copper brake pipe to catch the drips of brake fluid

The braket was bent downwards to give access to cut the rusty old steel out and a new square section was welded in. While this was going on I sanded down the brake pipe clip which was pretty cruddy. We were both amazed that the union actually came undone without shearing, as it had definitely not been apart in the 18 years since it was built!

With this done, my friend ground down the welds as much as possible, then zinc primered the bare metal and followed up with a coat of black enamel aerosol paint

We also sanded back the surface rust on the suspension mount and zinc primered that too for good measure. You can see in the second pic above just how difficult it was to get at the rusted out section which lives underneath the hardline → flexi joint of the brake line for this side.

With the brake pipe reconnected we bled the system, noting that the fluid was actually in very good condition which is good news. I topped the reservoir up with some dot4 I had on the shelf

I nipped out earlier and put another coat of black enamel on the new metal and will do another one tomorrow morning.

I get paid next week, so will order some underbody wax and spray that all around before refitting the fuel tank and filler neck, slopping a couple of gallons into the fuel tank from a jerry can and then getting it booked in for a new MOT at some point next month. I’m away in the Netherlands with work the first half of June so will probabaly be later in the month but we’ll see.

I’ll get the garage to change the rear beam bushes at the same time since I have the parts, but not the inclination to fit them!

6 Likes

Minor news, but the paint is dry and the spring and cups have been refitted and damper done back up now. Its ready for underbody wax and reassembly

5 Likes

good work on the revival :slight_smile:

1 Like

Cheers! We’re getting there slowly. Once the underside has been waxed it should come together quite rapidly and be back on the road by the end of June I hope

4 Likes

A parcel arrived for me earlier, whats inside?

ah-HA! two cans of Dynax UB aerosol wax for the rear half of the Daihatsu, excellent. After using their S50 cavity wax a year ago I knew what I was letting myself in for, so duly put on my most grotty jeans and my overalls because it goes everywhere. These cans come with stubby extension squirter nozzle which really helped!

This is the area above the fuel tank which is utterly unaccessible once the tank is on, so was a priority. I had previously rubbed down and vactan’d this, though the metal was actually mostly sound under here.

I got a bit of overspray on the exhaust which I shall clean off with some old rags and petrol because I can imagine it smells lovely if allowed to burn off naturally!

This is the view up inside the passenger side wing where the fuel cap fits to the (new) filler neck. Again, this is 100% inaccessible once the filler neck is on, so was worth cleaning back the surface rust, vactan’ing and waxing the whole lot thoroughly.

I also gave a light coat to the top of the fuel tank/crushing weight of death - its probably fine after being cleaned back with a wire brush, vactan’d, zinc primered multiple times and painted with several layers of black enamel paint, but it was out anyway and easy to blow over.

I’ll let all this dry for a couple of days - the solvent will evaporate over time, leaving a self-healing layer of brown wax everywhere which will stop it corroding more, and also inhibit any rust that I missed with the vactan session. Once its dried off nicely I’ll wipe the overspray off the exhaust with a petrol-soaked rag, then refit the fuel tank and filler neck, plus all the connectors and slop some petrol in and make sure it works still!

I’m pretty pleased with all of that, the wax made a giant mess again and I had to clean my hands and forearms with petrol and a rag but its a good job out of the way.

5 Likes