Just a hint of others reading this. If you are in a tight spot, not sure about a seal/leaks a tad and you need something back together, then look on the inside of the seal and pull the spring carefully out. Find where it joins and rotate the ends counter clockwise. Trim about 5% of the total length off and rejoin (put some twists in the spring before connecting so it stays together. Replacement is best but I have had success with the above when absolutely needing the car to be going “now”.
@Mr_Gormsby great tip there.
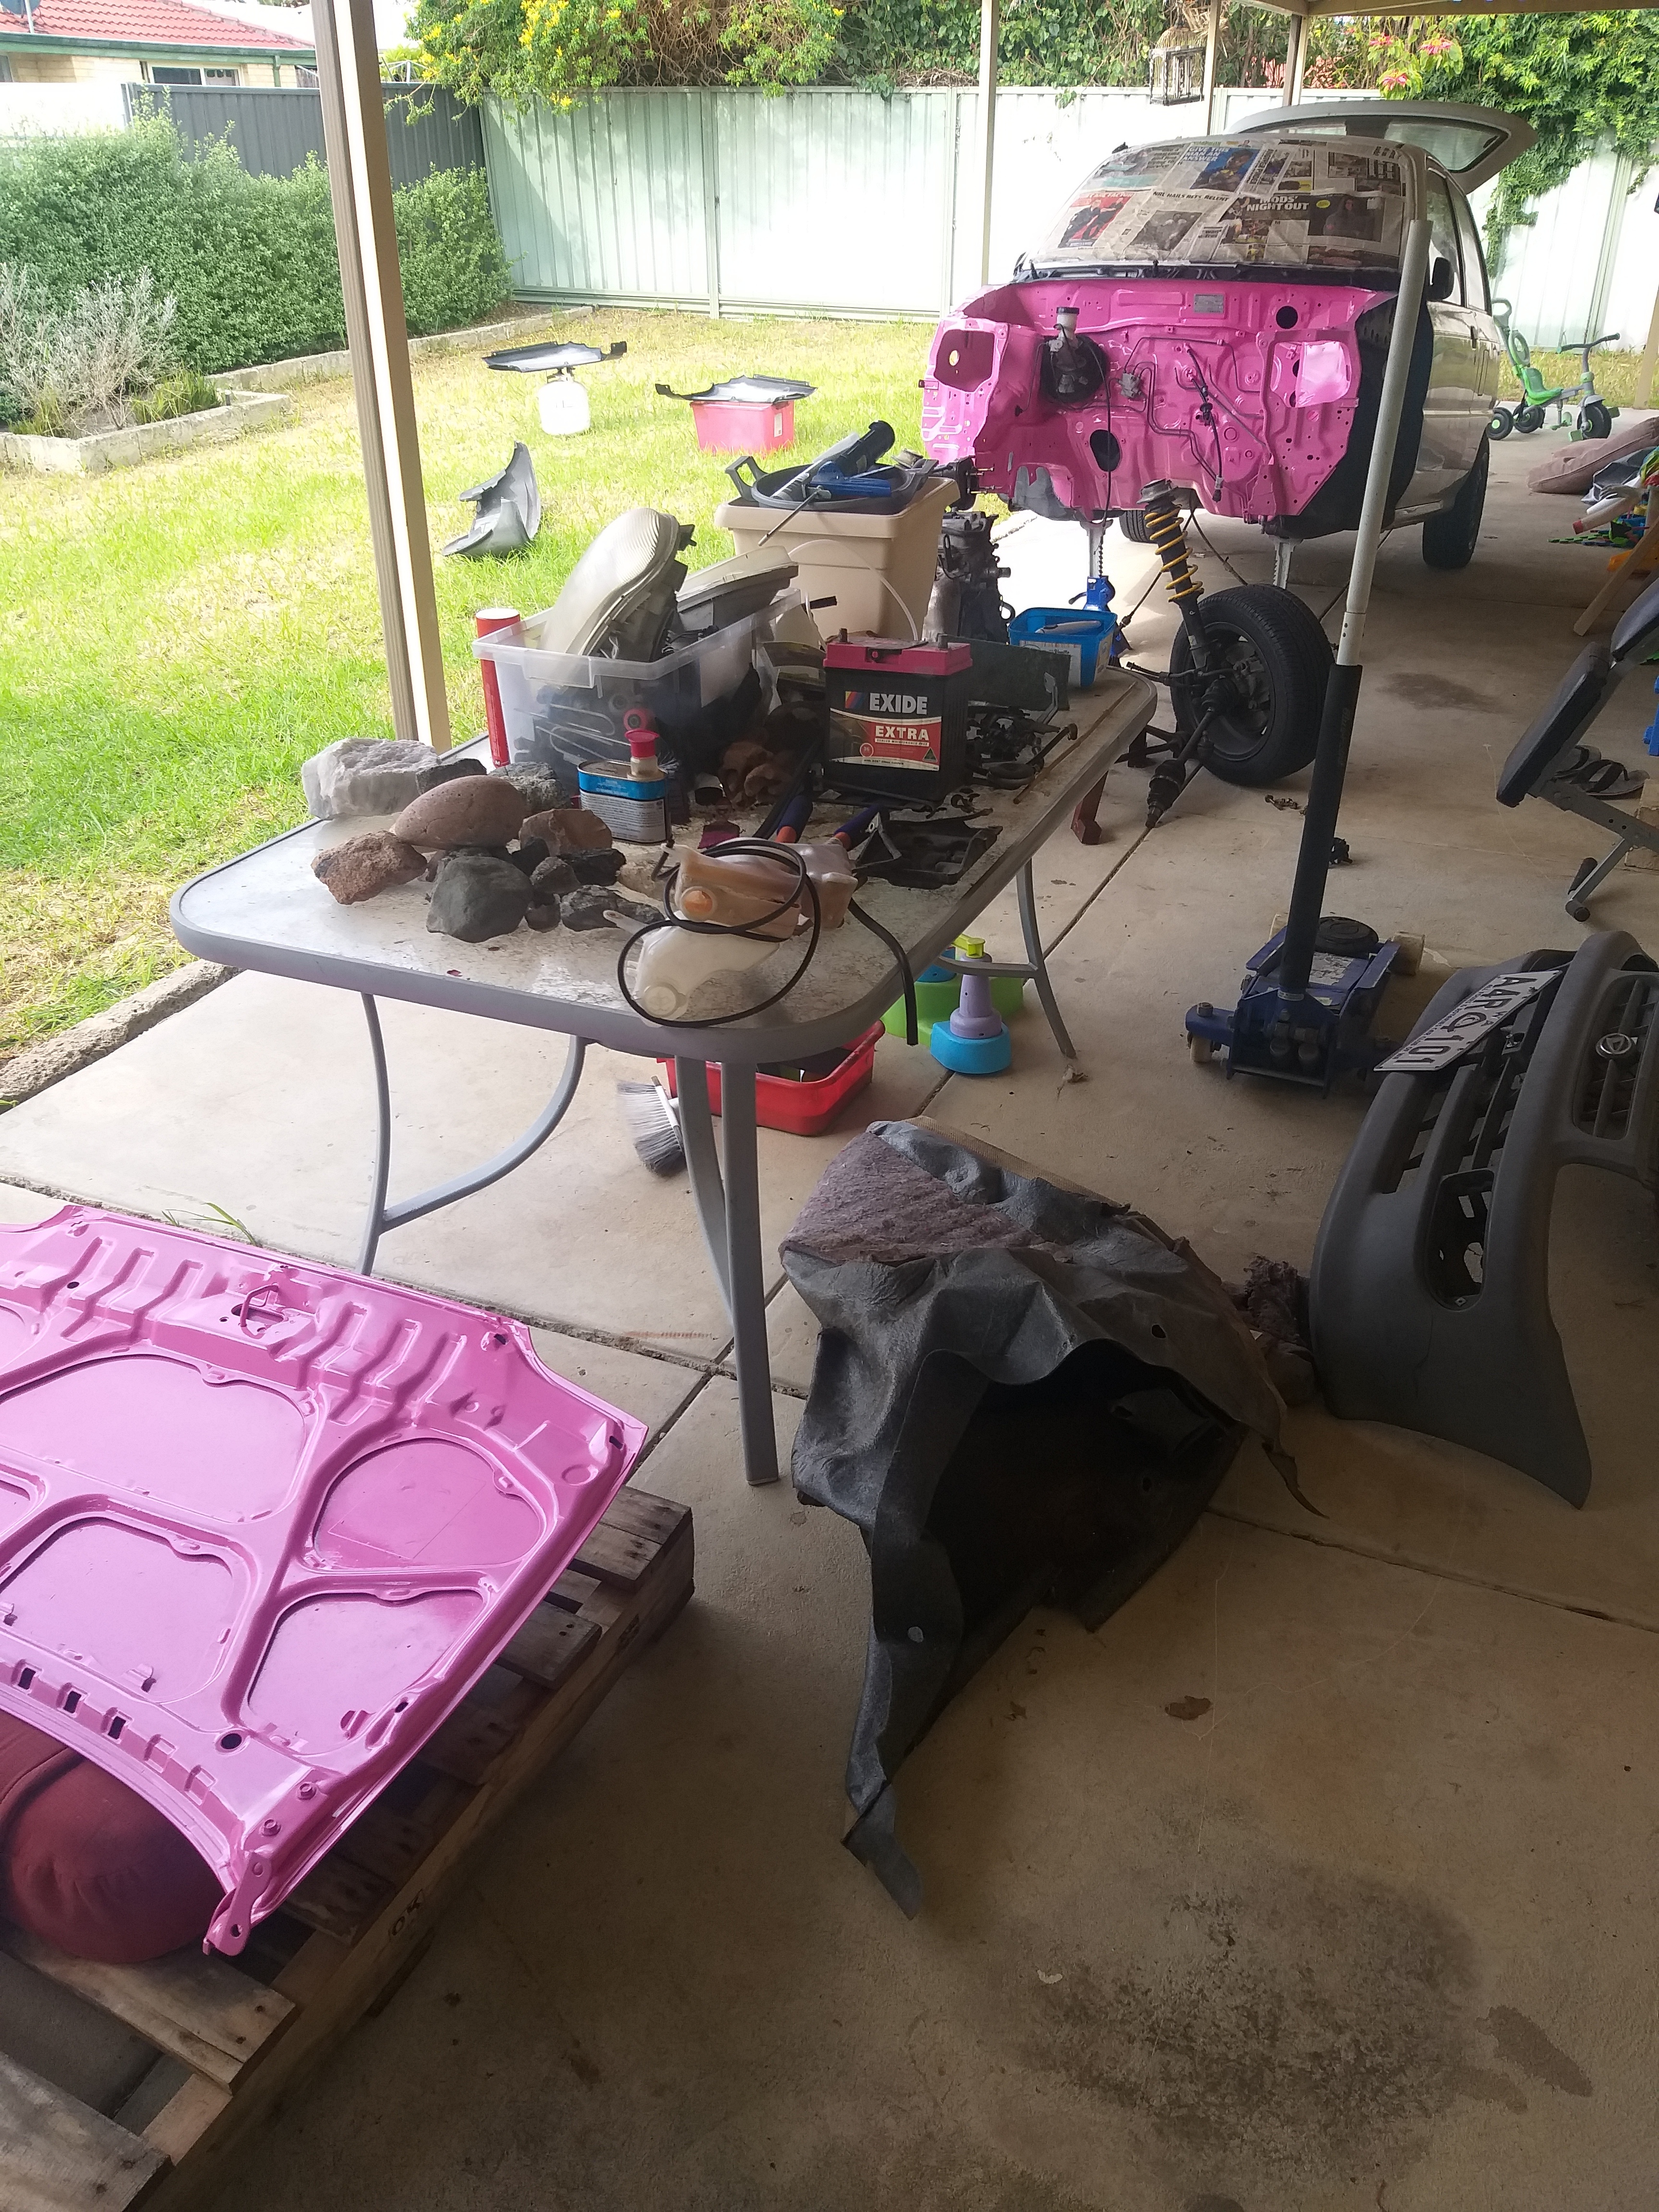
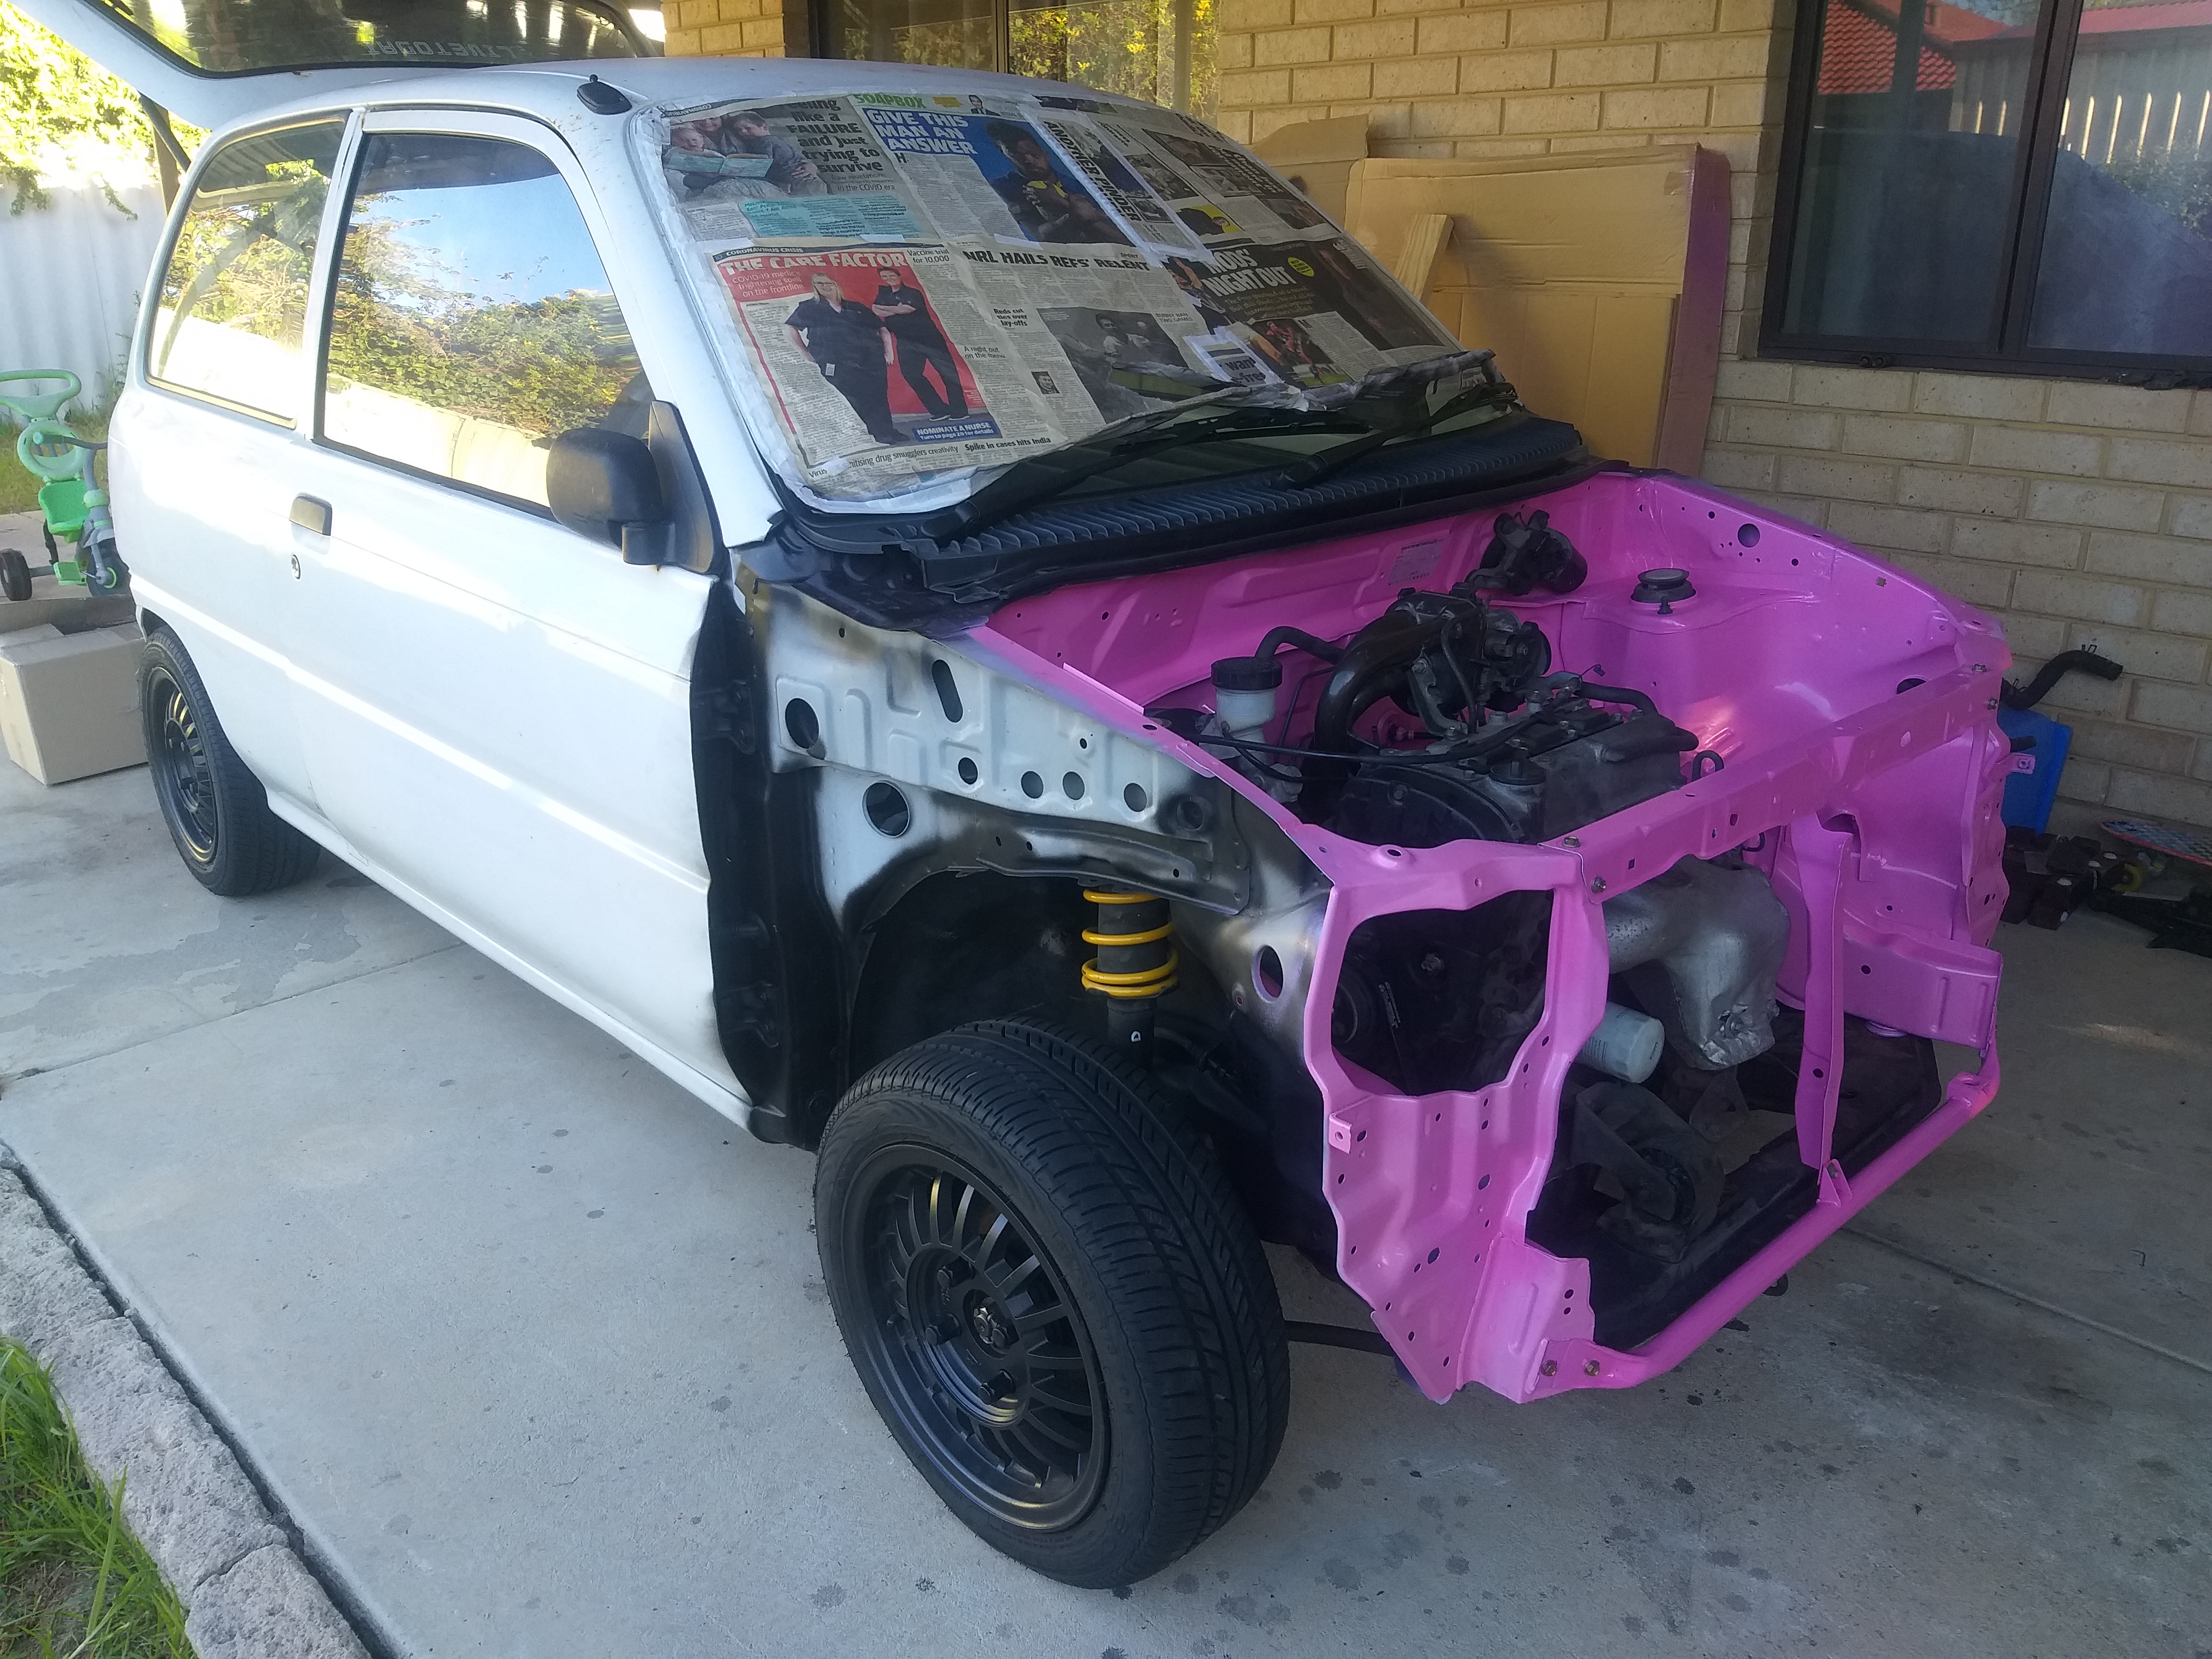
I’ve still got along ways to go after the gearbox and engine go back in. Wiring is next then the colour wrap.
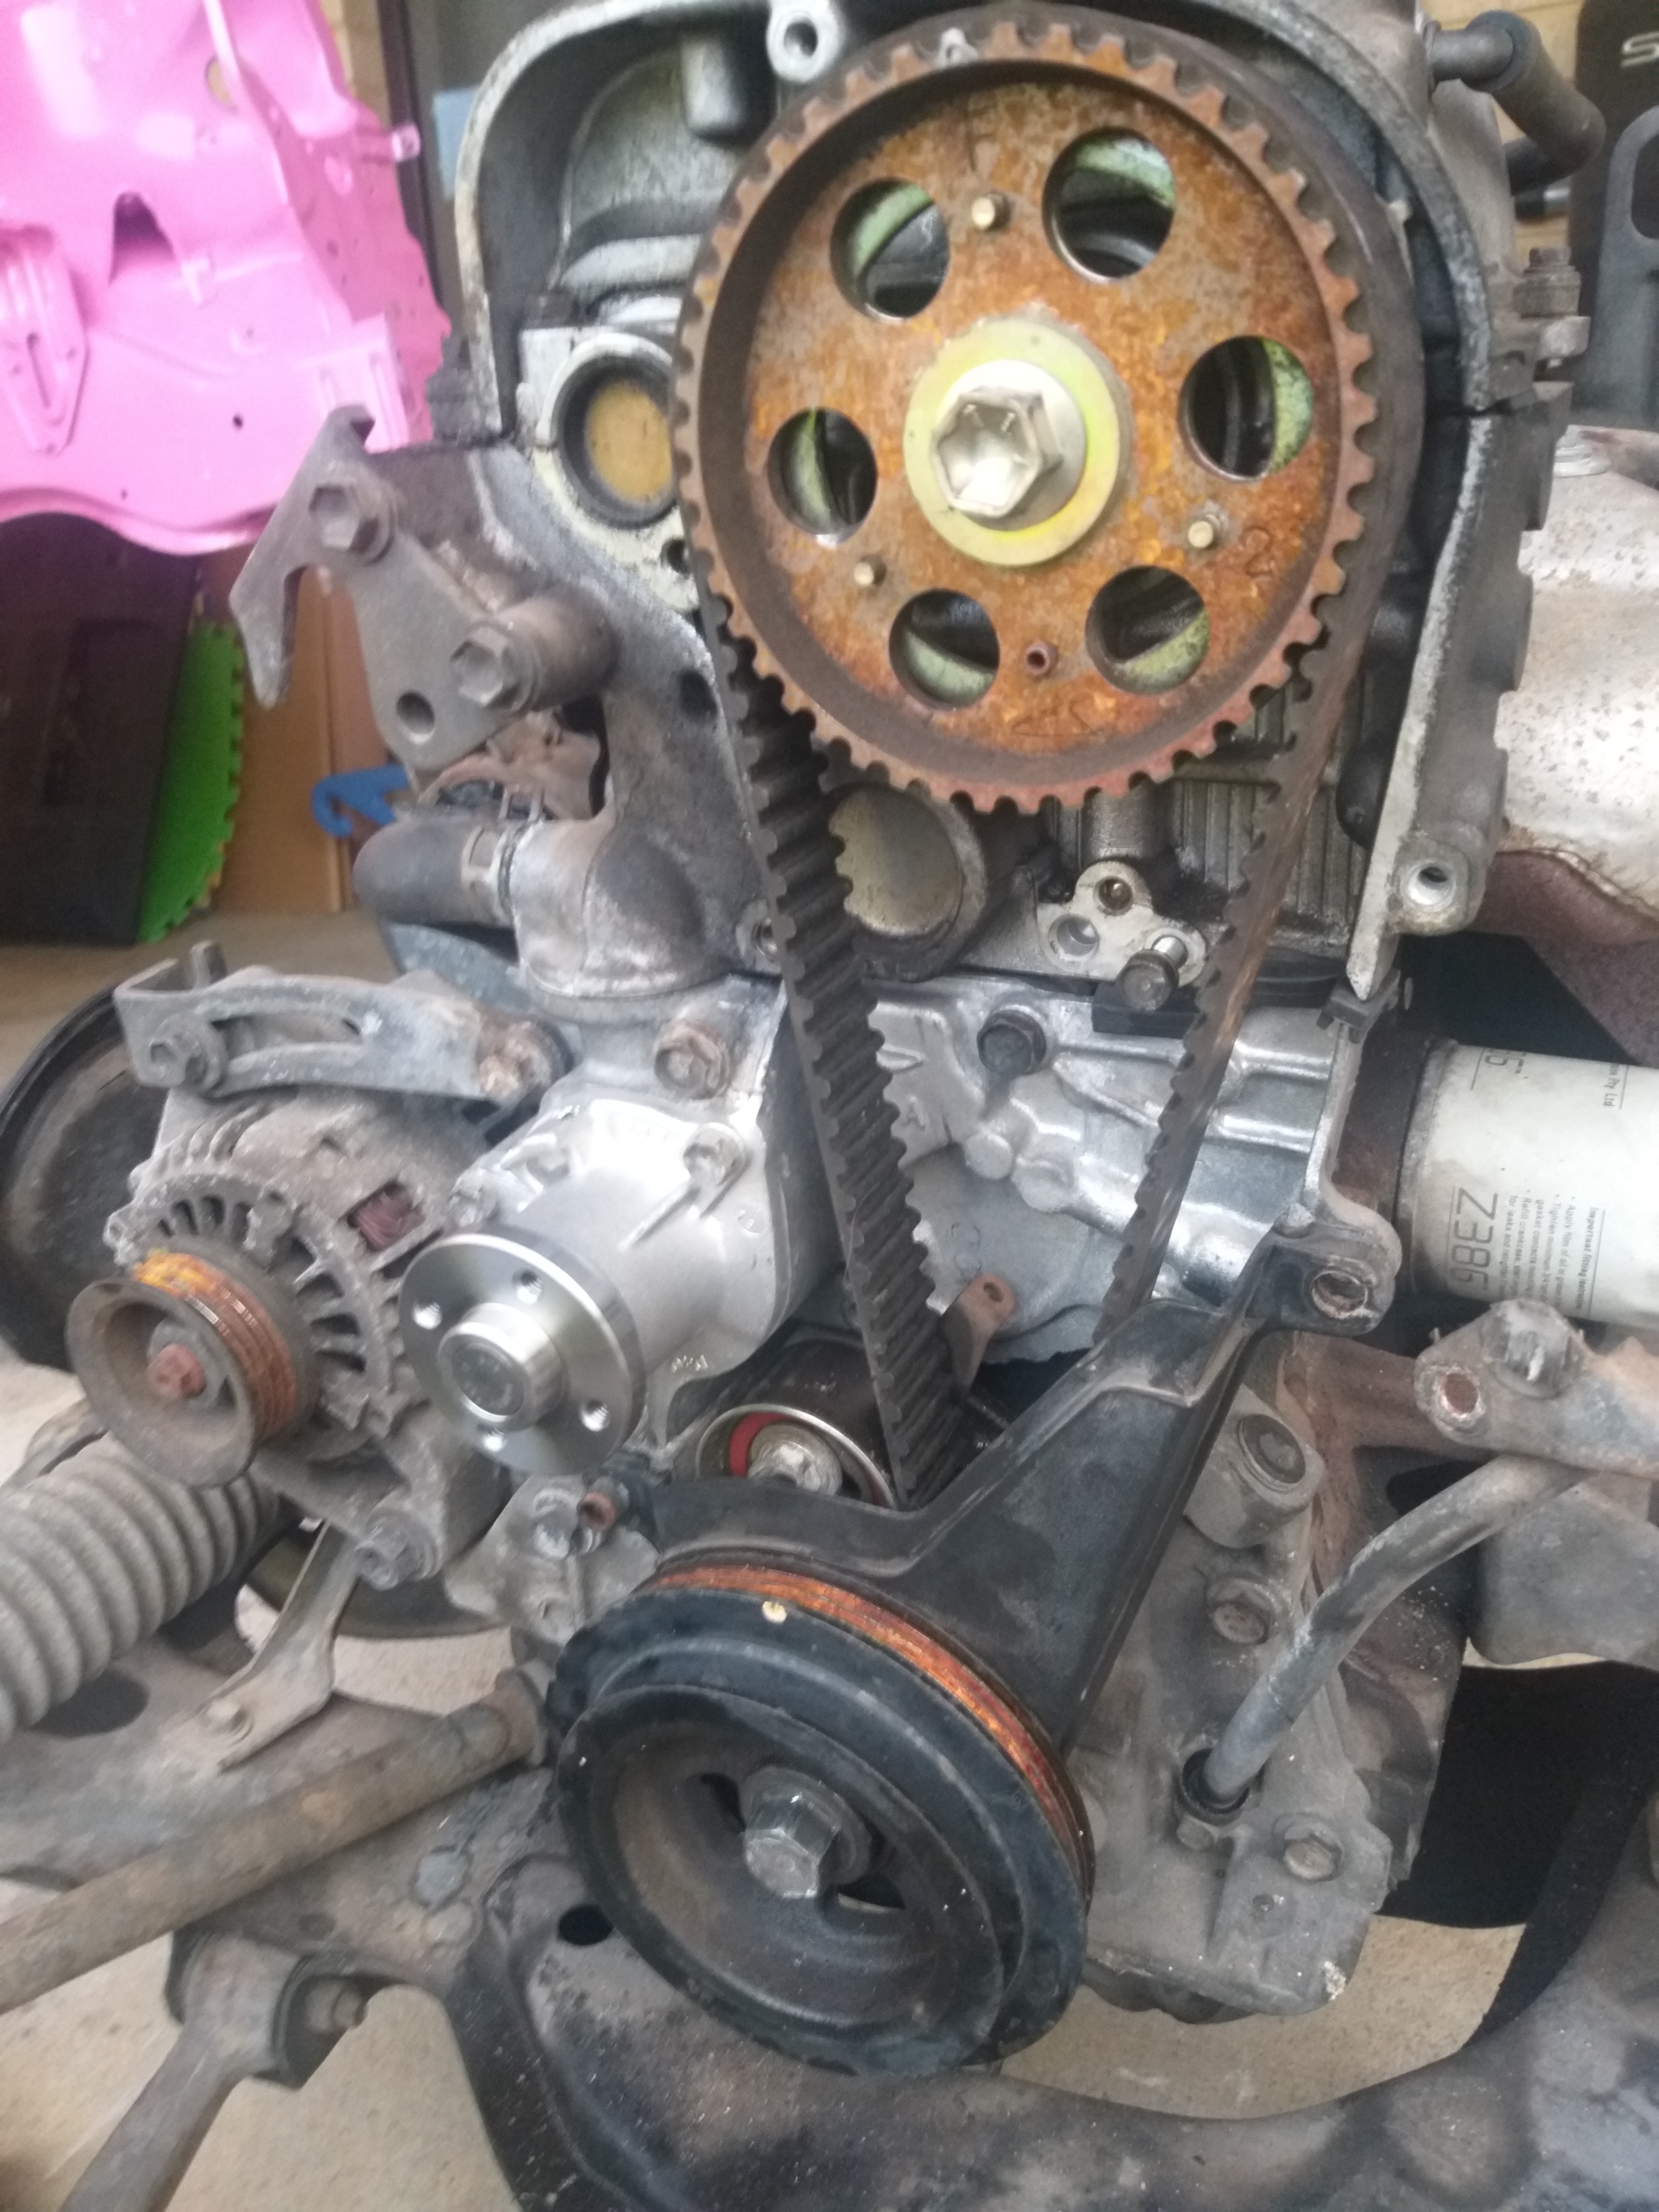
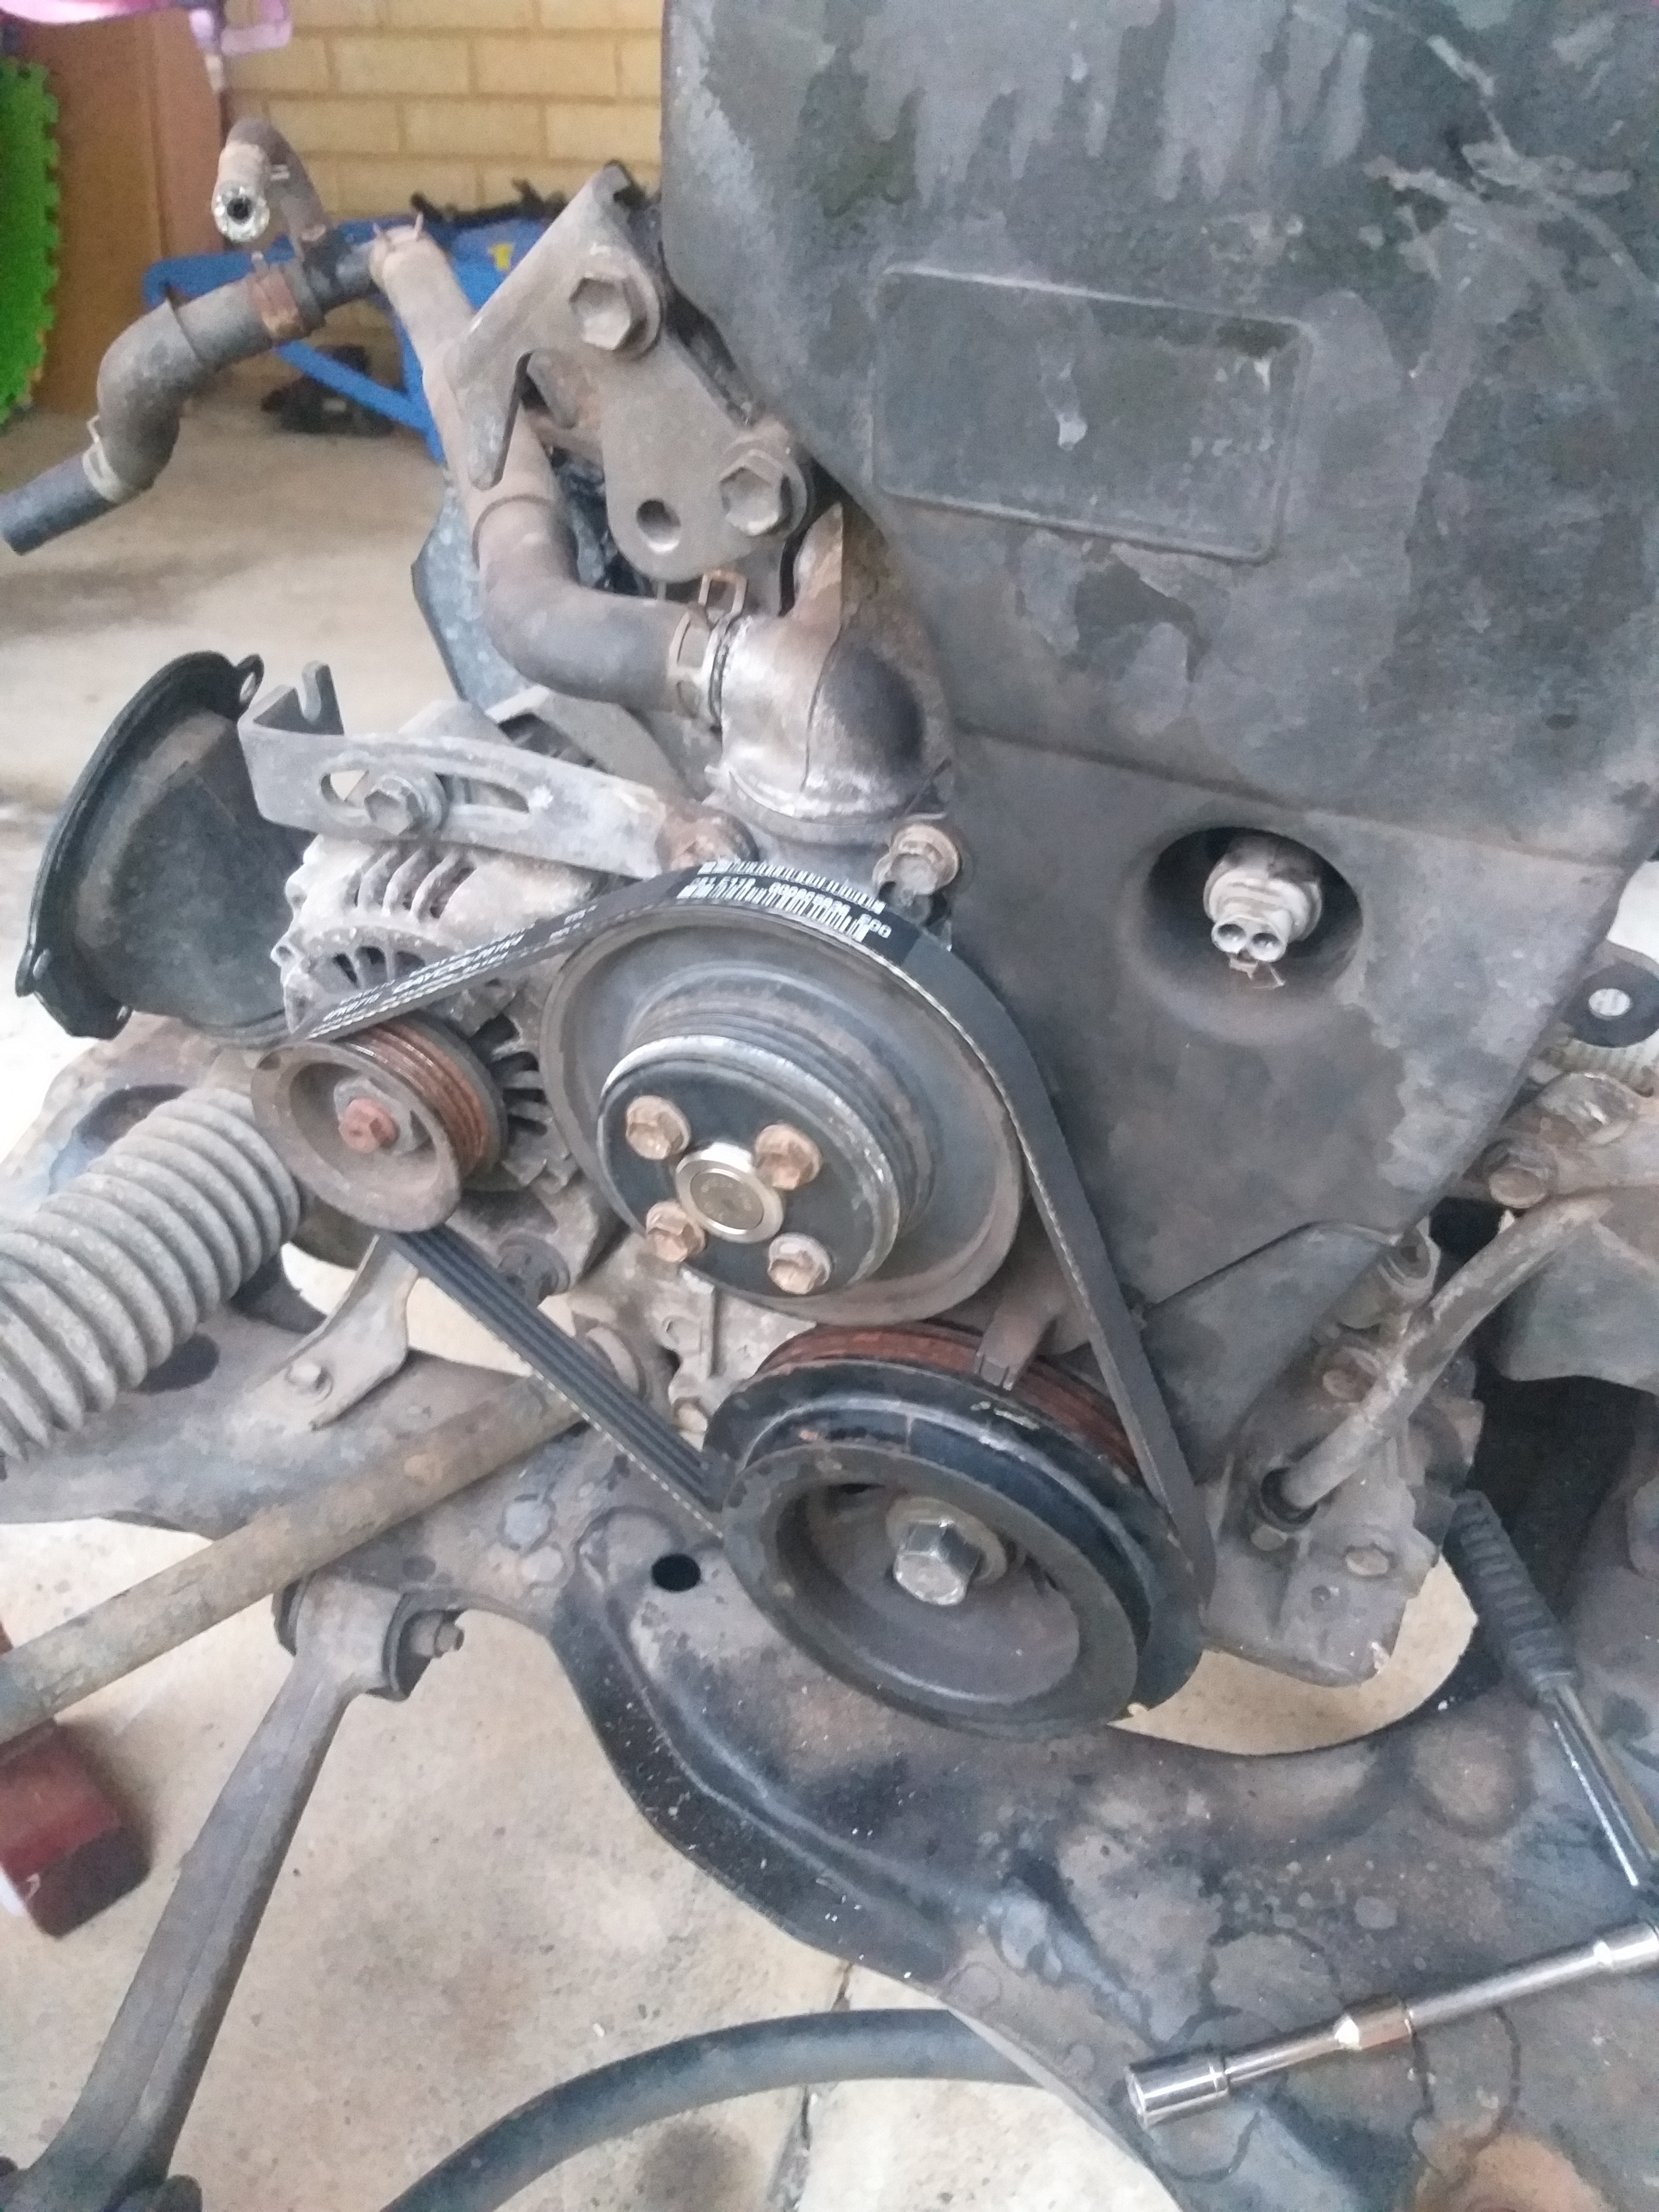
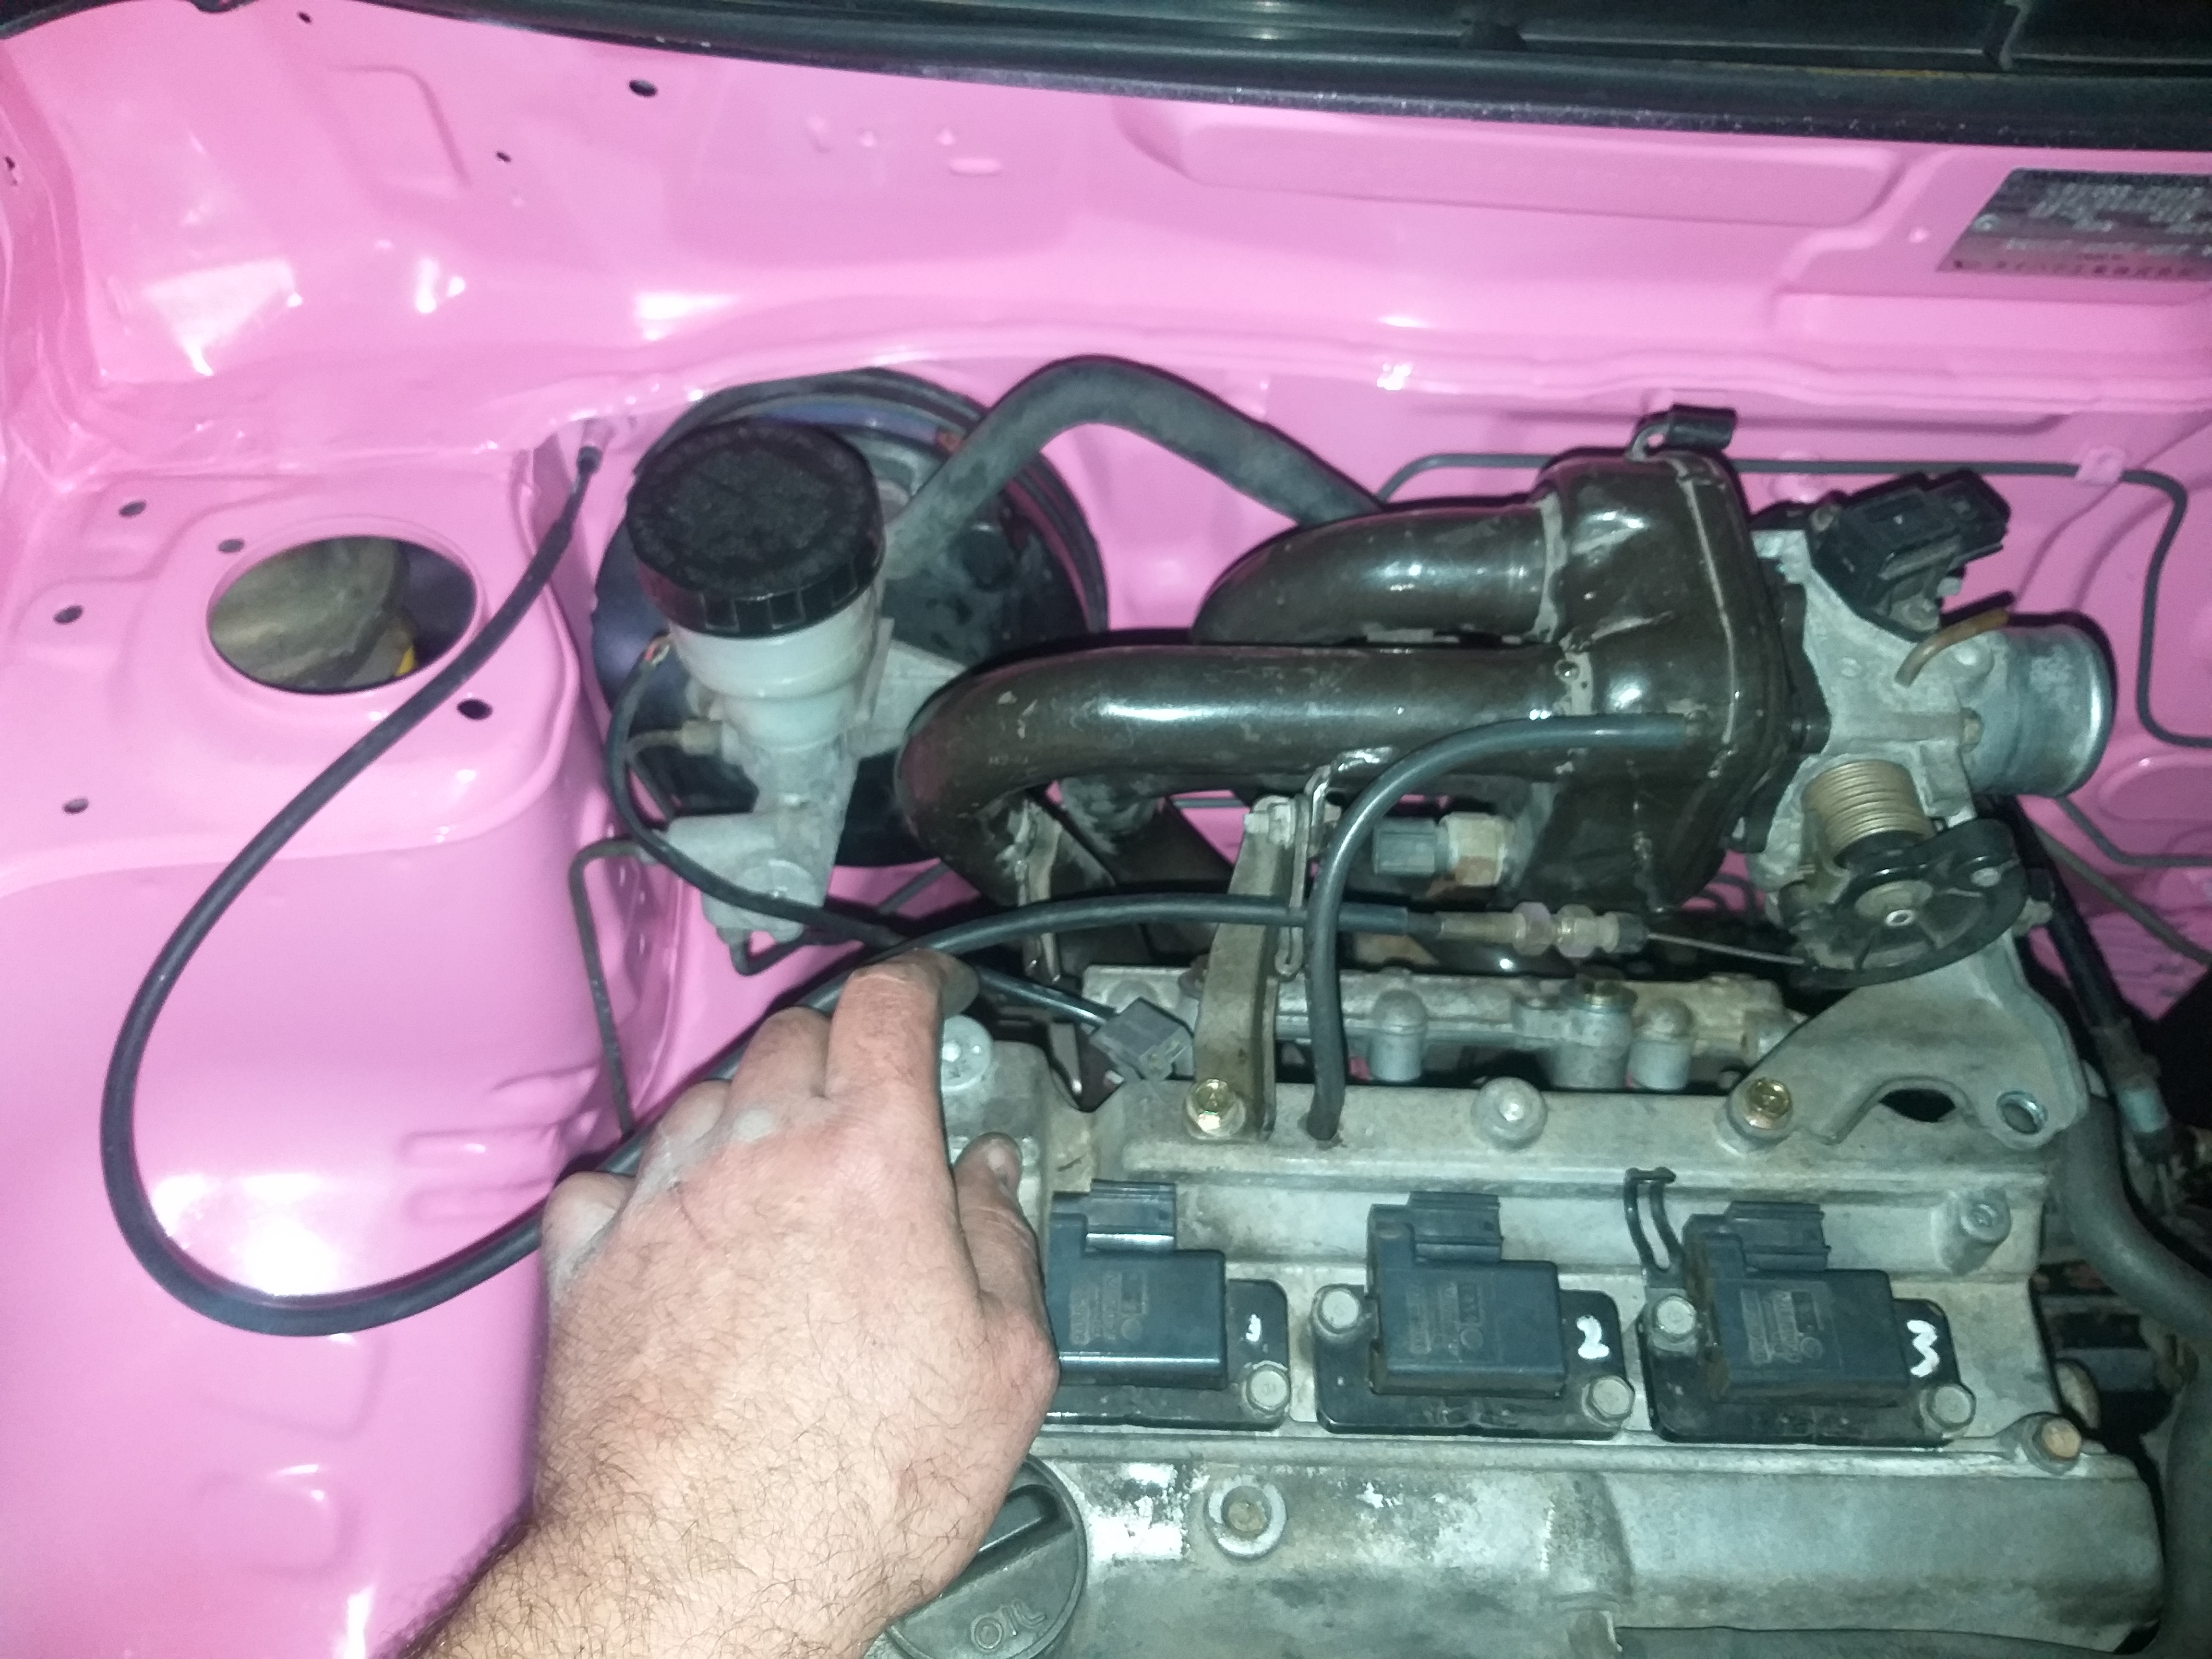
I didn’t do much today, just got the t ikming belt tensioner off to get to that one bolt to undo the water pump housing so I could change the gasket and O ring. New water pump core fitted and a second hand cam sensor fitted after I broke mine off. I got the plug with it too as it’s slightly different to the original sensor so will require the plugs be swapped around. Oh, also fitted a new alternator/water pump belt.
Next will be to degrease the engine on the gearbox side, fit the rear main seal and I think I’m going to pull the sump and redo the silicone seal as I’m pretty sure that was leaking aswell. But I’ll do that after I get that last gearbox seal and assemble it.
4 Likes
So I’m on a weeks holiday off work this first week of school holidays. Trying to make the most of it and punch out as much as I can as I’m really wanting to drive it again.
So…
Day 1/7
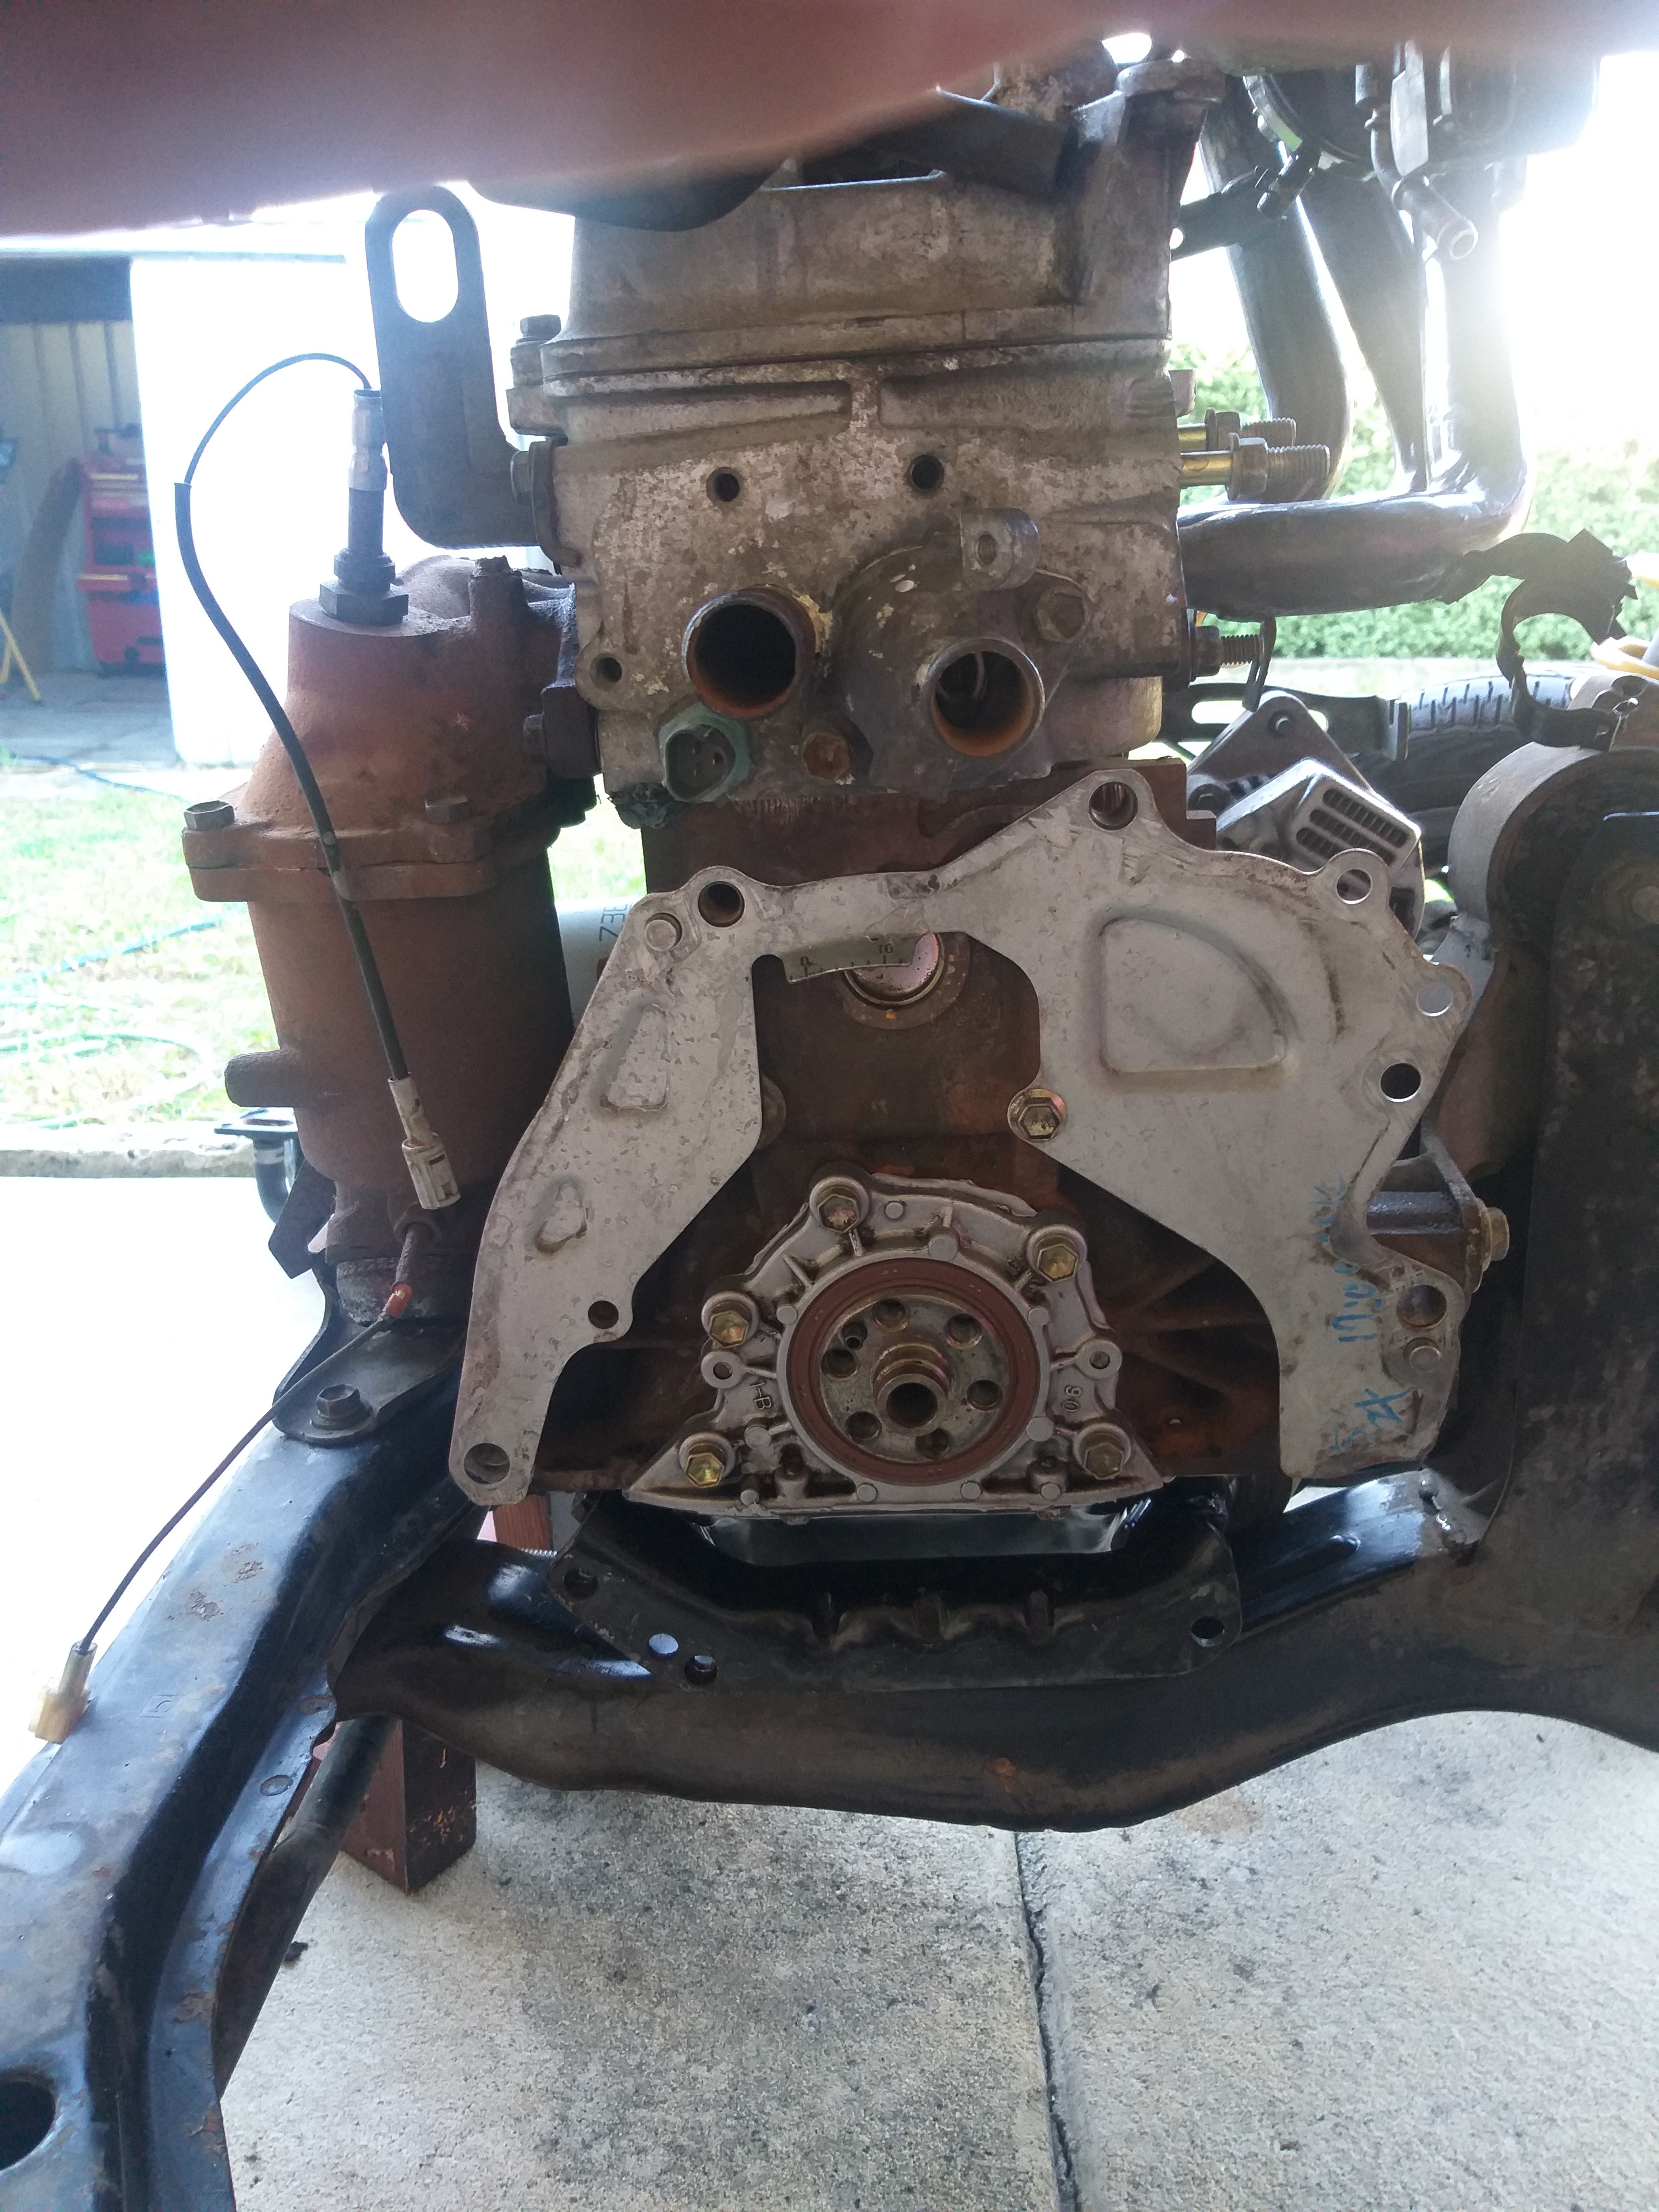
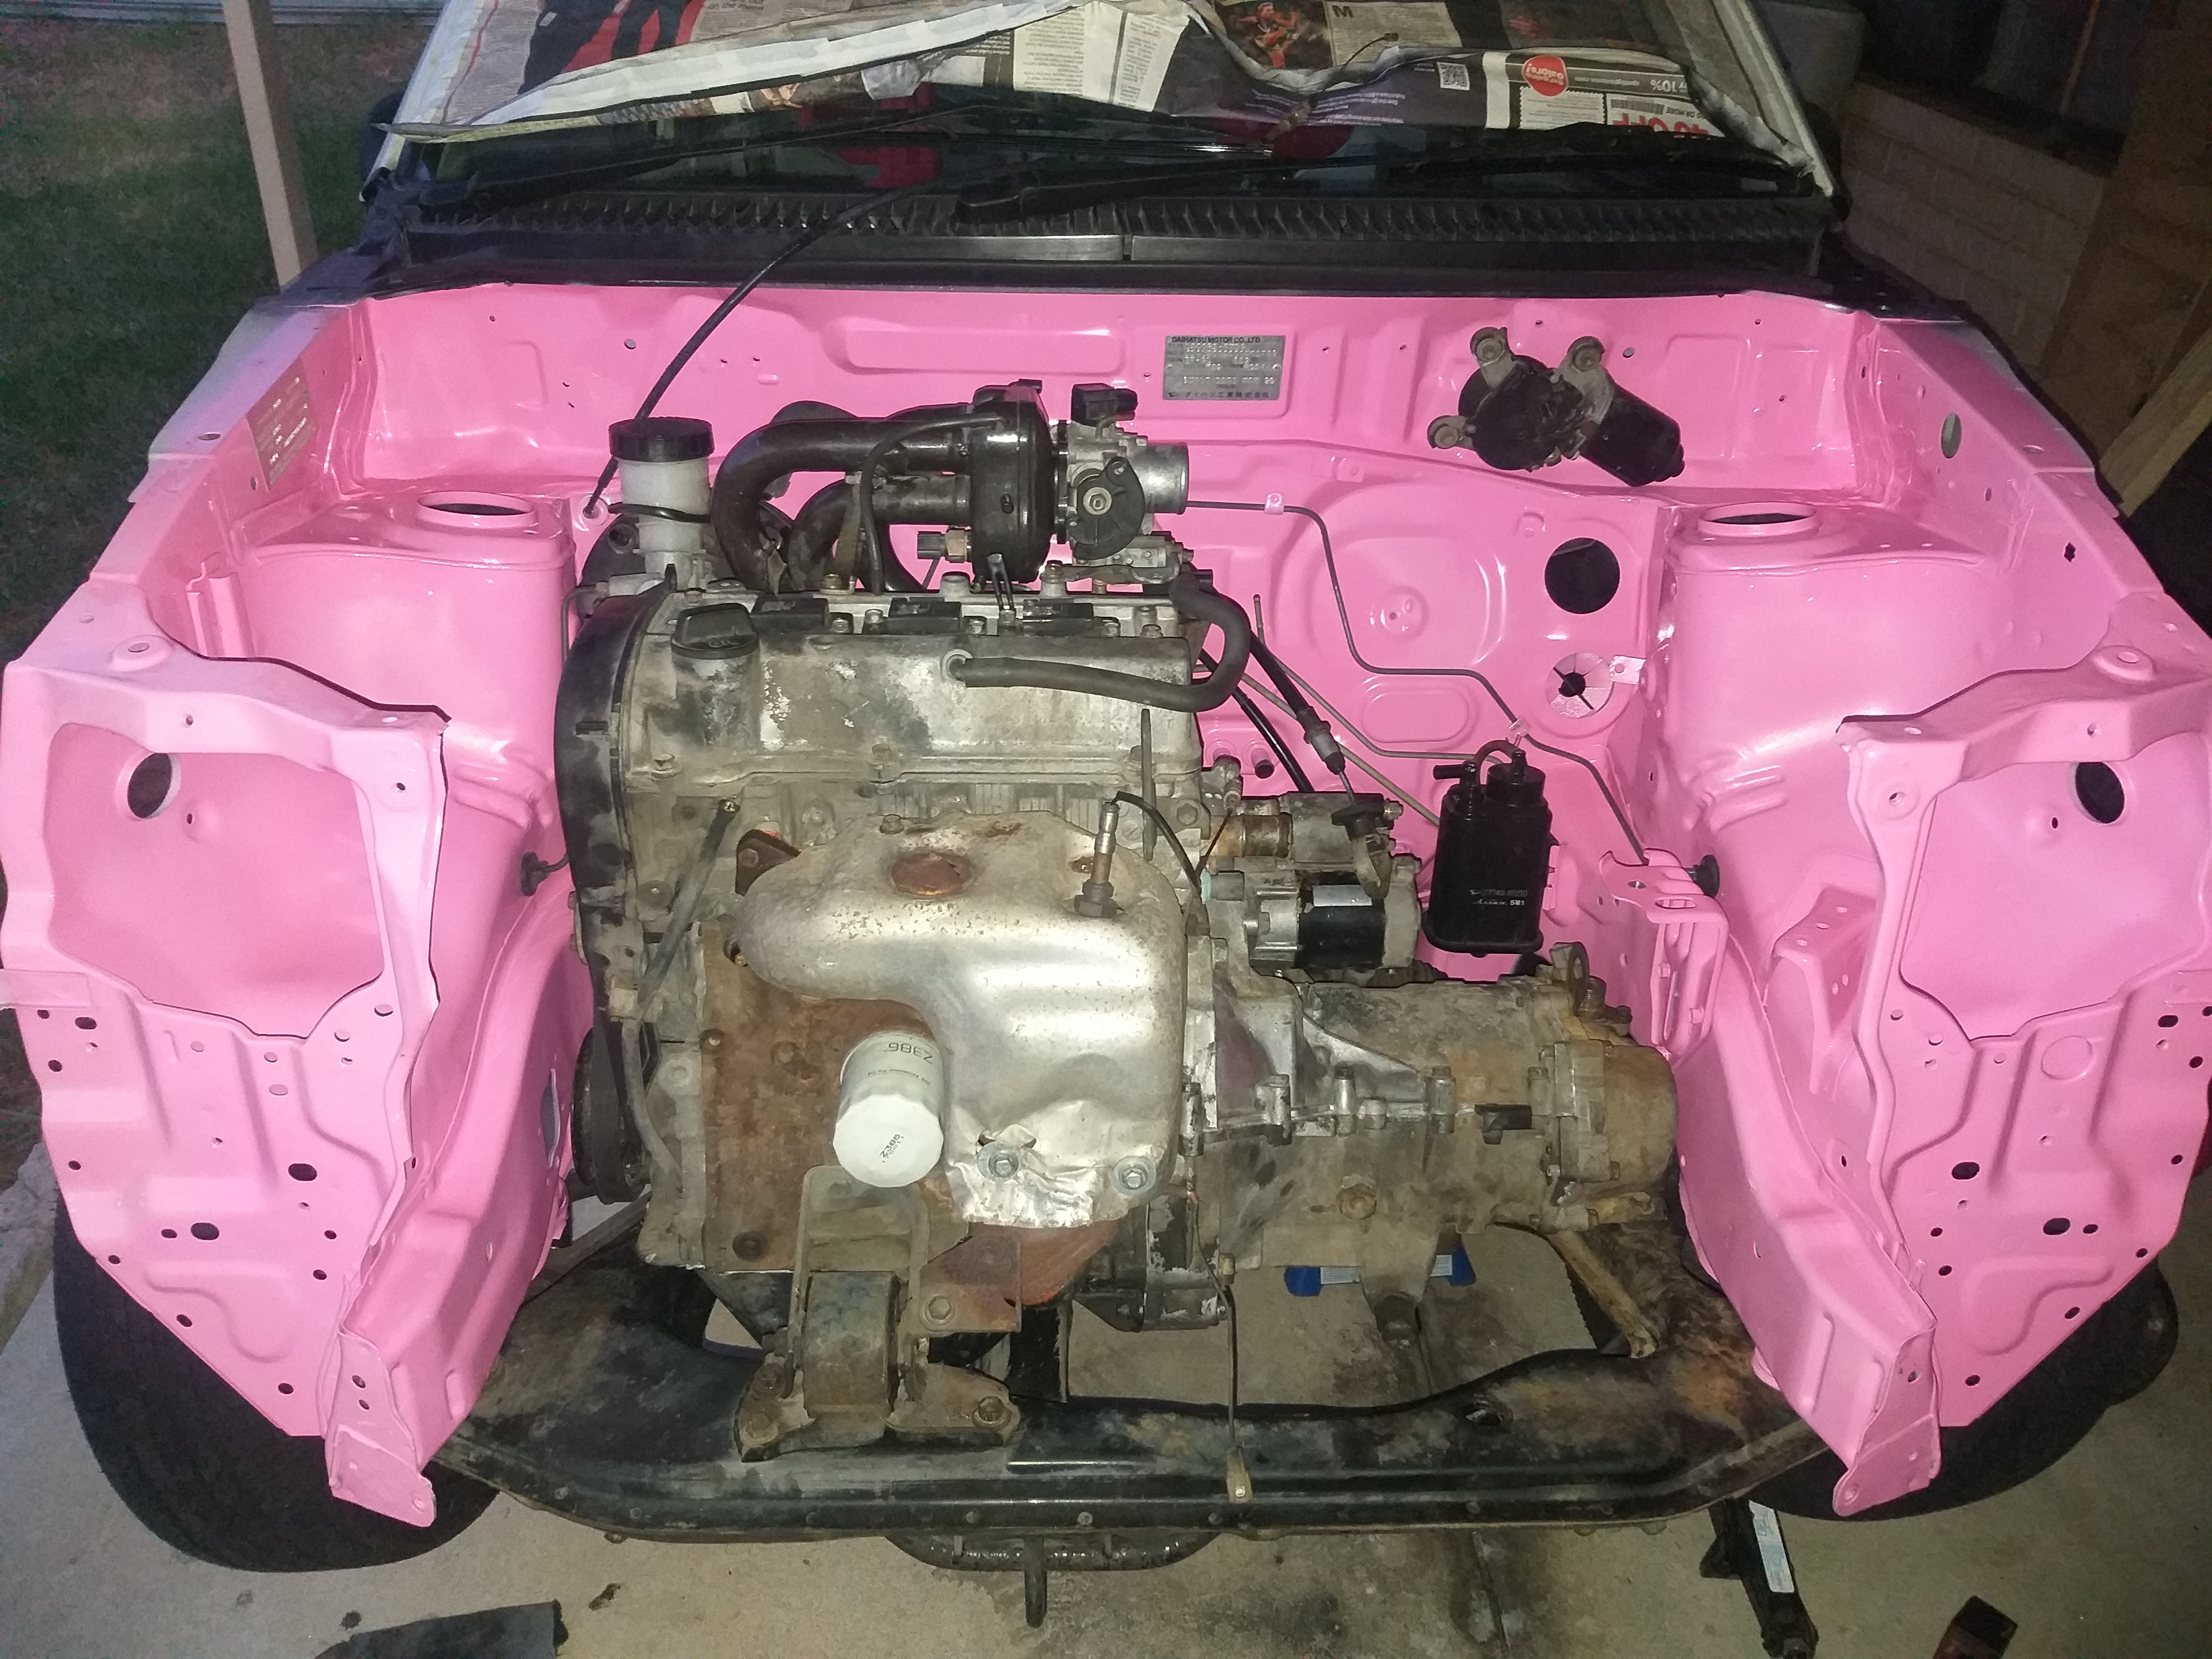
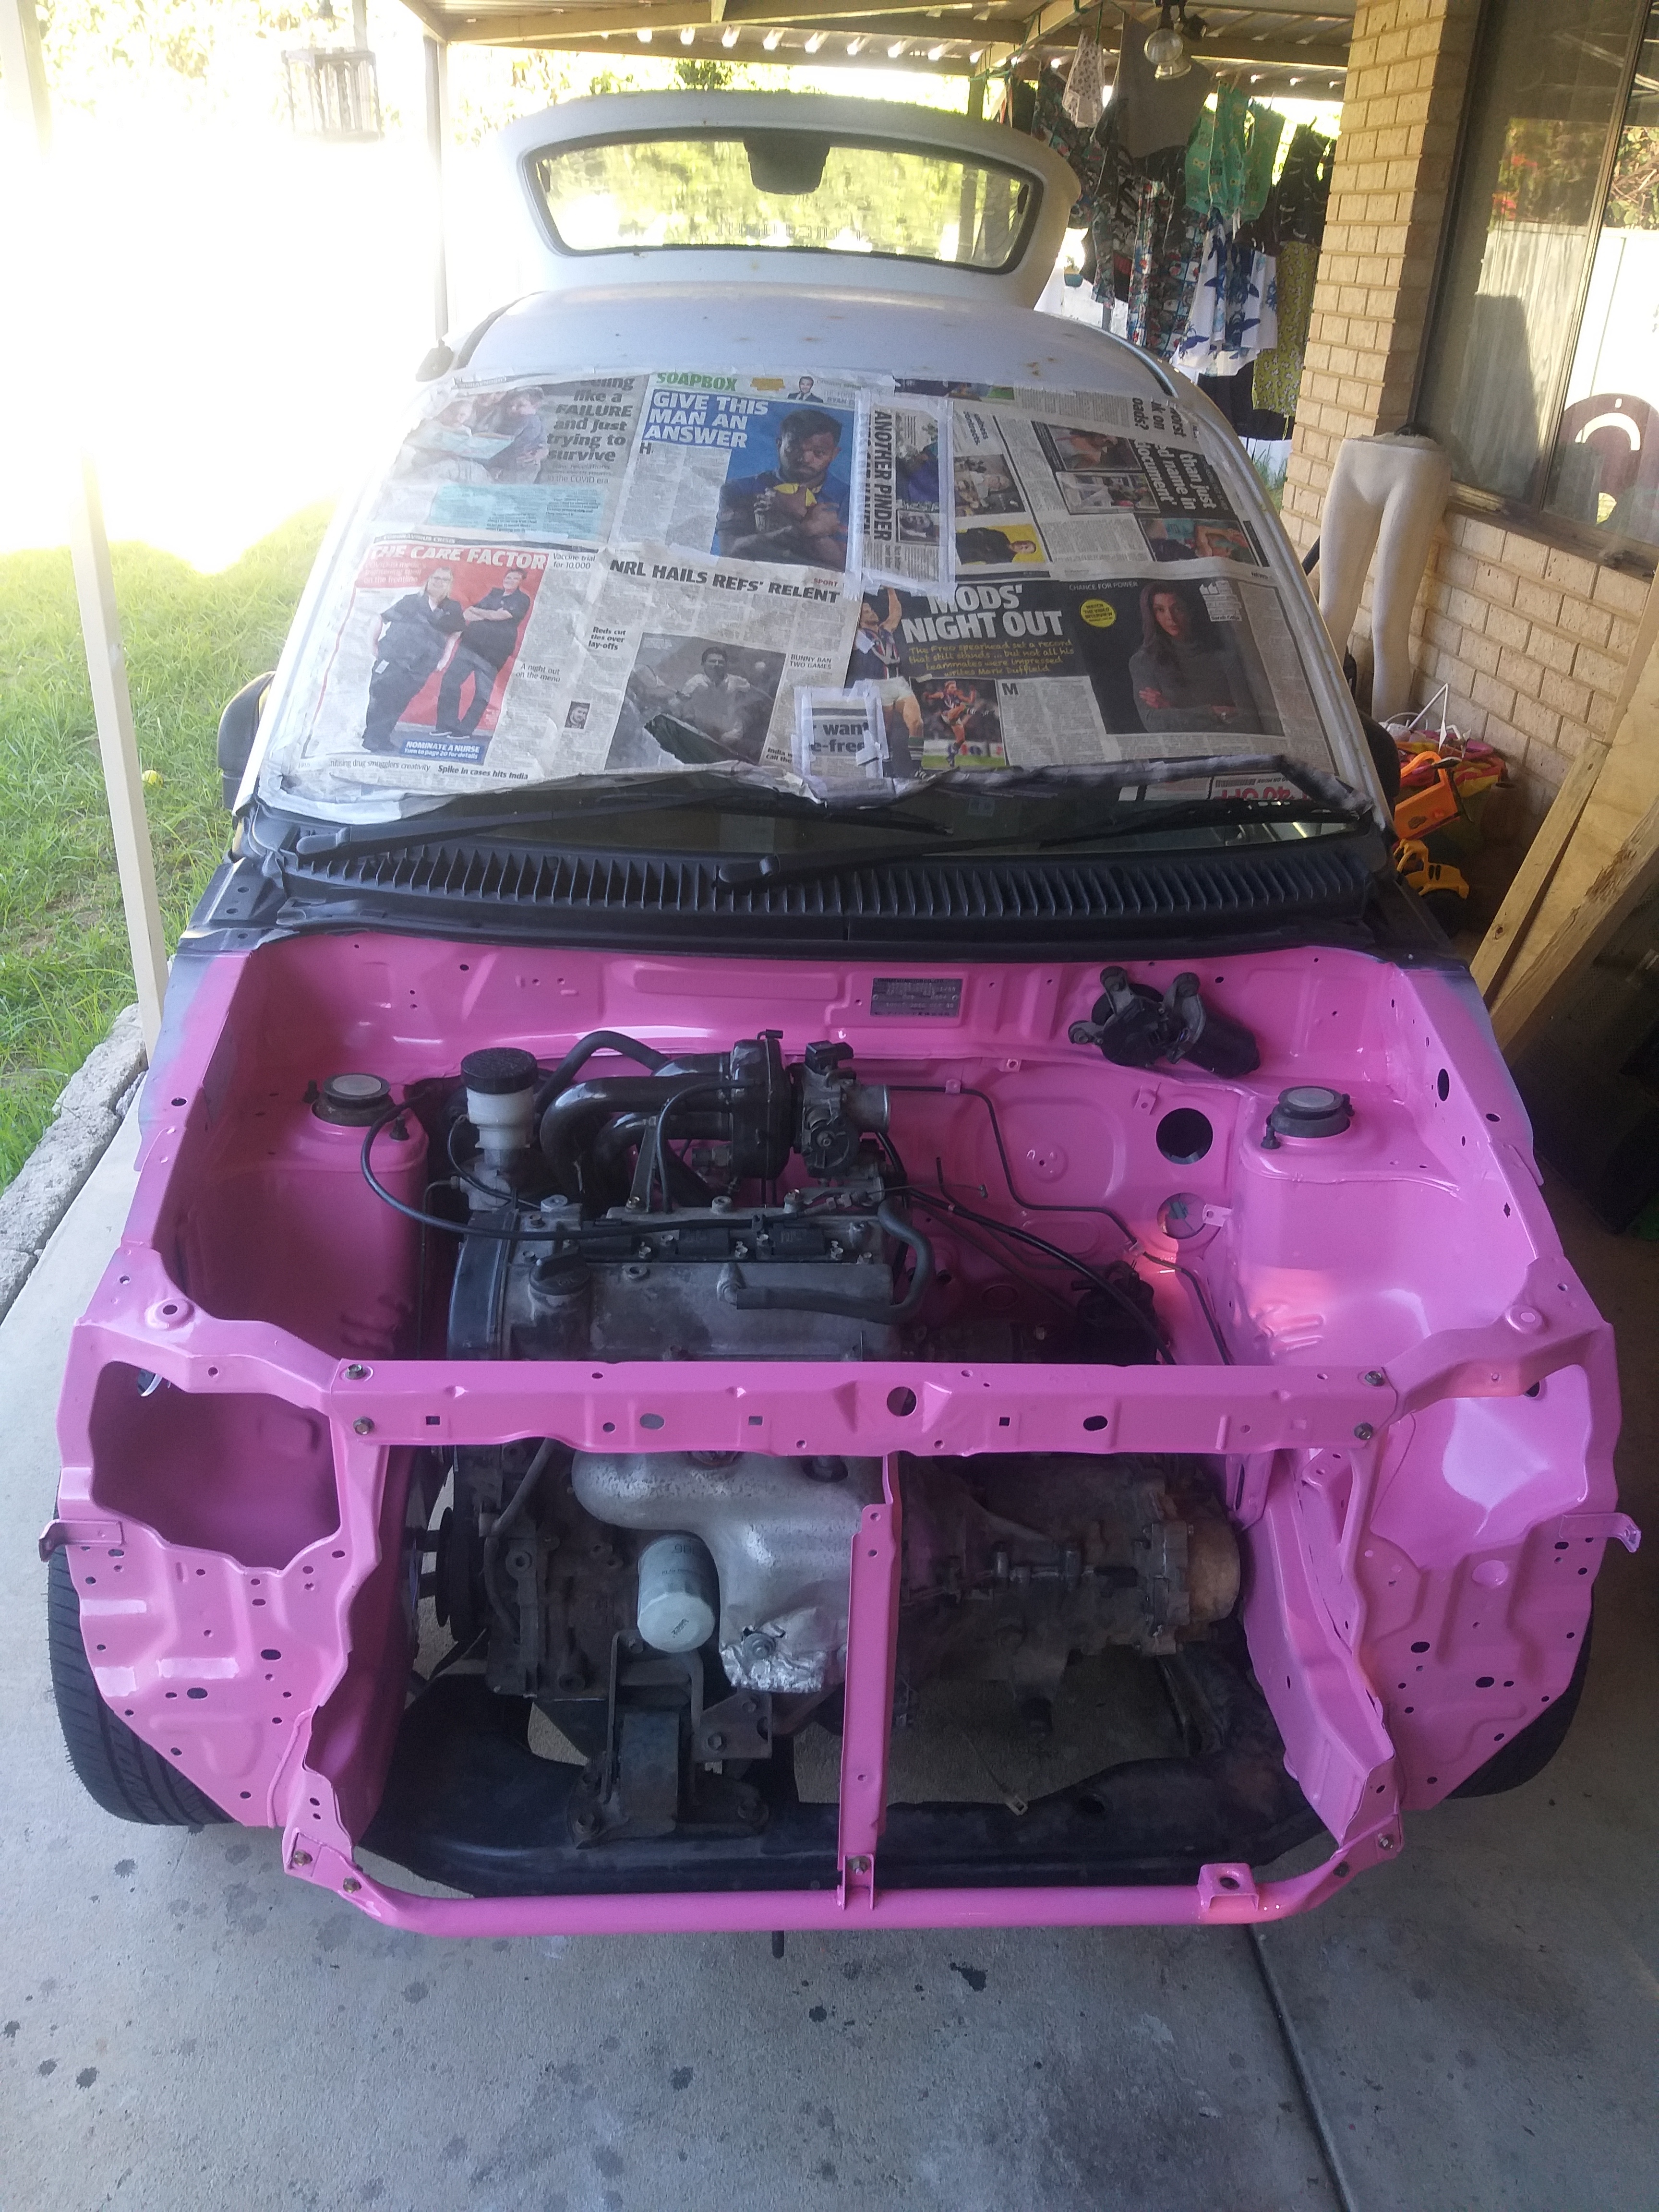
Pulled engine off subframe and degreased it.
Broke the yellow dipstick handle off 
Removed sump and redid the silicone.
Fitted rear main housing complete with new seal.
Assembled the 4 speed with new input shaft seal, main input shaft seal and both drive shaft seals changed.
Degreased subframe.
Fitted wiper arms, grille and wiper motor.
4 Likes
yellow dipstick handle is my curse also I break every single one of them I have ever had. Even when trying to be super careful not to some how I always manage to break them.
@evilhighway did you have much success with a good glue or is it a new one each time?
1 Like
Day 2/7
Only a half day today.
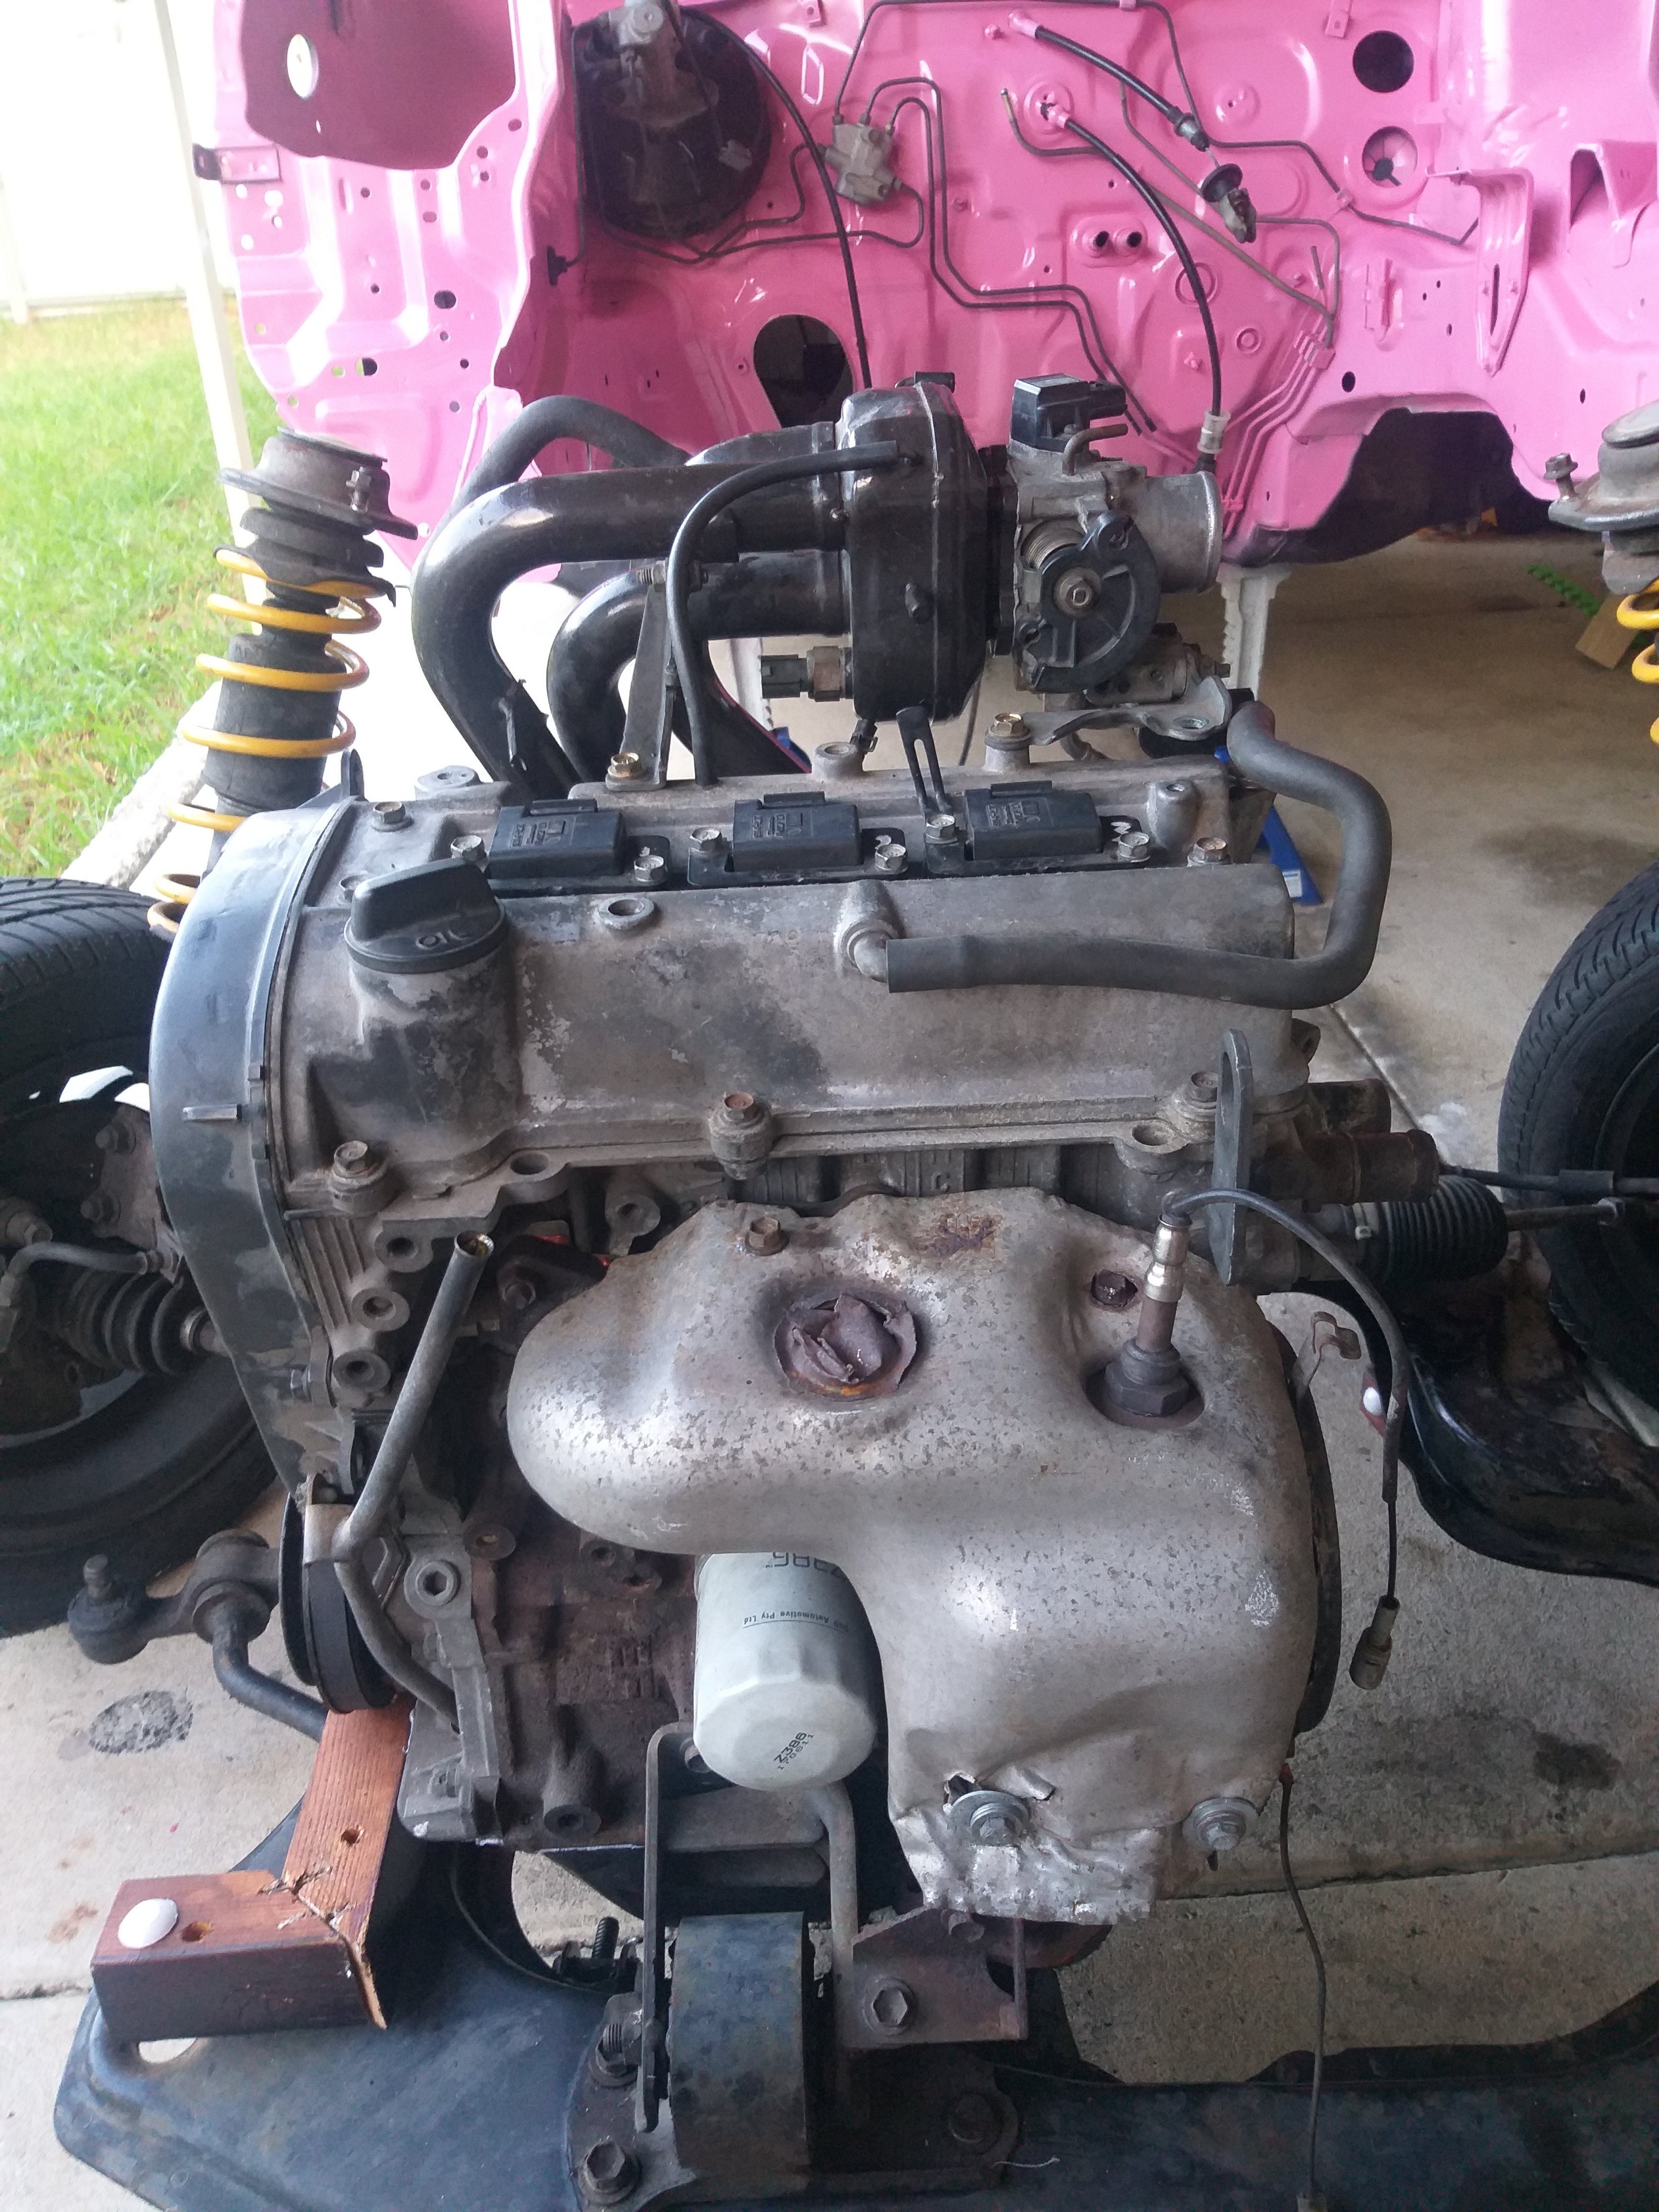
Refitted the engine to the subframe.
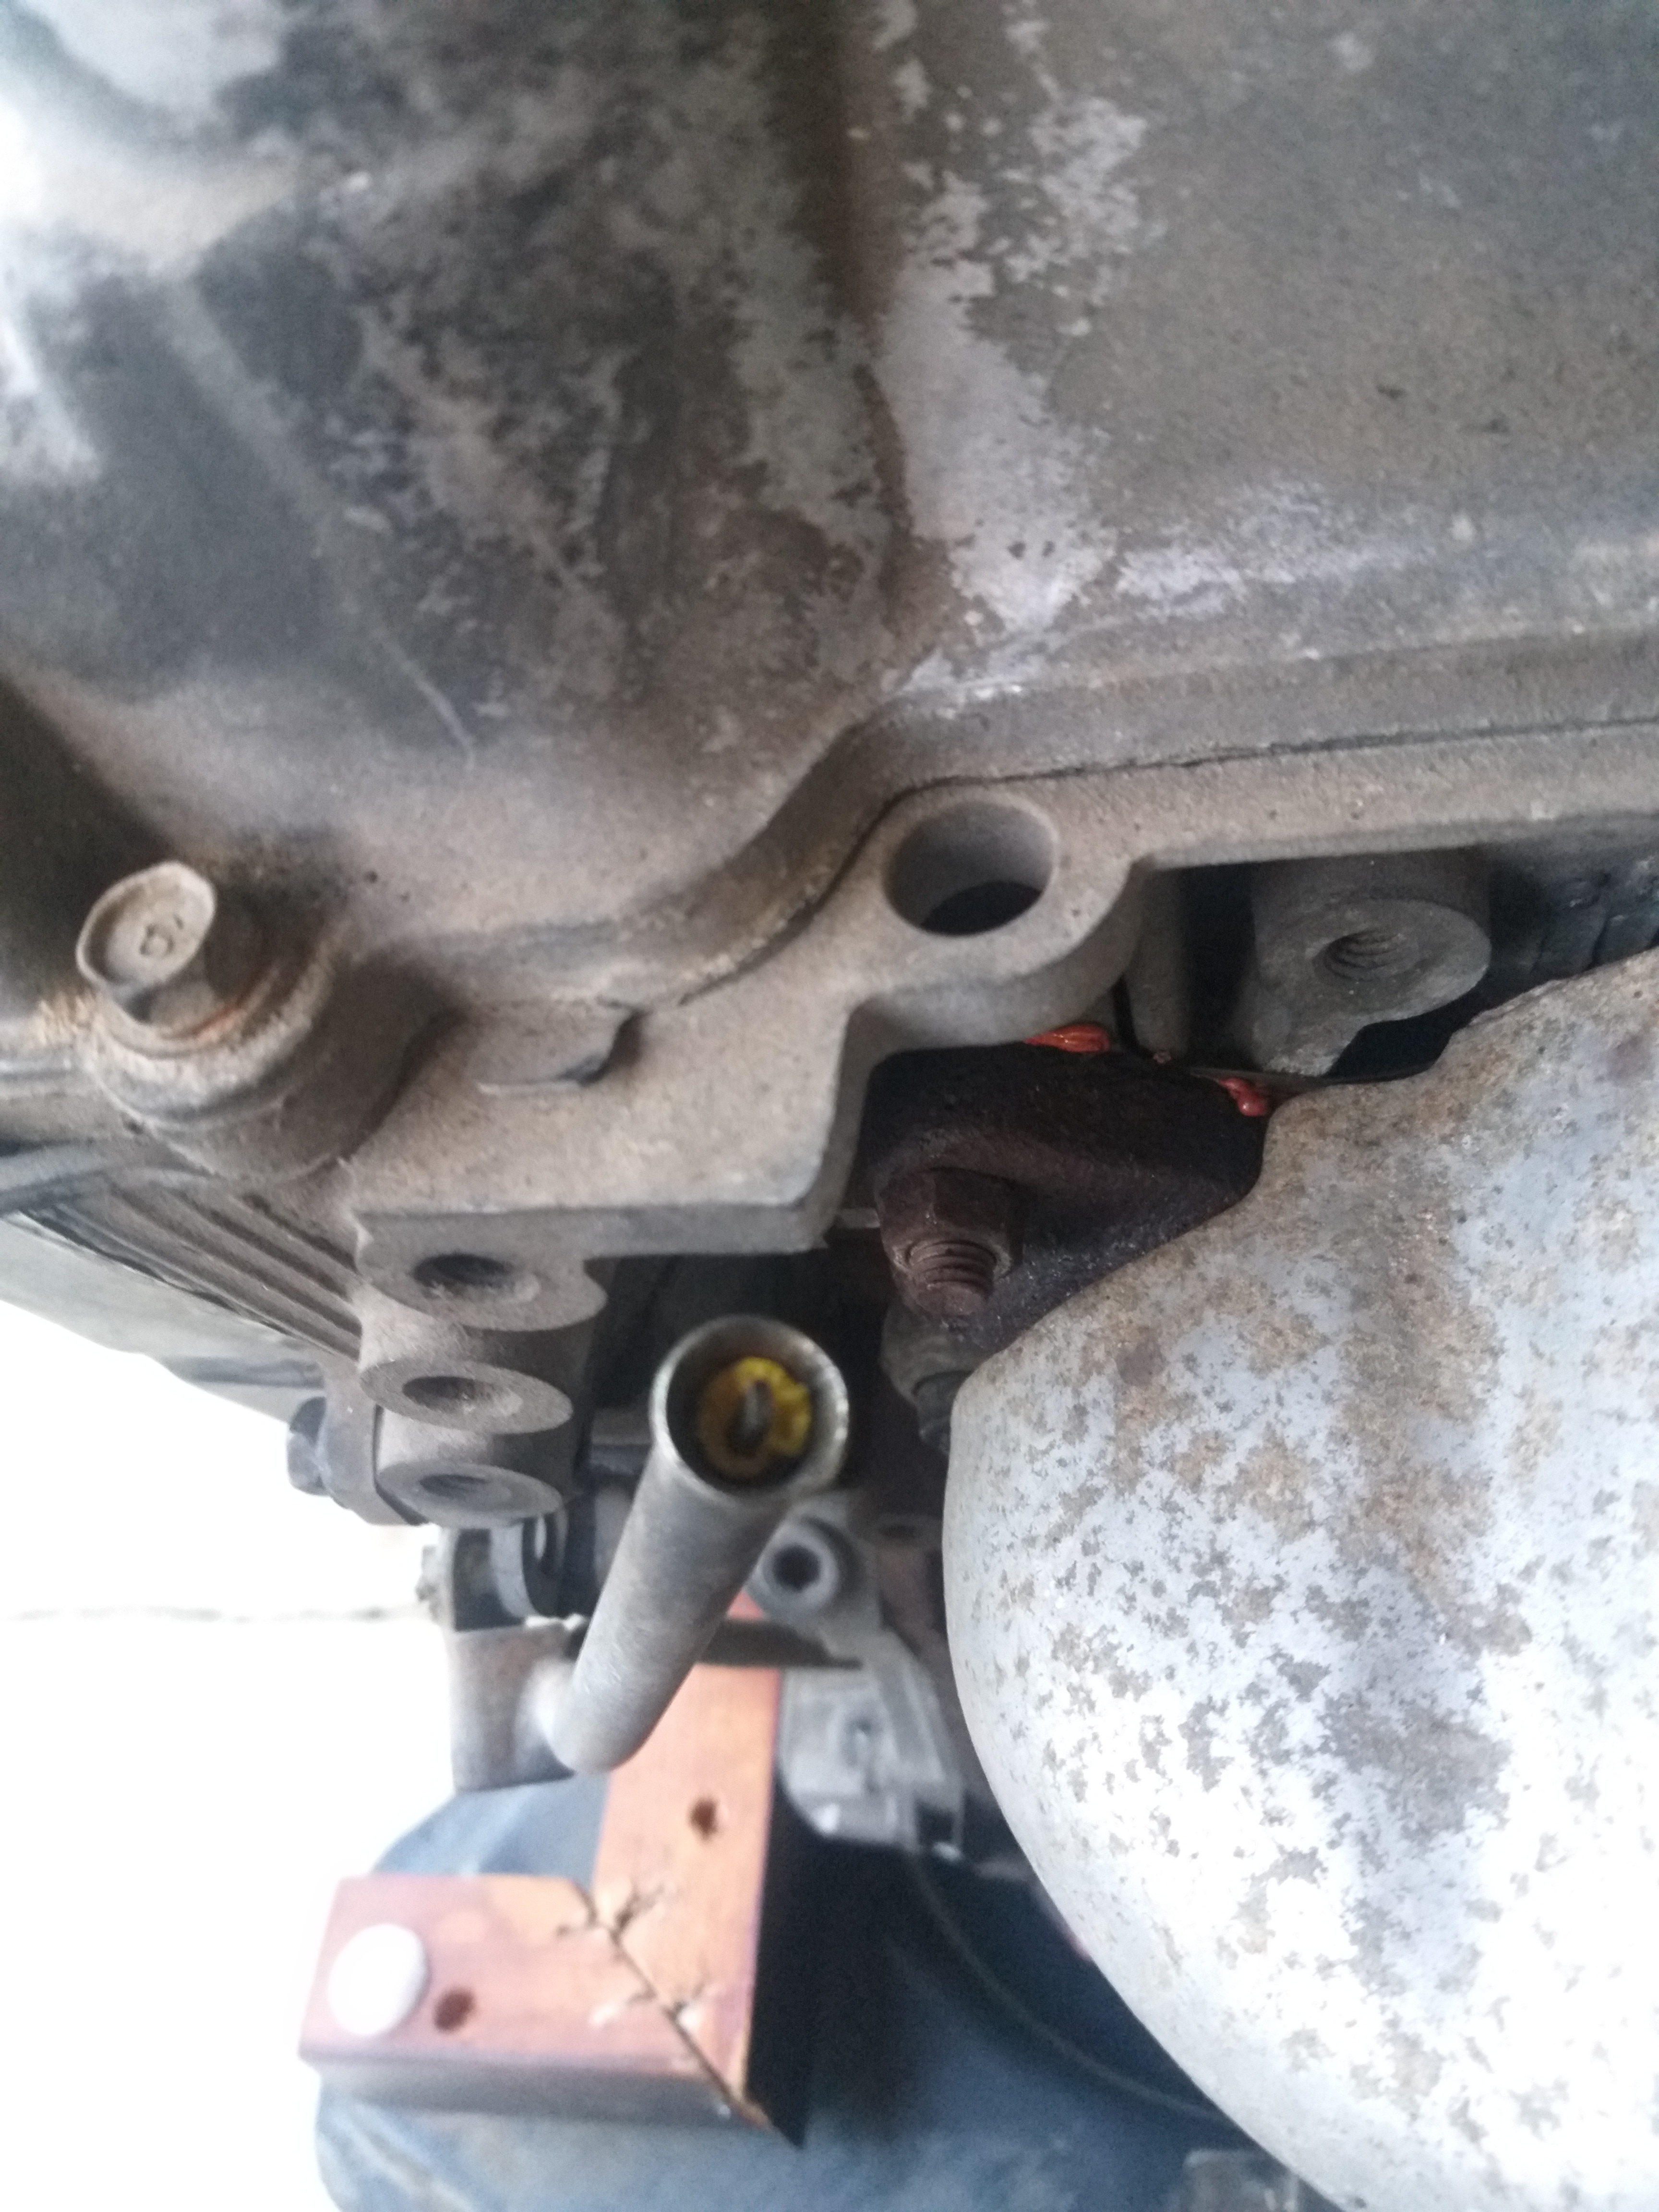
Added some extra black silicone into the engine mounts.
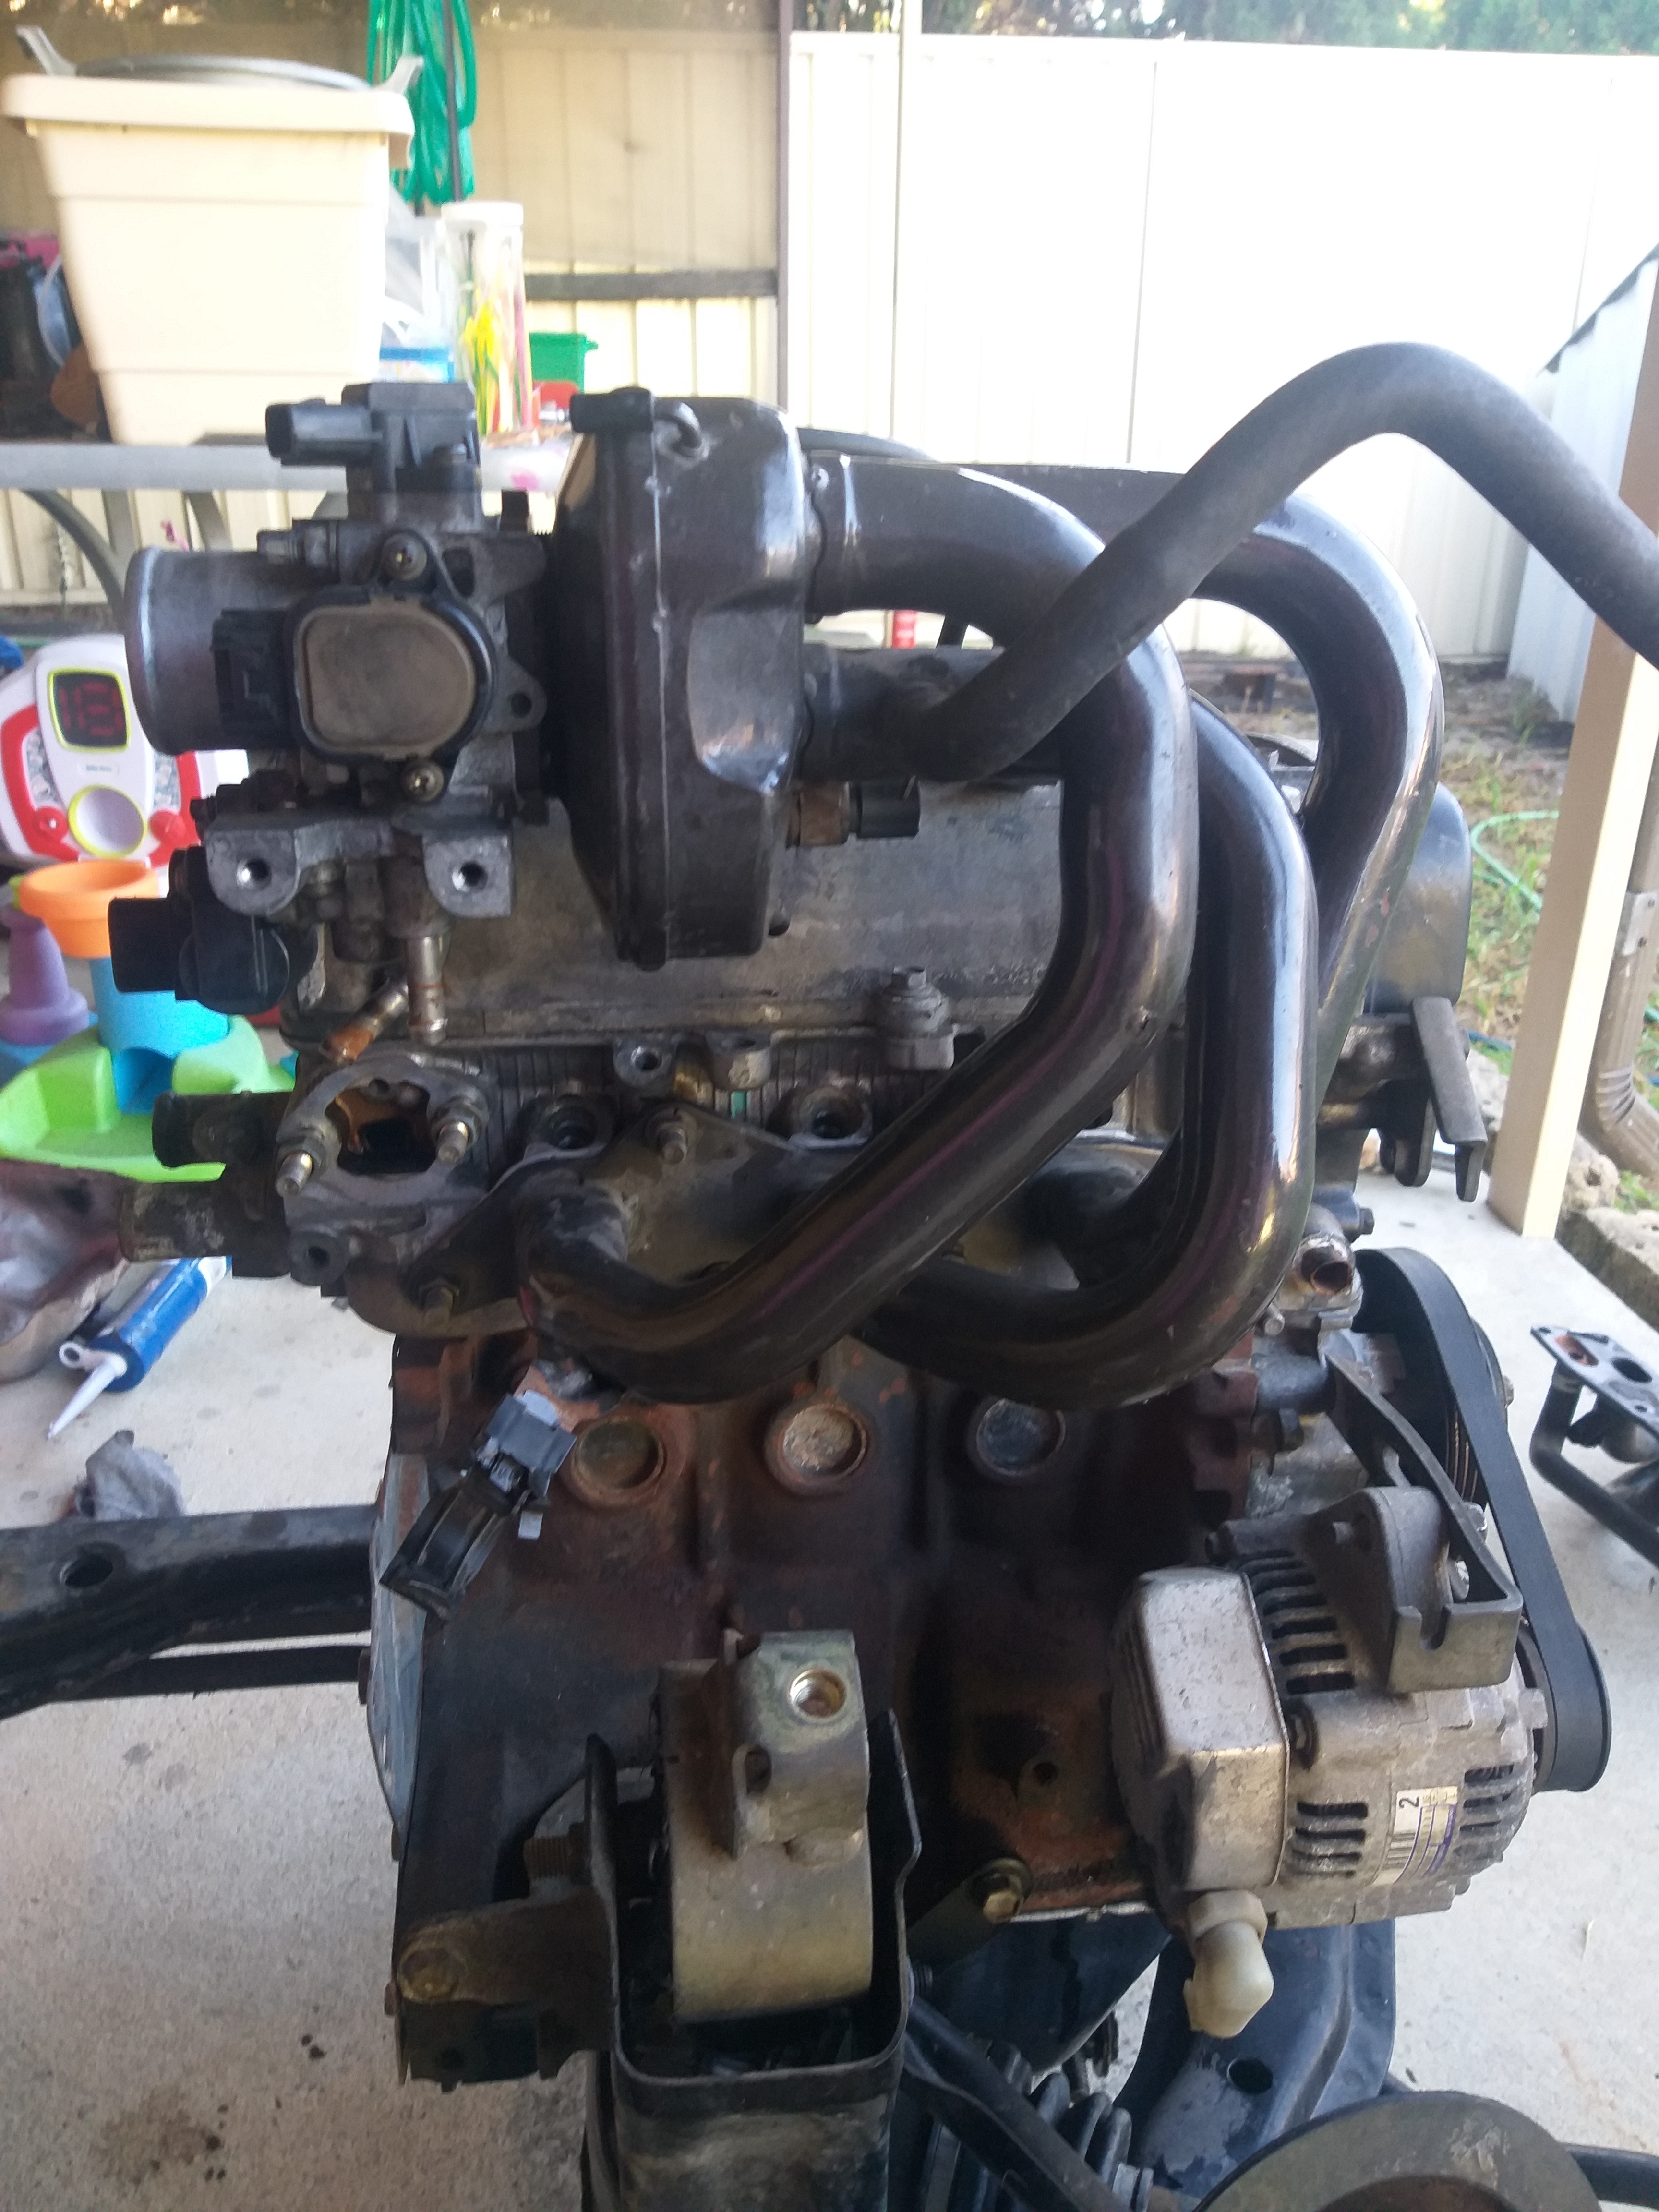
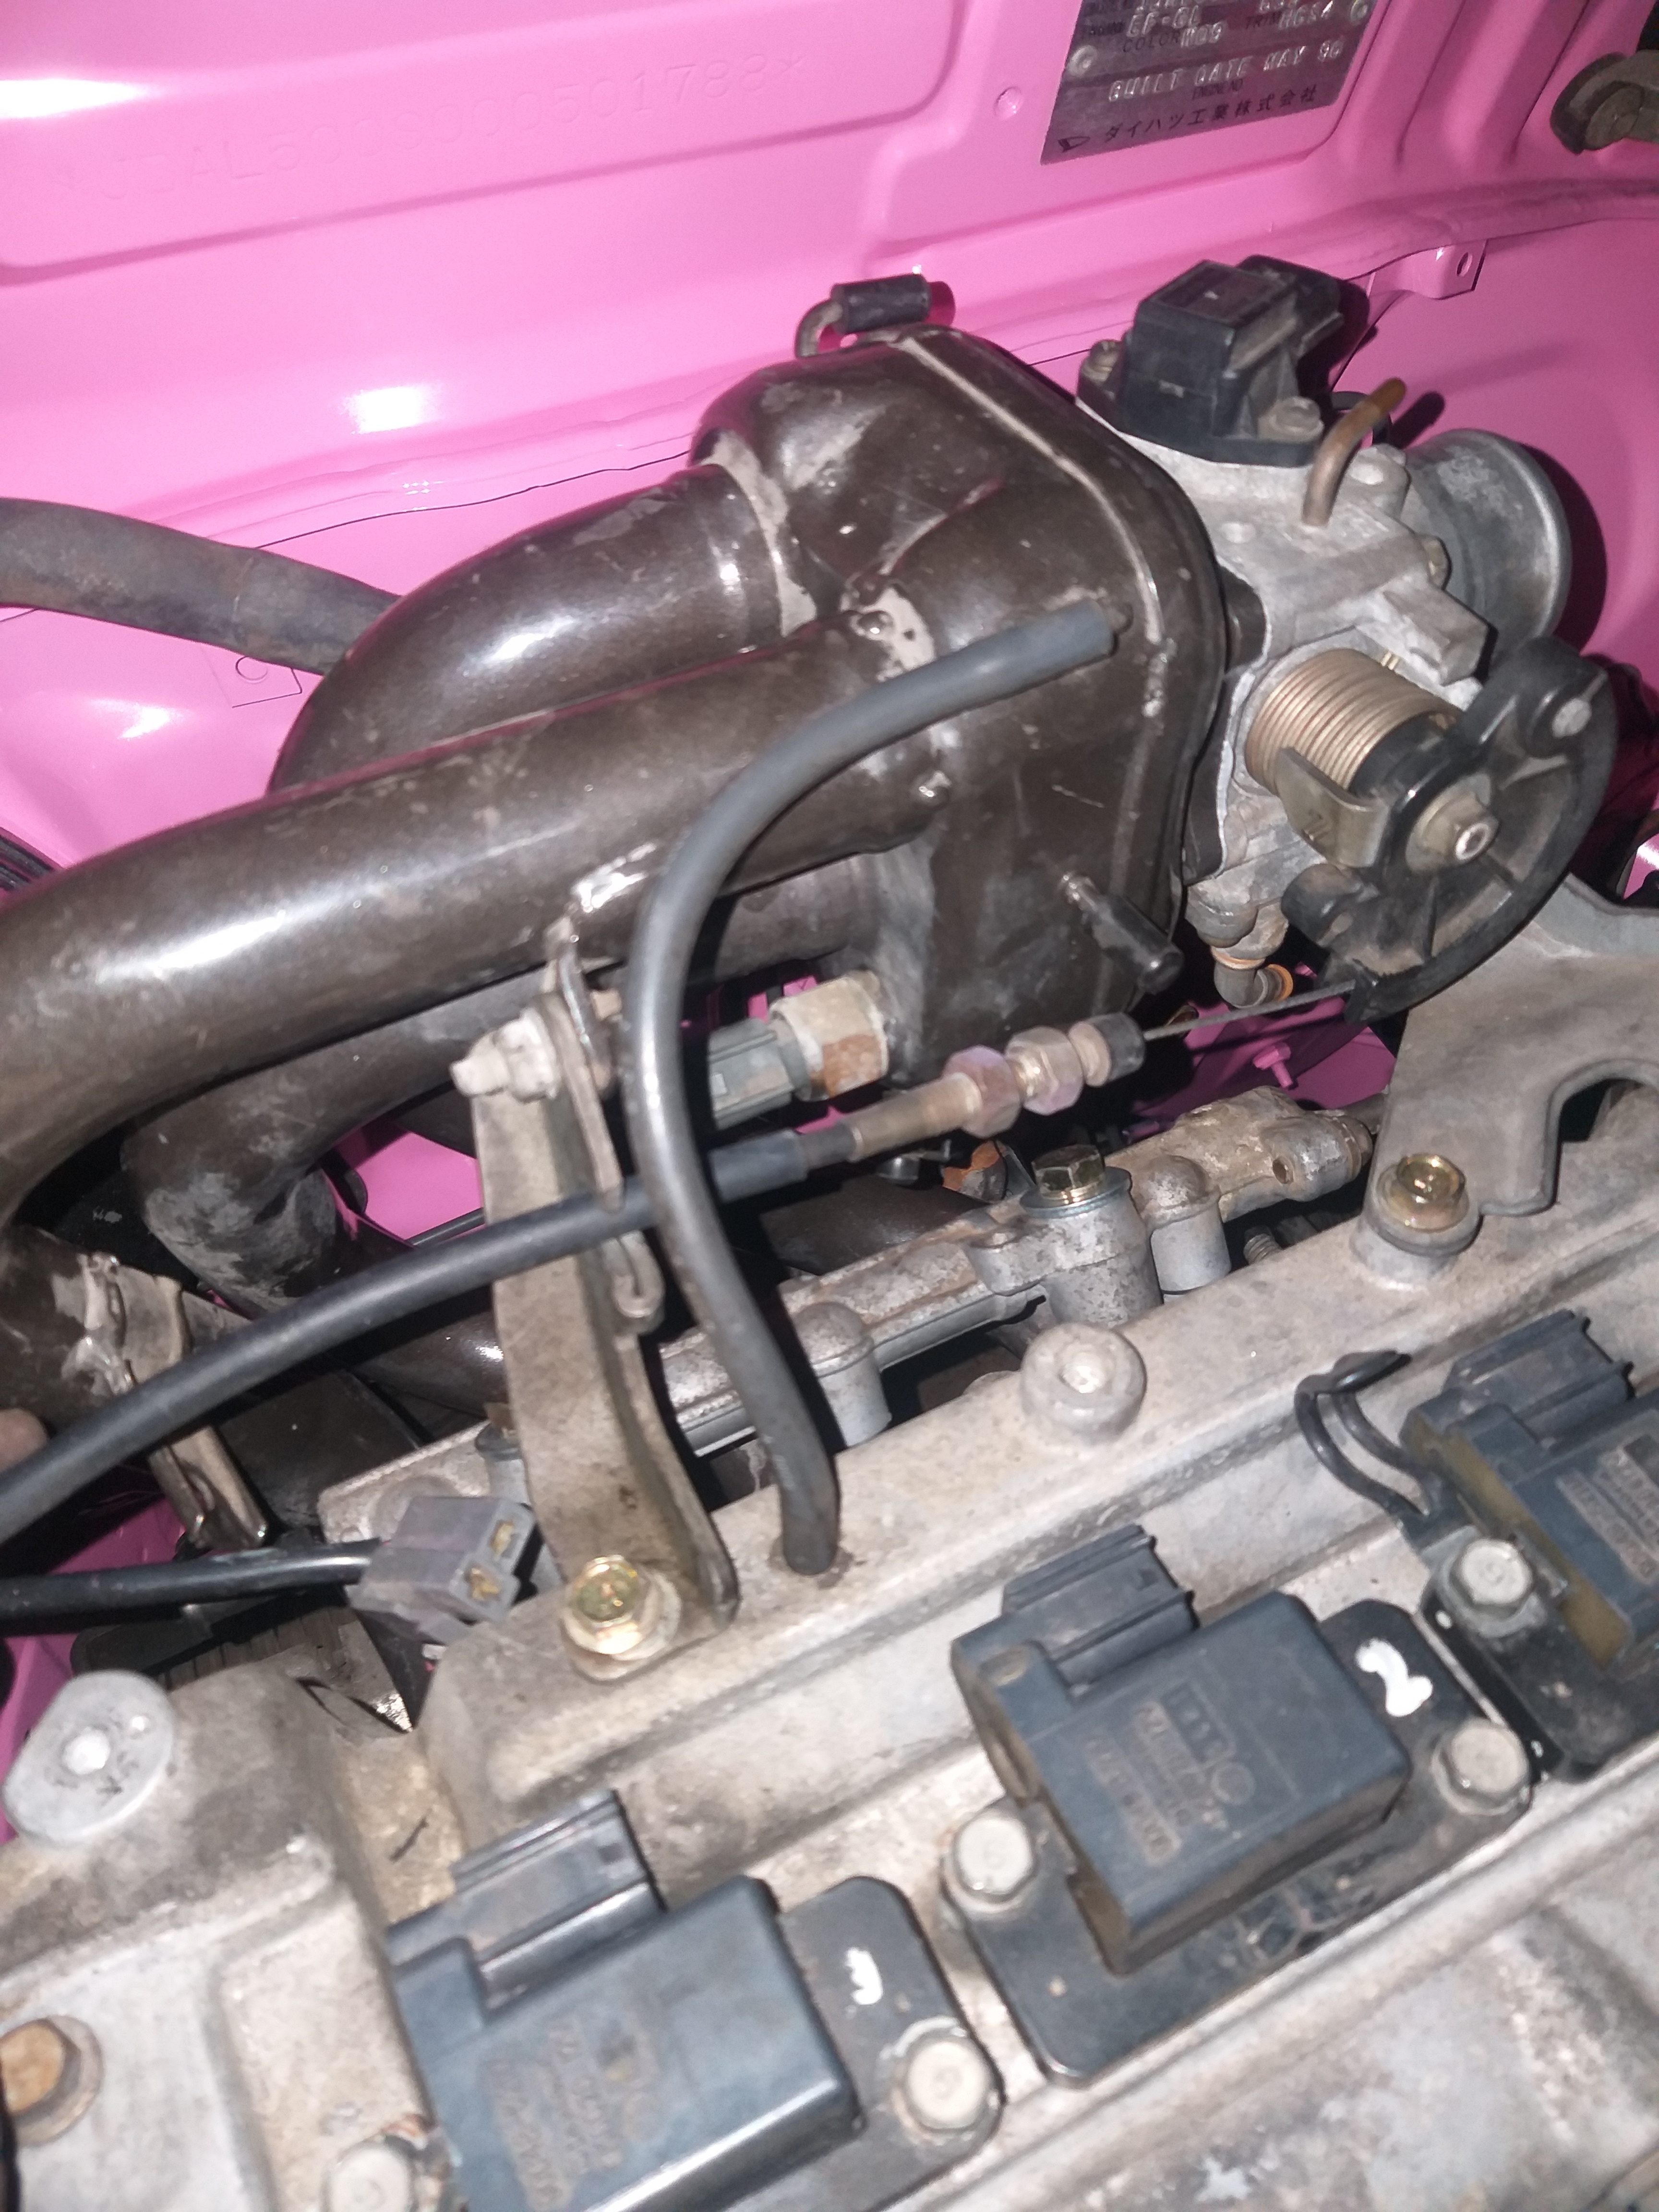
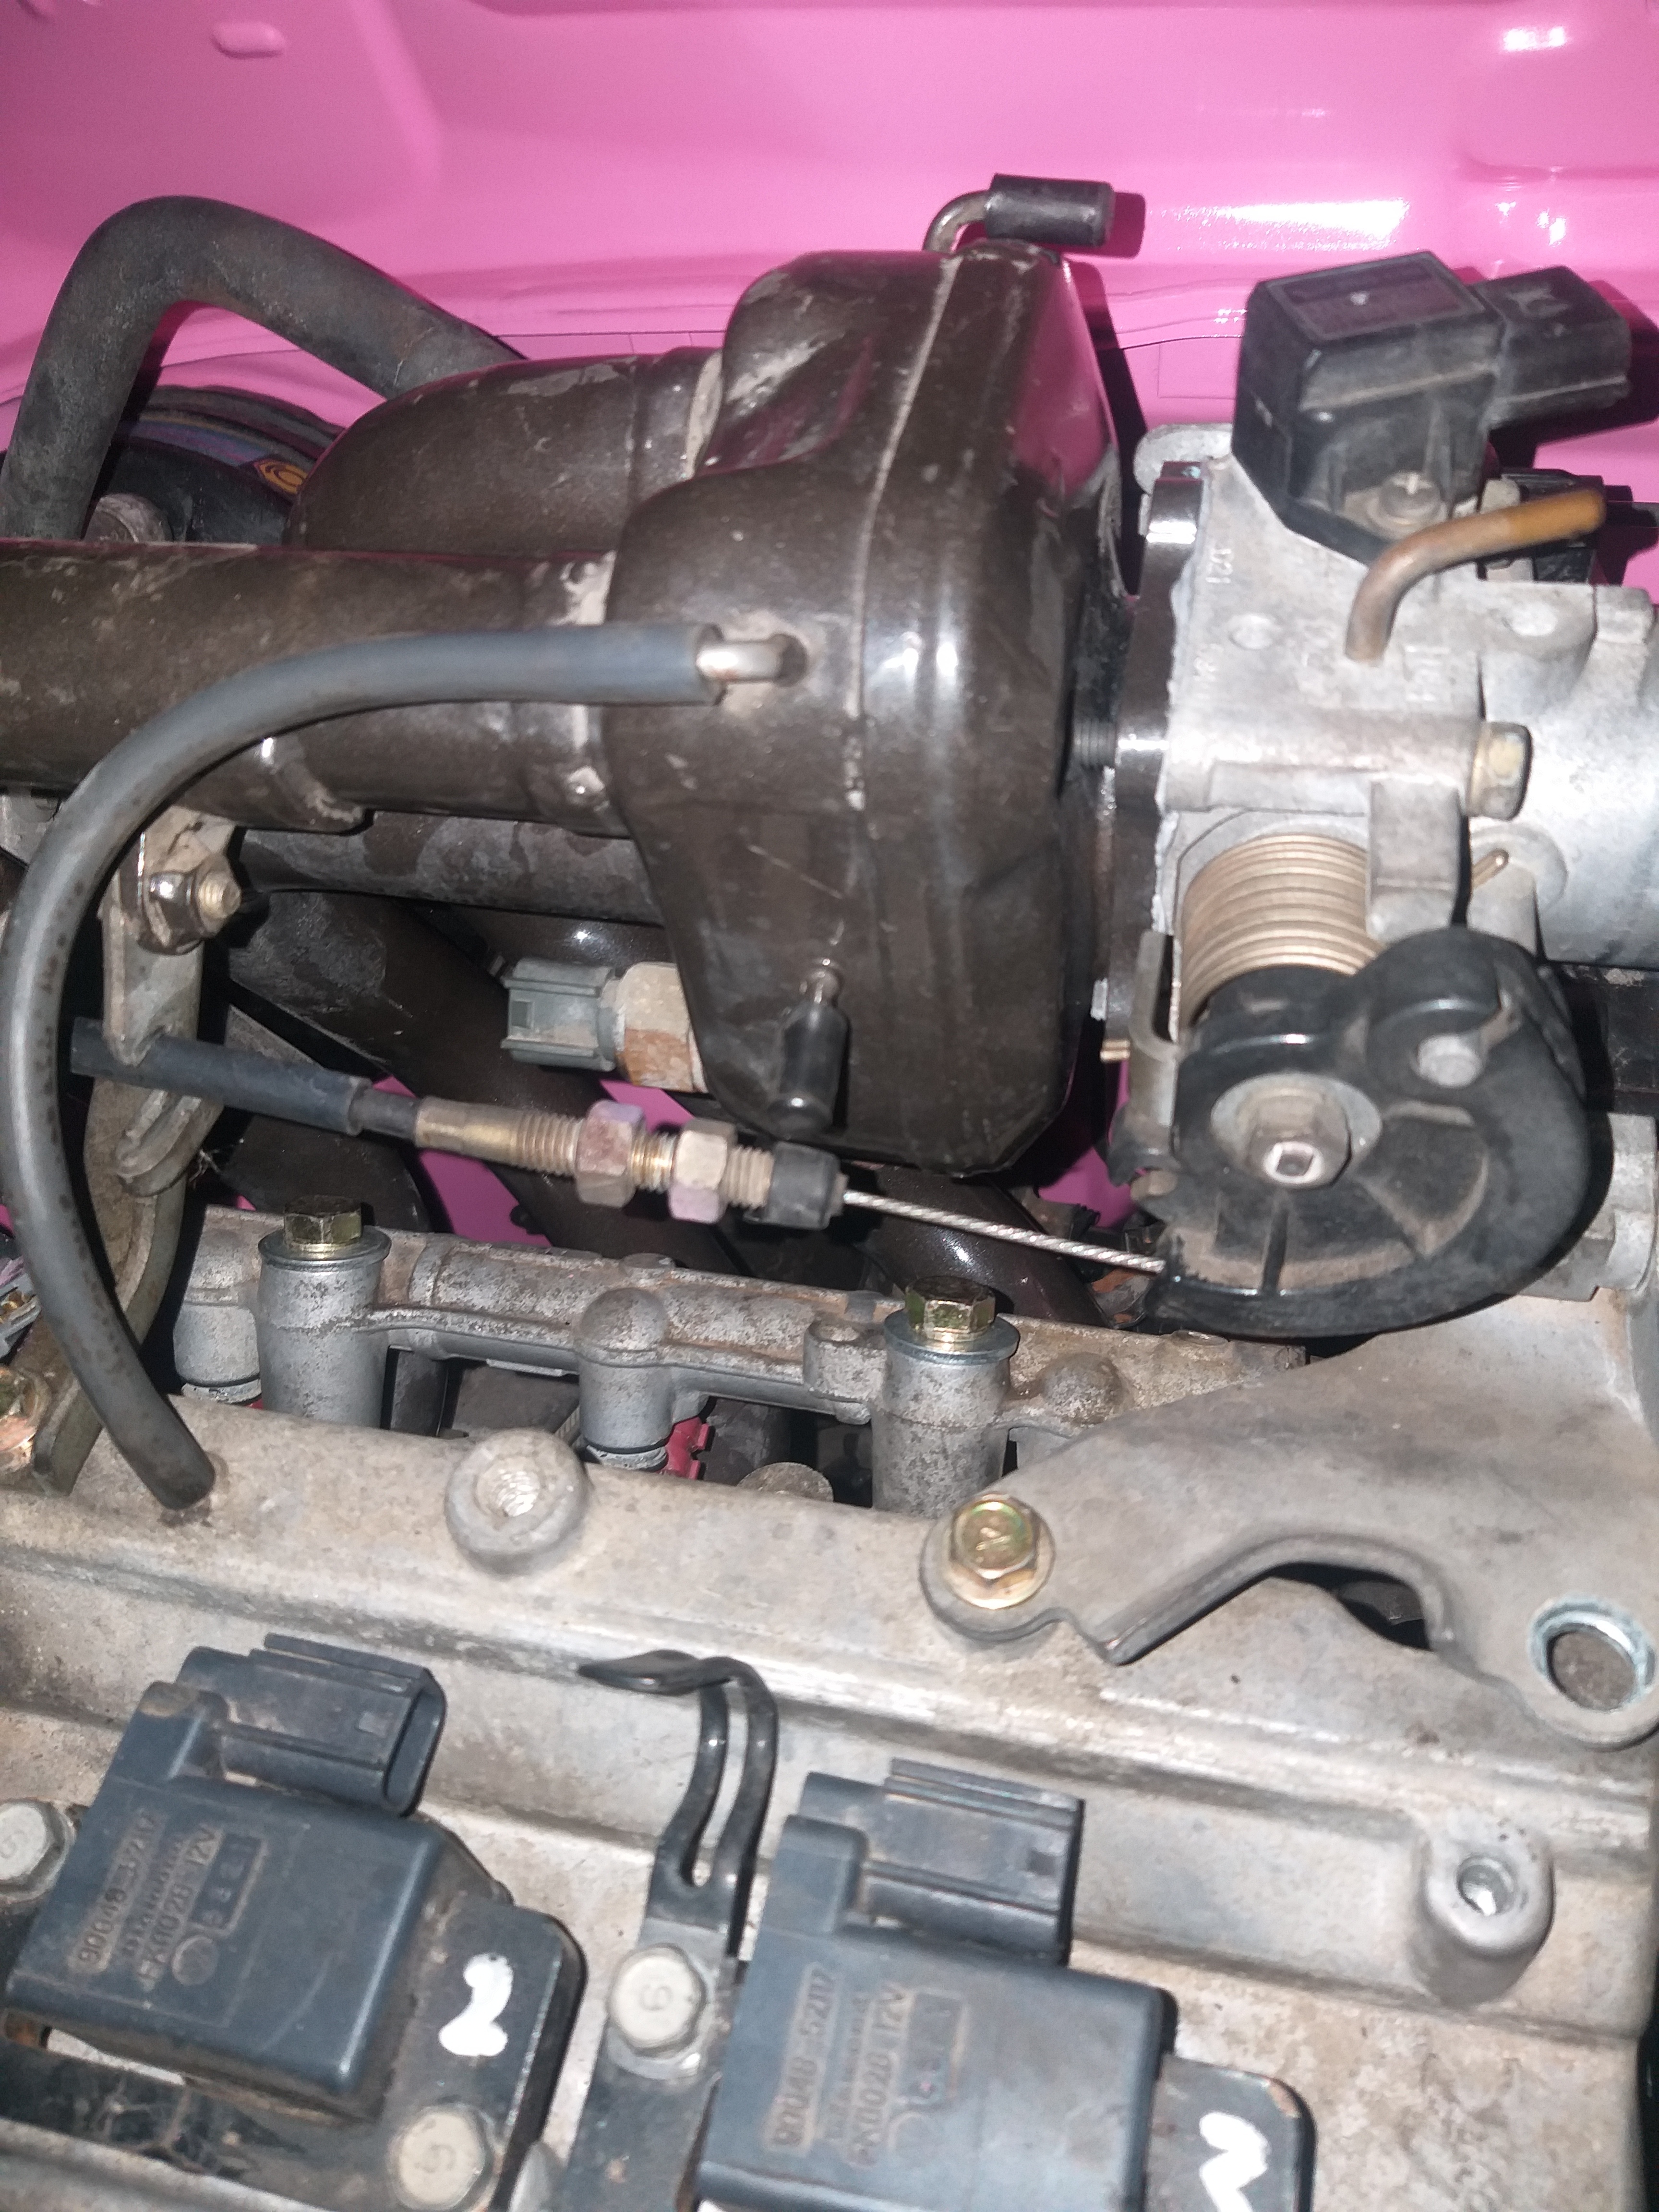
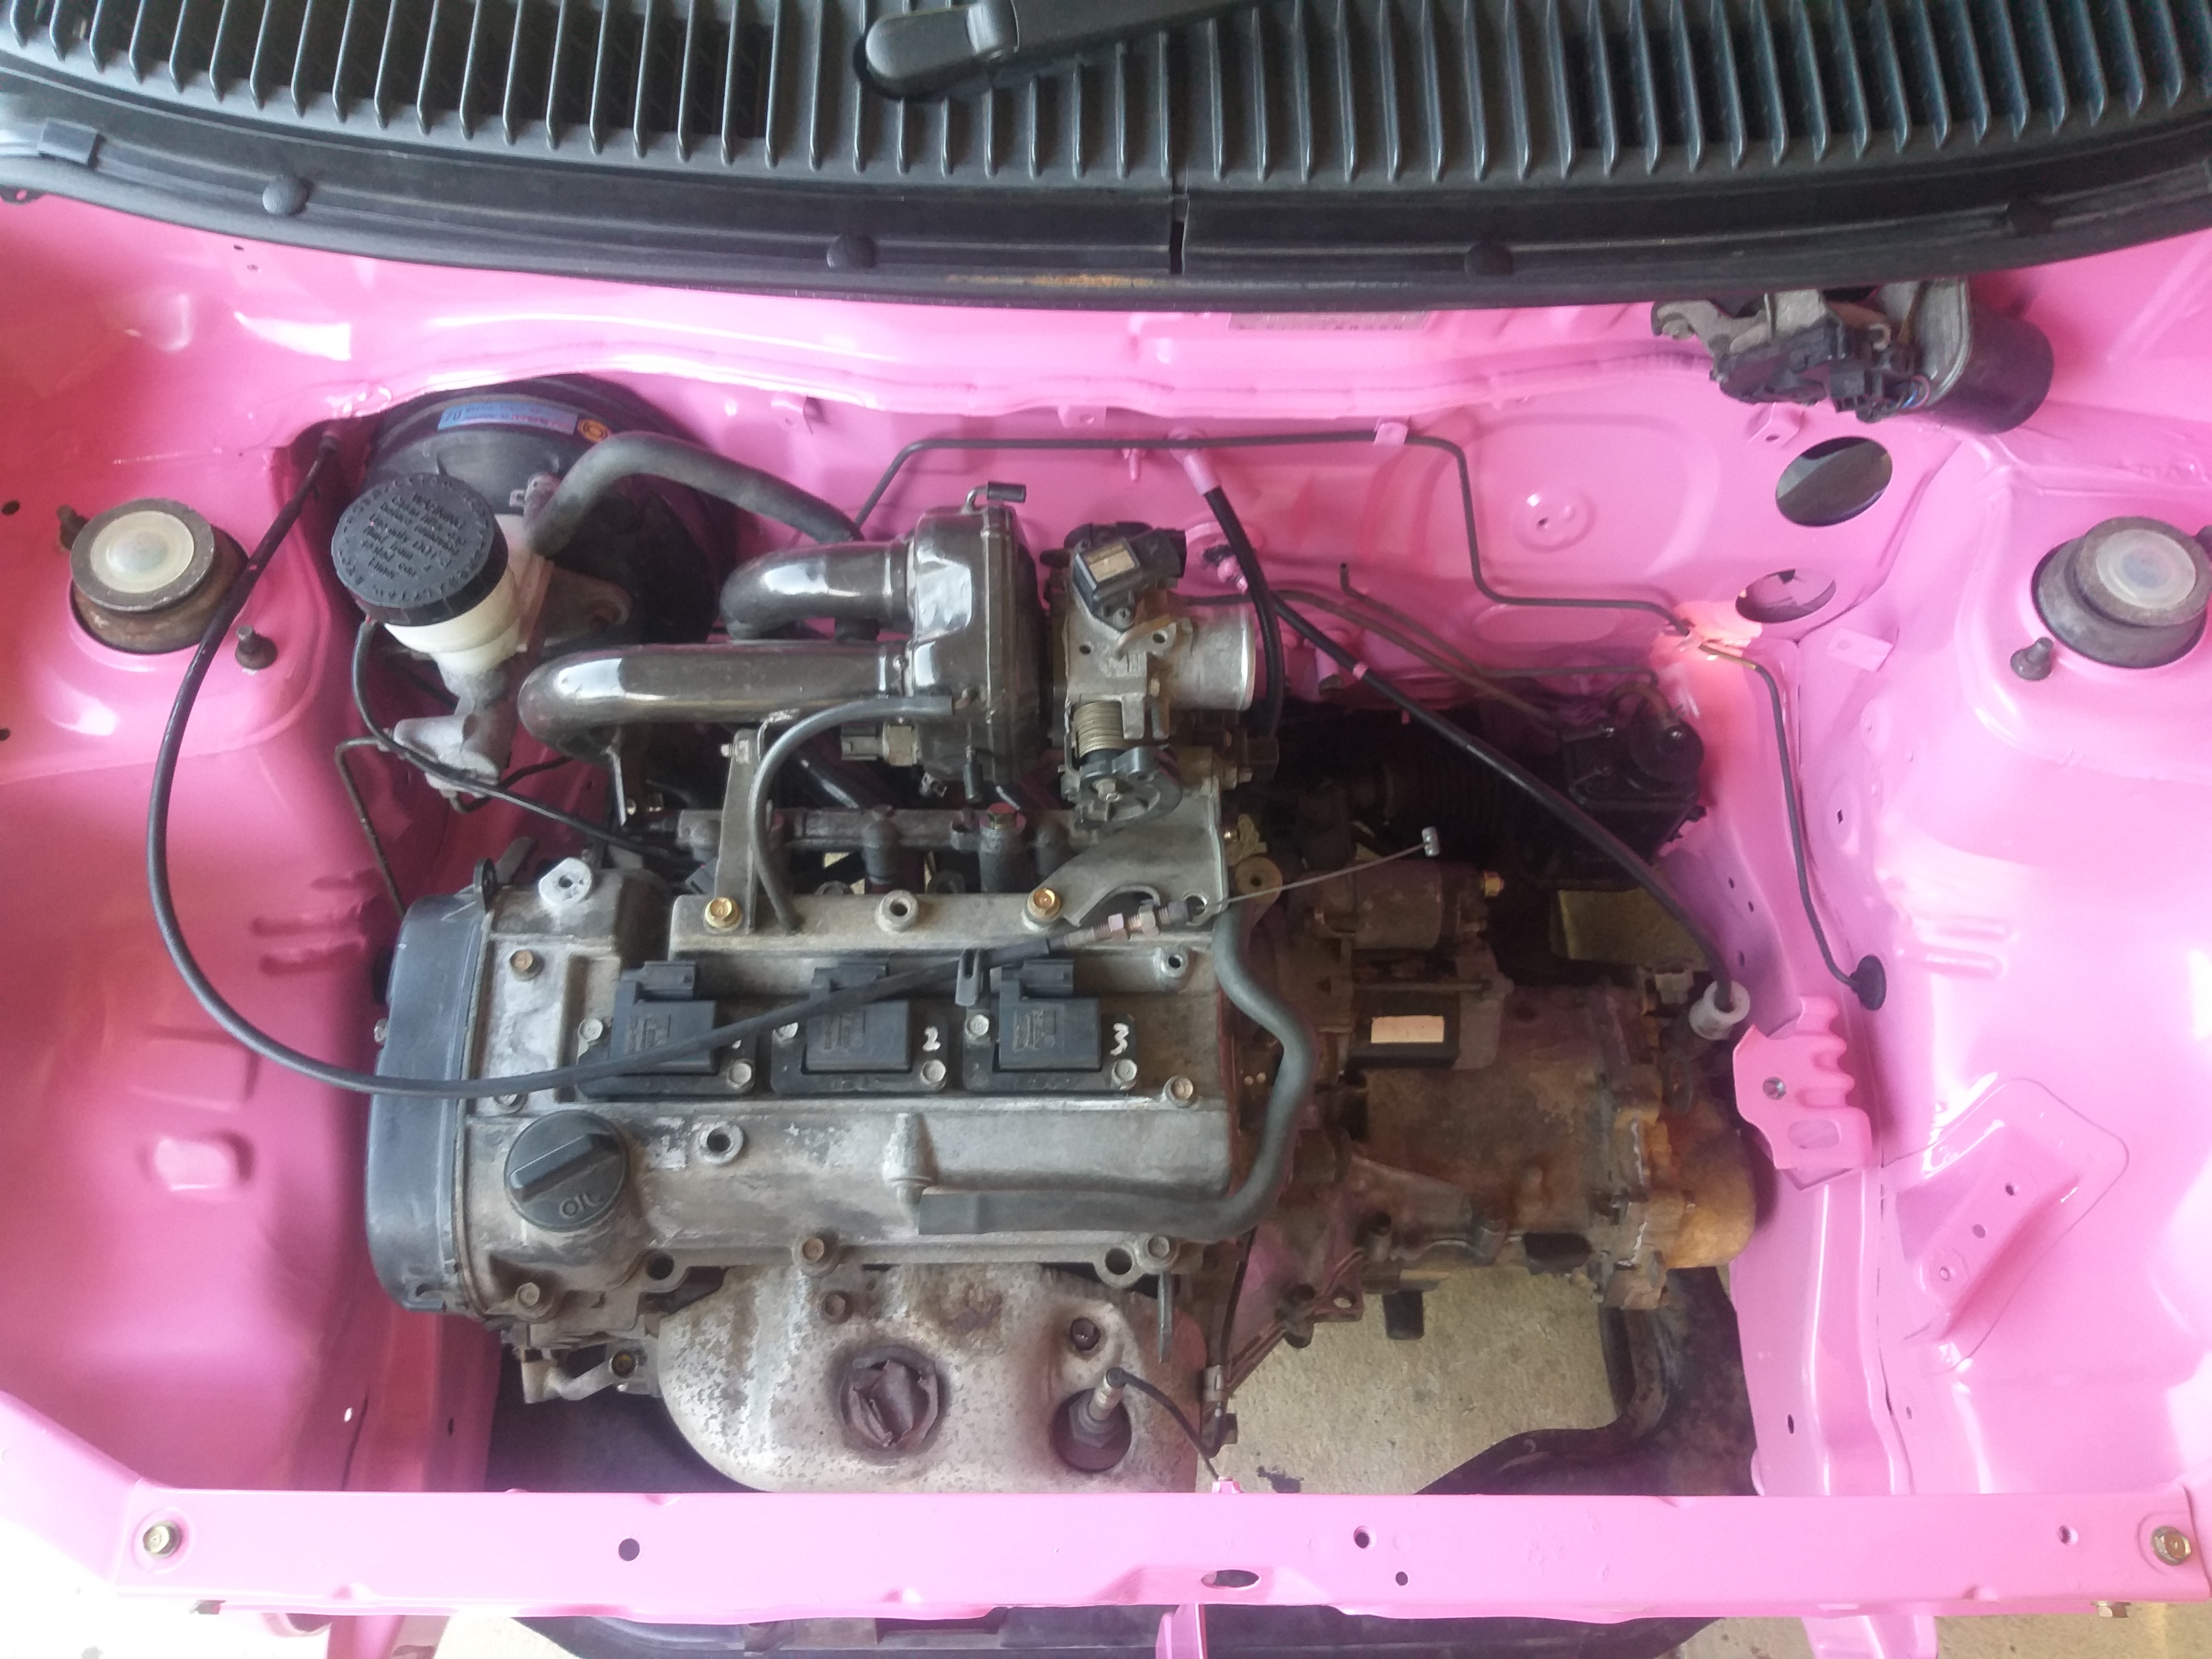
Fitted the factory headers, yuk.
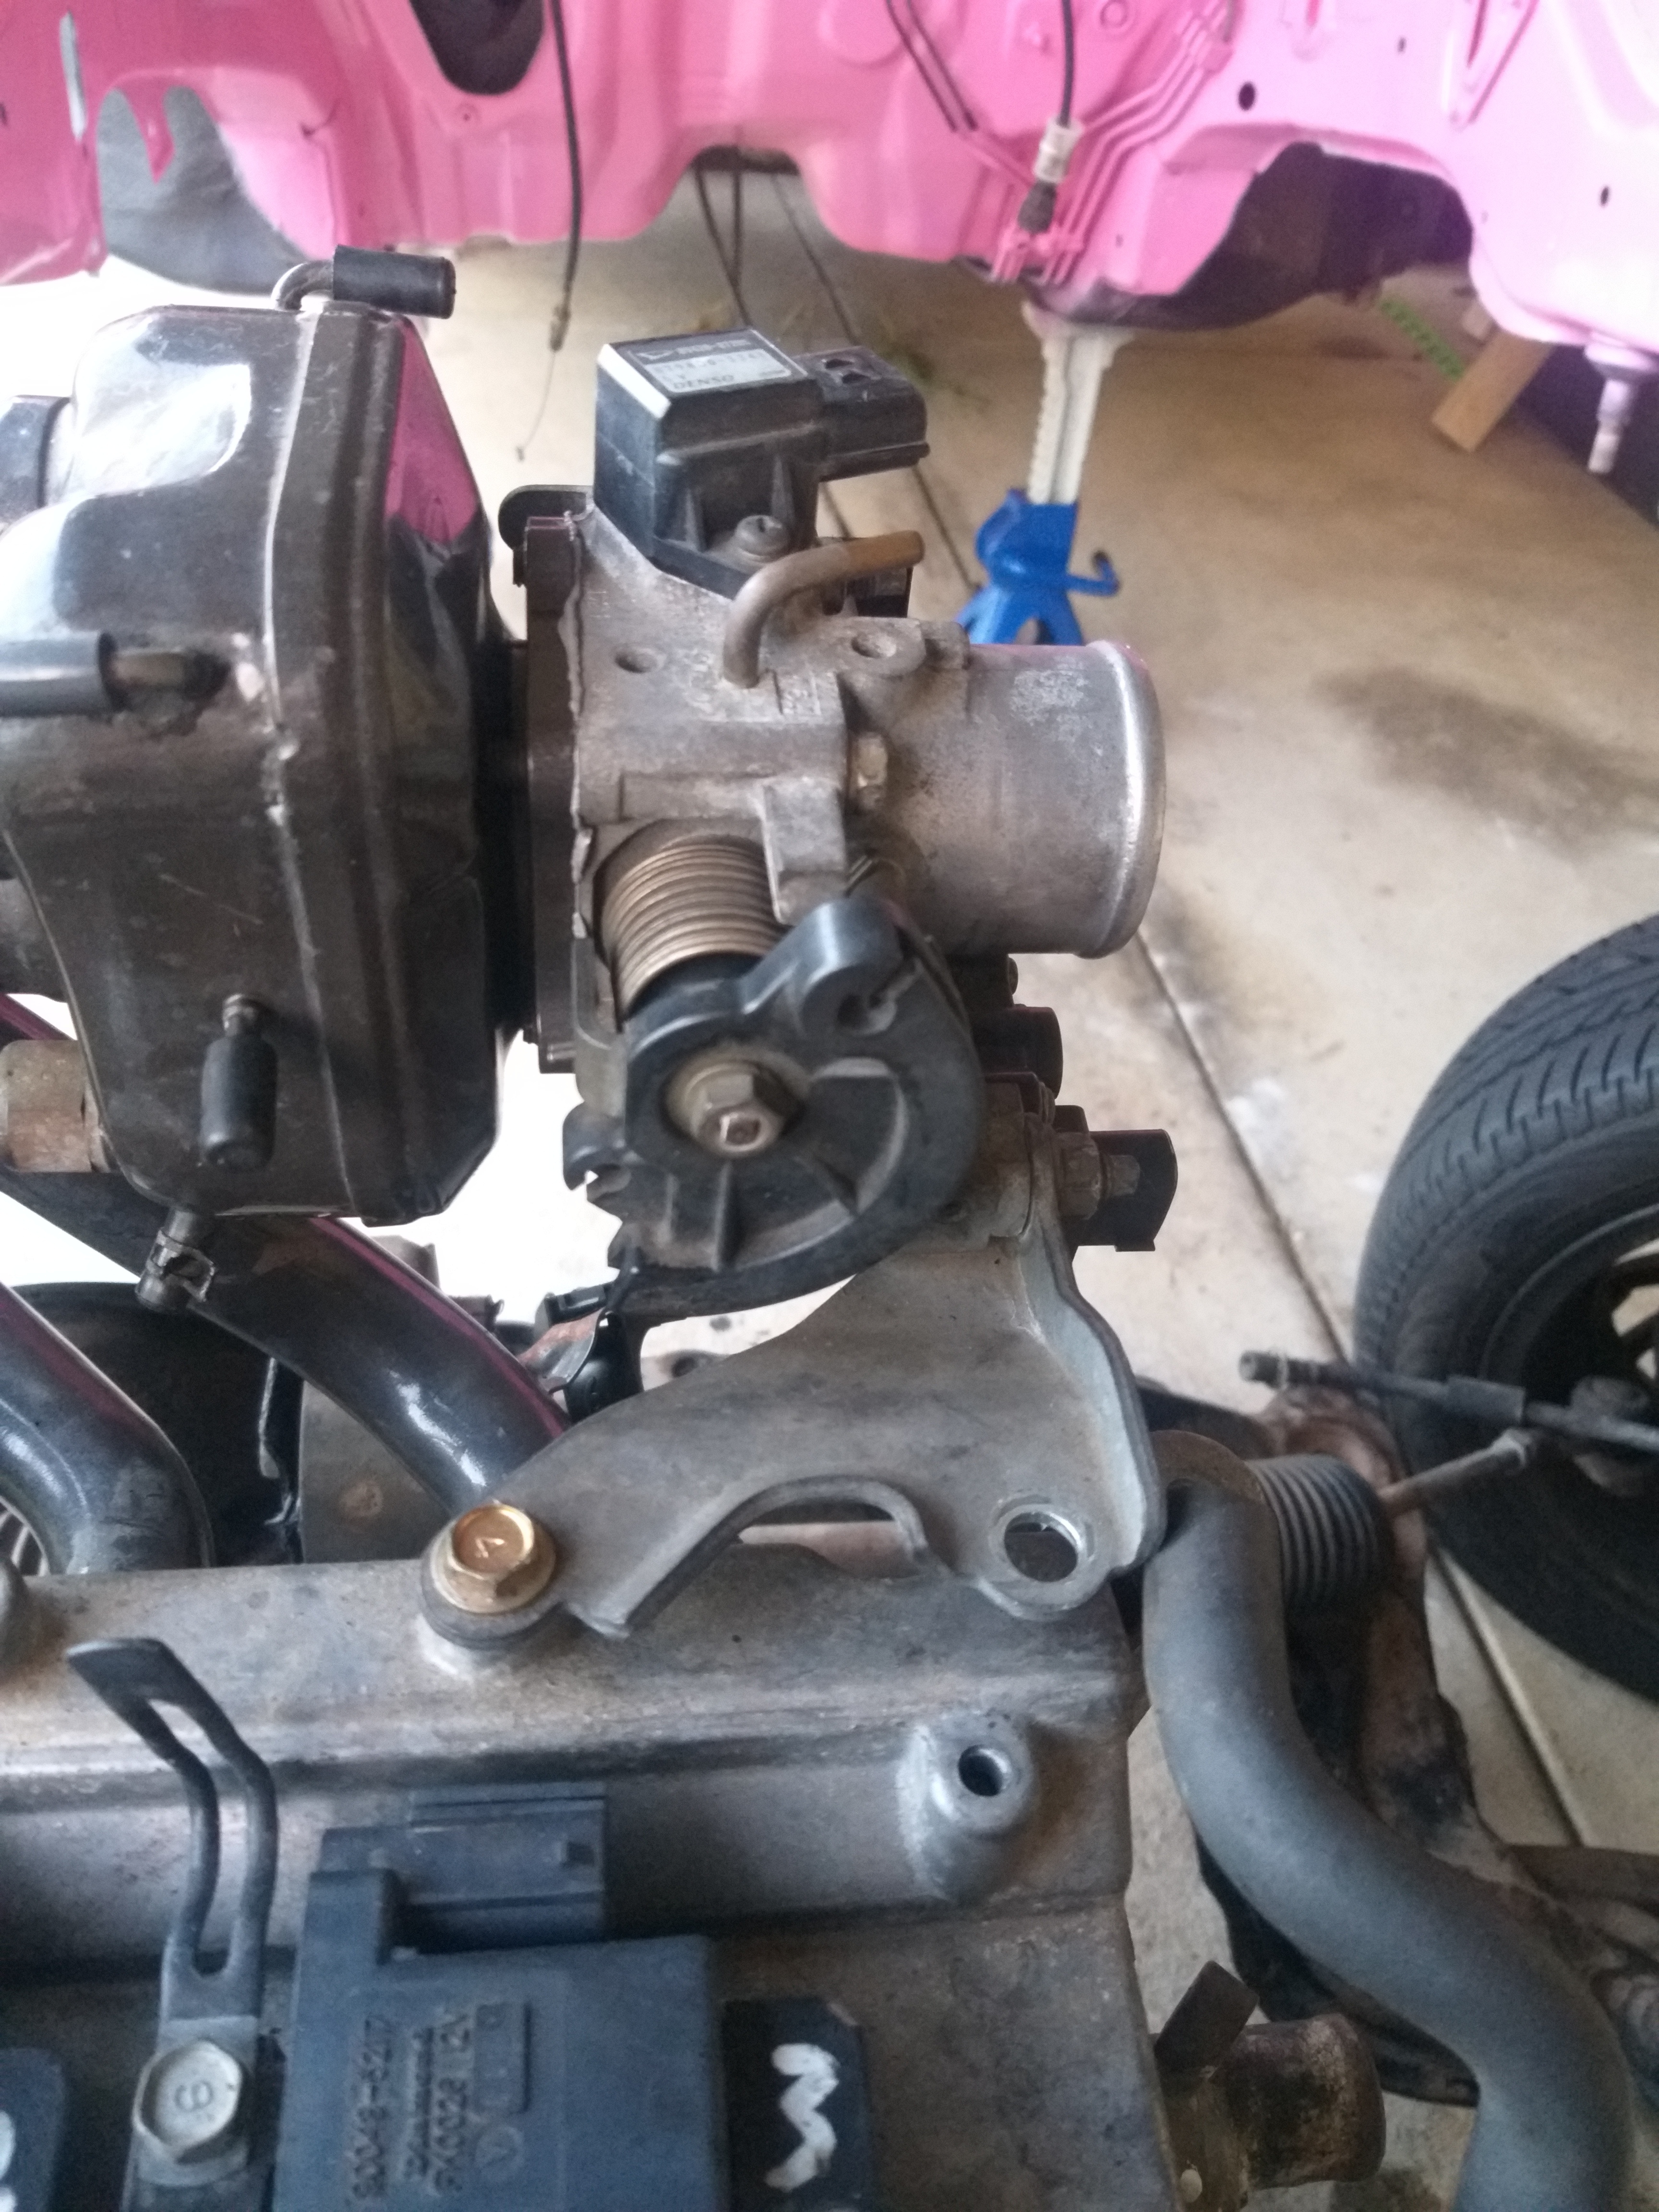
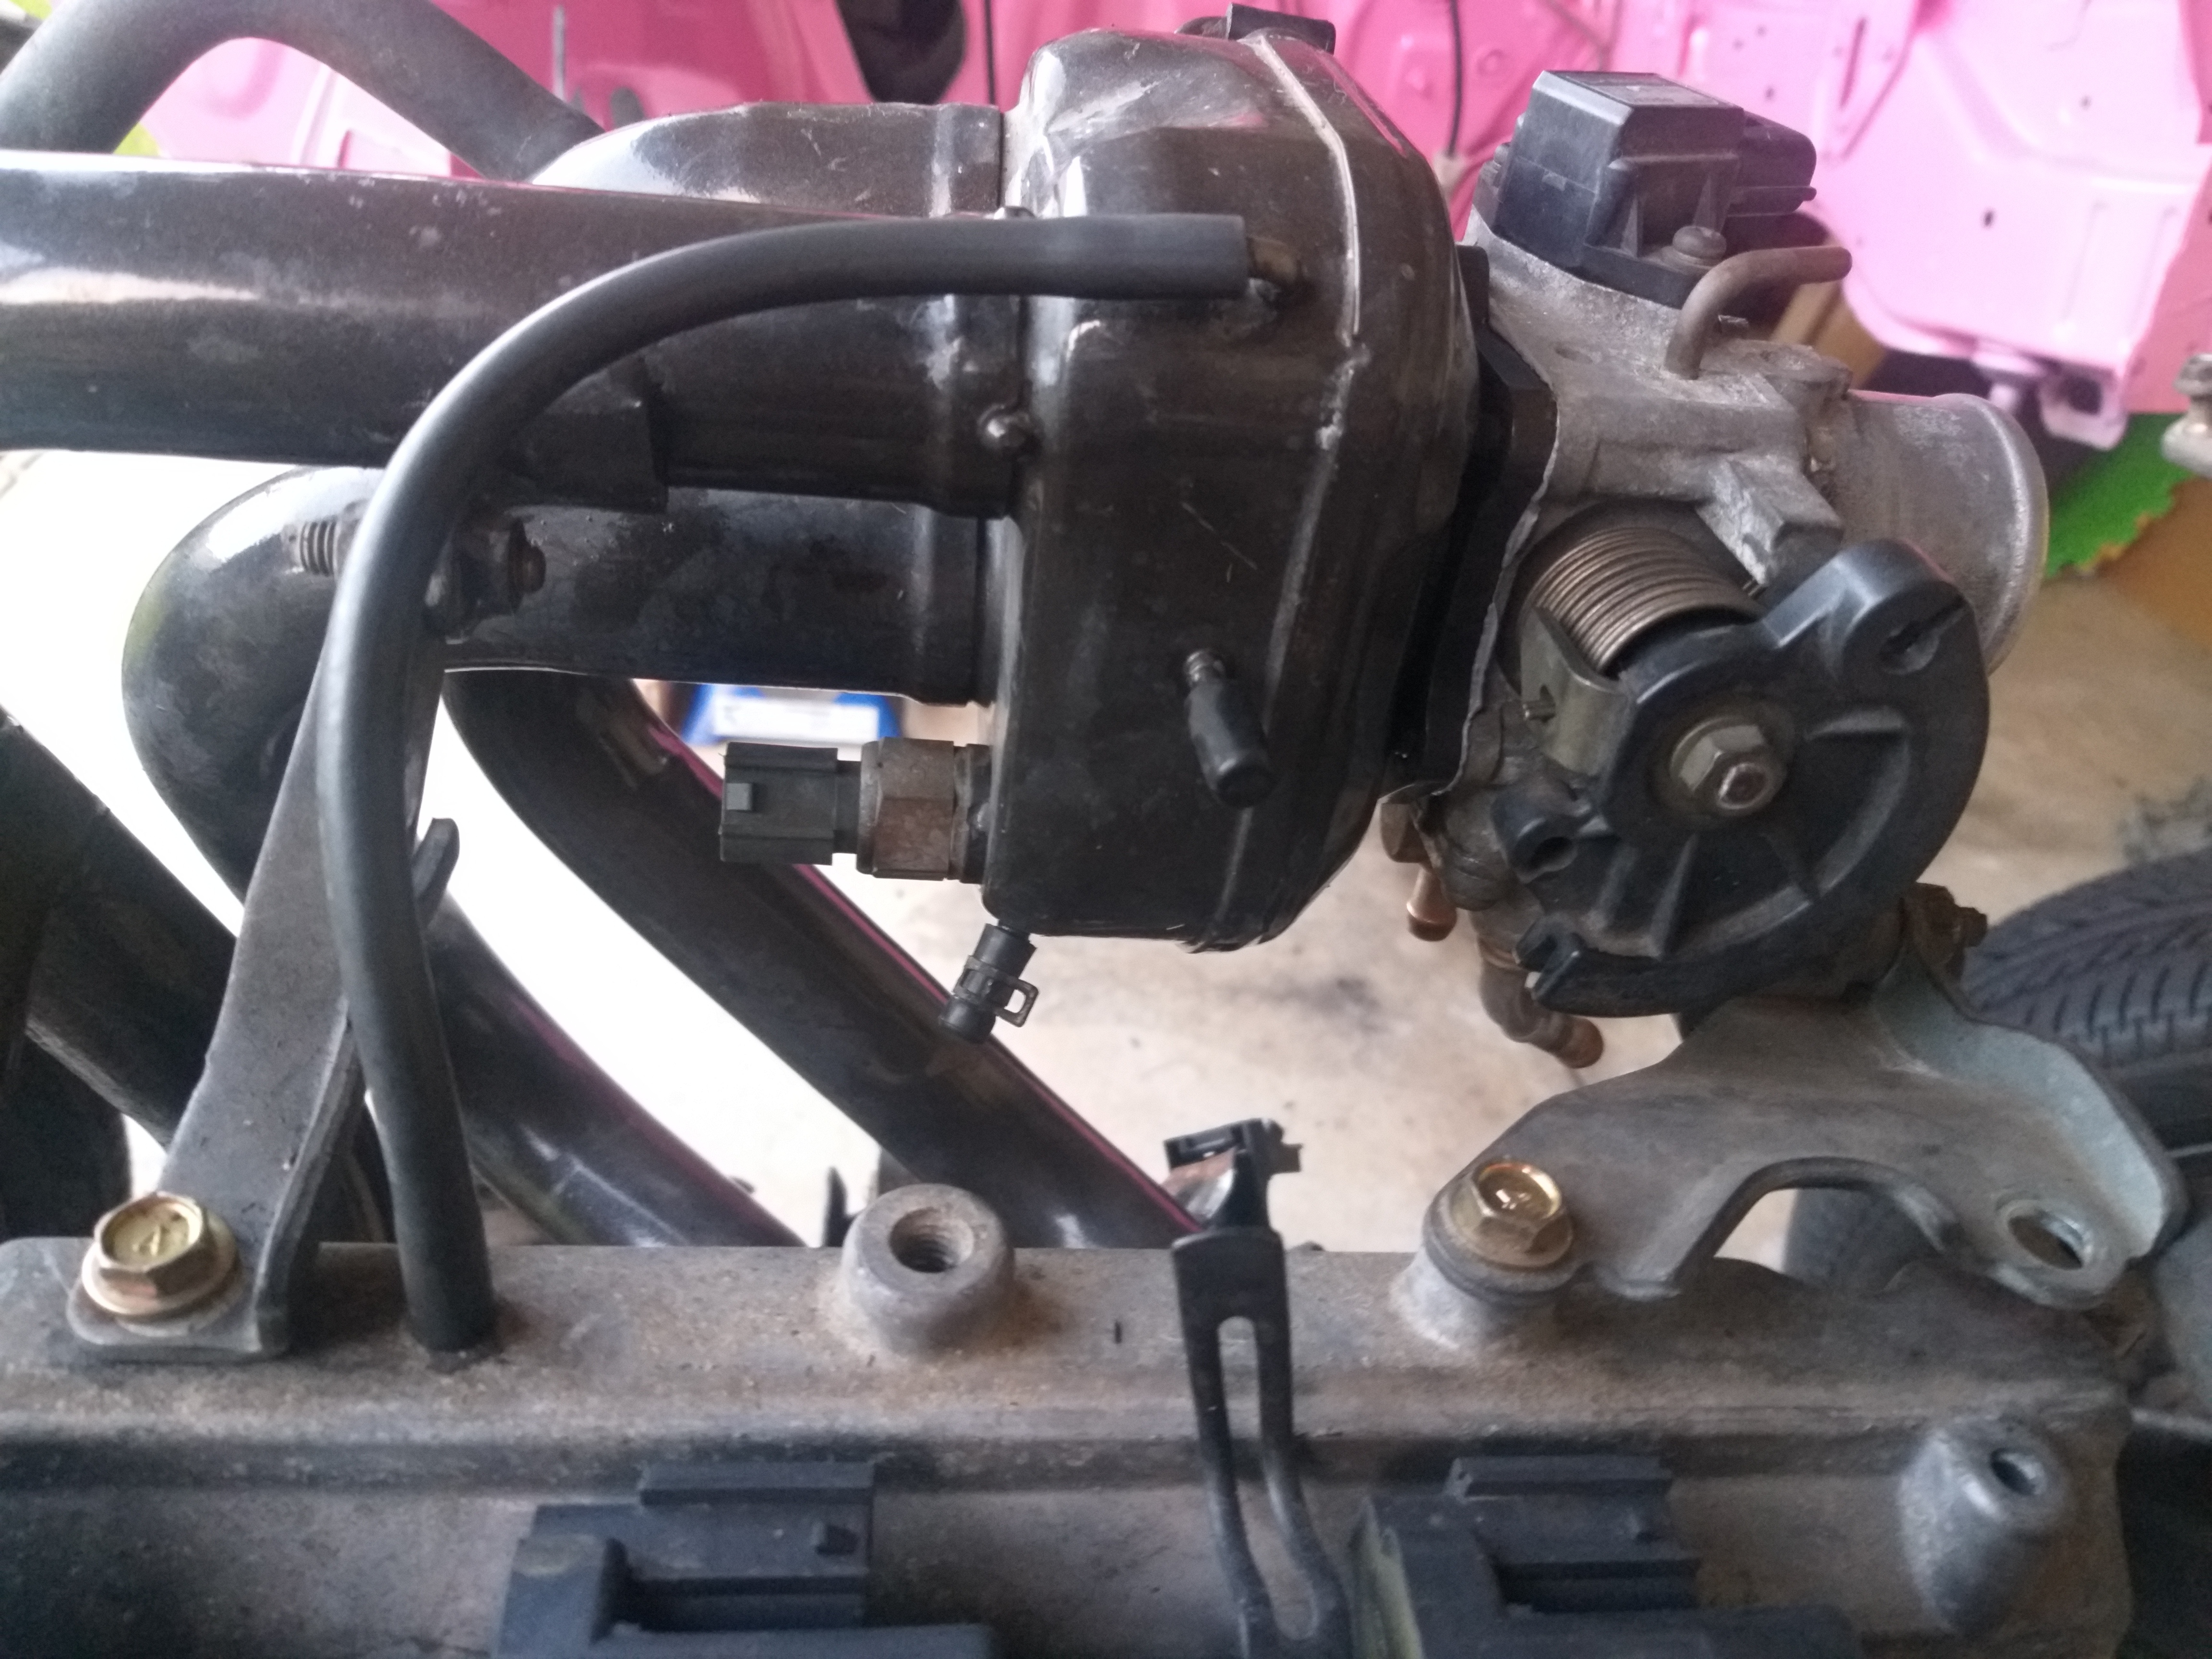
Fitted the EJDE intake manifold and throttle body. Only one intake bracket bolt wasn’t there on the EFGL rocker cover.
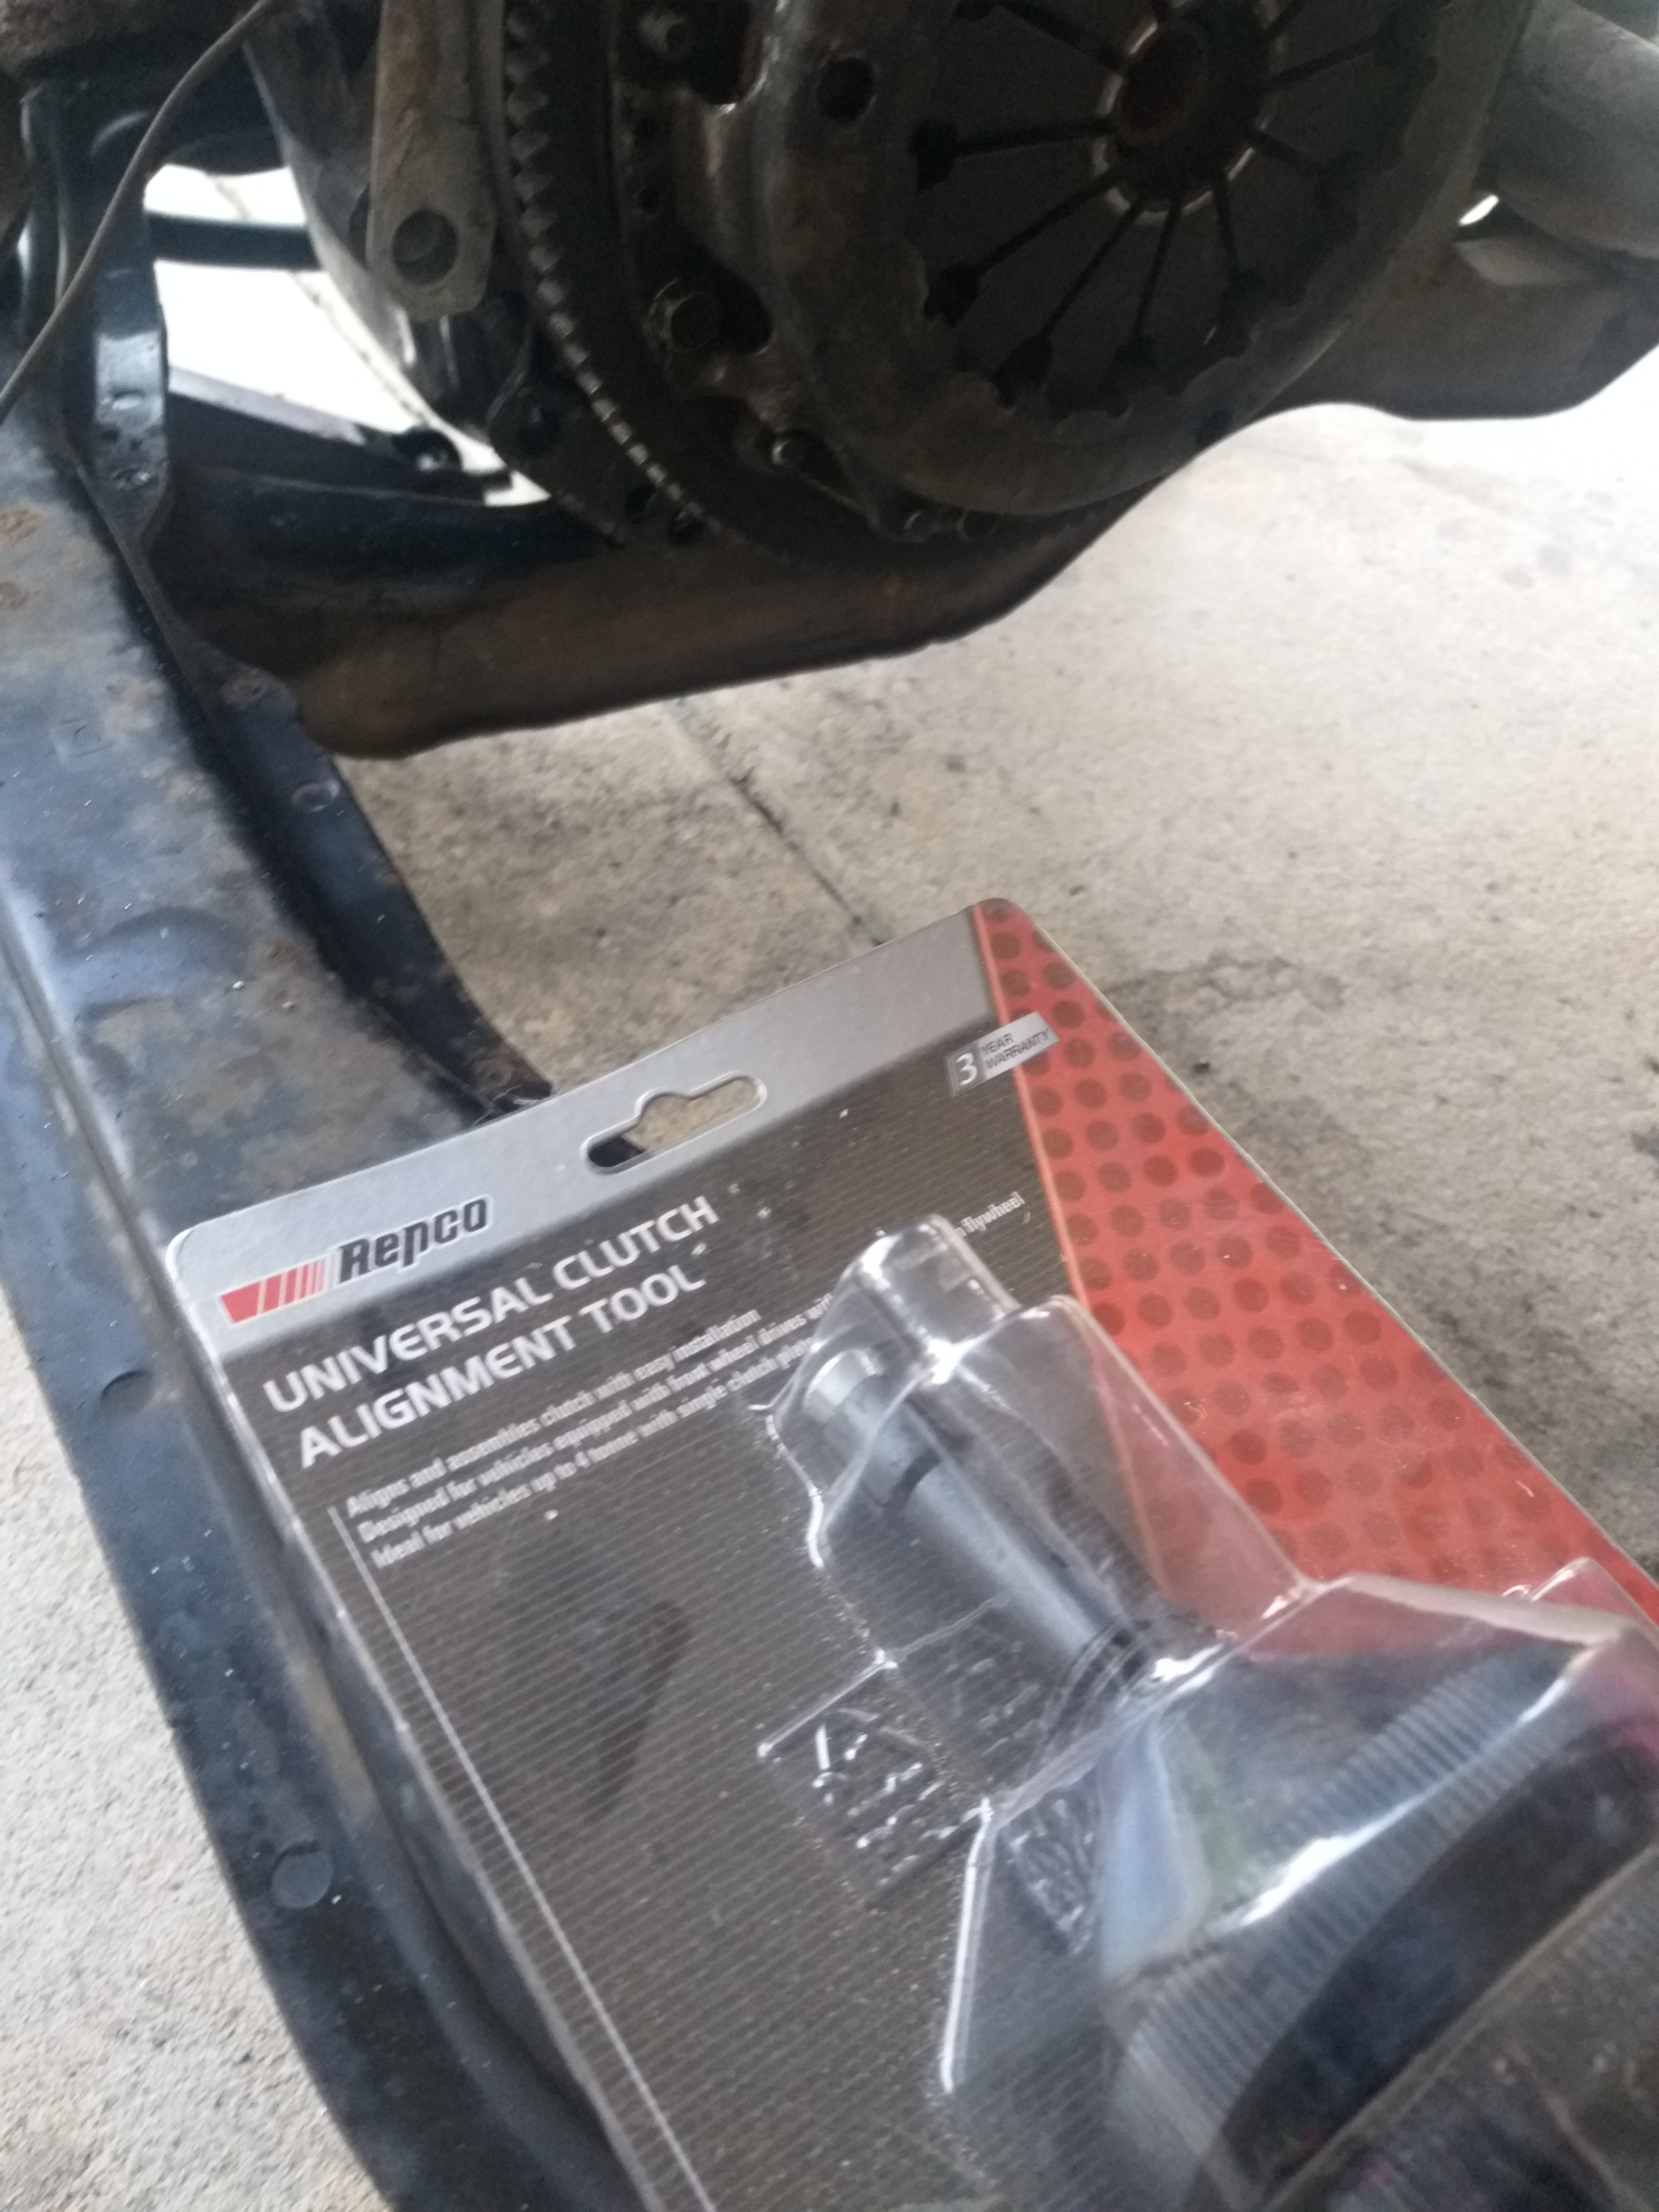
Fitted the flywheel and clutch. Got to love my elcheapo Repco clutch alignment tool.
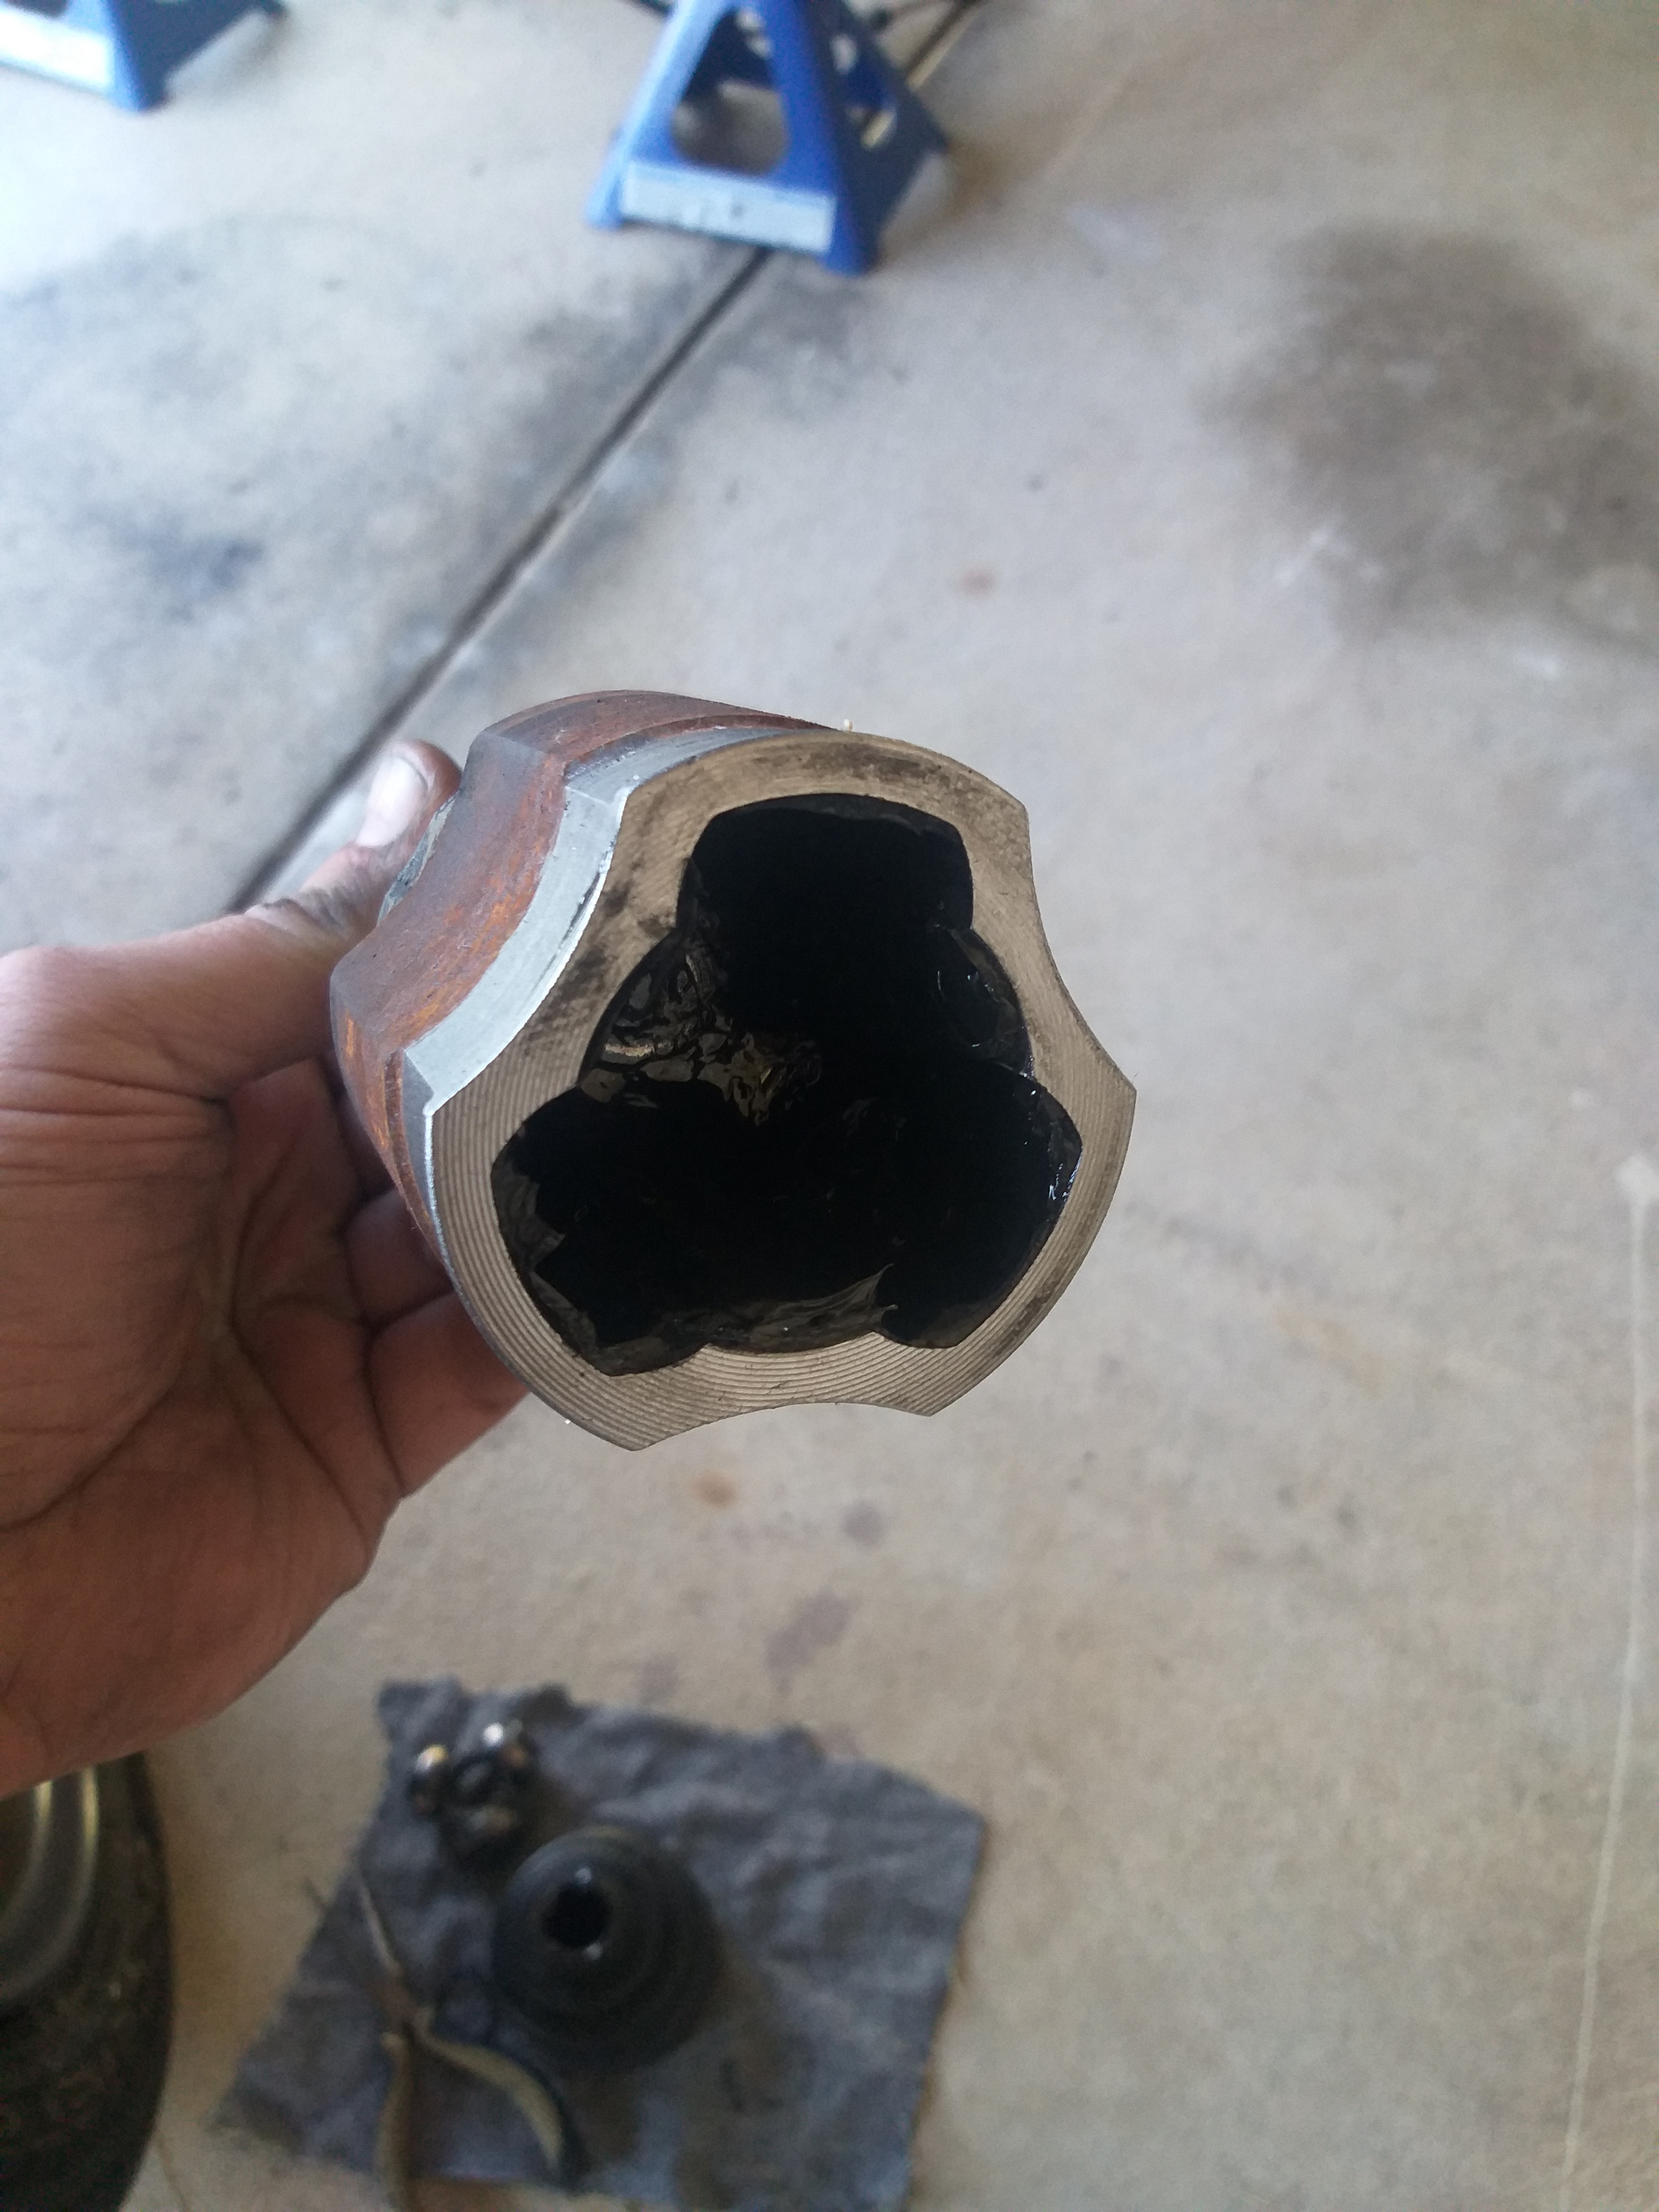
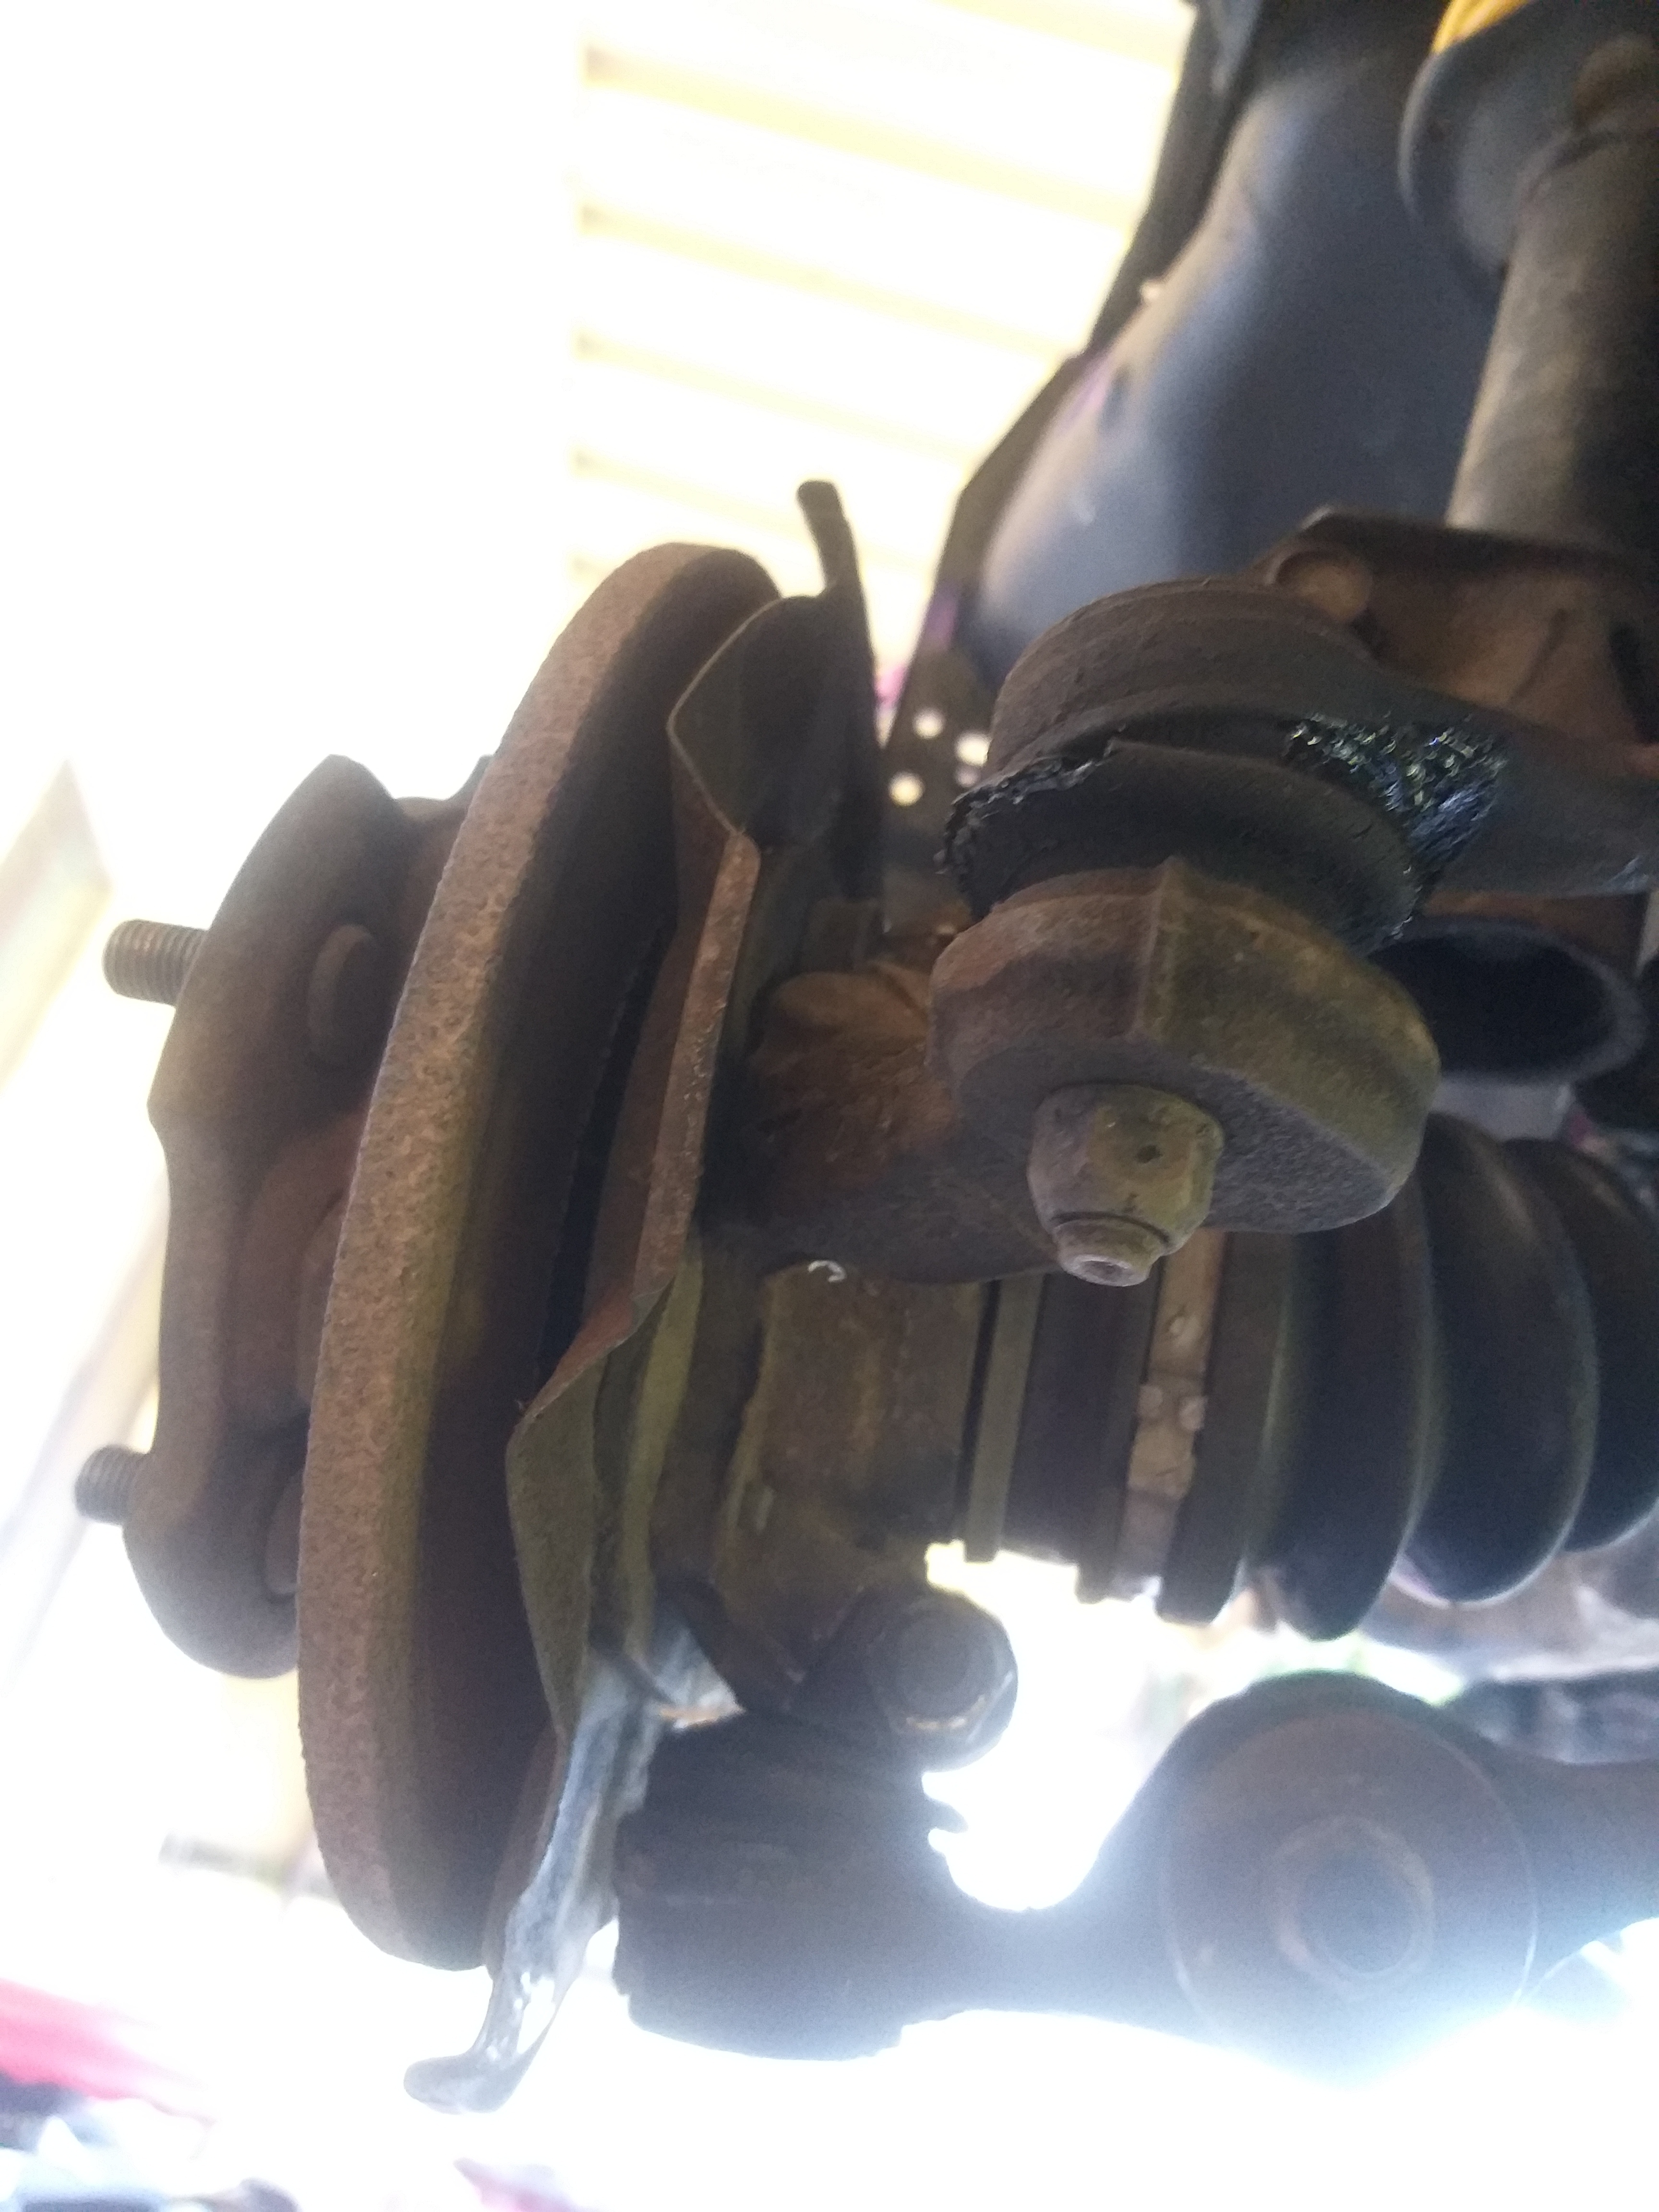
Went to replace left side cv boot that I accidently sliced open. Purchased it a few months back, ordered correctly by model but I think the cv has been replaced by an aftermarket one as it’s not the round type, the right side is round though.
Went to refit the thrust bearing but darkness and mossies were attacking me.
1 Like

no I just havent bothered with glue and still use as is It is always just the yellow ring I break. but I havent broken them in that place always a bit higher where I can still grab them.
Yeah rookie mistake, left it in when I put the engine on a big cushion and rolled it upside down to do the sump gasket.
1 Like
That’s an original cv. You could cut the lobed part of the old boot of and place it back on and tighten the boot clamp on real tight. Or you could leave the old boot in place and put the new one over it.
Done both of them plenty of times without any issues.
@Aaron some good ideas there mate. I’ve already swapped boots over today though but will keep that in mind.
I assumed it was aftermarket as this left side is bevelled/lobed and the right side shaft uses a round one and when I ordered at my parts store their system showed a round one.
Day 3/7
No work done today as I spent the day out with the other half and the kids. I did take the incorrect cv boot with me so I could get it swapped over to a bevel type at my parts store.
3 Likes
Day 4/7
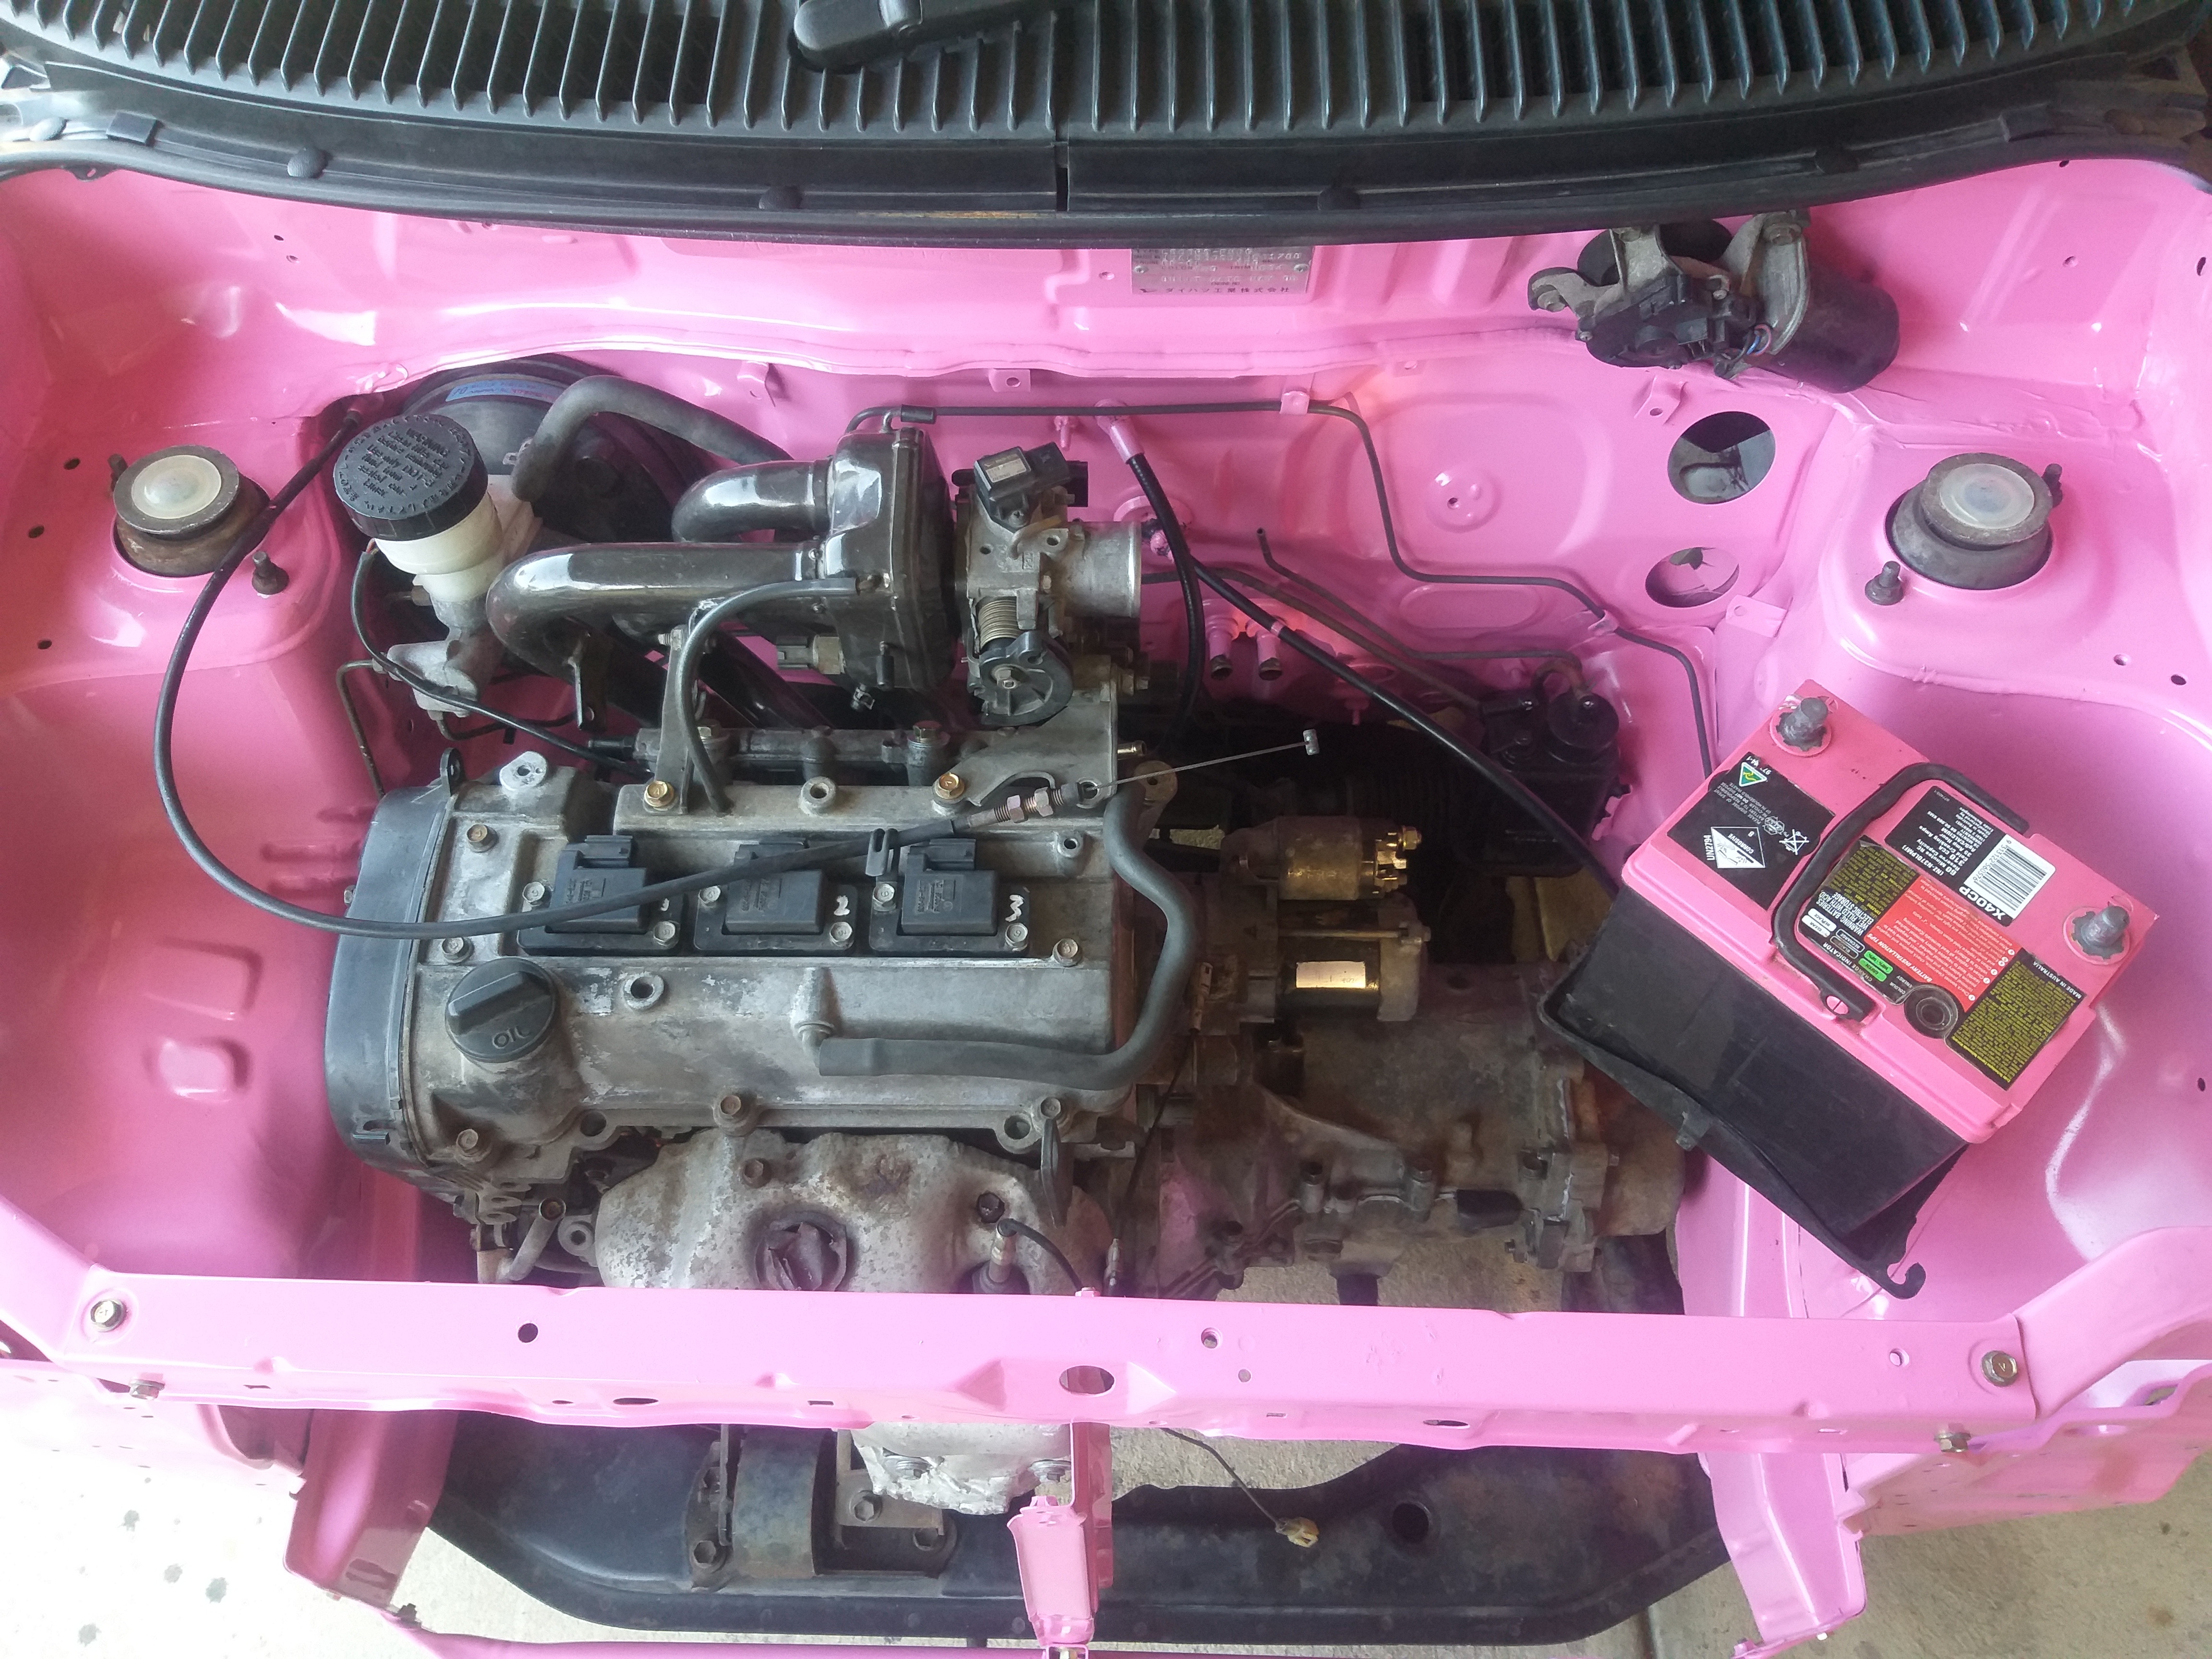
Fitted the gearbox.
Made a blank for the old mechanical fuel pump hole.
Fitted a new cv boot.
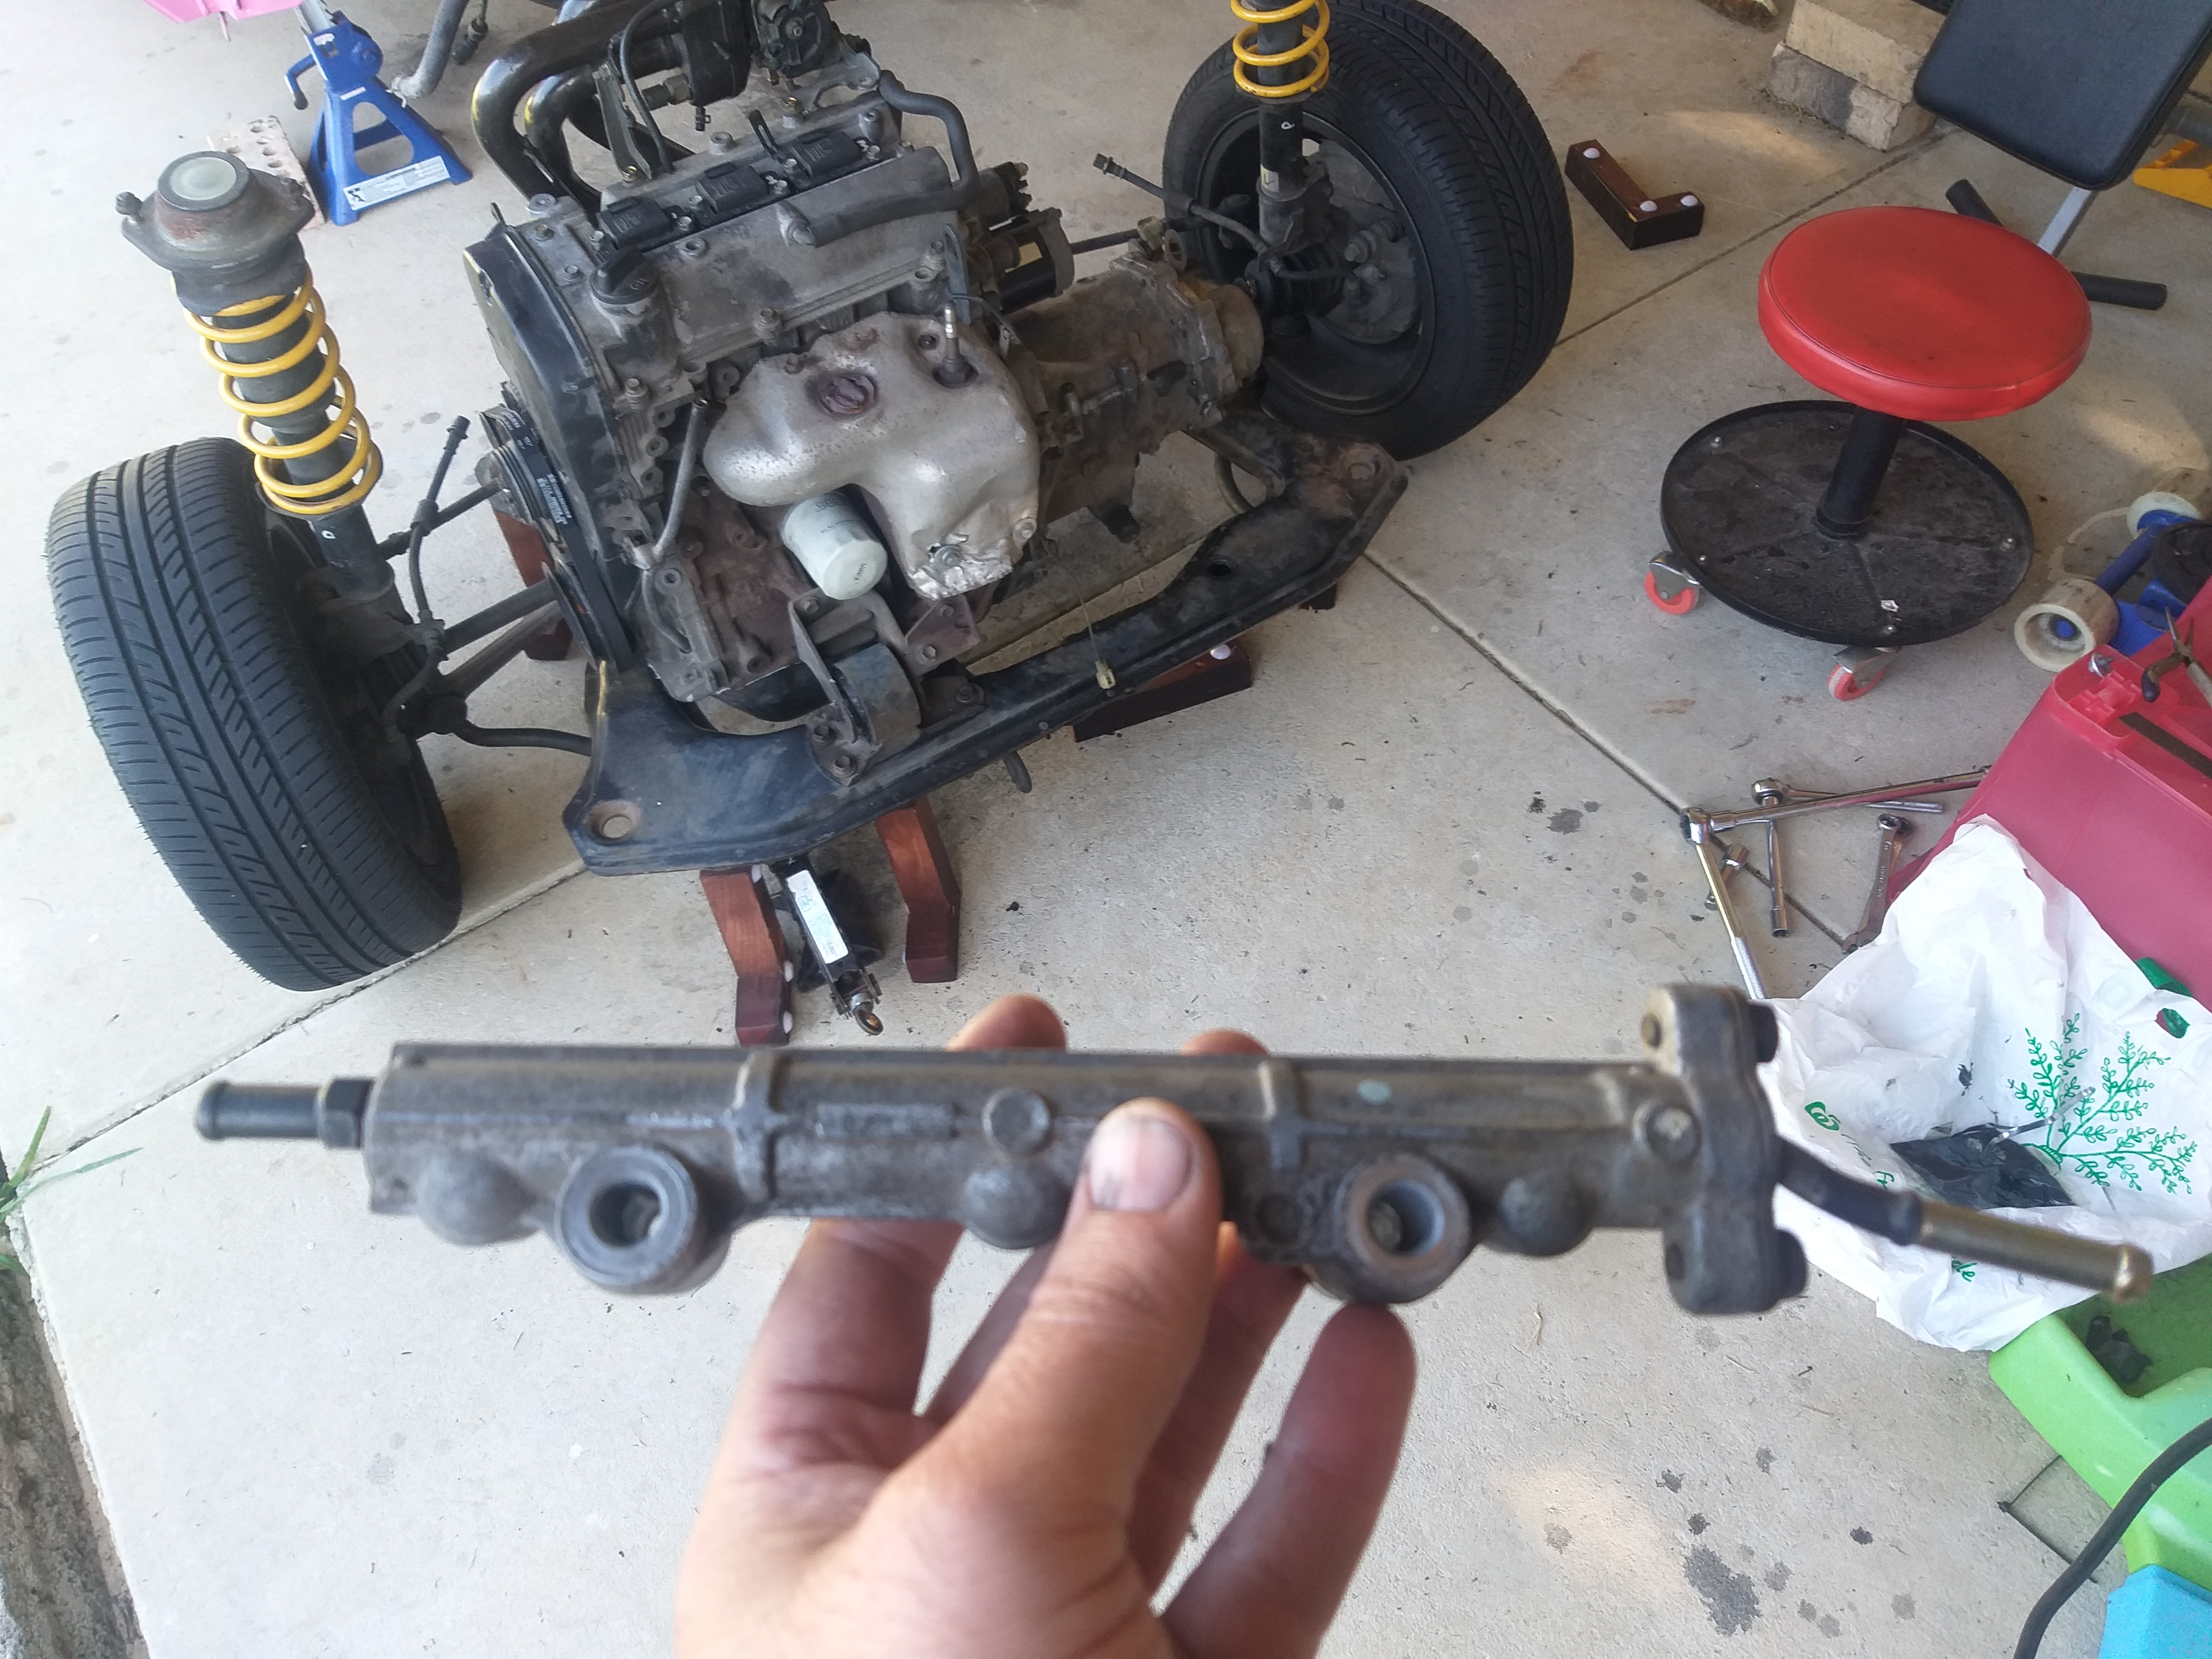
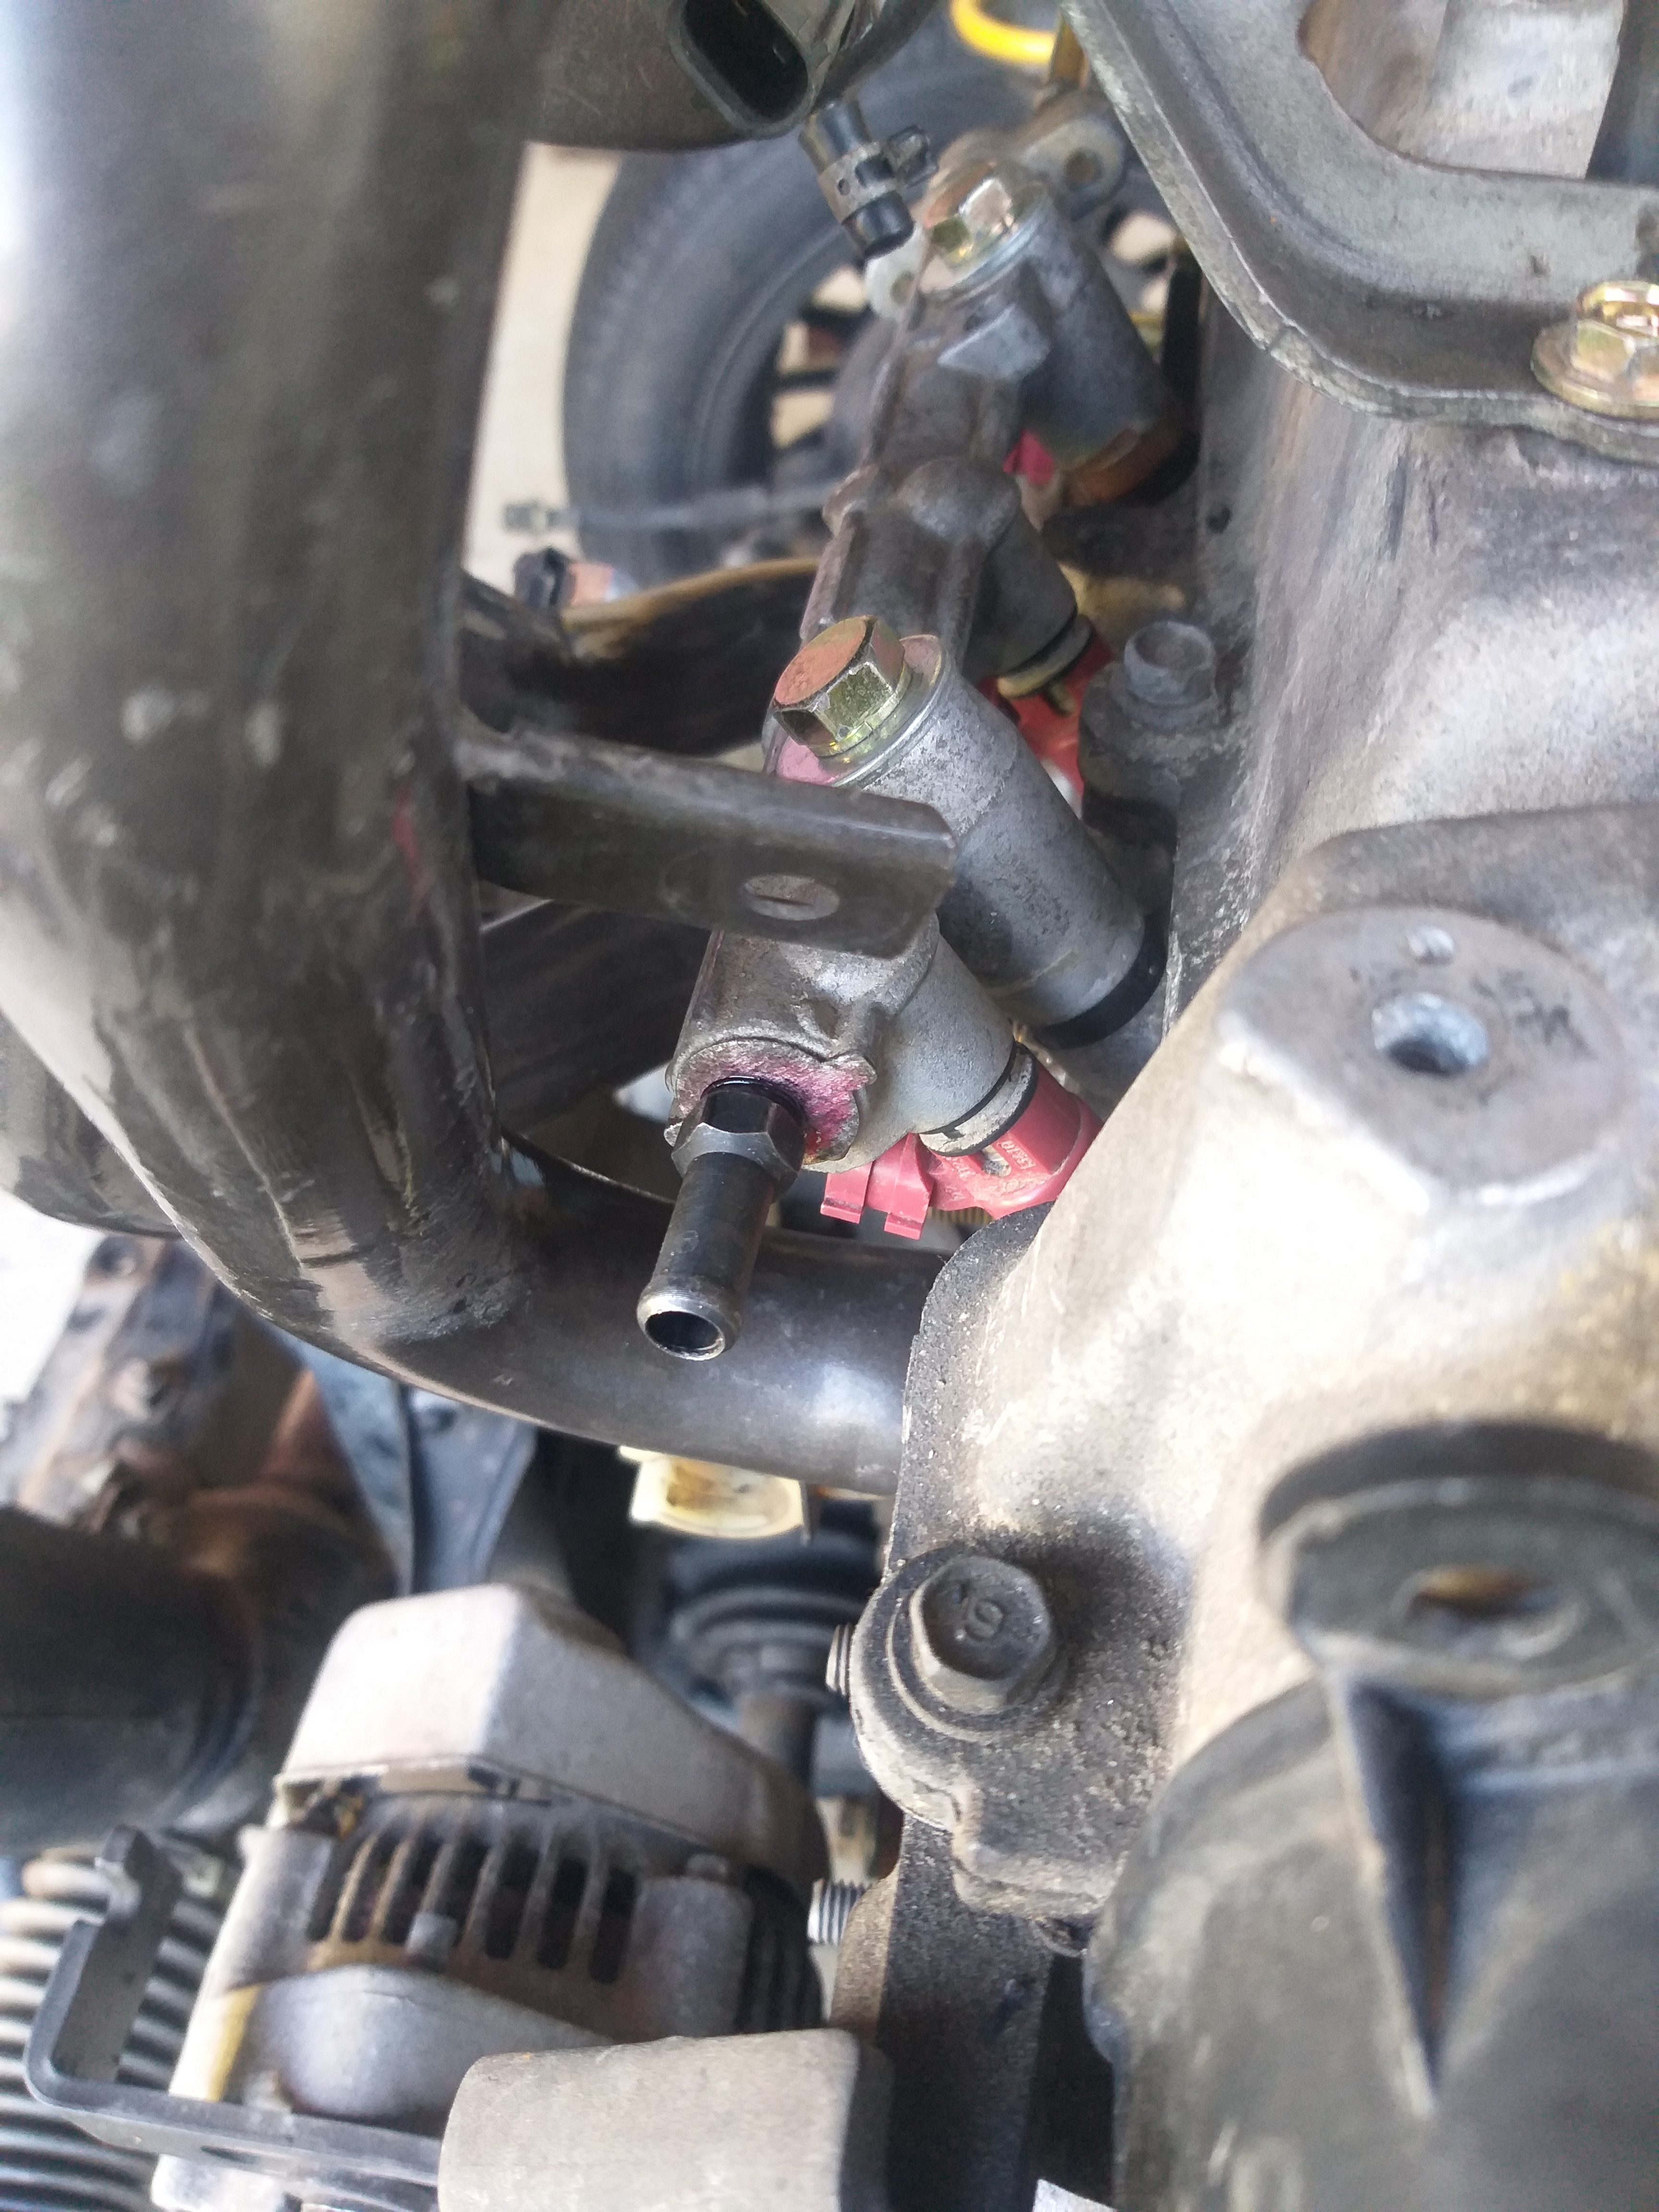
Drilled and tapped the fuel rail for fuel return.
Installed the fuel rail.
Fitted the subframe back into the car.
Also noted that while the accelerator cable is plenty long, the threaded section to mount it missed the EJDE mount. So might have to source an EJDE version.

6 Likes
Day 5/7
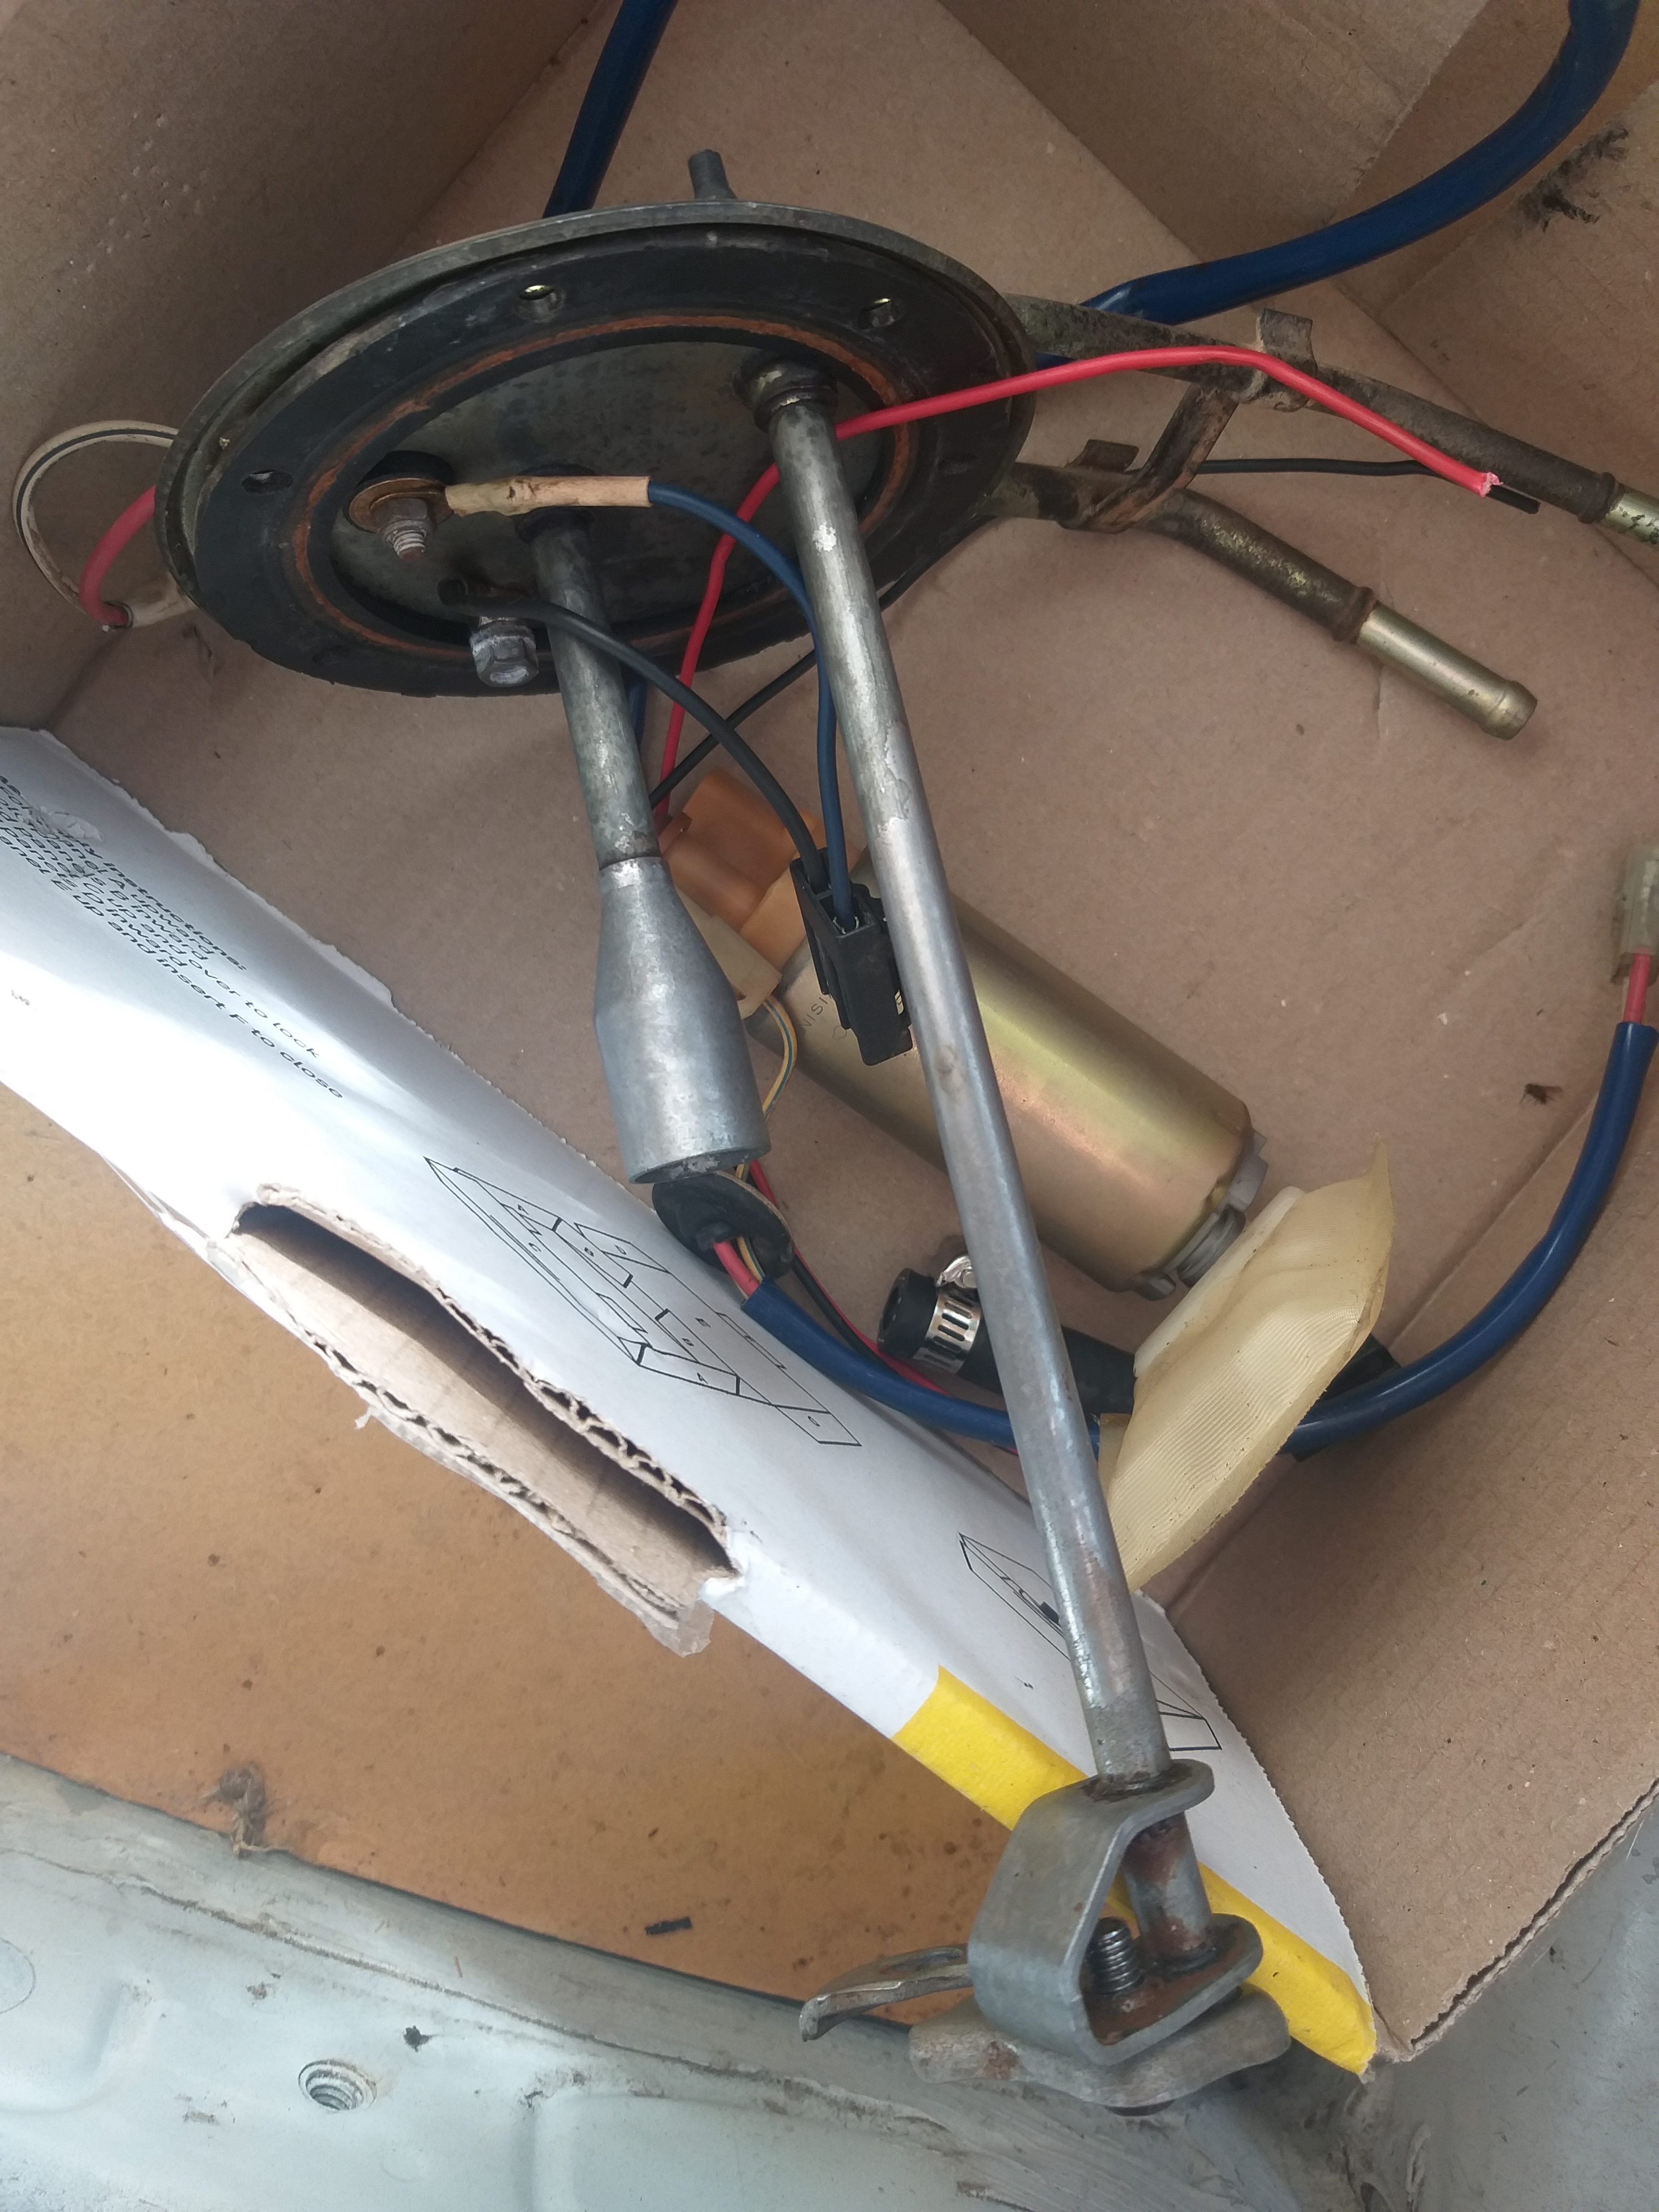
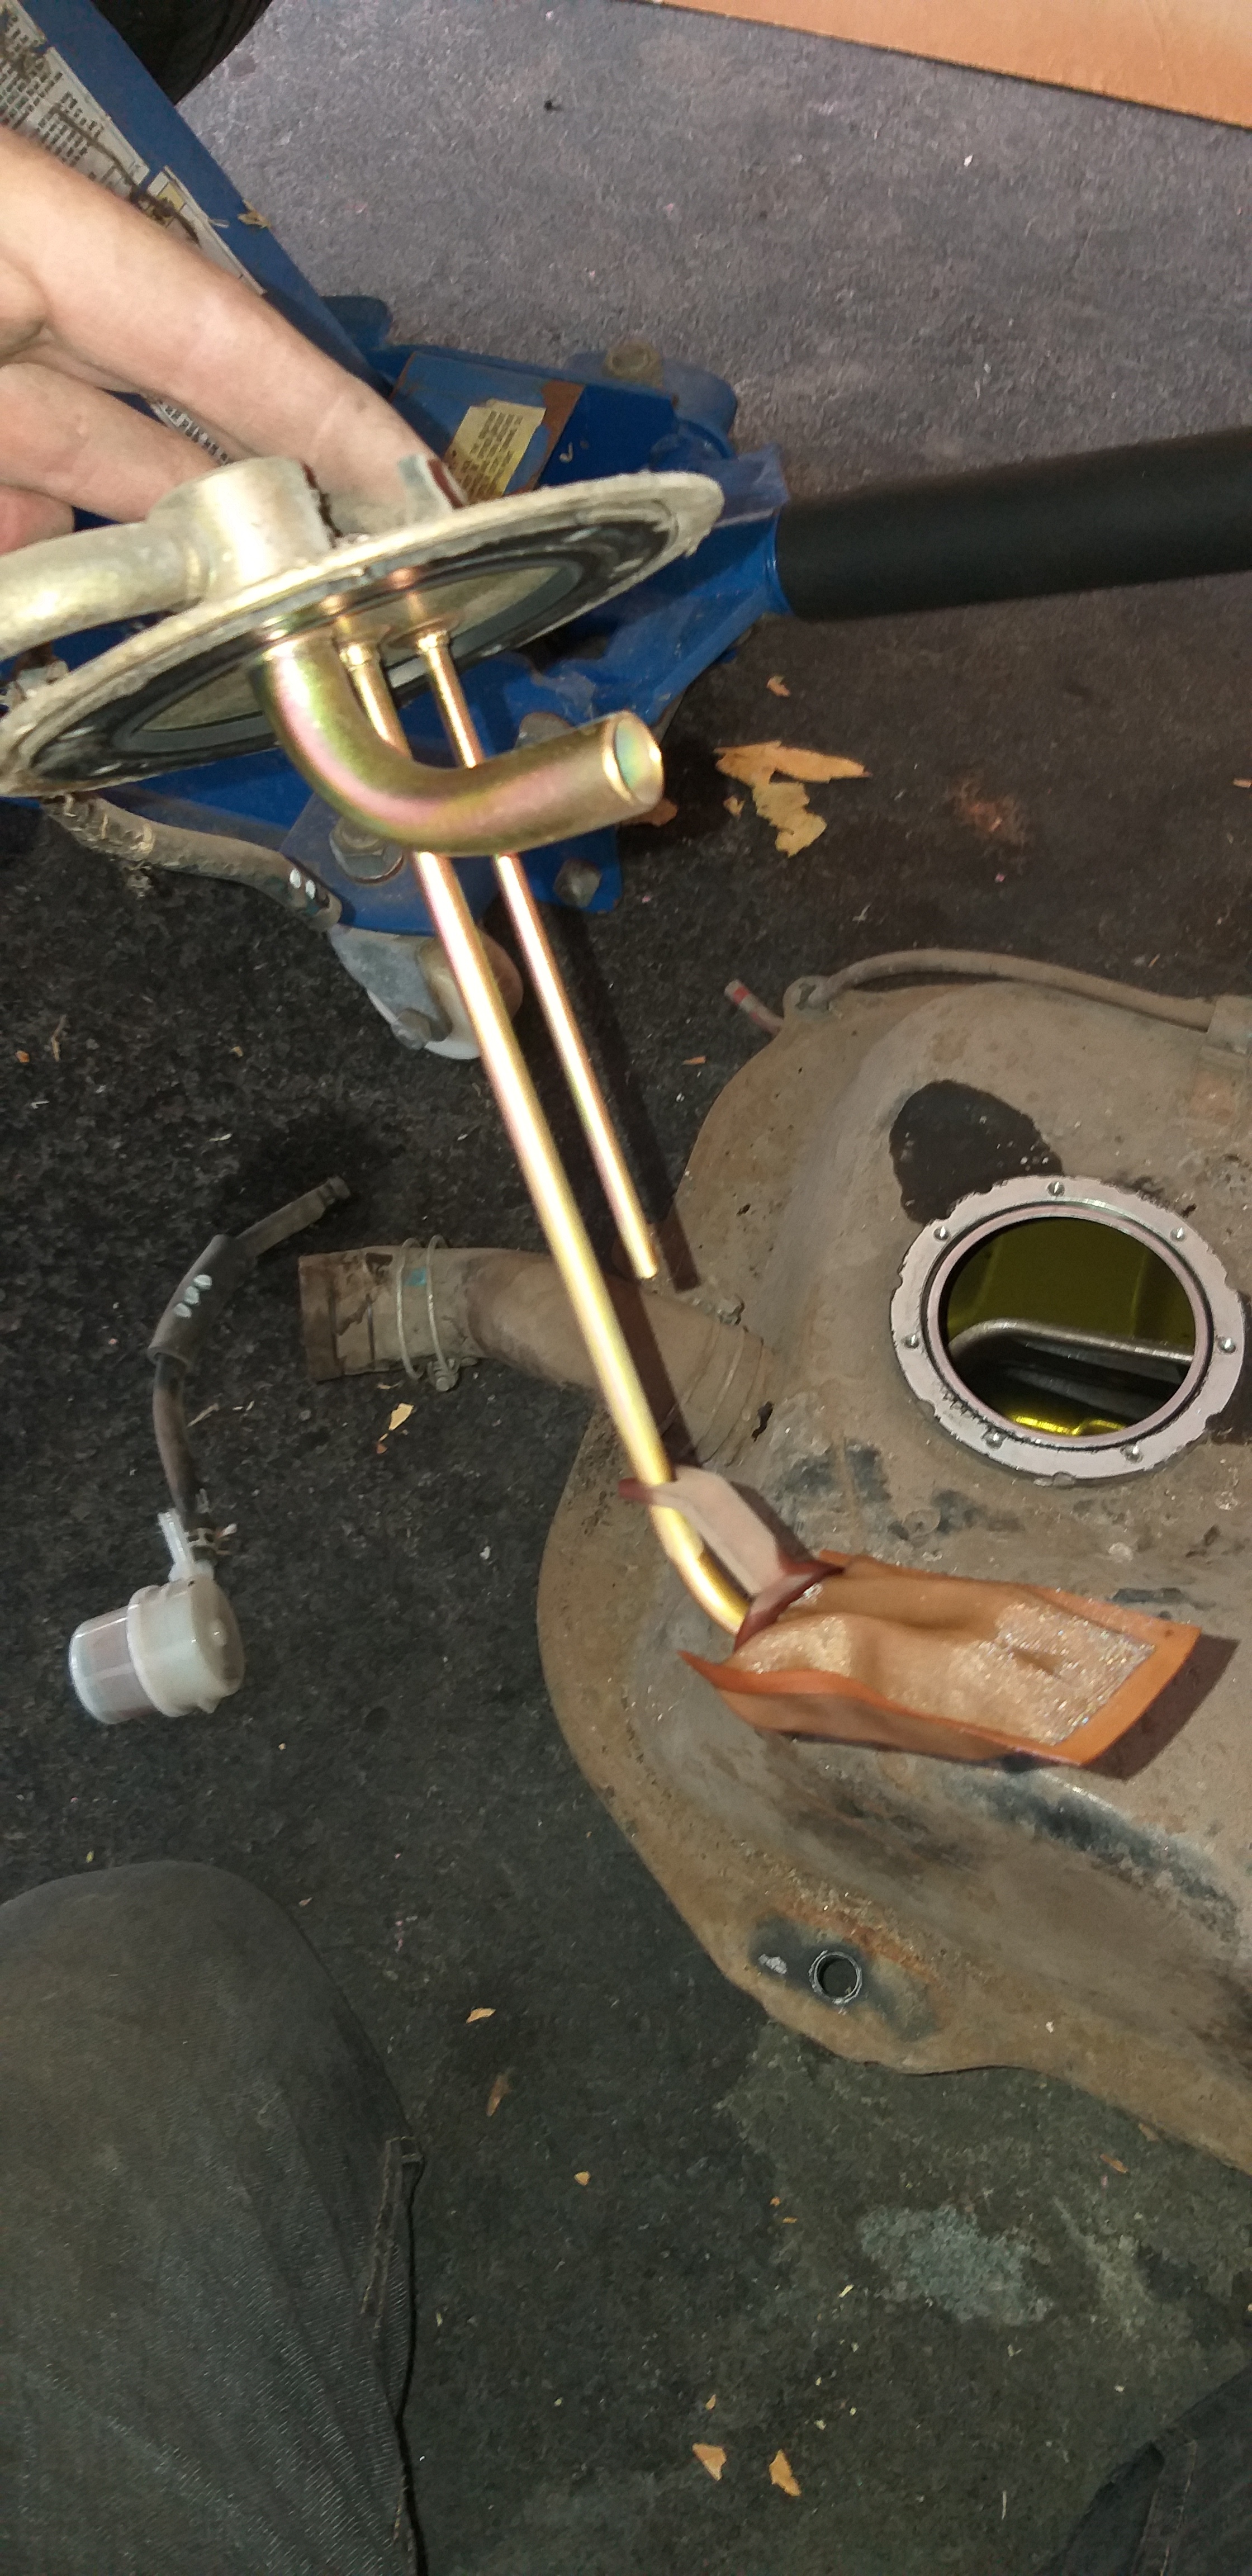
Nothing much done today but was looking at the EFEL L2 fuel cradle I’m going to use. I noticed it doesn’t have the overflow return pipe from the fuel filler that my carby cradle has. Do I need to drill, tap and add a connector or can I just blank the line off a the filler neck?
Top pick is the L2 efi cradle, bottom pic is the L5 carby cradle.
2 Likes
the efi one has 2 pipes at the top is one of them not the return?
@evilhighway, yep the efi one has fuel return and fuel supply. But the 3rd pipe, that big short curved pipe is doesn’t have and that’s going to the fuel filler neck.
Omitting the extra pipe to the fuel filler can mean sometimes when you fill the tank it can gush back. Careful and sometimes slow filling might be required. Efi tanks have the outlet on them.
@Mr_Gormsby thanks mate, good to know it’ll still work for me.
Day 6/7
Just a short one today.
Finished off getting the drive shafts into the gearbox.
Hooked up the clutch cable and speedo cable.
Fitted the battery tray and rested the battery on it, forgot the battery is pink too.
Fitted the rad support bars.
Dropped it back onto all fours.
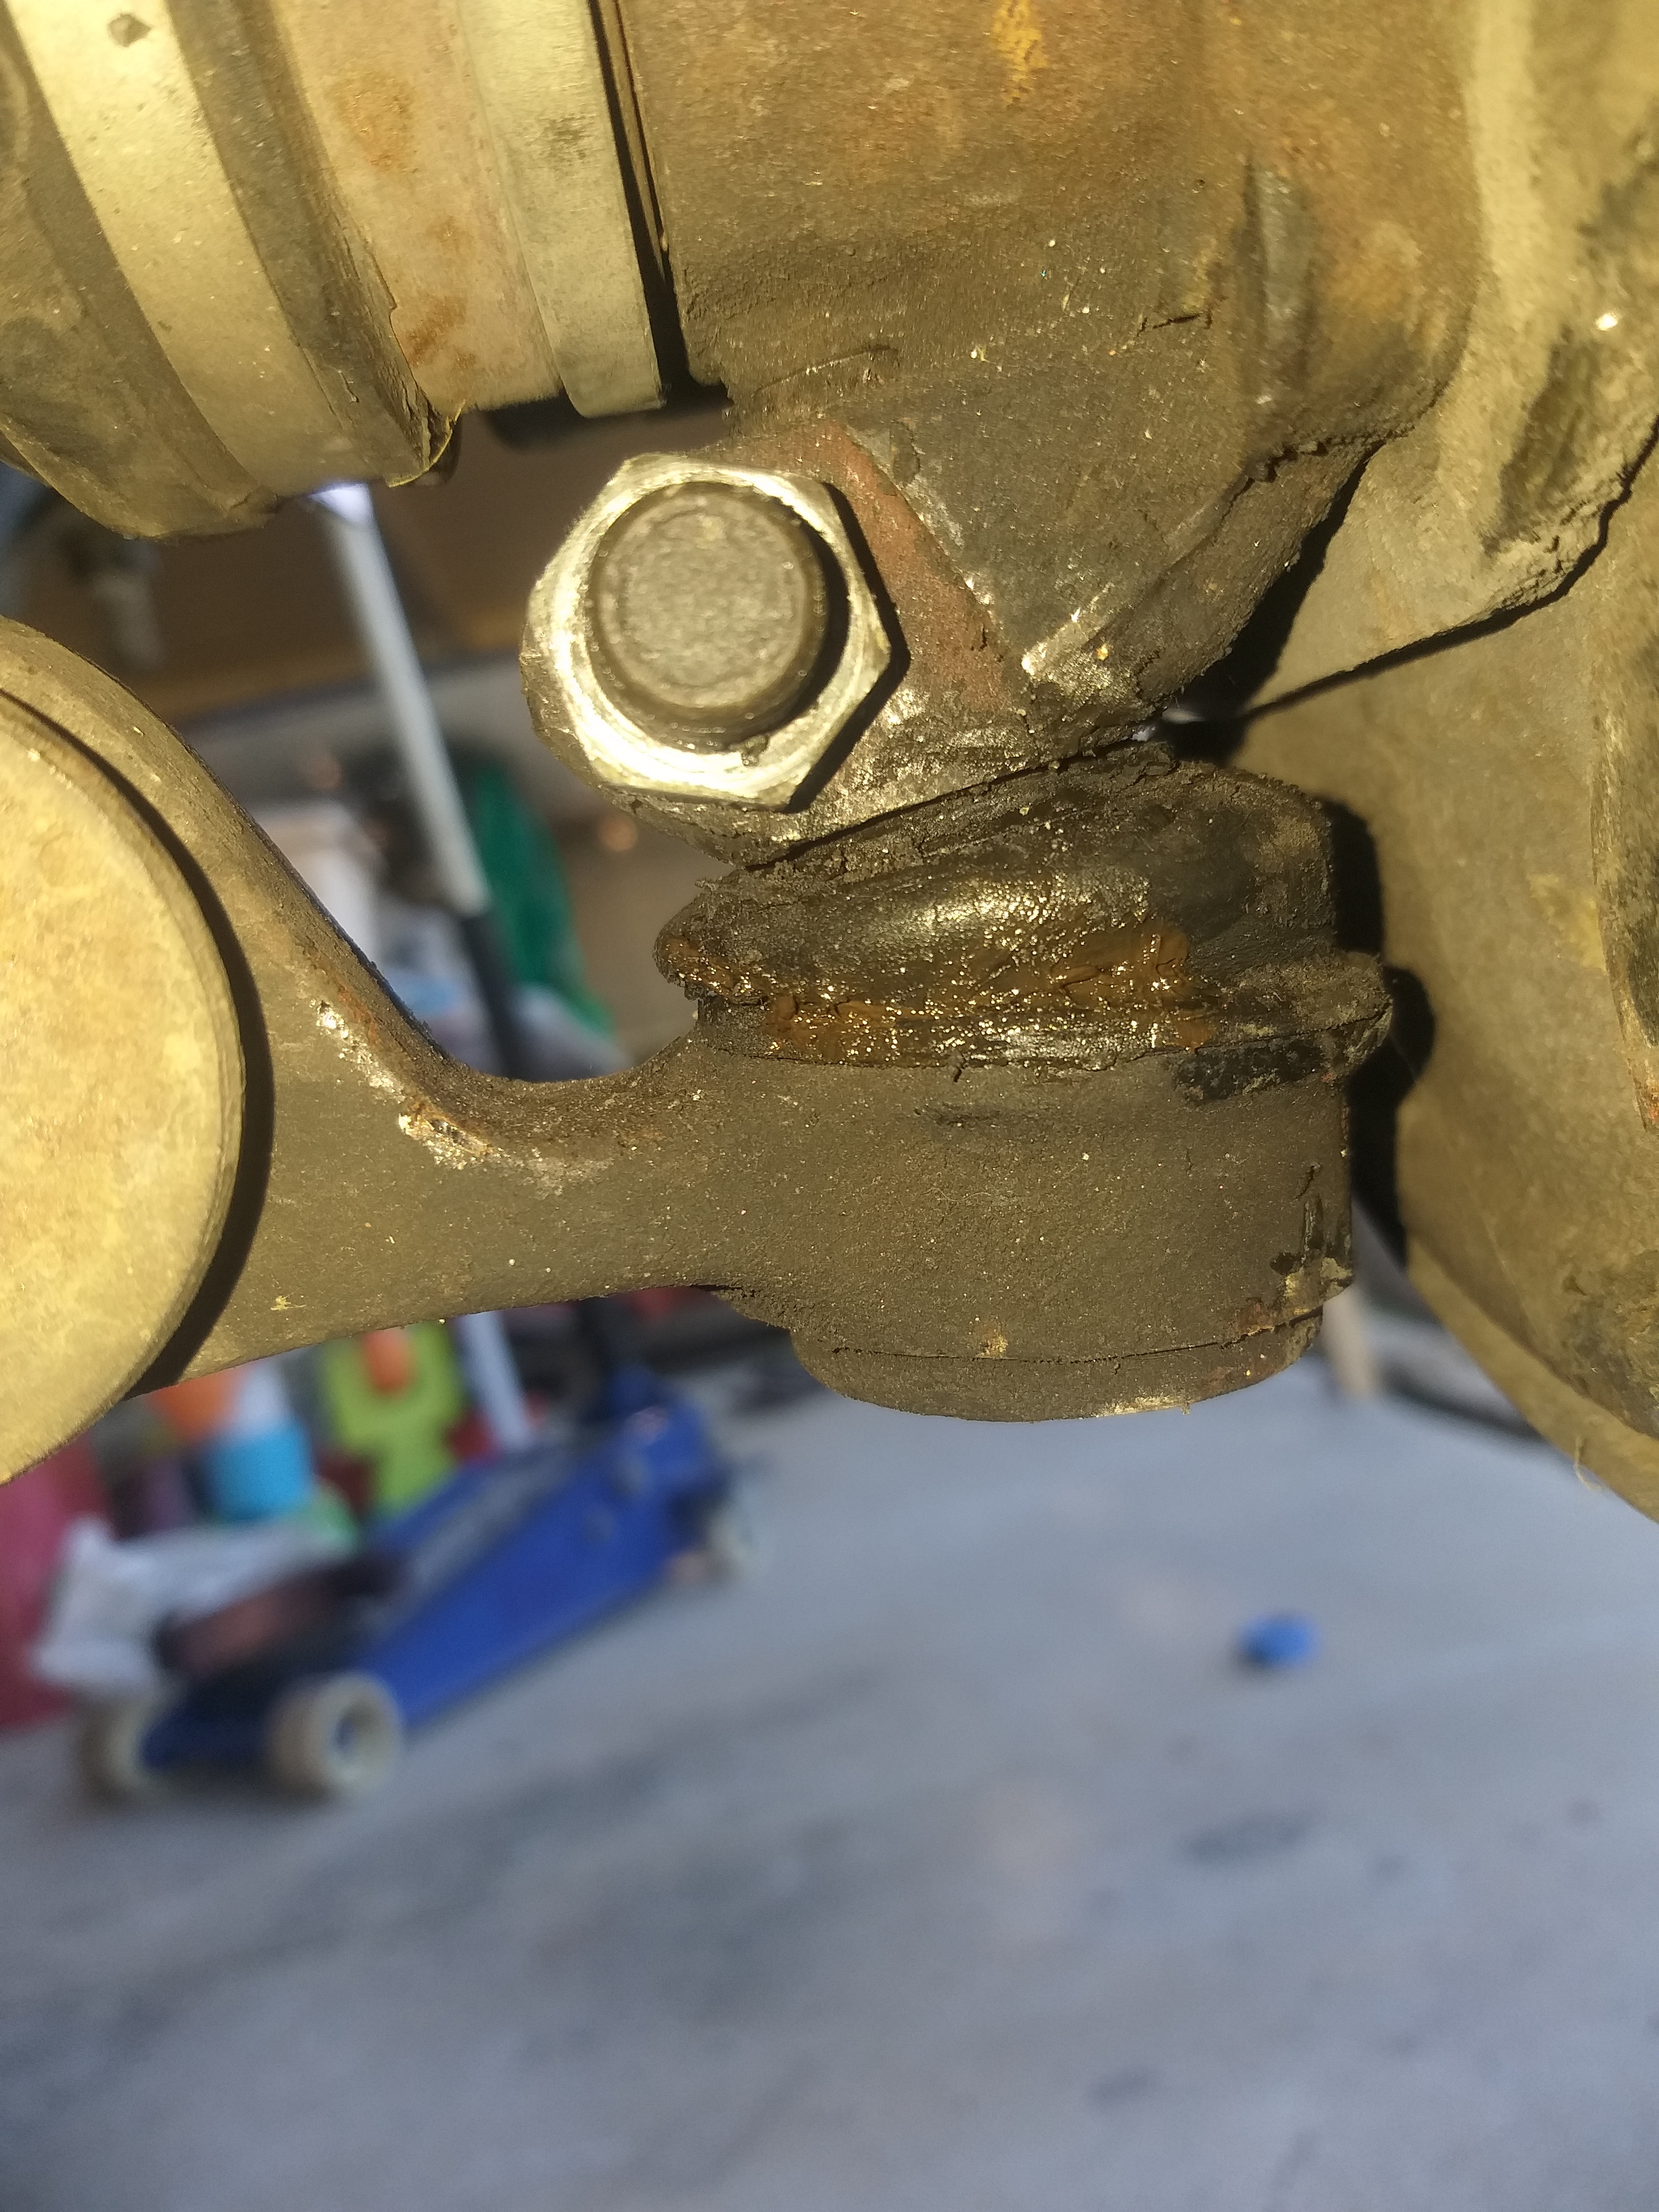
Realised I need to replace the tie rod ends and lower control arms after this is all done.
6 Likes