It has progressed just a little more
Two of the adaptor bolts are on the internal passage, I have fixed the issue by making the bolts capable of lock wiring them
It has progressed just a little more
Two of the adaptor bolts are on the internal passage, I have fixed the issue by making the bolts capable of lock wiring them
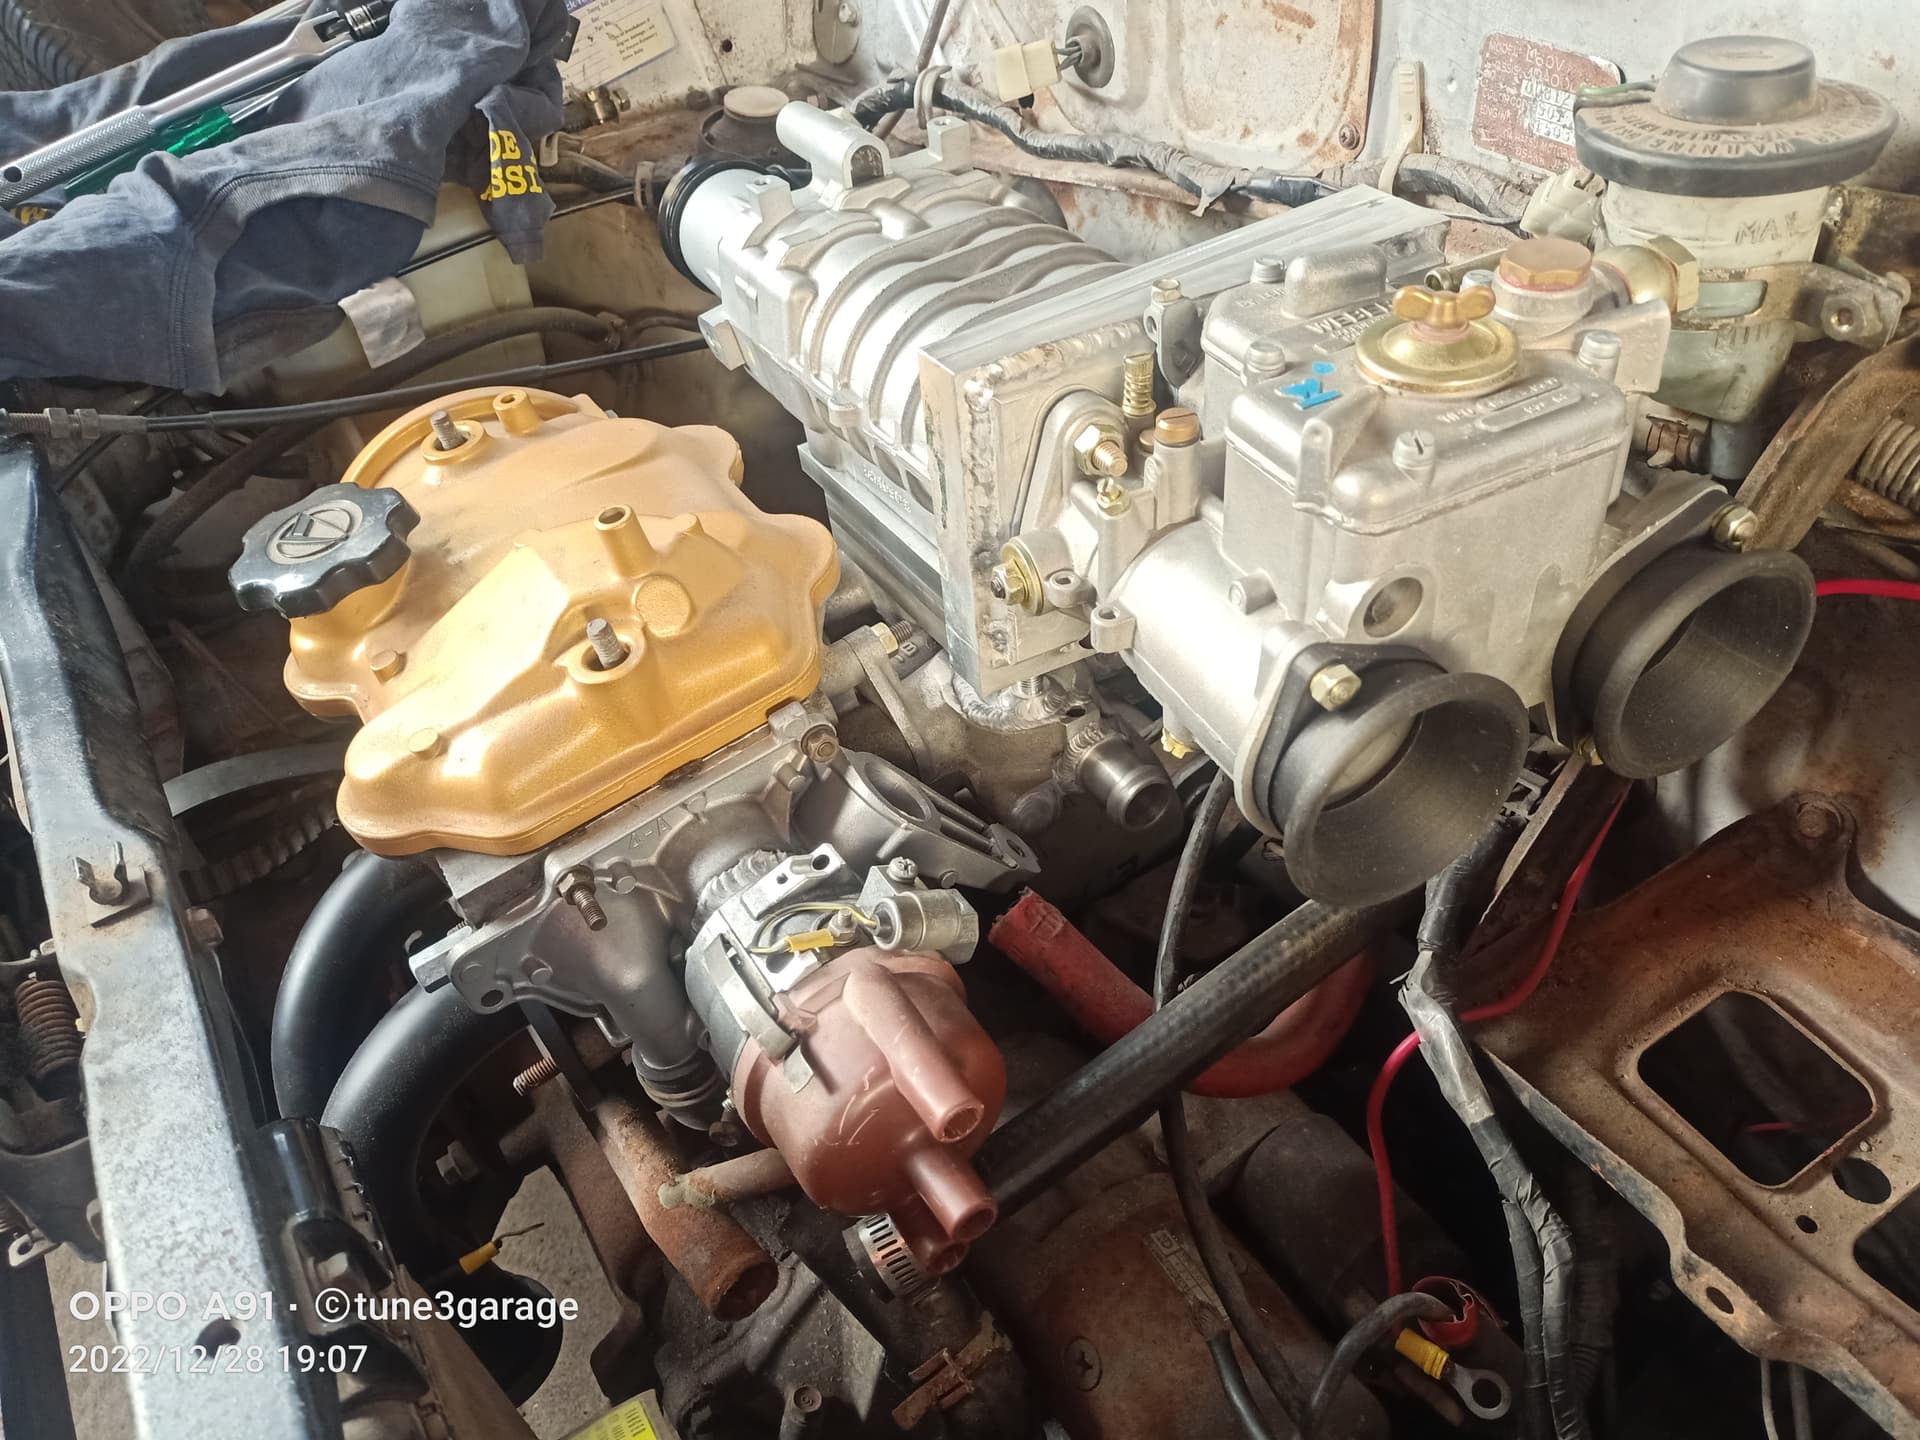
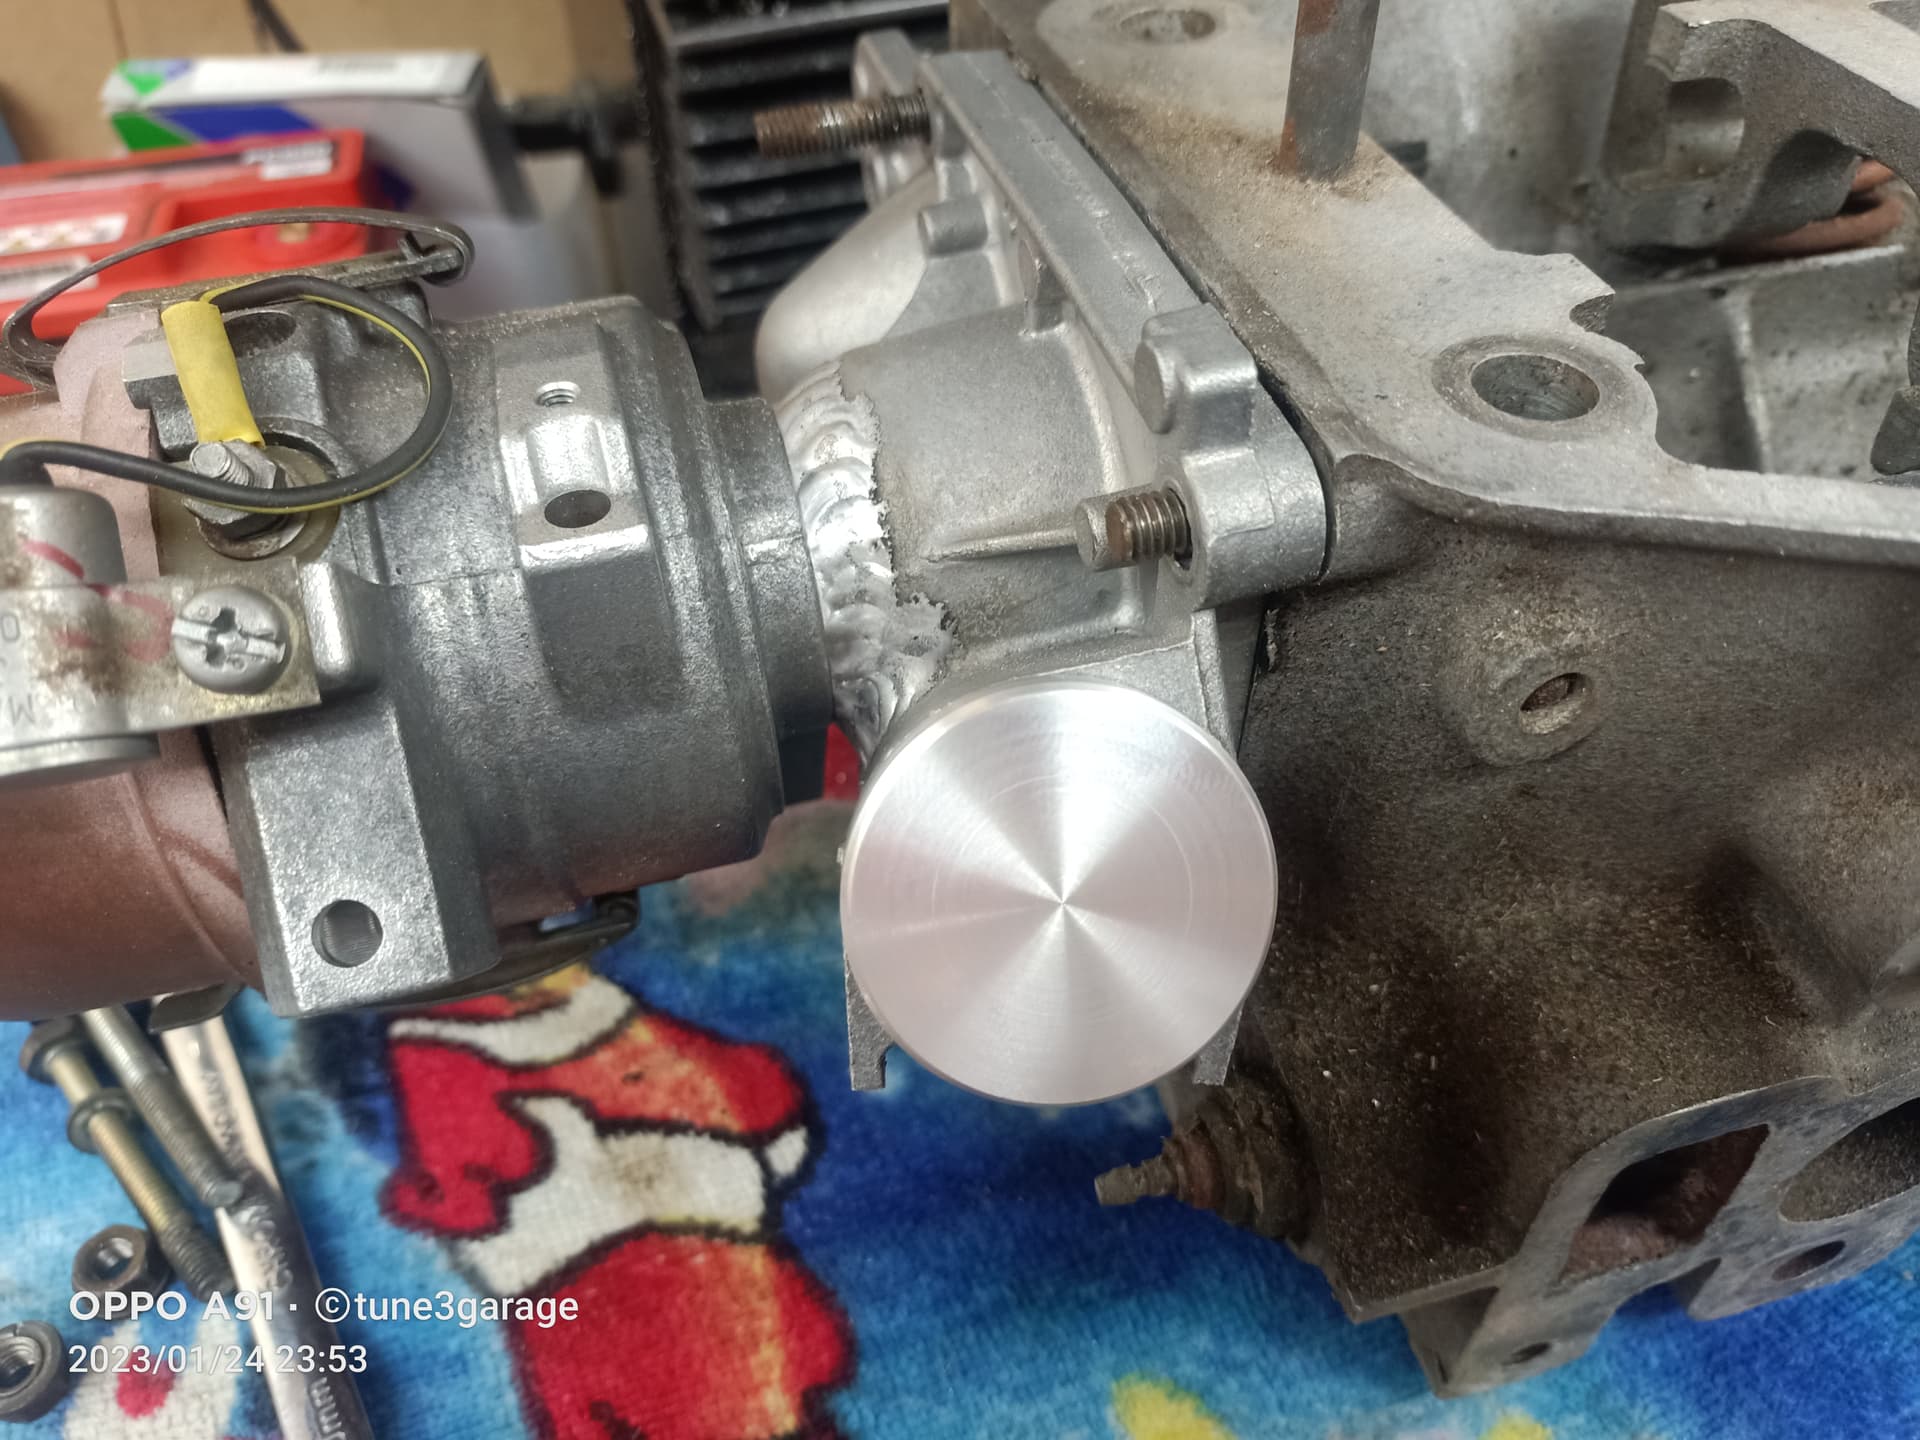
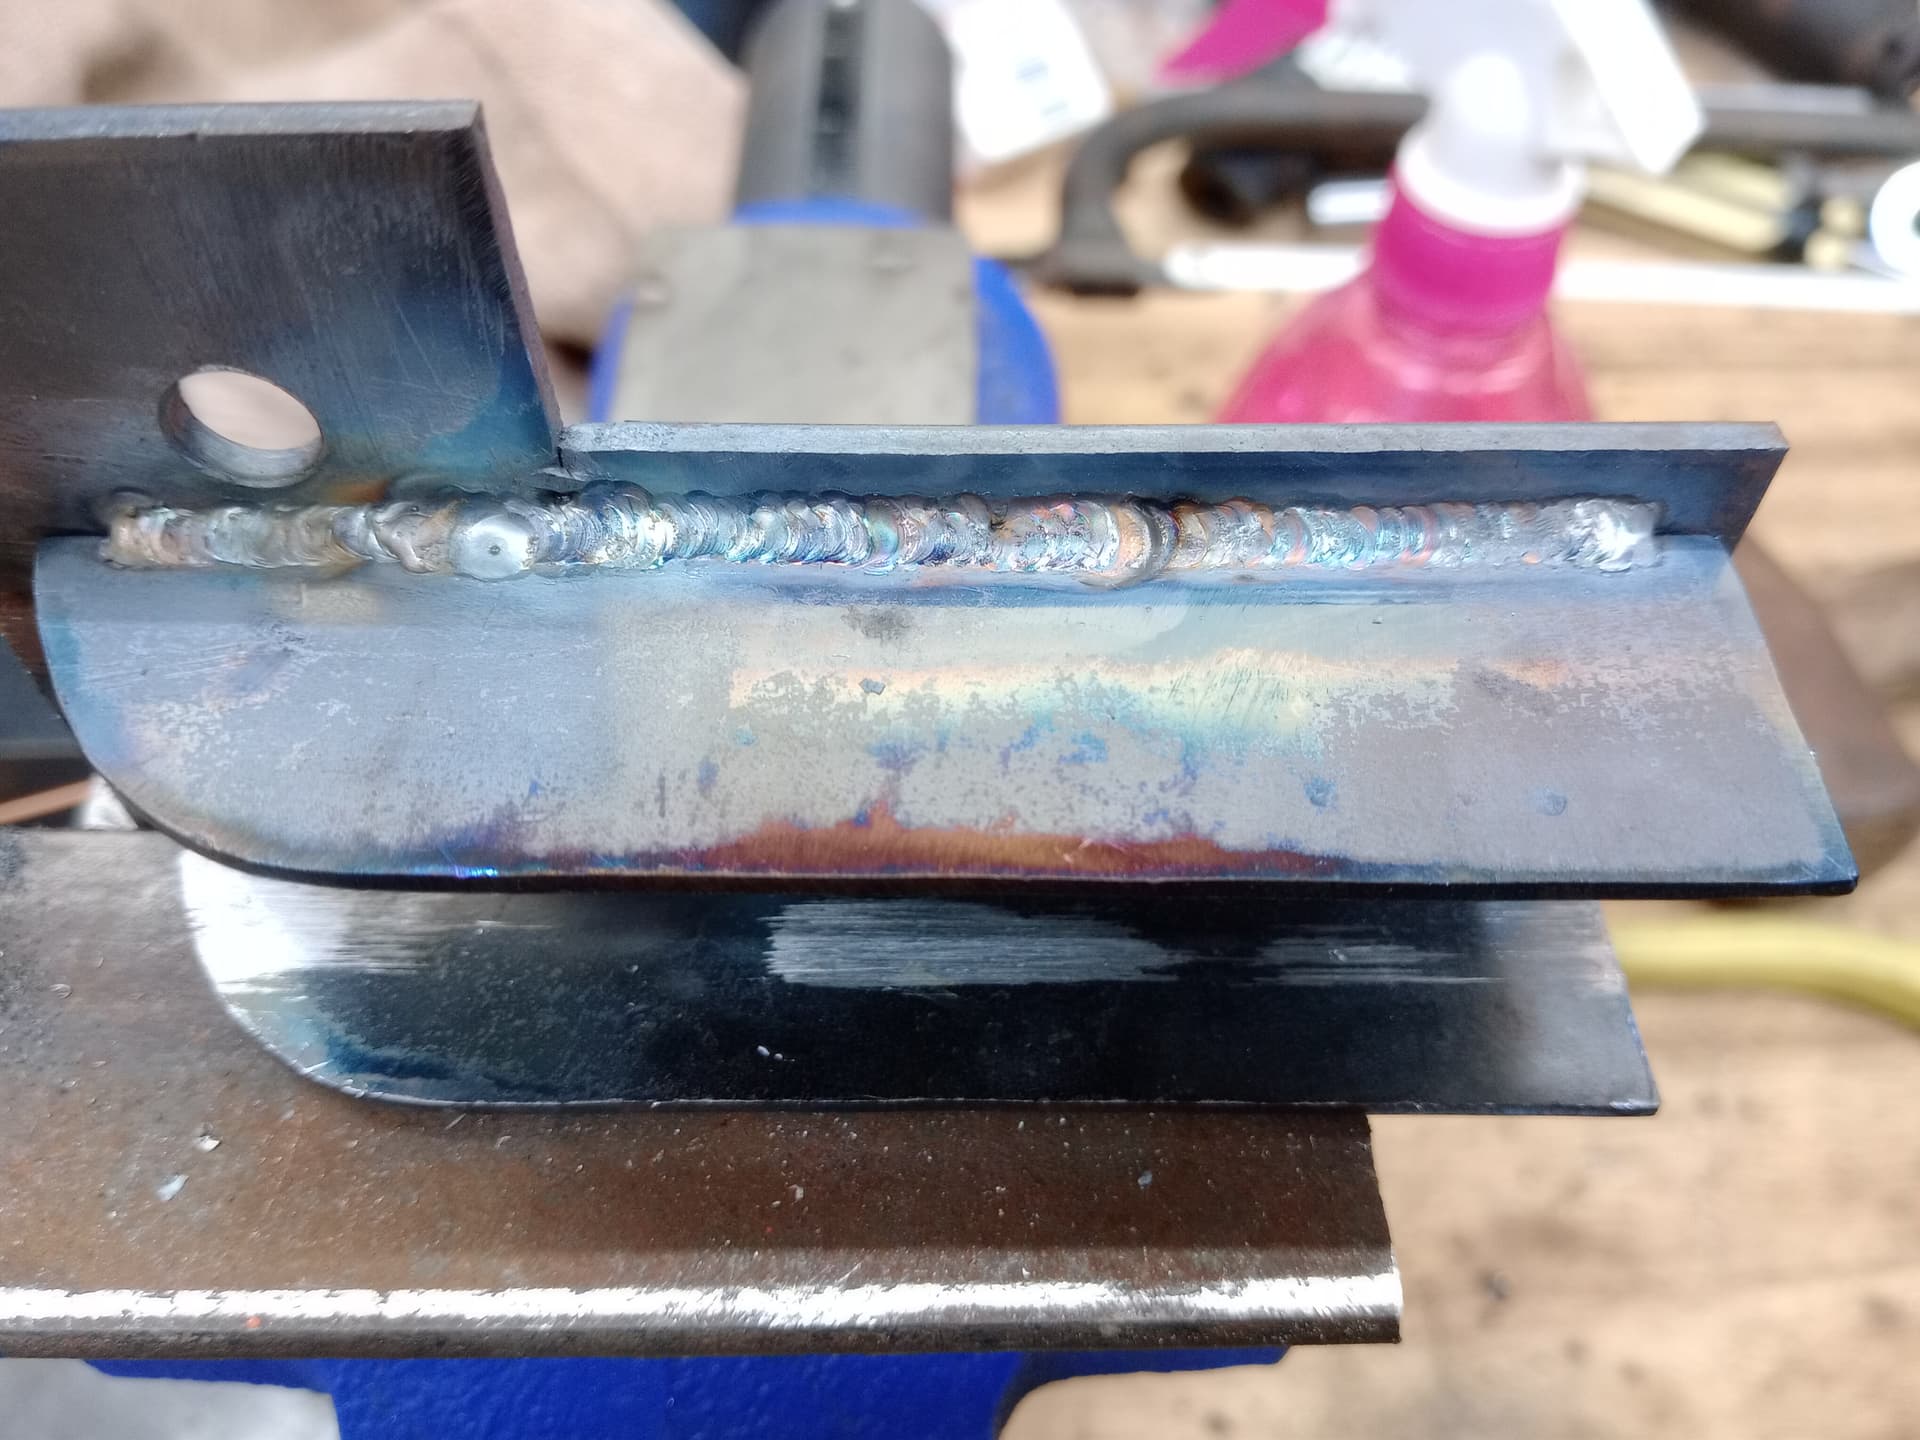
I have progressed quite a bit. My AC welding is still a bit shite but I feel like I am getting there.
The only things to do it add a burst plate on the blower adaptor, and the vacuum pick up for the brake booster on the Weber adaptor.
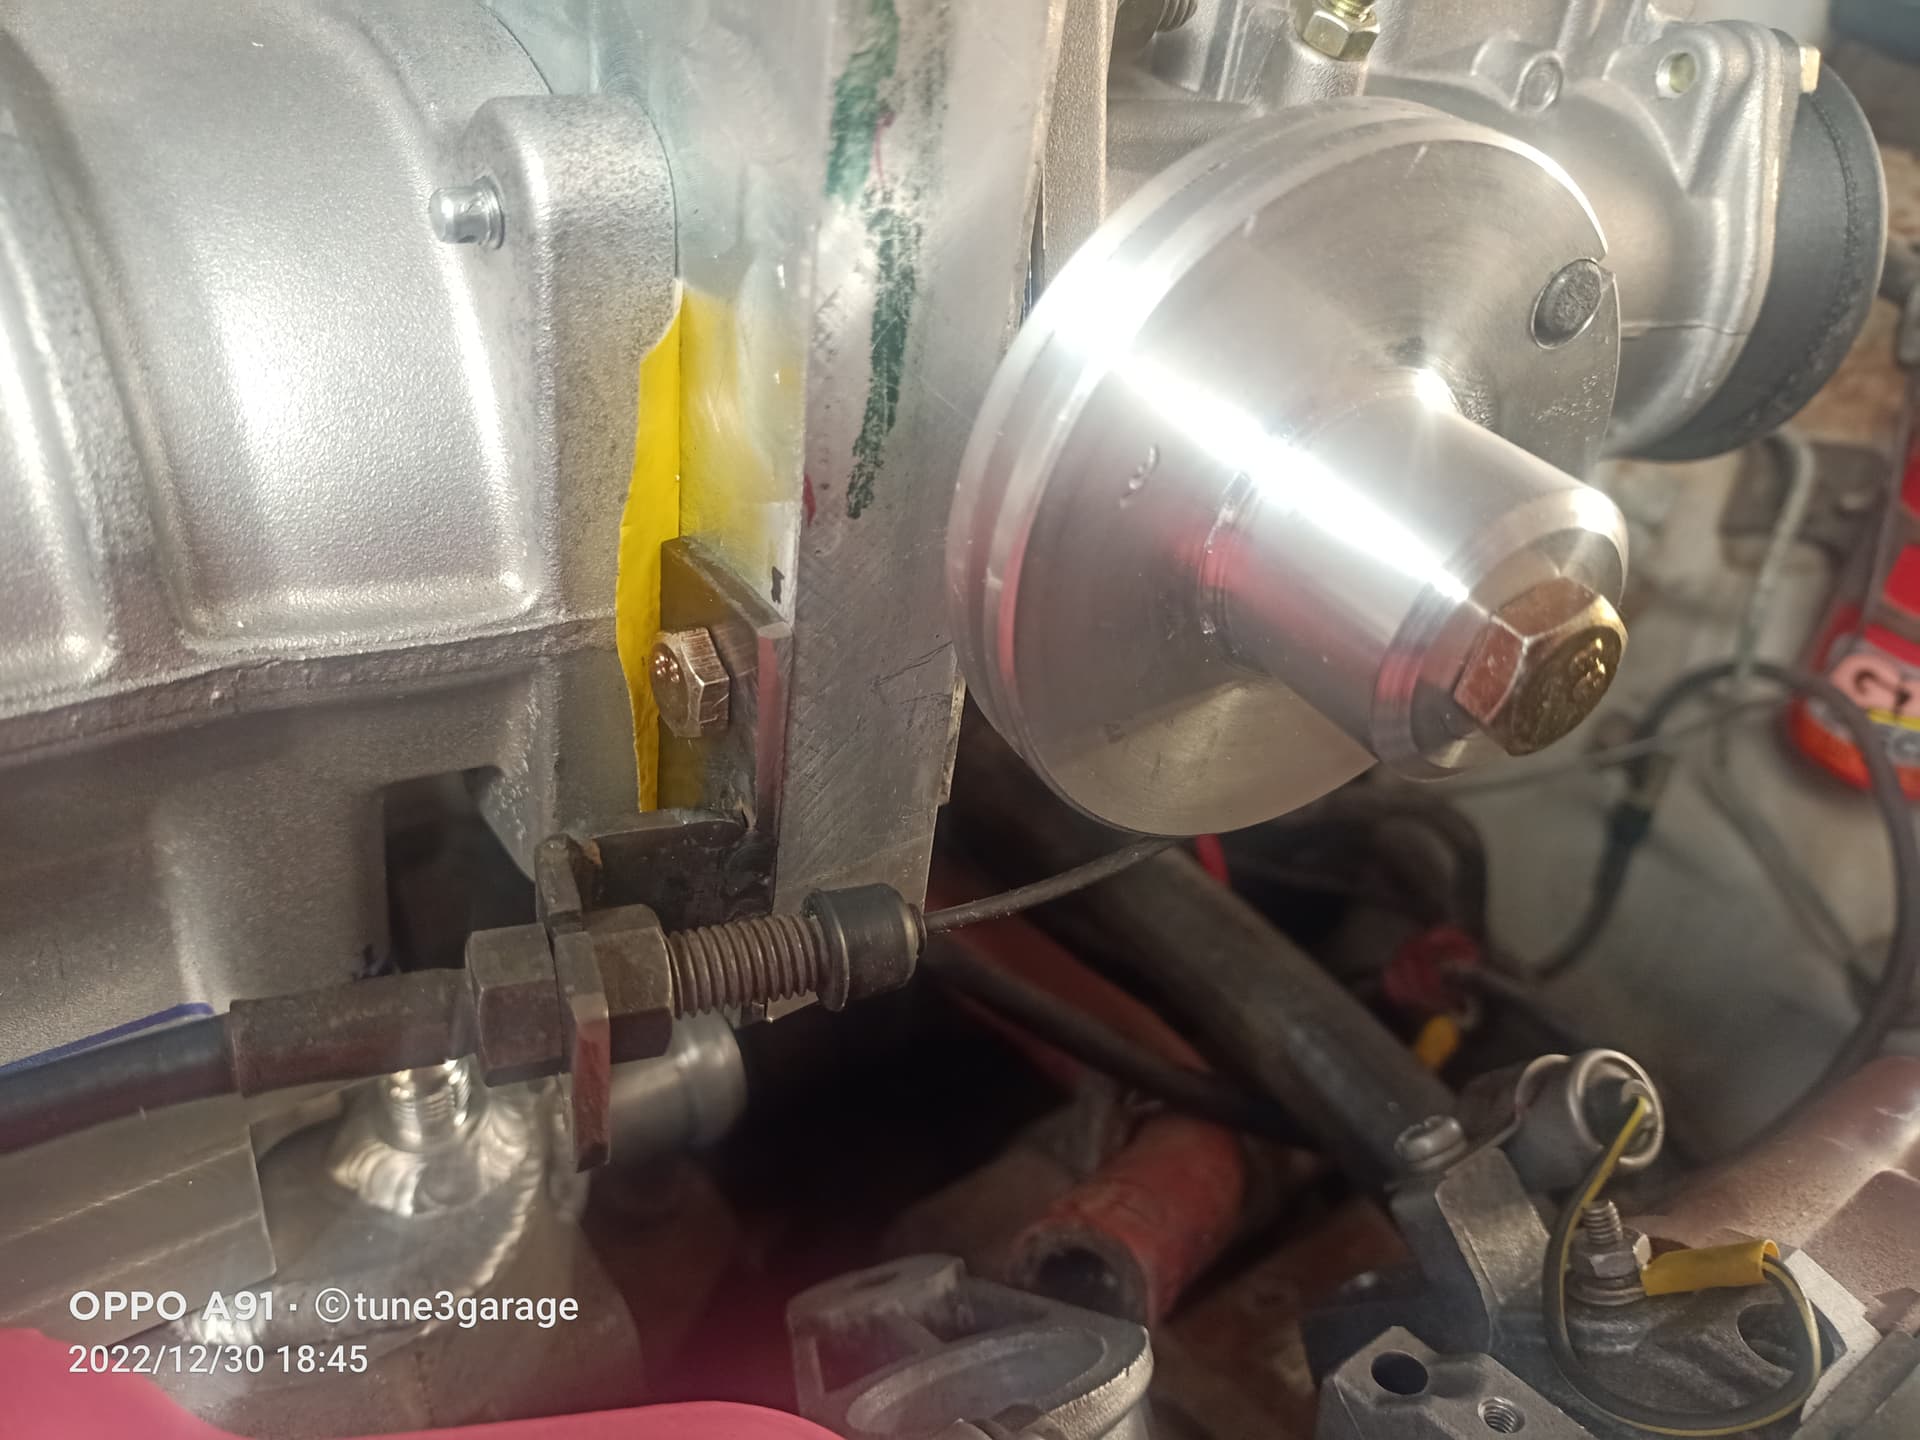
No it’s not the brake booster hose or the burst plate (which I am still figuring out) but these parts are essential. The brackets and throttle wheel took longer than expected.
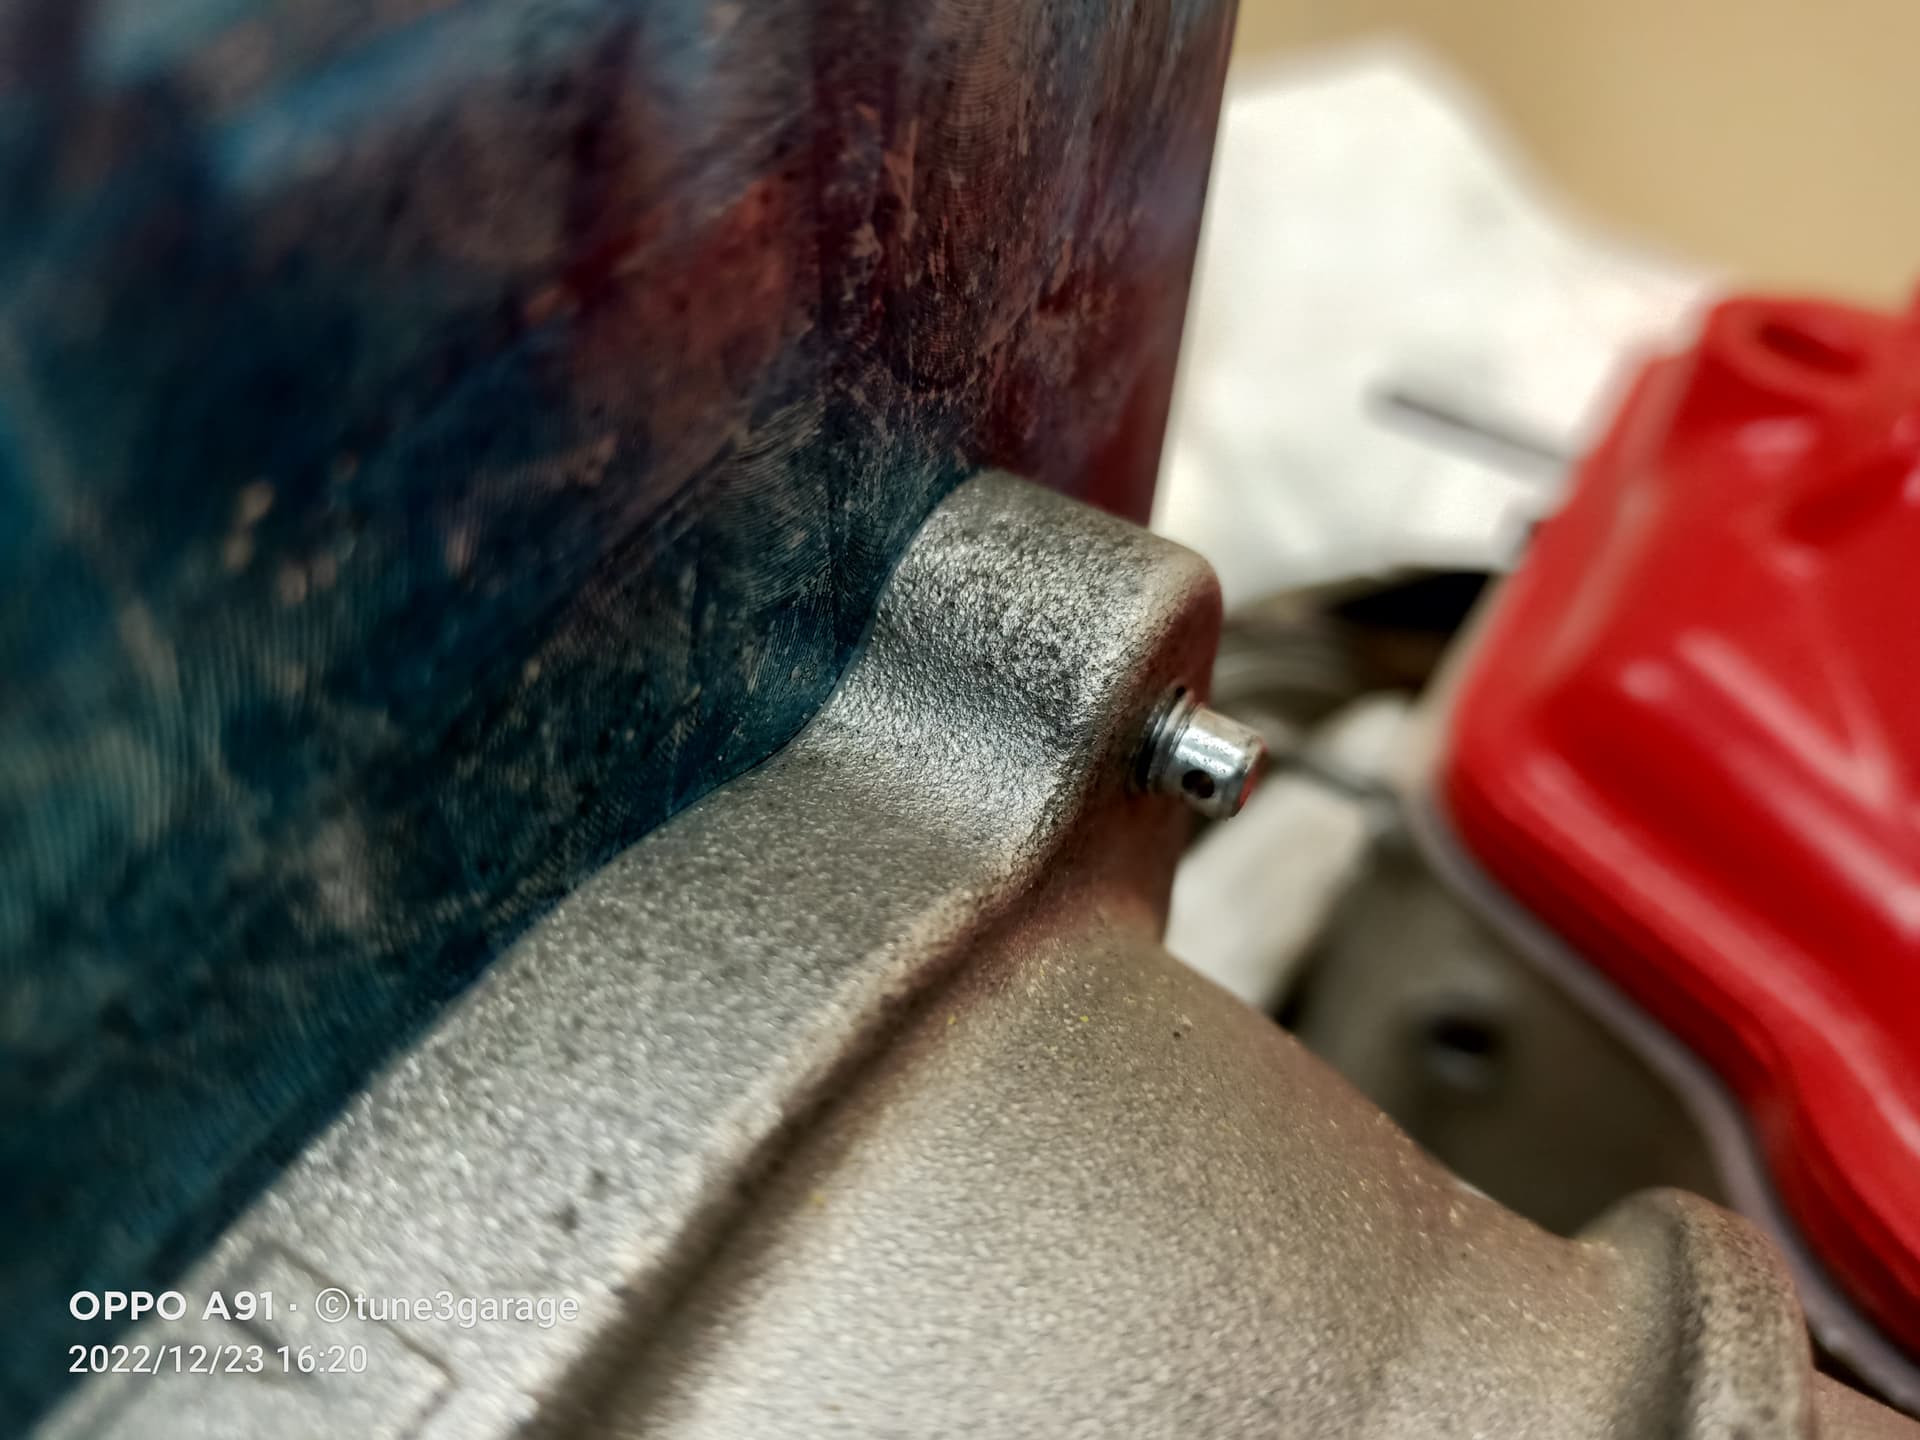
Nothing much to add, just a small blank off for the old distributor location. I’ll add a factory o-ring and then drill and tap with a grub screw from the side.
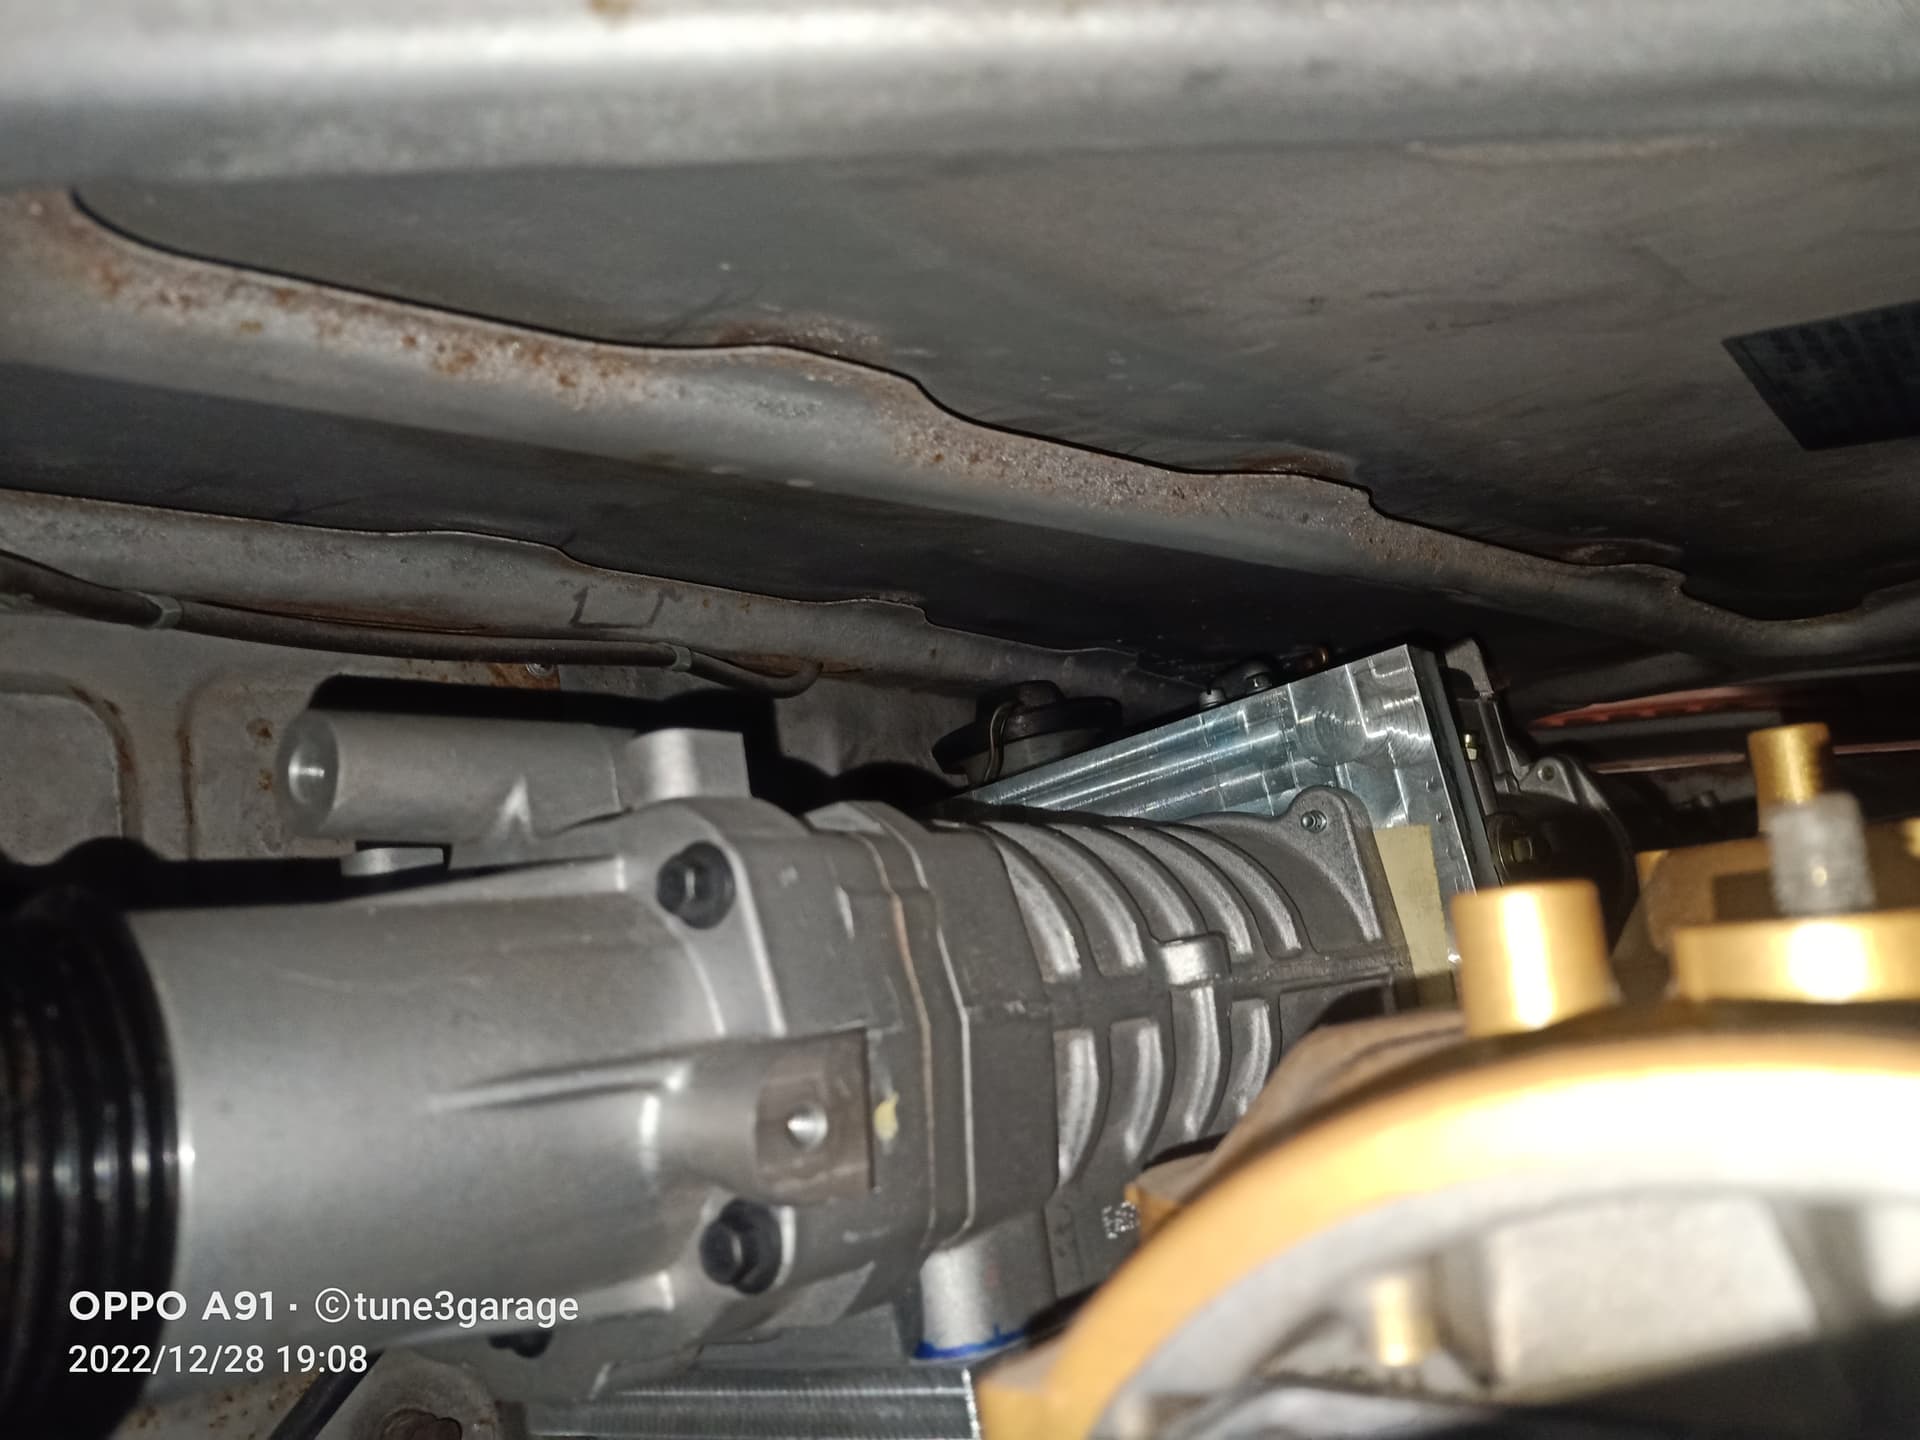
I shook the car quite hard, shame I shook the camera too.

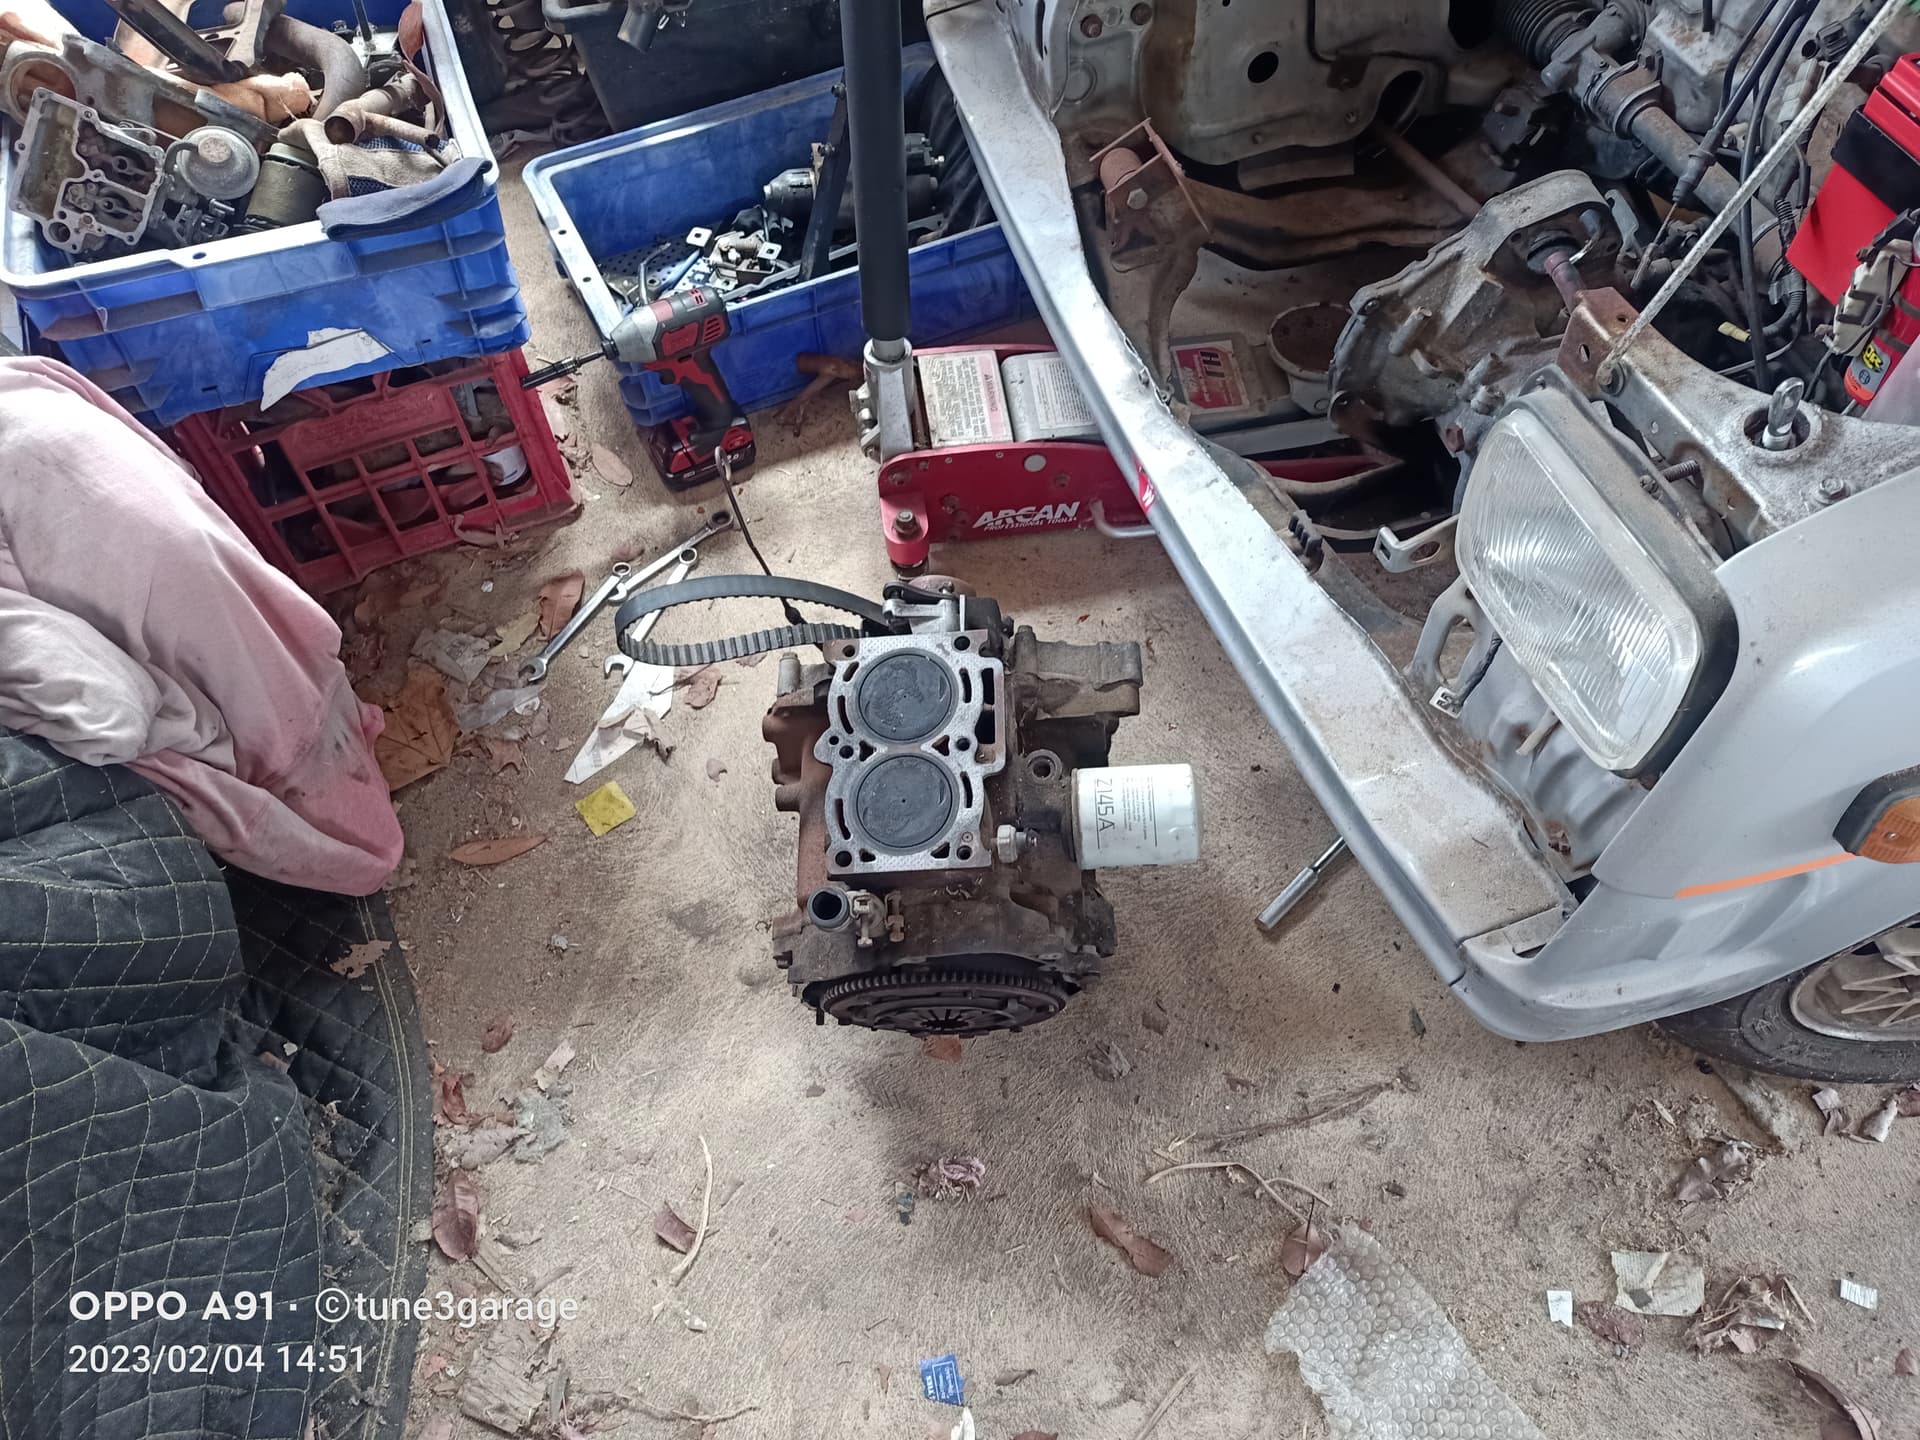
After cooking the head 4.5 years ago, the bottom end is finally out of the engine bay
The bores have rust, time for a hone and to gap the rings for boost.
looks pretty good considering
Cheers Evil.
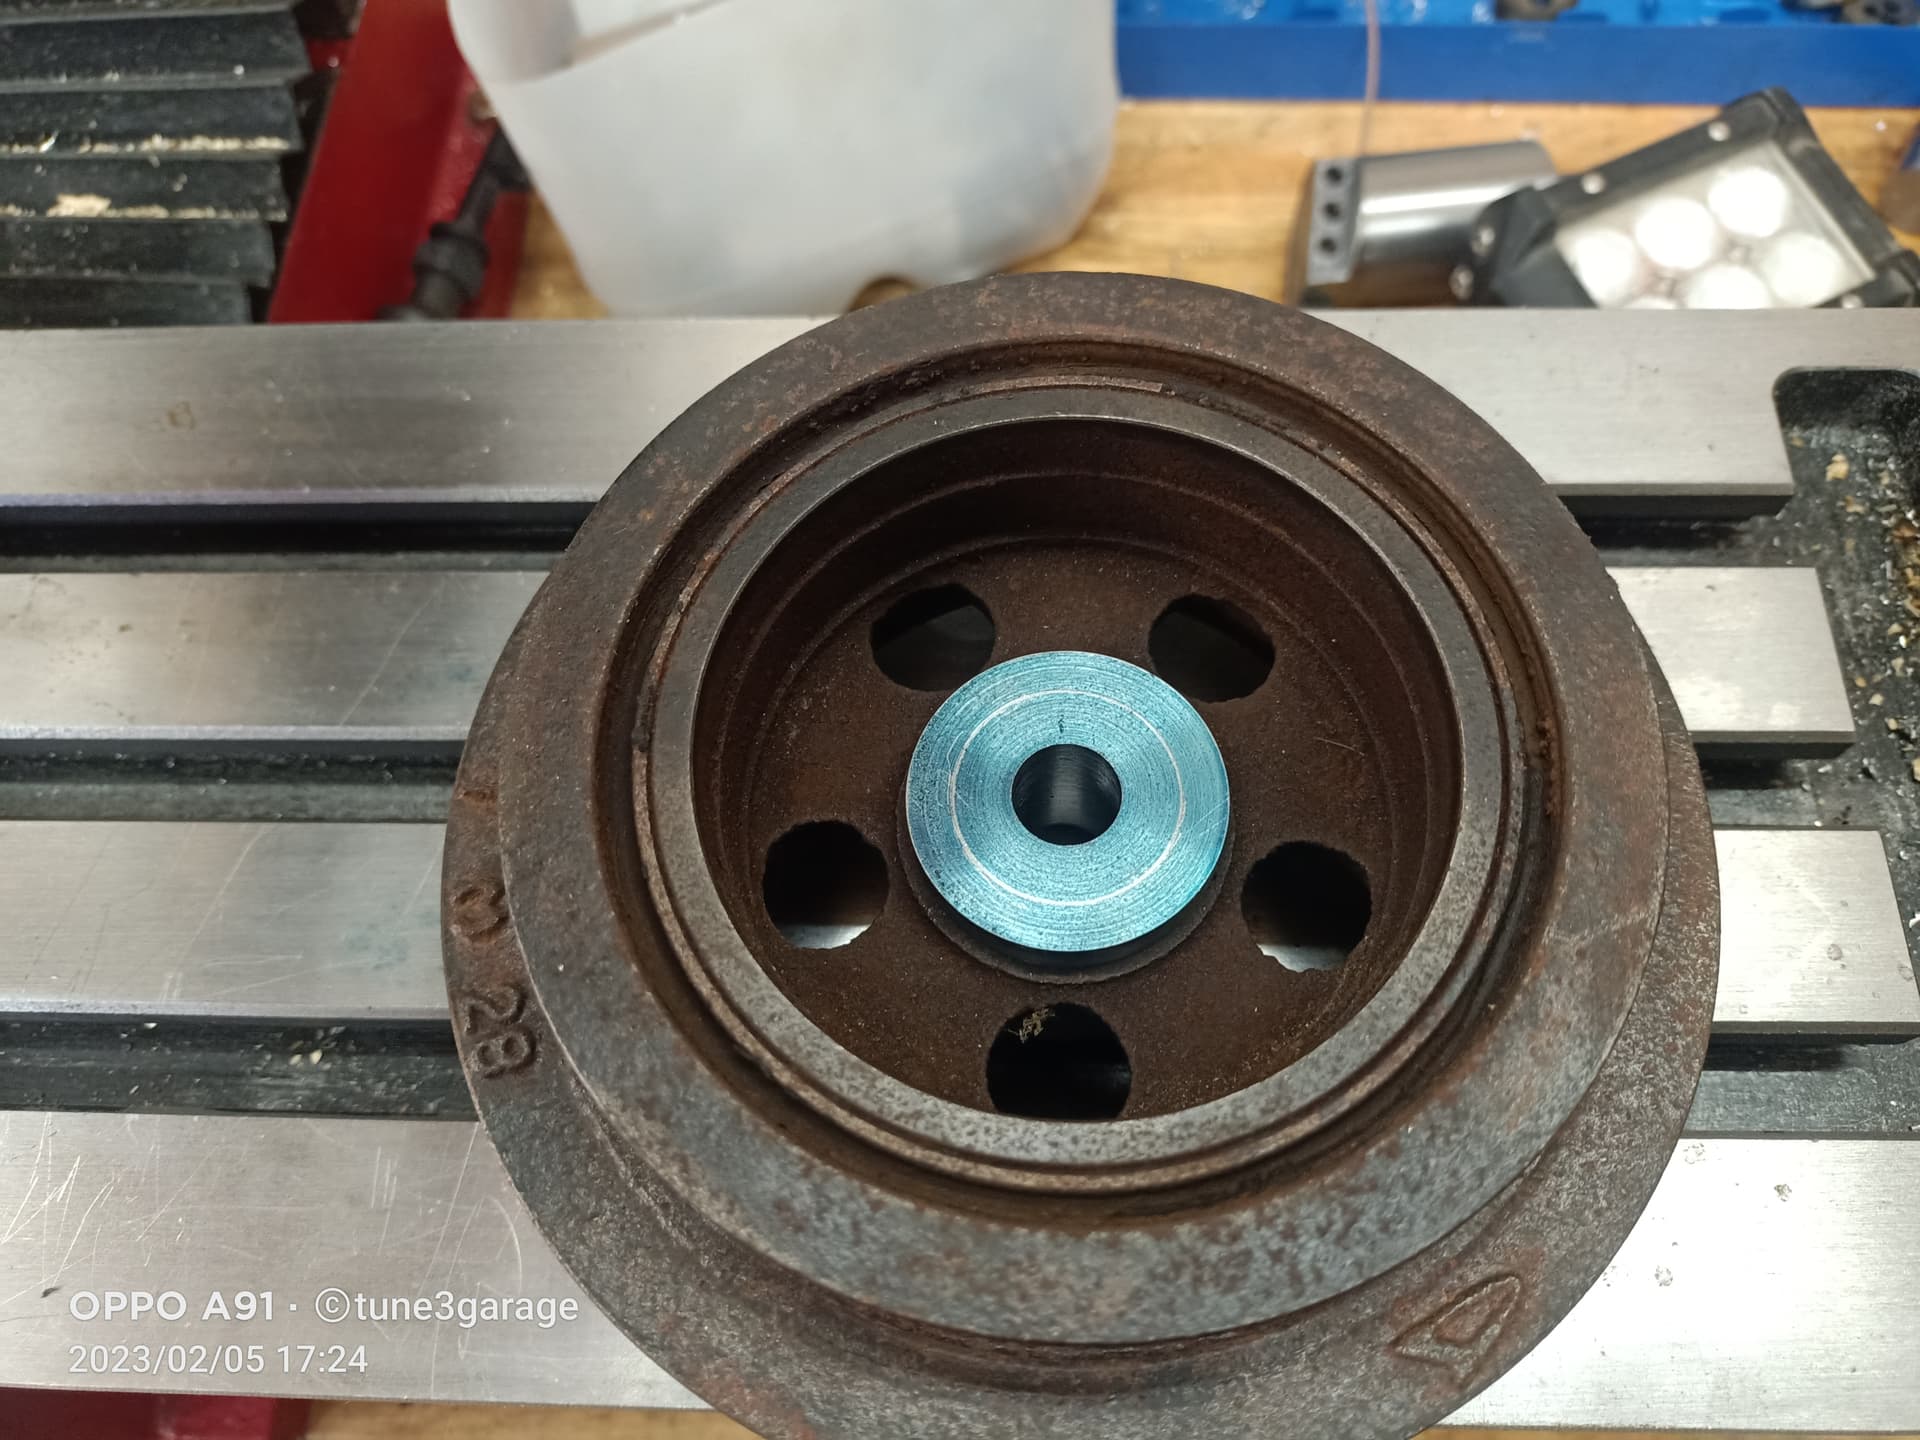
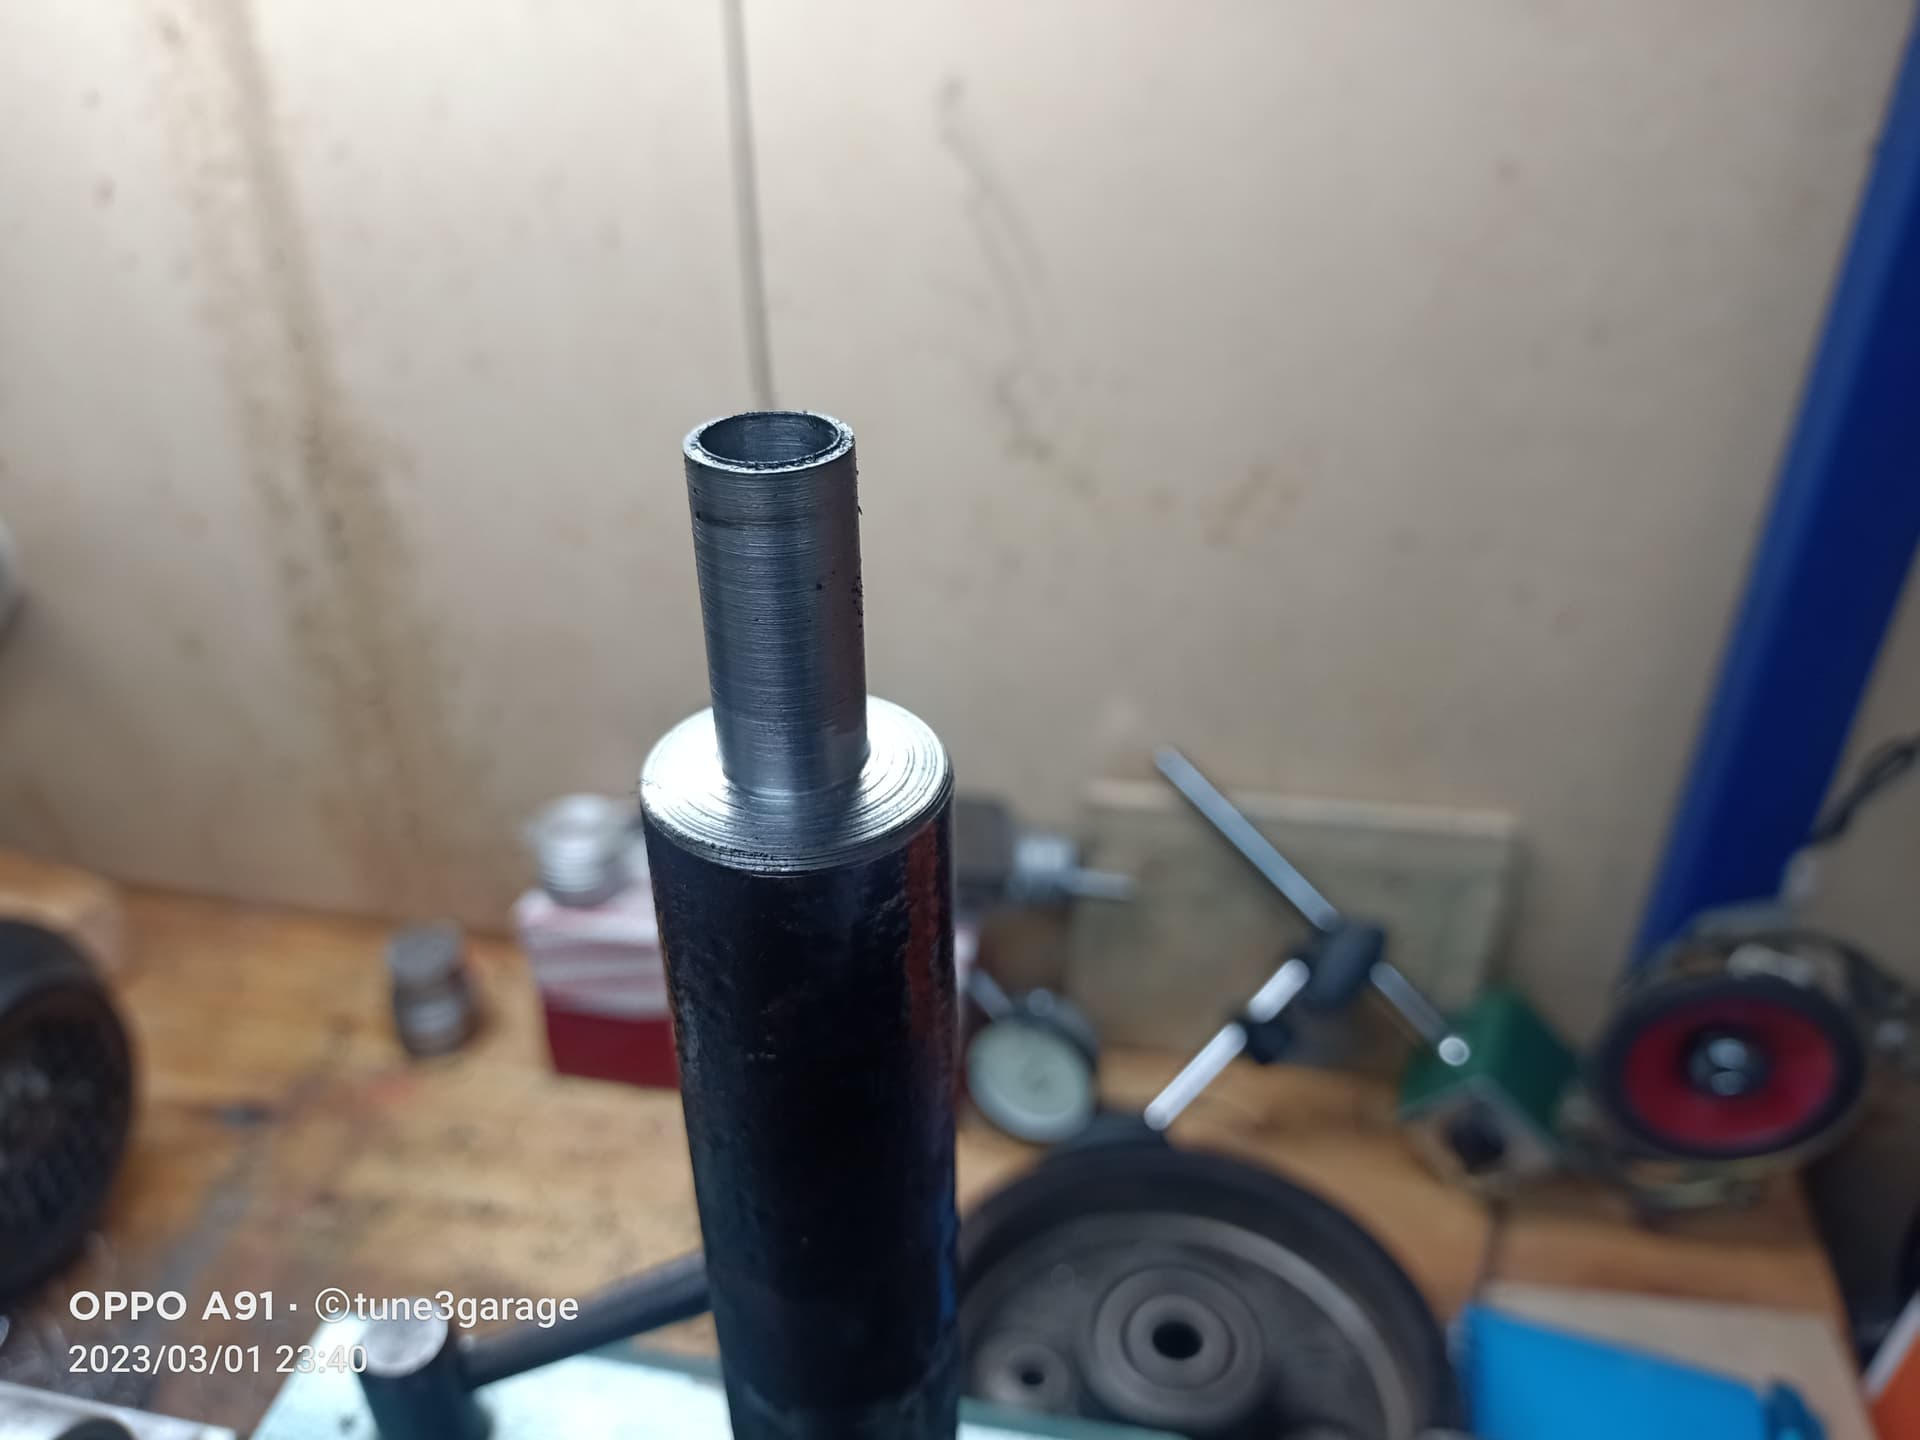
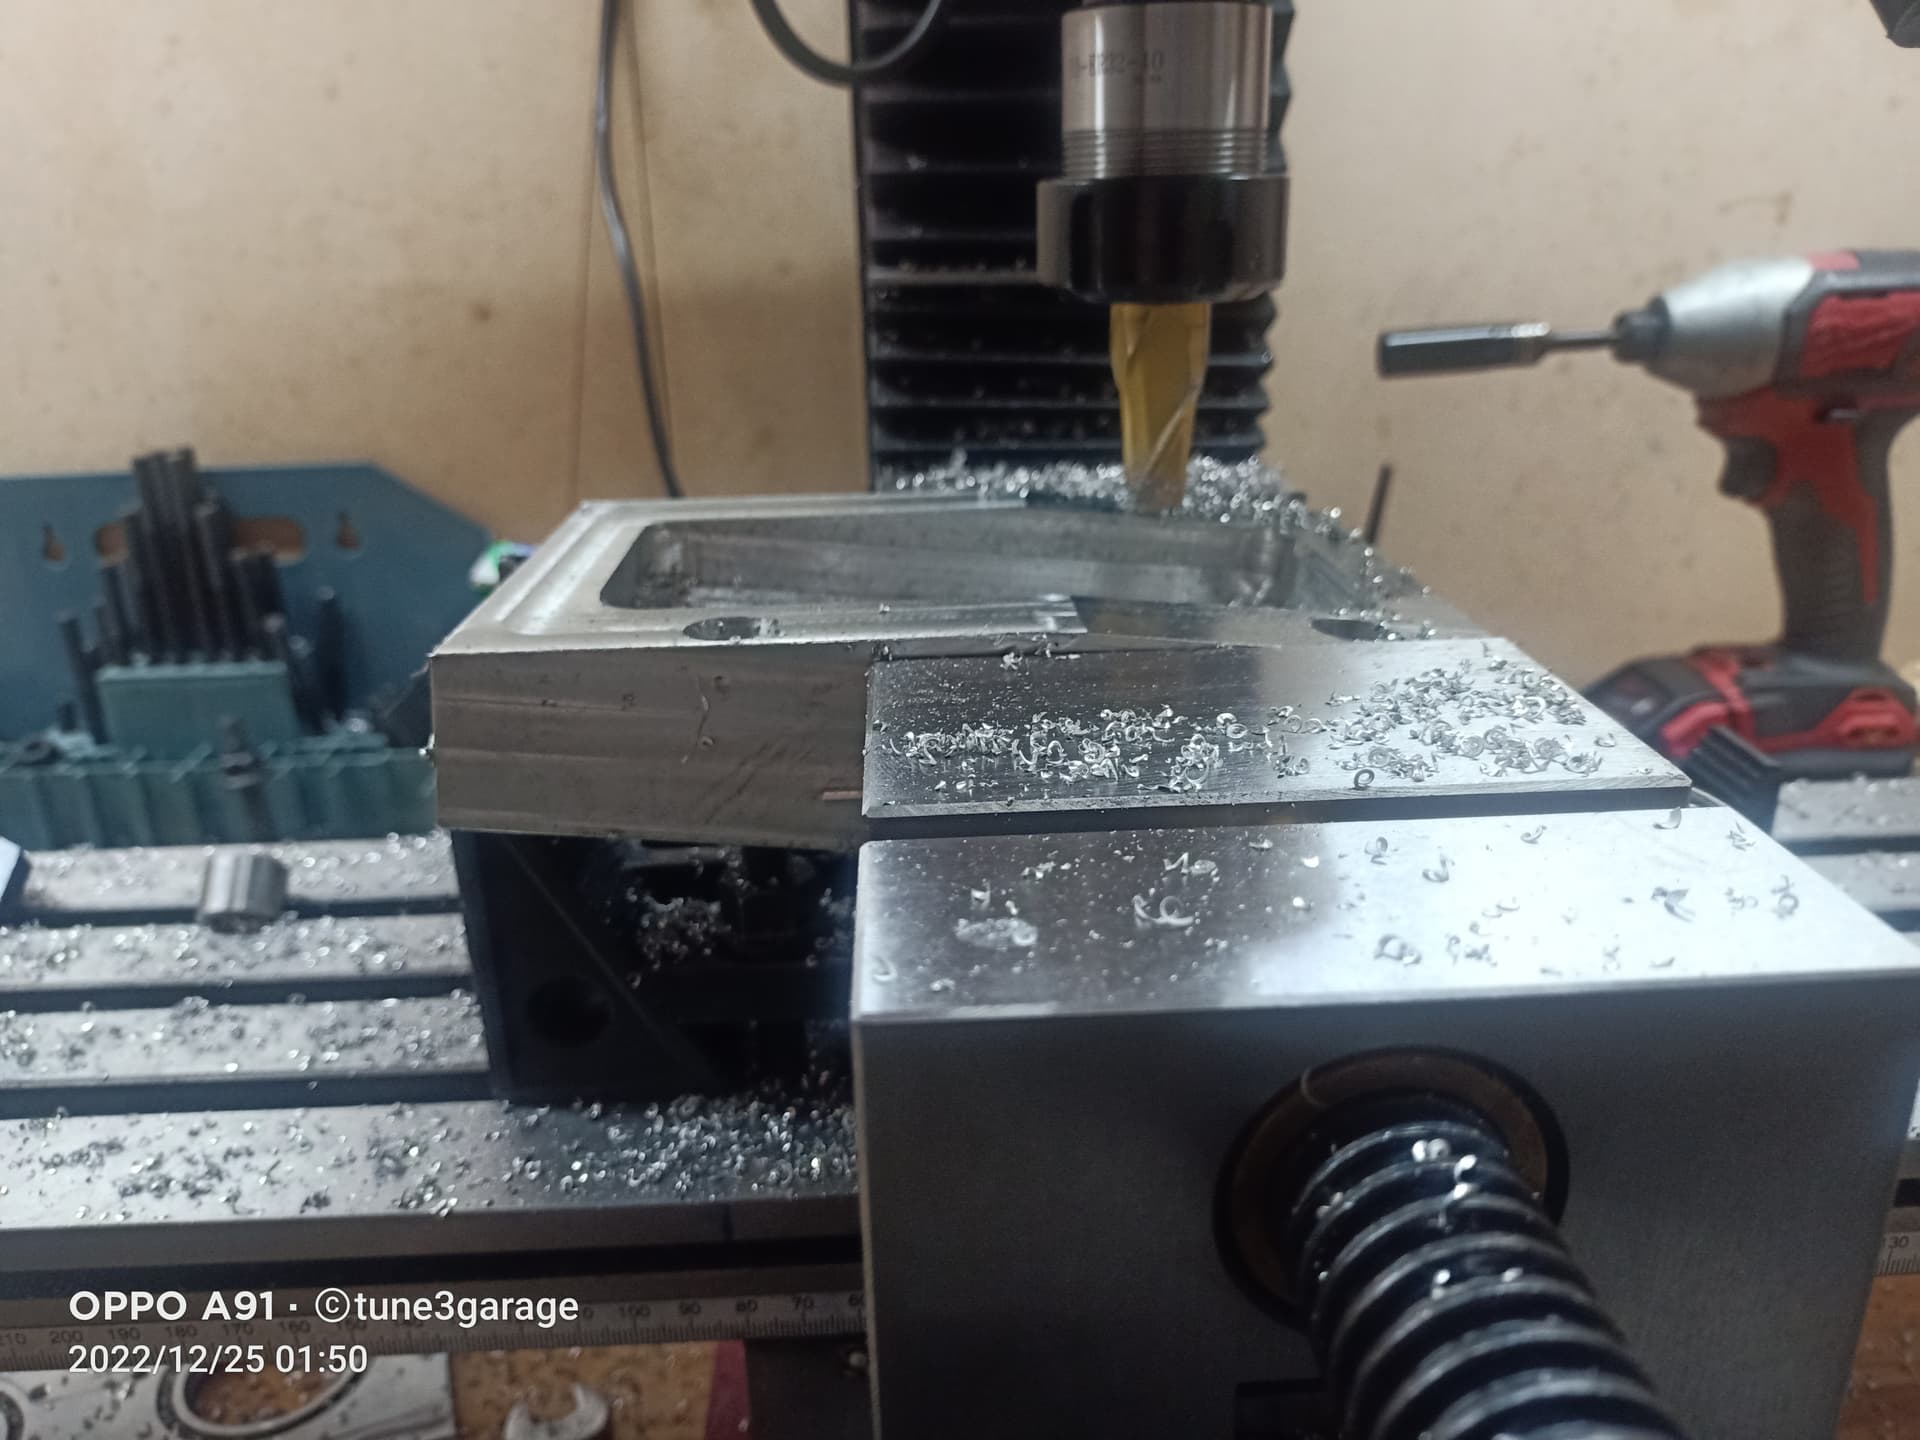
Been working on a crank snout extension that pins the crank, the extension and the harmonic balancer together with one or two 5mm dowel pins.
To centre it I’m going to make an adaptor so I can clamp it all together to drill the holes on the mill.
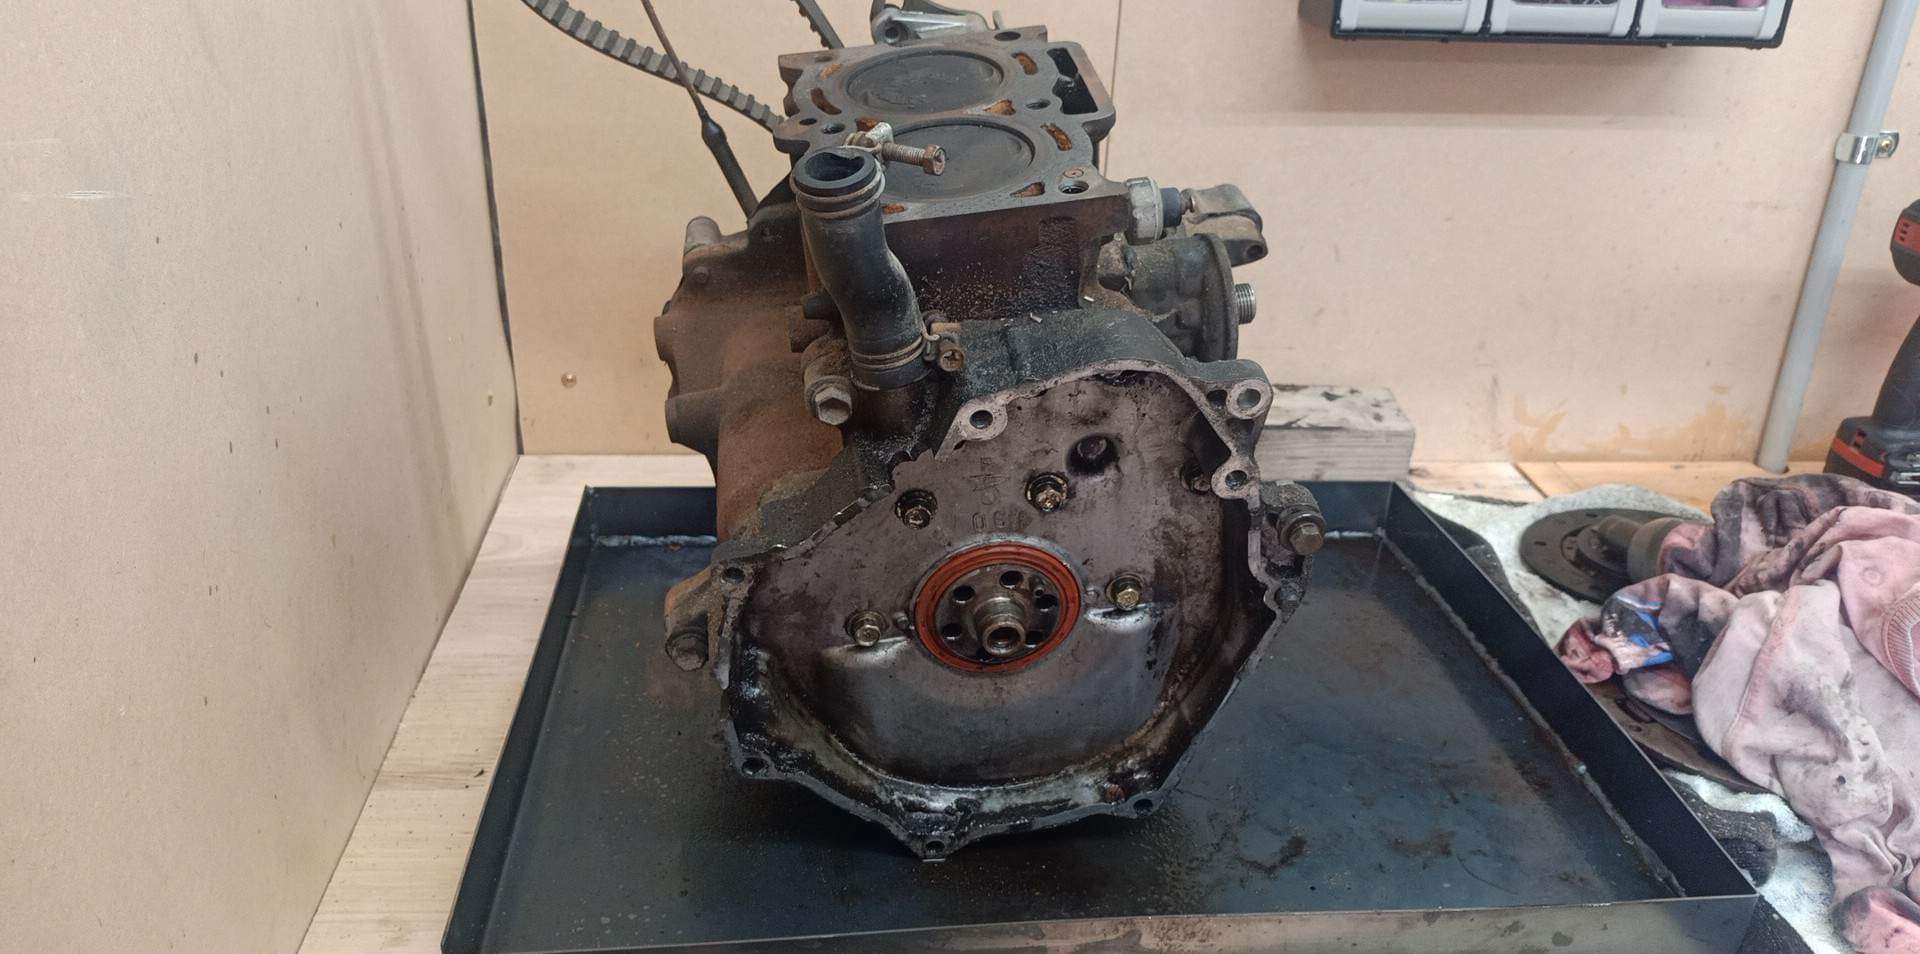
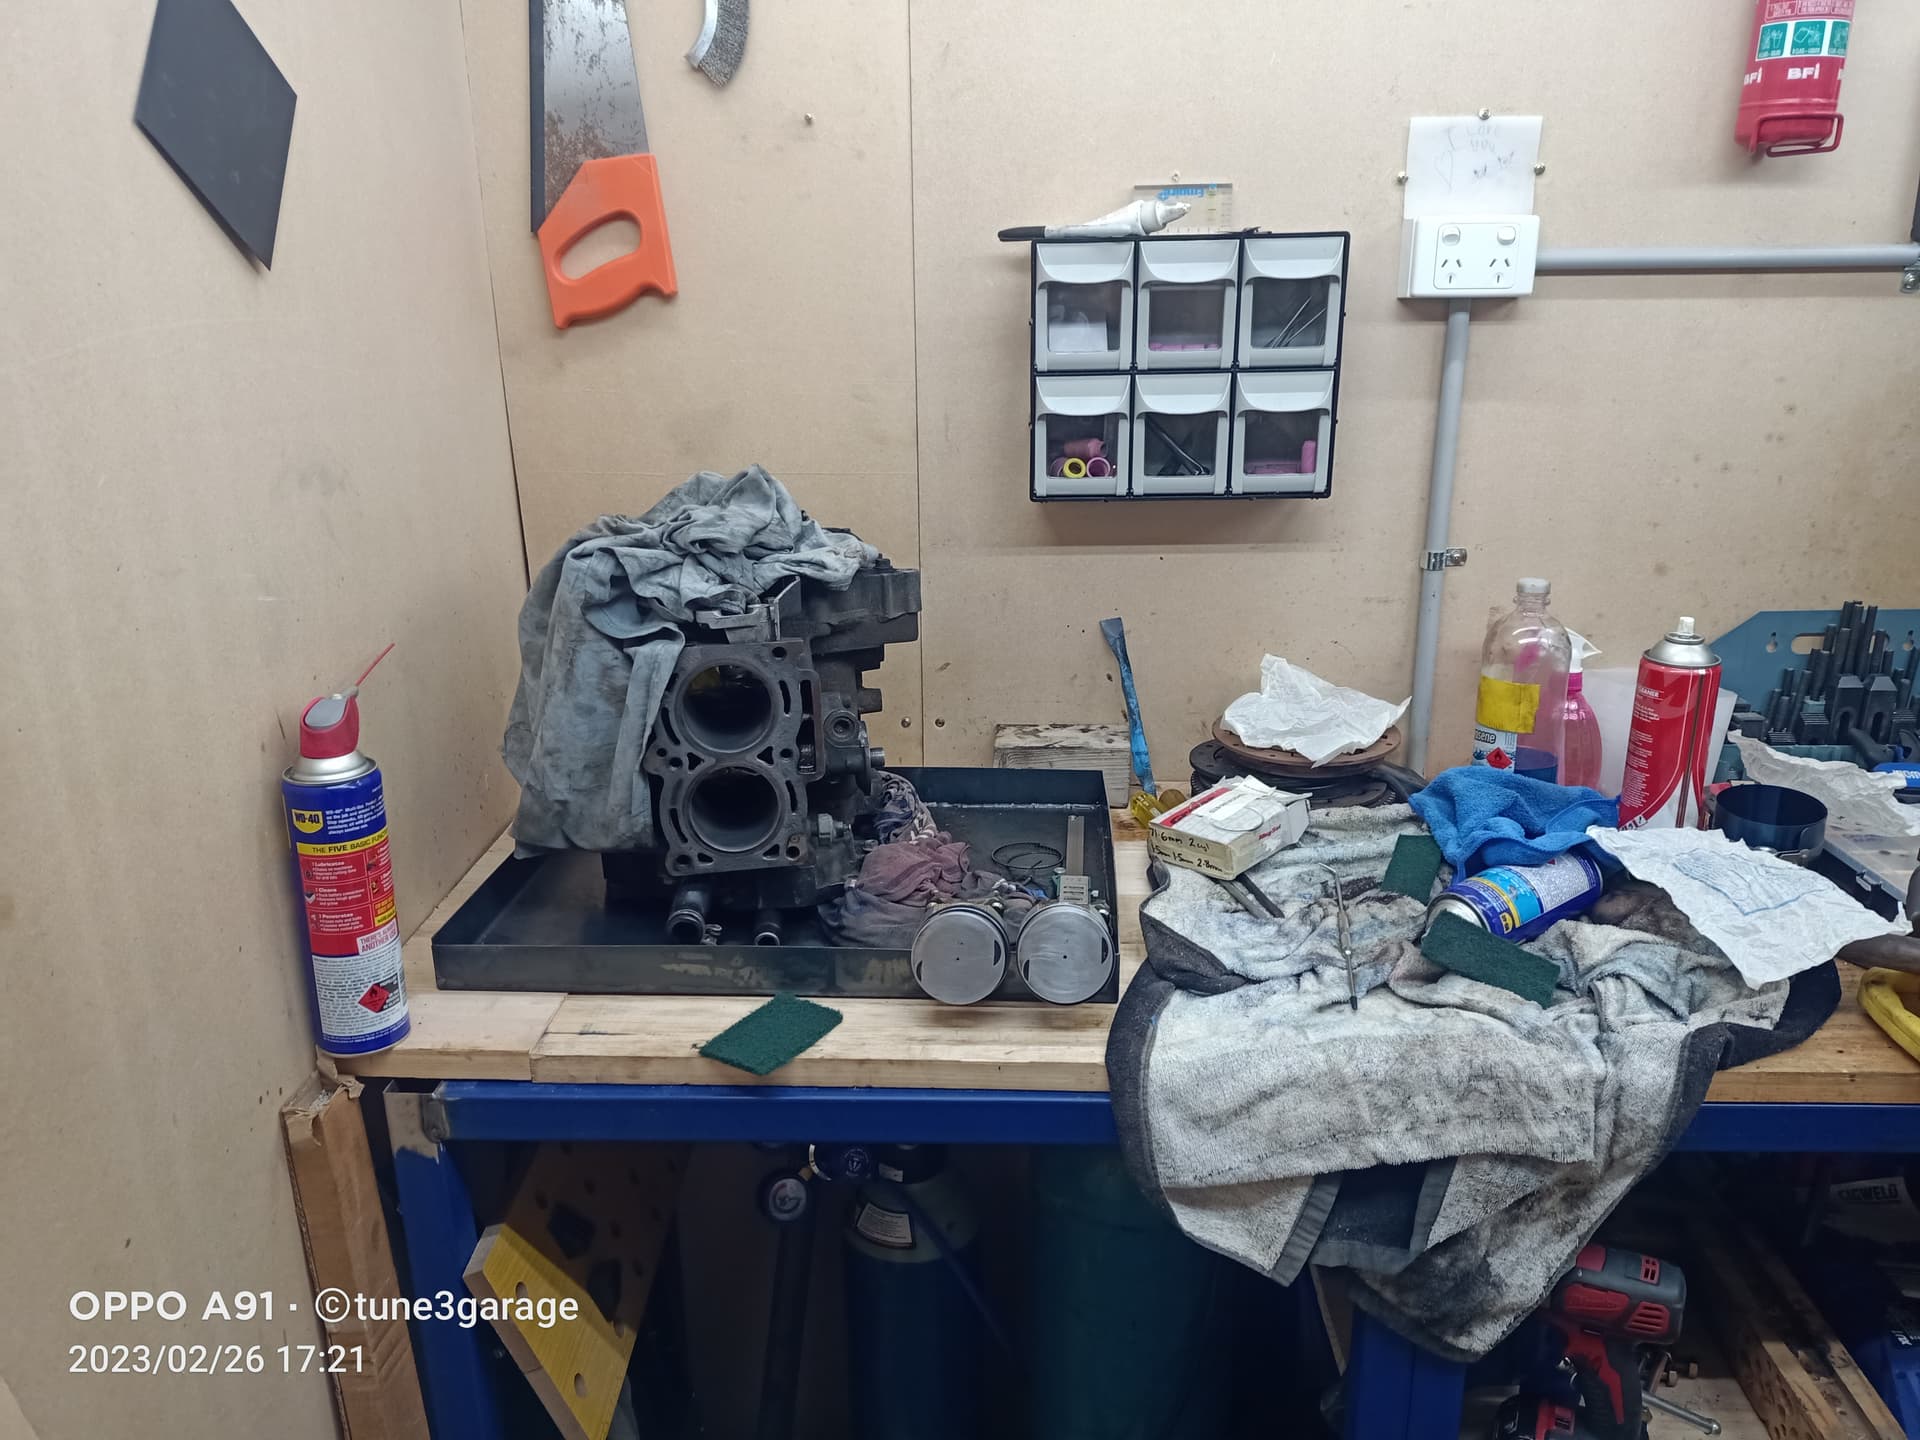
With the previous post project on a back burner while I wait to get a hand reamer. I decided to tackle the bottom end of the motor, this is something that I have been avoiding for at least 12 months.
I made a tray and made space in the shed.
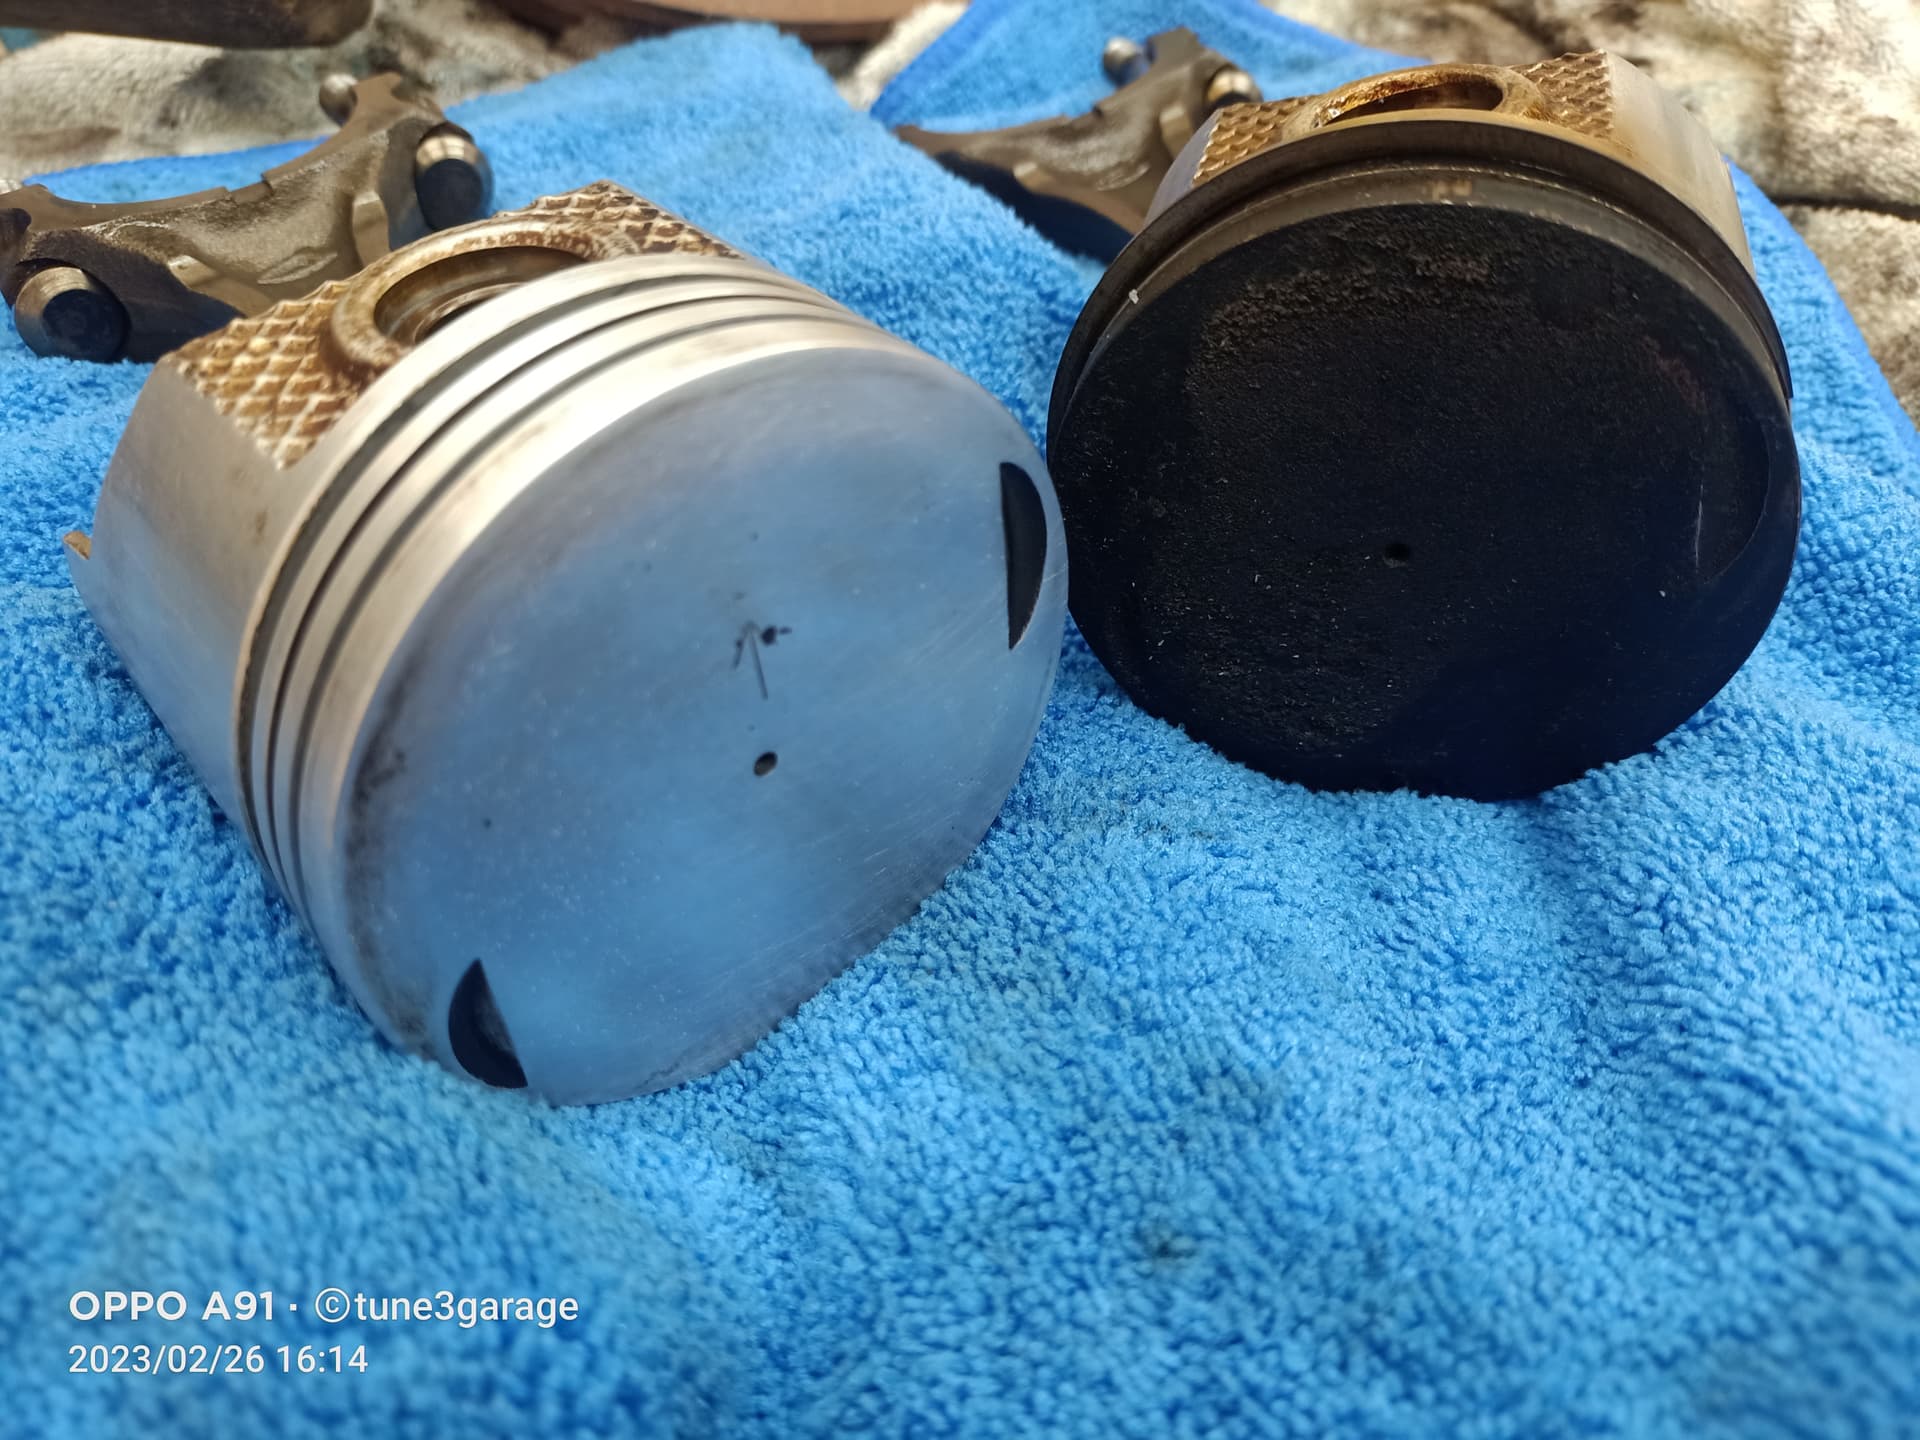
The pistons required some cleaning but came up good.
I gave the block a hone, and gapped the rings for boost.
nice work man I am still impressed how you do with so little space
little motor needs to be done in a little space?
It’s tight but I make do, I didn’t have to clean the whole shed up, just the corner I wanted to work in.
I’ve decked the head with a stone and checked it for flatness. Thankfully it’s good.
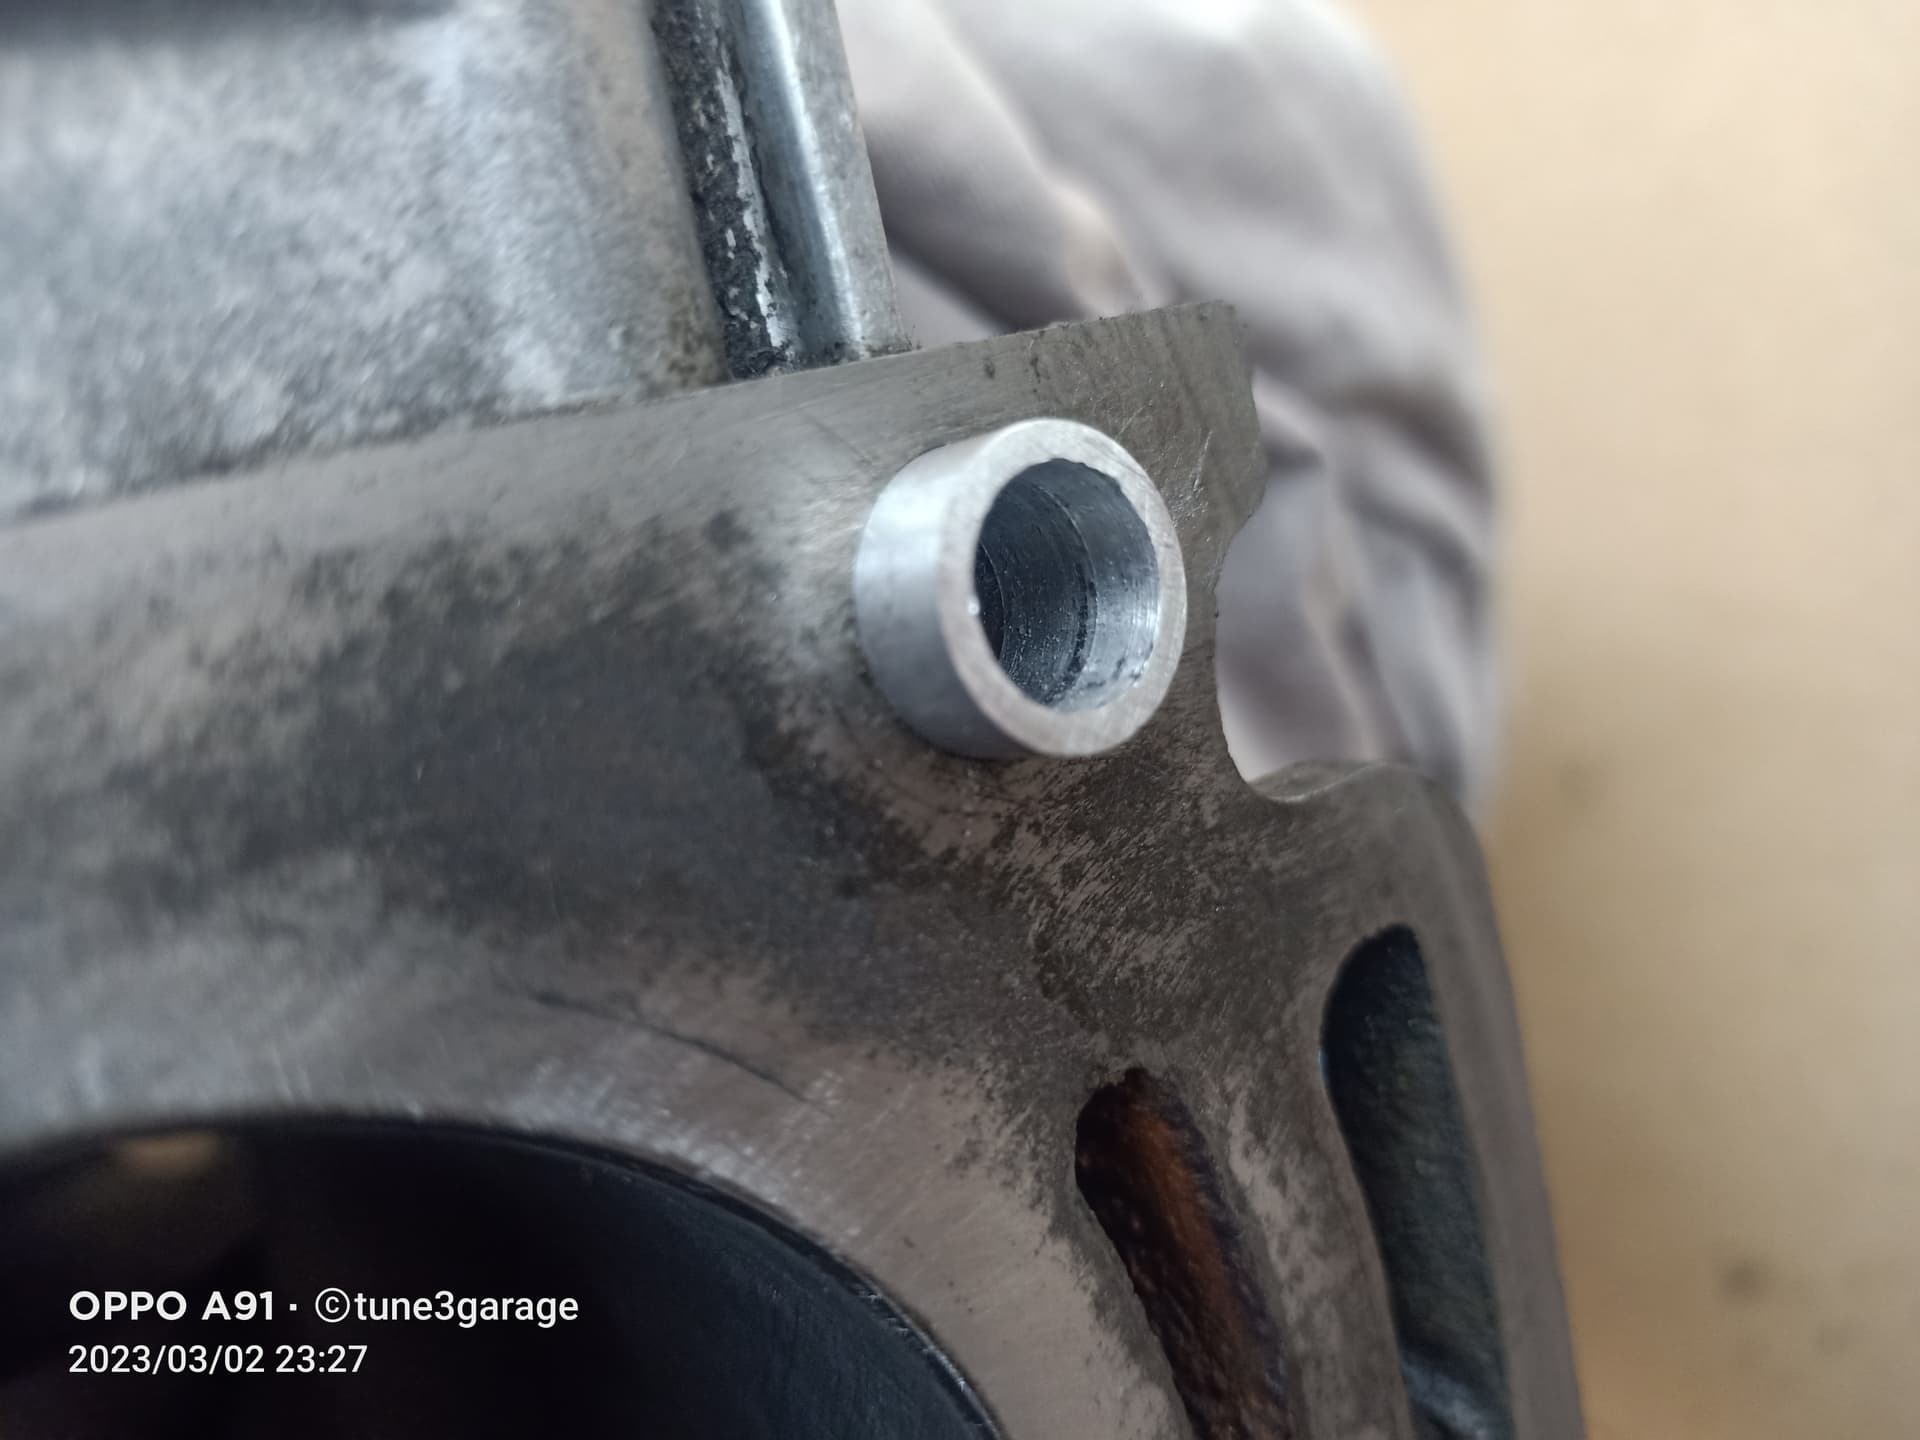
I made the beginnings of new locator tubes for the head. I have 0.005 mm more clearance than I need, I might make another one and go for a snug fit.
The fitment was up to the standard I want to set. So I made another pair from some alloy, they are very snug.

Here is a YT Shorts of progress of the engine build.
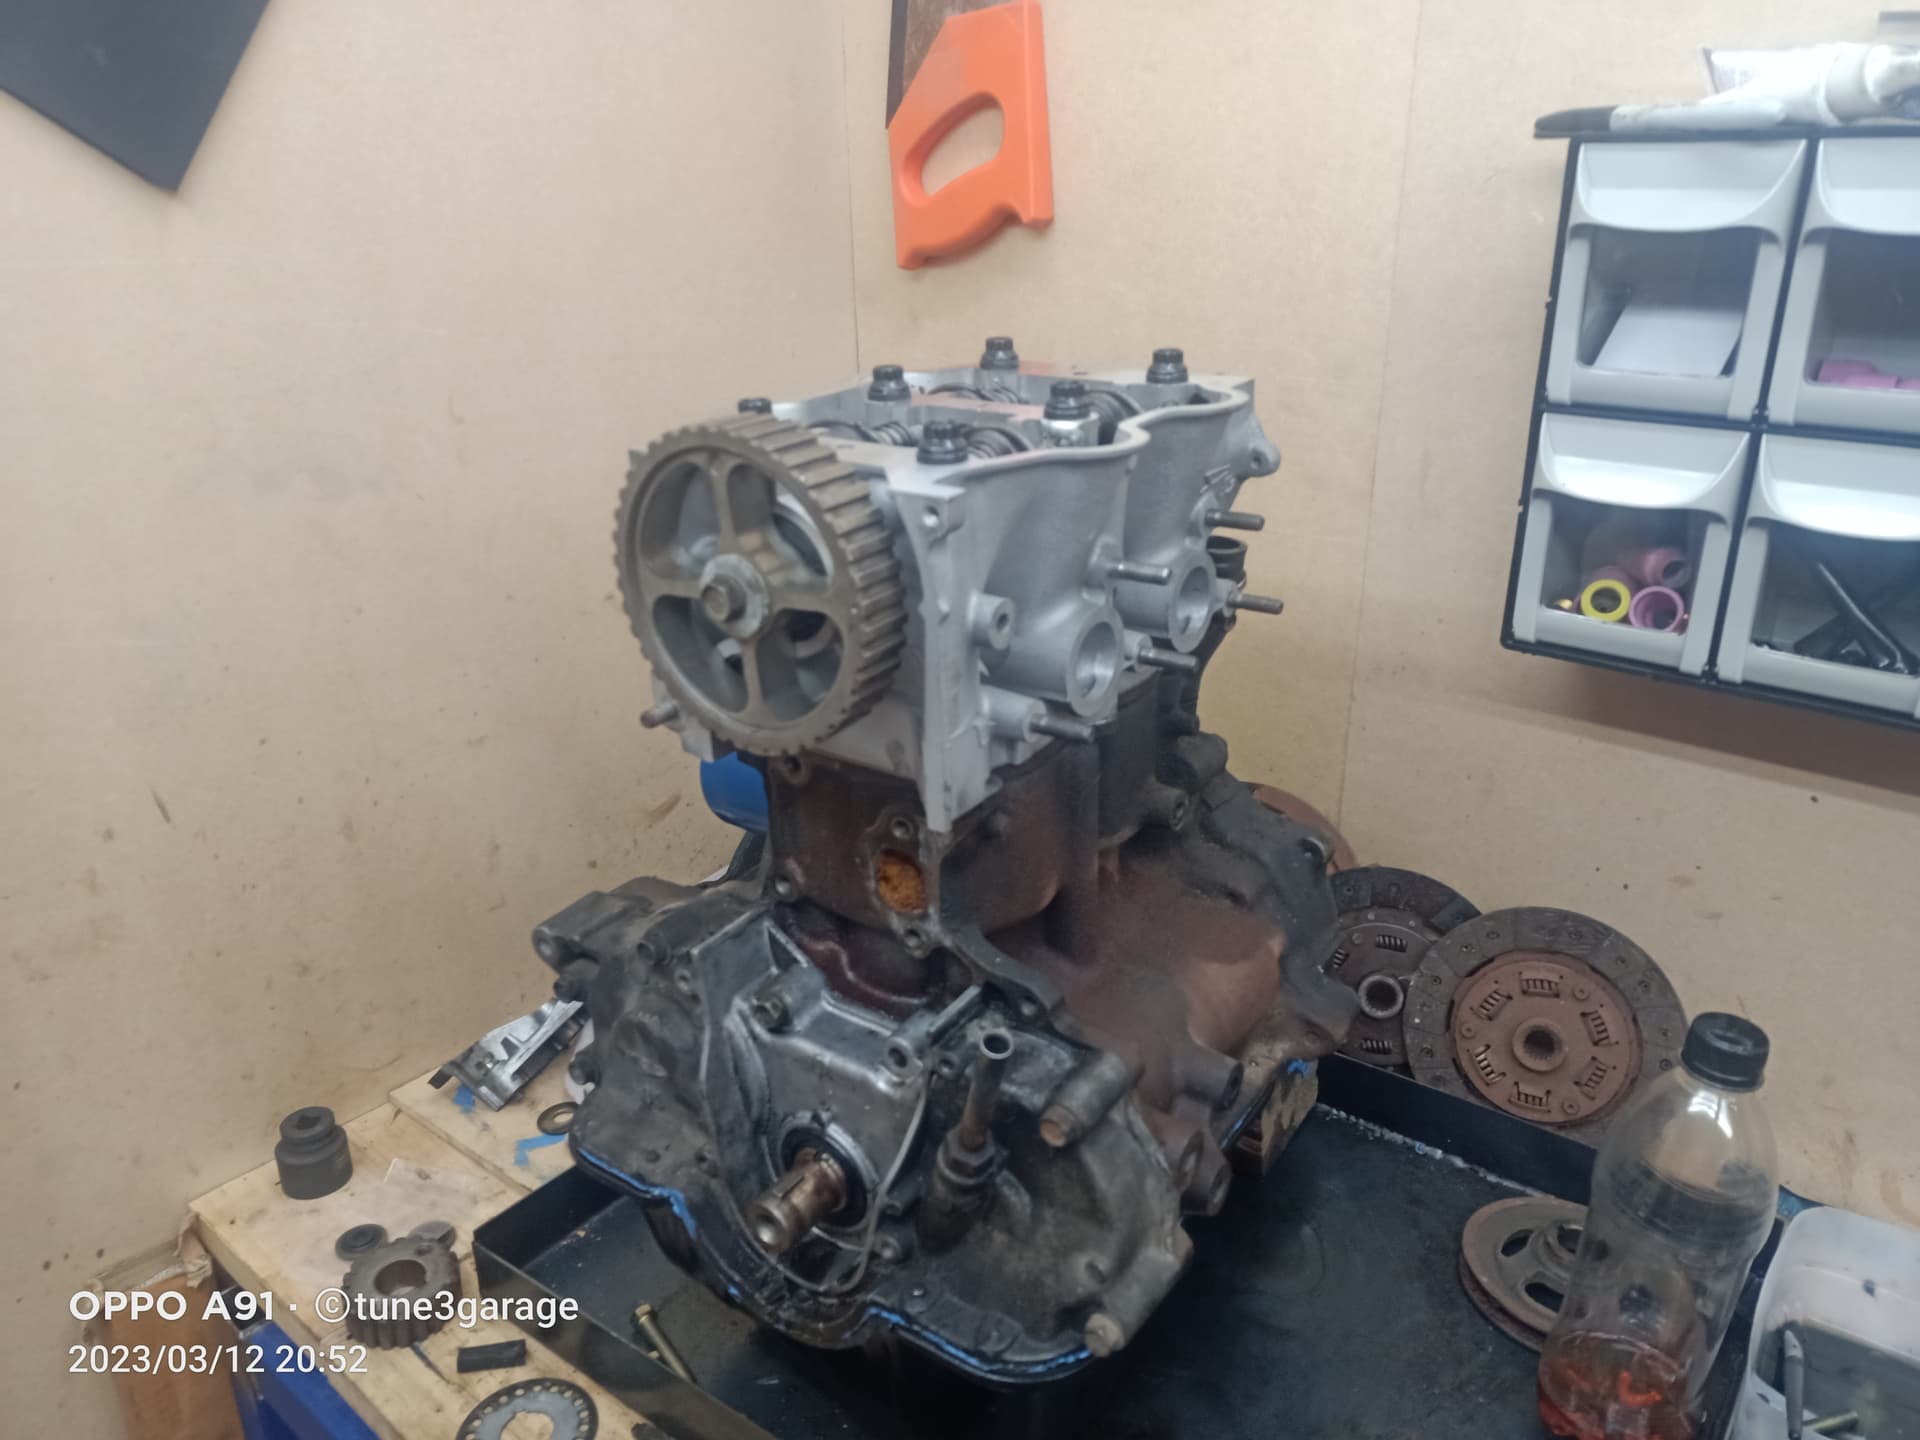
The head is finally on.
Things still to do.
Make adaptor for electric water pump to plumb into the block.
Fit a new timing belt.
Build a custom pressure plate.
Then the engine will be ready to go back in and fit up the supercharger, and more things to fabricate.
lookin good mate!
Thanks Mr Evil.
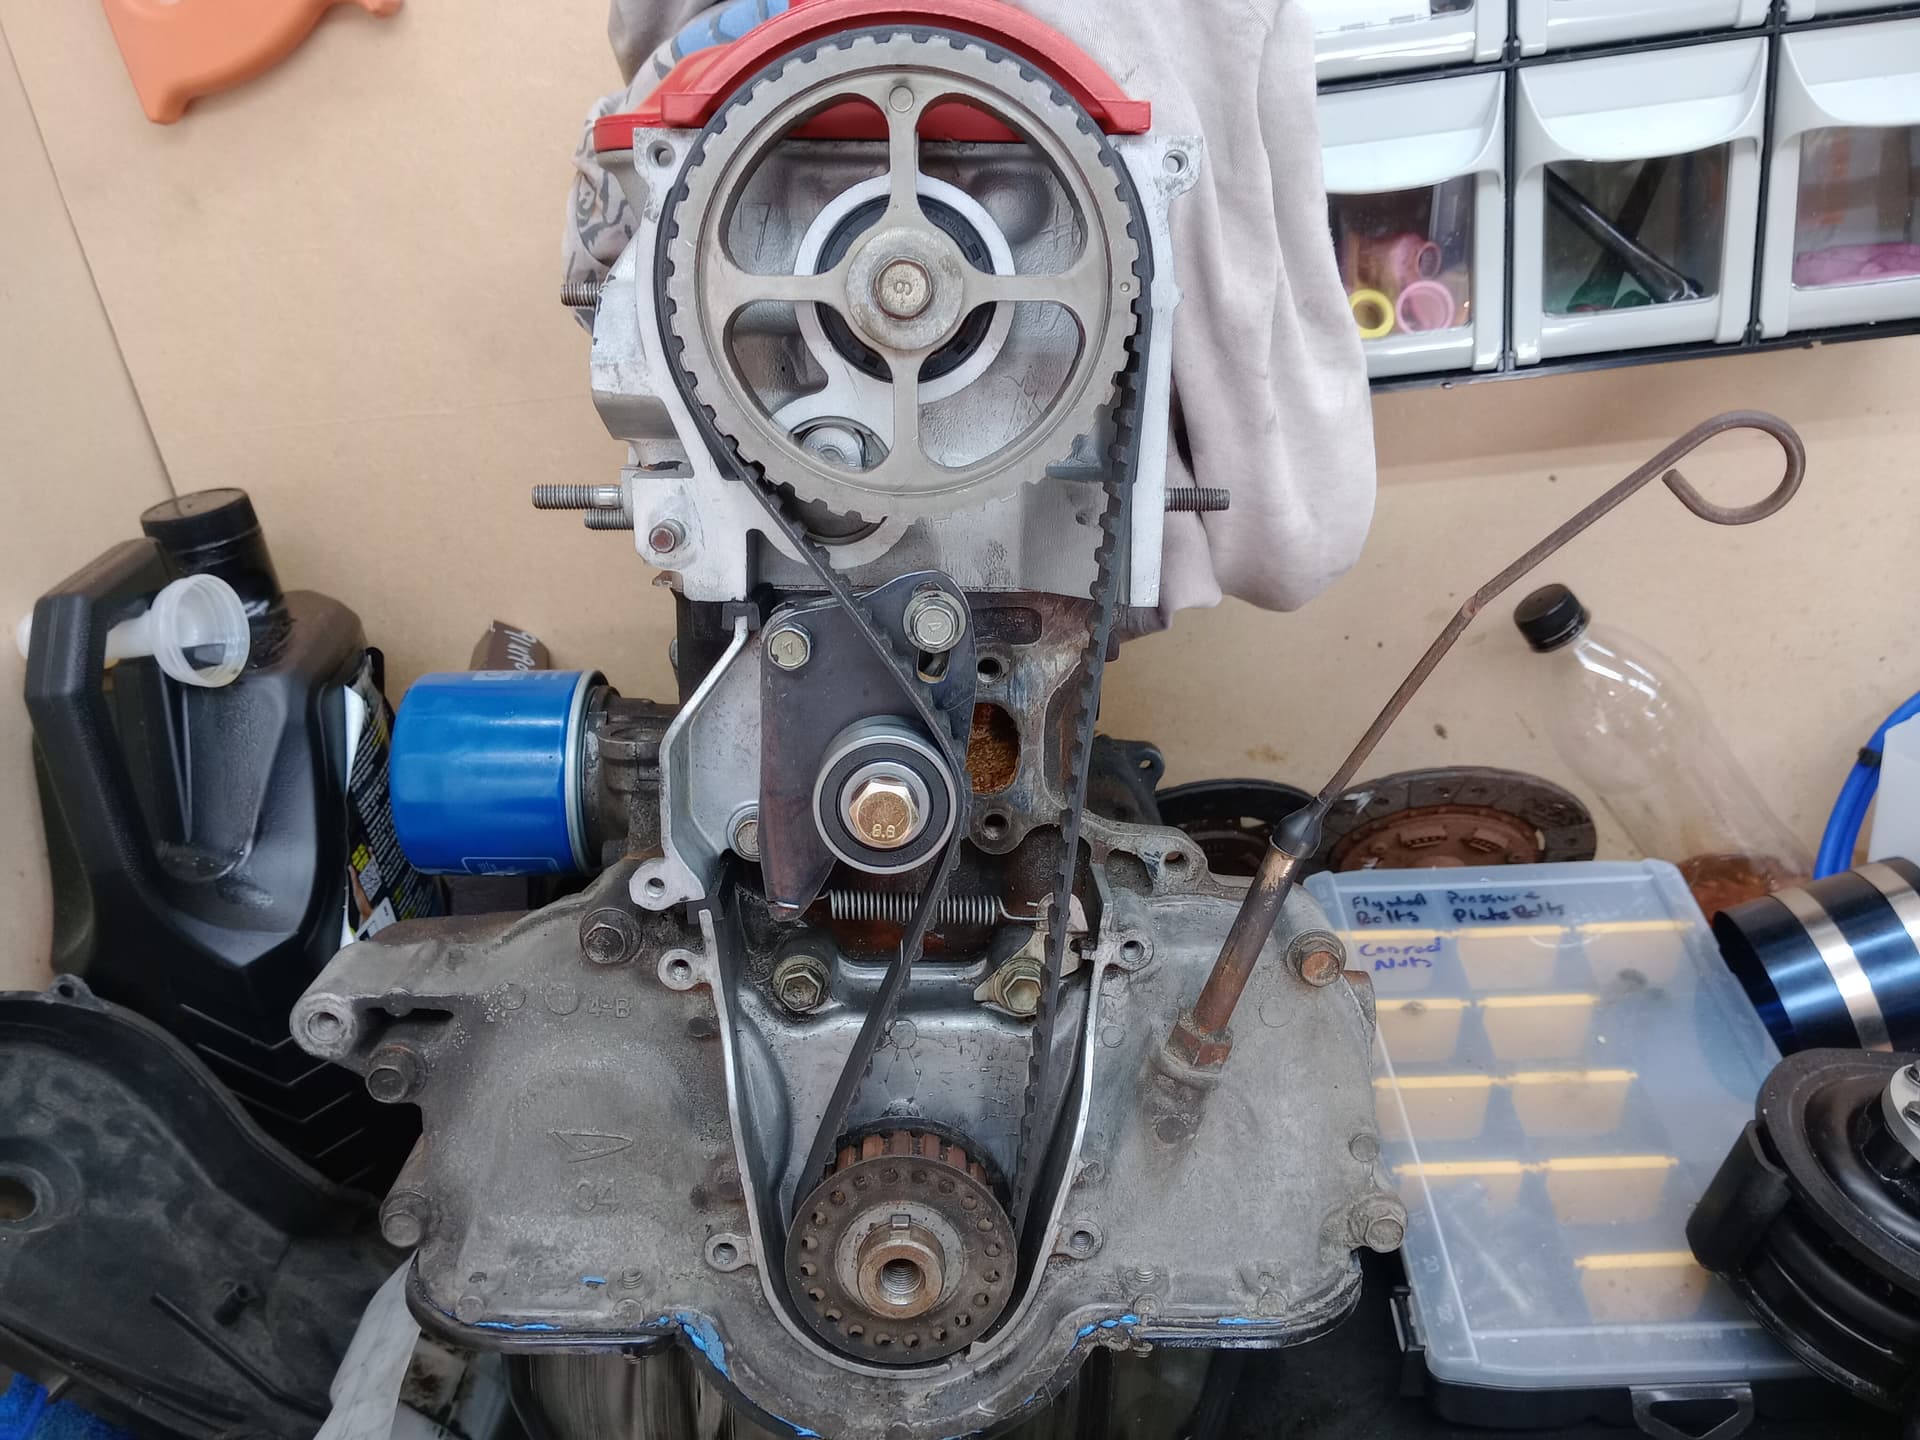
I did get around to fitting a timing belt. It seems that local stock of the L55 timing belt is no longer available apart from eBay or other online sellers, wanting to keep it easy access I decided to install a cb23 belt which has one more tooth and made a new timing belt tensioner.
I pressed the pulley on from the back, just in case it were to come off that it rode against the back of the tensioner bracket and not the plastic cover.
I started to make the coolant pipe to the water pump, yes there appears to be a stop pin hole which I will fix but I did use a piece of aluminium as a heat sink which appears to have improved the colour of my welding.
Awesome build! I’ve been away way too long apparently. ![]()
However… First of all it’s recommended to put the belt on the other way.
Second, isn’t a different number of teeth on the belt going to give timing issues?