I had a similar wobble in my L251 it was the inner cv on the passengers side, it had snapped but was still functioning somewhat due to being held in by the wheel, once I removed the hub it fell out
I’ve replaced the passenger side driveshaft and CV joints as a complete unit about a year ago, using a secondhand part which was intact when I fitted it. I have since repaired the one I took off and thats on the bench, so if the wobble is still present when I’ve sorted out the brake caliper sliders then I will try and swap the driveshaft back to the original one and see if that helps.
I’ve replaced all the bushings with PU replacements which are a bit stiffer and a lot newer than what came off!
3 Likes
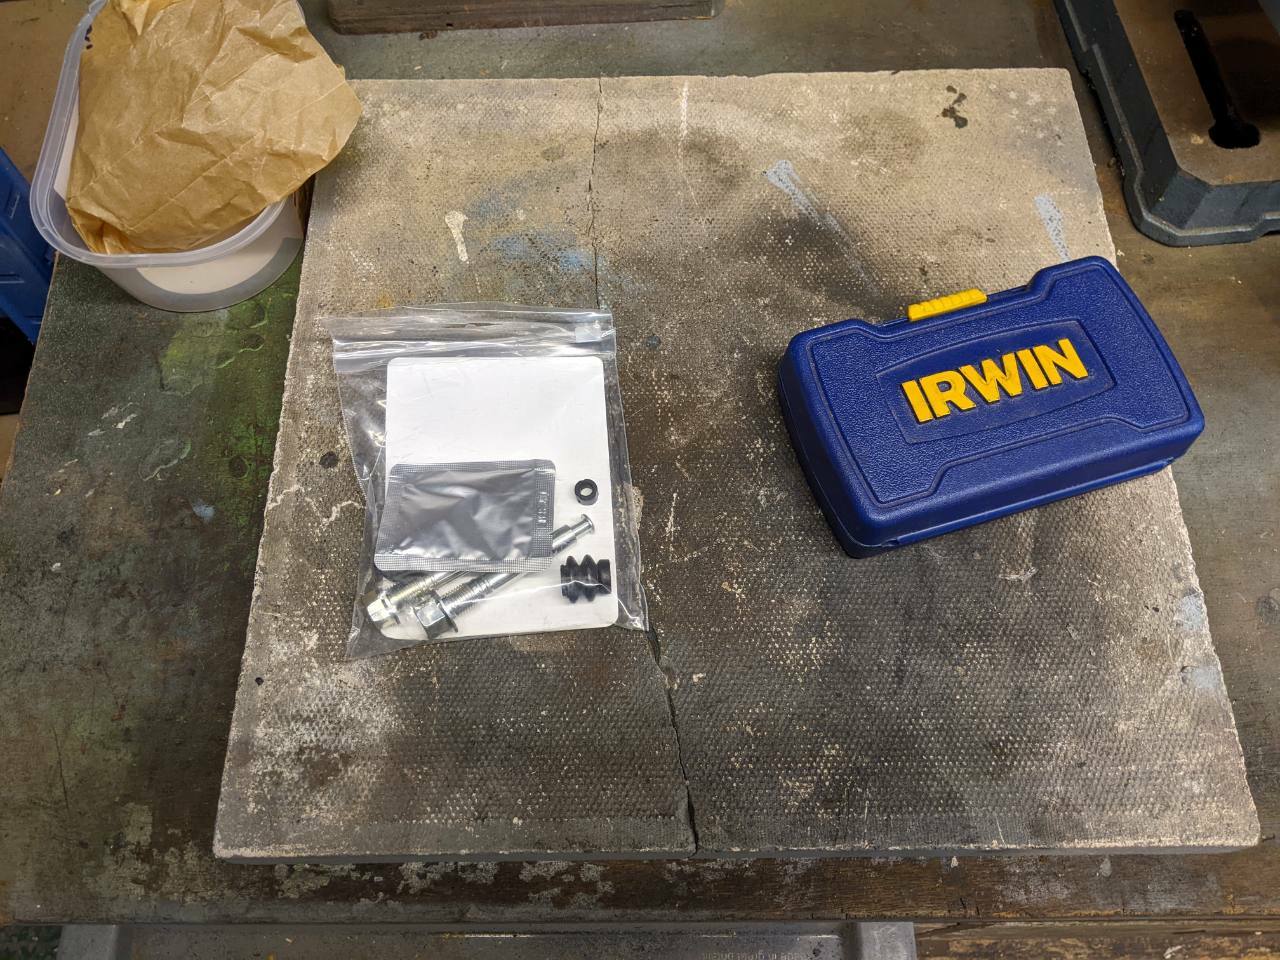
Our constipated postal delivery finally arrove yesterday, including my new slider bolts and the Irwin bolt removers from my brother, so having dispatched a few other tasks I went out to have a serious look at this rounded off slider bolt.
I’d not used these before, but got the general idea, you bray the bolt gripper thing onto the sorry rounded off reminder of your failure as a mechanic, father and human being then ratchet it off, the harder you turn the more the teeth grip into the remains of the bolt and eventually it relents to my ULTIMATE POWER and comes out. Or something…
well, here is the sorry remains of the bolt head
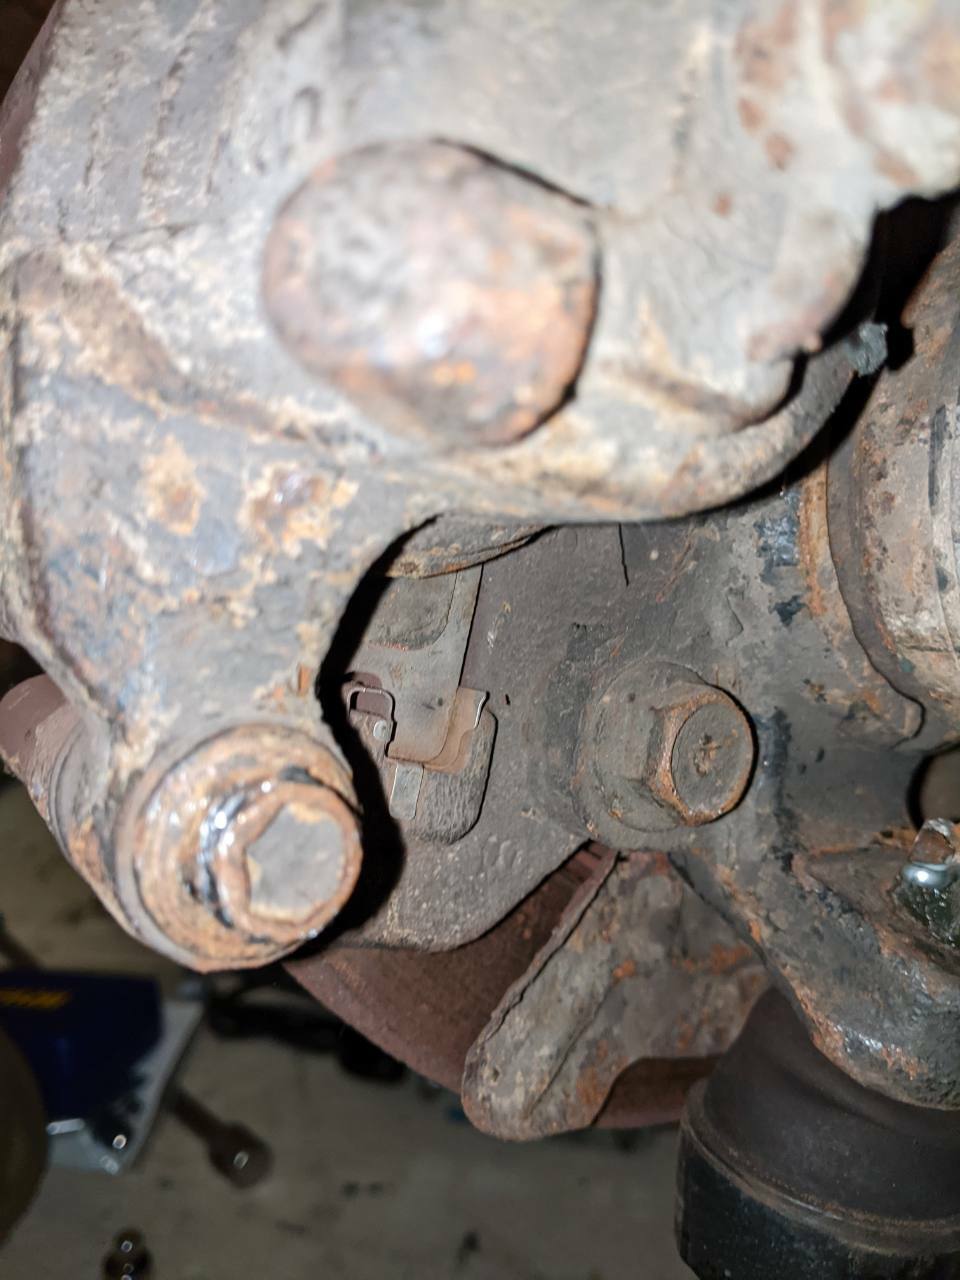
not great, eh? so out with the irwin thing and a BFH
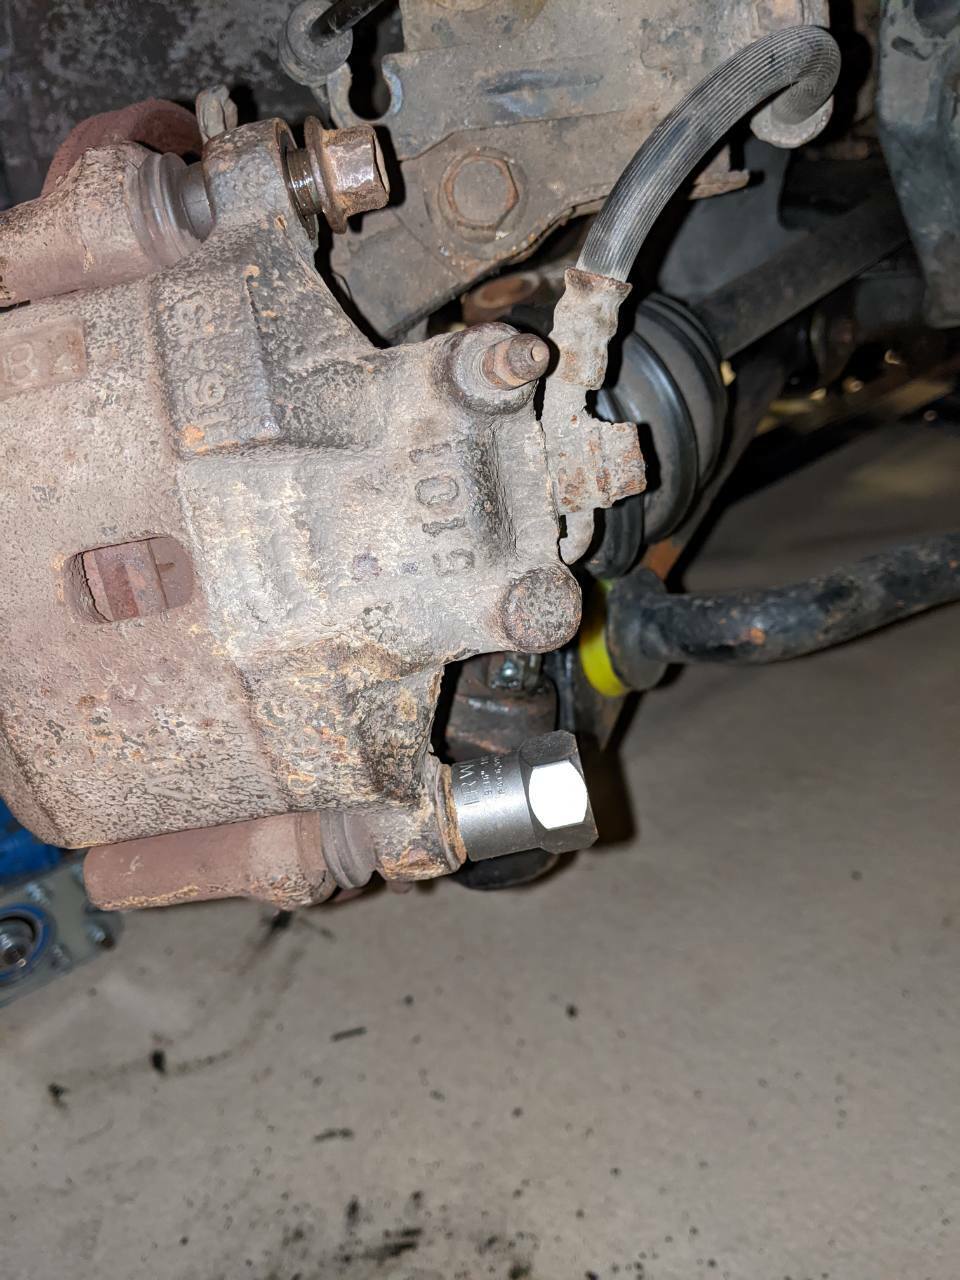
So far, so good. I walloped it on as far as I could and then fitted up the 3/8 > 1/2" adapter to get a ratchet on it and

BY THE POWER OF GRAYSKULL!

oh. ummm, that wasn’t supposed to happen… Hmmm. Right, the slider bolt has sheared off midway down and left the stub in the carrier. Right, lets pull the little rubber caps off and see what we have left shall we?
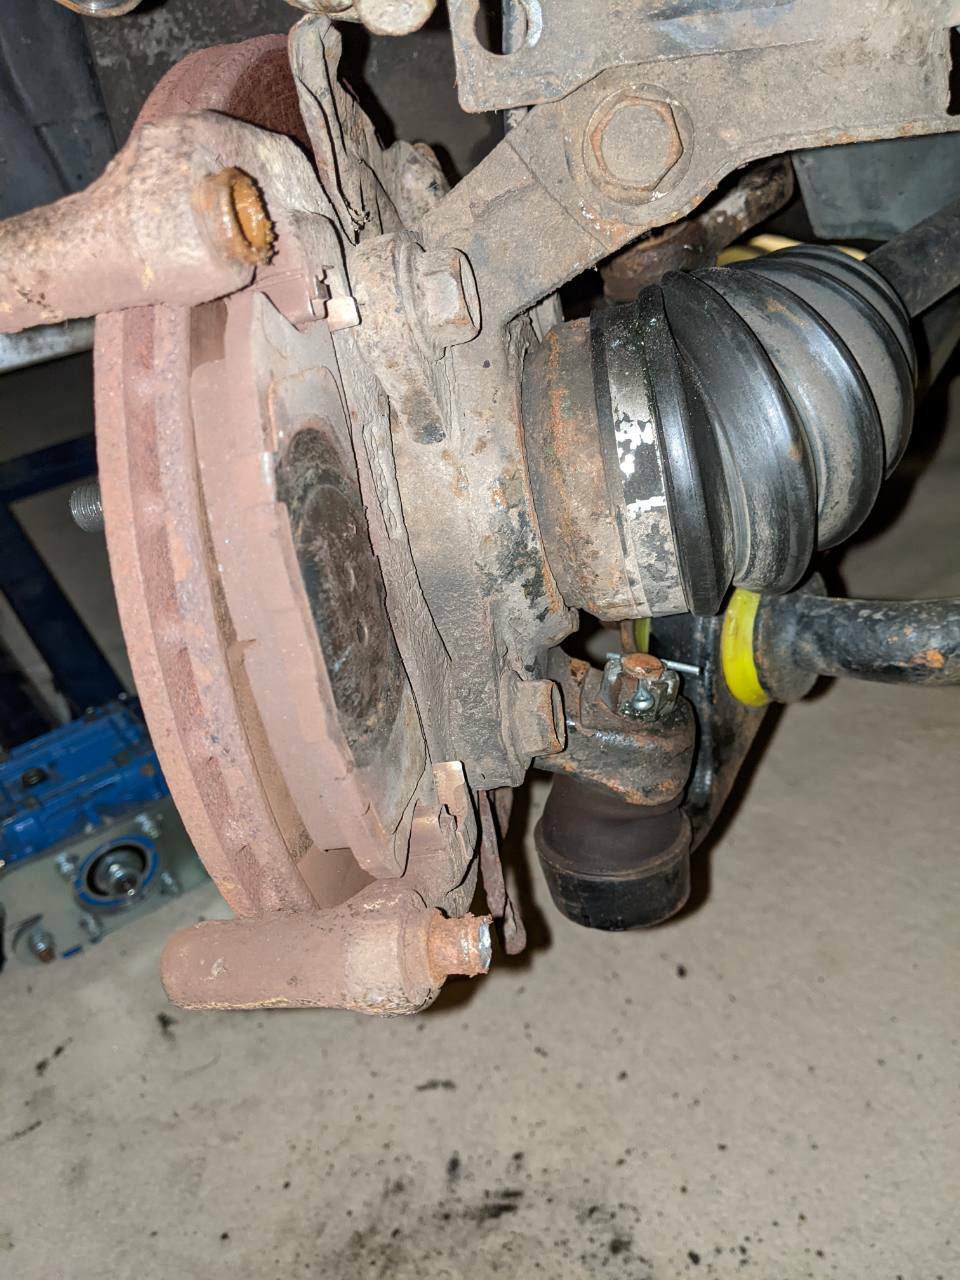
I had a go at twisting the stub on the bottom out with mole grips but they just spun and chewed up the remains of the stub. Buggeration. Ok, well the best thing to do now is get the carrier off the car and see what we can do on the bench. 2x 17mm bolts and it was free of the car. I bungee’d the caliper itself out the way so it wouldn’t fall off and dangle on the flexi while I wasn’t watching.
I grabbed the stub in the bench vice and tried to twist it, but it just spun in the jaws of the vice so I had to escalate to DEFCON 4 and deploy some heat. A few years ago I got a brazing torch with oxygen and MAPP gas tanks, I’ve not had much success with brazing, but its a handy thing to have for applying targetted heat
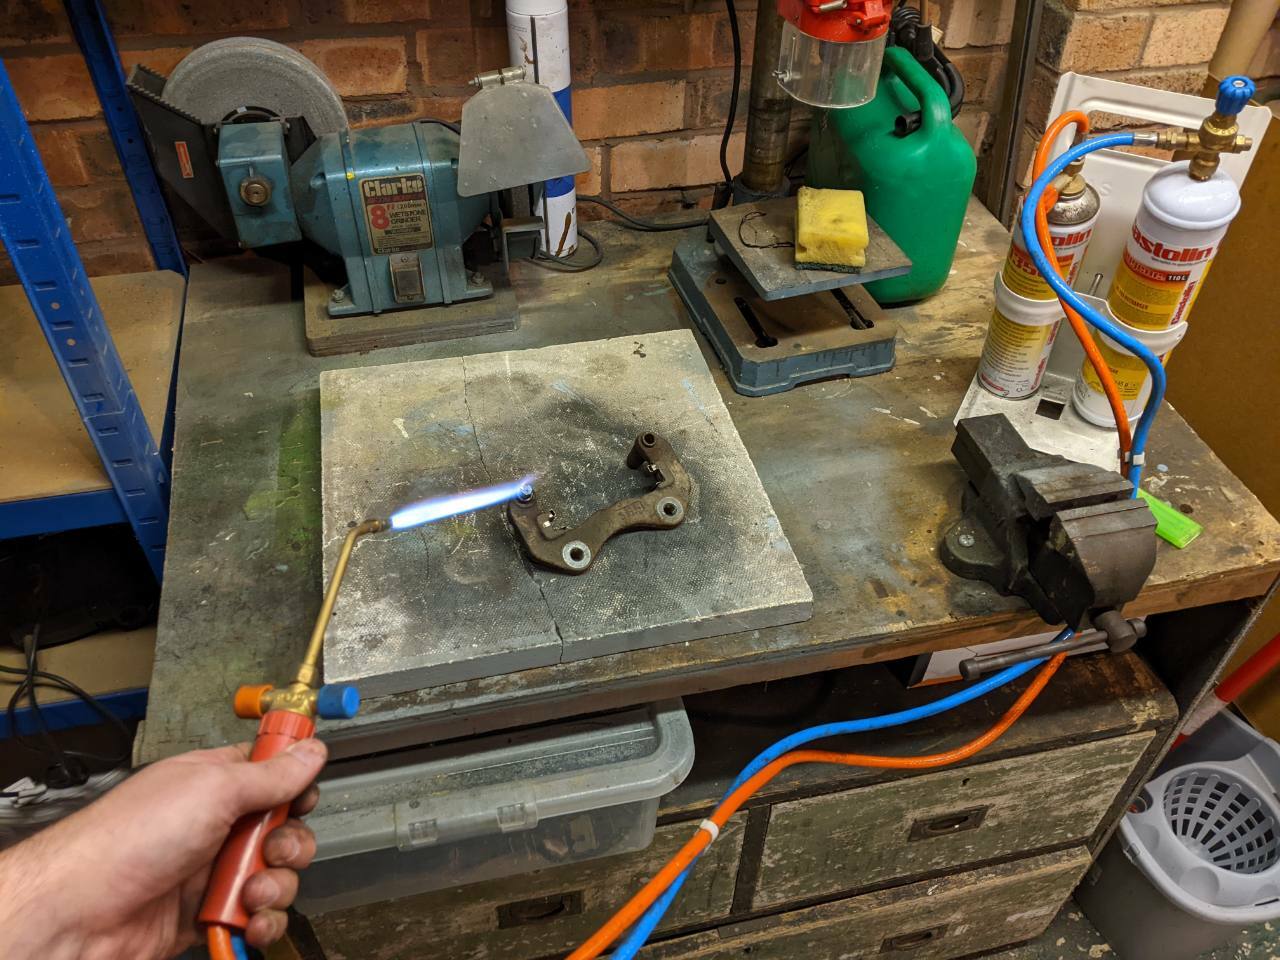
Take that, you knave! I heated it up 'til it was cherry red then clamped the stub of the slider bolt in the vice and walloped the carrier to try and knock the carrier off the slider. This had limited success, so I gave it a few blasts of penetrating oil and hit it a bit more until
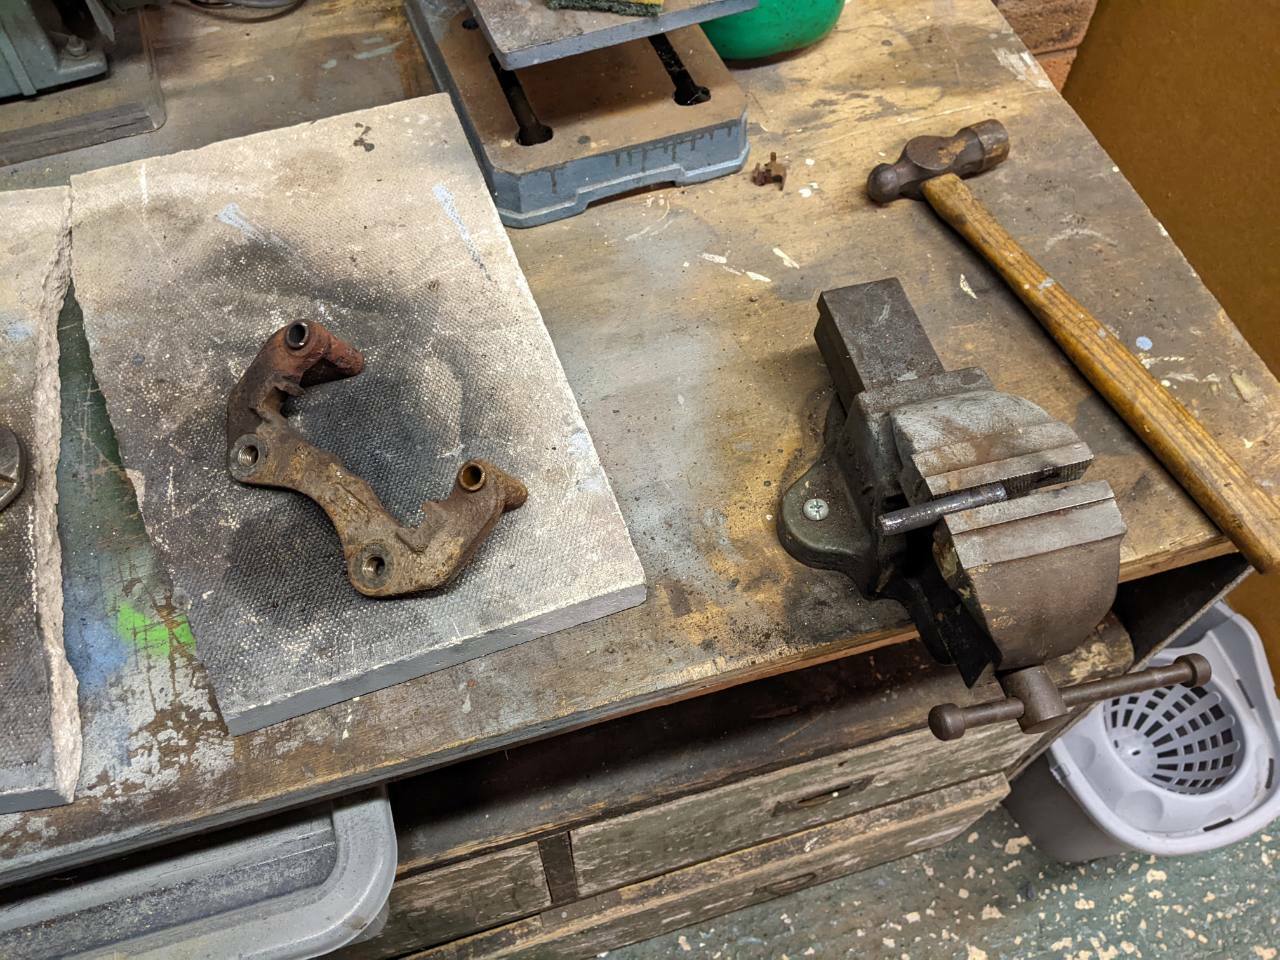
Ha, gotcha! it took a while to bray it off, but victory was mine. The carrier was still a bit hot so I had been holding it with some adjustable pliers so it didn’t hit the floor when it eventually parted company. I put the carrier down on the bench to cool down a bit while I got some rag and a tent peg and used it to clean out the voids that the slider bolts go into as much as I could. I then used the old top slider bolt and lubed it up with silicone grease and worked it in and out to get it moving as much as possible. I’d also cleaned the carrier down with a wire brush for good measure.
Once it had cooled down, I refitted the carrier to the hub, refitted the disc, the pads and the caliper and bolted it to the carrier with the new slider bolts - well lubed with more silicone grease.
so here it is all back together
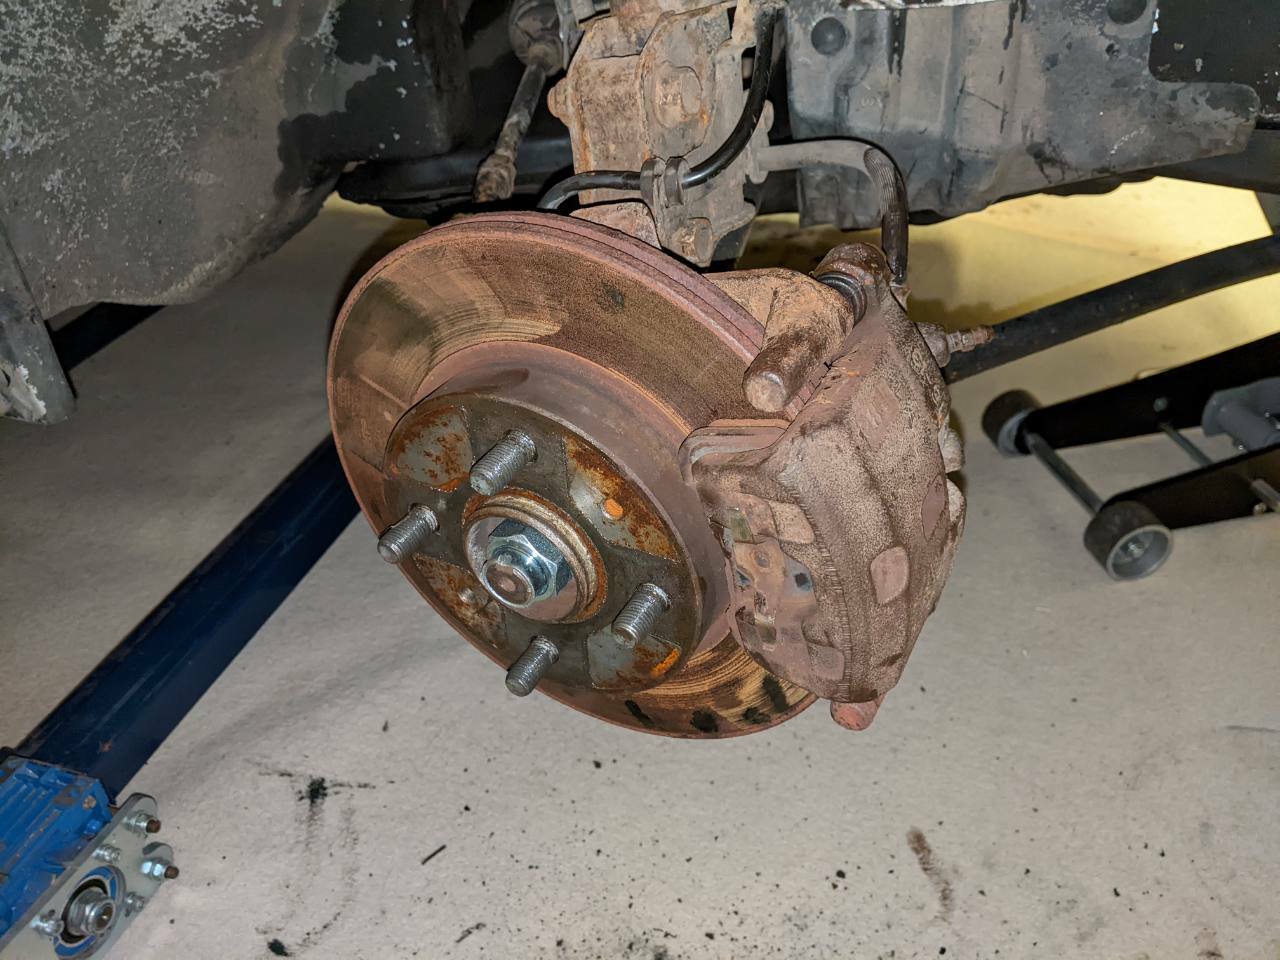
The car was still on the lift so I couldn’t drop it down and take it for a run to see if it was any better, but the slider was mega broken for sure, and is now a bit better.
Tonight I took it for a drive to see how it was behaving, I dropped it down off the lift and tightened up the wheel nuts then gently drove out to see how was. I slowly built up speed getting to the nearest bit of motorway, about 4 miles away. The car has always been fine up to about 60mph, then the wobbles come through the steering wheel. Today I took it up to 70mph on the motorway and lo and behold the wobble was back, but pushing through to 80mph and it settled down again. Very odd.
The handling seemed a bit iffy on my drive, which was initially concerning. It was only when I was almost home that I remembered that I had left 2x 25kg bags of sand and a 20L drum of oil in the boot that I use for ballast to weigh the rear end down when the car is on the lift! Idiot! I took these out when I got home but it seems OK.
When I got back I checked the wheels for temp, they were both warm to the touch, but after quickly jacking the front up on the front crossbeam thing to get the wheels off the floor, both spun really easily with no sign of binding at all, so I think it might be at least a bit better now. Next step will be to take it and have all 4 wheels balanced I think, it shouldn’t cost much and will rule out both out of balance wheels, and hopefully buckling too.
7 Likes
Nice progress mate I love a story of Victory through adversity with the conviction of determination!
Great work on defeating that slider bolt and getting it working again, Hopefully just the wheel balance may eliminate that wobble.
3 Likes
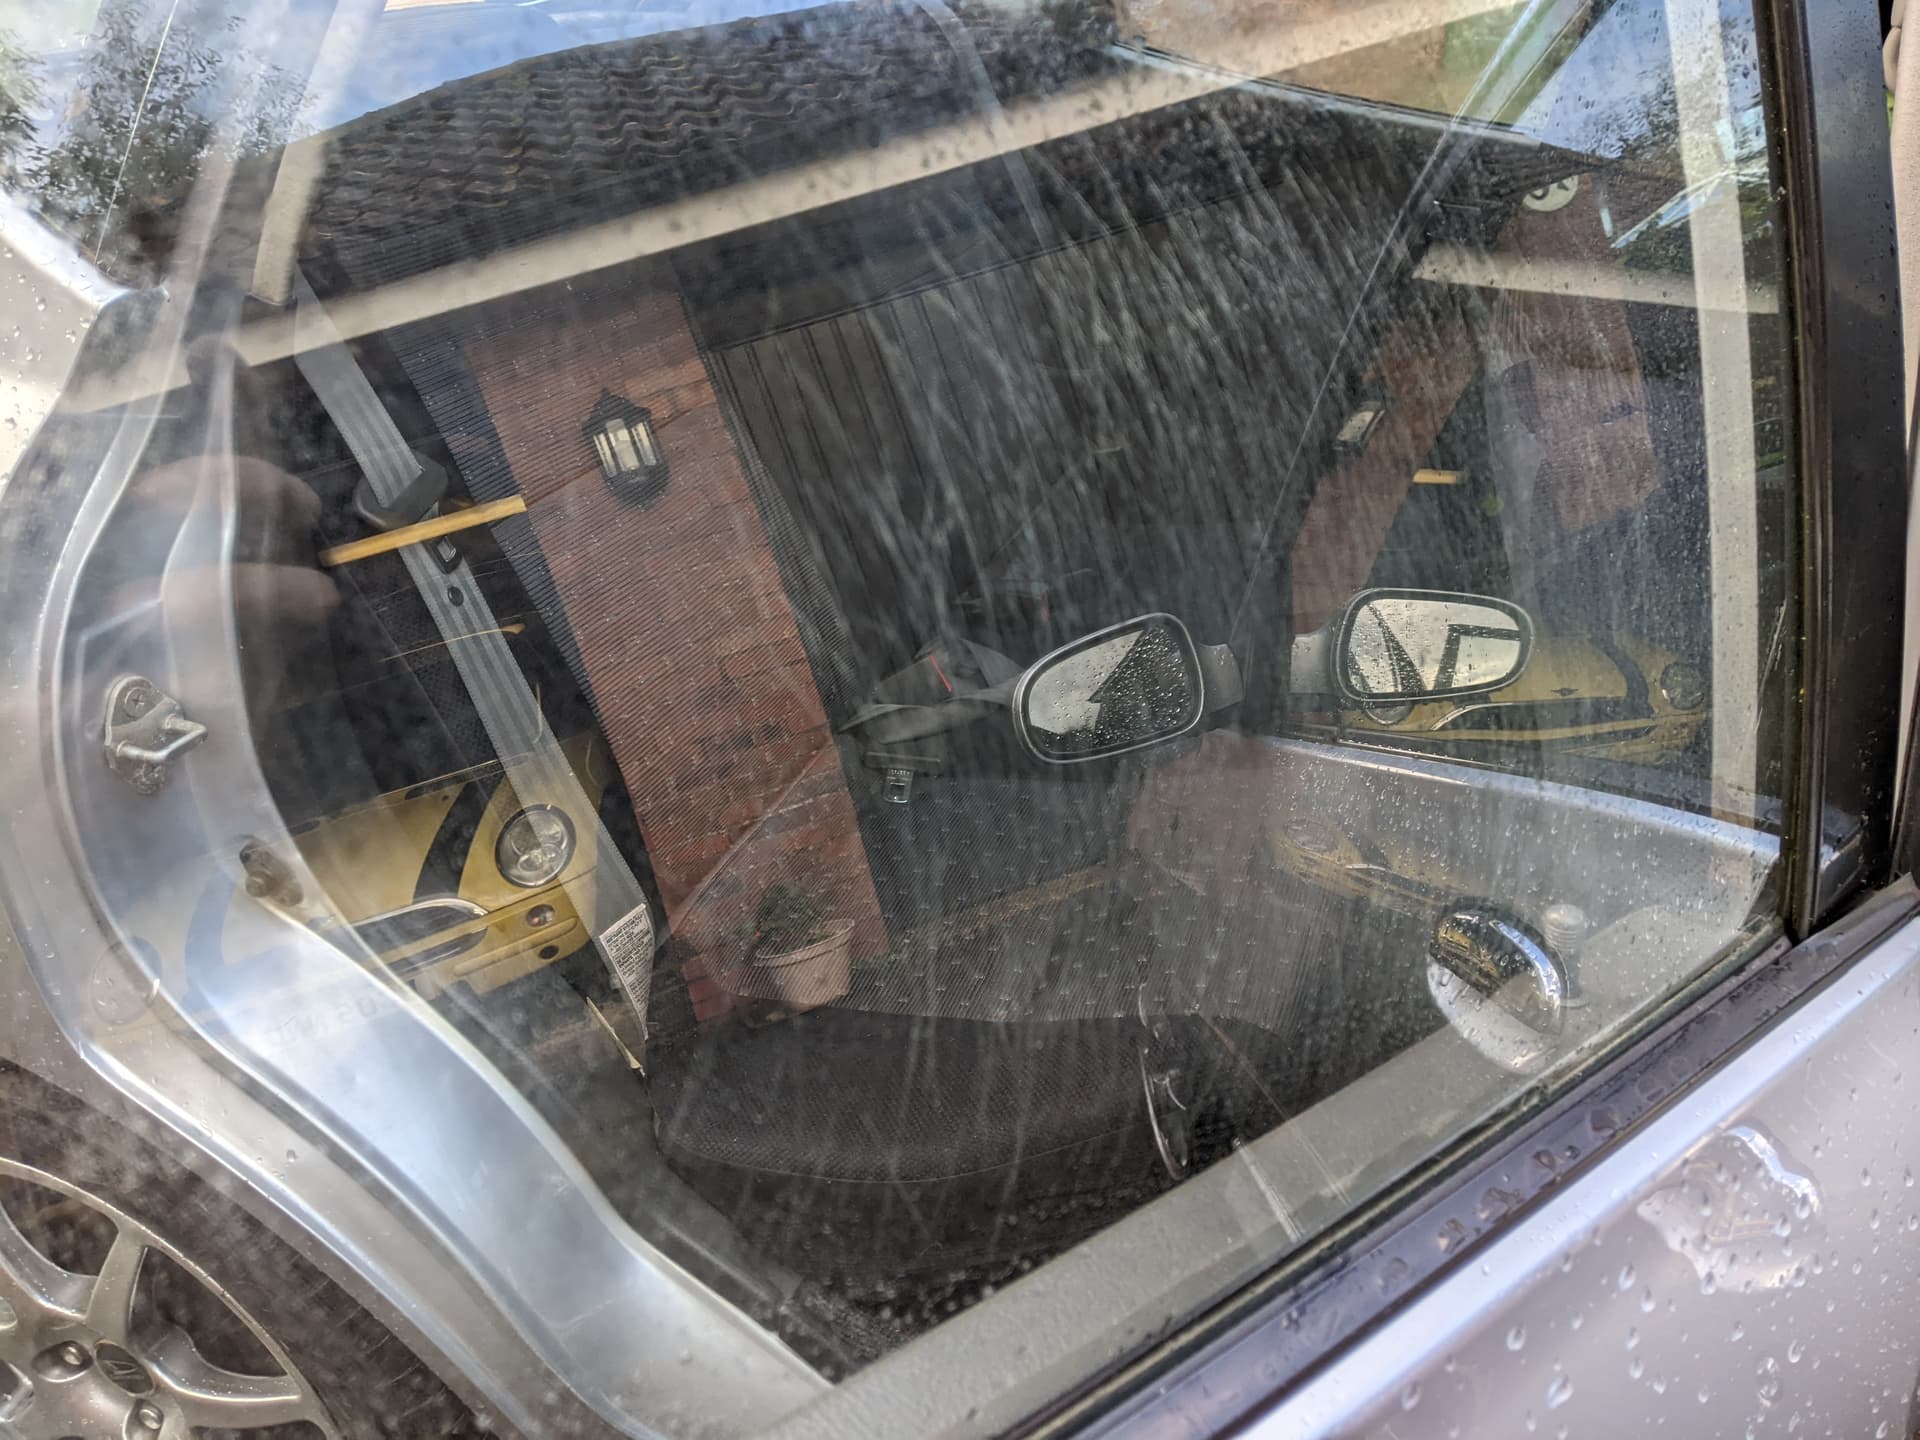
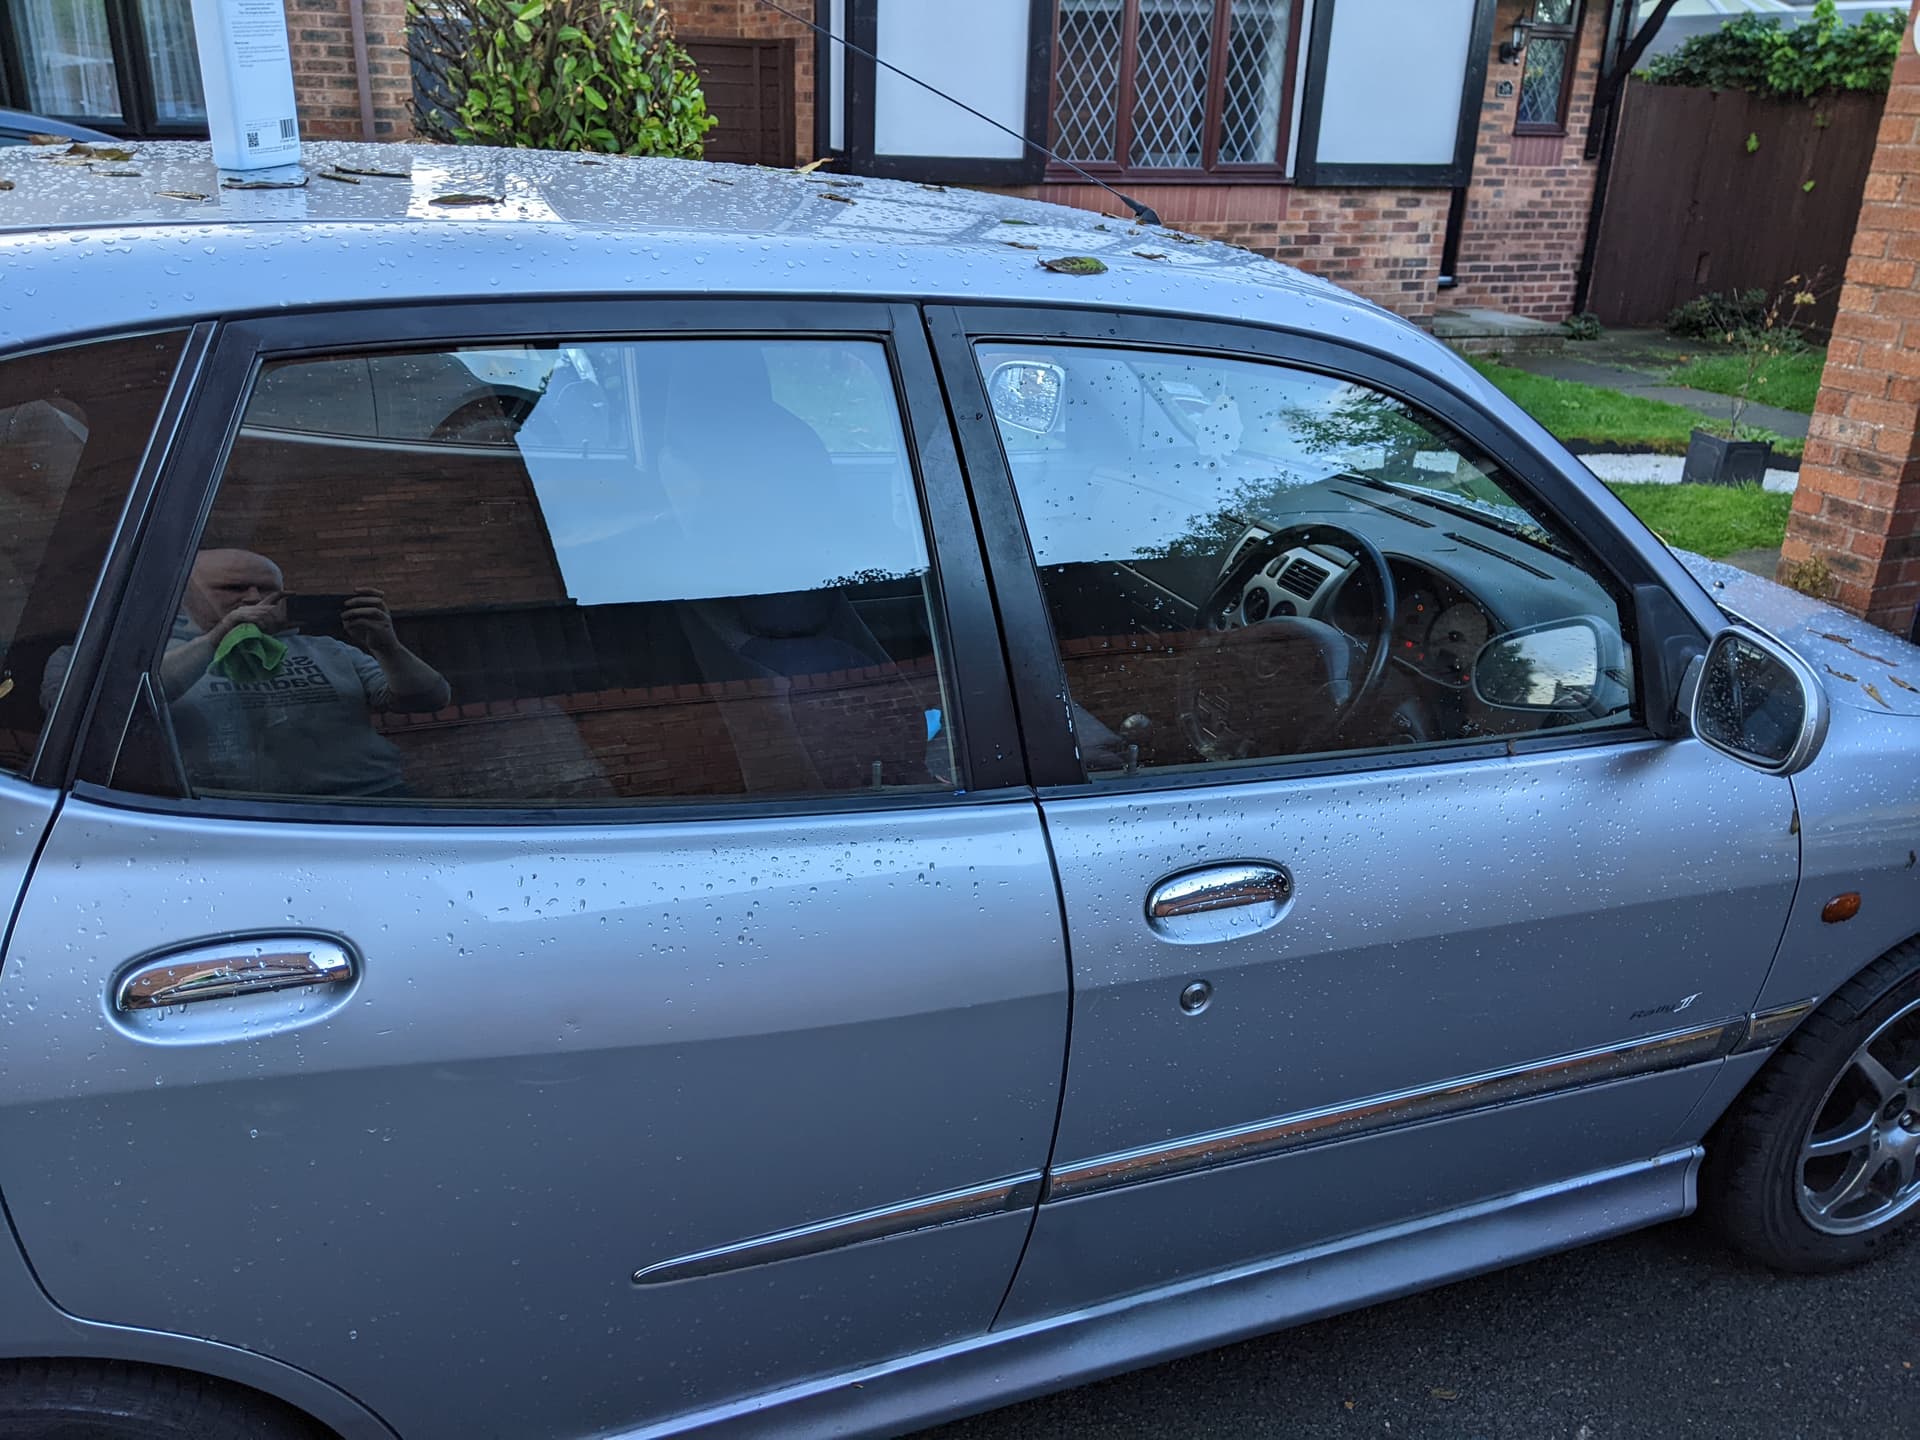
I had some time in between rain showers today so finally got round to replacing the rear window glass in my Sirion. The owner-before-last had at least one pet wolverine dog which was obviously really keen to get out and as such had scratched the rear windows really badly on the inside of the glass
I’ve posted a how-to guide on the DIY section here, but the end result is much more pleasing!
I got given a pair of rear door glasses when I bought the car, but its taken me nearly 2 years to get around to actually fitting them. Its made a really big improvement to the look of the car though
I do still need to have a serious look at the state of the exhaust and that iffy front driveshaft though!
6 Likes
Pondering a few things for the Sirion recently and wanted to ask what the hive mind thought about burning oil. I know its a bit of a Daihatsu ‘thing’ and I’ll never eliminate it completely but I do lose a bit if I’m using the full rev range.
I think the general root cause is worn/gummed up oil control rings on the piston, is that right?
If so, has anyone used Seafoam down the cylinder bores to try and clean up the rings? There is plenty of info online suggesting that its a good option to improve things if you’re not keen to strip down the entire top end of the engine (as I am!). The suggestion is to put 10-20ml of seafoam down the sparkplug holes and leave it for 72 hours, ideally topping it up with 5-10ml more every 24 hours. In between top-ups, wind the engine over by hand with the plugs out to clean up the rings as much as possible.
Once 3 rounds of winding the engine over and adding more seafoam have been completed, start the car and expect to see some smoke out the exhaust as the leftover seafoam burns off.
Has anyone tried this and is it likely to help unclog the rings and reduce oil consumption? Or a waste of time and money?
when I had my yrv I tried a couple of cans of seafoam. Well, the related brand stuff we have here anywhere. I also tried atf and soaked for 2 days then turned it over with plugs out. One hint when you drive it after it is gonna bellow smoke for a good few kilometers. So unlit roads at night with no traffic would be preferable.
For the YRV there were no big improvements but I wasn’t consistently doing this on a regular basis. However the YRV was pretty bad and was drinking quite a bit of oil.
2 Likes
Thanks, how much did you put in each time when you dosed the YRV?
Understood re the smoke and driving under the cover of darkness! I’m fortunate that there is minimal oil consumption during normal driving, but enjoying the rev range - lets say using >5k RPM for a sustained period of time - does make a noicable difference to the reading on the dipstick.
There is no visible blue smoke though, so I’m hopeful its not too bad and I can try and keep issues at bay for a while yet with preventative maintenance.
definitely worth a shot. The stuff we had hear is in aerosol cans and is used while the car is running. The ATF I filled enough to cover the piston and gave them a turn 3-4 hours during the day time. I think I did it over 2 days and then on 3rd day did the turn over without plugs and smoked out the neighbourhood when driving lol
2 Likes
I’ve poured all manner of things on to the piston tops (ATF, kerosene, the foam cleaner things) and as additives to the engine oil (kerosene, engine flushes) for ‘flushes’ - nothing has made a difference to the amount of oil my Sirion is burning. I don’t have oil smoke on start-up but definitely at higher rpms. Which I believe is the stuck oil control rings and not valve stem seals.
One could argue you just need to keep doing it, over and over, until you see some benefit…how long is a piece of string?
How much time/money is that going to be compared to just topping up the oil. Obviously, the proper fix is more time (if you can do it yourself) or money (if you can’t) to open the engine up and fix/replace the oil control rings.
4 Likes
Minimal updates recently, its been mega cold here and they have started salting the roads, so I’ve been keeping my Sirion in the garage for the time being. I hope to be able to take it out for a run if we have a few dry days between Christmas and New Year though.
The reason for a post though is that I have finally got round to booking it in for a replacement cat-back Stainless exhaust in mid January! I’ve been to a couple of places and settled on one which is not the cheapest, but seemed to be the most competent based on their previous work. I’ve opted for 2" pipe, a compact resonator and an HKS muffler tip, having chatted tot he owner and fabricator I made sure I was clear when I said I wanted a throatier sound, but not something which will wake the dead!
It’ll come with a lifetime warranty, and be custom made to clear the aftermarket rear sway bar, which I had trouble with the stock system ‘interfacing’ with over bumps!
Very excited, even if its going to cost 3x what I paid for the car originally!
7 Likes
Go on, go the whole hog and fit a 4 into 1 manifold and a 200 cell CAT, it will still pass an MOT!
2 Likes
hahaha, thats the next step towards oblivion! I’ll see how I get on with the stainless manicat-back system but its at the back fo my mind to replace the manicat with a 4-2-1 system and then fit a sports cat further back in the system - my sole concern (other than cost) is that extending the wiring harnesses for the pre and post o2 sensors is a bit fiddly.
TBH, having polybushed it, fitted the rear sway bar, put some decent tyres on, redone the intake system and with the exhaust done I’ll be pretty pleased with it. Its a solid basis for a fast road car, but with none of the compromises of a full track setup. Everything will be reversible if needed, but modified to what I wanted it to be. I’m fortunate that I have other cars for load lugging, motorway work and so on, so I can make this my ‘fun’ car
4 Likes
I’d not driven my Sirion much lately, with the cold weather arriving, the roads are being salted by the council and as we all know, Daihatsu’s really don’t need any help to rust, they do that all by themselves!
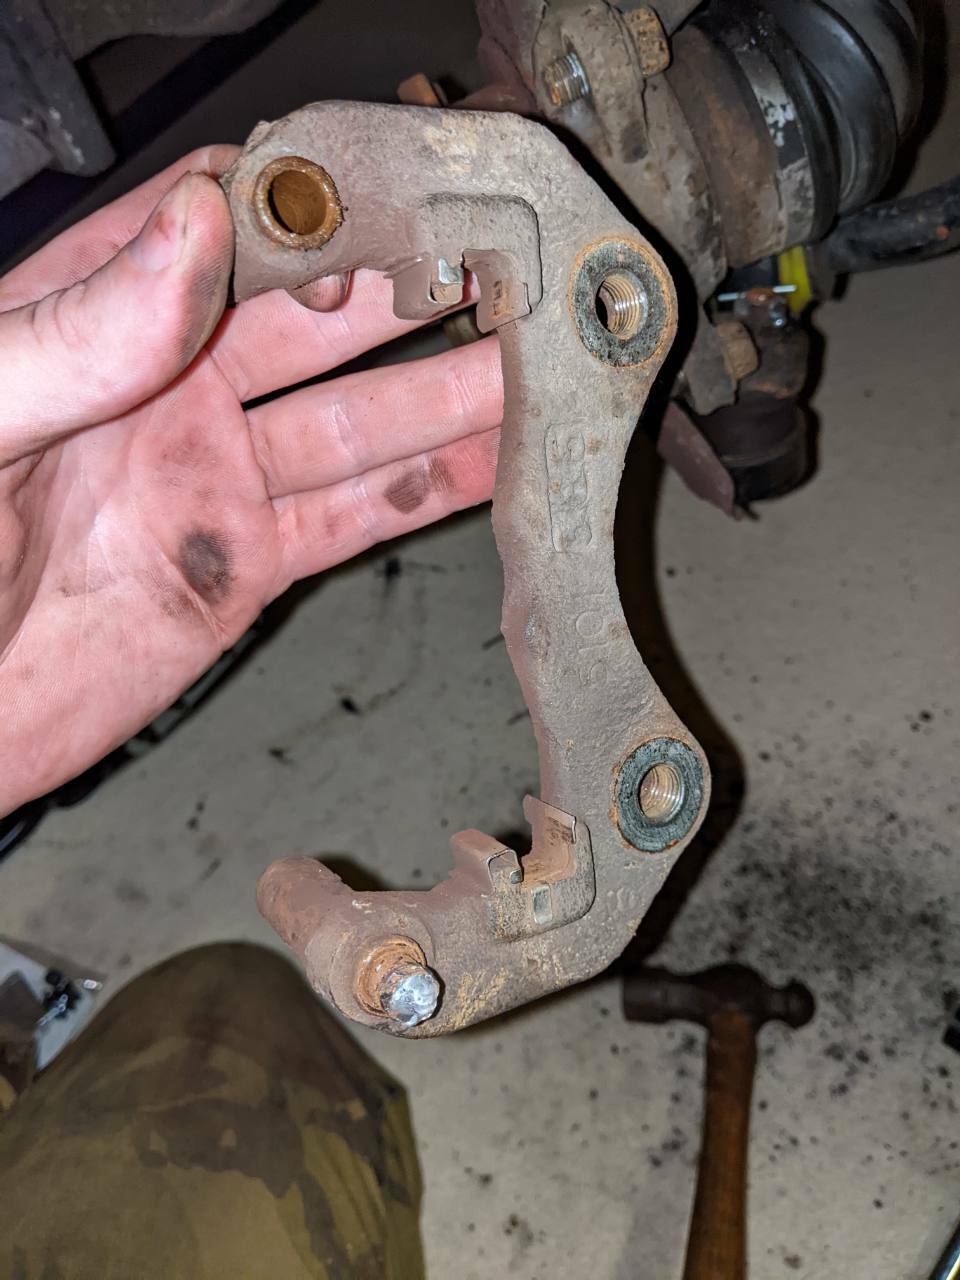
What’s been nagging at the back of my mind though is the drivers side front caliper sliders. When I disassembled the caliper and bolts last summer and the slider pin sheared off I replaced the pins with new ones, but I’m not entirely happy how well they release. The brakes have always been pretty vague, with loads of travel at the pedal before anything happens, though they will pull the car up evenly and adequately quickly if you really mash the pedal.
Anyway, I went out this evening to check them over and once again the top slider in that caliper really didn’t want to come out of the caliper bracket/carrier. I can unscrew it, but once it reaches the end of the threaded section it just spins and the only way to get it to come right out is to use a pair of open-ended spanners to basically lever it off the back of the caliper. I don’t think it should be like this? The other side isn’t, it can be withdrawn from the void in the carrier bracket by hand once unscrewed.
I re-greased the sliders with silicone brake grease, the bottom pin is fine and withdraws easily, the top one is much less cooperative.
I though the issue was the caliper, but now I’m less sure. I think that potentially the carrier is either slightly warped or just corroded inside the blind hole that the slider inserts into.
This being the case, what are my options? I had a look on Amayama for a new carrier, but they don’t list the part number. The page for brake caliper bits is here:
But on the pic, they don’t list the part number for the illustrated carrier (in red circle)
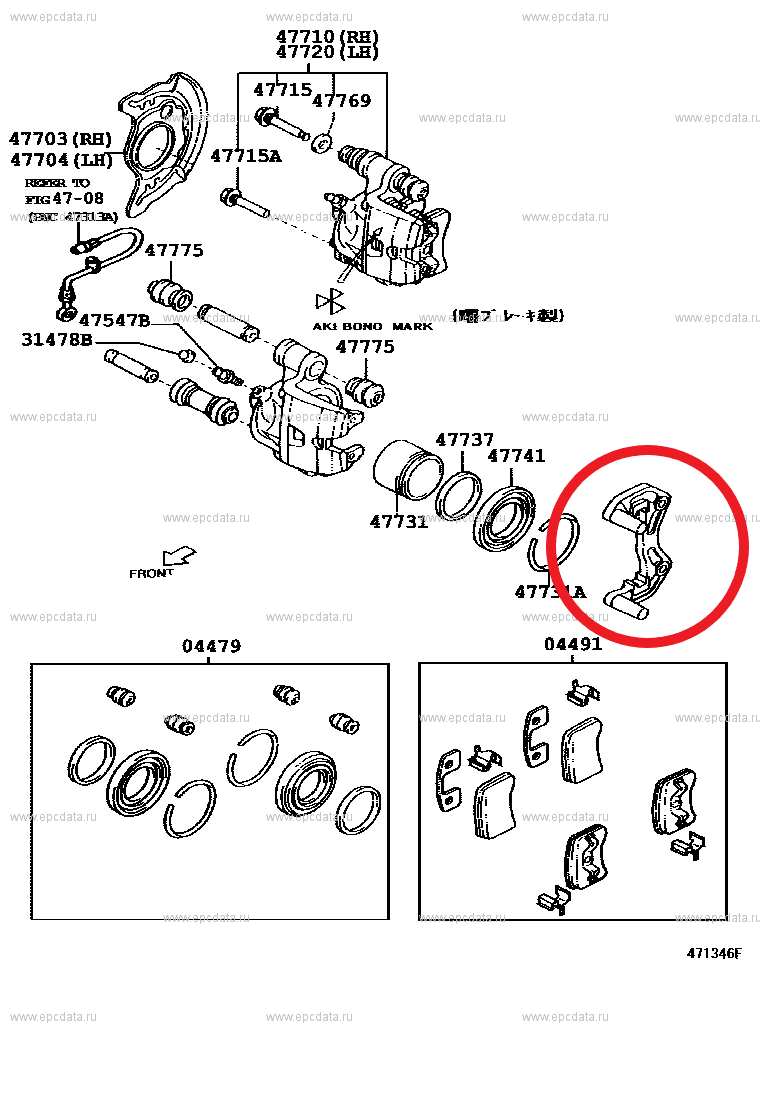
Can anyone help get me a part number so I can call my local Toyota dealership and see how much they want for a new one. Or suggest what else the part might be shared with so I can look up the part number there?
Alternatively, can the void be reamed out or redrilled by a machine shop? I imagine that once it starts to go wonky like this then its probably knackered but thought I’d ask.
Finally - has anyone greased the sliders in one of these recently who could comment on how easy (or otherwise) it was to withdraw the slider pin from the caliper carrier, specifically on the drivers side (UK, front right as you sit in the drivers seat) - the top slider is different from the bottom one in that it has a rubber insert at the end. I’m not sure what function this serves?
It’s been a while since I worked on my Sirion brakes, but I definitely didn’t need to leaver any of the slider pins out, they all came out when pulled. Unfortunately, I don’t have any great suggestions on fixing it.
1 Like
I’ve managed to get a replacement caliper carrier from a breaker for £32 delivered which seems OK to me. Swapping it over is a piece of cake so should be fixed up in a week or so.
I need to swap the nearside driveshaft to see if I can cure the 70mph wheel wobble, my brother is down at my place at the end of the month so will likely do it then. Again, an easy enough job. I have the new gearbox oil ready so shouldn’t be more than an hour I hope.
I’ll be able to start using it a bit more soon, once the threat of road salt is gone!
4 Likes
Some of the early Mazda MX5 rear calipers at the same casting and assembly. The only difference being the bore diameter. I found them easier to get parts for than searching “daiathsu”. Hope the used one you got works out.
1 Like
Ah, interesting, thank you!
About 15 minutes after I posted this I got an email from the breakers saying the part they had was ‘not fit for sale’ and refunded me - fair play to them for a quick turnaround, and not just posting me a bit of bent, rusty metal but I am now back to square 1.
Is there any chance you can point me towards the mazda part number/catalogue? When you say that the bore diameter is different, do you mean the bore of the brake piston, or the bores of the mounting holes for the caliper carrier?
TIA
Bolt holes are all the same. The bores may be slightly bigger (which of course give more rear power/bias).
Here’s what I wrote five years ago Not quite track. Mr Gormsby's L200 - #36 by Col_Adams
It was a while ago that I looked into all of this and should have added more detail when I was looking into it. Anyway, have a look at this for images and see which one looks physically the closest. I did one disk brake rear for myself and then two more. One of them used MX5 calipers when I couldn’t get Appluase calipers. Calipers – MX5 Mania
2 Likes
Sorry if I’m being dense, what I need is a front offside carrier for my M101, the rears are stock drums and seem to work fine.
Have I misunderstood?
1 Like